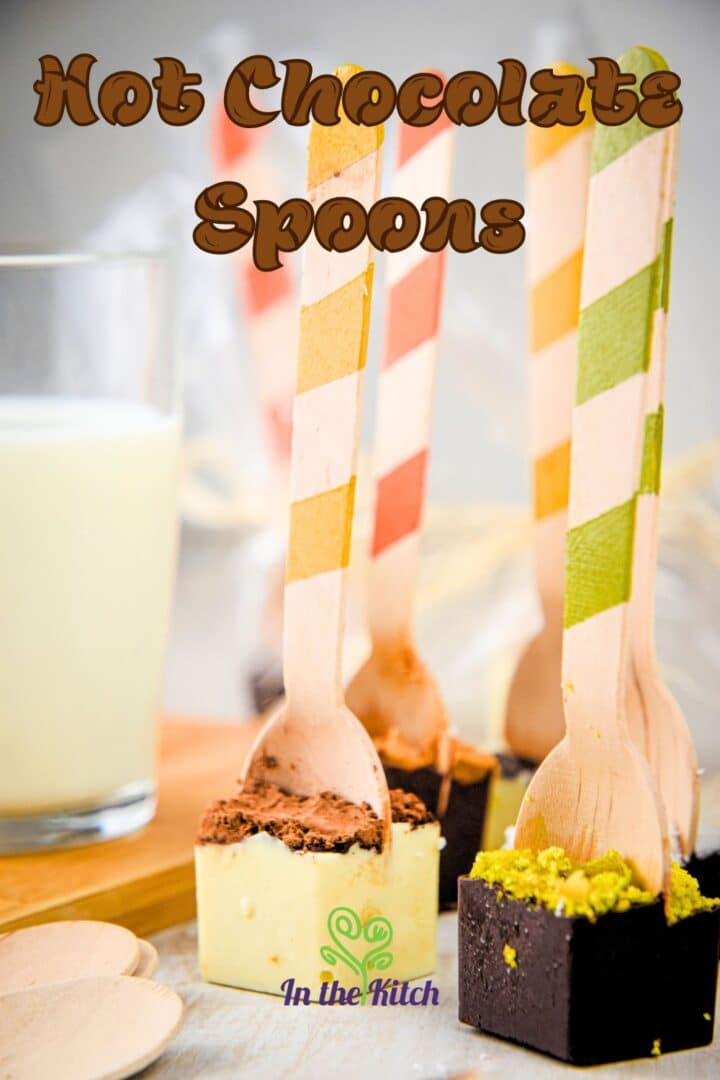
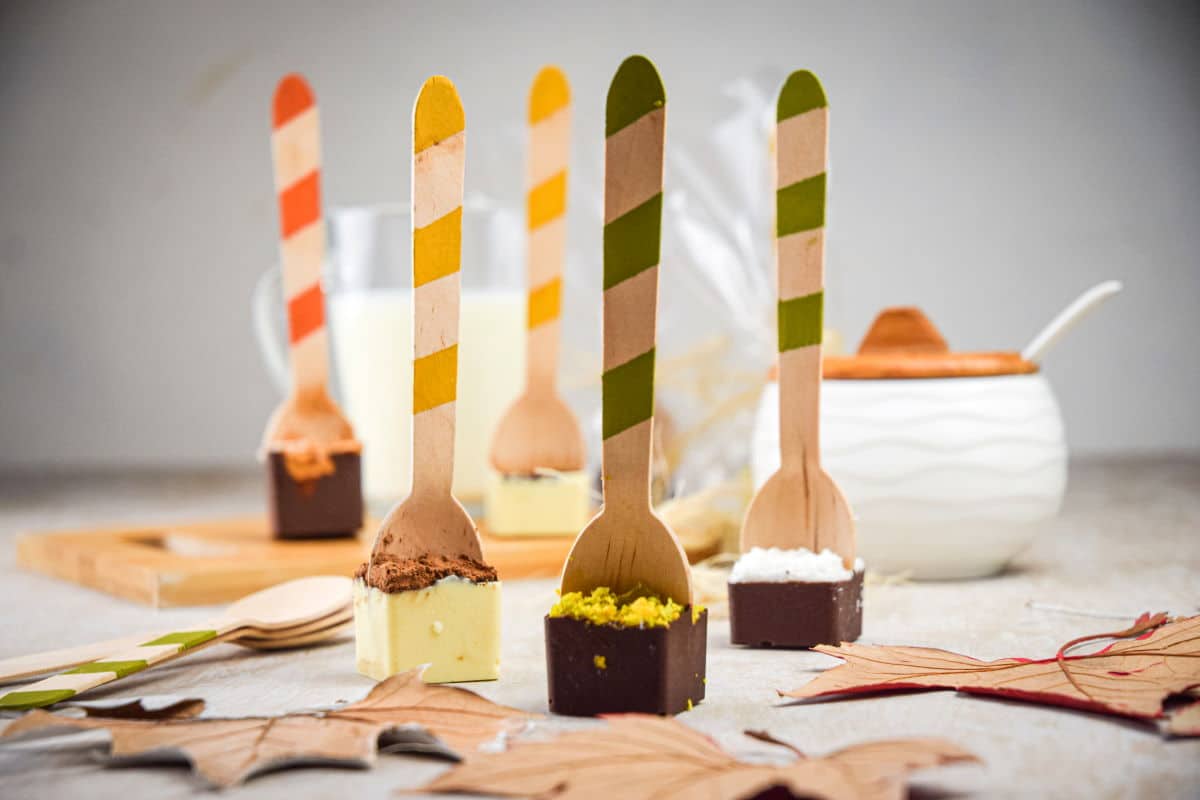
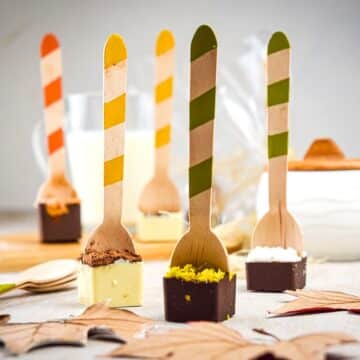
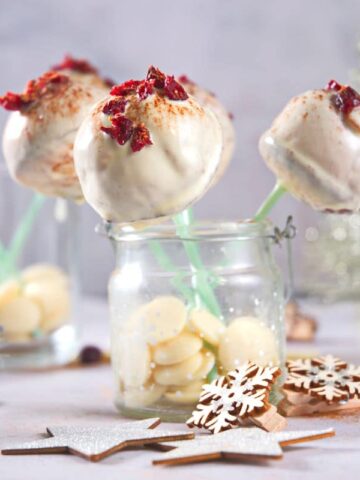
Each of these hot chocolate spoons are made with real chocolate and fun, tasty toppings like sprinkles, candies and mini marshmallows for an extra celebratory flair.
Sound like a good time? Skip the powdered mix and go straight to the good stuff with this delicious recipe. They also make a great food-gift!
Ingredients
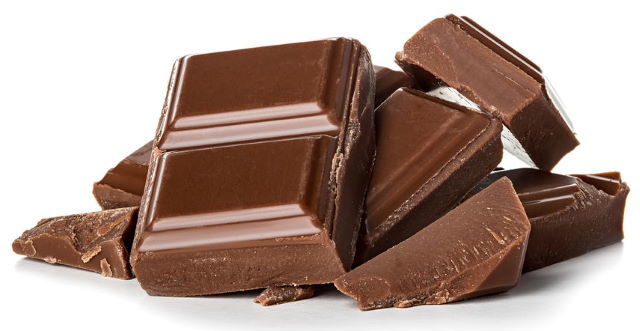
- milk chocolate chips - or chocolate bar chunks
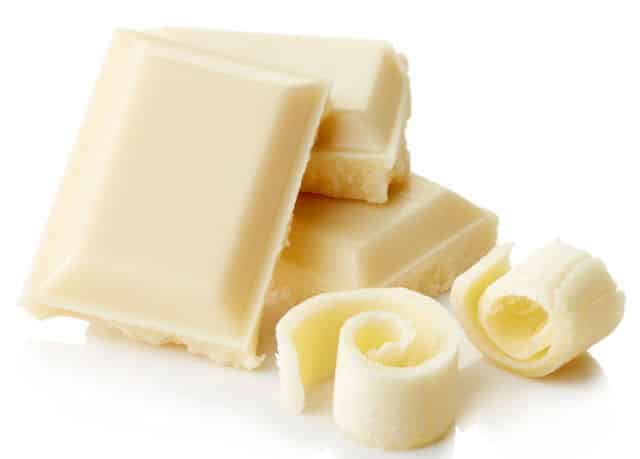
- white chocolate chips - or white chocolate bar chunks
Note: You can go with one type of chocolate if you prefer. You can also try different types of chocolate, although milk and white chocolate are the classics that work best for hot chocolate.
Topping Ideas
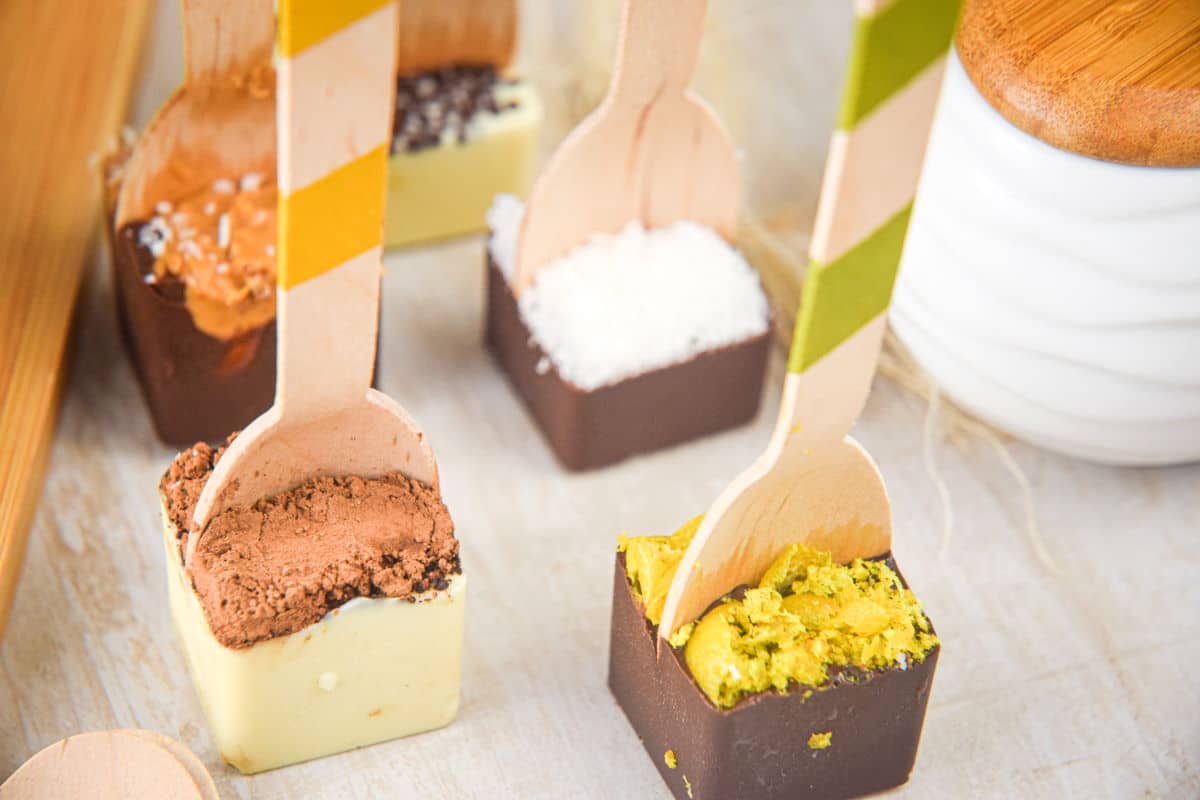
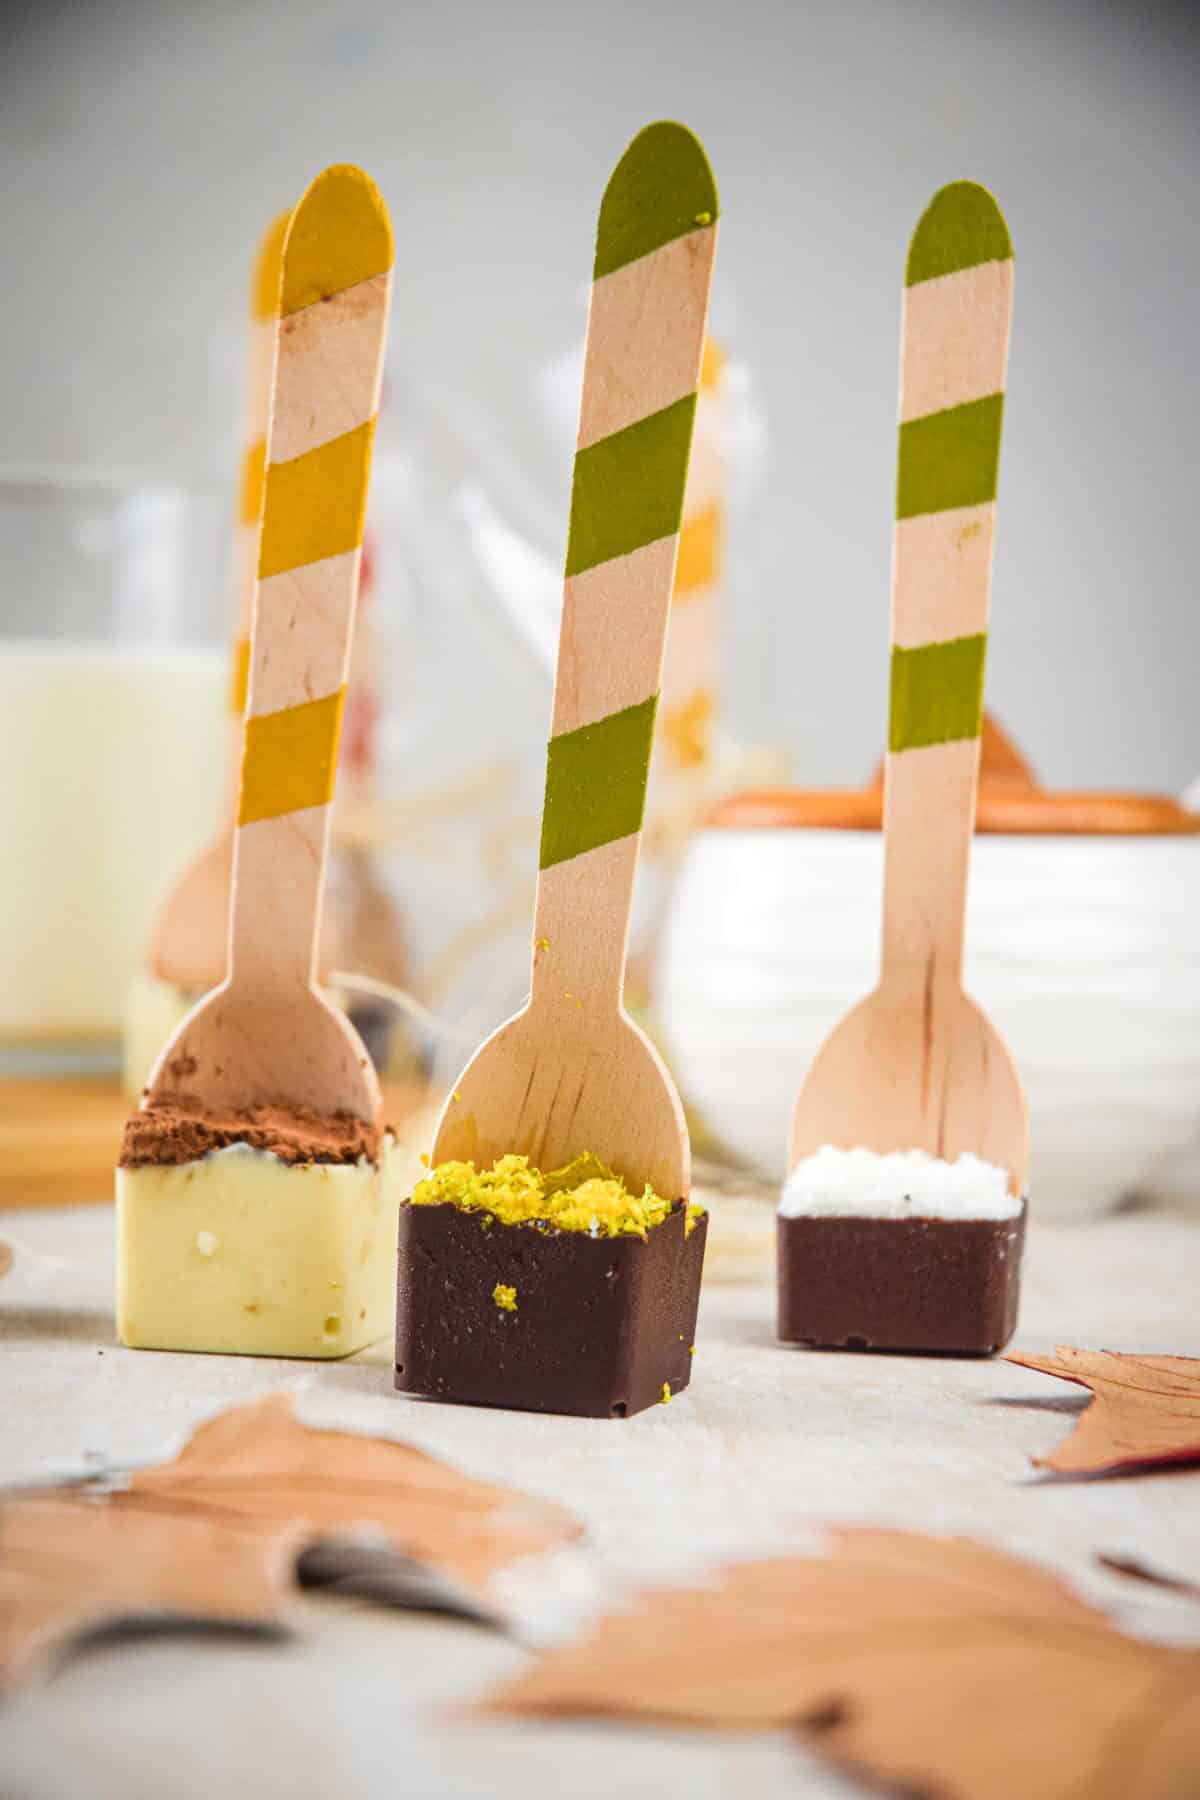
Chocolate spoons are endlessly customizable! Experiment with different toppings like:
- dried fruit pieces
- crushed candy canes
- crushed chocolate bars
- sponge toffee bits or plain toffee bits
- peanut butter chips or regular peanut butter
- caramel drizzle
- orange zest
- mini dehydrated marshmallows
- sprinkles
- instant coffee
- dried culinary grade lavender
- and more...
How to Make Them
- Add some water to a small saucepan and place a heatproof bowl on top to create a double boiler. Pour your chocolate chips into the bowl (melt each type of chocolate separately).
- Bring the water in the saucepan to a boil and then turn the heat to medium-low to simmer. You don’t want to burn the chocolate. Stir to gently melt the chocolate chips until smooth. Remove from heat.
- Place the ice cube mold on a baking sheet so that you can transfer it easily later. Pour the chocolate into the ice cube mold cavities (it should fill about 14 of them). Fill them to just below the top, because when you push the spoons in, the chocolate level will rise a bit.
- Tap the baking sheet gently on the counter to smooth out the surface of the chocolate.
- Sprinkle with desired toppings. Then, gently insert spoons into the chocolate in each cavity of the ice cube mold.
- Carefully transfer the baking sheet with the ice cube mold on it to the freezer for about 30 minutes (or until hard) to help the chocolate set. Or you can also set it at room temperature if you prefer, but it’ll take longer.
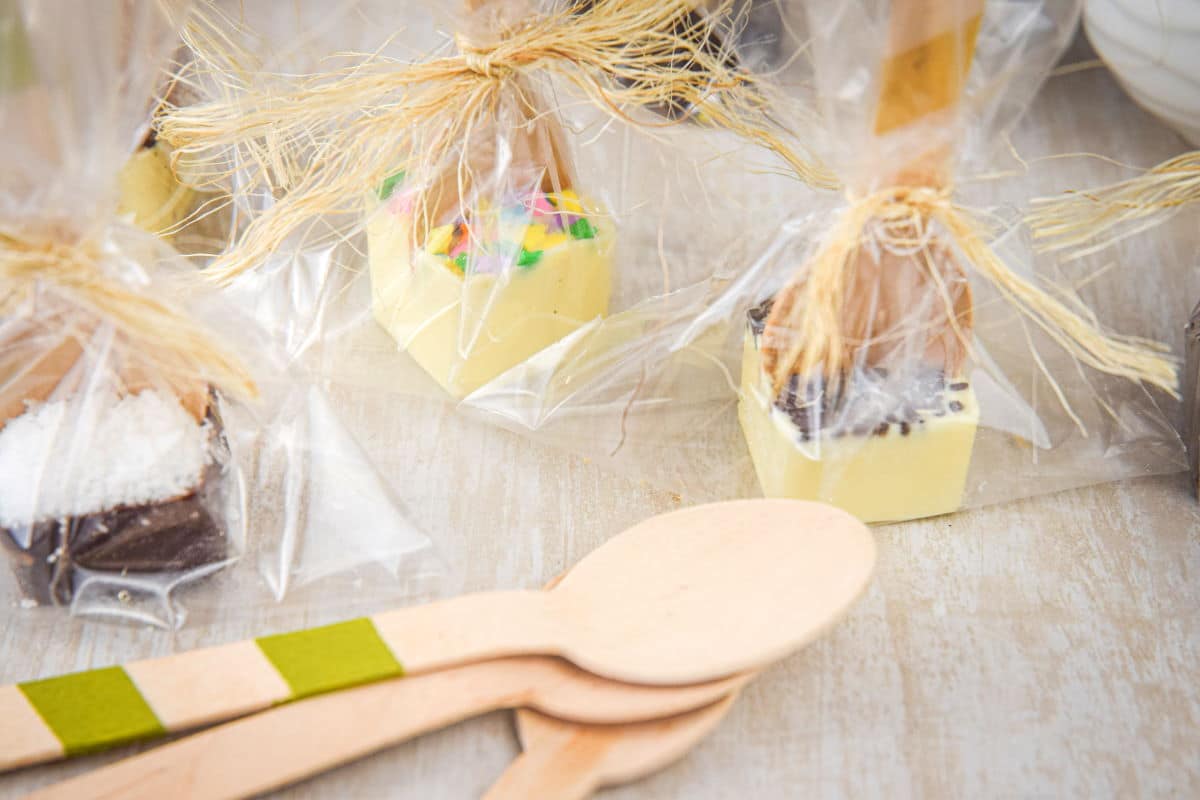
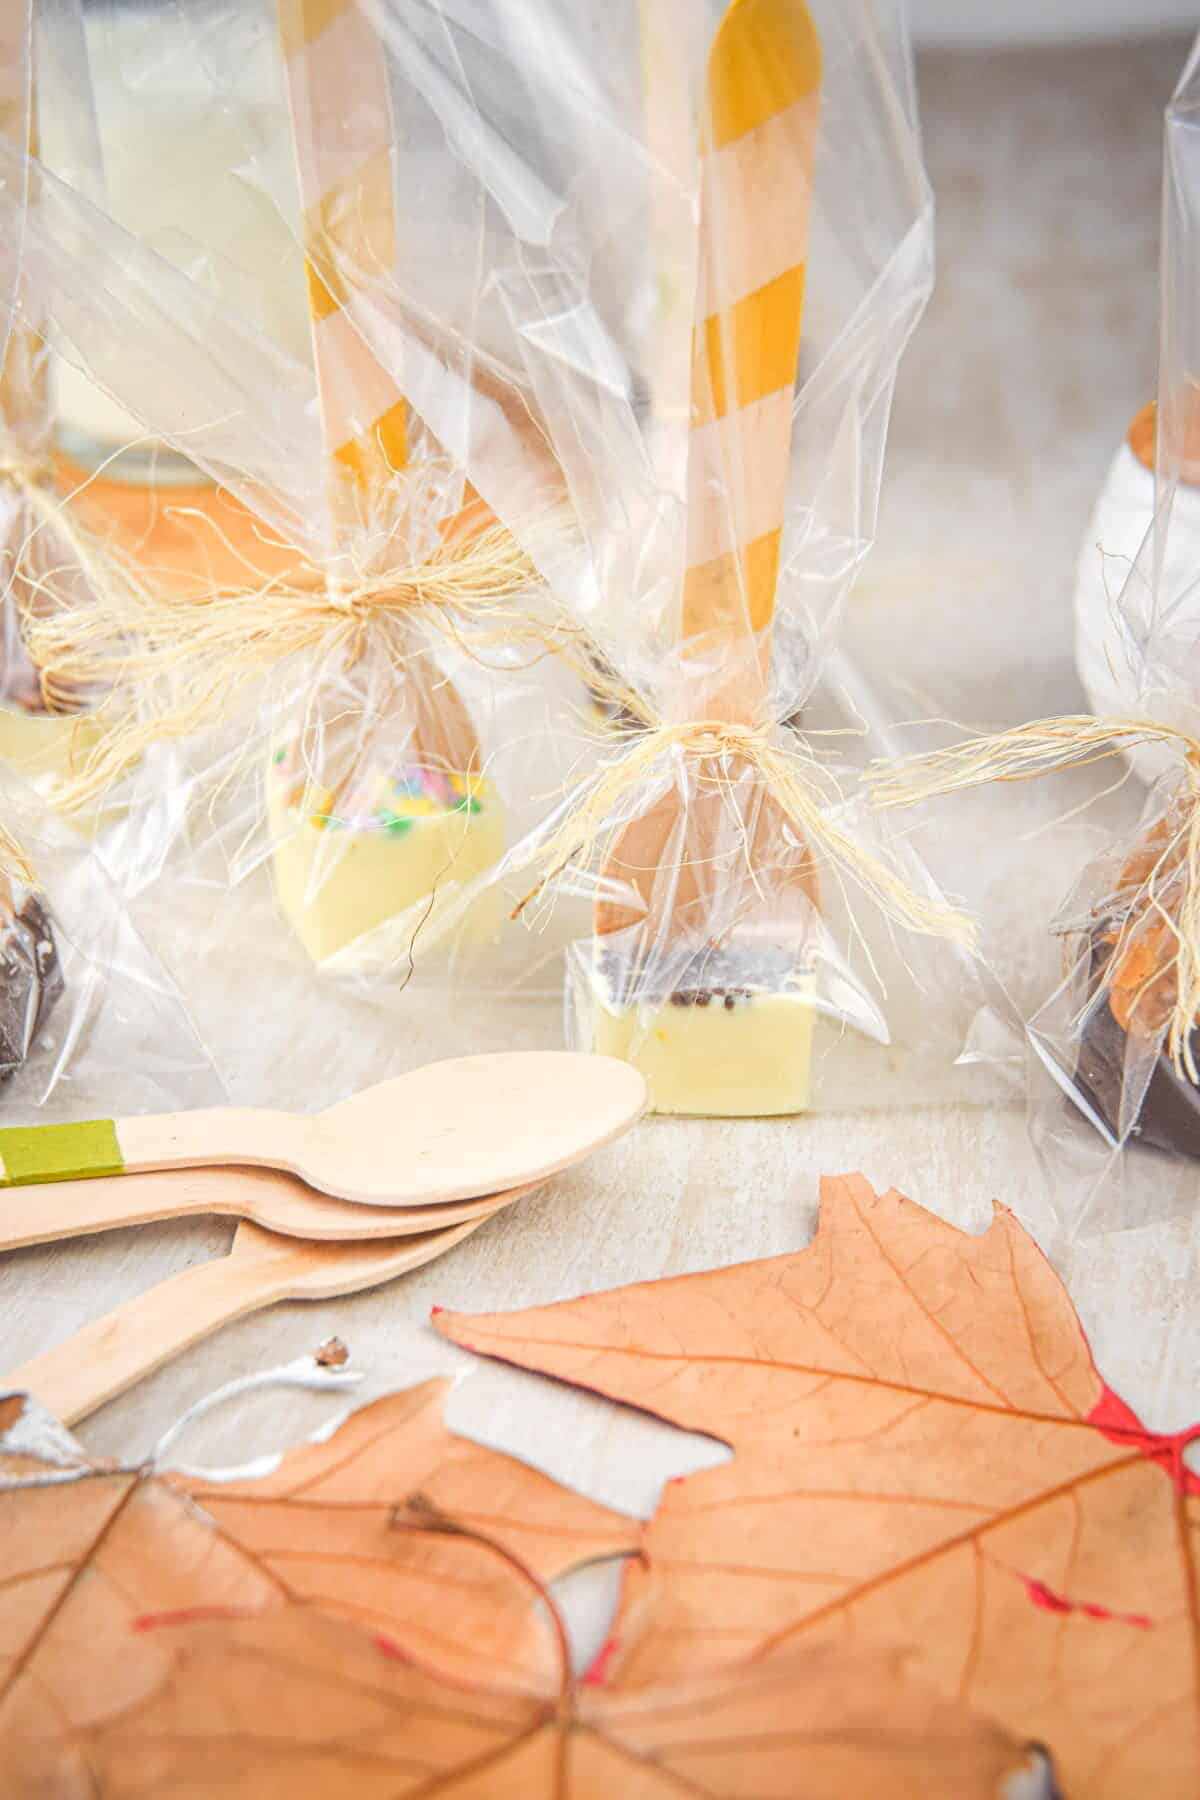
- Remove the spoons from the mold by gently flexing the mold around like you would with ice cubes to release the chocolates and pull them out. Use right away or store them by wrapping in a cellophane bag (or plastic wrap) and tying a ribbon around the top.
To Serve
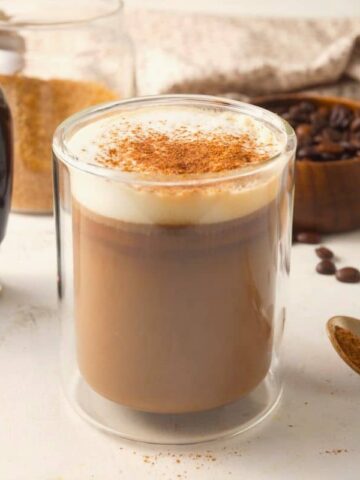
To add pizazz to your hot chocolate, simply dip the spoons into a mug with 1 cup of hot water or milk. Simply stir and wait for the chocolate to melt into the liquid. The toppings will either melt in the water or float charmingly to the top.
You can also use this recipe to make flavored spoons for coffee or other hot beverages: just stir the spoons into your hot coffee. Chocolate and coffee are a natural pairing, and these tasty spoons can turn your morning coffee into a delicious, chocolate-y, mocha-style treat.
Tips
- For a time saver, instead of using a double boiler, you could also melt each chocolate type individually in small bowls in the microwave for 20 seconds at a time, stirring each time until melted.
- It is easier to add the toppings first, but if some of the toppings sink into the chocolate when you push the spoons in, just re-add some back to the top.
- If you're planning on selling these spoons at the local farmers' market or giving them away as food gifts (like I do with my fudgy chocolate mug cake), try wrapping them in cellophane plastic and tying the handle with a bow or string to make them even more festive. Try to decorate them for the time of year it is: fall, Christmas, birthday party themed, etc.
- Have a "make your own hot chocolate" party at your house and invite your guests to make their own hot chocolate with whatever topping ingredients they like. Or, place them in a mug or mason jar and let your guests pick and choose.
- These chocolate spoons are a great food-craft for kids and an excellent way for them to get creative, so feel free to let your kids help you out with this recipe. My kids love it!
Storage
- Store covered in a cool, dry place like a cupboard or pantry. You should be able to store them for weeks--just check the packaging on the chocolate to see how long it lasts, as well as each topping.
- They can be frozen for up to 3 months. Defrost before using.
FAQ
The ingredients in hot chocolate spoons are edible, so yes, you can eat them. But they are actually meant to be stirred into hot water or milk to make hot chocolate.
You can place the chocolate spoons in small cellophane bags and then tie them closed with ribbon or string. You can also wrap them in plastic wrap. Another idea is to use colored foil.
What is your favorite hot chocolate spoon topping? Let me know in the comments and please share the recipe!
Looking for more sweet drinks to sip on? Try our Homemade Orange Julius Recipe
📋Recipe
Hot Chocolate Spoons
Ingredients
- 9.5 ounces milk chocolate chips - or chocolate bar chunks
- 9.5 ounces white chocolate chips - or white chocolate bar chunks
- toppings - See notes for ideas
Instructions
- Add some water to a small saucepan and place a heatproof bowl on top to create a double boiler. Pour your chocolate chips into the bowl (melt each type of chocolate separately).
- Bring the water in the saucepan to a boil and then turn the heat to medium-low to simmer. You don’t want to burn the chocolate. Stir to gently melt the chocolate chips until smooth. Remove from heat. (For a time saver, you could also melt each chocolate type individually in small bowls in the microwave for 20 seconds at a time, stirring each time until melted.)
- Place the ice cube mold on a baking sheet so that you can transfer it easily later. Pour the chocolate into the ice cube mold cavities (it should fill about 14 of them). Fill them to just below the top, because when you push the spoons in, the chocolate level will rise a bit.
- Tap the baking sheet gently on the counter to smooth out the surface of the chocolate.
- Sprinkle with desired toppings. Then, gently insert spoons into the chocolate in each cavity of the ice cube mold. (It is easier to add the toppings first, but if some of the toppings sink into the chocolate when you push the spoons in, just re-add some back to the top.)
- Carefully transfer the baking sheet with the ice cube mold on it to the freezer for about 30 minutes (or until hard) to help the chocolate set. Or you can also set it at room temperature if you prefer, but it’ll take longer.
- Remove the spoons from the mold by gently flexing the mold around like you would with ice cubes to release the chocolates and pull them out. Use right away or store them by wrapping in a cellophane bag (or plastic wrap) and tying a ribbon around the top.
- To serve: mix a chocolate spoon into 1 cup of hot water, milk or coffee and let the chocolate melt into it.
Notes
- OPTIONAL TOPPINGS: Mini marshmallows, crushed candy cane, cocoa powder, instant coffee, matcha powder, shredded coconut, mini chocolate chips, flaked sea salt, peanut butter chips, toffee pieces, orange zest, etc.
- Storage: Store covered in a cool, dry place like a cupboard or pantry. You should be able to store them for weeks--just check the packaging on the chocolate to see how long it lasts, as well as each topping. They can be frozen for up to 3 months. Defrost before using.
- You can go with one type of chocolate if you prefer.
- If you're planning on selling these spoons at the local farmers' market or giving them away as gifts, try to decorate them for the time of year it is: fall, Christmas, birthday party themed, etc.
Nutrition
Nutrition information on In the Kitch is provided as a courtesy and is an estimate only. It may not include toppings and/or sauces.
Leave a Reply