How To Make Maple Syrup
If you’re like me, you cannot wait for spring to come, as it's maple syrup making time. Read on to learn all about how to make pure maple syrup from your own maple trees, like we do on our farm.
Servings: 2 cups
Calories: 54kcal
Equipment
- Candy Thermometer optional
- spiles
- hose (drop line)
- mesh or screening
- large elastics
- stock pots
- pails with lids (2.5 gallon and 5 gallon work well)
- syrup jars with clamp lids or canning jars
Instructions
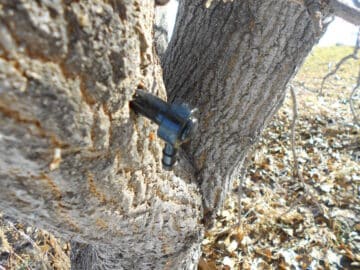
- Drill a hole into a maple tree with a 7/16″ bit, approximately 1.25″ deep. When drilling, drill the hole slightly upward into the tree. Hammer the spile into the hole snugly.
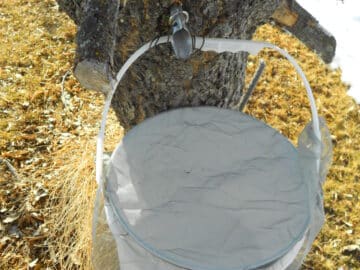
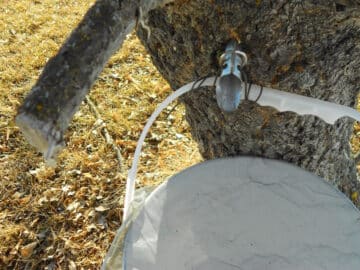
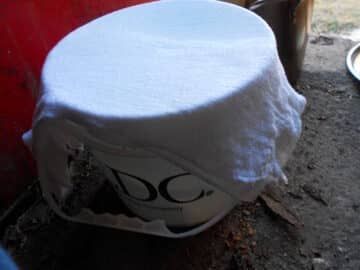
- Either you can: 1) attach a hose to the spile that leads into pails on the ground through a hole in the lid or 2) hang your pail directly onto the spile hook and secure it with wire so that it doesn't blow around in the wind. Put some mesh screening over the top of the pail and secure it with large elastics. If using the hose method, you can put the lid on the pail. Now you just wait and let the pails collect the sap as it drips out of the spiles.
- Check the pails every day or every other day. It depends on how fast the maple water is running.
- Once you have enough maple water (the sap) in each pail, start collecting the maple water in separate pails. I fill 5 gallon pails. Return the pails to the trees for more maple water.
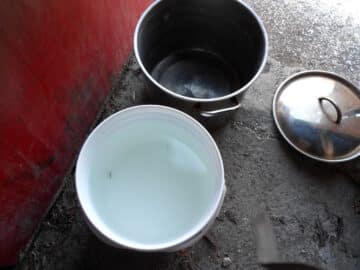
- Remove the lid or mesh from the pail and place cheesecloth over top. Secure it with an elastic. Carefully pour the maple water through the cheesecloth into a large stock pot. (This will remove any debris that has found its way into the pail--I always end up with a little debris so this will make sure it doesn’t get into the pot.)
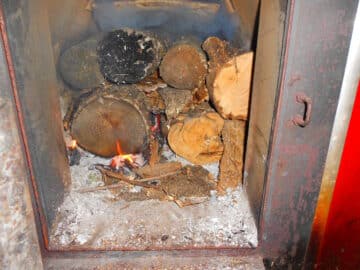
- Now you will start cooking the maple water. I use a wood furnace that we took out of our house, but you can use a fire pit with a screen/grate on top for cooking. Start the fire and place the stock pot on top of the grate.
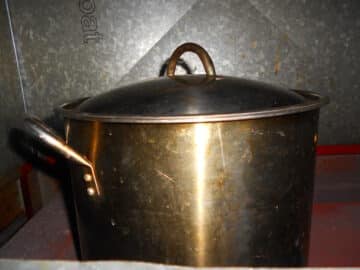
- Cover the pot with the lid as this will cut down the cooking time. You will need to keep the fire going for quite a while so make sure you have enough wood on hand. Keep cooking. No mixing is required.
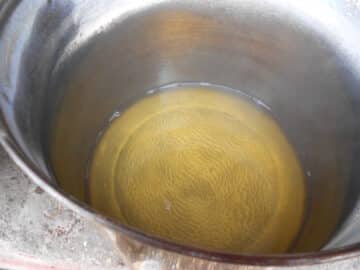
- Once the maple water boils down to approximately 1.5″ to 2“ deep in the pot, it is time to remove it from the outside fire. (This time will vary greatly but it takes me around 6 to 8 hours. Watch carefully because if you go over this, it can quickly burn and become black.) Bring it into the house.
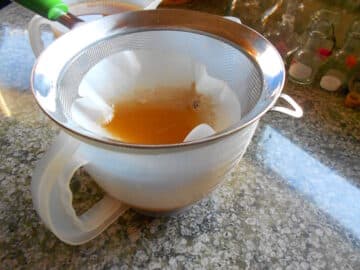
- Place some cheesecloth in a mesh strainer and on top of a bowl or measuring cup. Pour the liquid through the strainer and let it settle. There will be sediment on the bottom. Again with a strainer and cheesecloth, slowly pour it into a large pot.
- Have your jars and lids ready before the maple syrup is completely ready. Sterilize each jar and lid.
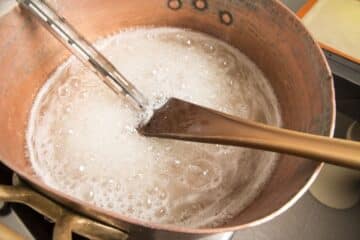
- Start boiling the sap again until it reaches the soft ball stage (235°F/112°C). Be careful, this can easily boil over so you need to watch it once it starts bubbling. Turn your stove down enough so that it keeps boiling but not rising over the pot. Once it gets to a soft ball stage, it is ready to put into syrup jars. You will notice the syrup getting thicker as you go.
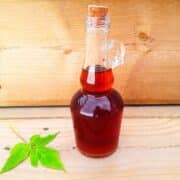
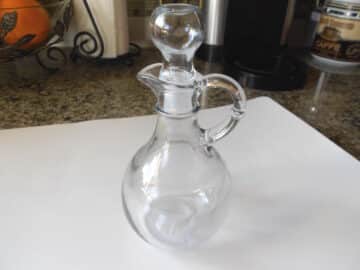
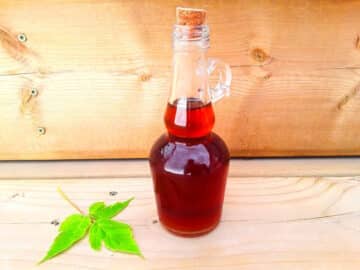
- Carefully pour the syrup into your jars, wipe the edges clean and seal with the lids.
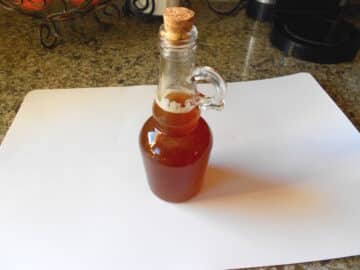
- You now have a wonderful tasty treat. You can use it for pancakes, baking or however you desire.
Notes
- When to start collecting sap: The time the sap starts running is in the spring when it’s above 32ºF (0ºC) in the day and below 32ºF (0ºC) at night.
- When to stop collecting the sap: Stop collecting sap when you notice the leaf buds start to swell.
- Tree Age: When the diameter of the maple tree trunk is at least 8", you can start tapping it. If the diameter is 20" or more, you can attach 2 spiles on opposite sides of the trunk.
- Maple water is simply the sap from the maple tree.
- Equipment: Please go over the entire equipment list carefully before starting.
- Pail Size: If you are hanging a pail on the tree, I recommend using a 2.5 gallon pail so that it doesn't get too heavy as it fills. If you are attaching a hose to a pail on the ground, I recommend 5 gallon pails.
- Cooking Tip: I don’t recommend boiling down inside the house as it will take a very long time and the steam can ruin your cupboards.
- Jar Sterilization: I usually use a sterilizing powder from a wine-making store, but you can use other options like the dishwasher or submerge them in boiling water for 10 minutes.
- How to Check for Soft Ball Stage Without Thermometer: If you don’t have a candy thermometer for this step, put cold water into a glass cup. Drop a few drops of the syrup into the cold water. If you can form a soft ball with the syrup using your fingers, it is ready.
- Maple Sap Amount: The amount of sap you get from one tree is going to depend on each season and each tree. If it was a dry summer, you will get less sap the following spring.
- Maple Syrup Amount: One 5 gallon pail is going to get you about 2 cups of maple syrup once it's cooked down. This is approximate.
- Storage: My jars usually seal after I transfer the hot syrup to the jars and cover them with the lids. It's important that you wipe the rim of the jar clean before covering. Store sealed maple syrup in a cool, dark cupboard or in a cold storage for up to a year. Once opened, it can be stored in the refrigerator for up to 1 year.
- Drilling: The following year, you shouldn't drill a hole in the same spot. Drill a new hole elsewhere on the tree.
- Mold: If you see any mold, discard it.
- Nutrition Info: The nutrition information is for 1 tablespoon of maple syrup.
Nutrition
Calories: 54kcal | Carbohydrates: 13g | Sodium: 2mg | Potassium: 45mg | Sugar: 12g | Calcium: 22mg | Iron: 0.02mg