Perhaps you are set to go with your first electric skillet meal and you’ve only now realized that you’re unsure how to clean it. After all, this cooking appliance is run by electricity and has a base with cords and a heating control to boot.
The answers greatly depend on the version of your skillet and the user manual for your specific model should always be followed, but we have pro tips for how to clean an electric skillet, regardless of if it is dishwasher-safe, immersible or non-immersible.

It’s important for your skillet to last through the years with proper care, and it’s even more important for your appliance to cook food safely in a pan that isn’t bacteria-ridden. Let’s chat all about it!
Jump to:
Gather These Items
Items for Dishwasher-Safe Skillets:
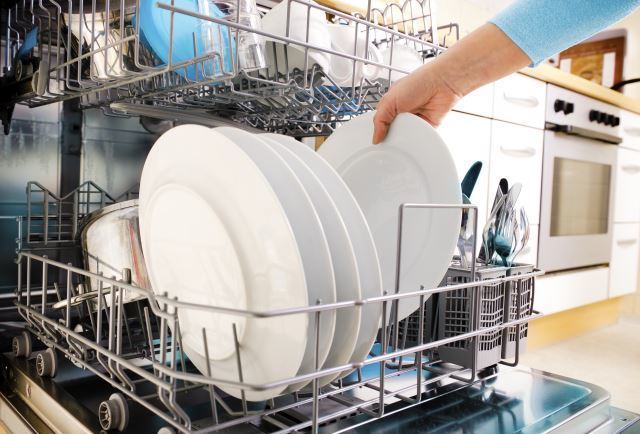
- Dishwasher (of course!)
- Dishwasher detergent
Items for Immersible Hand-Wash Only Skillets:
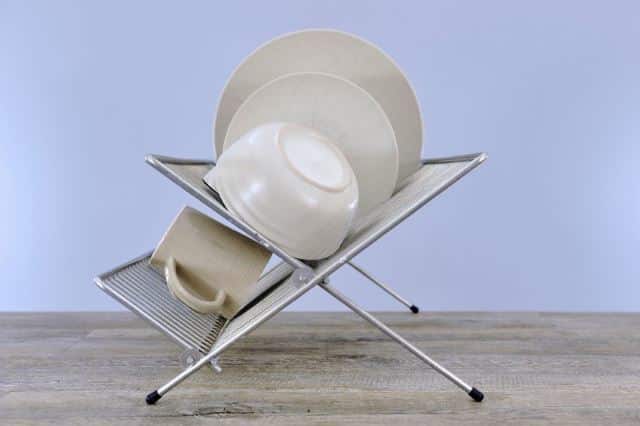
- Dish Drying Rack
- Hot Water
- Sponge
- Dish Soap
- Large Sink
Tips:
Depending on the size of your skillet, you may not need a large sink to wash your appliance. However, you will want to make sure you can adequately turn your skillet within your sink for proper rinsing and efficient scrubbing space.
You can certainly choose a dish rag rather than a sponge, or any other kind of scrubbing brush you prefer for your electric skillet. However, we would suggest avoiding an abrasive scrubbing surface if your skillet has a Teflon non-stick coating, as it could become scratched or worn down.
Items for Non-Immersible Skillets:
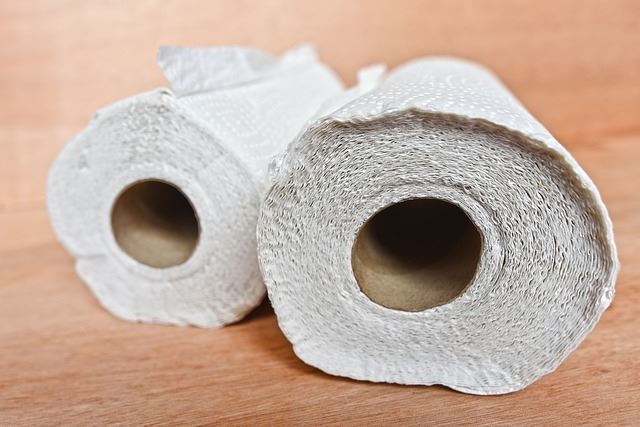
Paper Towels
Dish Soap

Hot Water
Tips:
User manuals for these non-immersible skillets typically state to use a damp cloth for the cleaning process. I have found paper towels to be a simple alternative, but feel free to use a cloth if preferred.
If you would rather not use paper towels, you’ll want to have two cloths on hand, as you’ll need one for washing and one for drying.
Items for Removing Tough Stains:
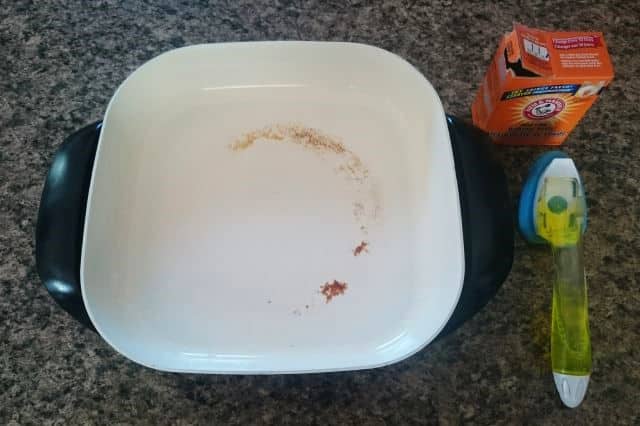
Note: Occasionally, electric skillets may become stained after certain dishes, such as red sauces or cooked-on meat. This is more common in ceramic skillets, but could occur in any skillet. If you’re looking to scrub out those stains, gather these two items and you’ll soon have a stain-free frying pan!
Dishwasher-Safe Skillet Instructions
Dishwasher-safe skillets are by far the easiest skillets to clean after a large meal, and for obvious reasons. When you’ve already spent copious amounts of time preparing the food, no one wants to spend additional time scrubbing away at the dishes.
The invention of the dishwasher-safe electric skillet was a brilliant idea, and it couldn’t make cleaning the skillet any easier!
I also have a collection of delicious electric skillet meals that you might want to check out!
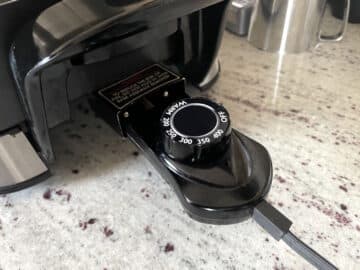
#1. Unplug the Temperature Control

With all electric skillets, whether immersible and dishwasher-safe or not, unplugging the heating control should always be your first step. Some skillets have helpful removable bases as well, and if yours does, once it is cool, go ahead and remove the base in addition to the cord.
#2. Discard the Grease

Begin by clearing out any extra cooking grease in the skillet once it has cooled.
Considering electric skillets are often used for frying bacon and eggs, there’s bound to be some leftover grease.
#3. Rinse it Out
Using paper towel, wipe out any leftover grease and extra food bits. You can also give it a rinse before putting the skillet in the dishwasher. Though this may seem somewhat counterproductive to using the dishwasher, it will help your dishwasher successfully clean it completely.
There is no need to actually scrub it out with soap; simply remove the remaining food pieces to give your dishwasher the best chance of cleaning it thoroughly.
#4. Load the Dishwasher!

Finally, go ahead and clear out the bottom rack of your dishwasher to make room for the skillet. Simply place your skillet securely in the rack, ensuring it won’t fall or bump anything fragile while the dishwasher runs.
Now, you can either go ahead and run the dishwasher or wait until it’s full. Either way, your skillet should be clean and ready to go when you unload it!
Hand-Wash Only (Immersible) Skillet Instructions
Hand washing your skillet can be more tricky than just rinsing it and tossing it in the dishwasher, but it’s still easy enough if you can immerse it in your sink.
When considering immersible skillets that aren’t dishwasher-safe, it’s likely that the handles will remain attached throughout washing and the temperature control port will be exposed. If it’s immersible, it is made to handle the water just fine.
Though hand washing a bulky skillet in your sink can be a bit of a chore or make a mess of sloshed water on your counters, it only takes a few minutes and is well worth the convenience of using an electric skillet.
#1. Remove the Cord

As with the dishwasher-safe skillets, even if yours is immersible, you will still need to make sure the cord and temperature control are safely disconnected before beginning.
By disconnected, this doesn’t mean simply unplugged from the wall, but removed from the skillet itself. If this isn’t disconnected, your skillet will likely be damaged from the water.
#2. Drain off the Grease

Again, with any skillet, before cleaning you’ll want to safely discard any leftover grease. My favorite method is to simply pour the cooled grease into an empty disposable container and toss it in the trash.
#3. Fill the Sink

We’ve found that the best way to wash an electric skillet is to begin by filling the kitchen sink about halfway with hot, soapy water. This will help with any food that has dripped over the edges and ensures that the exterior of the skillet gets cleaned.
I prefer this method so I know that anything on the bottom or edges is softening while I scrub the interior. Ideally, remaining grime on the exterior will merely wipe away when you begin to scrub it.
#4. Scrub Away

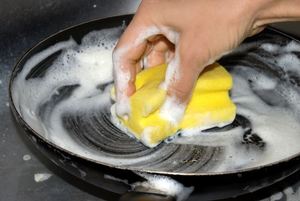
At this point, gently lower the skillet into the soapy water, which will likely fill the sink as it is displaced. With a non-scratch sponge, scrub away the food particles and any remaining cooking juices until the frying pan is clean.
Gently turn the pan to wash the sides and exterior of the skillet with the sponge.
PRO TIP: Once you’ve scrubbed every part of the skillet, including the handles if they are attached, drain the sink. Let the skillet sit in the sink while the water drains away, and once the sink has drained, rinse off any remaining soap with hot water.
#5. Air Dry
Though it is likely fine to towel-dry your skillet, it may be a better choice, in the end, to let it air dry in a dish rack. Air-drying will help all of the water droplets evaporate before storage.
Non-Immersible Skillet Instructions
Certain skillets require very careful cleaning and care. Skillets being made dishwasher-safe are not as common. Many are not immersible or dishwasher-safe and should be cleaned outside of the sink.
You may feel anxious about making certain the skillet is entirely cleaned after each use, but we have a few suggestions for easing your mind. It’s entirely possible to properly clean a skillet without submerging it; all it takes is a dash more of creativity in the cleaning process!
#1. Remove the Temperature Control Plug

Just as with each style of electric skillets so far, you’ll want to completely disconnect the cord and temperature control plug from the skillet in order to safely clean it.
Even without immersing the skillet, it is easier to clean once the cord is removed, and it also significantly reduces the chances of water damage.
#2. Discard the Cooking Oil

Once again, be sure to discard any extra cooking oil before beginning to clean the skillet.
This is especially important for non-immersible skillets, considering any remaining grease will need to be wiped away in the cleaning process. Save yourself some time and energy, and pour out the extra oil.
#3. Wipe
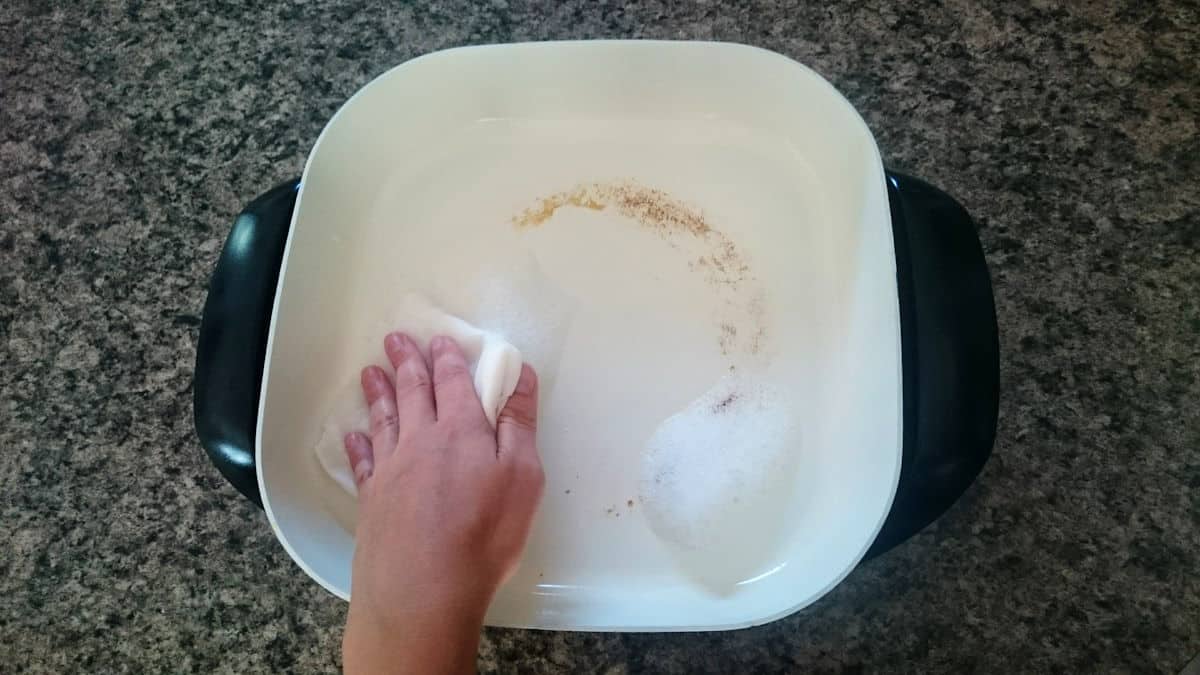
To clean a non-immersible skillet, begin by dampening a paper towel or clean cloth with hot water. I personally prefer paper towels as they can be tossed in the trash afterward for easier cleanup, but if you’d prefer cloth, that will work as well.
With the damp towel, wipe down any part of the skillet that is messy. Once you run the towel over it the first time, dampen it again and drizzle soap either on the towel or directly on the skillet. Gently scrub the skillet with the soap and damp towel.
#4. Rinse
Next, dampen a fresh towel and thoroughly wipe away the soap, re-dampening the towel and wiping down the skillet as many times as necessary. Once you’re certain the soap residue is gone and the skillet is clean, either towel-dry the appliance or leave it to dry in a dish rack.
The dish rack may not be necessary since this skillet was not submerged in water, but if it’s convenient, feel free to leave it to air dry.
Scrubbing Out Tough Stains
If your skillet is still left with stains after you’ve washed it with soap, we have a great suggestion for you! It’s completely possible to remove those stains with just a bit of elbow grease, patience, and baking soda.
It's also important to note that I have found it's easier to get the stains out if you clean them after each time you cook. The longer you wait to clean the stains, the harder they are to get out.
F.Y.I. The stains shouldn't affect the cooking ability of the skillet so this isn't a necessary step.
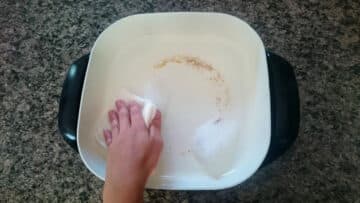
#1. Sprinkle on the Baking Soda
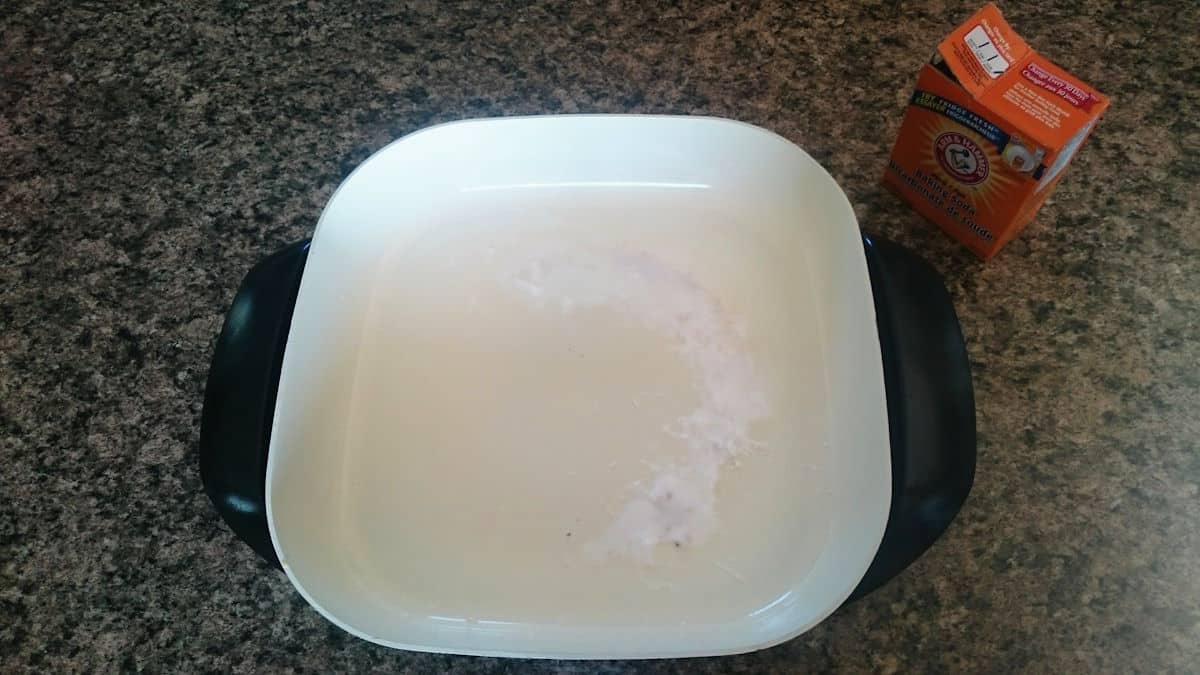
To begin, pour a moderate amount of baking soda over the stains. You’ll want enough to cover the stain, and it doesn’t take too much. Feel free to sprinkle on as much as you feel comfortable with.
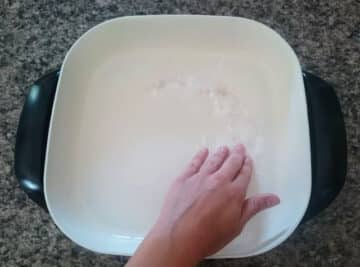
#2. Add the Water to Form a Paste
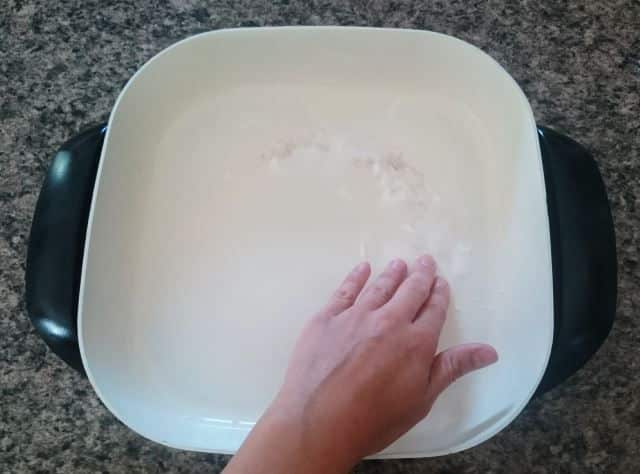
Next, add water to your baking soda. You can drip the water onto the baking soda with a spoon, measuring cup, or even a drinking glass. Mix the baking soda and water until it forms a paste.
#3. Give it Time
Let the baking soda mixture sit on the stained area for at least a few minutes, if not longer. For the toughest stains, you may want to let it soak for an hour or so. The longer the baking soda sits, the easier it will come out.
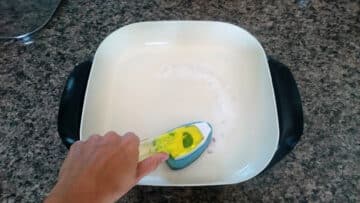
#4. Scrub
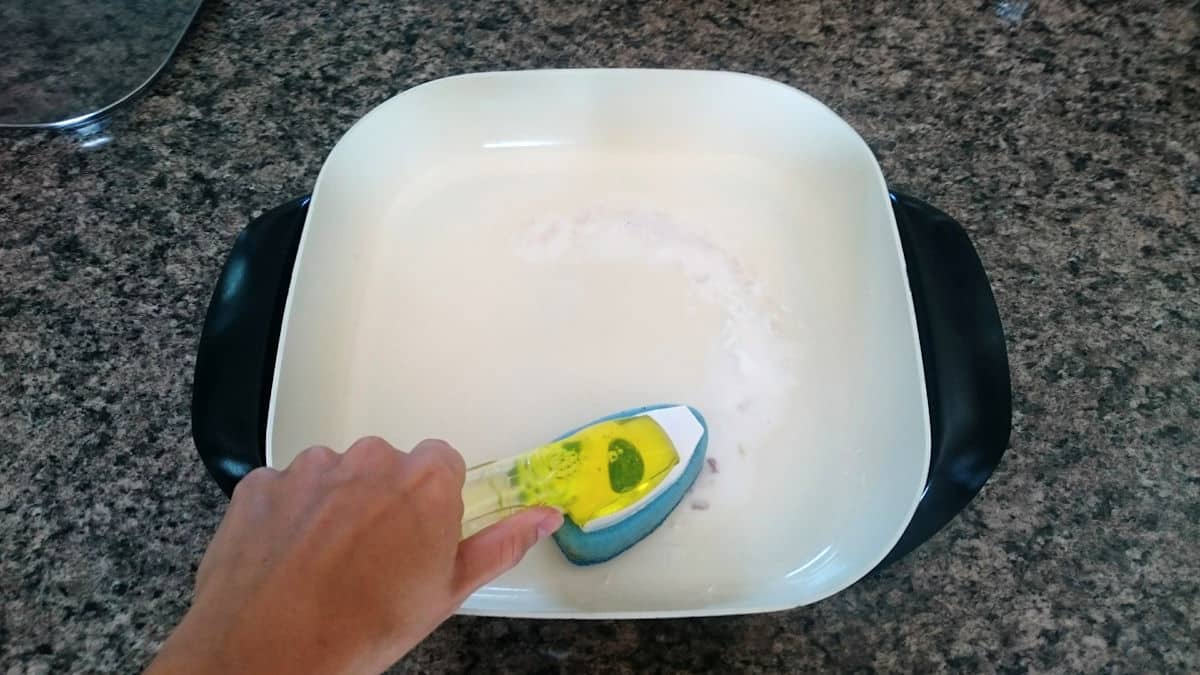
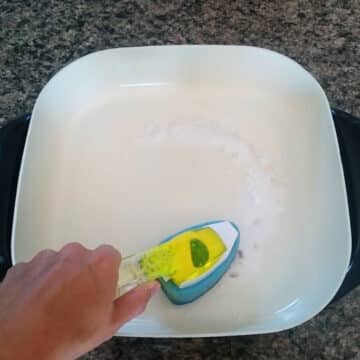
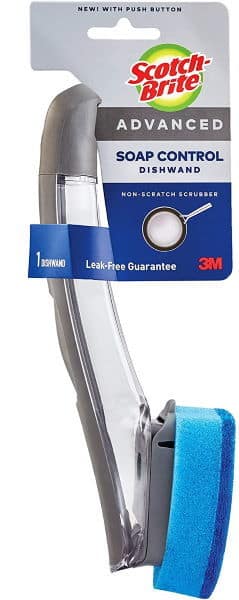
After it has sat, use a damp cloth or even a plastic scouring pad (I use a non-scratch dishwand) to gently scrub the stains. Some stains may take more effort than others, but take care not to scratch the ceramic. If the stain isn’t coming up, add more baking soda and water, and let it sit for longer.
#5. Dry
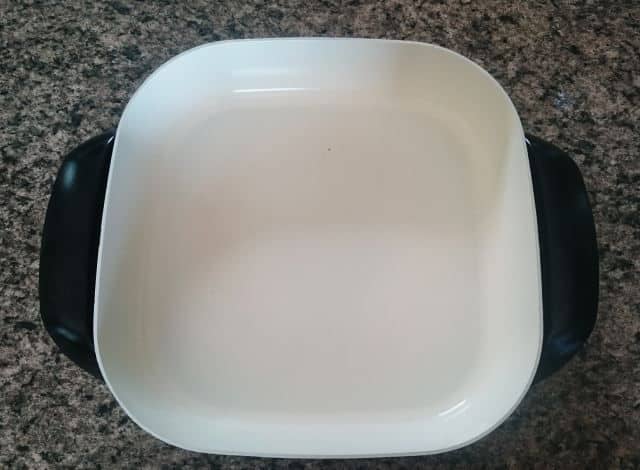
Once the stain has lifted, use your cloth to wipe the baking soda paste away, and dry the pan thoroughly with a clean towel. Your skillet should now be stain-free!
Tips on Removing the Grease
My suggestion would be to pour the grease (once it's cooled a bit) into a disposable container, such as an empty coffee can or a food package and simply throw it away.
If you’d rather not toss a container or you don’t have one to spare, you can always pour the grease into a bowl and let it solidify in the fridge. Scoop it into a sealable bag, discard of it and then you can use paper towel to wipe away any remaining grease.
Whatever you choose to do, we highly advise against pouring it down the drain. Despite the amount of hot water you use to wash it away, it can still eventually solidify and clog the pipes.
The Importance of Hassle-Free Cleaning
Though electric skillets are a saving grace in the kitchen for cooking and baking, cleaning them can be somewhat intimidating. It’s no secret that electric skillets are unique cooking appliances, and because of that, special care must often be taken with them.
For whatever frying pan I use in my kitchen, I prefer a peace of mind about being able to easily and successfully clean it afterwards. In fact, if I find myself not being able to efficiently clean an awkward or cumbersome dish, I often won’t continue using it. Electric skillets are far too handy of a kitchen appliance to avoid using!
Do you have any other suggestions for cleaning an electric skillet? If you do, I’d love to hear what it is! Please let me know in the comments, and if you liked this tutorial, feel free to share it with your friends and family!
Continue reading...Oster Electric Skillet Reviews
How to Clean an Electric Skillet
Equipment
- scouring pad or sponge non-scratch
- dishwasher
Materials
For Dishwasher-Safe Skillets:
- dishwasher detergent
For Immersible Hand-Wash Only Skillets:
- hot water
- dish soap
For Non-Immersible Skillets:
- hot water
- dish soap
- paper towels
For Tough Stains:
- baking soda
Instructions
For Dishwasher-Safe Skillets:
- With all electric skillets, whether immersible and dishwasher-safe or not, unplugging the heating control should always be your first step. Some skillets have helpful removable bases as well, and if yours does, once it is cool, go ahead and remove the base in addition to the cord.
- Begin by clearing out any extra cooking grease in the skillet once it has cooled. See notes for tips.Using paper towel, wipe out any leftover grease and extra food bits. You can also give it a rinse before putting the skillet in the dishwasher. Though this may seem somewhat counterproductive to using the dishwasher, it will help your dishwasher successfully clean it completely.
- Finally, go ahead and clear out the bottom rack of your dishwasher to make room for the skillet. Simply place your skillet securely in the rack, ensuring it won’t fall or bump anything fragile while the dishwasher runs. Now, you can either go ahead and run the dishwasher or wait until it’s full.
For Immersible Hand-Wash Only Skillets:
- As with the dishwasher-safe skillets, even if yours is immersible, you will still need to make sure the cord and temperature control are safely disconnected before beginning. By disconnected, this doesn’t mean simply unplugged from the wall, but removed from the skillet itself. If this isn’t disconnected, your skillet will likely be damaged from the water.
- Again, with any skillet, before cleaning you’ll want to safely discard any leftover grease. Our favorite method is to simply pour the cooled grease into an empty disposable container and toss it in the trash.
- We’ve found that the best way to wash an electric skillet is to begin by filling the kitchen sink about halfway with hot, soapy water. This will help with any food that has dripped over the edges and ensures that the exterior of the skillet gets cleaned.
- At this point, gently lower the skillet into the soapy water, which will likely fill the sink as it is displaced. With a non-scratch sponge, scrub away the food particles and any remaining cooking juices until the frying pan is clean. Gently turn the pan to wash the sides and exterior of the skillet with the sponge. Rinse the soap off with hot, running water and let it air-dry.
For Non-Immersible Skillets:
- Just as with each style of electric skillets so far, you’ll want to completely disconnect the cord and temperature control from the skillet in order to safely clean it.
- Once again, be sure to discard any extra cooking oil before beginning to clean the skillet.
- To clean a non-immersible skillet, begin by dampening a paper towel or clean cloth with hot water. With the damp towel, wipe down any part of the skillet that is messy. Once you run the towel over it the first time, dampen it again and drizzle soap either on the towel or directly on the skillet. Gently scrub the skillet with the soap and damp towel.
- Next, dampen a fresh towel and thoroughly wipe away the soap, re-dampening the towel and wiping down the skillet as many times as necessary. Once you’re certain the soap residue is gone and the skillet is clean, either towel-dry the appliance or leave it to dry in a dish rack.
For Tough Stains:
- To begin, pour a moderate amount of baking soda over the stains. You’ll want enough to cover the stain, and it doesn’t take too much. Feel free to sprinkle on as much as you feel comfortable with.
- Next, add water to your baking soda. You can drip the water onto the baking soda with a spoon, measuring cup, or even a drinking glass. Mix the baking soda and water until it forms a paste. Let the baking soda mixture sit on the stained area for at least a few minutes, if not longer. For the toughest stains, you may want to let it soak for an hour or so.
- After it has sat, use a damp cloth or even a plastic scouring pad (I use a non-scratch dish-wand) to gently scrub the stains. Some stains may take more effort than others, but take care not to scratch the ceramic. If the stain isn’t coming up, add more baking soda and water, and let it sit for longer.
- Once the stain has lifted, use your cloth to wipe the baking soda paste away, and dry the pan thoroughly with a clean towel. Your skillet should now be stain-free!
Notes
- Important note before you begin: These are general tips and instructions. The user manual for your specific model should always be followed as they may differ.
- Discarding the grease:
- My suggestion would be to pour the grease (once it's cooled a bit) into a disposable container, such as an empty coffee can or a food package and simply throw it away.
- If you’d rather not toss a container or you don’t have one to spare, you can always pour the grease into a bowl and let it solidify in the fridge.
- Scoop it into a resealable bag, discard of it and then you can use paper towel to wipe away any remaining grease.
- Whatever you choose to do, we highly advise against pouring it down the drain. Despite the amount of hot water you use to wash it away, it can still eventually solidify and clog the pipes.
- For tough stains:
- The longer the baking soda sits, the easier it will come out.
- It's also important to note that I have found it's easier to get the stains out if you clean them after each time you cook.
- The longer you wait to clean the stains, the harder they are to get out.
- F.Y.I. The stains shouldn't affect the cooking ability of the skillet so this isn't a necessary step.









Linda says
I use my skillet a lot it's perfect on the inside. Now the bottom is the part that needs cleaning. It looks like it's been burnt on the bottom. I use Dawn dish soap everything and still can't get it looking good. I mean ......i know it will never look new on the bottom but I still want it to look nice on the bottom
Linda
Joss D says
Hi Linda, did you try a baking soda paste? That's what I use for the stains. I do find though, that if I don't keep up with the stains after each use, it gets harder to keep looking clean. The good thing is, it is cosmetic and shouldn't affect your cooking.