

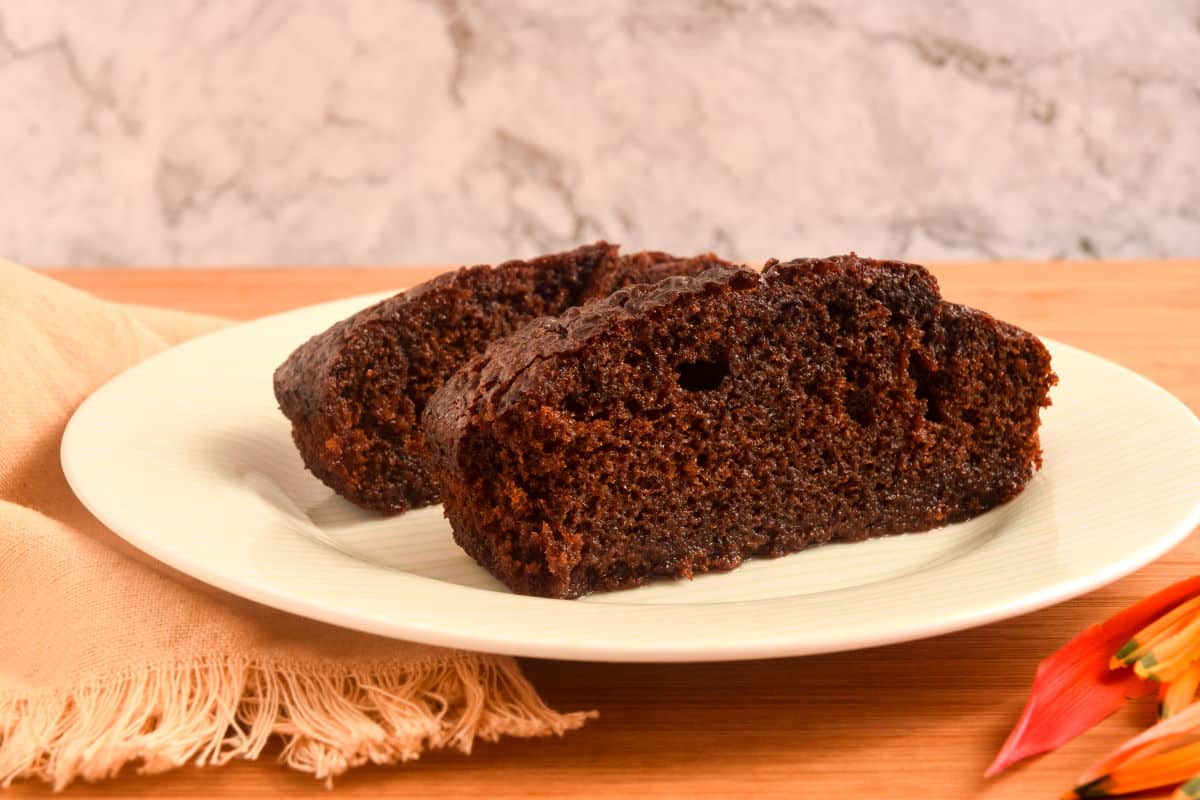
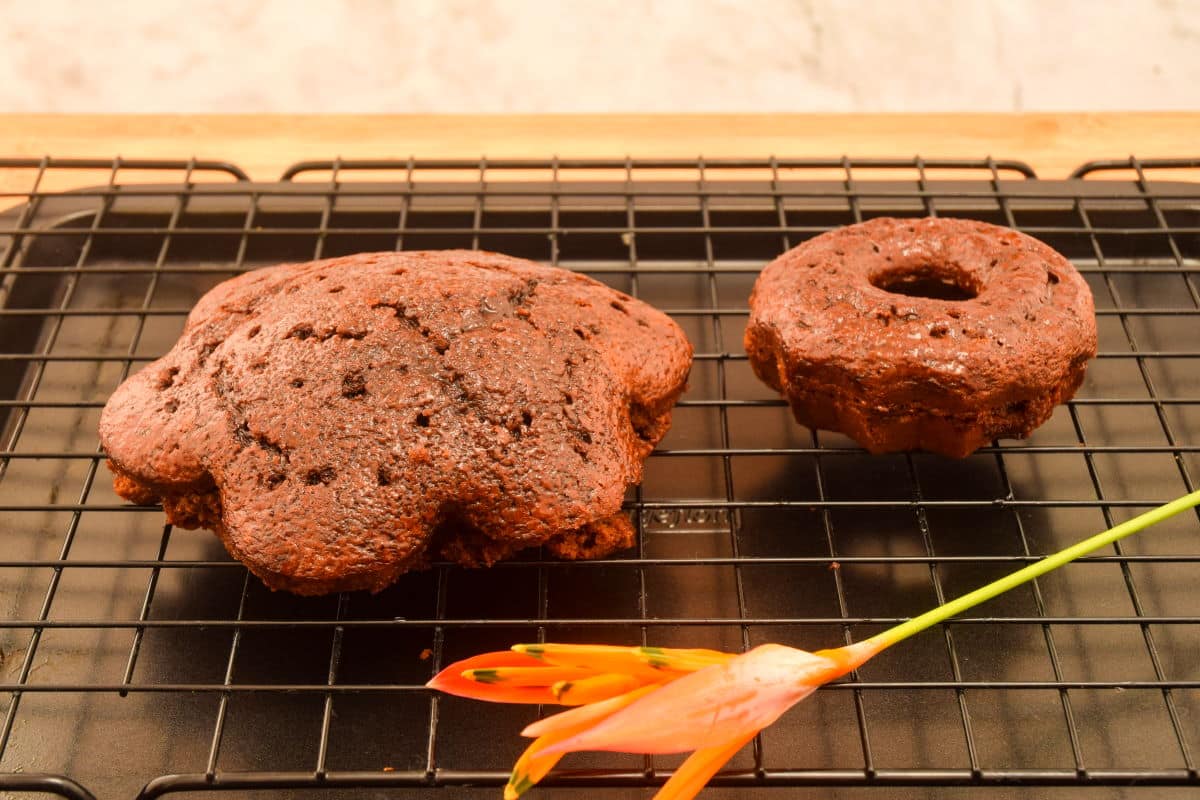
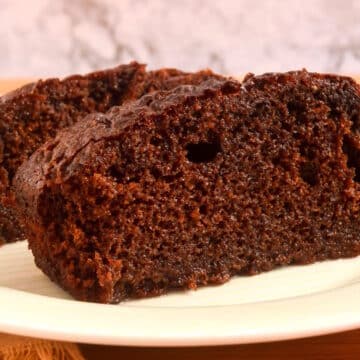
While the secret to moist cake is partly in the baking, there is a way to moisten a cake after baking if you're worried things didn't work out right. There is no need to throw it in the bin and start over! I will show you my useful technique for how to moisten a dry cake.
Maybe it's a tweak to the recipe, the oven temperature, or maybe it's just the phases of the moon, but ending up with a dry cake is never fun. With this technique, you can enjoy your cake more and be proud of serving it to family and friends.
Try this technique with my grapefruit cake, electric skillet yogurt cake or red velvet sheet cake.
SUMMARIZE & SAVE THIS CONTENT ON
Jump to:
Why is My Cake Dry?
One of the most common reasons for a dry cake is overbaking it. Some other reasons could be that it was left out too long before covering or the batter was over-mixed.
Ingredients & Tools
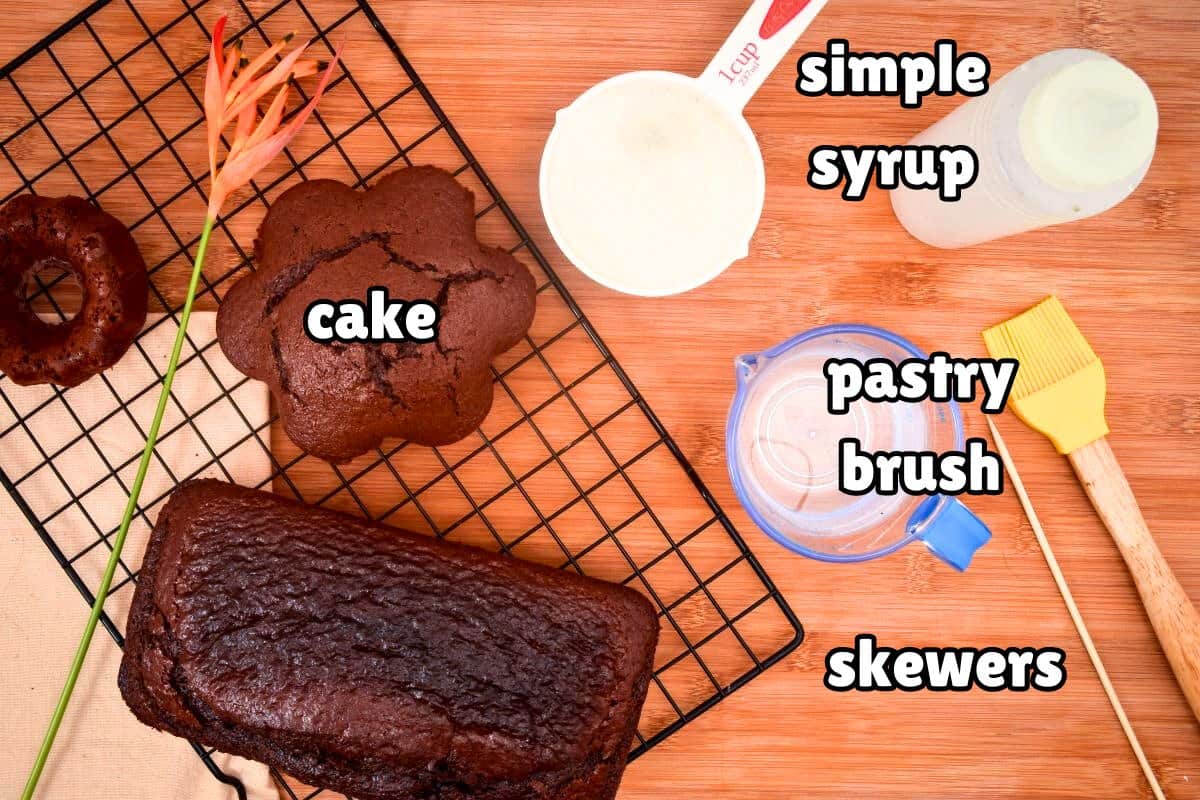
All you'll need are a couple of common kitchen tools and a single ingredient to make all the cakes you bake from now on extra delicious.
- Simple syrup - A mixture of 50% water and 50% sugar. Check out how to make simple syrup here. It's very easy and quick. This is the ingredient that will make your cakes nice and moist.
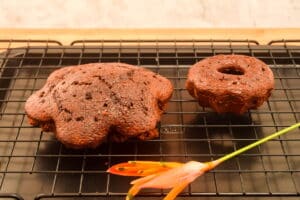
- Cake - This applies to most cakes like chocolate, vanilla, red velvet, birthday, sheet cakes, etc.
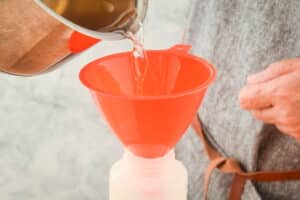
- Funnel - Not pictured. This is used to transfer the simple syrup to a squeeze bottle.
- Wooden skewers - Will be used to poke holes in the cake. For larger cakes you can also get away with using cake dowel rods to make bigger holes.
- Squeeze bottle - To drizzle syrup into the holes of the cake.
- Pastry brush - To brush the simple syrup on the cake.
Instructions for How to Moisten a Dry Cake

To begin, use a funnel to pour the simple syrup into a plastic squeeze bottle with a pour spout--if it's not already done.
For Bigger Cakes (6" or larger)
Here's the one simple technique for making a dry cake more moist after it's already been baked. Not only does this make the resulting cake more moist, it also adds some extra flavor.
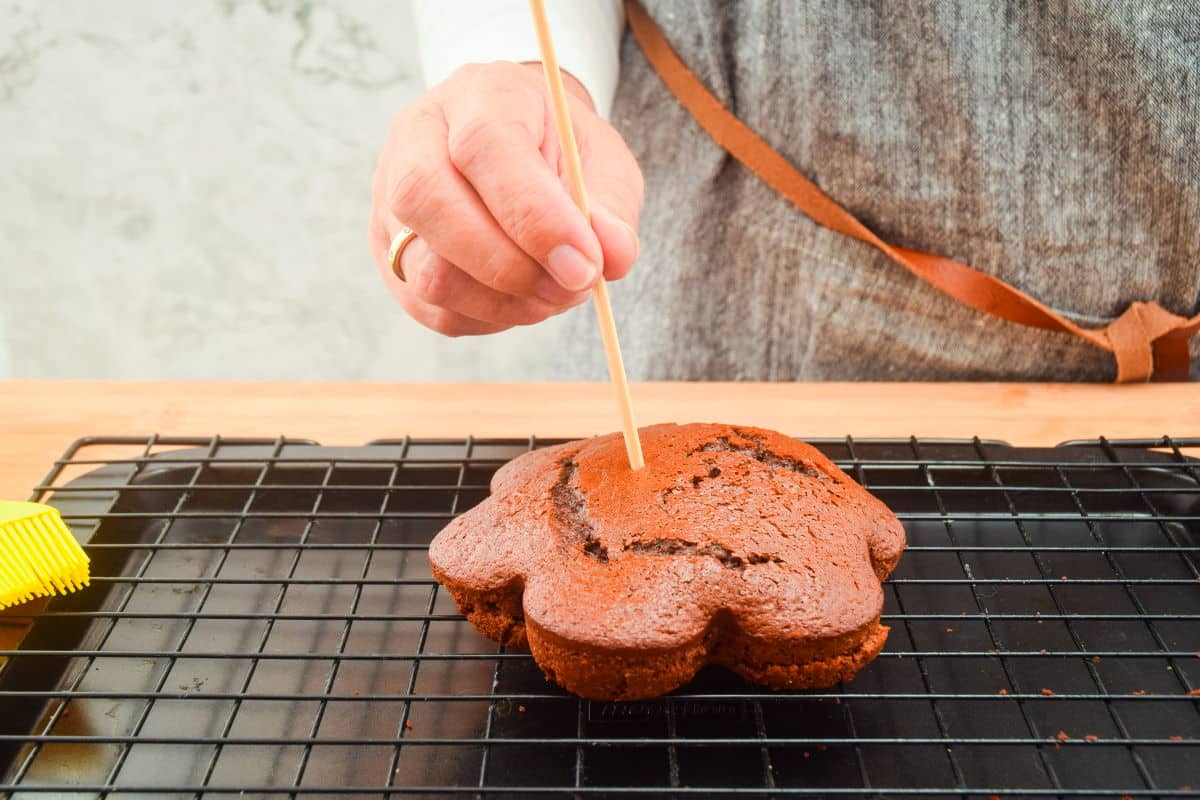
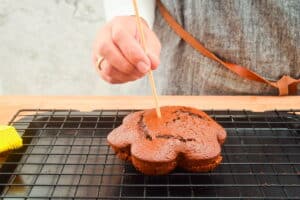
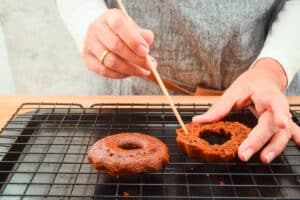
Step #1. Poke Holes in the Cake. Poke holes into the top of the cake with a bamboo skewer.

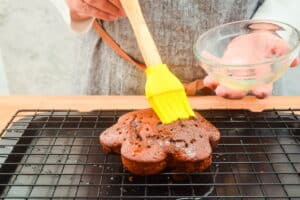
Step #2. Brush the Cake with Syrup. Brush the top of the cake with the syrup using a pastry brush (this will allow the cake to be moistened on the outside).
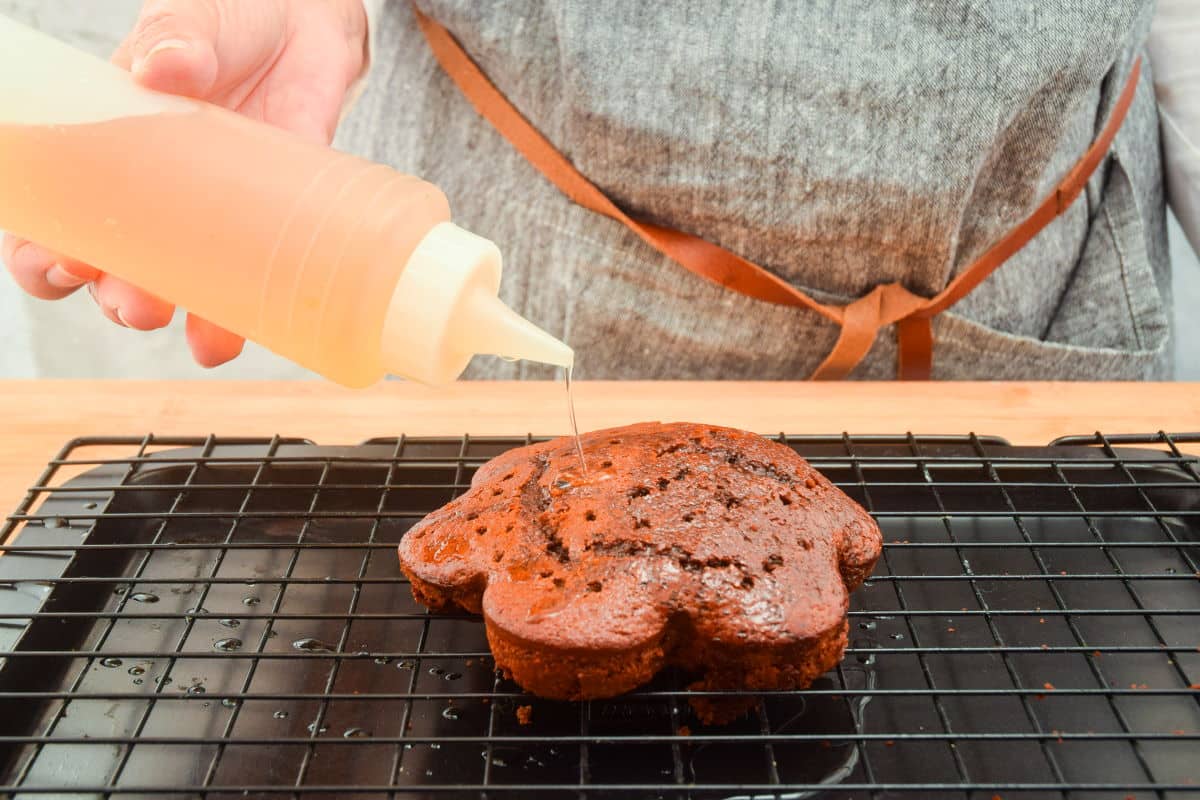
Step #3. Pour Syrup into the Holes. Pour the syrup over the cake so that it seeps into the holes and let it sit for 2 hours so it absorbs completely. This will make the inside of the cake moist.
Chef's Note: For a 9" cake that is 2" high, I used about ½ cup of simple syrup. The amount of syrup you will use depends on factors such as how dry the cake is, how moist you would like it, sweetness of the cake, the size of the cake, the density of the cake (cakes that are more spongy will absorb more syrup) etc. Adjust it according to your personal preference.
For Small Cakes (less than 6")

Step #1. Cut Cake in Half. You can follow the same steps as with big cakes but you can cut the cake in half first. This way you can moisten the bottom half more efficiently. Poke holes into both sides of the cake.

Step #2. Brush Syrup Over. Brush syrup on both sides of the cake using the pastry brush. The smaller cakes only need about 30 minutes to soak. Place the halves back together.
Step #3. Serve. The cake is now ready to frost as desired and serve.
Which Treats Can This Techqniue Be Used On?
Now you should have no problem ensuring all your cakes from this point forward are as tender and moist as you could ever dream of. After learning how to fix a dry cake, you've got nothing to fear when baking any number of fantastic pastries.
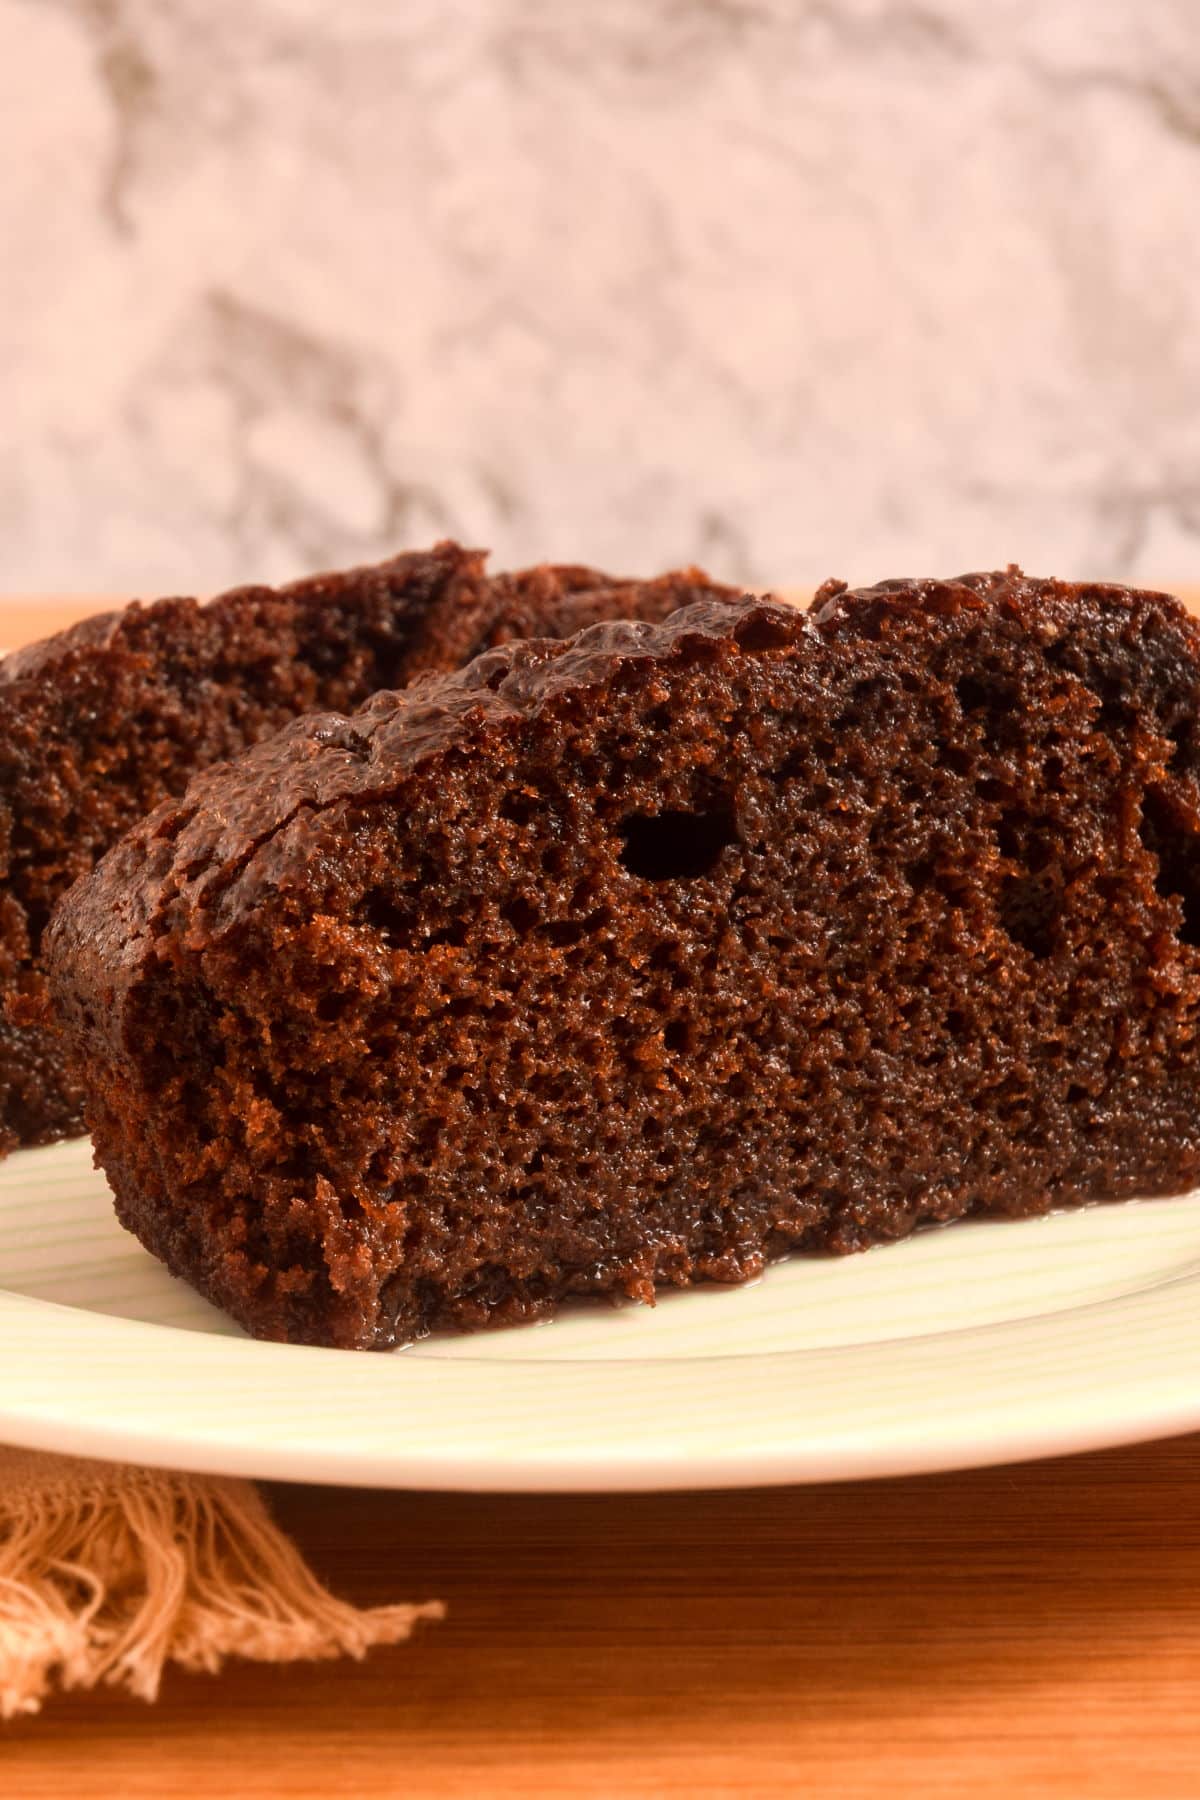
This isn't just limited to a chocolate cake or other classic cakes. Many different flavors and sizes work, as do plenty of other baked treats...
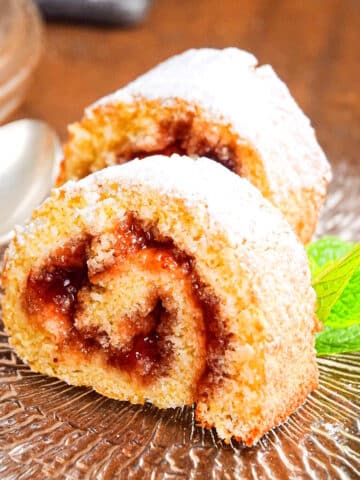
...muffins, sweet breads (like this pumpkin bread with cream cheese filling), and 🧁 cupcakes (such as these Vegan GF carrot cupcakes).
Even 🍪 cookies could benefit from a little simple syrup brush down if they're not looking up to snuff initially. When in doubt, just give it a try.
Joss' Tips
- Avoid the mess. Work over a baking sheet and rack so that you don't make a big mess.
- Silicone brush type matters. It's better to use a silicone brush rather than a brush with pig hair bristles as I find the hairs sometimes fall out and get into the food.
- Have fun with flavors. Try a flavored simple syrup, like this diy pumpkin spice syrup, to add some flavor to the cake.
- Milk works too. For an alternative to simple syrup that isn't so sweet, professional bakers also use milk to soak the cake.
- If all else fails, make cake pops. If you're unsatisfied with the moisture of your cake, you could also turn it into cake pops by combining it with frosting.
- Add even more moisture. Adding frosting between the layers and on the outside of the cake also helps with a moist end result.
More Cooking Tutorials to Try


If you tried this recipe tutorial for 🎂 How to Moisten a Dry Cake or any other recipe on my website, please leave a 🌟 star rating and let me know how it went in the 📝 comments below. And please share the recipe!
📋Recipe
How to Moisten a Dry Cake
Ingredients
- ½ cup simple syrup - approximately
- 1 cake
Instructions
To Begin
- Use a funnel to pour the simple syrup into a plastic squeeze bottle with a pour spout if that hasn't been done already.

For Bigger Cakes (6" or larger)
- Poke holes into the top of the cake with a bamboo skewer.
- Brush the top of the cake with the syrup using a pastry brush (this will allow the cake to be moistened on the outside).
- Pour the syrup over the cake so that it seeps into the holes and let it sit for 2 hours so it absorbs completely. This will make the inside of the cake moist.

For Small Cakes (less than 6")
- You can follow the same steps as with big cakes but you can cut the cake in half first. This way you can moisten the bottom half more efficiently. Poke holes into both sides of the cake.
- Brush syrup on both sides of the cake using the pastry brush. The smaller cakes only need about 30 minutes to soak. Place the halves back together.
- The cake is now ready to frost as desired and serve.

Notes
- The amount of syrup you will use depends on factors such as how dry the cake is, how moist you would like it, sweetness of the cake, the size of the cake, the density of the cake (cakes that are more spongy will absorb more syrup) etc. Adjust it according to your personal preference.
- For a 9″ cake that is 2″ high, I used about ½ cup of simple syrup.
- Work over a baking sheet and rack so that you don't make a big mess.
- It's better to use a silicone brush rather than a brush with pig hair bristles as I find the hairs sometimes fall out and get into the food.
- For an alternative to simple syrup, professional bakers also use milk to soak the cake.
- If you're unsatisfied with the moisture of your cake, you could also turn it into cake pops by combining it with frosting.
- Adding frosting between the layers and on the outside of the cake also helps with the end result.
- The nutrition information is for the simple syrup only. It gives you an idea as to how many calories you are adding by soaking the cake with ½ cup syrup.
Nutrition
Nutrition information on In the Kitch is provided as a courtesy and is an estimate only. It may not include toppings and/or sauces.


Joss says
This technique results in such a moist cake! Wish I knew this trick ages ago.