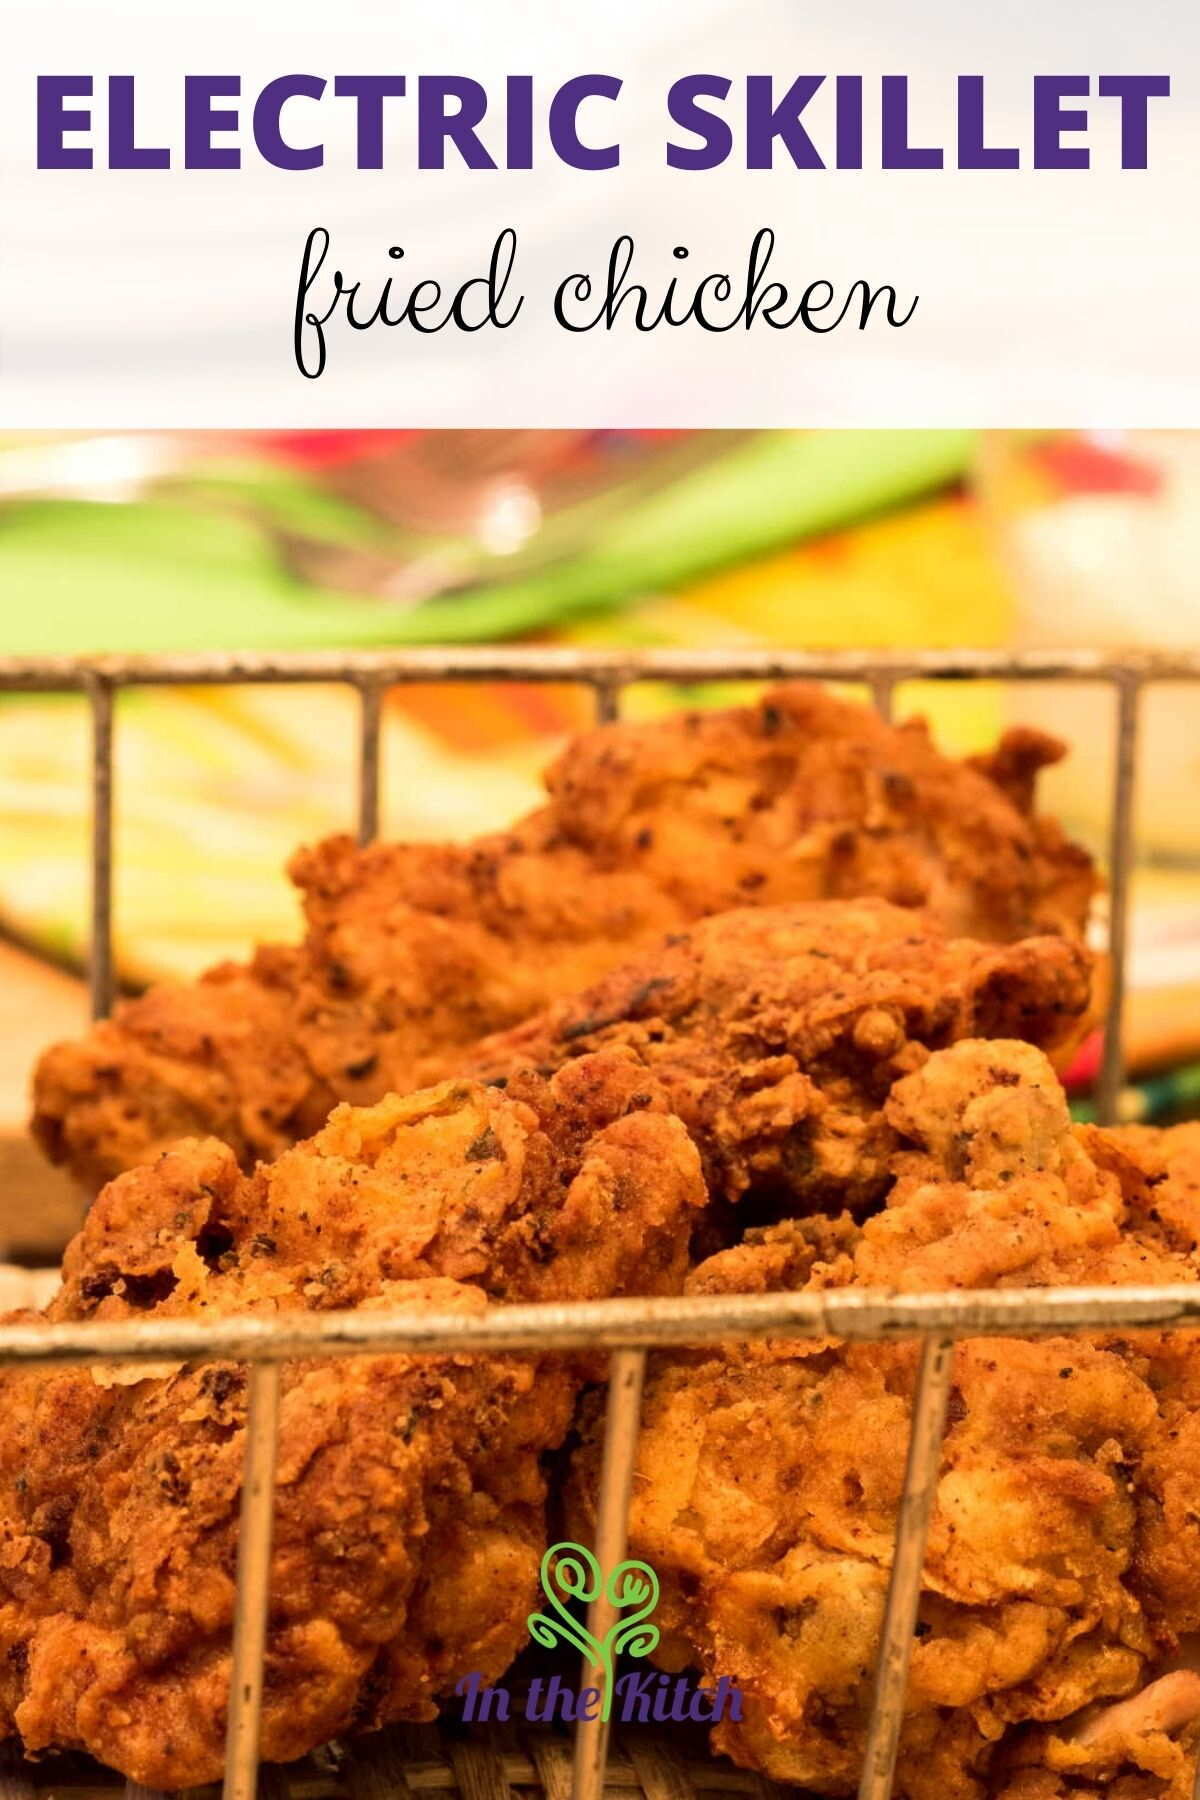
Have you ever wanted to prepare delicious and crispy fried chicken at home, but you find it intimidating? You are not alone.
Cooking fried chicken on a stove-top can make maintaining the constant temperature needed for deep-frying difficult. With this recipe for electric skillet fried chicken, you will never have to worry if your oil is too hot or too cold!

The buttermilk marinade consistently produces juicy, tender chicken breast, and the flour-egg-flour dredging method ensures that it's always wrapped in that perfectly crunchy coating we all know and love.
The internal temperature of chicken needs to come to 165°F. An accurate, splash-proof thermometer is a handy tool for this recipe!

Try it with a delicious dipping sauce such as garlic mayo. You and your loved ones can skip the fast-food chicken and sample this crispy fare--- made in none other than your handy electric skillet.
Did you enjoy this recipe? I know my family and I certainly enjoy eating the incredible chicken. Not only does this chicken come out way crispier than roasted chicken, but immensely flavorful as well with that lemon zing and buttermilk batter!

I hope you never miss attempting to deep fry in a pot on the clunky stove range again. Please feel free to let me know through comments how this chicken turned out for you along with any suggestions.
If you love it as much as I do, please share the article so that others may make it too. Thank you!
📋Recipe

Electric Skillet Fried Chicken
Ingredients
- 2 ½ cups all-purpose flour
- 1 tablespoon parsley - dried
- 1 tablespoon oregano - dried
- 2 teaspoons garlic salt
- 1 tablespoon salt
- 1 teaspoon black pepper
- 3 large eggs
- ⅓ cup buttermilk
- juice of 1 lemon
- zest of 1 lemon
- 4 to 5 pounds raw chicken pieces
- canola oil or peanut oil - for frying
Instructions
- Sift the dry ingredients. In a shallow dish (such as a pie plate), sift together the flour, parsley, oregano, garlic salt, salt and pepper.2 ½ cups all-purpose flour, 1 tablespoon parsley, 1 tablespoon oregano, 2 teaspoons garlic salt, 1 tablespoon salt, 1 teaspoon black pepper
- Whisk the wet ingredients. In a medium size bowl, whisk the eggs, buttermilk, lemon juice and lemon zest together.3 large eggs, ⅓ cup buttermilk, juice of 1 lemon, zest of 1 lemon
- Flour. Egg. Flour. Coat the chicken pieces with the flour mixture. Next, dip the chicken into the egg mixture and once again into the flour mixture. Place on a sheet pan, making sure the pieces are spread out and not touching. Refrigerate for at least 1 hour.4 to 5 pounds raw chicken pieces
- Prepare the electric skillet. Add enough oil to reach a depth of ½ inch in the skillet. It should reach about half-way up the chicken. Heat to medium-high (375°F).
- Fry the chicken. Fry the chicken for about 5 to 10 minutes per side, depending on the size of the pieces. Fry in batches so that you do not crowd the pan, causing the oil to cool. The chicken should be a nice golden brown color and the juices should be clear. If using a thermometer, the internal temperature of the chicken needs to reach 165°F.
- Drain & serve. You can drain the chicken on a wire rack with paper towel underneath it. Let cool & drip for 5-10 minutes. Serve.
Equipment
Notes
- Leftover chicken can be stored in an airtight container in the fridge for up to 3 to 4 days.
- You can reheat leftovers in the electric skillet or in the oven until the internal temp has reached 165°F again. For best results, bring the chicken out to room temperature for 30 minutes first.
Nutrition
Nutrition information on In the Kitch is provided as a courtesy and is an estimate only. It may not include toppings and/or sauces.
Hungry for more? Try our...Electric Skillet Pancakes

Christy Linn says
How long do you marinate the chicken?
Joss Dyckson says
Hi Christy, after dipping in the buttermilk and flour, you will marinate the chicken in the fridge for at least 1 hour or overnight.
Vera Moore says
Is this boneless skinless breast pieces? I know this cannot be bone-in pieces of chicken in 20 minutes to fully cooked.
Joss D says
Hi Vera, whether the chicken pieces are bone-in or boneless (this recipe doesn't specify, pick your favorite or a mix), you need to cook them until they reach 165°F or the juices are clear - which means they're fully cooked. The exact time will vary.
Devry Buckman says
Yummy
Joss D says
Thank you Devry!