

If you're looking for the perfect dessert to bring along to a holiday function or to serve over the holidays, you can't go wrong with this recipe. These Christmas spice cake pops are seasoned with just the right amount of cinnamon, vanilla, and nutmeg-all the flavors we associate with this special time of year.
Jump to:
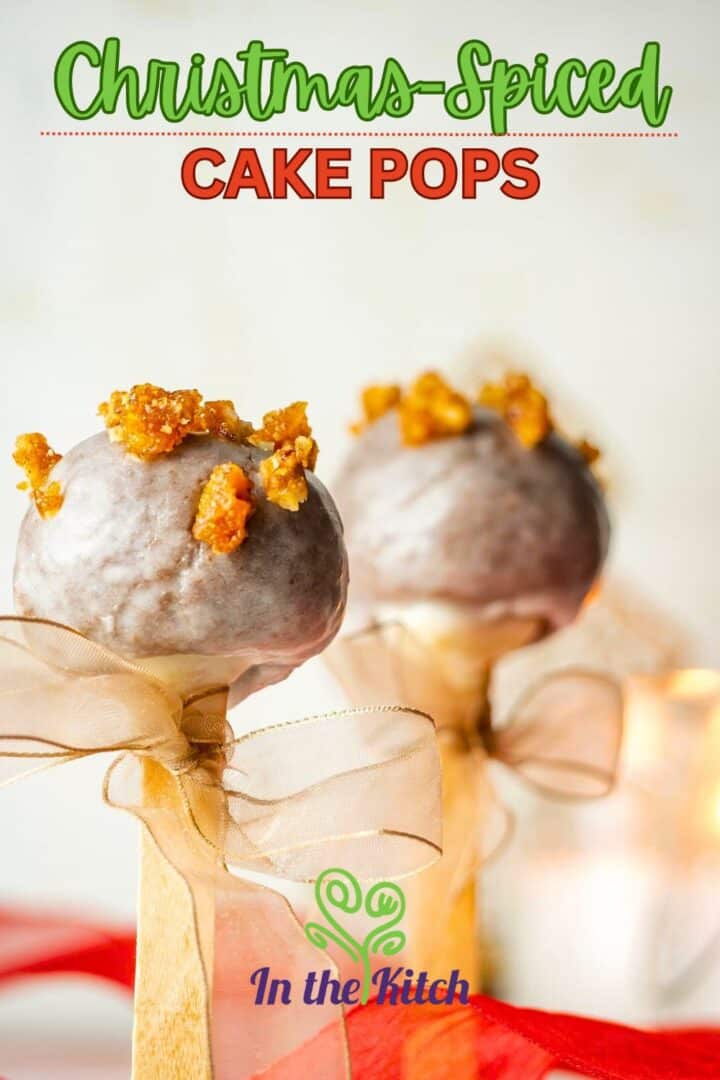
🎁 A Sweet Bite-Size Treat For The Holiday Season
These cake pops will undoubtedly be a big hit at the seasonal office party or family gathering. Because of their small size, they're easy to transport-and also less messy than traditional cupcakes. My red velvet and white chocolate cake pops are also perfect for Christmas parties.
While they do require a bit of advance planning (note that the cake needs to bake for about an hour, then cool completely before you can form the pops), you can use the baking time to make your own buttercream frosting from scratch with this cake pop frosting recipe.
You can also check out these yummy and festive, Christmas holiday recipes or more cake pop ideas.
🌰 Ingredients
- flour - White all-purpose flour works great.
- sugars - We will be using white, brown and powdered sugar.
- Christmas spices - Nutmeg and cinnamon powder.
- baking powder and baking soda - Leavening agents to rise the cake.
- canola oil - Or another vegetable oil that you have on hand. Canola is my oil of choice.
- eggs - I use large eggs.
- buttercream frosting - Store bought or homemade will work.
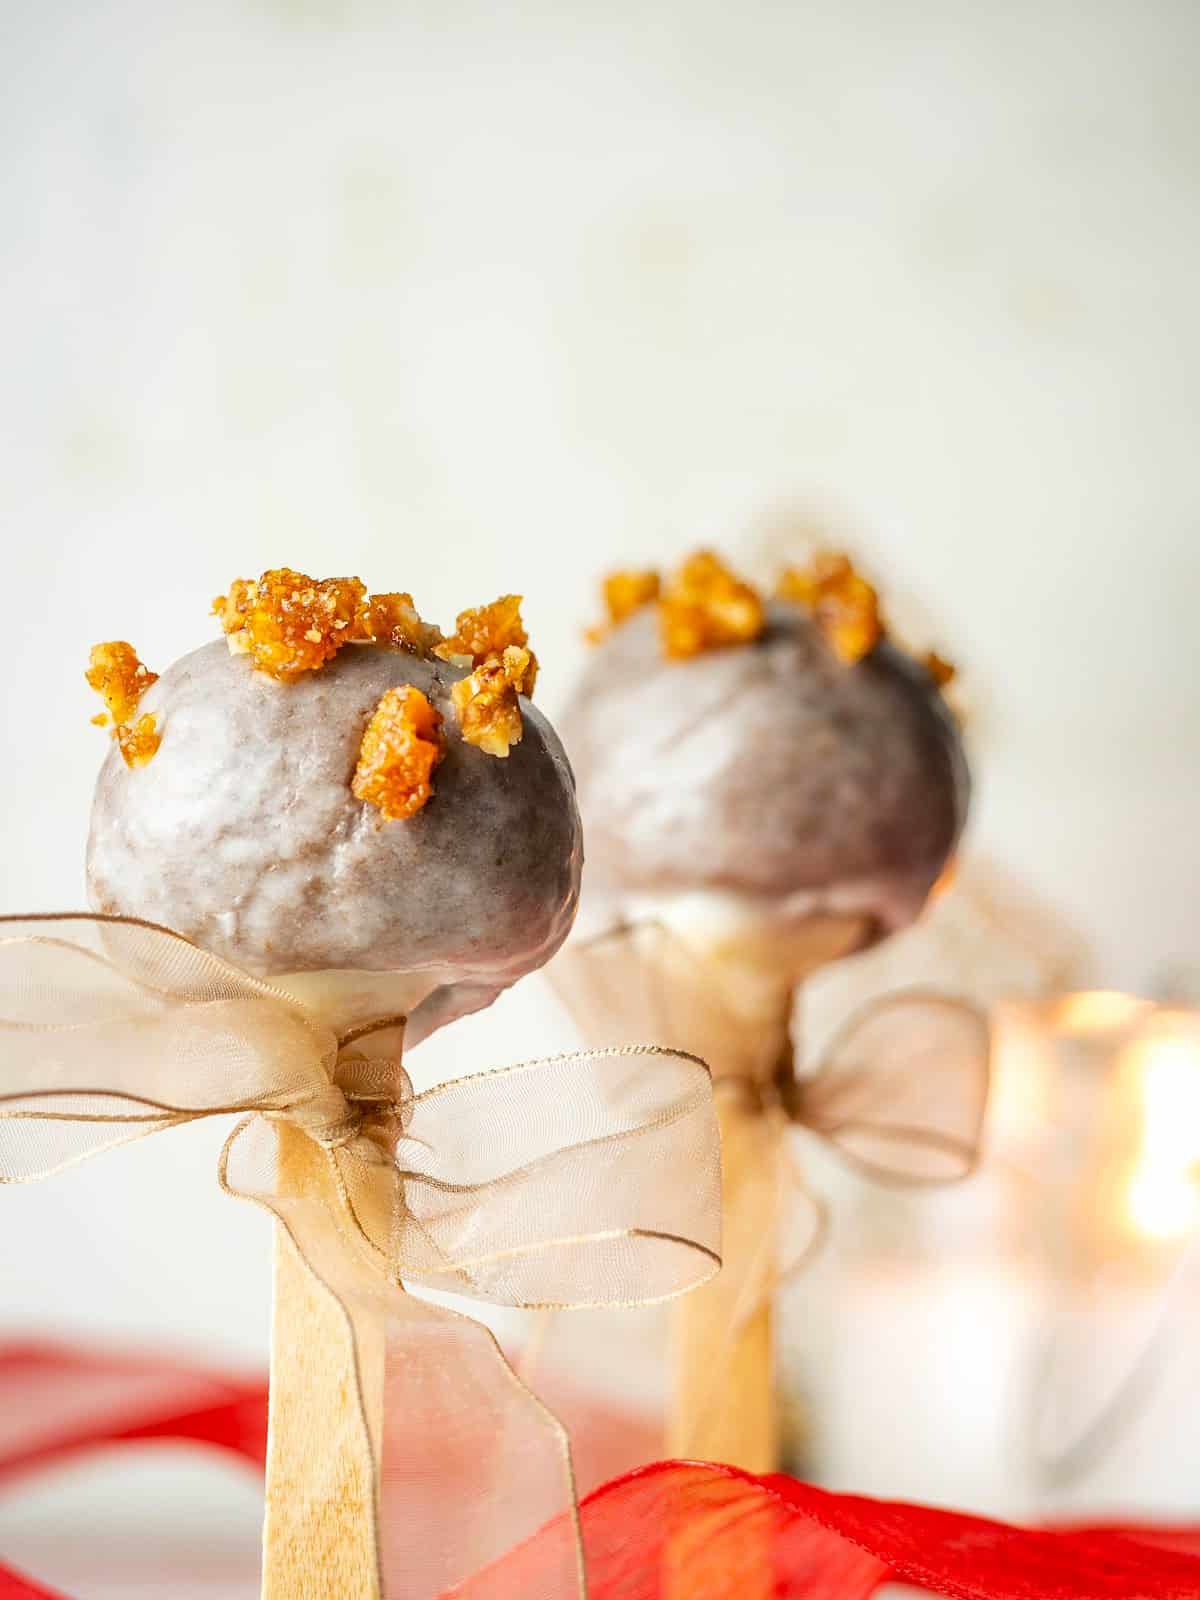
- pralines - Candied pecans.
*See recipe card for full ingredients and amounts.
Chef's Note: Instead of the glaze to coat the cake pops, you can also use candy melts or melted chocolate.
📖 Recipe Tweaks
- You might want to substitute almond extract or a different flavor for the vanilla.
- You can top the Christmas cake pops in almond slivers instead of pralines.
- The nuts can easily be omitted altogether and other nut-free toppings can be added.
- Omit the nutmeg if you're not a fan and swap in whatever Christmas spices you prefer, such as allspice, cloves or ginger.
🥣 How to Make Christmas Spice Cake Pops
For the Cake:
- Preheat oven to 180°C/350°F. Butter and flour a cake pan.
- In a bowl, combine all of the dry ingredients.
- In another bowl, combine all of the wet ingredients.
- Pour the wet ingredients into the dry ingredients and mix until smooth. The batter will be thick.
- Pour the batter into the cake pan and bake in the preheated oven for 45 to 60 minutes (or until a toothpick comes out clean from the center of the cake).
Steps for Building the Cake Pops:
- After the cake is baked and cooled completely, crumble it with your hands in a large bowl until its texture is sandy.
- Add the buttercream frosting, a couple of heaping tablespoons at a time, and mix thoroughly. The amount of frosting you'll need depends on the texture of the mix. You need to reach a texture that allows you to form balls with your hands. (Too little or too much could result in failure. You do not want to see cracks when forming the balls, while too much frosting will make the cake balls heavy.)
- Use a small cookie scoop to make round balls of the cake mix, or you can use your hands. Place them on wax paper.
- For the sugar coating, mix the powdered sugar, vanilla extract and water, 1 tablespoon at a time, until spreadable. The icing will thicken slightly as it sets.
- Dip the tip of a treat stick into the sugar coating, then insert into the cake ball (approximately half-way). Repeat with the remaining cake balls.
- Refrigerate for 30-60 minutes to allow the cake pops to firm up and the icing on the stick to harden.
- Once firm, carefully dip the cake ball into the icing by holding the treat stick and rotating/gently tapping until covered.
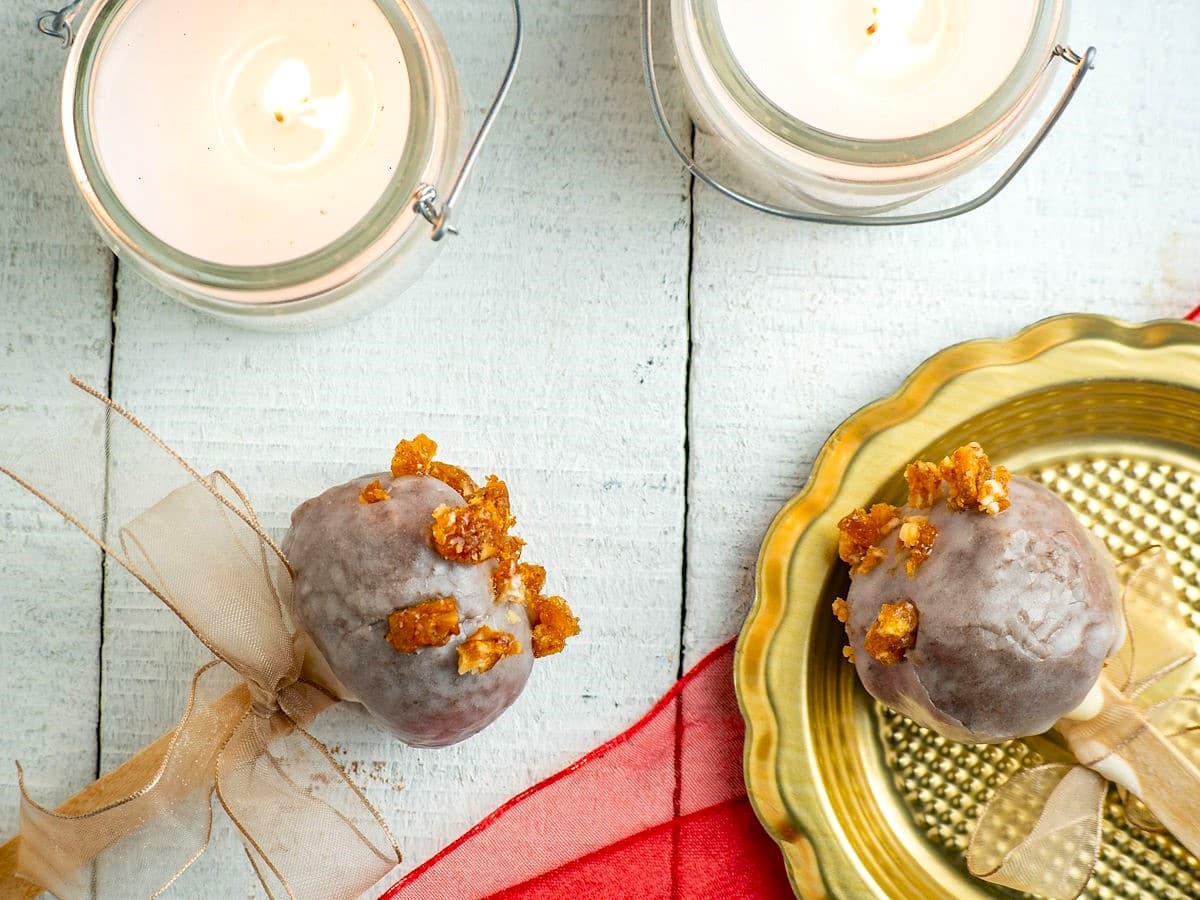
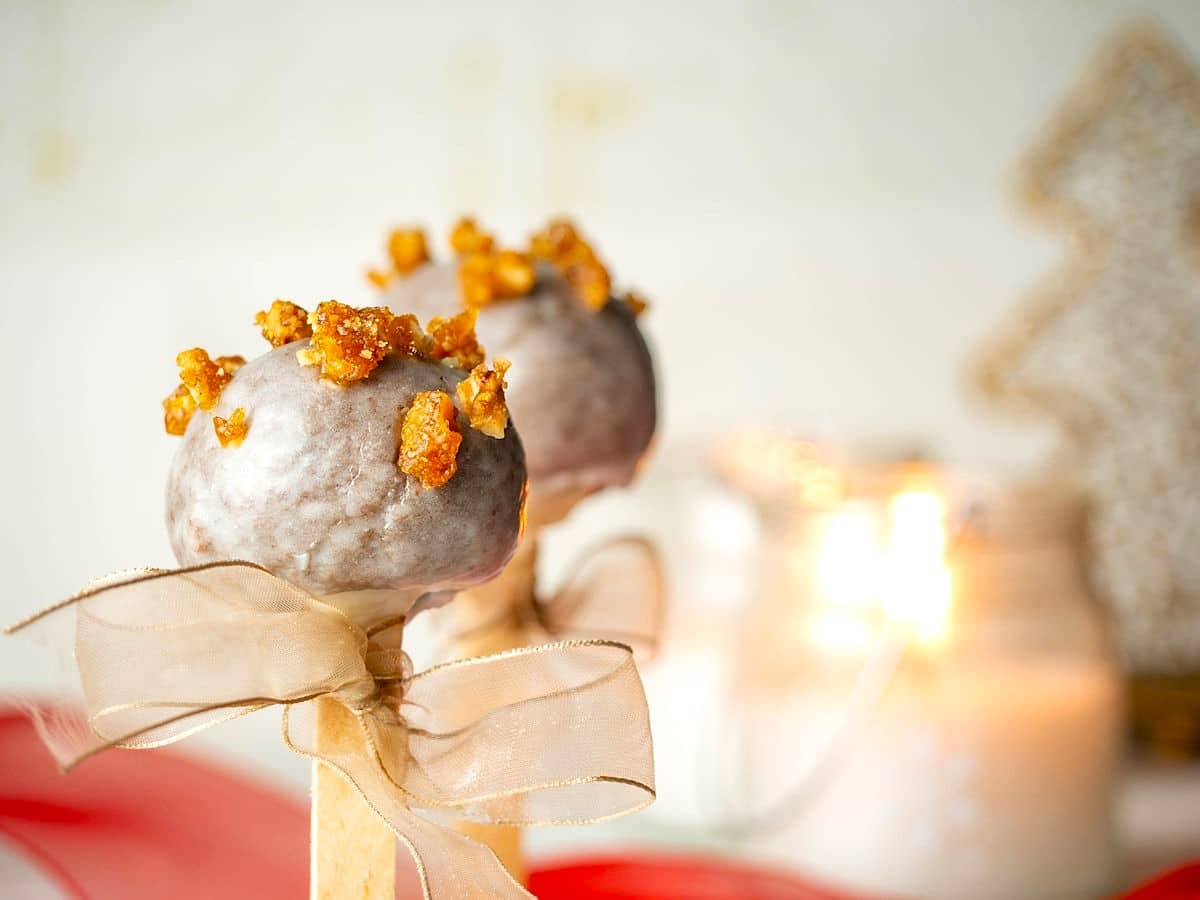
- Place in a styrofoam block or some sort of cake pop stand. Sprinkle with the chopped pralines and let dry.
- Serve!
Chef's Note: The cake pop stand can be a purpose-built stand that you can buy online or in store. Other ideas include: a Styrofoam block, an egg carton, an upside-down shoebox, etc.
✅ Make Ahead Tip
The cake itself can be made a day or two in advance. This way it can be cooled and ready for the frosting step.
Depending on how you store the finished cake pops, you can enjoy them for up to 1 week to 3 months.
💬 No time to make cake pops by hand? Have a look at my Best Cake Pop Maker Reviews.
❓ Christmas Spice Cake Pops FAQs
Christmas cake pops can be stored in an airtight container at room temperature for up to one week.
They can be stored in the fridge for up to 1 month, covered well.
Yes! Store them in the freezer for up to 3 months. Wrap them with plastic wrap and place into a freezer bag.
🎄 More Festive Christmas Holiday Recipes


If you tried this Christmas Spice Cake Pops Recipe or any other recipe on my website, please leave a 🌟 star rating and let me know how it went in the 📝 comments below. And please share the recipe!
📋Recipe

Christmas Spice Cake Pops
Ingredients
For the Cake
- 3 cups flour
- ½ cup brown sugar
- ½ cup white sugar
- 1 tablespoon nutmeg
- 1 tablespoon baking powder
- 1 tablespoon baking soda
- 2 tablespoons cinnamon powder
- 1 cup canola oil
- 5 large eggs - or 6 medium
- 1 ½ tablespoon vanilla extract
For the Cake Pops
- 1 cup buttercream frosting
- 2 ½ cups powdered sugar
- 1 ¼ teaspoon vanilla extract
- 5 tablespoons water
- ½ cup pralines - chopped
Instructions
For the Cake
- Preheat oven to 180°C/350°F. Butter and flour a cake pan.
- In a bowl, combine all of the dry ingredients. In another bowl, combine all of the wet ingredients.
- Pour the wet ingredients into the dry ingredients and mix until smooth. The batter will be thick.
- Pour the batter into the cake pan and bake in the preheated oven for 45 to 60 minutes (or until a toothpick comes out clean from the center of the cake).
Steps for Building the Cake Pops
- After the cake is baked and cooled completely, crumble it with your hands in a large bowl until its texture is sandy.
- Add the buttercream frosting, a couple of heaping tablespoons at a time, and mix thoroughly. The amount of frosting you'll need depends on the texture of the mix. You need to reach a texture that allows you to form balls with your hands. (Too little or too much could result in failure. You do not want to see cracks when forming the balls, while too much frosting will make the cake balls heavy.)
- Use a small cookie scoop to make round balls of the cake mix, or you can use your hands. Place them on wax paper.
- For the sugar coating, mix the powdered sugar, vanilla extract and water, 1 tablespoon at a time, until spreadable. The icing will thicken slightly as it sets.
- Dip the tip of a treat stick into the sugar coating, then insert into the cake ball (approximately half-way). Repeat with the remaining cake balls.
- Refrigerate for 30-60 minutes to allow the cake pops to firm up and the icing on the stick to harden.
- Once firm, carefully dip the cake ball into the icing by holding the treat stick and rotating/gently tapping until covered.
- Place in a styrofoam block or some sort of cake pop stand. Sprinkle with the chopped pralines and let dry.
- Serve!
Equipment
Notes
- Make Ahead Tip: The cake itself can be made a day or two in advance. This way it can be cooled and ready for the frosting step.
- Storage: Cake pops can be stored in an airtight container at room temperature for up to one week, in the fridge for up to 1 month or in the freezer for up to 3 months.
- Cake Pop Stand: The cake pop stand can be a purpose-built stand or simply a Styrofoam block, an egg carton, an upside-down shoebox, etc.
- Alternative Coating Options: Instead of a glaze to coat the cake pops, you can also use candy melts or melted chocolate.
- Nuts: The nuts can easily be omitted altogether and other nut-free toppings can be added.
- Spices Tweak: Omit the nutmeg if you're not a fan and swap in whatever Christmas spices you prefer, such as allspice, cloves or ginger.
Nutrition
Nutrition information on In the Kitch is provided as a courtesy and is an estimate only. It may not include toppings and/or sauces.


Lauren E Miller says
Do you think I could replace buttercream icing with cream cheese icing?
Joss Dyckson says
Yes, absolutely you can. I would recommend refrigerating them if you use cream cheese. Thanks for the question, Lauren.