

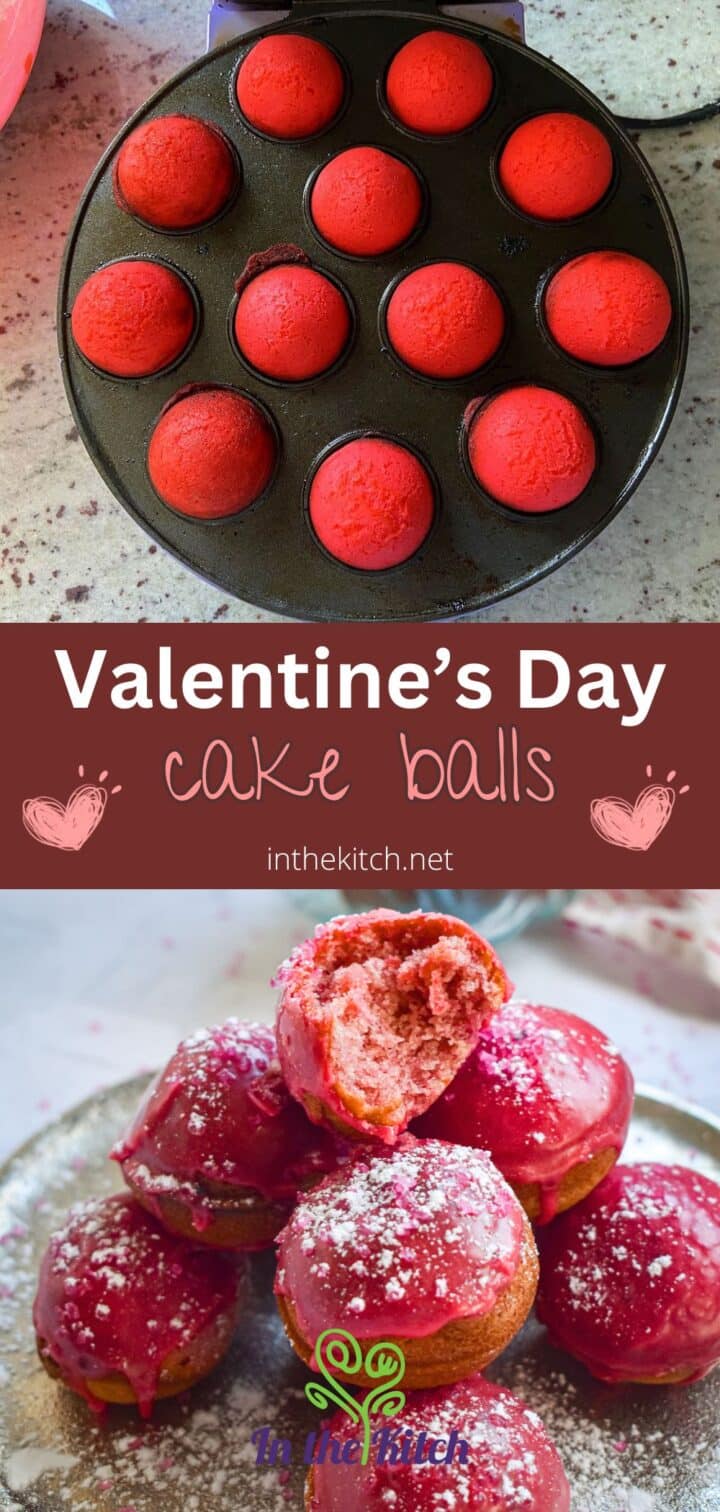
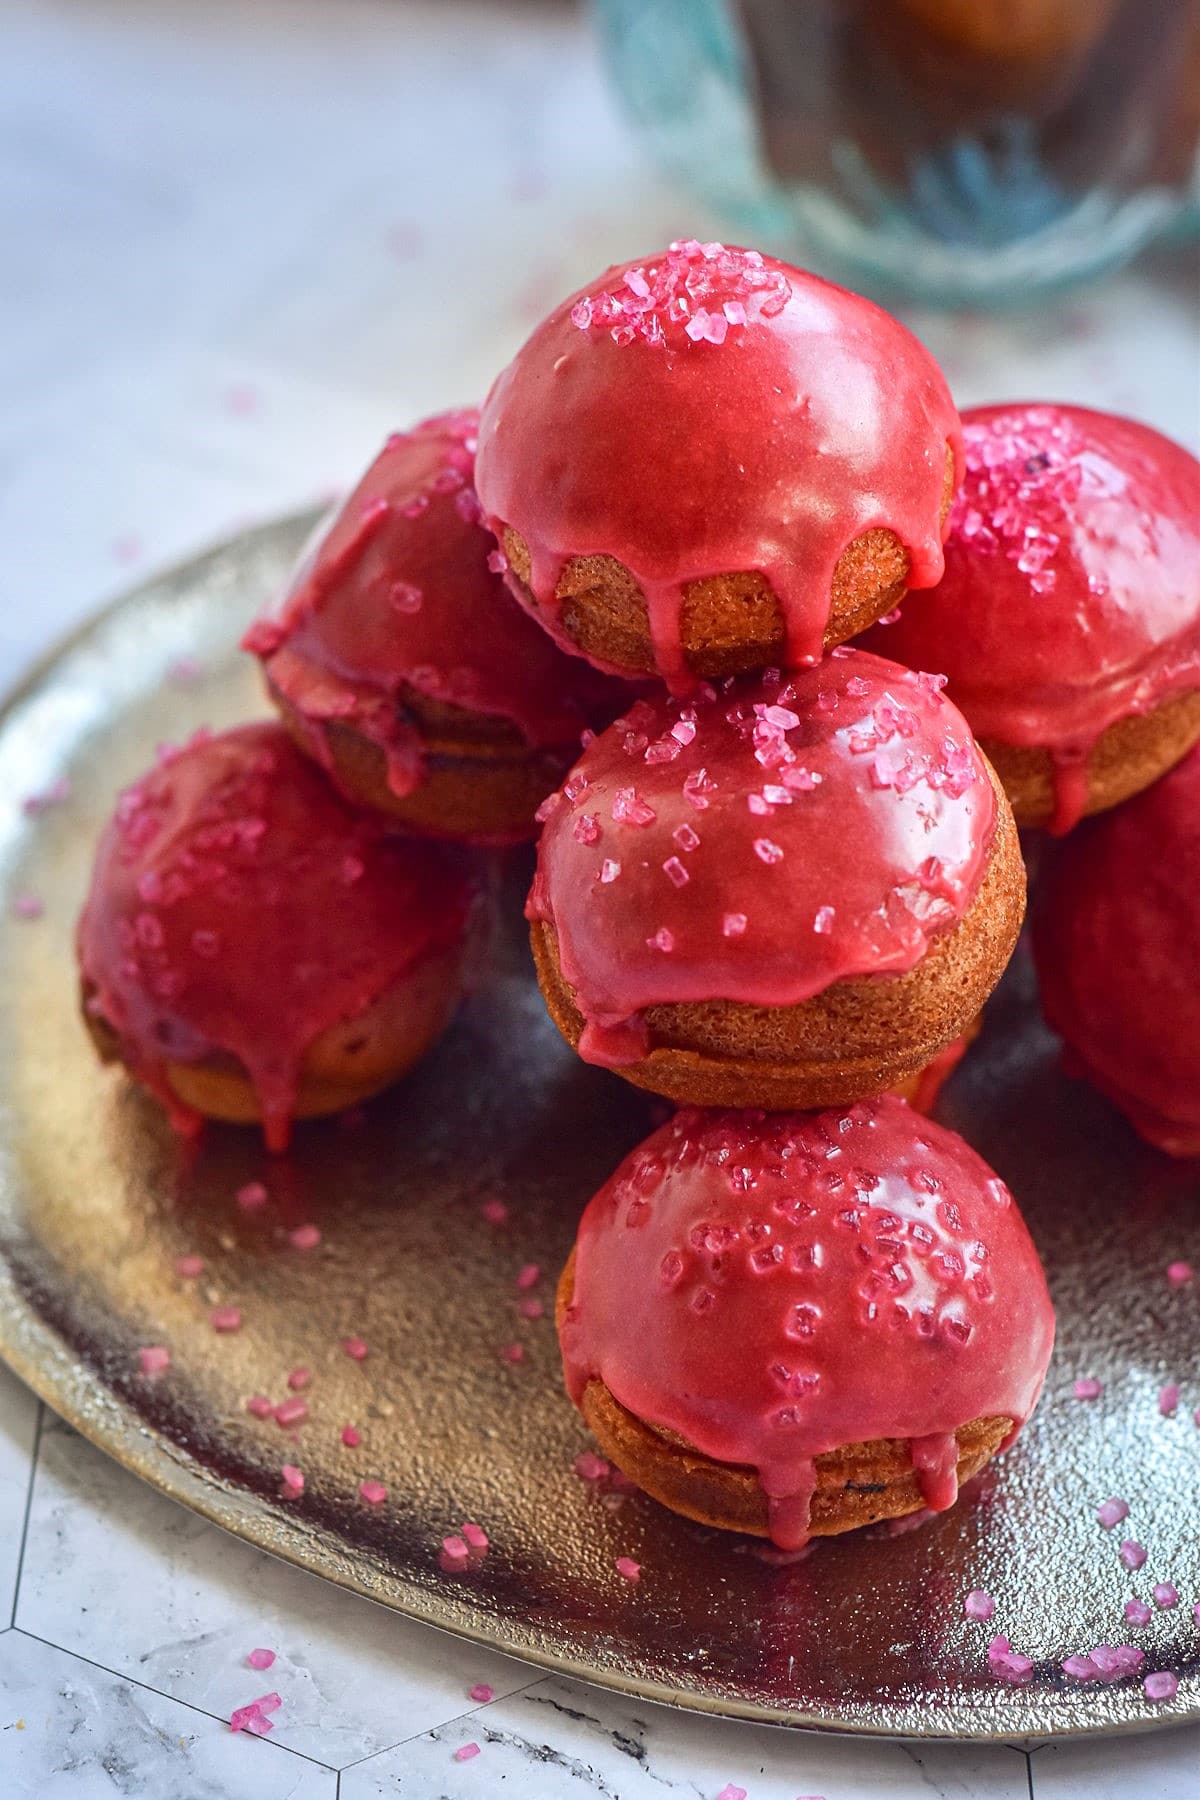
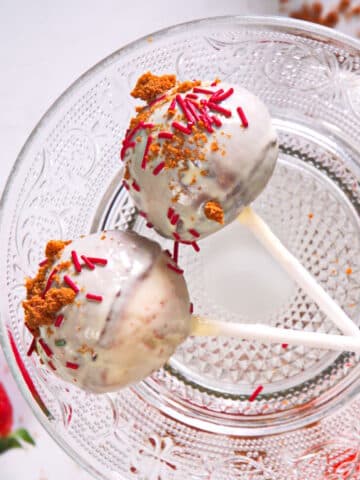
When love is in the air, you can show your sweet side by making Valentine's Day cake balls with a cake pop maker. A simple vanilla cake dyed pink, like a bashful blush from your sweetheart, red glaze with a lemon zing, and pink sprinkles on top.
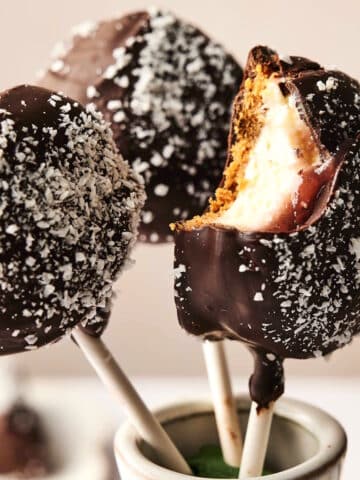
With how quick the cake pop maker bakes these Valentine's Day cake balls, it's a great dessert option to consider in case you are short on time. These strawberry shortcake cake pops are another great option for this romantic day.
Spread the love with this Valentine's Day-themed bite-sized treat!
Jump to:
🎂About Cake Balls
Cake balls are originally made and molded with leftover cake and frosting and covered in chocolate or cake pop glaze. They became popular in 2008, when a baker named Angie Dudley made them and put them on a stick to resemble lollipops; people know these creations as cake pops.
What is different about this recipe is that it is baked instead of molded together with frosting. You make the batter and bake it, giving it a lighter texture and no worries about cake crumbs. You can add treat sticks or not.
🥘Ingredients
- milk
- red food coloring
- butter
- large eggs
- vanilla
- all-purpose flour
- sugar
- baking powder
- salt
- powdered sugar
- lemon juice
- decorations like pink or red sprinkles
*You will also need a cake pop maker for this recipe.
📖Variations
One of the best things about making a Valentine's Day treat is that you can make it personable. You can do this by adding personal messages to the cake balls, sort of like the candy hearts without the chalky taste. You can use royal icing, edible writing gel, and other options to show how much you love them.
Another variation is to try adding some cherry or strawberry flavoring to the glaze instead of the lemon juice, like I do with my strawberry candy hearts recipe. You could also add some to the batter in place of the vanilla extract to make it even more special.
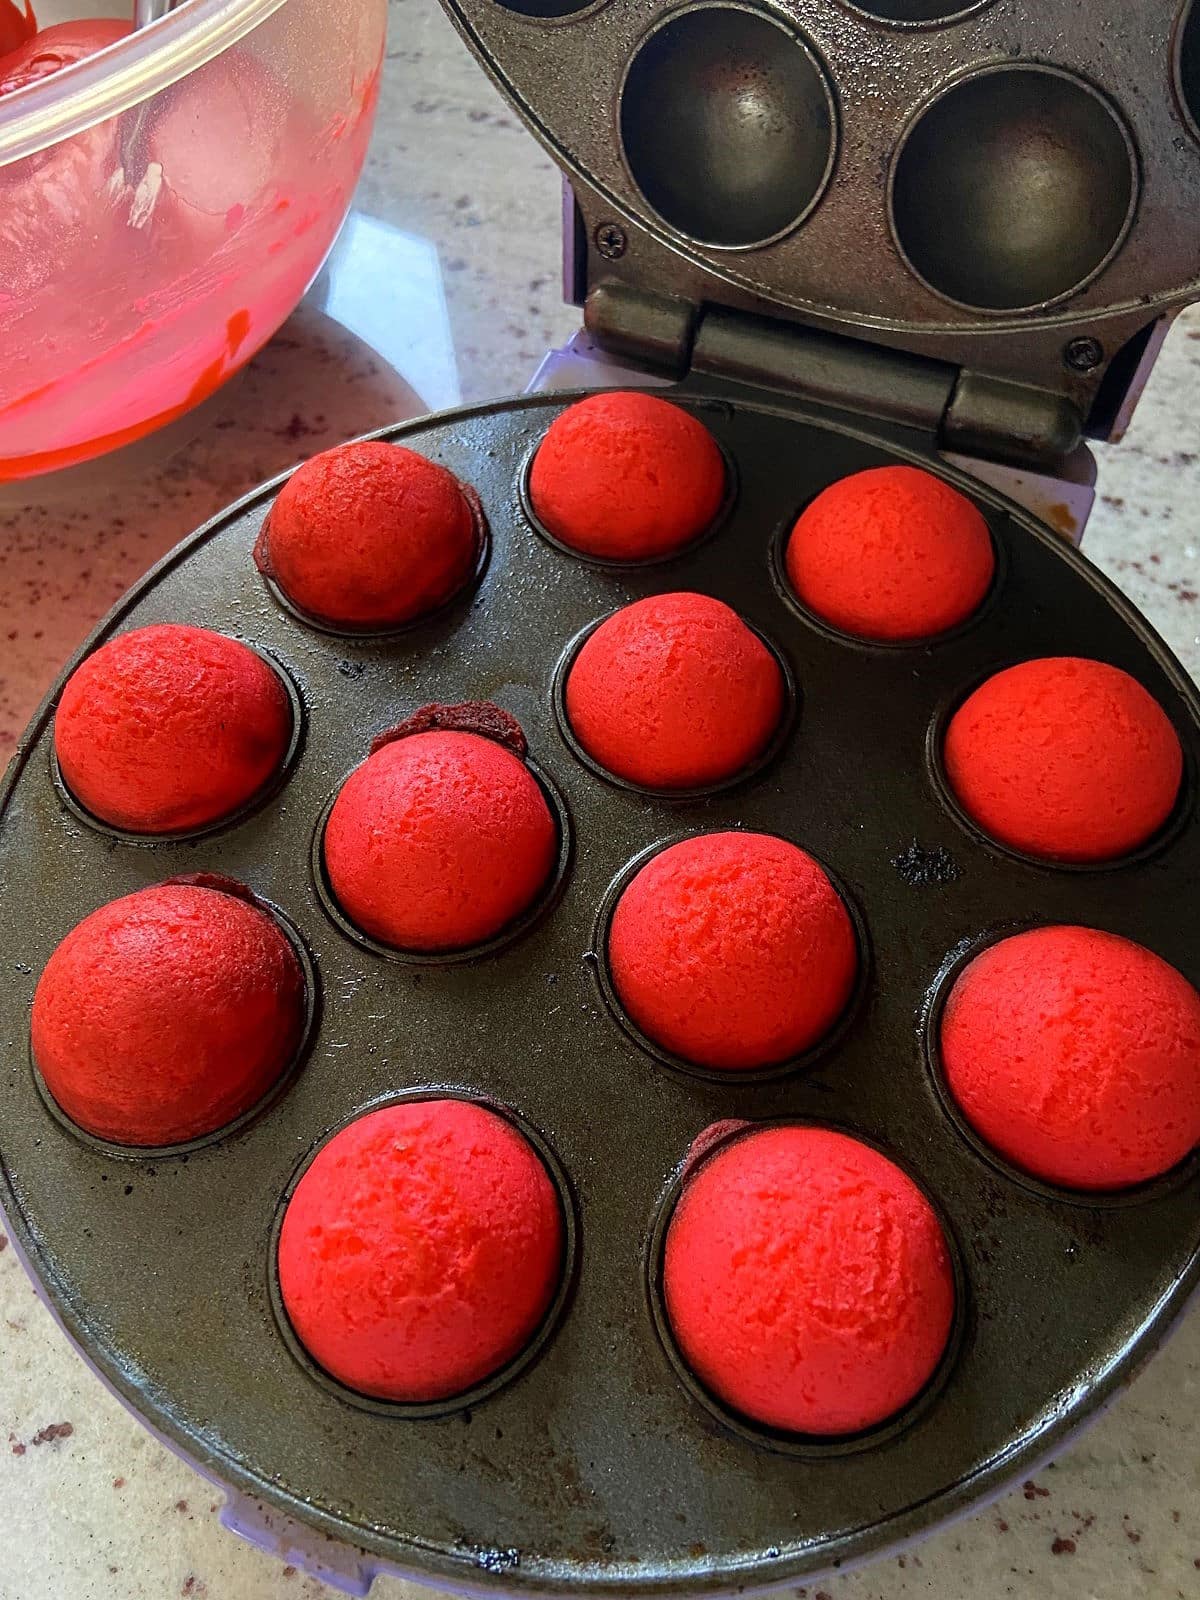
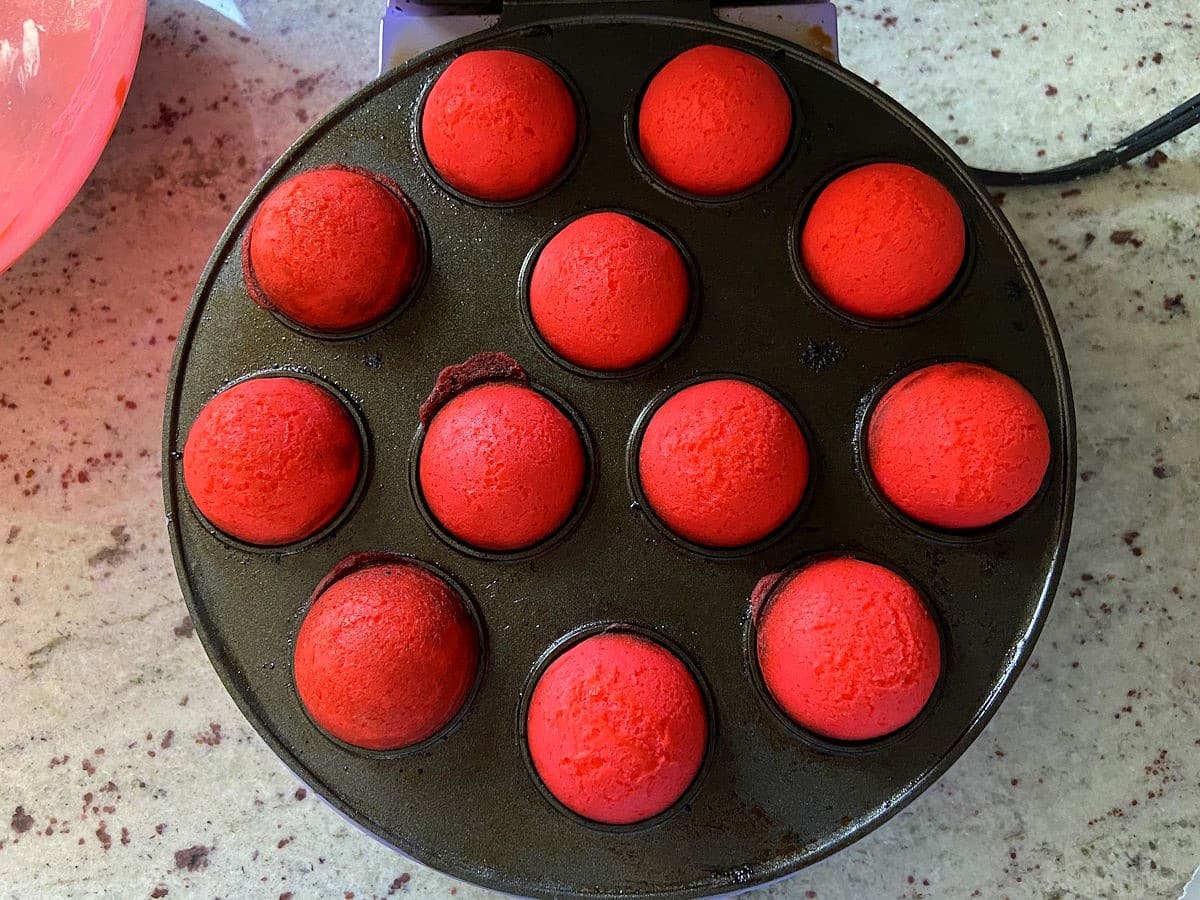
You can play around with the colors and go as faint or bold as you like. Below is a batch I made with red gel food coloring. The colors really pop!
🔪How to Make Them
What is fun about this technique of using a cake pop baker, is that when they pop out, they look like doughnut holes!
- In a large bowl, mix all wet cake pop ingredients with an electric mixer, until combined.
- Mix all dry ingredients together in a separate bowl and start incorporating it into the wet ingredients, until combined.
- Preheat the cake pop maker by plugging it in. Transfer the cake pop batter to a piping bag.
- Fill the holes with the batter using the piping bag (or alternatively using a teaspoon). Try not to fill higher than the cavity line, as it will rise when baking. Work quickly here, as the batter will start to bake and rise.
- Close the lid and bake for about 3-4 minutes or until baked through (you can check with a toothpick). Repeat until you finish the batter. Let the cake pops cool while you make the glaze.
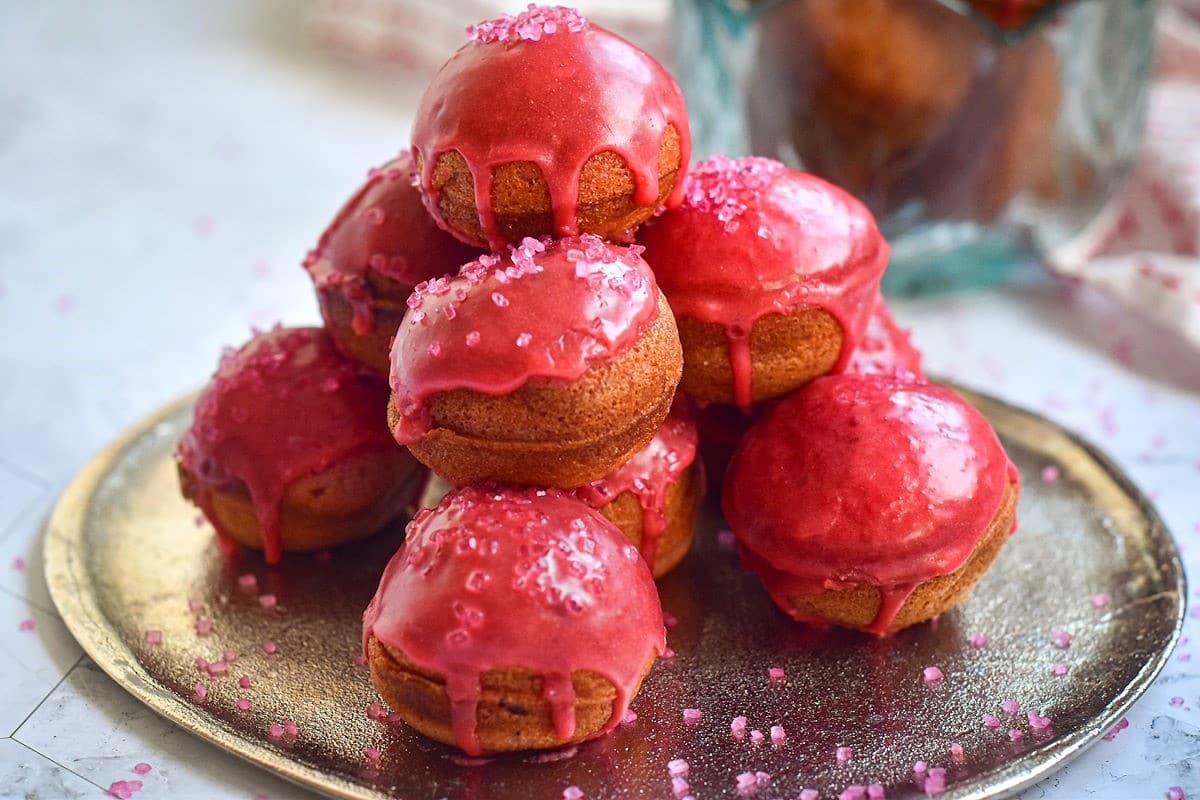
- Mix the glaze ingredients together. Place the cake balls on a piece of wax paper.
- Coat the cake balls with the glaze and sprinkles. Let the glaze harden (either at room temperature or in the fridge) and serve!
💭Tips
- Although the cake balls do not take long to bake, about 3-4 minutes, they still need to cool before they are dipped in the glaze. If they are still warm when dipped, the glaze will melt off the cake balls and will make a huge mess. Thankfully, because of their size, they will only take a short time to cool. You could even pop them in the fridge for a bit if you like.
- While you are waiting, you can prepare the glaze and line a baking sheet with wax paper and/or start clean-up to shorten the total time.
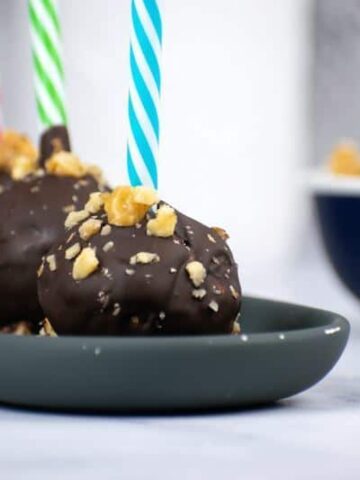
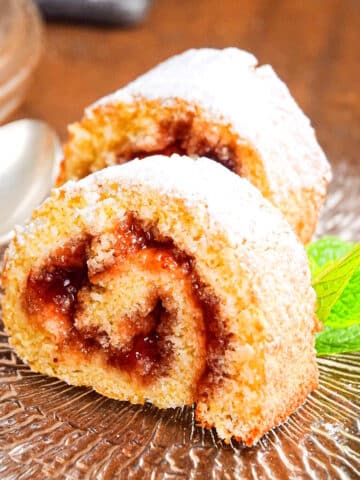
*You might also love these Black Forest cake balls.
🌡️Storage
Store in an air-tight container:
- at room temperature for up to 3 days
- in the refrigerator for up to 1 week
- or in the freezer for up to 6 weeks
❤️More Bite-Size Treats You Will Love
Hungry for more food inspiration? Check these recipes out.


How do you show your ❤️love on Valentine's Day? If you tried this Valentine's Day Cake Balls Recipe or any other recipe on my website, please leave a 🌟 star rating and let me know how it went in the 📝 comments below. And please share the recipe!
📋Recipe

Valentine's Day Cake Balls
Ingredients
For the Cake Balls:
- ½ cup milk
- 1 teaspoon red food coloring
- ½ cup butter - melted
- 2 large eggs
- 2 teaspoons vanilla
- 1 ½ cups all-purpose flour
- 1 cup sugar
- 1 teaspoon baking powder
- ¼ teaspoon salt
For the Glaze:
- 1 cup powdered sugar
- 1 tablespoon lemon juice
- 2 tablespoons milk
- 1 teaspoon red food coloring
- pink sprinkles - to decorate
Instructions
- In a large bowl, mix all wet cake pop ingredients with an electric mixer, until combined.
- Mix all dry ingredients together in a separate bowl and start incorporating it into the wet ingredients, until combined.
- Preheat the cake pop maker by plugging it in. Transfer the cake pop batter to a piping bag.
- Fill the holes with the batter using the piping bag (or alternatively using a teaspoon). Try not to fill higher than the cavity line, as it will rise when baking. Work quickly here, as the batter will start to bake and rise.
- Close the lid and bake for about 3-4 minutes or until baked through (you can check with a toothpick). Repeat until you finish the batter. Let the cake pops cool while you make the glaze.
- Mix the glaze ingredients together. Place the cake balls on a piece of wax paper.
- Coat the cake balls with the glaze and sprinkles. Let the glaze harden (either at room temperature or in the fridge) and serve!
Equipment
Notes
- Store in an air-tight container at room temperature for up to 3 days, in the refrigerator for up to 1 week, or in the freezer for up to 6 weeks.
- Although the cake balls do not take long to bake, about 3-4 minutes, they still need to cool before they are dipped in the glaze. If they are still warm when dipped, the glaze will melt off the cake balls and will make a huge mess.
Nutrition
Nutrition information on In the Kitch is provided as a courtesy and is an estimate only. It may not include toppings and/or sauces.
Leave a Reply