menu icon
go to homepage
  • Holiday Recipes
  • Recipe Index
  • Guides
  • Tutorials
  • Subscribe
    • Facebook
    • Pinterest
    • YouTube
  • search icon
    Homepage link
    • Holiday Recipes
    • Recipe Index
    • Guides
    • Tutorials
    • Subscribe
    • Facebook
    • Pinterest
    • YouTube
  • ×
    In the Kitch » Recipes » Condiments

    Kimchi Mayo (2 Ways)

    Joss Dyckson author photo.
    Updated: Apr 18, 2025 · Published: Jan 19, 2022 by Joss Dyckson · This post may contain affiliate links.
    Jump to Recipe
    Kimchi mayo with text overlay that says kimchi mayo 2 ways.

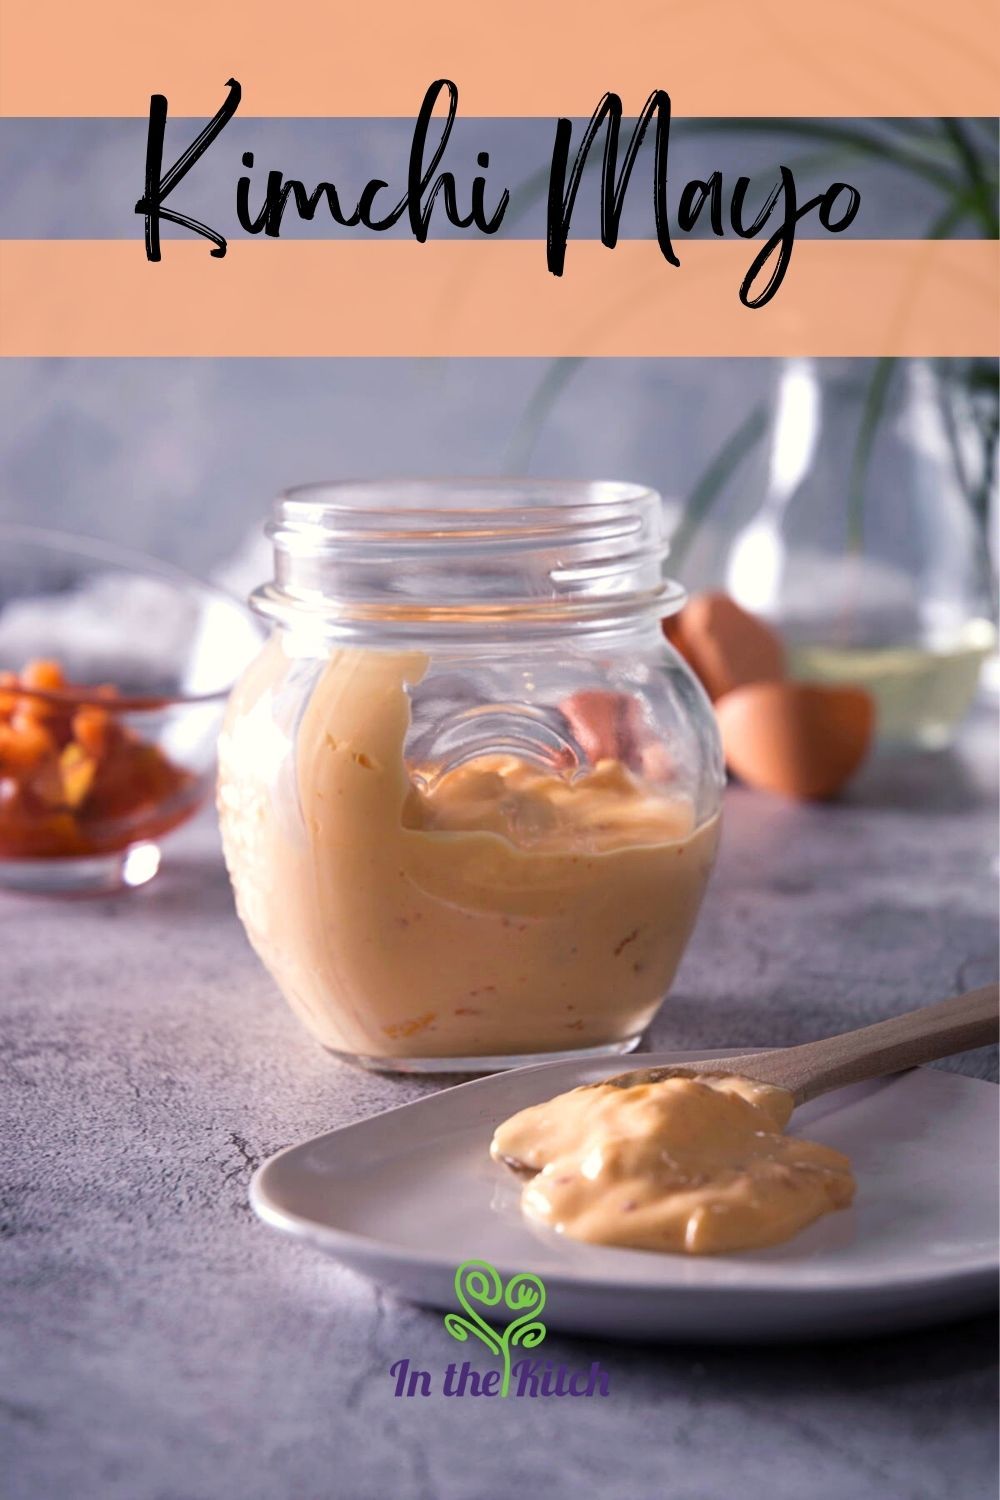
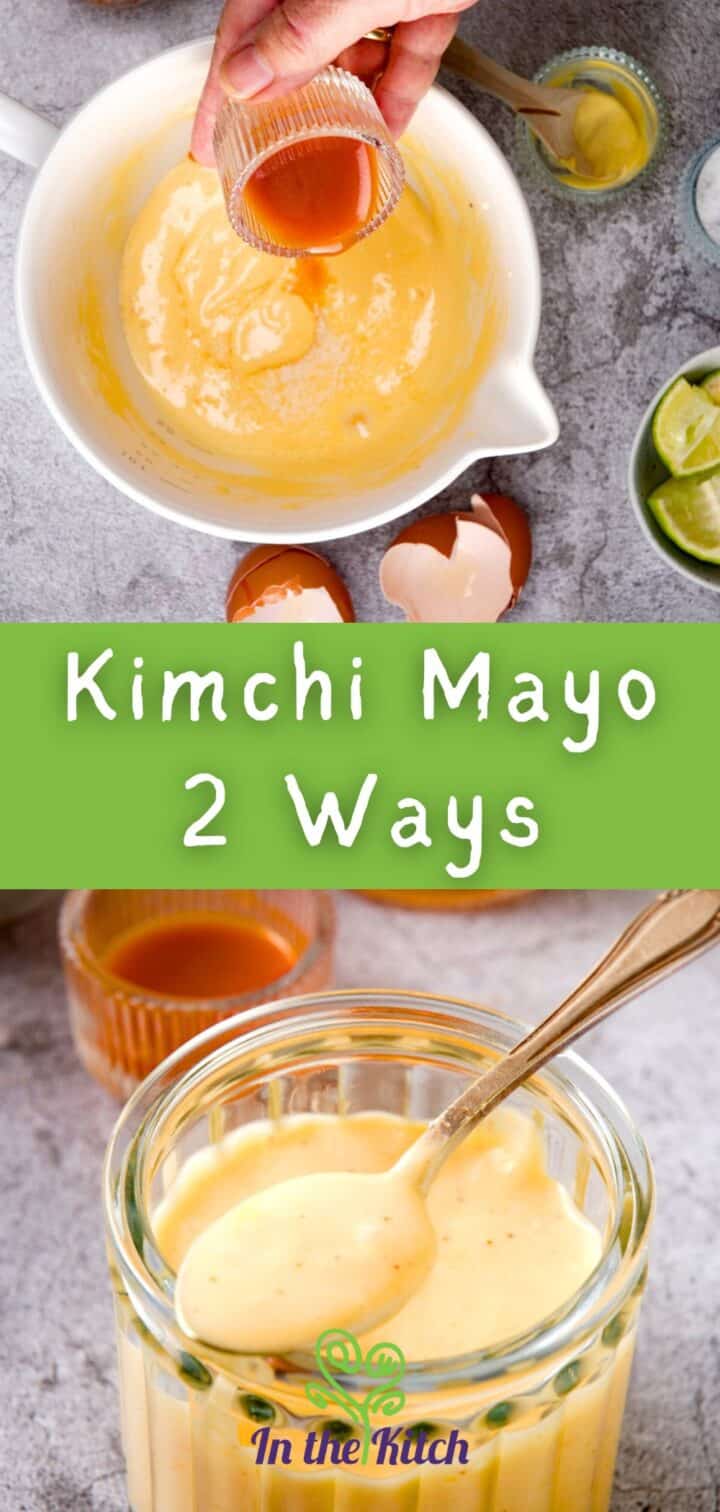
    Use this flavorful kimchi mayo to elevate your favorite dishes with a hit of spicy, umami flavor! Two different options for preparing this recipe allow for varying levels of convenience, depending on how much time you have to make it.

    Homemade kimchi mayo in jar with spoon.

    Option #1 is quick and easy and gives you delicious mayo in a flash.

    Option #2 is a more do-it-yourself approach and allows the freedom to adjust individual ingredients to suit your taste. This one is my favorite.

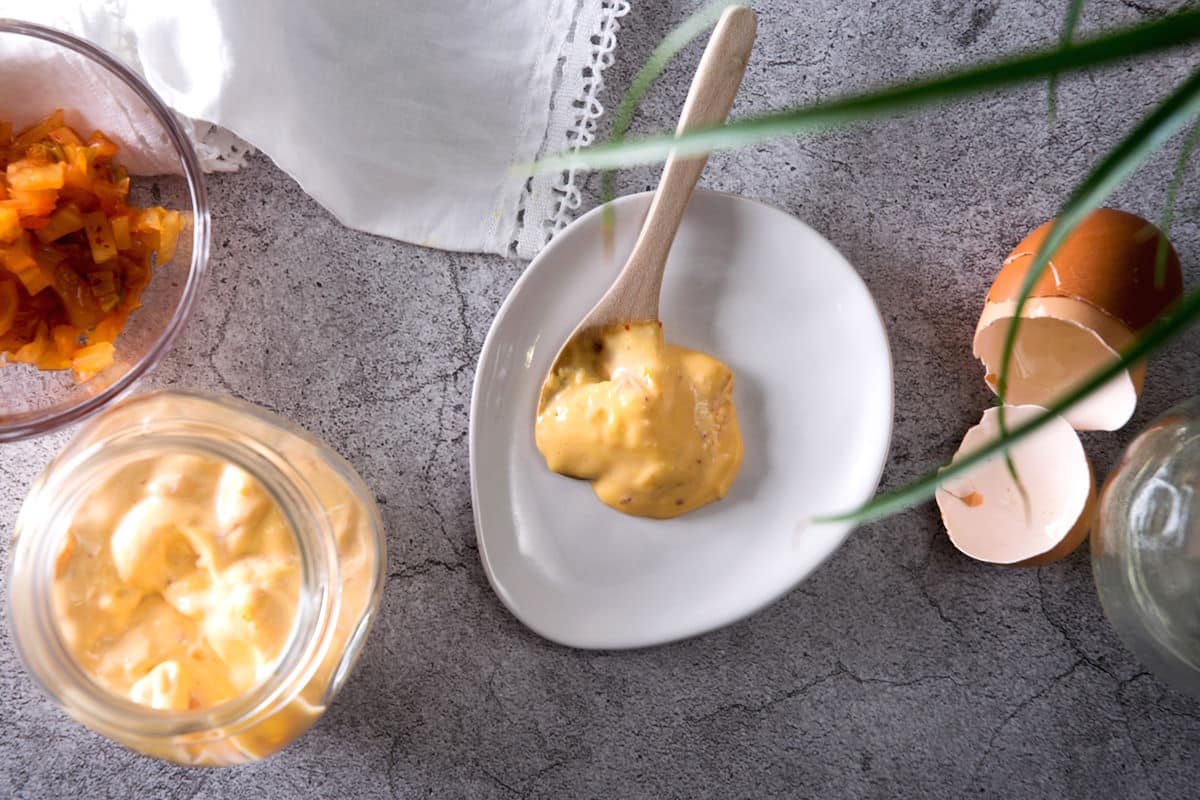
    This creamy, homemade kimchi mayo is sure to add an extra dimension of flavor to any dish such as my kimchi fish tacos or kimchi deviled eggs. It tastes slightly sweet, spicy, tangy and umami all at once!

    Jump to:
    • Option #1 Quick Kimchi Mayo
    • Option #2 Kimchi Mayo From Scratch
    • Serving Suggestions
    • Recipe FAQs
    • ❤️ More Kimchi Recipes You Will Love
    • 📋Recipe

    Option #1 Quick Kimchi Mayo

    Ingredients

    Kimchi in jar and mayo in small black dish labeled.

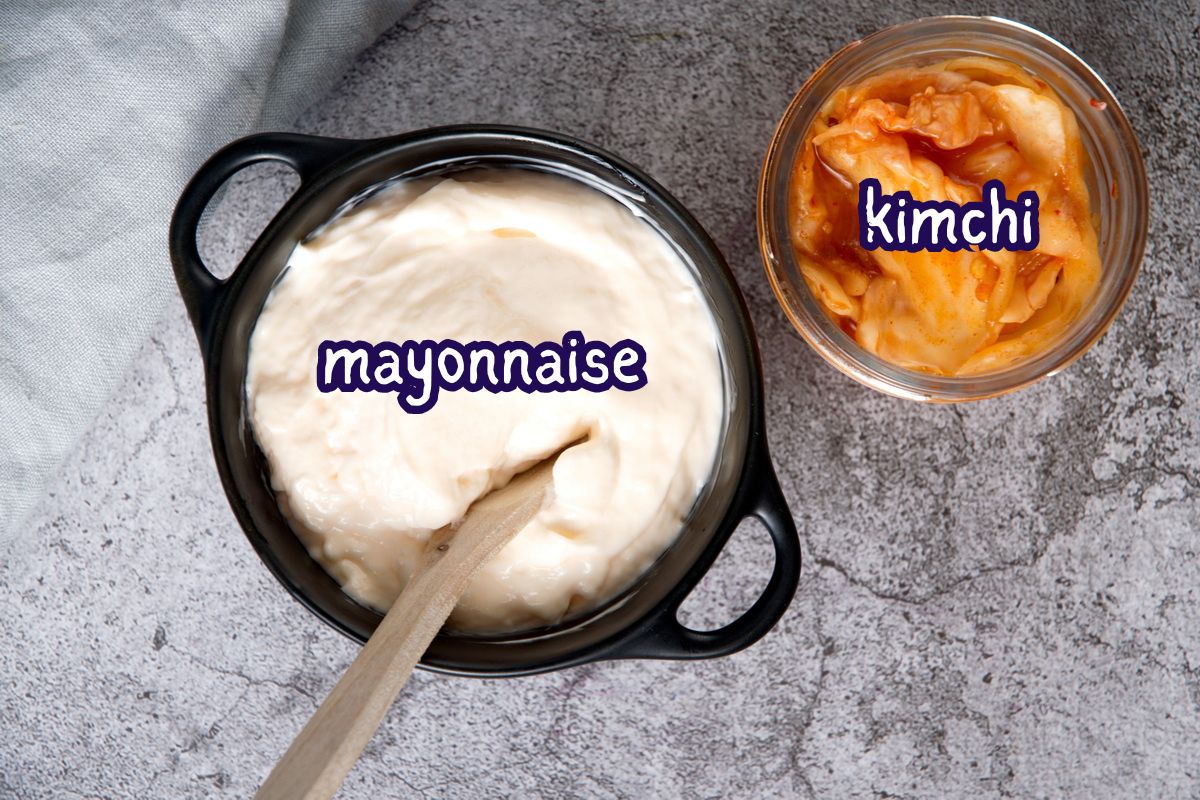
    You only need 2 ingredients for this quick mayo:

    • mayo - I like to use a thick mayo since we're adding ingredients to it and that can thin it out.
    • kimchi - Either you can buy a jar of kimchi from the grocery store or make your own kimchi from scratch.

    *Check recipe card for ingredient amounts.

    How to Make it

    Option #1 yields approximately 1 ⅔ cups mayo (26 tablespoons).

    Kimchi mayo ingredients in food processor.

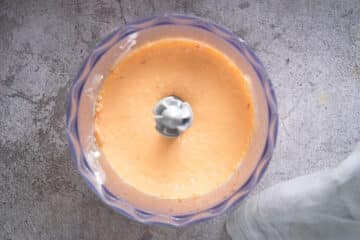
    Step 1: Add the ingredients to a blender or food processor.

    Kimchi mayo in food processor.

    Step 2: Blend until smooth.

    Kimchi mayo in small jar with spoon.

    Step 3: Transfer to a jar or squeeze bottle.

    Kimchi mayo on small plate with spoon.

    Step 4: Serve!

    Option #2 Kimchi Mayo From Scratch

    With this option we are making the mayo from scratch instead of using prepared mayo. It yields approximately 1 cup mayo (16 tablespoons).

    Ingredients

    Kimchi mayo from scratch ingredients prepped and labeled on grey background.
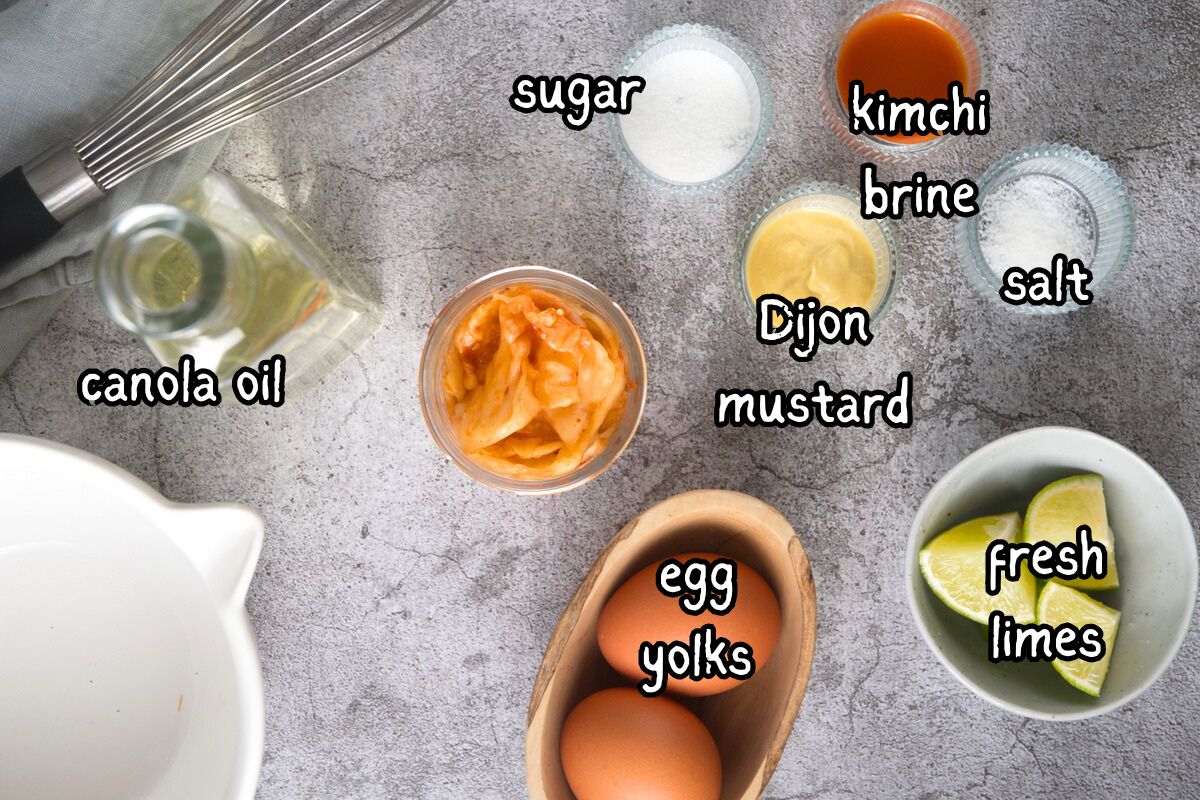
    • kimchi brine - The kimchi brine is simply the liquid in the jar of kimchi and it has a huge amount of flavor. Drain the liquid from the jar and reserve the kimchi for another use.
    • Dijon mustard - I like to use the smooth Dijon mustard for this recipe instead of the whole-grain to keep the mayo nice and smooth.
    • lime juice - I recommend using freshly squeezed lime juice.
    • canola oil - Canola has a neutral flavor and light texture which is perfect for homemade mayo.

    *Check recipe card for full ingredients and amounts.

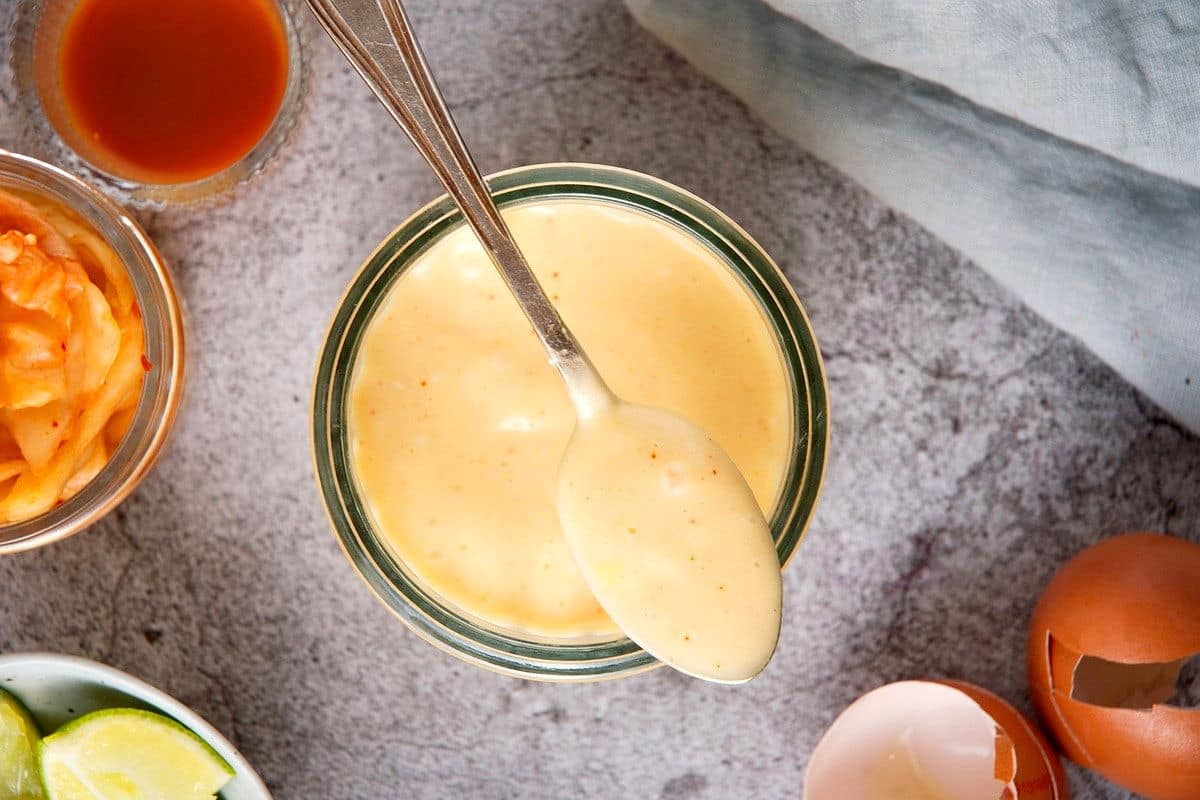
    Chef's Note: Add diced chili peppers to turn up the heat, or additional lime juice for a more zesty taste. After about a day, the ingredients will marinate further and add even more depth to the flavor.

    How to Make it

    Egg yolks and mustard in bowl.

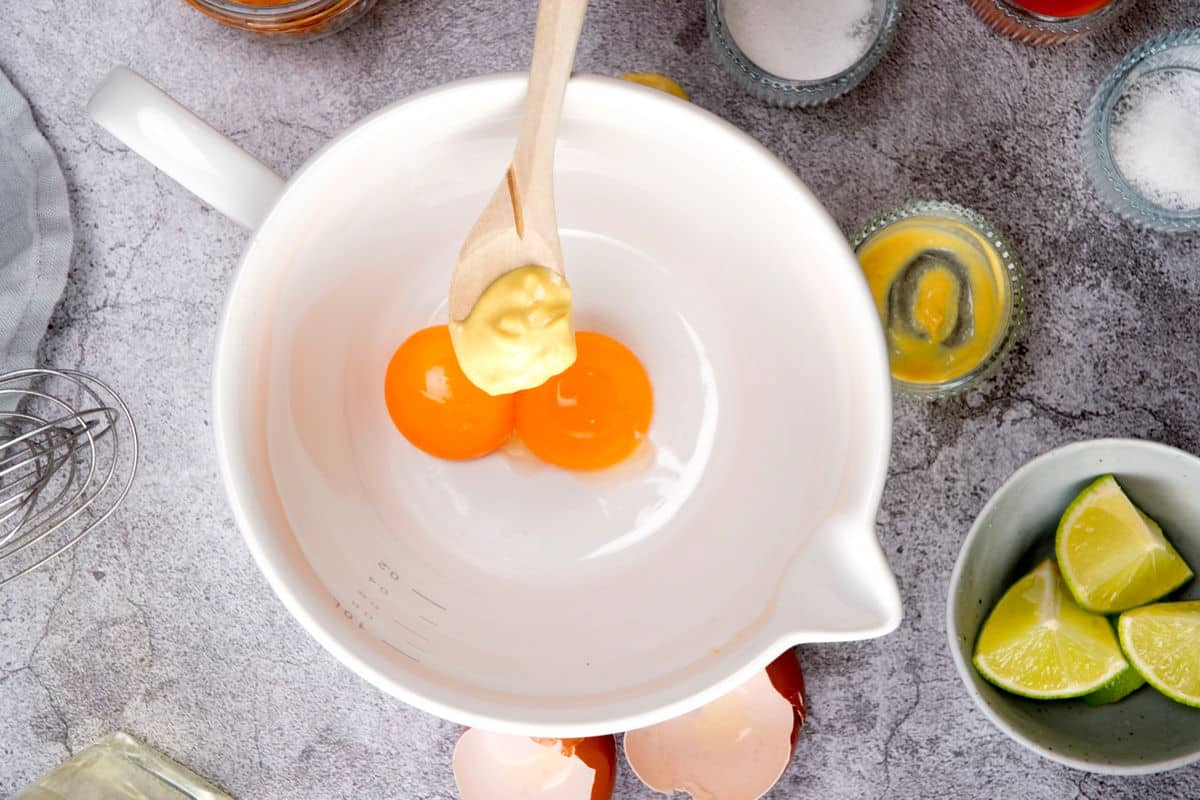
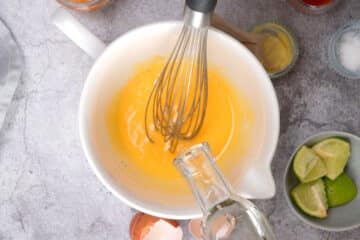
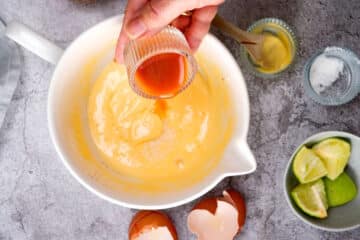
    Step 1: Add the egg yolks, mustard and lime juice to a medium bowl. Whisk until combined.

    Homemade mayo being prepared in bowl with whisk.

    Step 2: Add a small amount of the canola oil while whisking constantly, until completely combined. Continue adding small amounts of the oil, completely combining each time, until the mixture thickens.

    Pro Tip: Be patient and add the oil very slowly so that the mayo doesn't split.

    Kimchi brine pouring into homemade mayo.

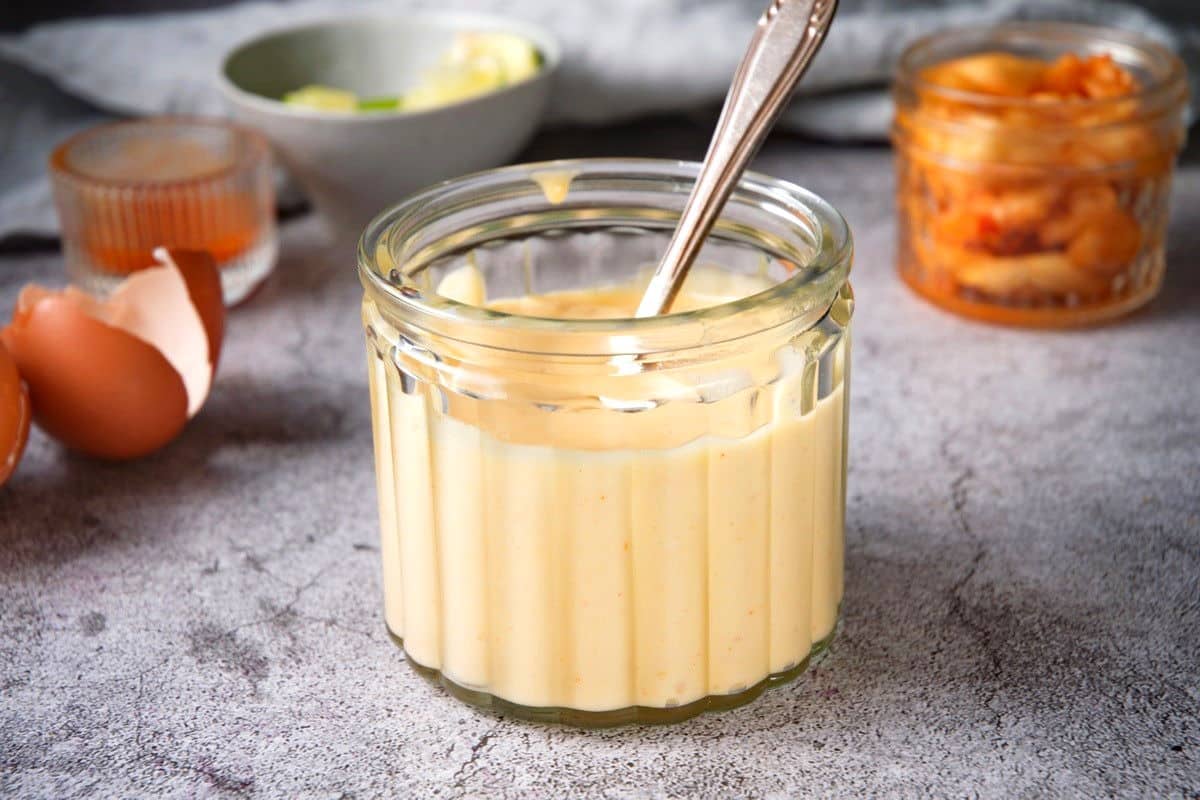
    Step 3: When the mayo becomes thick and spoon-able, you know it's ready. Mix in the kimchi brine. Season with the sugar and salt.

    Kimchi mayo in jar and on metal spoon.

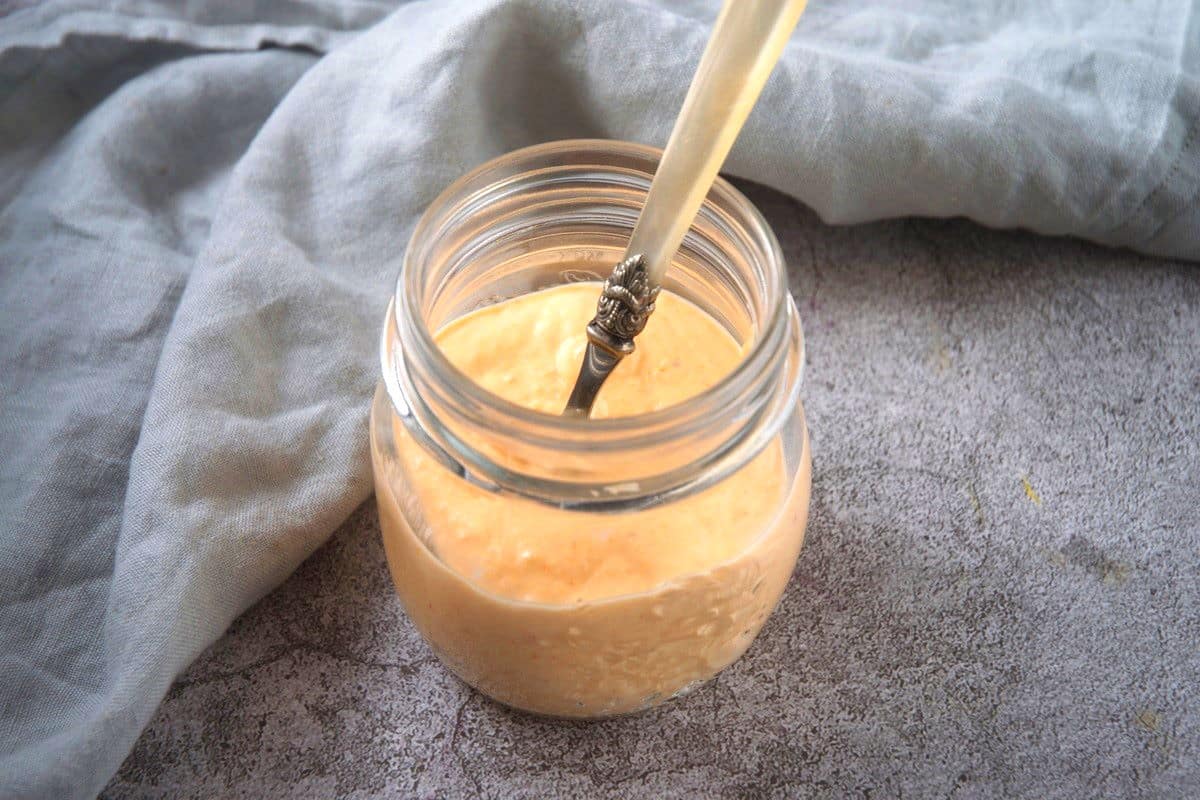
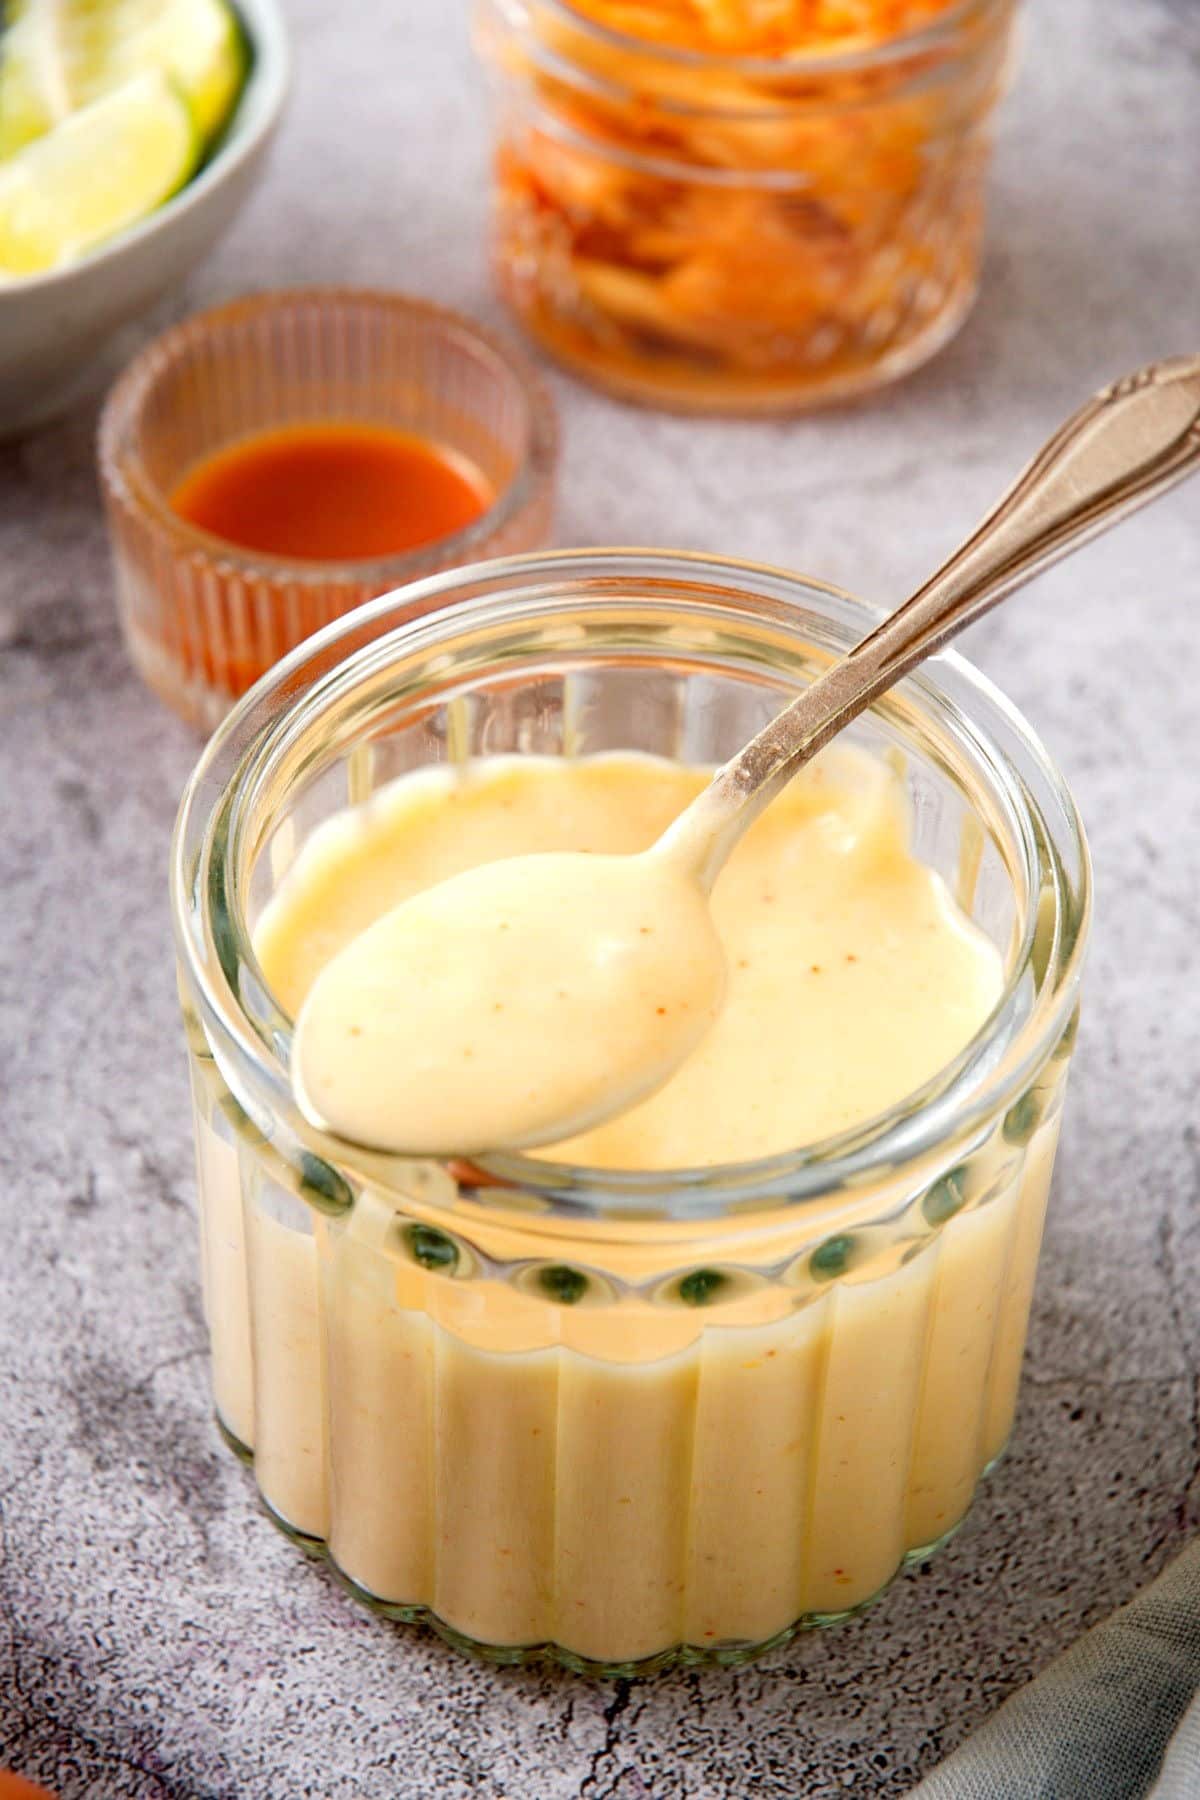
    Step 4: Transfer to a glass jar, airtight container or squeeze bottle.

    Serving Suggestions

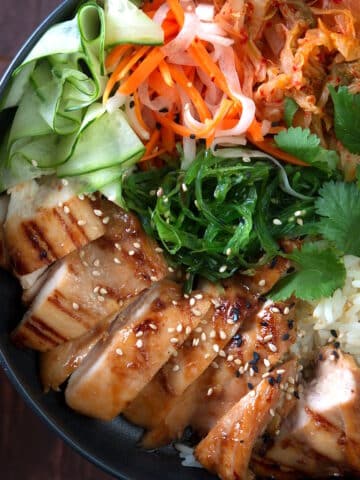
    • This mayo makes an excellent topping for many Korean dishes, including beef bulgogi, kimchi chicken or bibimbap and rice bowls.
    • It can be used in place of regular mayo for most dishes like sandwiches, wraps and burgers.
    • Use it as a dipping sauce for kimchi French fries and chicken fingers!
    • Try it in this delicious kimchi potato salad.
    • Make your next dish a fusion favorite by adding this Korean-style mayo.

    Recipe FAQs

    How long does it last in the fridge?

    Your freshly made Asian mayo should last up to 2 weeks in the refrigerator, so it is perfect to make ahead and reach for throughout the week any time you want to add the tangy flavor of kimchi to your meal.

    Is it vegan?

    Kimchi mayonnaise isn't normally vegan because mayo contains eggs and kimchi can contain seafood. However, you can find vegan mayo and kimchi brands on the market.

    Is it spicy?

    It will be slightly spicy but this will mostly depend on how spicy your kimchi is! You can make it hotter by adding some hot sauce if it isn't spicy enough for you.

    Homemade kimchi mayo in jar with kimchi brine in the background.

    ❤️ More Kimchi Recipes You Will Love

    • Kimchi mac and cheese in a bowl.
      Creamy Kimchi Mac and Cheese
    • Kimchi burritos cut open and stacked with toothpick.
      Kimchi Burritos
    • Kimchi hot dogs with small bowls of toppings on serving tray.
      Kimchi Hot Dogs
    • Kimchi rice bowl with chicken breast.
      Kimchi Rice Bowl

    If you tried this Kimchi Mayo Recipe or any other recipe on my website, please leave a 🌟 star rating and let me know how it went in the 📝 comments below. And please share the recipe!

    📋Recipe

    Kimchi mayo in jar and on spoon.

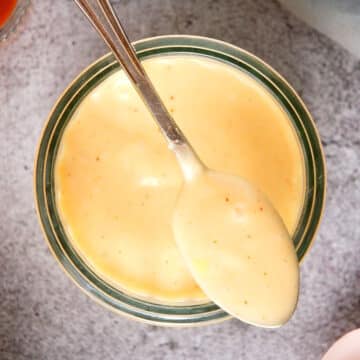
    Flavorful Kimchi Mayo

    Joss Dyckson
    Use this flavorful, kimchi mayo to elevate your favorite dishes with a hit of spicy, umami flavor! You have 2 options: use prepared mayo for a quicker option or make the mayo from scratch.
    5 from 6 votes
    Prevent your screen from going dark
    Print Recipe Pin Recipe Save Recipe Saved!
    Prep Time 5 minutes mins
    Total Time 5 minutes mins
    Course Condiment
    Cuisine American, French, Korean
    Servings 16 tablespoons
    Calories 132 kcal

    Ingredients


    Option #1 Quick Kimchi Mayo

    • 1 cup mayo
    • ½ cup kimchi - with the brine

    Option #2 Kimchi Mayo From Scratch

    • 2 egg yolks
    • 1 teaspoon Dijon mustard
    • 1 ½ teaspoons lime juice
    • 1 cup canola oil - approximately, will depend on desired thickness
    • 2 ½ tablespoons kimchi brine
    • ½ teaspoon sugar
    • salt - to taste

    Instructions
     

    Option #1 Quick Kimchi Mayo

    • Add the ingredients to a blender or food processor.
      Kimchi mayo ingredients in food processor.
    • Blend until smooth.
      Kimchi mayo in food processor.
    • Transfer to a glass jar, airtight container or squeeze bottle.
      Kimchi mayo in small jar with spoon.

    Option #2 Kimchi Mayo From Scratch

    • Add egg yolks, mustard and lime juice to a medium bowl. Whisk until combined.
      Egg yolks and mustard in bowl.
    • Add a small amount of the canola oil while whisking constantly, until completely combined. Continue adding small amounts of the oil, completely combining each time, until the mixture thickens. Be patient and add the oil very slowly so that it doesn't split.
      Homemade mayo being prepared in bowl with whisk.
    • When the mayo becomes thick and spoonable, you know it's ready. Mix in the kimchi brine. Season with the sugar and salt.
      Kimchi brine pouring into homemade mayo.
    • Transfer to a glass jar, airtight container or squeeze bottle.
      Homemade mayo in jar with spoon.

    Notes

    • Nutrition information is for option #2 (from scratch) per tablespoon.
    • Option #1 yields approximately 1 ⅔ cups mayo (26 tablespoons).
    • Option #2 yields approximately 1 cup mayo (16 tablespoons).
    • Keep the mayo refrigerated for up to two weeks.
    • It will be slightly spicy but this will mostly depend on how spicy your kimchi is! You can make it hotter by adding some hot sauce if it isn't spicy enough for you.

    Nutrition

    Calories: 132kcalCarbohydrates: 1gProtein: 1gFat: 15gSaturated Fat: 1gPolyunsaturated Fat: 4gMonounsaturated Fat: 9gTrans Fat: 1gCholesterol: 24mgSodium: 5mgPotassium: 3mgFiber: 1gSugar: 1gVitamin A: 33IUVitamin C: 1mgCalcium: 3mgIron: 1mg

    Nutrition information on In the Kitch is provided as a courtesy and is an estimate only. It may not include toppings and/or sauces.

    Want to see our recipes in action?Subscribe to our channel on Youtube!

    More Homemade Condiment Recipes

    • Pumpkin seed butter in jar.
      Pumpkin Seed Butter
    • Collage of coffee syrups.
      12 Coffee Syrup Recipes to Upgrade Your Brew
    • Caramel syrup in a jar and hot coffee in a mug.
      Caramel Syrup for Coffee
    • Cocktail syrups infusing in bottles.
      How to Prepare Cocktail Syrups
    129 shares
    • Share29
    • Tweet
    • Email
    • Bluesky
    • Reddit

    Comments

      5 from 6 votes (5 ratings without comment)

      Leave a Reply Cancel reply

      Your email address will not be published. Required fields are marked *

      Recipe Rating


    1. Joss says

      April 18, 2025 at 11:04 am

      This kimchi mayo is delicious!!! The quick option is nice and easy but you can’t beat the flavor of the mayo from scratch.

      Reply
    Joss Dyckson author photo.

    Hi, I'm Joss!

    I am the creator and editor of In the Kitch. I am inviting you on this food journey with me to learn, grow and bring out that inner chef in you. I hope to inspire you to get creative in your own kitchen!

    More about me →

    Christmas Recipes

    • Caramel brûlée latte and sauce on blue background.
      Caramel Brûlée Sauce + Latte (Copycat)
    • Roasted beets and turnips in wooden serving bowl.
      Christmas Side Dish: Roasted Beet & Turnip Duo
    • Sliced bison roast on white serving dish with vegetables.
      Slow Cooker Bison Roast
    • Christmas wreath salad on white background.
      Christmas Wreath Salad
    • Goat cheese shots with mini breadsticks and Christmas lights on the side.
      Cranberry Goat Cheese Mini Dips (Christmas Appetizer)
    • Chocolate mug cake mix in a red mug with Christmas gift label.
      Food Gift Recipe: Fudgy Chocolate Mug Cake

    Popular

    • Cuban lunch chocolate bars stacked.
      Cuban Lunch Chocolate Bar Recipe
    • Cake pop frosting in bowl with spatula.
      Cake Pop Frosting & Coating
    • Peanut butter soup in a speckled bowl.
      Peanut Butter Soup
    • Hamburger scrambled eggs in cast iron pan.
      Hamburger Scrambled Eggs
    • Electric skillet fried chicken in a dish.
      Electric Skillet Fried Chicken
    • Electric skillet pot roast with vegetables on serving tray.
      Electric Skillet Pot Roast

    Footer

    ↑ back to top

    In the Kitch

    • Privacy Policy
    • Terms & Conditions
    • Disclaimer
    • Accessibility Statement

    About

    • About
    • The Team

    Contact

    • Contact

    As an Amazon Associate I earn from qualifying purchases.

    Copyright © 2025 In the Kitch

    Rate This Recipe

    Your vote:


    A rating is required
    A name is required
    An email is required

    Recipe Ratings without Comment

    Something went wrong. Please try again.