• Skip to main content
  • Skip to primary sidebar

In the Kitch

menu icon
go to homepage
  • Mother's Day
  • Recipe Index
  • Guides
  • Tutorials
  • Subscribe
    • Facebook
    • Pinterest
    • YouTube
  • search icon
    Homepage link
    • Mother's Day
    • Recipe Index
    • Guides
    • Tutorials
    • Subscribe
    • Facebook
    • Pinterest
    • YouTube
  • ×
    In the Kitch » Recipes » Appetizers

    Updated: Jul 1, 2024 · Published: Jun 14, 2023 by Joss Dyckson · This post may contain affiliate links ·

    Baked Bison Sliders

    Jump to Recipe
    Bison sliders on plate and casserole dish with text overlay that says 'baked bison sliders'.
    Bison sliders in casserole dish with text overlay that says 'oven-baked bison sliders'.

    These oven-baked, snack-size bison sliders pack a punch with their delicious fillings, condiments and buttery topping. They are absolute flavor bombs! I hope you enjoy this appetizer as much as my family and I do.
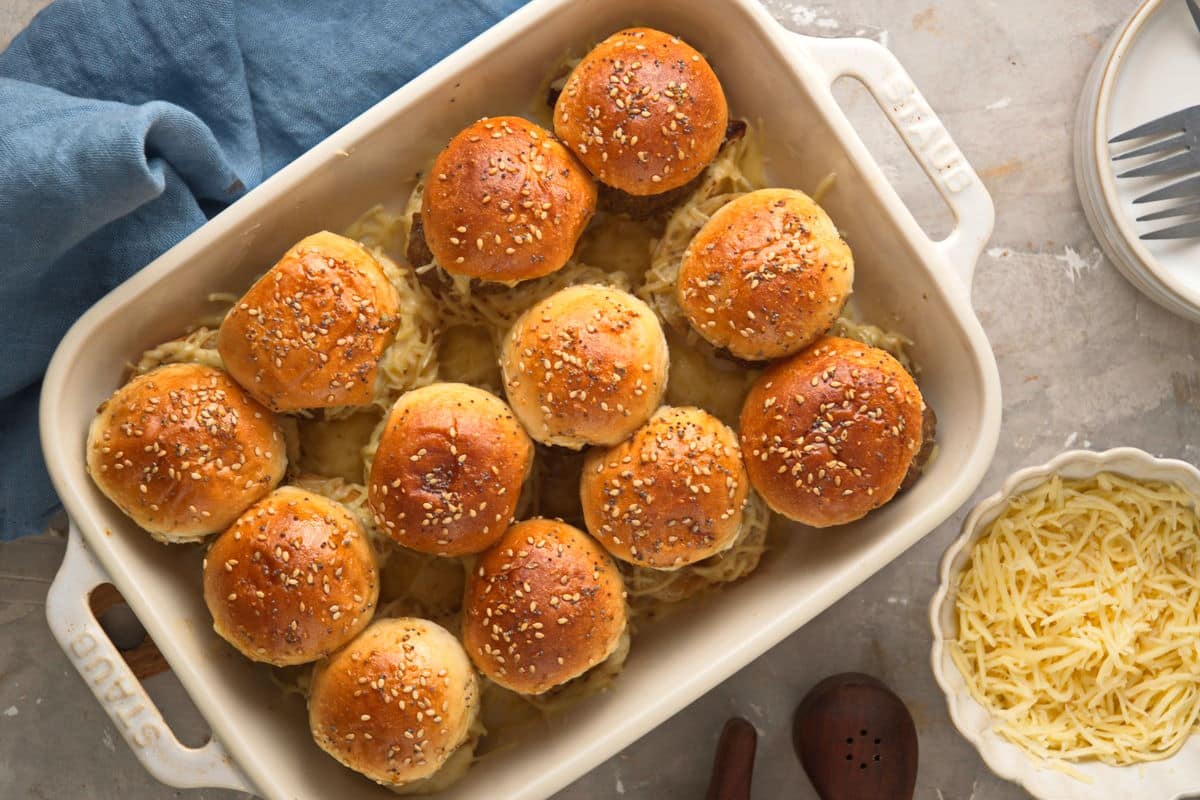
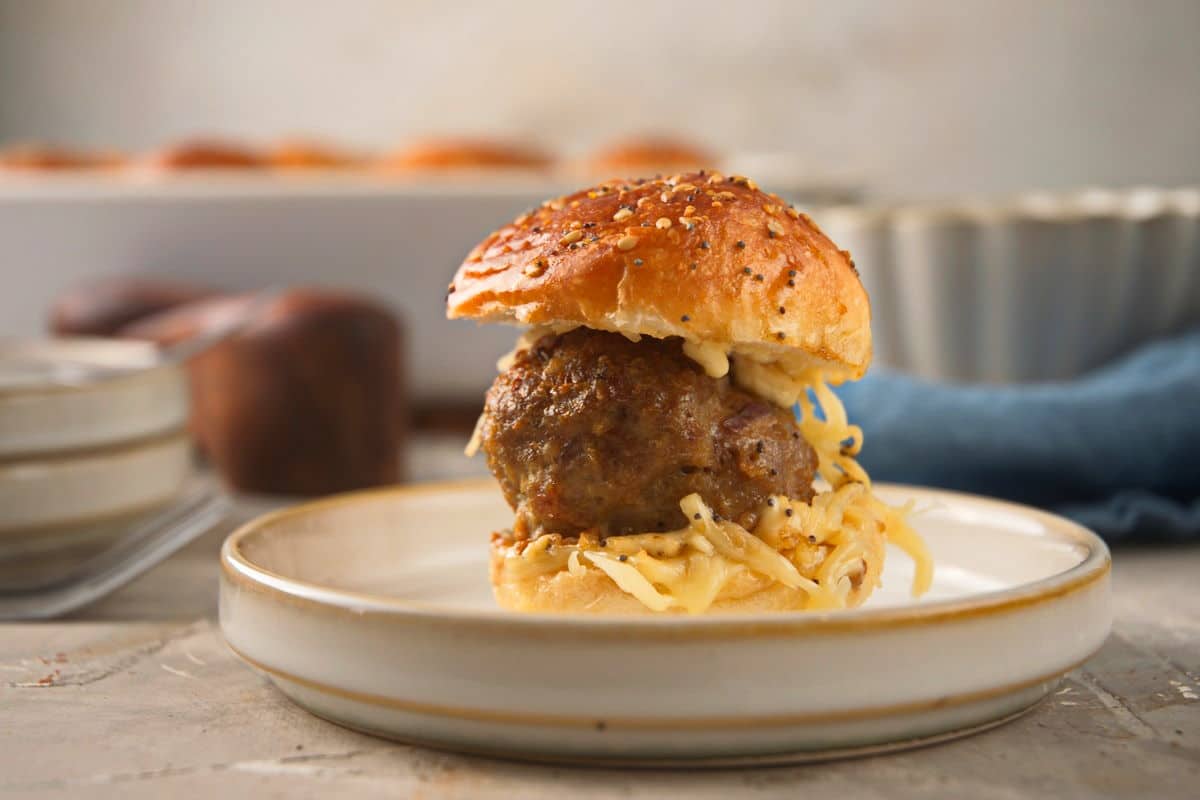
    Oven-baked bison meatball sliders in white casserole dish.
    Jump to:
    • The Details on These Bison Sliders
    • Ingredients
    • How to Make Bison Sliders
    • Make-Ahead Preparations
    • Serving Suggestions
    • Recipe FAQs
    • More Delicious Bison Recipes
    • 📋Recipe

    The Details on These Bison Sliders

    Feeds a crowd. If you’re in charge of feeding a crowd this Canada Day, this exotic Canadian meat dish of mini bison burgers will fit right into the menu along with my red and white themed Canada Day cheesecake in a jar.

    Baked, not fried. Unlike other bison meatball sliders that are pan fried, these ones are baked, taking away some active time to enjoy these tiny sandwiches and adding more time for guests.

    Not so greasy. The original sliders were called “sliders with a lid” because they were so greasy that they slid on the bun easily. Now, these bison sliders are not as greasy, especially since they are made with bison, but their miniature size will make it easy for them to slide into your mouth.

    I also have these pulled pork sliders that are equally delicious!

    Ingredients

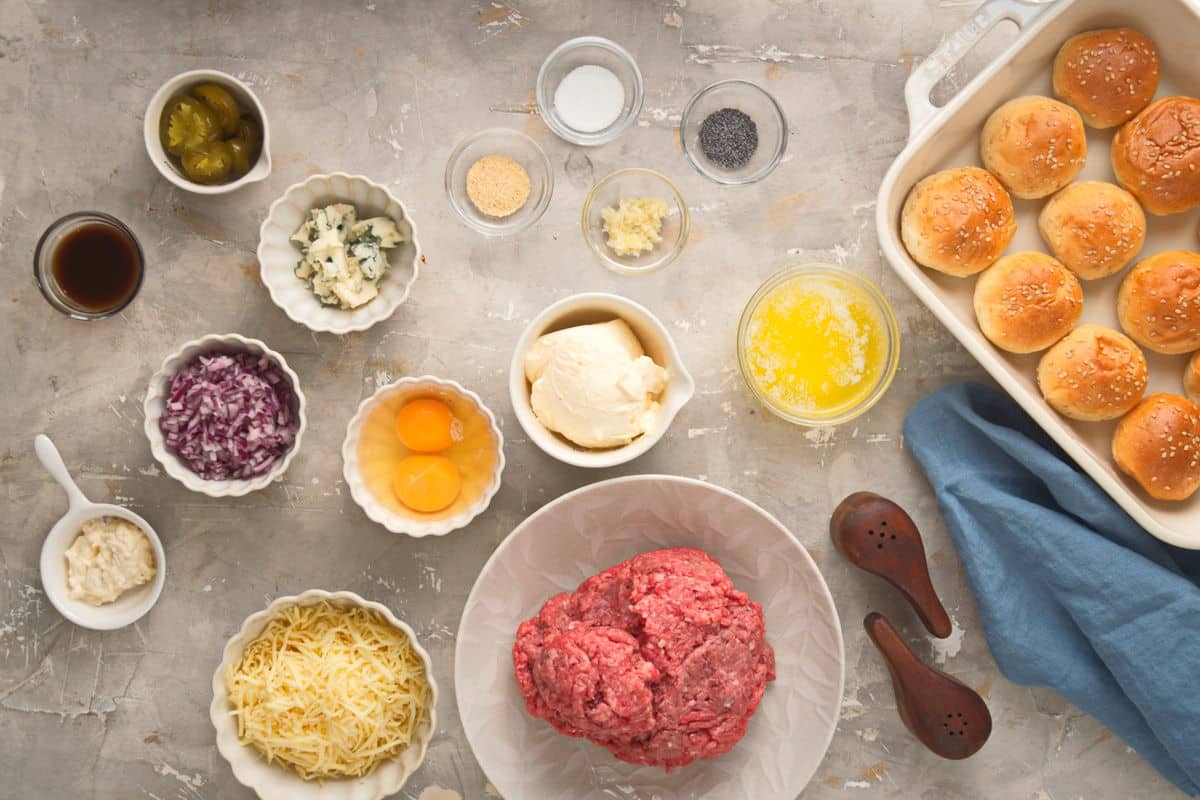
    Baked bison sliders ingredients prepped and labeled.
    • ground bison - Ground bison can be found at farmers' markets, specialty meat shops, organic markets and grocery stores.
    • blue cheese - Pre-crumbled or you can crumble your own.
    • red onion - You can substitute with yellow or white onion if desired.
    • pickled jalapeños - These are optional but they provide a bit of kick to the sliders.
    • eggs - To bind the meatball ingredients.
    • slider buns - Brioche, whole wheat, sesame seed etc.
    • mozzarella cheese - Its mild flavor and melting properties are perfect for these sliders.
    • prepared horseradish - You can actually find wild horseradish in the same areas that the bison roam. You can also grow your own and use the root to make prepared horseradish. However, store-bought is what I use for this recipe.
    • Worcestershire sauce - Enhances the savory, meat flavor.
    • poppy seeds - The small seeds in the topping sauce add a nice, crunchy texture contrast to the soft, fluffy buns.

    *Check recipe card for ingredient amounts.

    Chef's Note: These aren't too spicy for my kids to enjoy. But if your kids are sensitive to heat, make them whole-family friendly by omitting the jalapeños and using their favorite sauce instead of the horseradish sauce.

    How to Make Bison Sliders

    This recipe makes 12 sliders which is perfect for the whole family to enjoy or to serve at a dinner party or gathering!
    Bison sliders steps collage, making the meatballs.

    Step 1. Make the meat mixture. Preheat oven to 350˚F. In a large bowl combine the ground bison, garlic, blue cheese, onions, jalapeños, egg, salt and pepper (Images 1 and 2).

    Step 2. Roll into meatballs. Roll the mixture into 12 meatballs and place them on a baking sheet (Images 3 and 4).

    👩🏻‍🍳Check out more of my bison recipes and if you like meatballs, you might also like my Freezer meal turkey meatballs.

    Bison sliders steps collage, baking the meatballs and cutting open the buns.

    Step 3. Bake meatballs. Bake for 30 minutes in the preheated oven, or until they reach an internal temperature of 160°F (Image 5).

    Step 4. Make the slider sauce. Meanwhile, mix all of the slider sauce ingredients together and reserve (Image 6).

    Step 5. Prep the buns. Slice the slider buns in half (Image 7). Place the bottom half in a 9” x 13” baking dish. Spoon a little sauce on each bun (Image 8).

    Bison sliders steps collage, assembling the sliders.

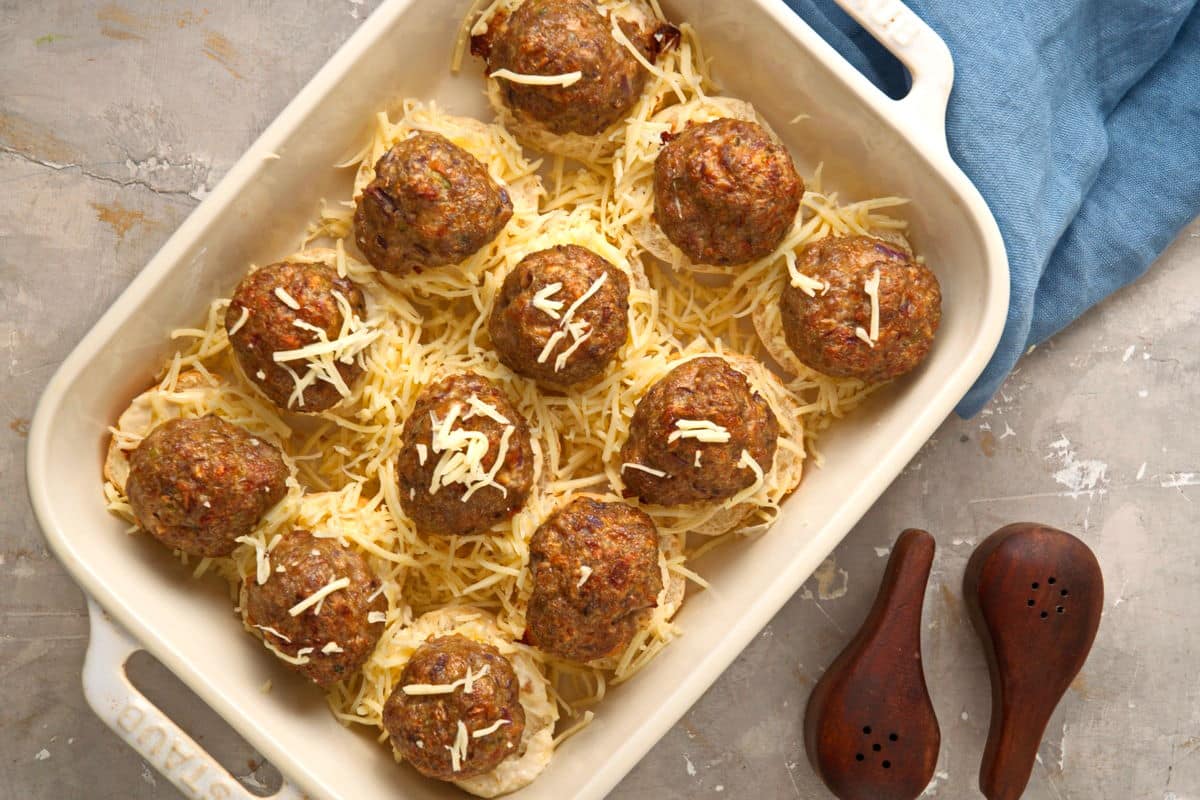
    Step 6. Assemble the sliders. Top the buns with a meatball and another spoonful of sauce (Image 9). Sprinkle the mozzarella cheese on top (Image 10).

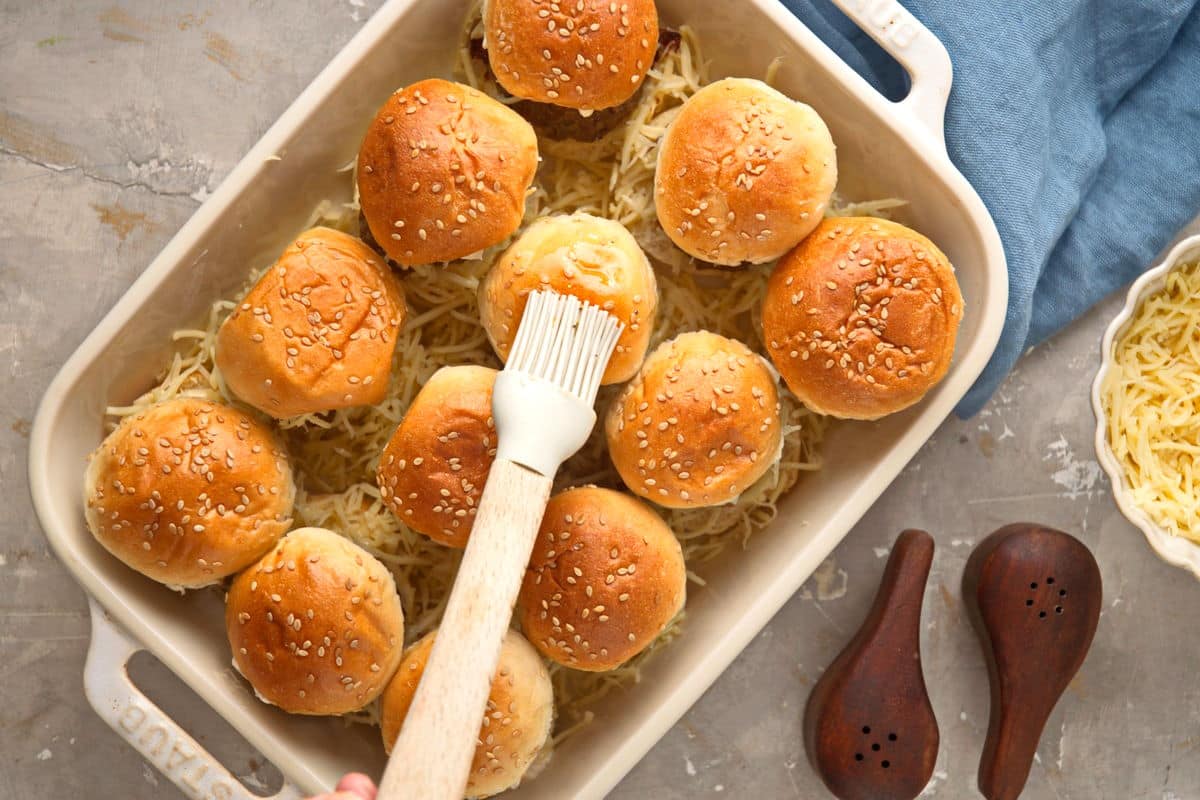
    Step 7. Make the topping. Combine the butter topping ingredients together (Image 11). Place the remaining half of the buns on top of the meatballs and lightly brush them with the butter topping (Image 12).

    Bison meatball sliders with melted mozzarella in casserole dish.

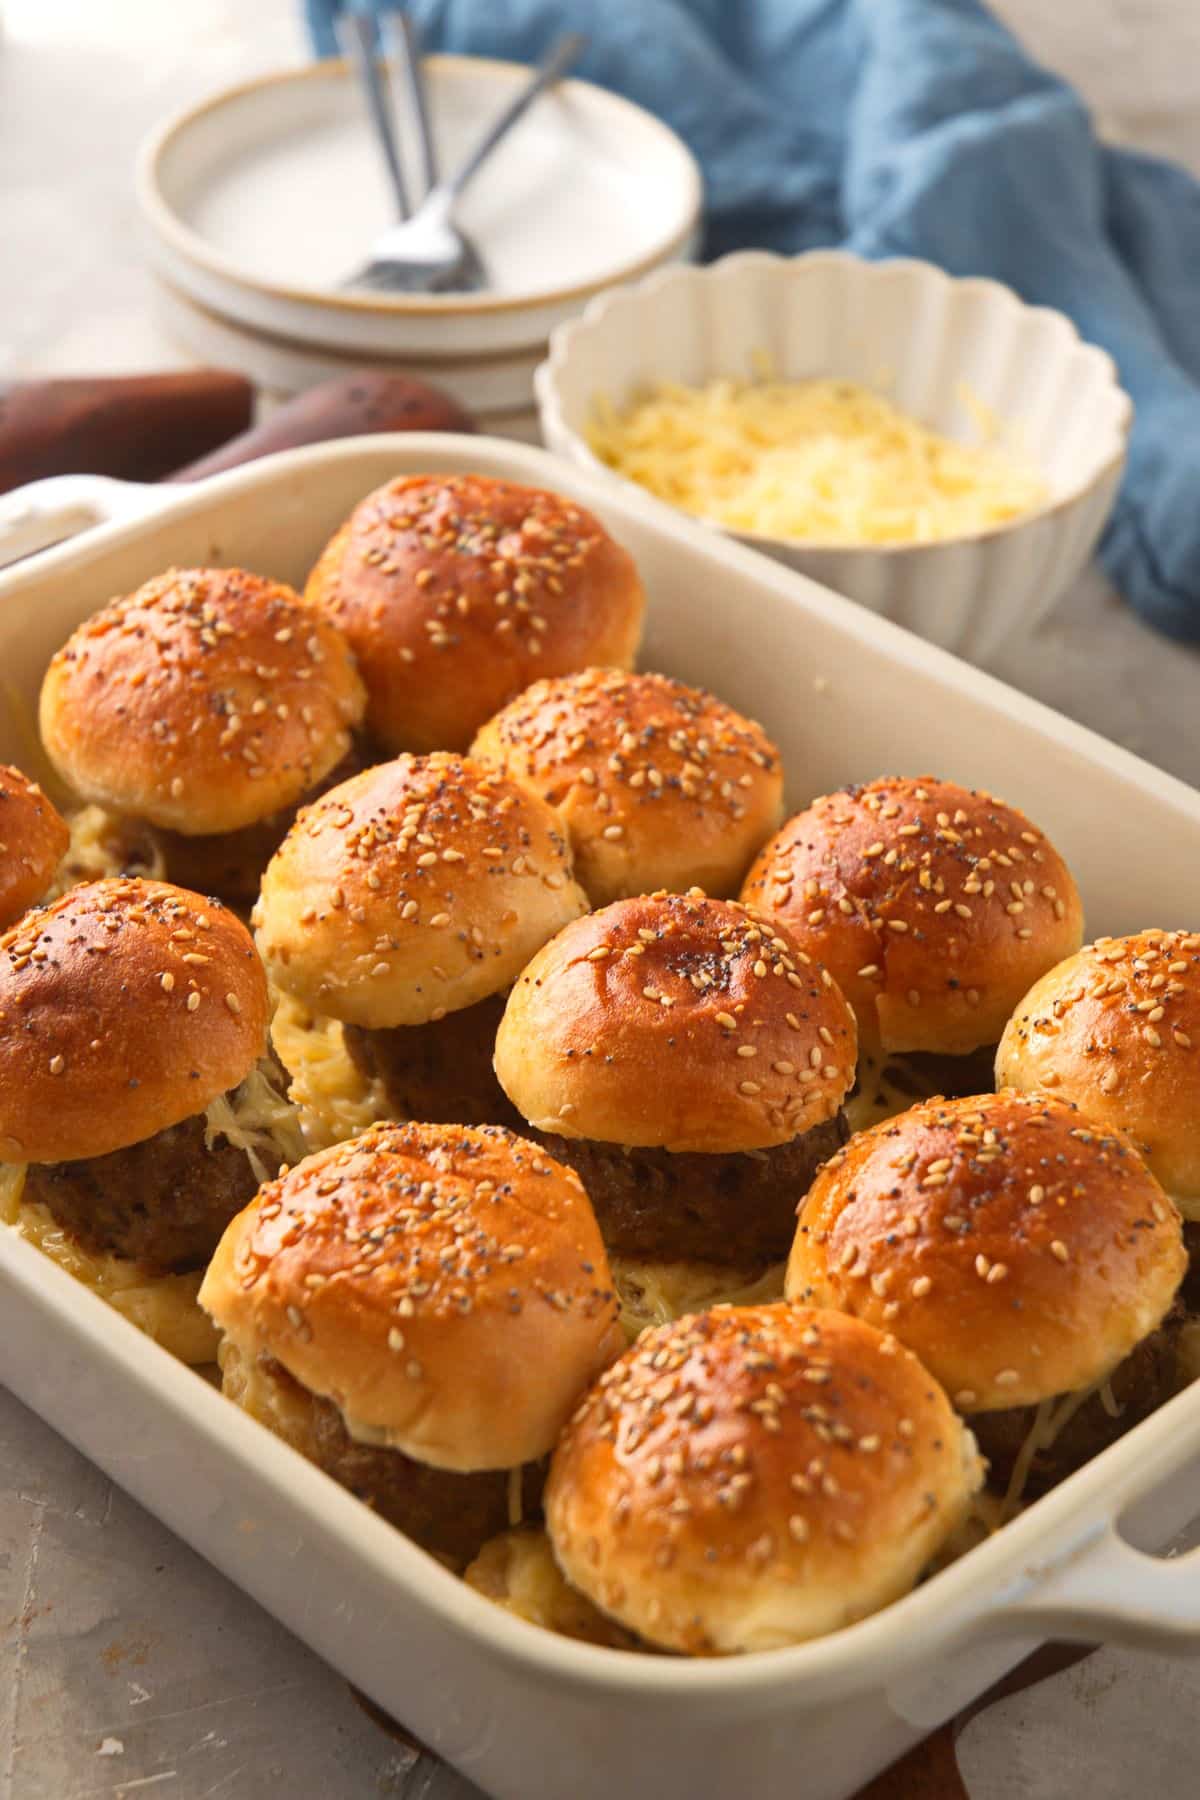
    Step 8. Bake. Transfer the bison sliders to the oven and bake for 15 minutes, until golden and the cheese is melted. Let cool for a few minutes and serve!

    Make-Ahead Preparations

    • The sauce and butter topping can be prepared a day or two ahead of time.
    • For the topping, just re-melt it before brushing it onto the sliders.
    • Store the slider buns in the freezer and pull them out on the day of serving to thaw so that they stay fresh.
    • The meatballs can be prepared and stored in the refrigerator, up to one day in advance, before baking.

    Serving Suggestions

    With all the spicy ingredients, I recommend a cool, sweet drink to pair with these sliders. One of the classic pairings of burgers and sliders are milkshakes.

    If you want a healthier option, I recommend a virgin daiquiri or fruit smoothie. Strawberry is a classic but you can also go with my mango-pineapple smoothie or blackberry smoothie.

    Everyone knows fries go with burgers like peanut butter and jelly, but if you want to try different sides, potato salad is a great option. You can also enjoy some potato chips, a simple green salad or grilled mango.

    Recipe FAQs

    How do you keep sliders from getting soggy?

    Oven-baking sliders helps to avoid getting them soggy. After cooking the meat, make sure you drain the grease before building the sliders. When it comes to reheating, use an oven rather than a microwave to retain their crispiness.

    How long can you store leftovers in the fridge?

    Leftovers can be stored in the fridge in a covered container for up to 3 to 4 days.

    How do you reheat them?

    You can reheat the cooked bison sliders in a 325°F to 350°F oven, covered in foil, until heated through (about 10 to 12 minutes).

    Can you freeze them?

    Yes. They can be wrapped and frozen in a freezer bag (or in a covered casserole dish) for up to 2 months. Make sure to label with the date. Thaw in the fridge overnight and proceed to reheat in the oven.

    Bison sliders with melted cheese in casserole dish.

    More Delicious Bison Recipes

    • Bison brisket nachos in cast iron pan.
      Bison Brisket Nachos
    • Bison chili with toppings in cast iron dish.
      Slow Cooker Bison Chili
    • BBQ bison short ribs on plate.
      Bison Short Ribs
    • Bison bone broth in large pot.
      Bison Bone Broth

    If you tried this Baked Bison Sliders Recipe or any other recipe on my website, please leave a 🌟 star rating and let me know how it went in the 📝 comments below. And please share the recipe!

    📋Recipe

    Baked bison sliders in white casserole dish.

    Baked Bison Sliders

    Joss Dyckson
    These oven-baked, snack-size bison sliders pack a punch with their delicious fillings, condiments and buttery topping. They are absolute flavor bombs!
    5 from 2 votes
    Prevent your screen from going dark
    Print Recipe Pin Recipe Save Recipe Saved!
    Prep Time 15 minutes mins
    Cook Time 45 minutes mins
    Total Time 1 hour hr
    Course Appetizer, Snack
    Cuisine American, Canadian
    Servings 12 sliders
    Calories 444 kcal

    Ingredients


    For the Sliders

    • 1 ½ pounds ground bison
    • 2 teaspoons garlic - minced
    • ½ cup blue cheese crumbles
    • ¼ cup red onion - diced
    • 2 tablespoons pickled jalapeños - diced
    • 1 large egg
    • 1 teaspoon salt
    • ½ teaspoon pepper
    • 12 slider buns - brioche, sesame, whole wheat etc.
    • 2 cups mozzarella cheese - shredded

    For the Sauce

    • 1 cup mayonnaise
    • 1 ½ tablespoons prepared horseradish
    • ⅛ teaspoon ground black pepper

    For the Butter Topping

    • 2 tablespoons butter - melted
    • ½ teaspoon Worcestershire sauce
    • ½ teaspoon onion powder
    • ¼ teaspoon poppy seeds
    • ¼ teaspoon sugar

    Instructions
     

    • Preheat oven to 350˚F.
    • In a large bowl, combine the ground bison, garlic, blue cheese, onions, jalapeños, egg, salt and pepper. Roll the mixture into 12 meatballs and place them on a baking sheet.
    • Bake for 30 minutes in the preheated oven, or until they reach an internal temperature of 160°F.
    • Meanwhile, mix all of the sauce ingredients together and reserve.
    • Slice the slider buns in half. Place the bottom half in a 9” x 13” baking dish.
    • Spoon a little sauce on each bun. Top with a meatball and another spoonful of sauce. Sprinkle the mozzarella cheese on top.
    • Combine the butter topping ingredients together. Place the remaining half of the buns on top of the meatballs and lightly brush them with the butter topping.
    • Transfer to the oven and bake for 15 minutes, until golden and the cheese is melted.
    • Let cool for a few minutes and serve!

    Notes

    • Make-ahead preparations:
      • The sauce and butter topping can be prepared a day or two ahead of time.
      • For the topping, just re-melt it before brushing it onto the sliders.
      • Store the slider buns in the freezer and pull them out on the day of serving to thaw so that they stay fresh.
      • The meatballs can be prepared and stored in the refrigerator, up to one day in advance, before baking.
    • Fridge storage: Leftovers can be stored in the fridge in a covered container for up to 3 to 4 days.
    • Reheating leftovers: You can reheat them in a 325°F to 350°F oven, covered in foil, until heated through (about 10 to 12 minutes).
    • Freezer storage: They can be wrapped and frozen in a freezer bag (or in a casserole dish) for up to 2 months. Make sure to label with the date. Thaw in the fridge overnight and proceed to reheat in the oven.
    • To avoid a soggy slider:
      • Oven-baking sliders helps to avoid getting them soggy.
      • After cooking the meat, make sure you drain the grease before building the sliders.
      • When it comes to reheating, use an oven rather than a microwave to retain their crispiness.
    • Tweaks:
      • To tone down the spice, you can use pickles instead of jalapeños.
      • If blue cheese won't please everyone, try feta.

    Nutrition

    Calories: 444kcalCarbohydrates: 18gProtein: 19gFat: 32gSaturated Fat: 11gPolyunsaturated Fat: 9gMonounsaturated Fat: 9gTrans Fat: 0.1gCholesterol: 87mgSodium: 592mgPotassium: 232mgFiber: 1gSugar: 3gVitamin A: 291IUVitamin C: 1mgCalcium: 164mgIron: 3mg

    Nutrition information on In the Kitch is provided as a courtesy and is an estimate only. It may not include toppings and/or sauces.

    Want to see our recipes in action?Subscribe to our channel on Youtube!

    More Easy & Delicious Appetizer Recipes

    • Easy Homemade Pickled Sausage
    • Veggie nachos on plate.
      Electric Skillet Veggie Nachos
    • Grilled cubed mango on wooden skewers.
      Grilled Mango Skewers
    • Buffalo chicken dip with green onions in serving dish.
      Easy Slow Cooker Buffalo Chicken Dip
    71 shares
    • Share20
    • Tweet
    • Email
    • Bluesky
    • Reddit

    Reader Interactions

    Comments

      5 from 2 votes (1 rating without comment)

      Leave a Reply Cancel reply

      Your email address will not be published. Required fields are marked *

      Recipe Rating


    1. Dawna says

      January 22, 2024 at 7:24 pm

      These are delicious! I can't wait to make them again.

      Reply
      • Joss Dyckson says

        January 22, 2024 at 7:31 pm

        Thank you so much, Dawna. I really appreciate it and I'm glad you enjoyed them!

        Reply

    Primary Sidebar

    Joss D author image.

    Hi, I'm Joss!

    I am the creator and editor of In the Kitch. I am inviting you on this food journey with me to learn, grow and bring out that inner chef in you. I hope to inspire you to get creative in your own kitchen!

    More about me →

    Mother's Day Recipes

    • Spring white wine sangria in wine glass.
      Spring White Wine Sangria

    • Strawberry shortcake ice cream in martini glasses with syrup pouring out of spoon.
      Strawberry Shortcake Ice Cream

    • Lemon basil pasta with chicken and Parmesan cheese on plate.
      Lemon Basil Pasta (with Chicken)

    • Roasted white asparagus with capers and fresh dill.
      Roasted White Asparagus

    • Strawberry liqueur in jar with fresh strawberries on the side.
      Strawberry Liqueur

    • Iced lemon mousse in small jars.
      Iced Lemon Mousse

    Popular

    • Peanut butter soup in a speckled bowl.
      Peanut Butter Soup

    • Cake pop frosting in bowl with spatula.
      Cake Pop Frosting & Coating

    • Cake mix cake pops in small pails with sprinkles on top.
      How to Make Cake Pops with Cake Mix

    • Hamburger scrambled eggs in cast iron pan.
      Hamburger Scrambled Eggs

    • Electric skillet fried chicken in a dish.
      Electric Skillet Fried Chicken

    • Electric skillet pot roast with vegetables on serving tray.
      Electric Skillet Pot Roast

    Footer

    ↑ back to top

    In the Kitch

    • Privacy Policy
    • Terms & Conditions
    • Disclaimer
    • Accessibility Statement

    About

    • About
    • The Team

    Contact

    • Contact

    As an Amazon Associate I earn from qualifying purchases.

    Copyright © 2025 In the Kitch

    Rate This Recipe

    Your vote:


    A rating is required
    A name is required
    An email is required

    Recipe Ratings without Comment

    Something went wrong. Please try again.