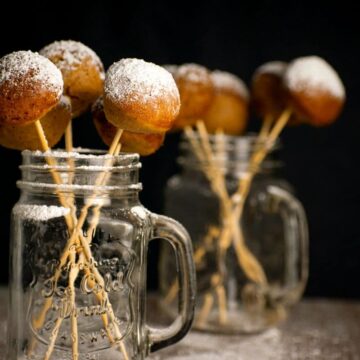
It's pumpkin season! These pumpkin cake pops are a delightful fall treat that can surprisingly be prepared in under 30 minutes. They are very portable--making them perfect for fall-themed parties and packed lunches or you can serve them as a tasty snack at home.
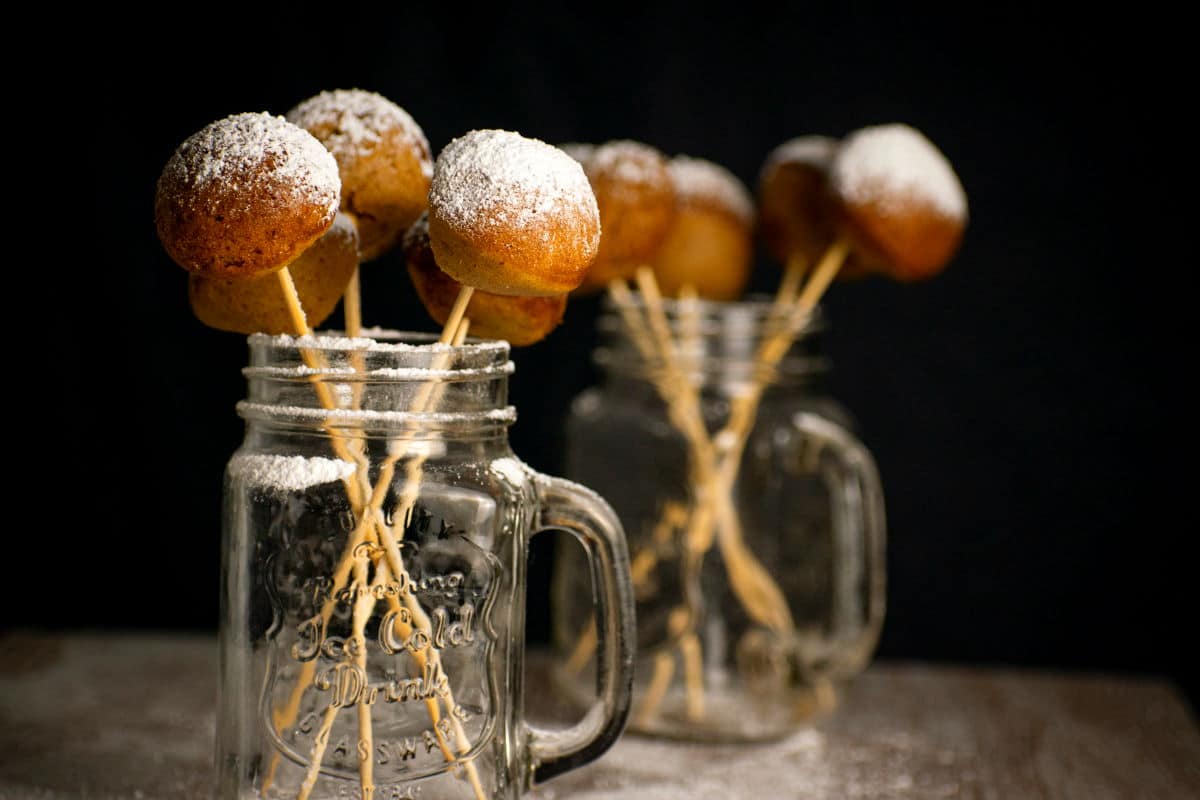
Ingredients & Tools
You will need a cake pop maker for this recipe and the basic ingredients for a pumpkin cake along with cake pop sticks.
- all-purpose flour
- brown sugar
- cinnamon and nutmeg - for pumpkin spice flavor
- baking powder
- baking soda
- pumpkin purée
- vegetable oil
- eggs
- nuts - optional
- icing sugar - to decorate the cake pops
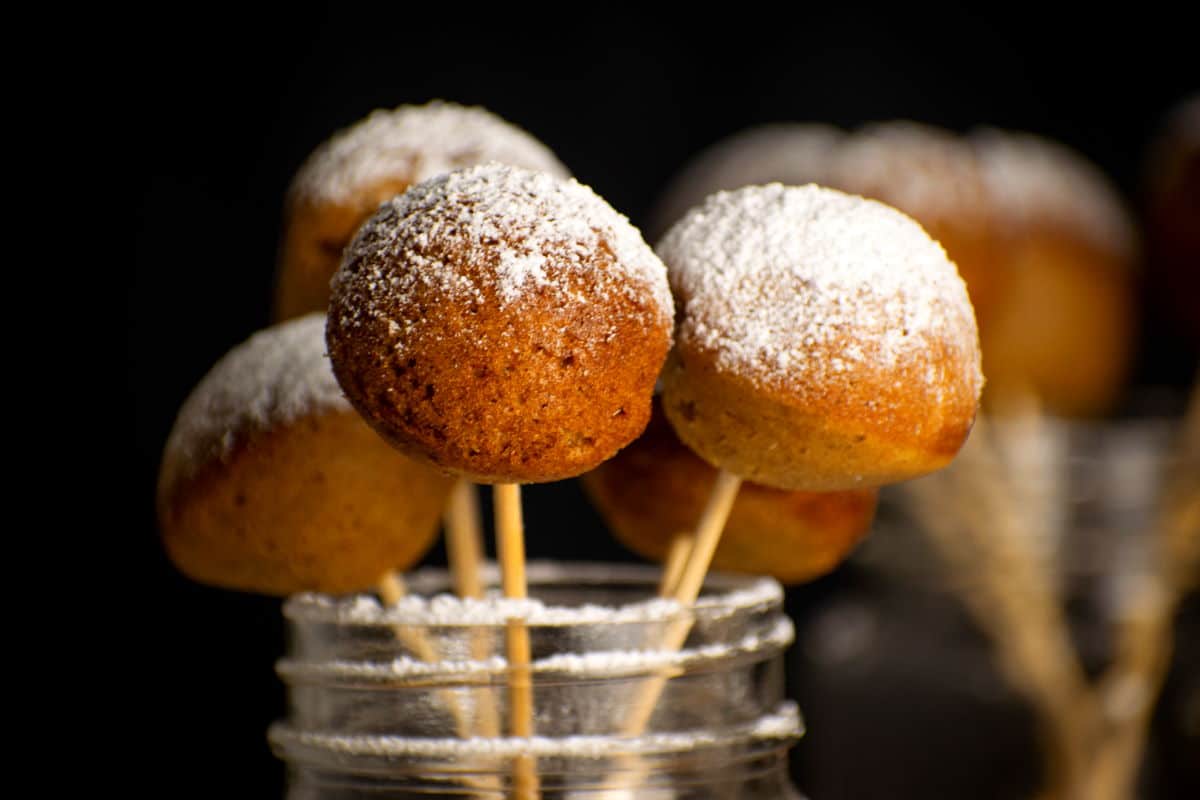
How to Make Them
These easy treats can be whipped up in a very short amount of time. Adults and kids alike are sure to enjoy these delicious bite-sized cakes.
- Make the batter. Mix all dry ingredients in a large bowl. Mix all wet ingredients in another bowl. Pour the wet ingredients into the dry ingredients and mix until smooth. Fold in the nuts (optional).
- Bake the cake pops. Plug in the cake pop maker and wait for it to heat up (there should be an indicator light). Pour mixture into a piping bag or you can just use a teaspoon to add the batter to the cake pop maker. Fill the cake pop maker holes (just to the top of the cavity). Careful not to overfill. Close the lid and bake them in the cake pop maker for 3 to 4 minutes per batch, until a toothpick comes out clean from the center. Let cool for a few minutes.
- Pop them onto treat sticks. Insert treat sticks into the cake balls. Dust with icing sugar. Serve!
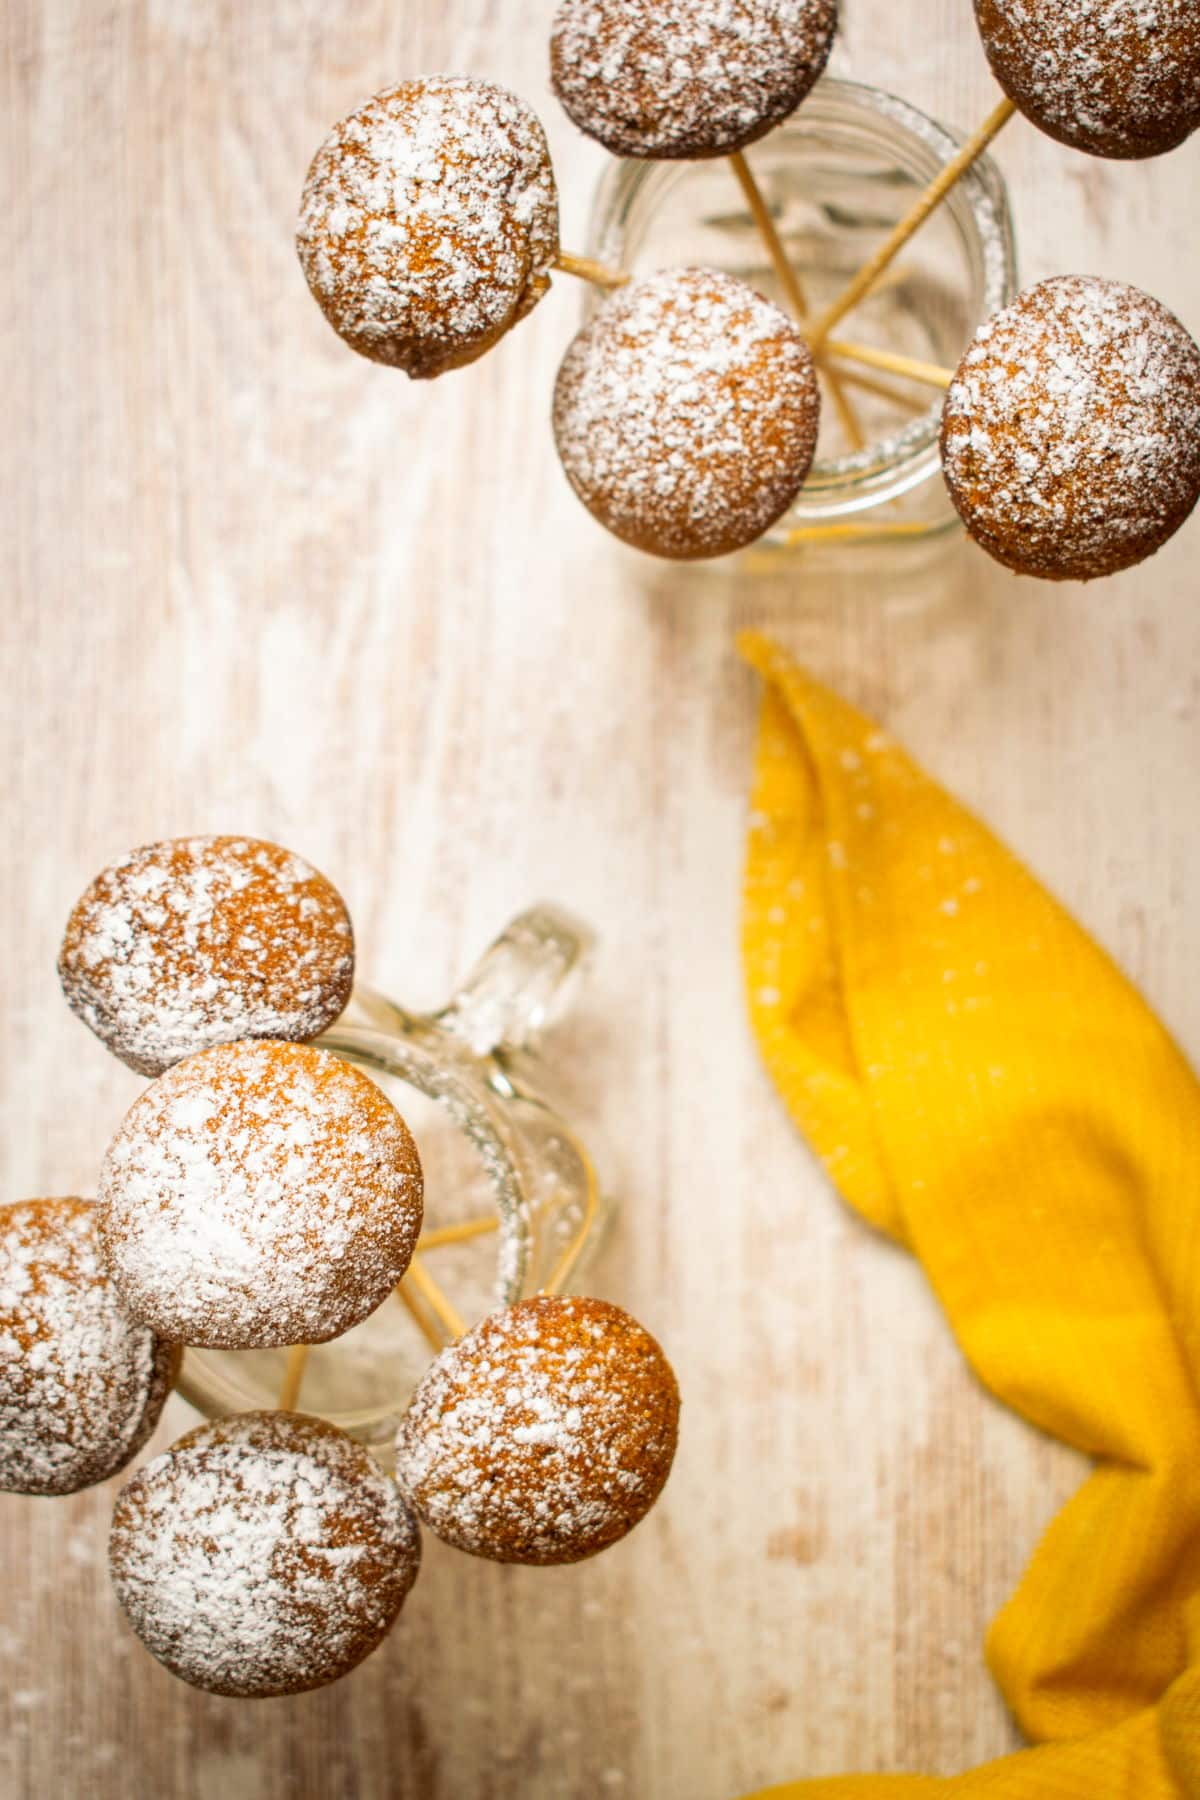
Tips & Tweaks
- This recipe calls for pure canned pumpkin, not the pumpkin pie mix. However, if that is what you have on hand, you can simply omit the cinnamon and nutmeg.
- A side sauce is one way of really putting this dessert over the top. A sure winner is a salted caramel sauce. Add pumpkin pie spice to the sauce to perfectly compliment the cake flavors.
- For a creamier option, make a white chocolate ganache. Personally, I would make both! You could even make the ganache ahead of time and coat the cake pops in them, then leave them in the fridge to harden.
- For an alternative coating, you can melt orange candy melts or dark chocolate. Insert the tips of the treat sticks into the melted chocolate, and then into the cake pops (about half-way into the cake pop). Place them on a tray or plate. Refrigerate for 30 minutes. This is so that the cake balls don't fall off of the treat sticks. Dip the cake pops in the melted chocolate to coat, lightly shaking off excess. Place in a stand and let sit until the coating hardens.
- You can also serve these as cake balls without the sticks.
Storage
- Room Temperature: If you are planning to use the cake pops within one to two days, you will want to store them wrapped air-tight at room temperature.
- Fridge: For time periods of up to one week, store them in an airtight container in the fridge.
- Freezer: For longer periods of time, store them in a freezer bag in the freezer. These are of course general guidelines; always inspect the cake pops to be sure they are still fresh. Keep in mind that frosted cake pops will stay fresher longer than unfrosted ones.
Another handy tip: plan ahead and find the perfect themed cake pop sticks online or at a specialty store. There are so many options to choose from.
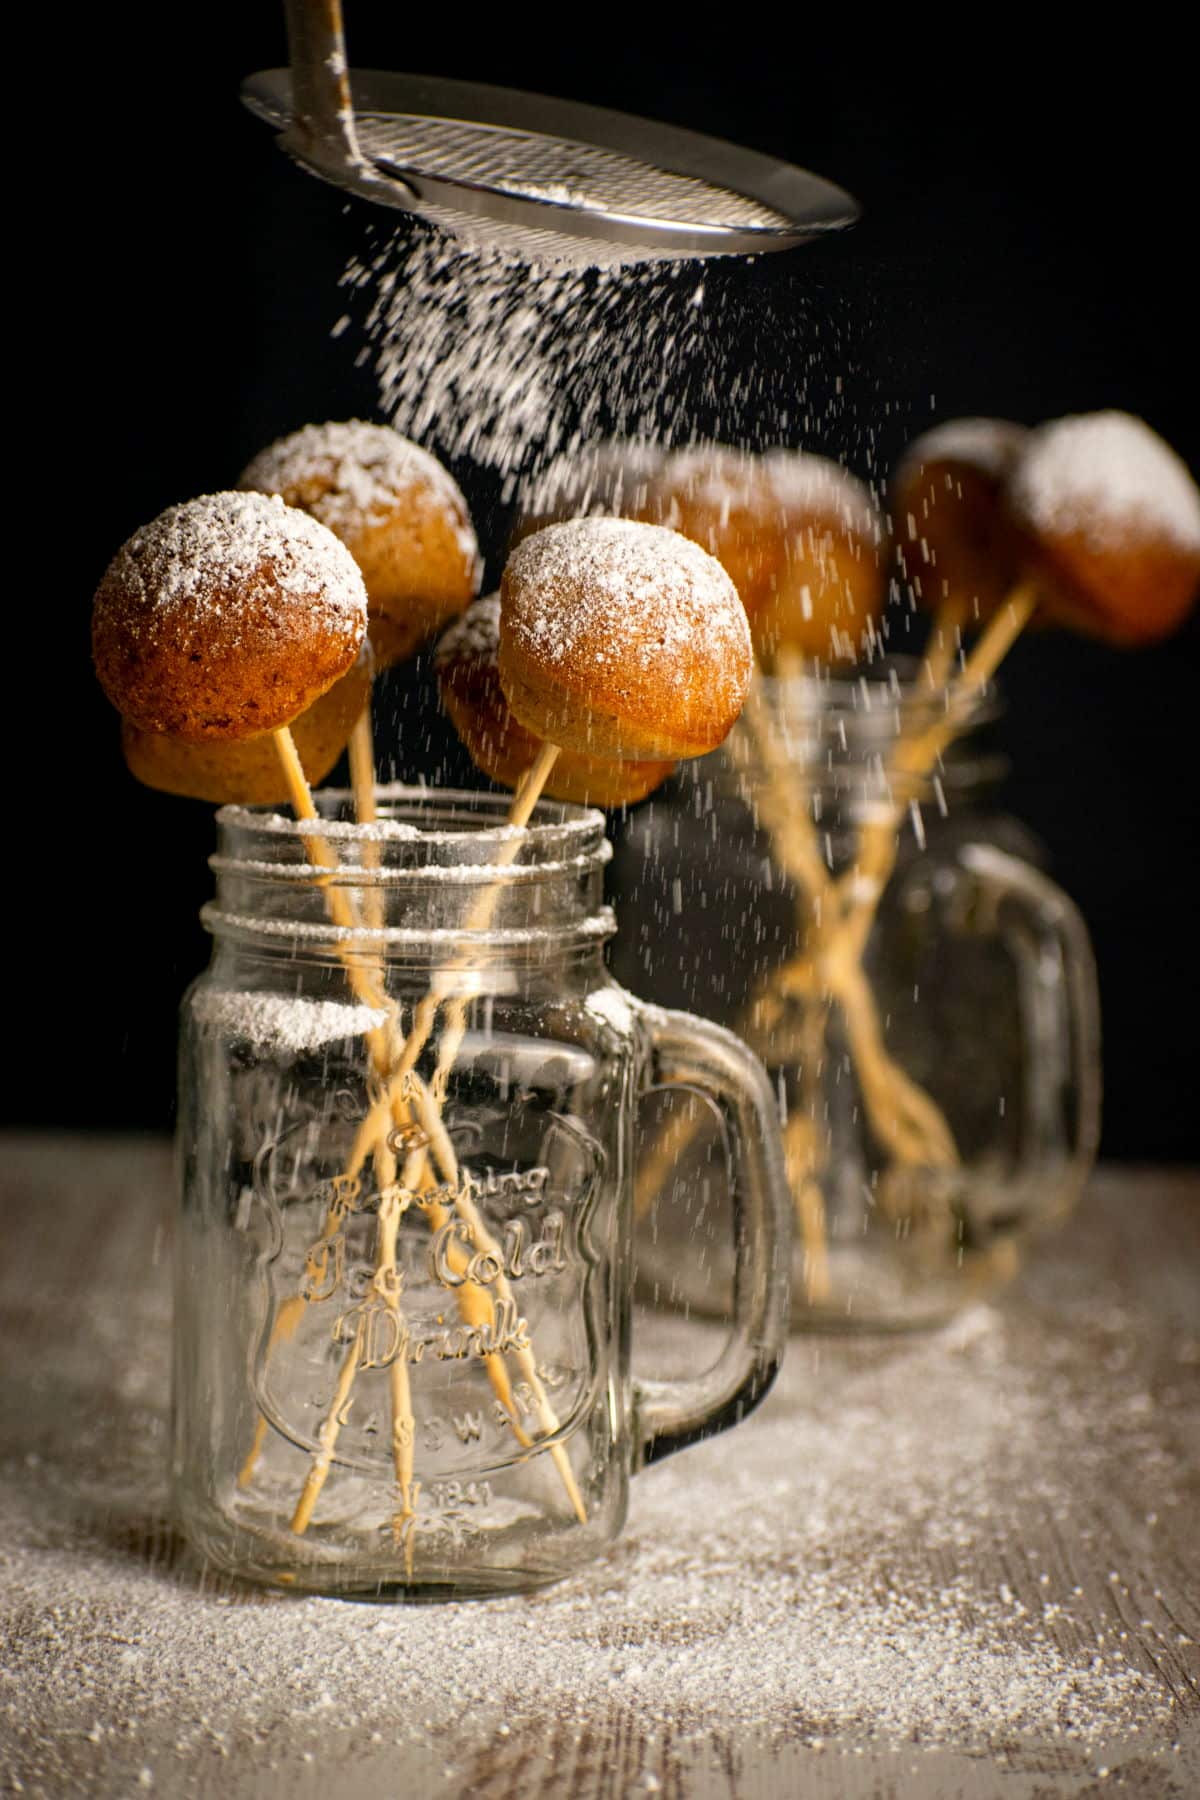
Did you enjoy these pumpkin cake pops? Let me know in the comments and please share the recipe!
Another tasty cake pop maker recipe you might enjoy: Strawberry Champagne Cake Balls in the Cake Pop Maker
📋Recipe
Pumpkin Cake Pops Recipe
Ingredients
- 1 cup all-purpose flour
- 1 cup brown sugar
- 1 teaspoon cinnamon powder
- 1 teaspoon nutmeg powder
- 1 teaspoon baking powder
- ½ teaspoon baking soda
- 1 cup pumpkin purée
- ½ cup vegetable oil
- 2 eggs
- ½ cup nuts - chopped (optional)
Coating:
- ½ cup icing sugar
Instructions
- Mix all dry ingredients in a large bowl.
- Mix all wet ingredients in another bowl.
- Pour the wet ingredients into the dry ingredients and mix until smooth. Fold in the nuts (optional).
- Plug in the cake pop maker and wait for it to heat up (there should be an indicator light). Pour mixture into a piping bag or you can just use a teaspoon to add the batter to the cake pop maker.
- Fill the cake pop maker holes (just to the top of the cavity). Careful not to overfill.
- Close the lid and bake them in the cake pop maker for 3 to 4 minutes per batch, until a toothpick comes out clean from the center. Let cool for a few minutes.
- Insert treat sticks into the cake balls. Dust with icing sugar. Serve!
Notes
- For an alternative coating, you can melt orange candy melts or dark chocolate. Insert the tips of the treat sticks into the melted chocolate, and then into the cake pops (about half-way into the cake pop). Place them on a tray or plate. Refrigerate for 30 minutes. This is so that the cake balls don't fall off of the treat sticks. Dip the cake pops in the melted chocolate to coat, lightly shaking off excess. Place in a stand and let sit until the coating hardens.
- Room Temperature Storage: If you are planning to use the cake pops within one to two days, you will want to store them wrapped air-tight at room temperature.
- Fridge Storage: For time periods of up to one week, store them in an airtight container in the fridge.
- Freezer Storage: For longer periods of time, store them in a freezer bag in the freezer.
- These are of course general guidelines; always inspect the cake pops to be sure they are still fresh. Keep in mind that frosted cake pops will stay fresher longer than unfrosted ones.
Nutrition
Nutrition information on In the Kitch is provided as a courtesy and is an estimate only. It may not include toppings and/or sauces.






Hannah says
This was a very helpful recipe! Thank you so much!
Joss D says
No problem Hannah and thanks for the comment!