


These cranberry white chocolate cake pops turn your favorite cake recipe into a bite-size dessert with holiday flavors and presentation.
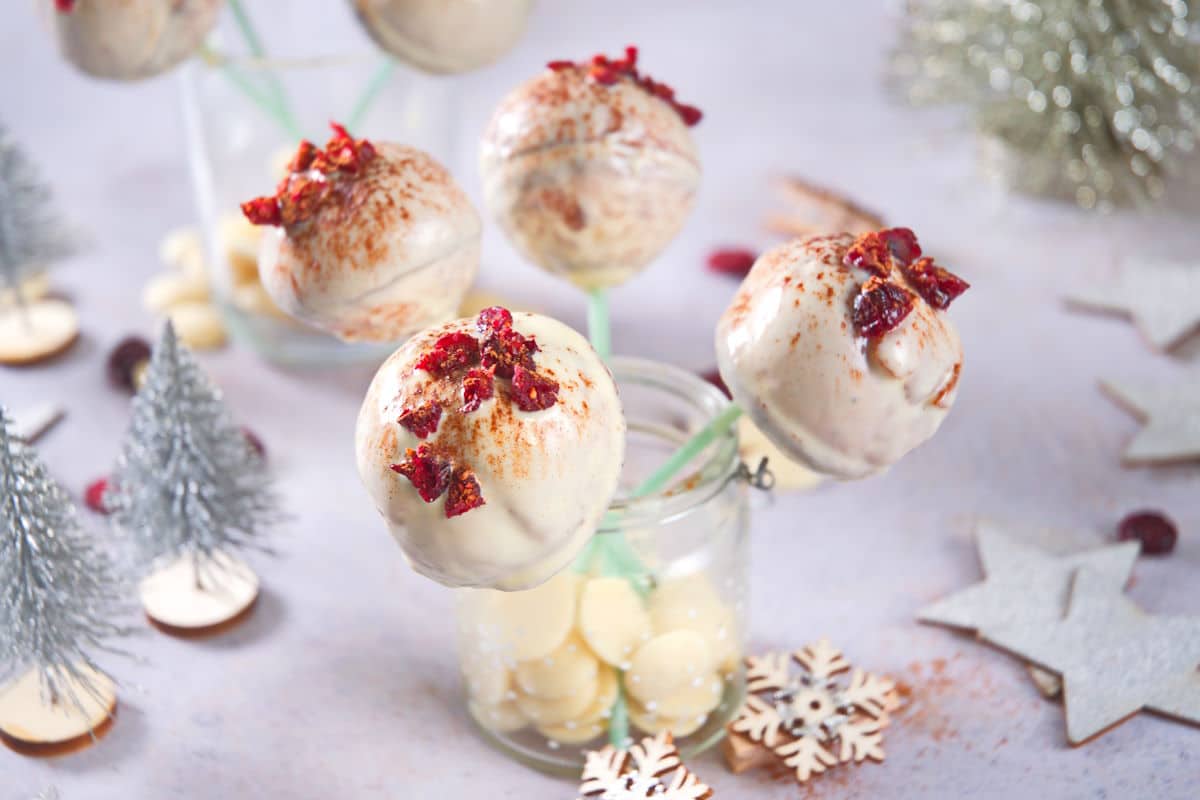
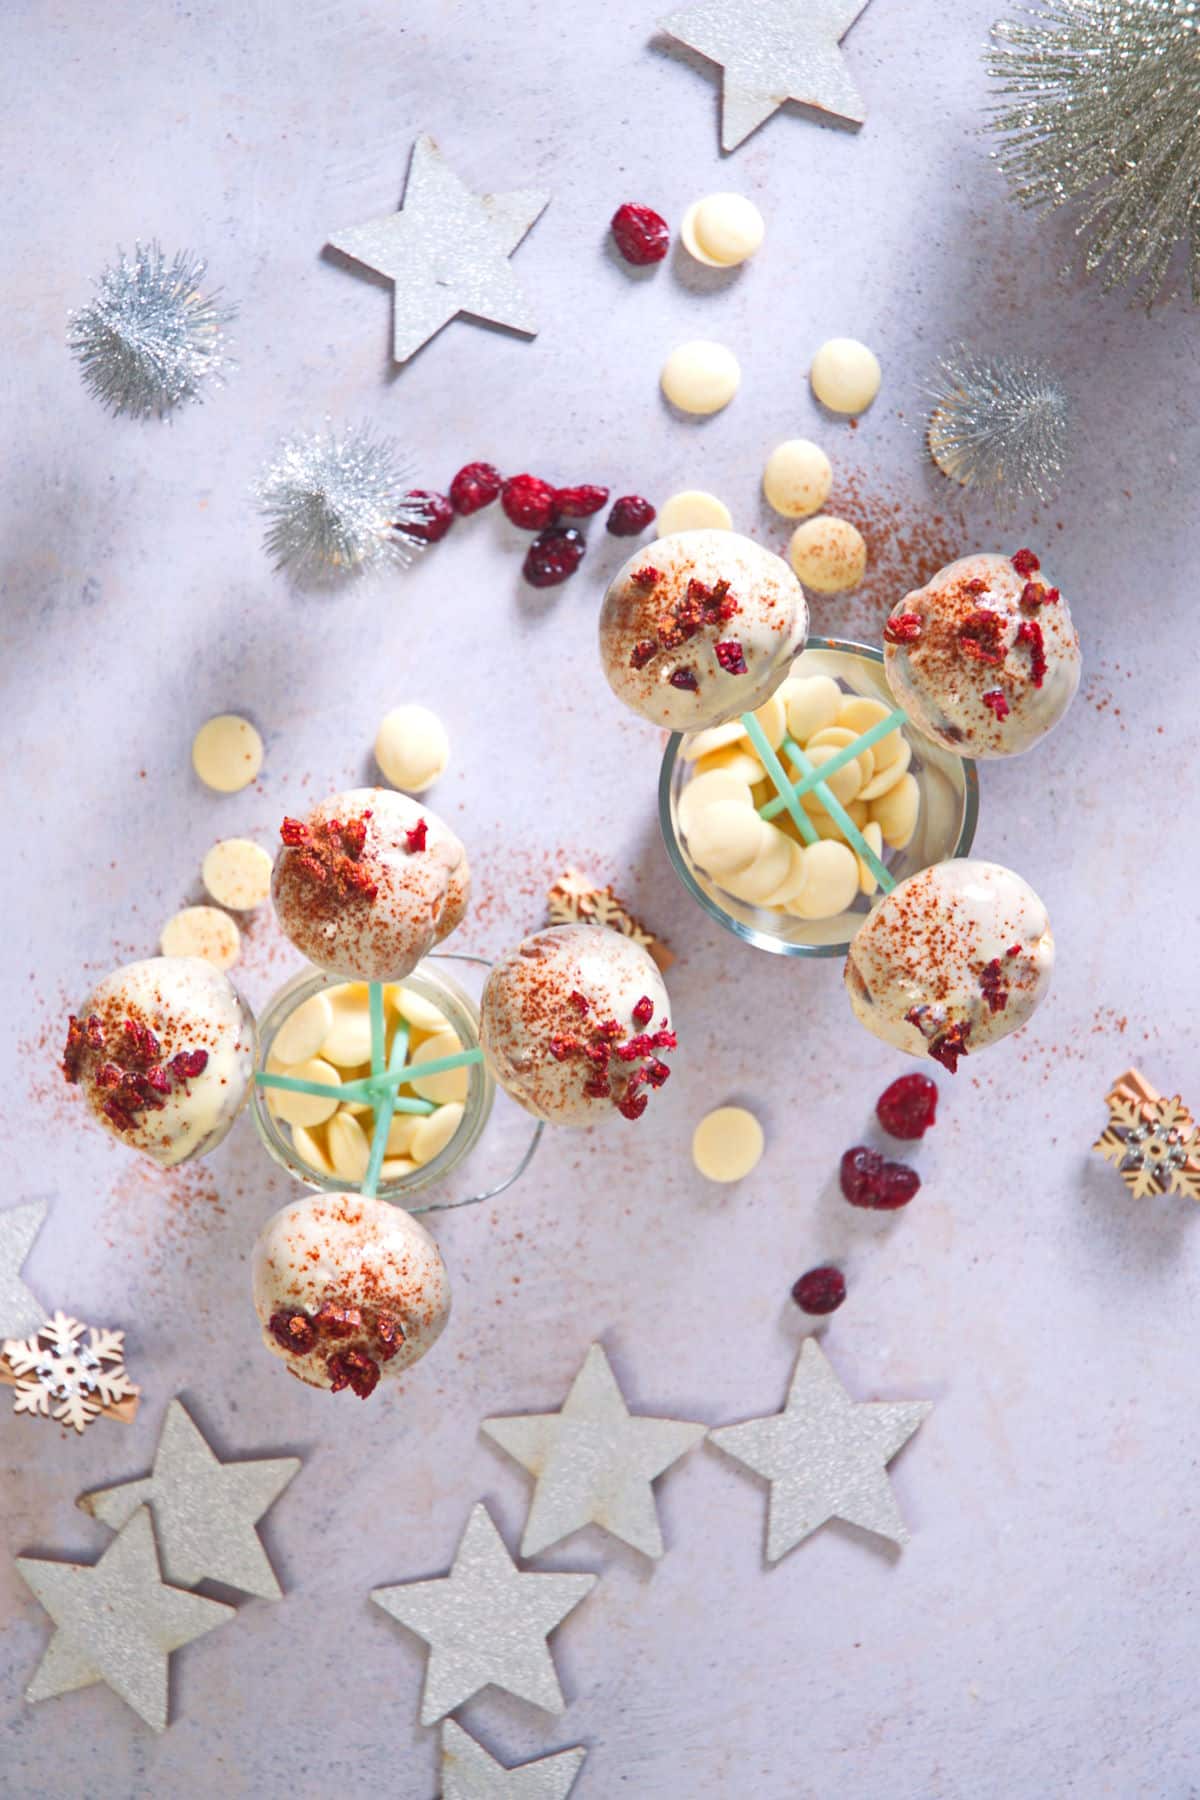
When you bite into the white chocolate shell, moist vanilla cake and tart cranberries offer a delightfully balanced flavor. Chopped cranberries and a dusting of cinnamon on top give your treat a hint at what's inside.
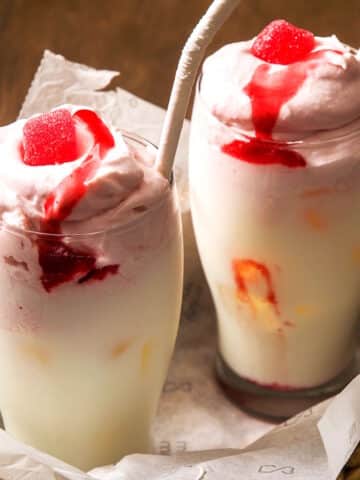
White chocolate cake pop coating has aesthetic appeal (I also use it on my strawberry champagne cake balls): other colors and ingredients stand out brilliantly on the blank canvas. You'll also love the bake-shop smell that fills your home.
The color scheme and flavor is perfect for the holiday season. They are easy to share, mostly mess-free and visually stunning on a dessert table.
Another popular treat at Christmas time are my chocolate covered coffee beans. For more cranberry recipe ideas, try my cranberry Moscow Mule and cranberry orange biscotti. Be sure to check out more festive holiday recipes.
Jump to:
Ingredients
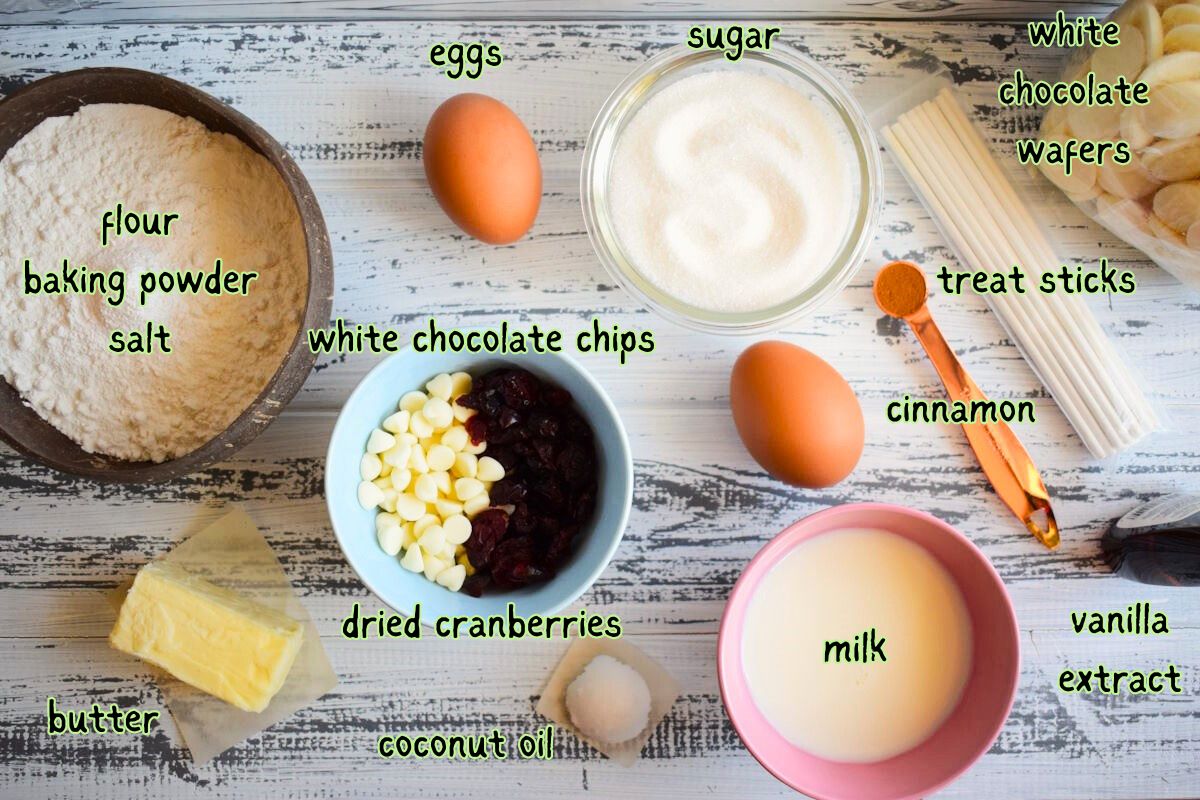
- all-purpose flour - You can substitute with cake flour if desired.
- milk - A substitute for regular milk would be a dairy-free milk or even water. Using water may result in a lighter texture and less flavor, but it's a good substitute when you're out of milk or making a dairy-free cake.
- white chocolate chips or wafers - White chocolate's distinct taste comes from the lack of cocoa solids present in milk and dark chocolate. Confectioners make white chocolate from milk, sugar and cocoa butter, creating a creamy product that harmonizes with fruit and spices.
- coconut oil - To thin the coating out a little.
*Check ingredient amounts in recipe card.
Chef's Note: You will also need a cake pop maker, some sort of cake pop stand and treat sticks.
How to Make Cranberry White Chocolate Cake Pops

Step 1. Make the batter. Combine the batter ingredients in a bowl.
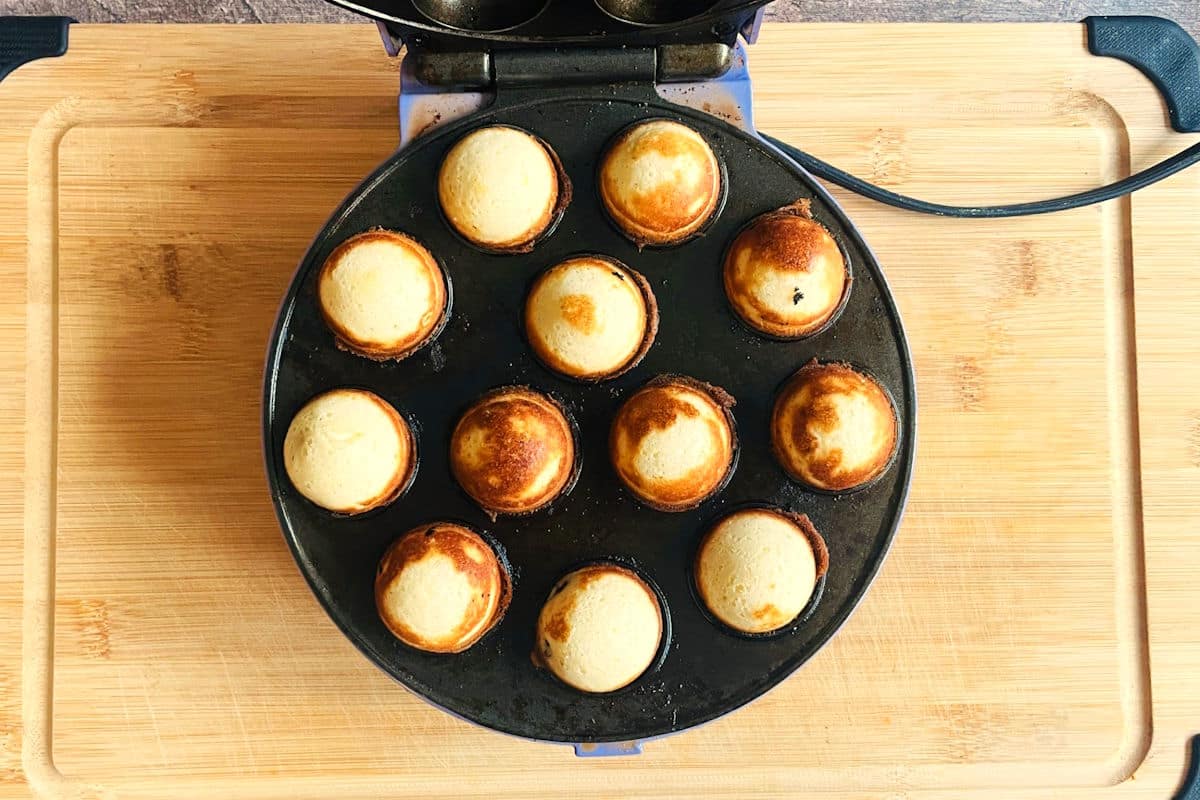
Step 2. Bake the cake balls. Add the batter to a hot cake pop maker and let them bake for a few minutes. Remove to cool.
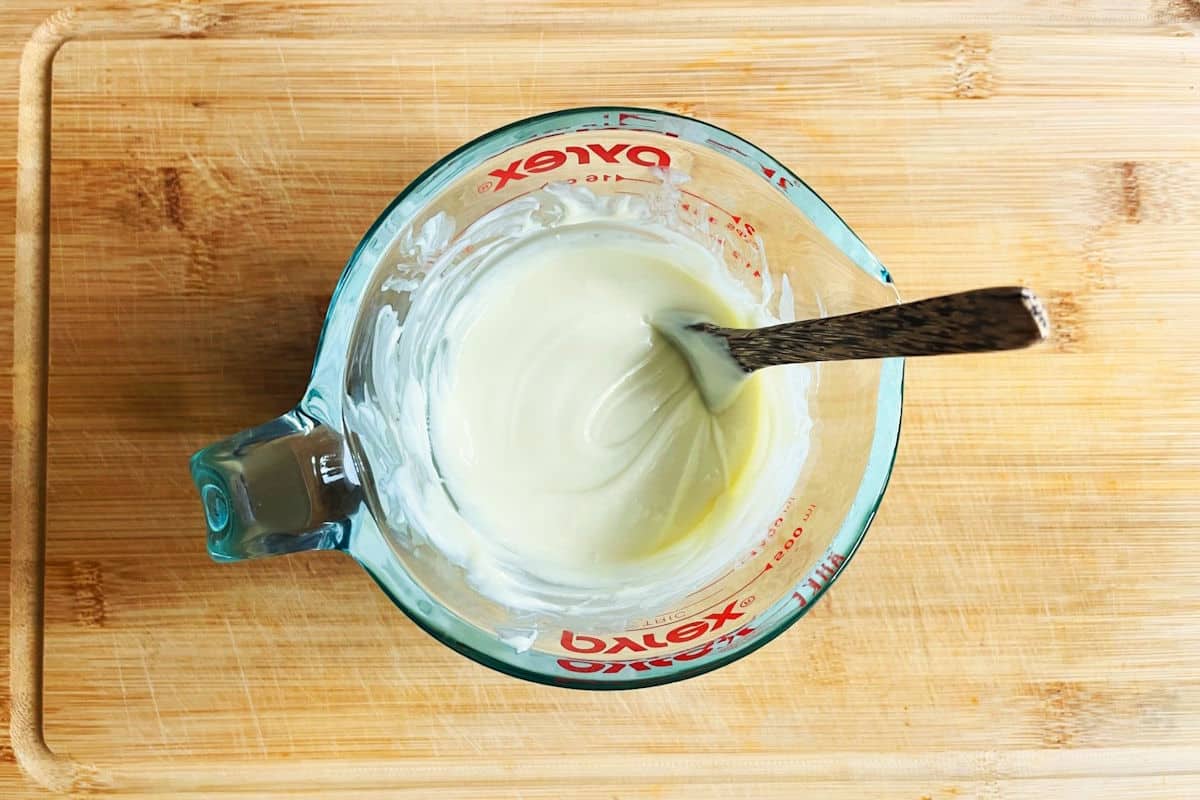
Step 3. Melt chocolate. Melt the chocolate and coconut oil together in a microwave or double boiler.
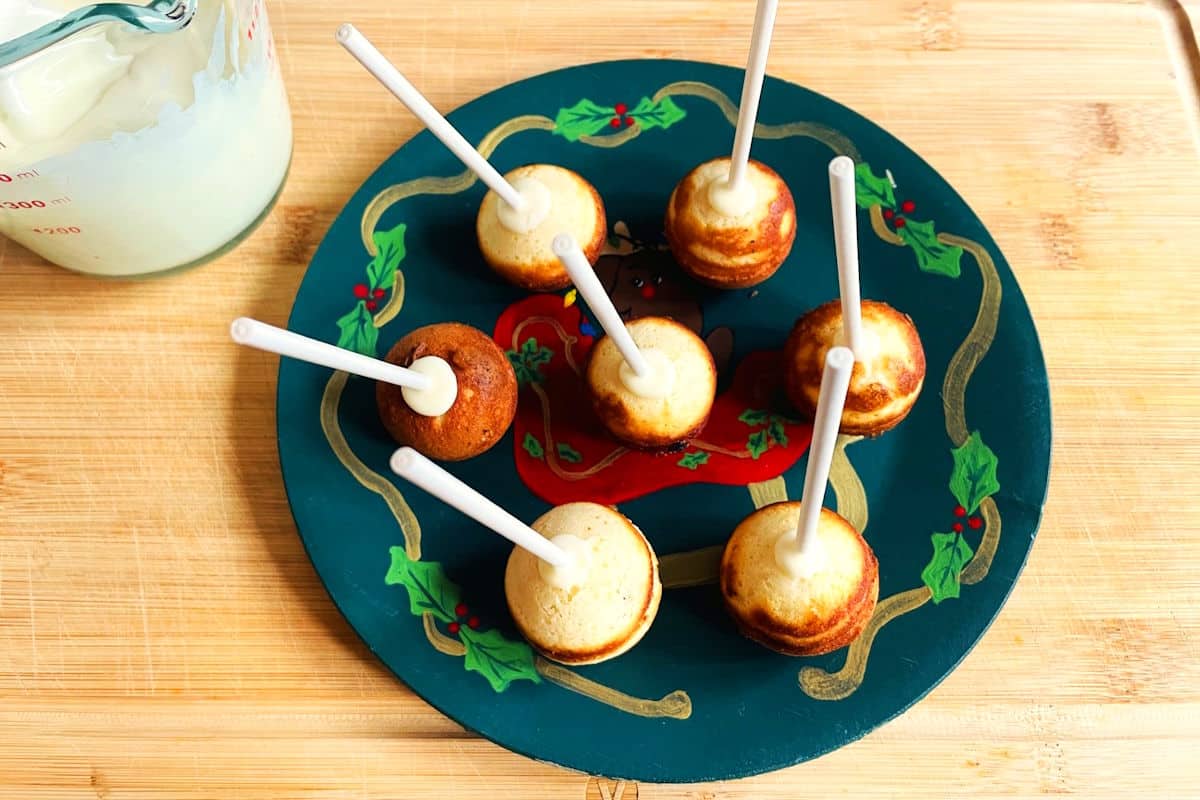
Step 4. Dip the treat sticks. Dip the lollipop sticks into the melted chocolate and then into the cake balls. Let them harden in the fridge.
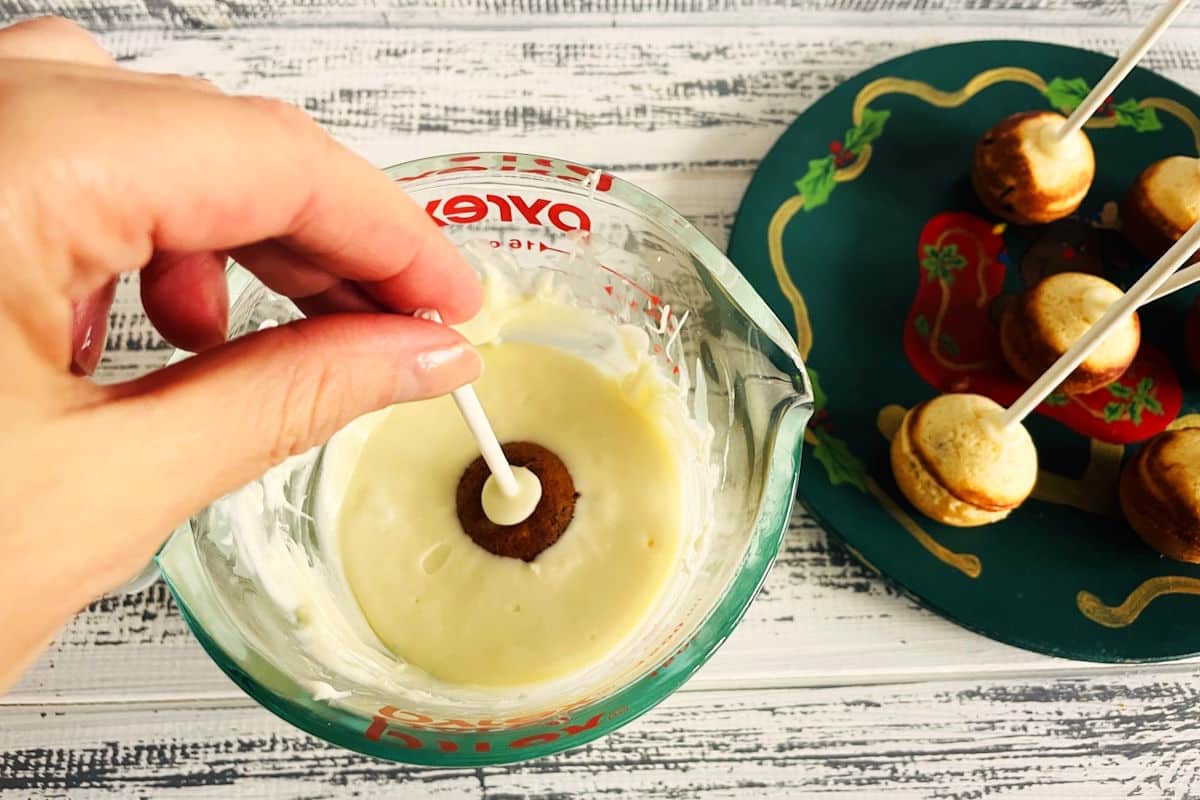
Step 5. Coat. Dip the cake pops into the melted chocolate to completely coat them. Sprinkle with toppings and then let the chocolate set.
Step 6. Serve. Either serve them right away or store them for later.
🍰 I also have a recipe for cake mix cake pops that you might enjoy!
Joss' Top Tips
- Remember to preheat the cake pop machine. Make sure the cake pop maker is fully preheated before adding the batter or the cake balls won't bake properly. There should be an indicator light that says something like 'ready' to show when it's hot enough.
- Frost like a pro. For more detailed frosting instructions, check out my post on how to frost cake pops.
- Use a spatula to handle the cake balls. A small spatula or dipping tool helps to remove the cake balls from the cake pop maker.
- Remove excess cake. If some of the batter leaked around the cake balls, just wait for them to cool so that it crisps up, then break the excess off.
- Heat the chocolate gently. Be careful not to overcook the chocolate or it will become a lumpy, hard mess.
Presentation Suggestions
Cake pops make appearances at baby showers, graduations, wedding receptions, birthday parties and business conferences because they're small and portable. No need to sit down with a slice of cake--your guests can talk and walk around while they enjoy a snack.
🎉 Holiday Parties. These Christmas cake pops are especially great for holiday parties after a feast for their festive flavors, red and white themed colors and small portion size. These red velvet cake pops also have a red and white color scheme perfect for Christmas.
🎄🍽️ Holiday Dinner: Speaking of holiday feasts, I made this Christmas side dish consisting of red and white roasted vegetables. In keeping with the theme of things, these cake pops would be a great way to finish off the meal.
💐 Arrangement: For the arrangement, place styrofoam in a vase, planter, bucket or decorative box, then insert the cake pop sticks in the styrofoam like you're making a flower bouquet. Use sticks of varying lengths to diversify the arrangement.
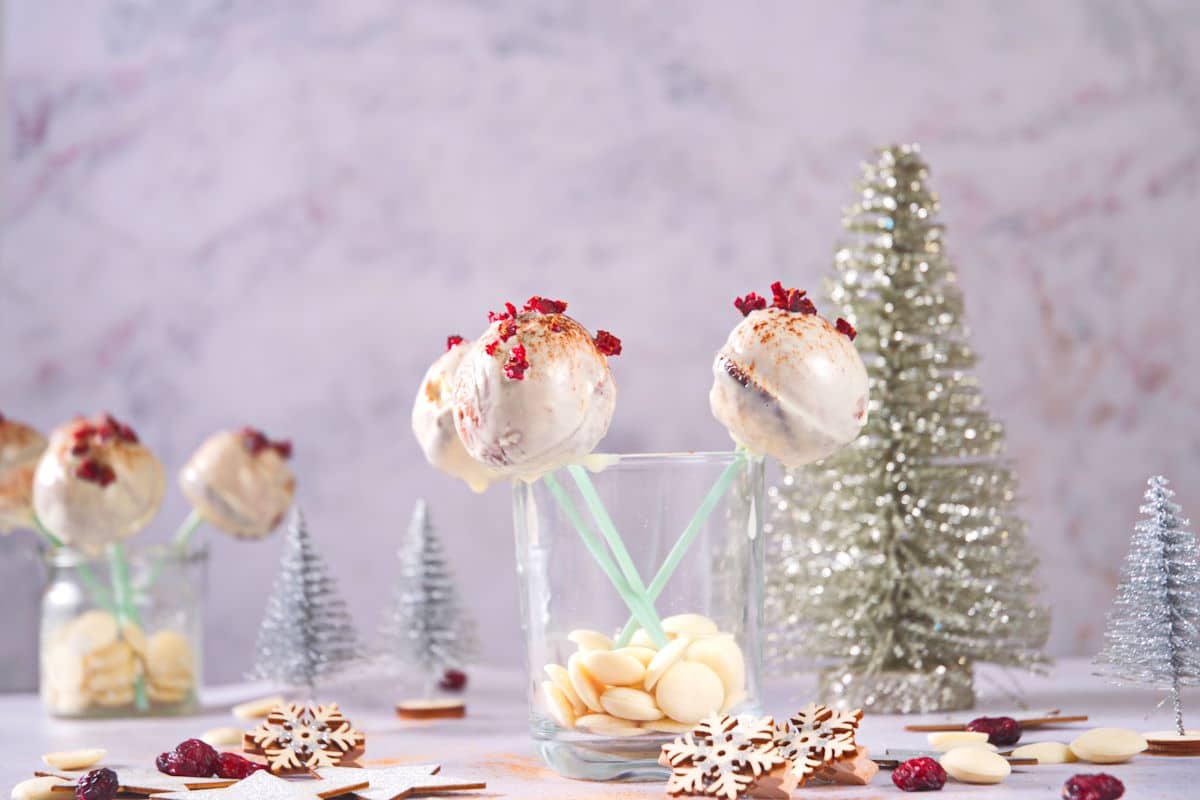
🎀 Decor: Another idea, as seen in the pictures, is to place them in jars with white chocolate wafers, surrounded by Christmas decorations on a display table. For an extra festive touch, wrap your cake pops in colored plastic with a ribbon tying it shut.
Storage Info For White Chocolate Cake Pops
- Room temperature storage: Store the cake pops, covered, in a cool and dry place for up to 1 week.
- Refrigerator storage: If you want to store them in the fridge, line a container with paper towel and place them in there with another piece of paper towel on top, to help absorb any excess moisture. You can store them this way for about 2 weeks.
- Freezer storage: You can also freeze them for up to 3 months.
More Delicious Chocolate Recipes to Try


If you tried this Cranberry White Chocolate Cake Pops Recipe or any other recipe on my website, please leave a 🌟 star rating and let me know how it went in the 📝 comments below. And please share the recipe!
📋Recipe

Cranberry White Chocolate Cake Pops
Ingredients
For the Batter
- ¼ cup butter - softened
- ¾ cup granulated sugar
- 2 large eggs
- 1 cup all-purpose flour
- 1 ¼ teaspoons baking powder
- 1 pinch salt
- ½ cup milk
- 2 teaspoons vanilla extract
- ¼ cup dried cranberries
- ¼ cup white chocolate chips
For the Coating
- 3 cups white chocolate chips - or wafers
- 1 ½ tablespoons coconut oil
- cinnamon
- dried cranberries - chopped
Instructions
- Combine the butter and sugar in a large bowl. Add the eggs, one at a time.¼ cup butter, ¾ cup granulated sugar, 2 large eggs
- In a separate bowl, sift together the flour, baking powder and salt. Stir the milk and vanilla together in another separate container.1 cup all-purpose flour, 1 ¼ teaspoons baking powder, 1 pinch salt, ½ cup milk, 2 teaspoons vanilla extract
- Add the flour mixture and the milk alternately to the butter mixture until just combined. Stir in the cranberries and chocolate chips.¼ cup dried cranberries, ¼ cup white chocolate chips
- Preheat the cake pop maker and fill each cooking cavity with batter (fill it to just below the top of each cavity to avoid overfilling it). You can use a spoon or piping bag.
- Close the lid and bake for 3 to 4 minutes or until a toothpick inserted into a cake ball comes out clean. Allow the cake balls to cool completely prior to coating.
- Microwave the chocolate chips and coconut oil in a small bowl for 30 seconds and then give it a stir. Place the bowl back in the microwave and repeat cooking for 15 second intervals/stirring until fully melted. Be careful because if you overcook it the chocolate will get lumpy and hard.3 cups white chocolate chips, 1 ½ tablespoons coconut oil
- Dip the tip of a lollipop stick in the melted chocolate and insert about halfway into a cake ball. Place it upside down on a plate or cake pop stand. Repeat with all cake balls and then refrigerate for 30 minutes.
- Dip each cake pop into the melted chocolate (you may have to melt it again) and gently tap off the excess. Place it in a stand and repeat with the remaining cake pops.
- Sprinkle with the cinnamon and chopped, dried cranberries. Let the chocolate set in the fridge for about 30 minutes and serve!
Equipment
Notes
- Preheating: Make sure the cake pop maker is fully preheated before adding the batter or the cake balls won't bake properly. There should be an indicator light that says something like 'ready' to show when it's hot enough.
- Excess batter: If some of the batter leaked around the cake balls, just wait for them to cool so that it crisps up, then break the excess off.
- Cake pop maker tip: A small spatula helps to remove the cake balls from the cake pop maker.
- Room temperature storage: Store the cake pops, covered, in a cool and dry place for up to 1 week.
- Refrigerator storage: If you want to store them in the fridge, line a container with paper towel and place them in there with another piece of paper towel on top, to help absorb any excess moisture. You can store them this way for about 2 weeks.
- Freezer storage: You can also freeze them for up to 3 months.
Nutrition
Nutrition information on In the Kitch is provided as a courtesy and is an estimate only. It may not include toppings and/or sauces.

Joss says
These are so cute, easy to make and mouth-watering!