
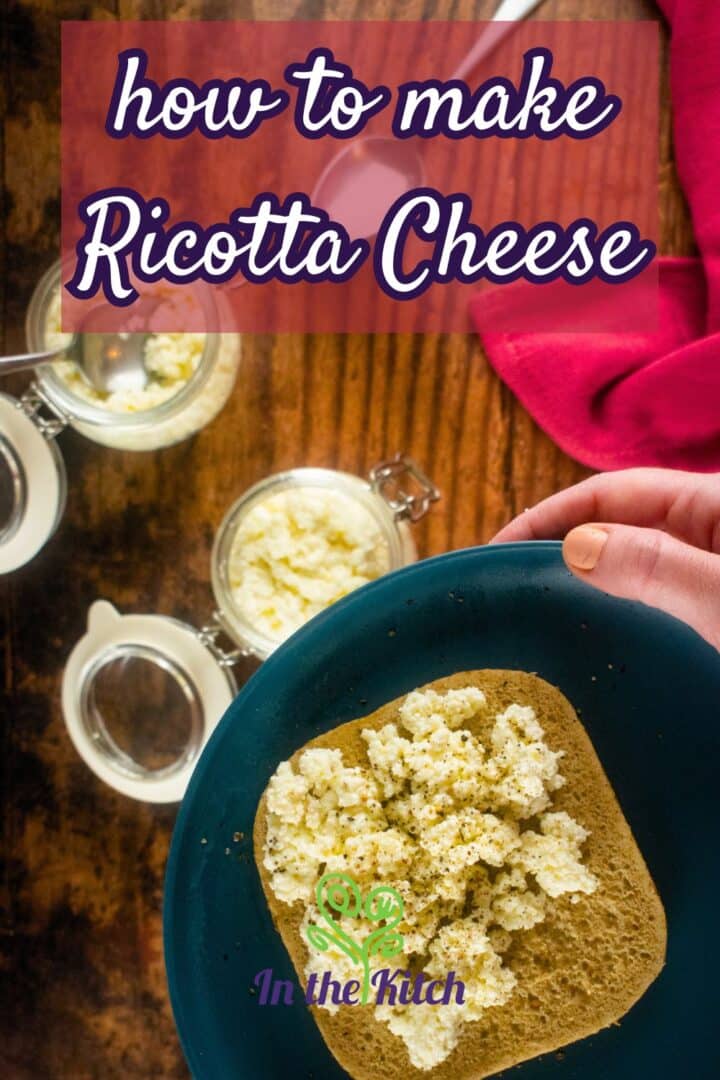
In this step-by-step tutorial, I will show you how to make ricotta cheese at home for lasagna, baking and more. The stuff from the store is great, but there's just something about mixing together the milk and vinegar (or lemon juice) and bringing it all together from scratch that just can't be replicated with a trip to the grocery.

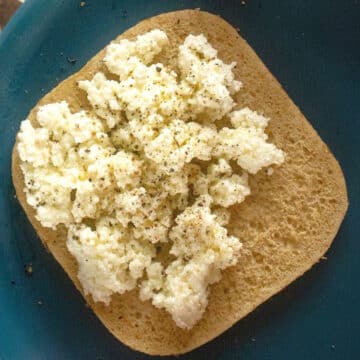
Everyone loves the taste of smooth, creamy ricotta cheese. Whether it's layered into a lasagna (like in my cheesy electric skillet lasagna), piped into a cannoli, smothered over toast or eaten straight out of the tub with a spoon, this tangy, tasty Italian cheese is a favorite of people all over the globe.
The best part is, for this recipe, there is no fancy equipment or culinary training necessary.
Jump to:
Ricotta Cheese Ingredients
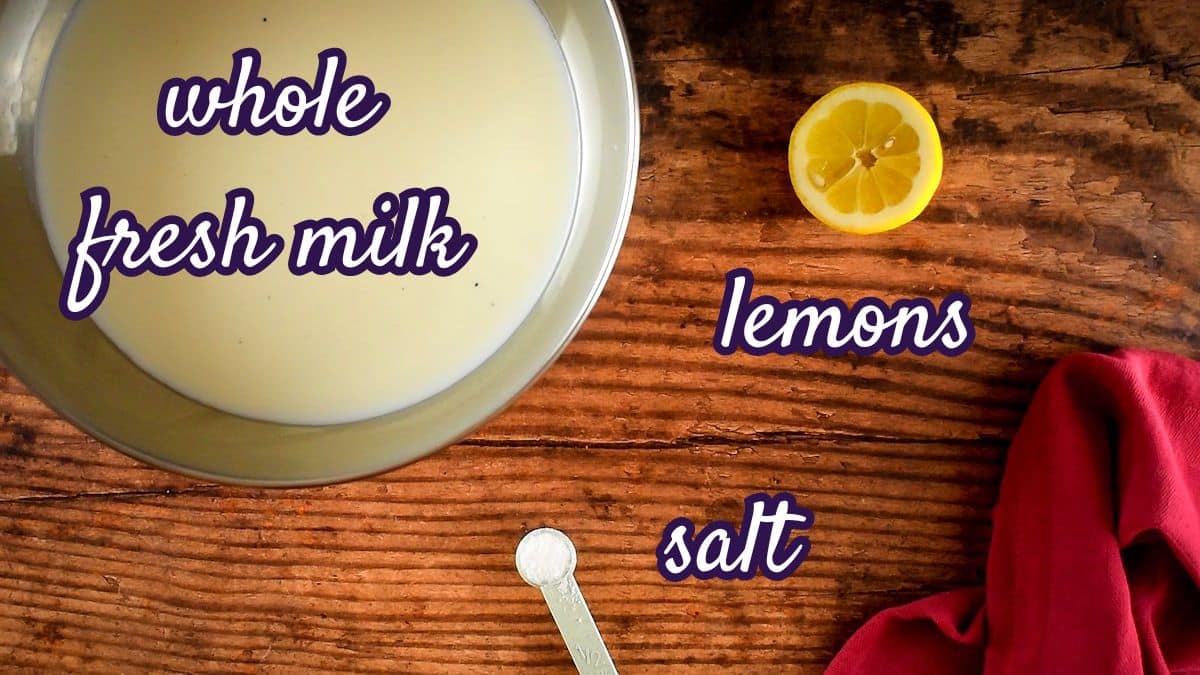
- whole fresh milk - make sure it isn't ultra-pasteurized (apparently you can also use part cream but I haven't tried it personally)
- lemon juice - (freshly squeezed) or white vinegar
- salt - when you use ricotta for savory applications like lasagna, you can add a little more salt than you would for sweet recipes
*Check recipe card for ingredient amounts.
Tools
- cheese cloth or sterilized fabric
- instant-read thermometer
- skimmer/strainer
- colander
- Clothes pins or clips, optional
Steps to Make Ricotta
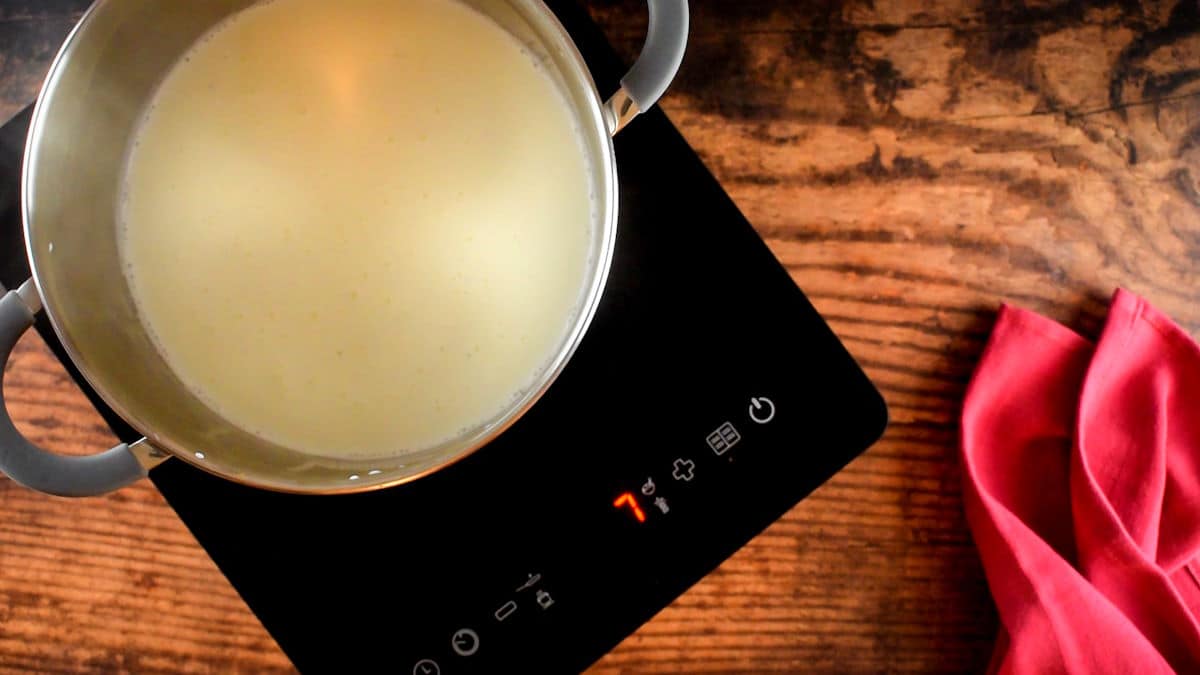
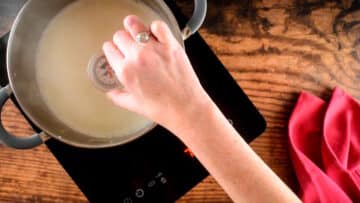
Step #1. Bring milk to boil. Add the milk and salt to a pot. Bring the milk to a boil gradually (medium heat).

Step #2. Remove from heat. Use a cooking thermometer to keep track of the temperature. Remove it from heat when it reaches 185ºF. If it starts to foam up the pot and boil hard, remove from heat.

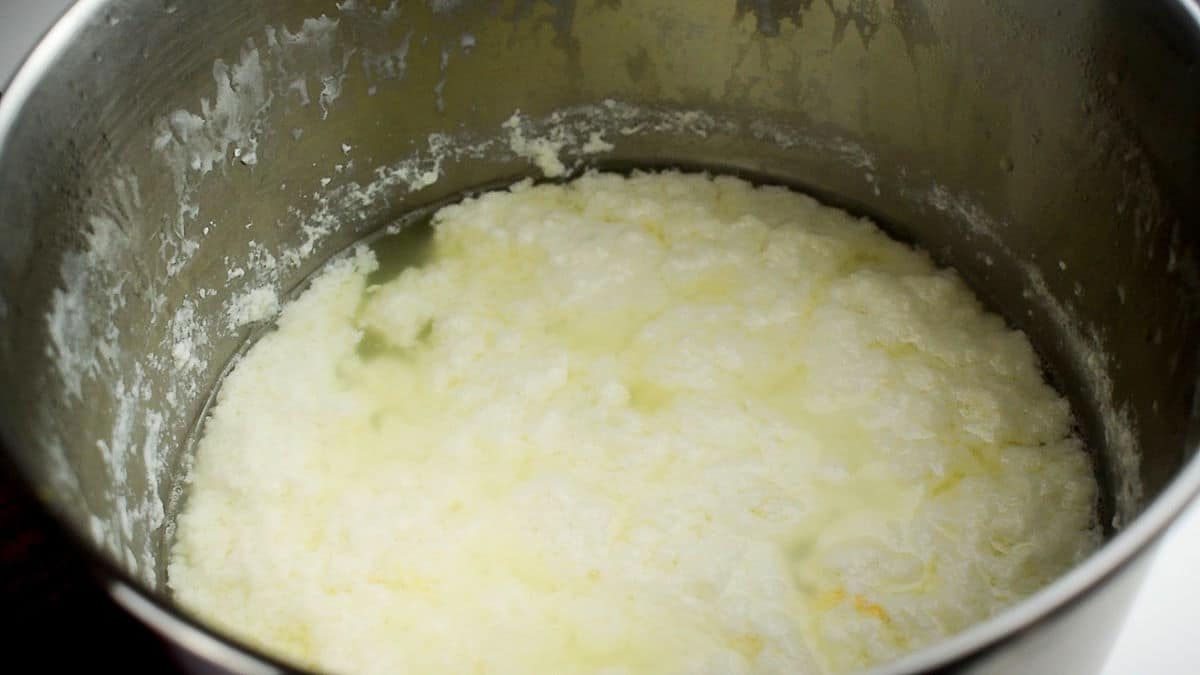
Step #3. Add lemon juice. Immediately stir the lemon juice into the milk.

Step #4. Rest. Cover and let it rest for 15 to 20 minutes--the milk should separate into clumps during this time.

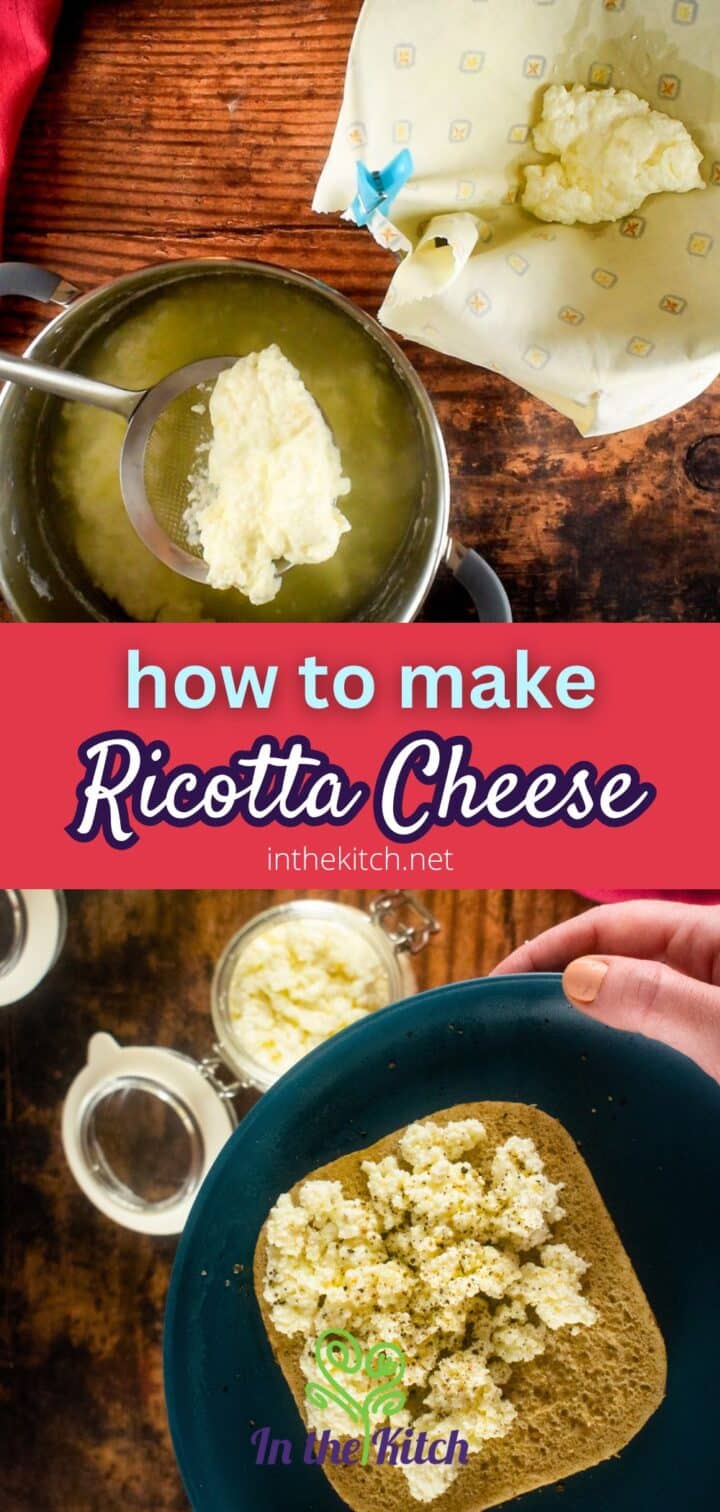
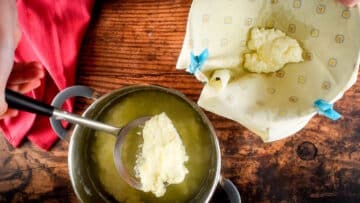
Step #5. Line colander. Line a colander with cheesecloth in the sink. Scoop the clumps of cheese up with a skimmer and place them onto the cheese cloth (you can also use a soft sterilized fabric).

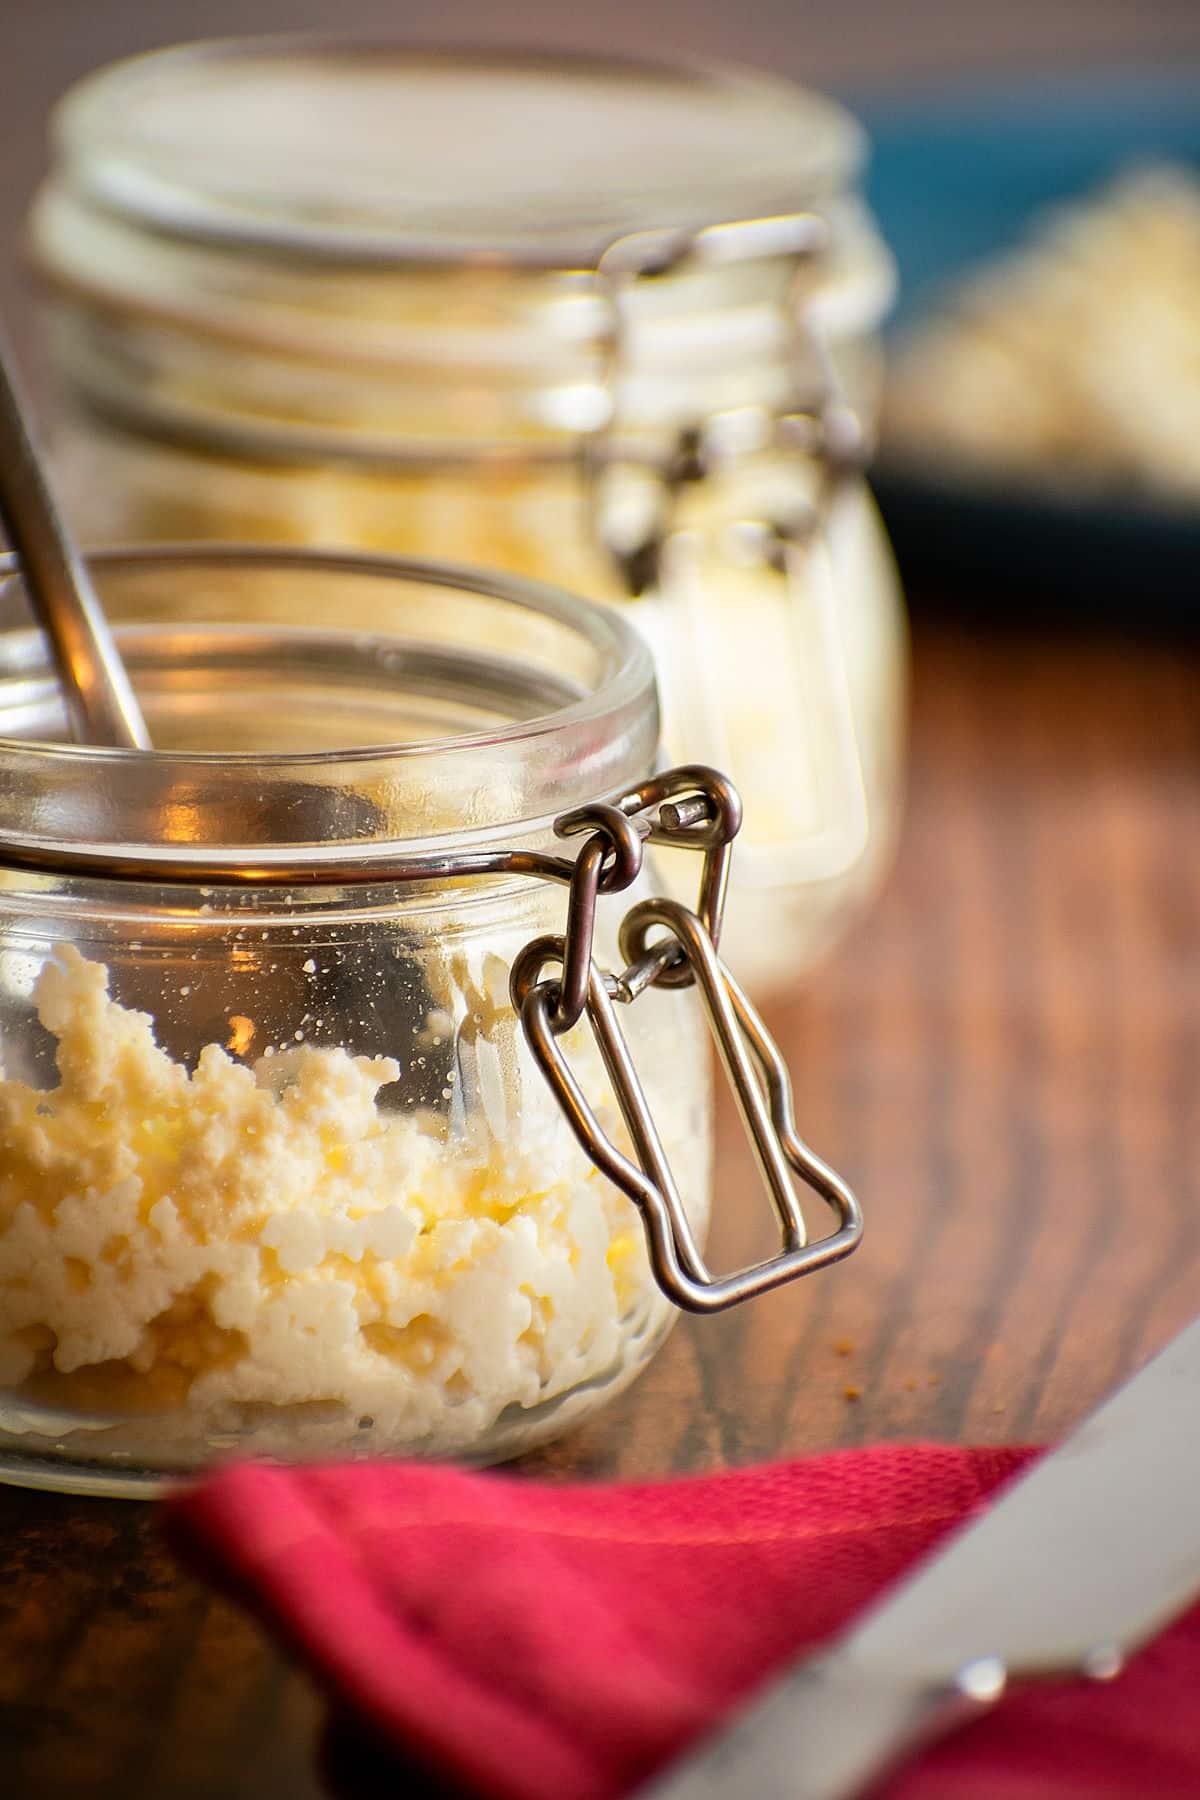
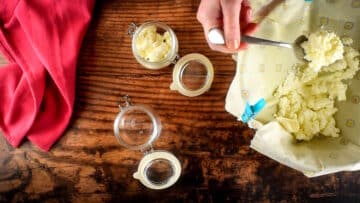
Step #6. Drain. Let it drain for 1 hour--or until it reaches the consistency you want (the longer you wait, the drier it will be). Spoon into containers.
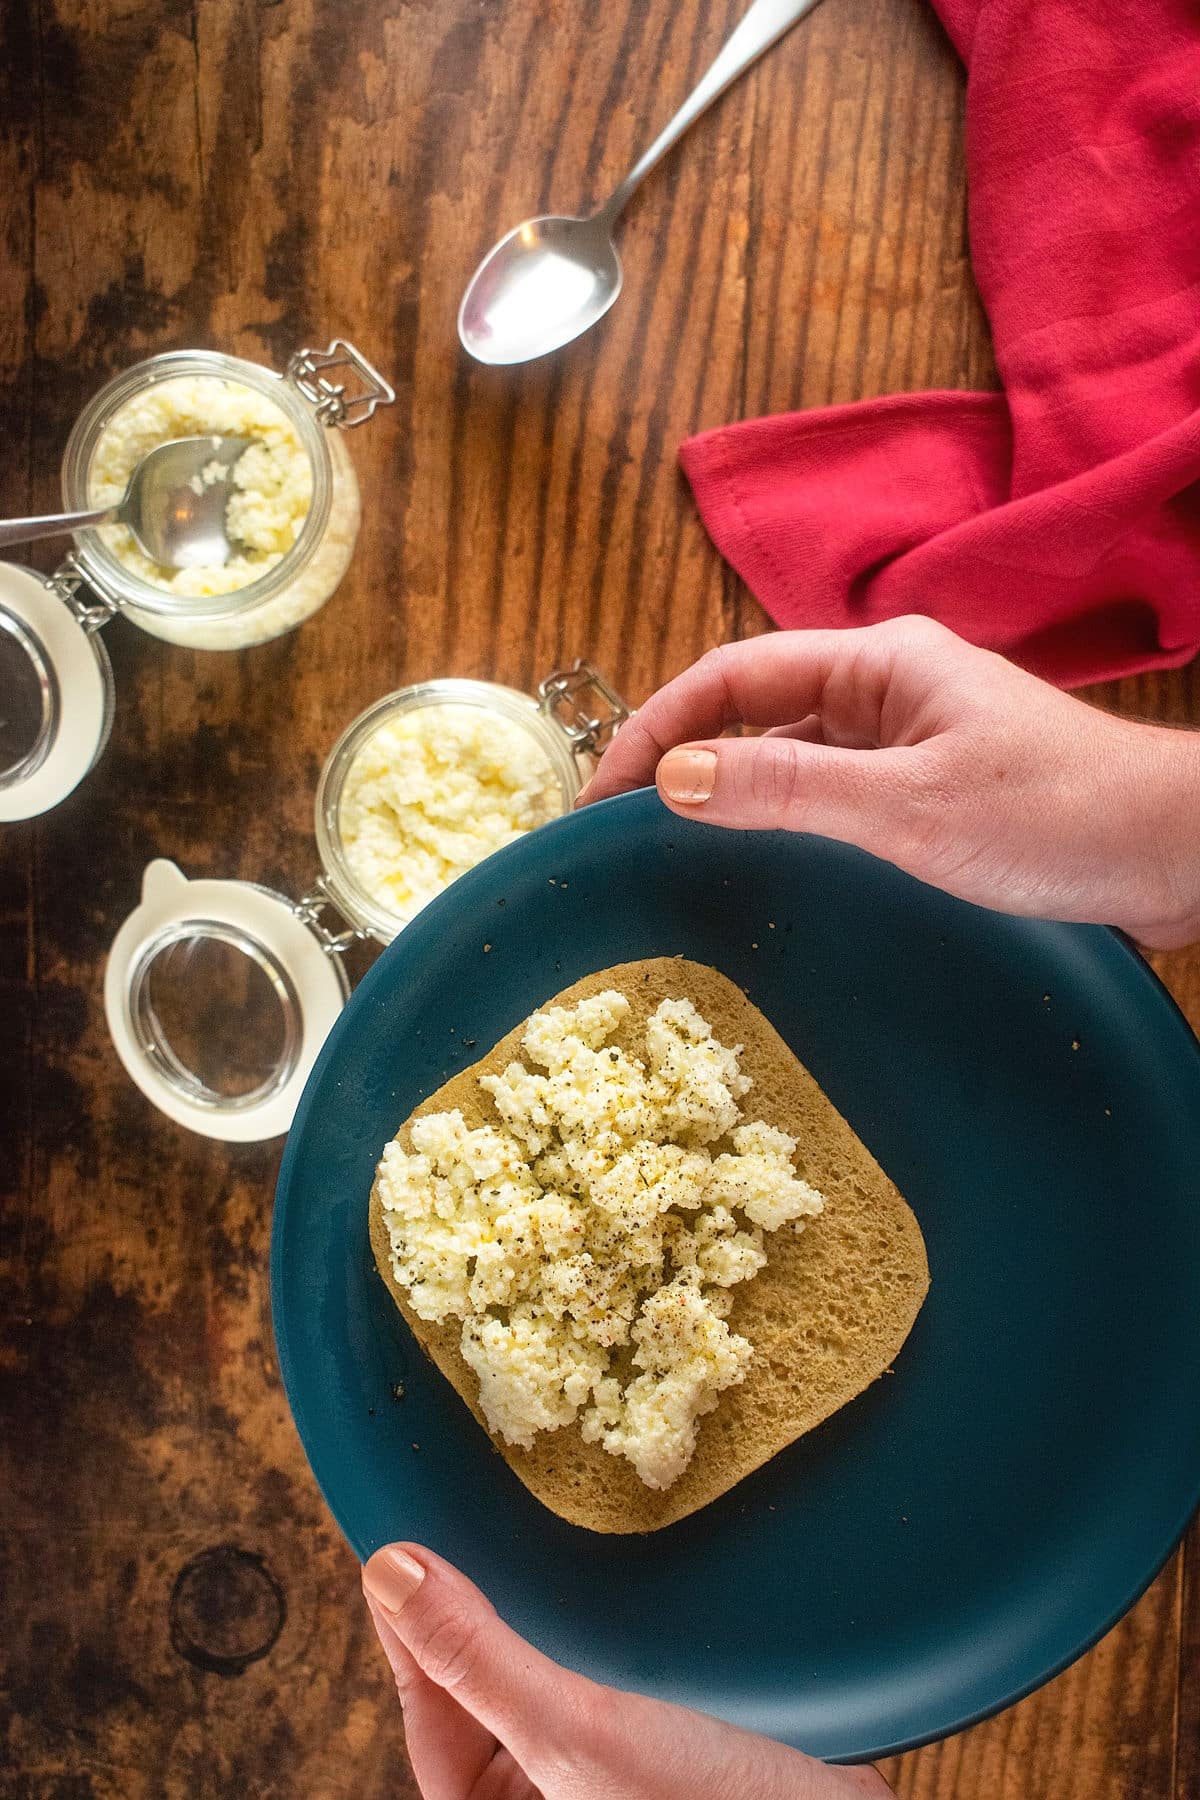
Step #7. Serve. Serve & enjoy!
💬Looking to further enhance your cooking skills? Check out...How to Make Cake Pops With a Cake Pop Maker
Top Tips
- Separation: If it didn't separate for you, don't worry: heat it again to 185ºF, add 1 more tablespoon of fresh lemon juice or vinegar and gently stir. Let sit for a few more minutes.
- Acid: If the lemon juice didn't set up the ricotta, you may find better success using white vinegar.
- Moisture: If you feel it is too dry, you can add back some of the whey that was left in the pot.
Ways to Use the Leftover Whey
Rather than discard the leftover whey (which is the liquid left in the pot after removing the cheese), it's well worth it to keep that whey byproduct as there are plenty of creative culinary applications for the stuff.
One of my favorites is definitely for making fresh pasta, imparting some of that cheesy flavor directly into the noodles themselves by boiling them in it. You can also use it to simmer potatoes for delicious, mashed potatoes or even in pancakes. Get creative with it!
There is no need to decide how to use it right away, because whey can last up to 3 to 6 months in the fridge if covered well in an airtight container.
Recipes FAQs
Cover the ricotta cheese and store it in the fridge for up to 5 days.
Yes! Store ricotta cheese in a clean, airtight container in the freezer for up to 3 months. Thaw it in the fridge. Keep in mind that the texture and quality may be altered, however.
Ricotta cheese is very fine in texture, giving it a smooth yet somewhat grainy feel. It tastes somewhat sweet. Cottage cheese has more liquid and is lumpier. In terms of taste, it's a little saltier.
What to Make With Ricotta Cheese


If you tried this 📋 recipe tutorial for How to Make Ricotta Cheese or any other recipe on my website, please leave a 🌟 star rating and let me know how it went in the 📝 comments below. And please share the recipe!
📋Recipe
How to Make Ricotta Cheese
Ingredients
- 4 cups whole fresh milk - not ultra pasteurized
- 2 tablespoons freshly squeezed lemon juice - or 2 tablespoons of white vinegar
- 1 teaspoon salt
Instructions
- Add the milk and salt to a pot. Bring the milk to a boil gradually (medium heat).

- Use a cooking thermometer to keep track of the temperature. Remove it from heat when it reaches 185ºF. If it starts to foam up the pot and boil hard, remove from heat.
- Immediately stir the lemon juice into the milk.
- Cover and let it rest for 15 to 20 minutes--the milk should separate into clumps during this time. If this doesn't happen, don't worry: heat it again to 185ºF, add 1 more tablespoon of fresh lemon juice and gently stir. Let sit for a few more minutes.
- Line a colander with cheesecloth in the sink. Scoop the clumps of cheese up with a skimmer and place them onto the cheese cloth (you can also use a soft sterilized fabric).
- Let it drain for 1 hour--or until it reaches the consistency you want (the longer you wait, the drier it will be). Spoon into containers.
- Serve & enjoy!


Notes
- If the lemon juice didn't set up the ricotta, you may find better success using white vinegar.
- If you feel the ricotta is too dry, you can add back some of the whey that was left in the pot.
Nutrition
Nutrition information on In the Kitch is provided as a courtesy and is an estimate only. It may not include toppings and/or sauces.


Leave a Reply