If you love the homey, comforting goodness of pierogies, but find something lacking in the frozen supermarket variety, maybe it's time you learned how to make easy pierogies at home.
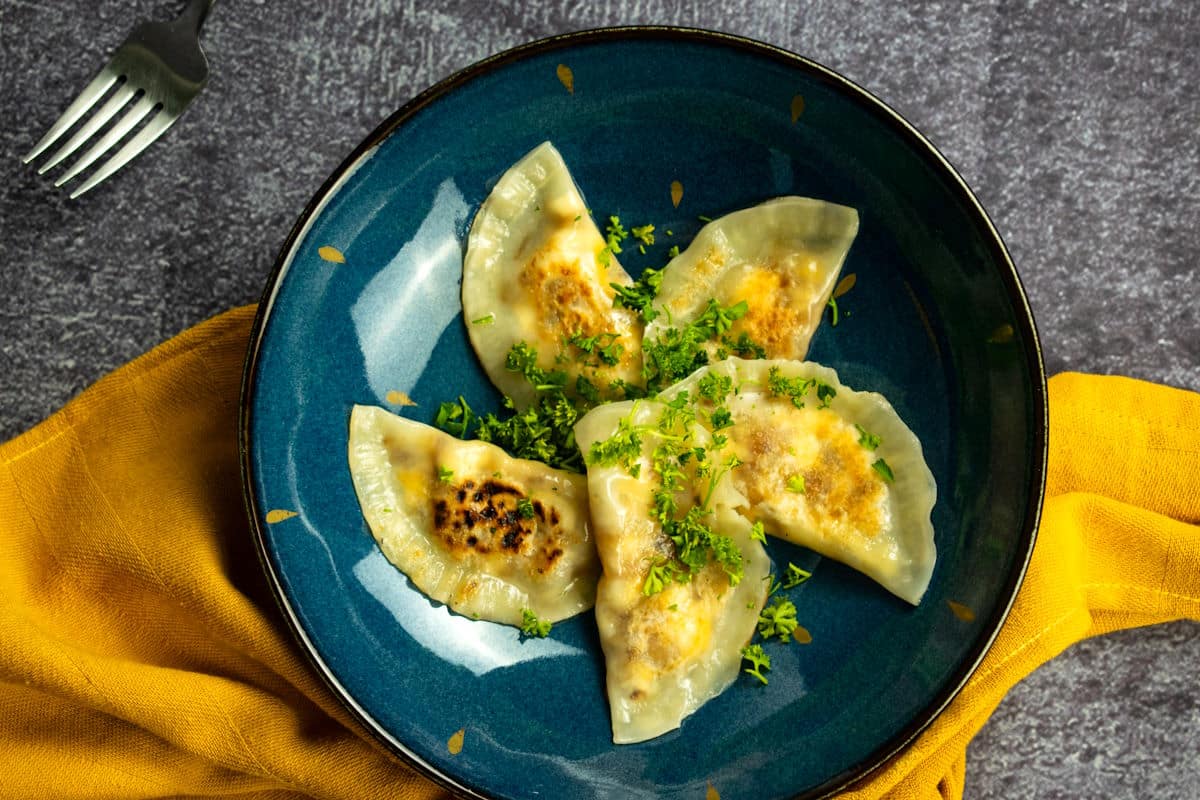
The version of pierogi we are making here comes from a Polish recipe. Poland is where my family came from on my Dad's side a few generations ago, so making pierogi is special to me.
What makes this recipe easy is the use of premade dumpling wrappers. There is no need to stress over making and rolling out a homemade dough to a perfect consistent thinness.
After forming the dumplings, they are sautéed and lightly steamed for a crispy, golden exterior and soft, pillowy center. I also make a mean kimchi dumpling if you're interested.
Jump to:
What Are Pierogies?
Pierogies are savory dumplings with a potato filling. This dish consists of fresh dough rounds folded around seasoned, mashed potato and cheese (such as ricotta cheese), forming a half-moon shape.
Pierogi Ingredients
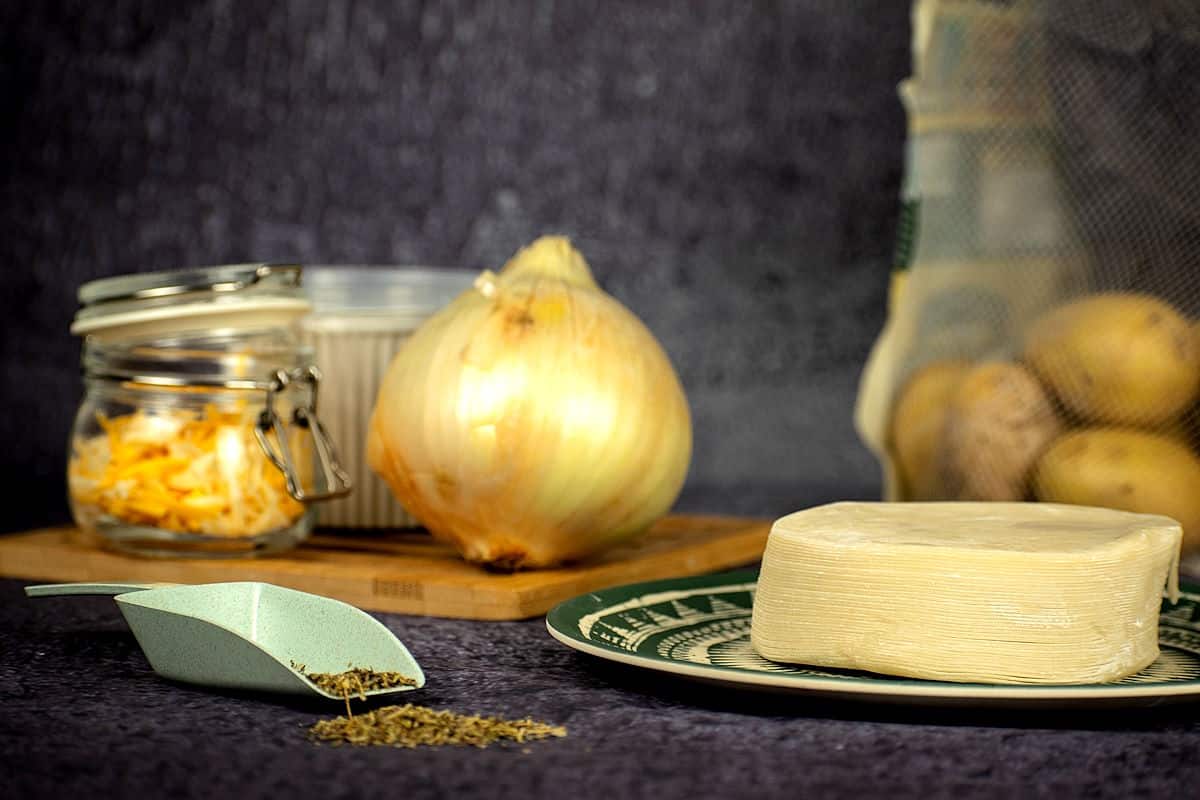
- 4-5 small potatoes (about 15 ounces)
- 2 tablespoons canola oil, divided
- 1 yellow onion, diced
- ½ cup ricotta cheese
- ½ cup cheddar cheese, shredded or in small cubes
- ½ teaspoon dried oregano
- ½ teaspoon dried thyme
- salt and pepper, to taste
- 48 dumpling wrappers
- fresh parsley, to serve (optional)
How to Make Them
Luckily, in this recipe, you can skip the step of making the dough, resulting in a quick and easy (but delicious!) version of homemade pierogies. Using the frying/steaming method of cooking gives you a nice golden pierogi dough on the outside, but keeps the center soft and pillowy. I also make my grilled pierogies this way.
Prepare the Pierogies
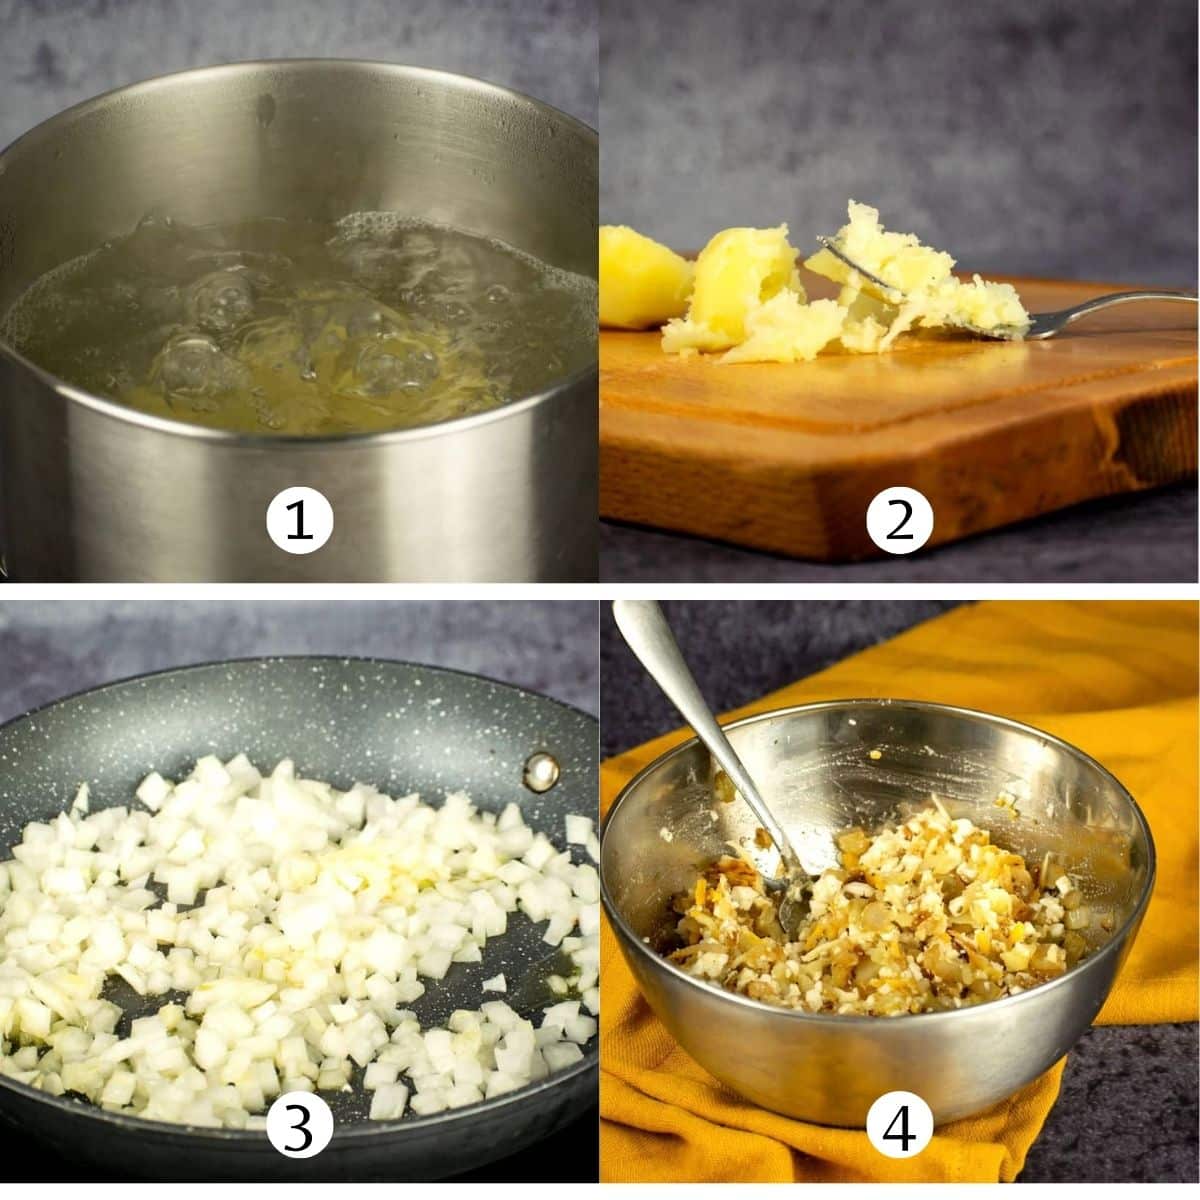
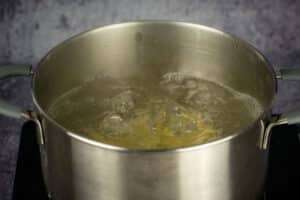
Step #1. Boil the potatoes. Peel and boil the potatoes until they are soft (about 8 to 10 minutes) (Image 1).
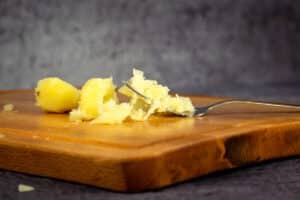
Step #2. Mash the potatoes. Drain the potatoes and mash them using a fork or potato masher (Image 2).
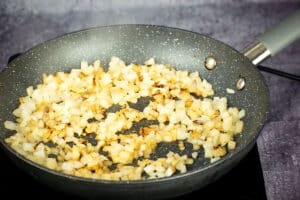
Step #3. Fry the onions. Heat 1 tablespoon of canola oil to medium heat in a non-stick frying pan. Add the onions and fry until soft and golden (about 5 minutes) (Image 3).
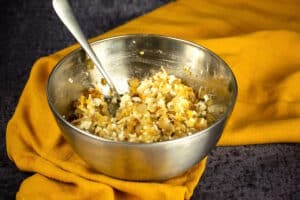
Step #4. Combine Filling. Combine the ricotta cheese, potatoes, cheddar cheese, onions, herbs, salt and pepper to make the filling (Image 4).
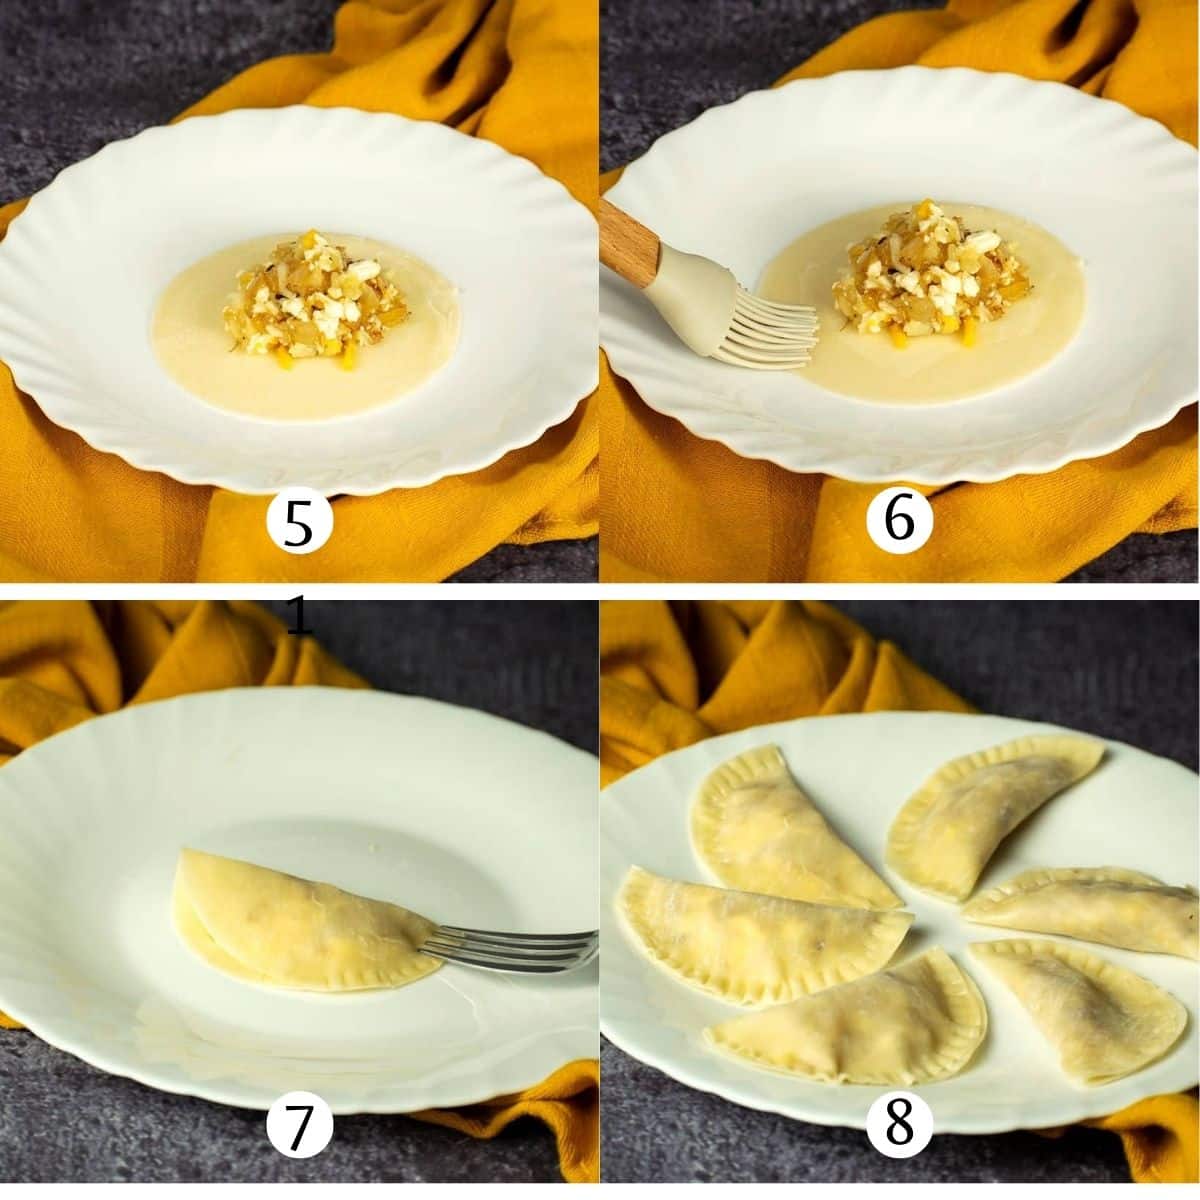
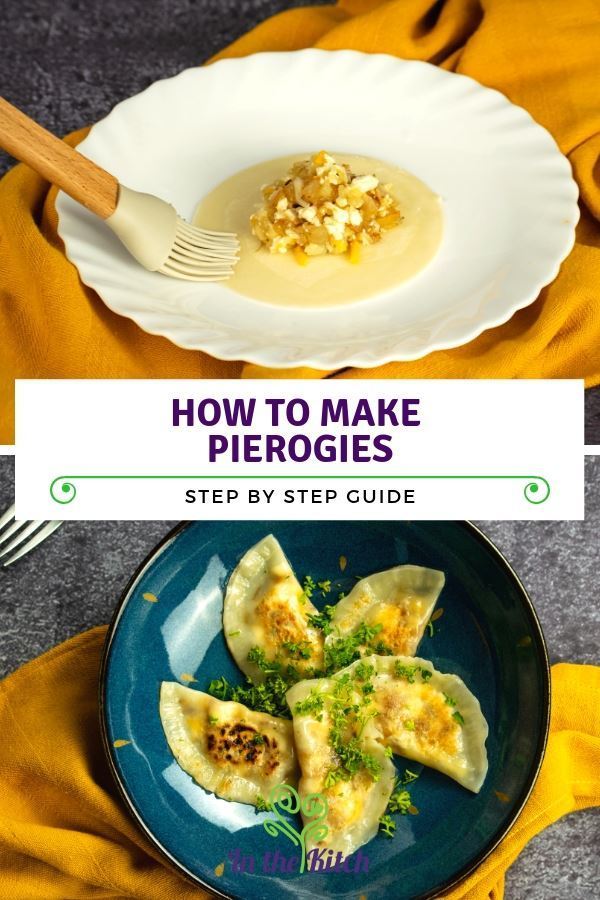
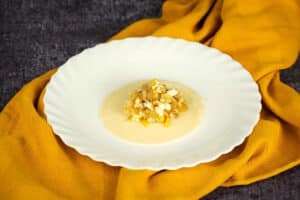
Step #5. Fill dumpling wrappers. Place one dumpling wrapper on a plate. Add one spoon of filling (Image 5).
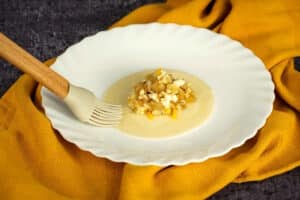
Step #6. Wet the edges. Wet the edges of the disc with water. You can use a silicone brush (Image 6).
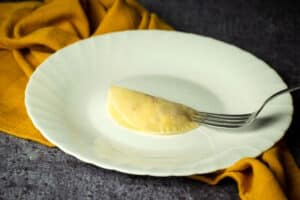
Step #7. Fold and seal. Fold it in half over the filling and seal the ends together by pressing with a fork (Image 7).
Step #8. Repeat. Repeat with all wrappers (Image 8).
Cook the Pierogies
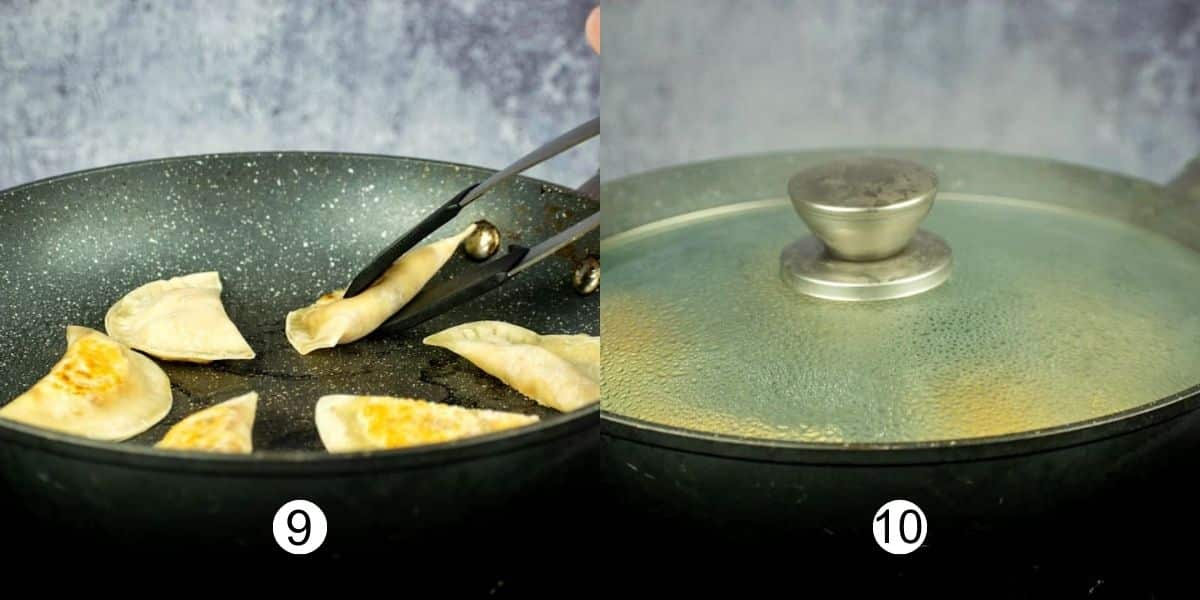
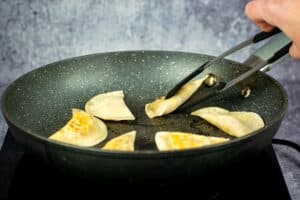
Step #9. Fry the pierogies. Heat 1 tablespoon of canola oil in a non-stick skillet at medium-high heat. Add the pierogies and cook until brown. Turn them over and let them brown on the other side (Image 9).
💬Chef's Note: For me, it usually takes less than 1 minute per side to brown; keep an eye on them.
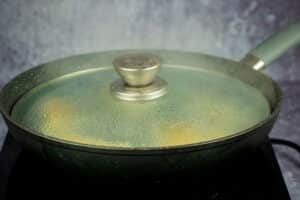
Step #10. Steam. When they are golden brown on both sides, add ½ cup of water – without lowering the temperature – and cover quickly with the lid so that they steam. Let them cook for 1 more minute (Image 10).
💬Chef's Note: This is a mixed cooking method that will allow the dough itself to have a brown and crunchy texture on the outside with a soft center. Add another tablespoon of oil to the pan before frying each batch of pierogies.
Serve
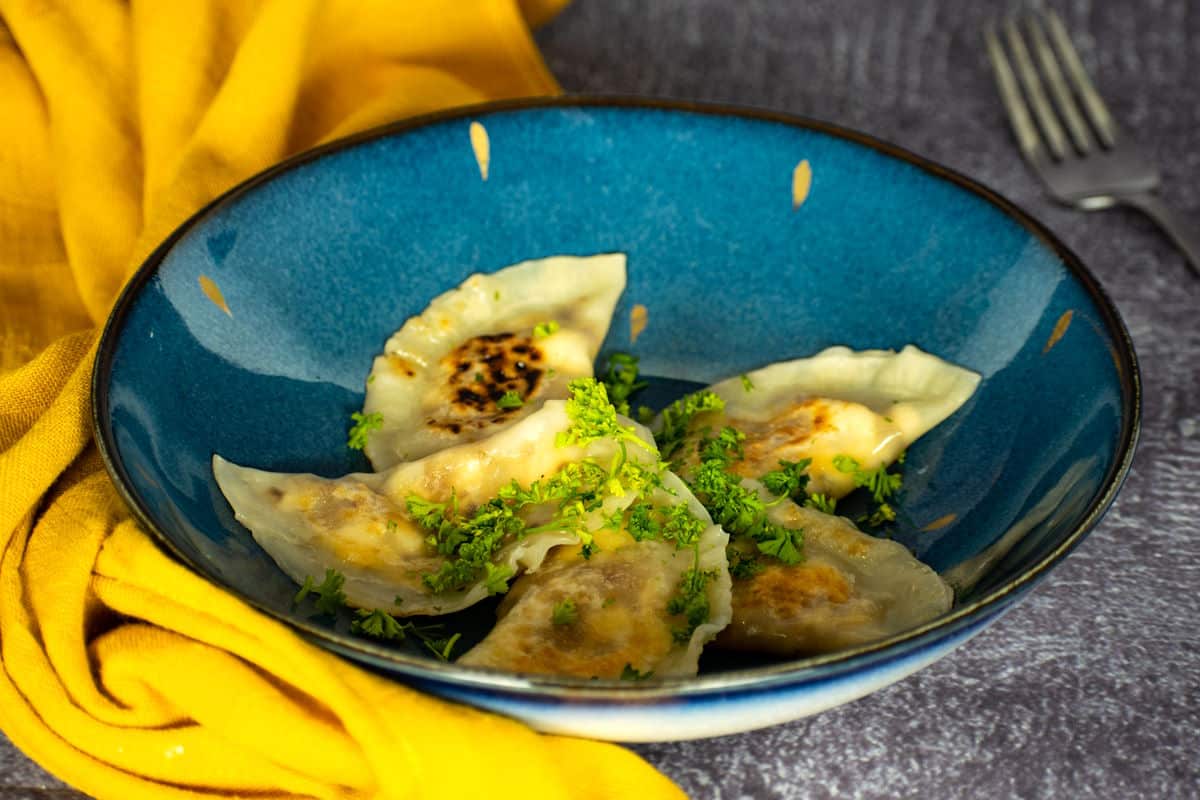
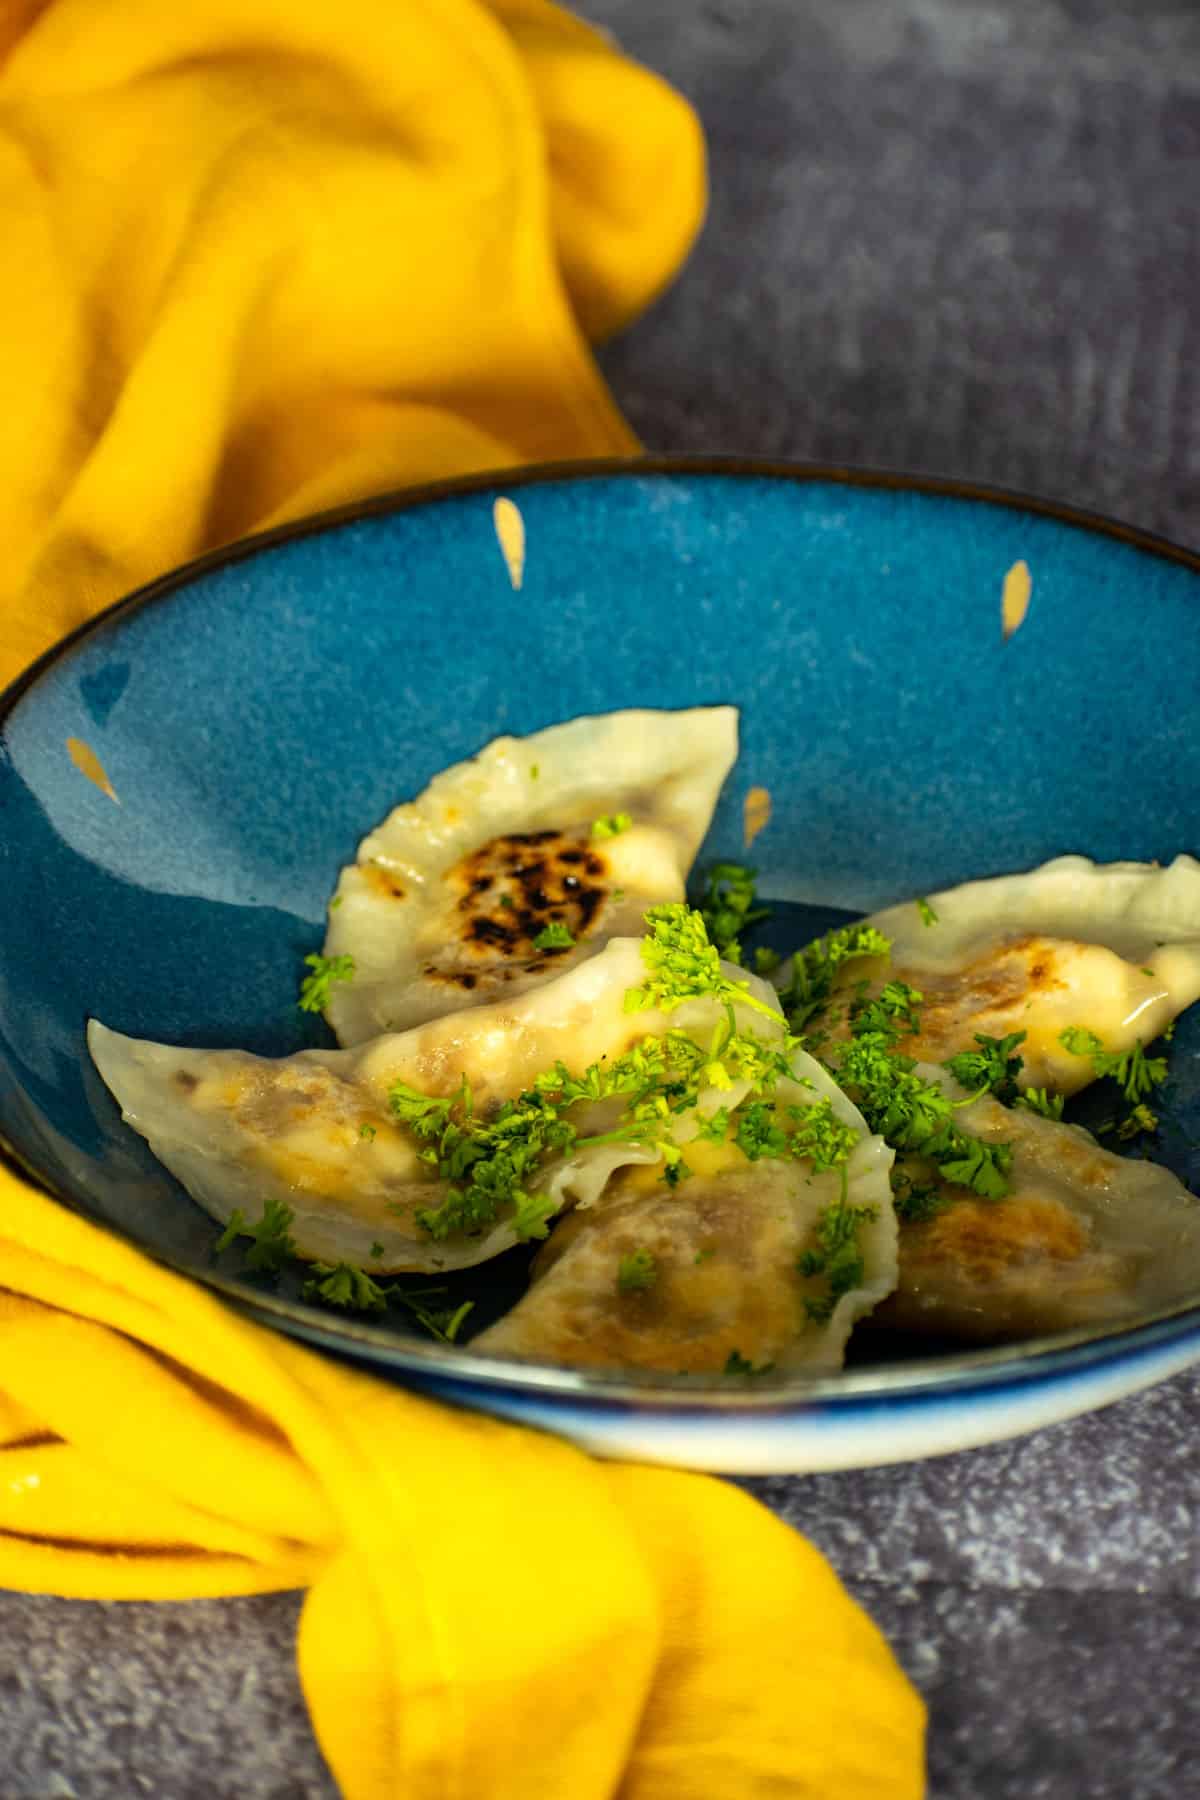
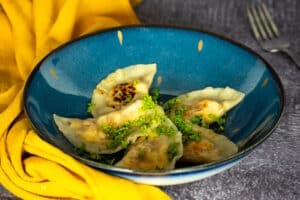
Serve with fresh parsley and enjoy!
Storage Tips
Any leftover filling can be frozen for later use.
If you don't intend to eat all of the pierogies right away, they can be frozen before cooking:
- Arrange on baking sheet. Line a baking sheet with parchment paper, arrange the pierogies so they don't touch (make sure of this, or they could tear apart once frozen), and place the sheet in the freezer until the dumplings are solid.
- Transfer. Once they're frozen, they can be transferred to a plastic freezer bag for easy storage.
- Cook from frozen. To cook them from a frozen state, simply boil in salted water for about 7 or 8 minutes, then drain and serve as you normally would.
Store the cooked pierogies in an airtight container in the fridge for up to 3 days or in the freezer for up to 3 months.
Serving Suggestions
- I like to keep sour cream and hot sauce on hand for serving.
- They can be served as a side dish to sausage or cabbage rolls.
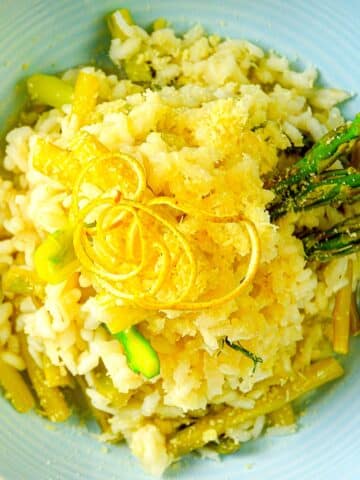
- Add a fresh garden salad or roasted vegetables such as green beans or roasted white asparagus to complete the meal.
Pierogi Recipe FAQs
Although pierogi is a Polish word, the origin of the dish itself has not been verified. They are associated with Central and Eastern European cuisine.
Making pierogies involves encasing a flour-based dough with a filling, ranging from sweet plums to savory cottage cheese or even with the unique tang of sauerkraut.
You don't have to. You can also cook pierogies in the skillet, as outlined in this recipe, without boiling them, and they'll still be delicious.
❤️More Cooking Tutorials You Will Love
If you tried this Easy Pierogies Recipe or any other recipe on my website, please leave a 🌟 star rating and let me know how it went in the 📝 comments below. And please share the recipe!
📋Recipe
Easy Pierogies Recipe
Ingredients
- 4-5 small potatoes - about 15 ounces
- 2 tablespoons canola oil - divided
- 1 yellow onion - diced
- ½ cup ricotta cheese
- ½ cup cheddar cheese - shredded or in small cubes
- ½ teaspoon oregano - dried
- ½ teaspoon thyme - dried
- salt and pepper - to taste
- 48 dumpling wrappers - premade
- fresh parsley - to serve
Instructions
- Peel and boil the potatoes until they are soft (about 8 to 10 minutes).
- Drain the potatoes and mash them using a fork or potato masher.
- Heat 1 tablespoon of canola oil to medium heat in a non-stick frying pan. Add the onions and fry until soft and golden (about 5 minutes).
- Combine the ricotta cheese, potatoes, cheddar cheese, onions, herbs, salt and pepper to make the filling.
- Place one dumpling wrapper on a plate. Add one spoon of filling.
- Wet the edges of the disc with water.
- Fold it in half over the filling and seal the ends together by pressing with a fork. Repeat with all wrappers.
- Heat 1 tablespoon of canola oil in a non-stick skillet at medium-high heat. Add the pierogies and cook until brown. Turn them over and let them brown on the other side. (For me, it usually takes less than 1 minute per side to brown; keep an eye on them.)
- When they are golden brown on both sides, add ½ cup of water - without lowering the temperature - and cover quickly with the lid so that they steam. Let them cook for 1 more minute. (This is a mixed cooking method that will allow the dough itself to have a brown and crunchy texture on the outside with a soft center.) Add another tablespoon of oil to the pan before frying each batch of pierogies.
- Serve with fresh parsley and enjoy!
Equipment
Notes
- Any leftover filling can be frozen for later use.
-
If you don’t intend to eat all of the pierogies right away, they can be frozen before cooking:
- Line a baking sheet with parchment paper, arrange the pierogies so they don’t touch (make sure of this, or they could tear apart once frozen), and place the sheet in the freezer until the dumplings are solid.
- Once they’re frozen, they can be transferred to a plastic freezer bag for easy storage.
- To cook them from a frozen state, simply boil in salted water for about 7 or 8 minutes, then drain and serve as you normally would.
- Store the cooked pierogies in an airtight container in the fridge for up to 3 days or in the freezer for up to 3 months.
Nutrition
Nutrition information on In the Kitch is provided as a courtesy and is an estimate only. It may not include toppings and/or sauces.


Leave a Reply