

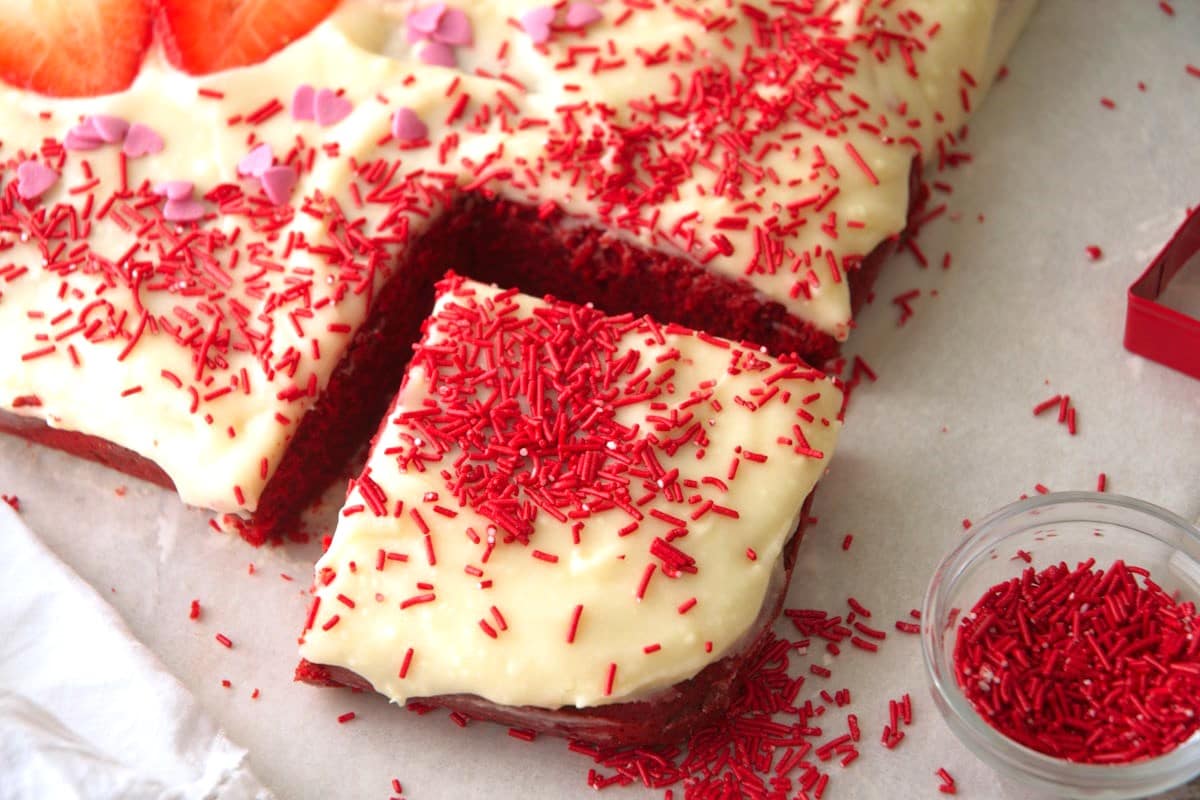
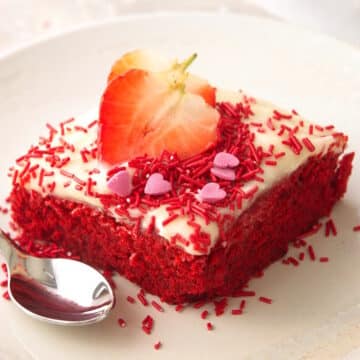
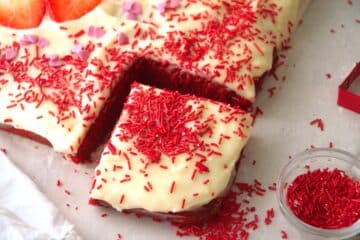
You can never go wrong with a holiday-themed cake that has all of the colors of love, and this Valentine's Day cake is no exception. This red velvet sheet cake is quick and easy yet looks amazing.

If you're bringing Valentine's Day treats for the classroom, this portable cake is perfect as it can be cut into 12 to 20 slices.
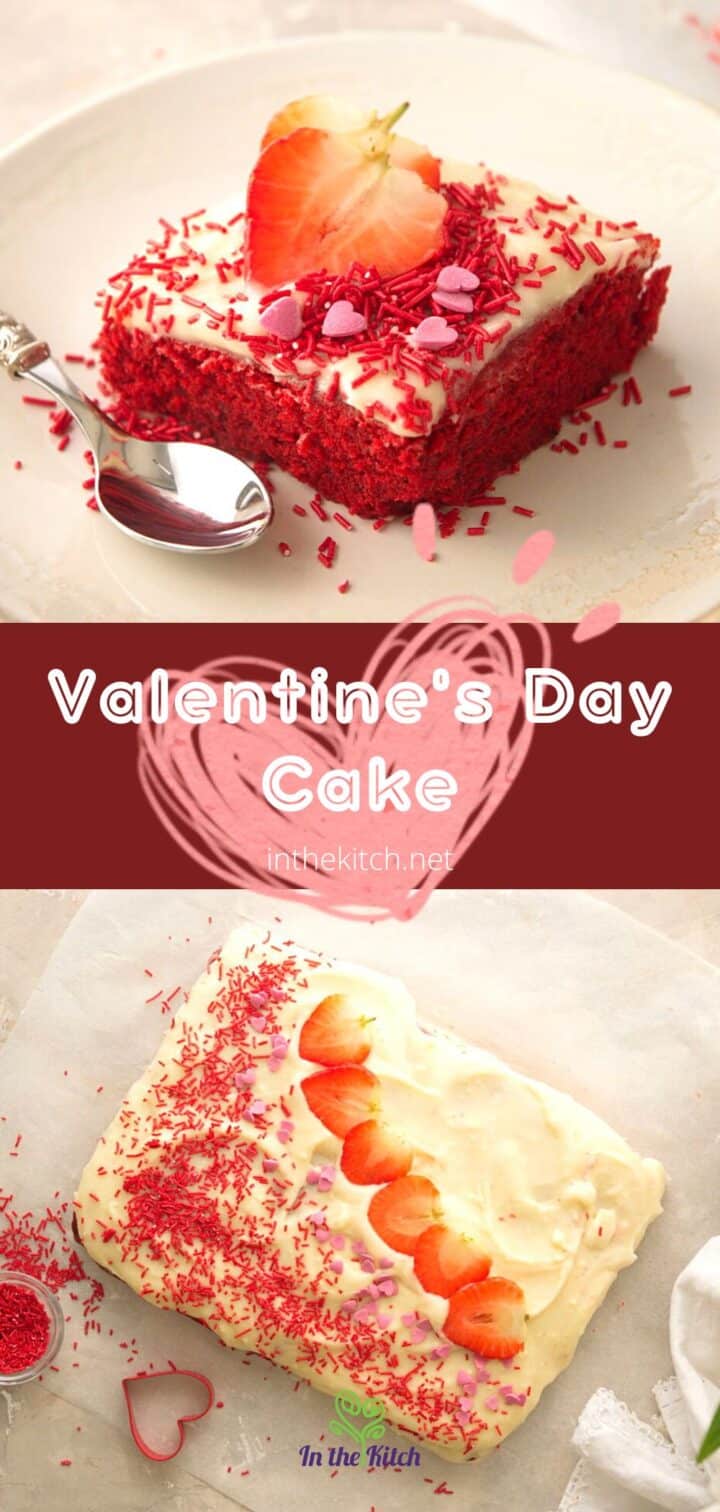
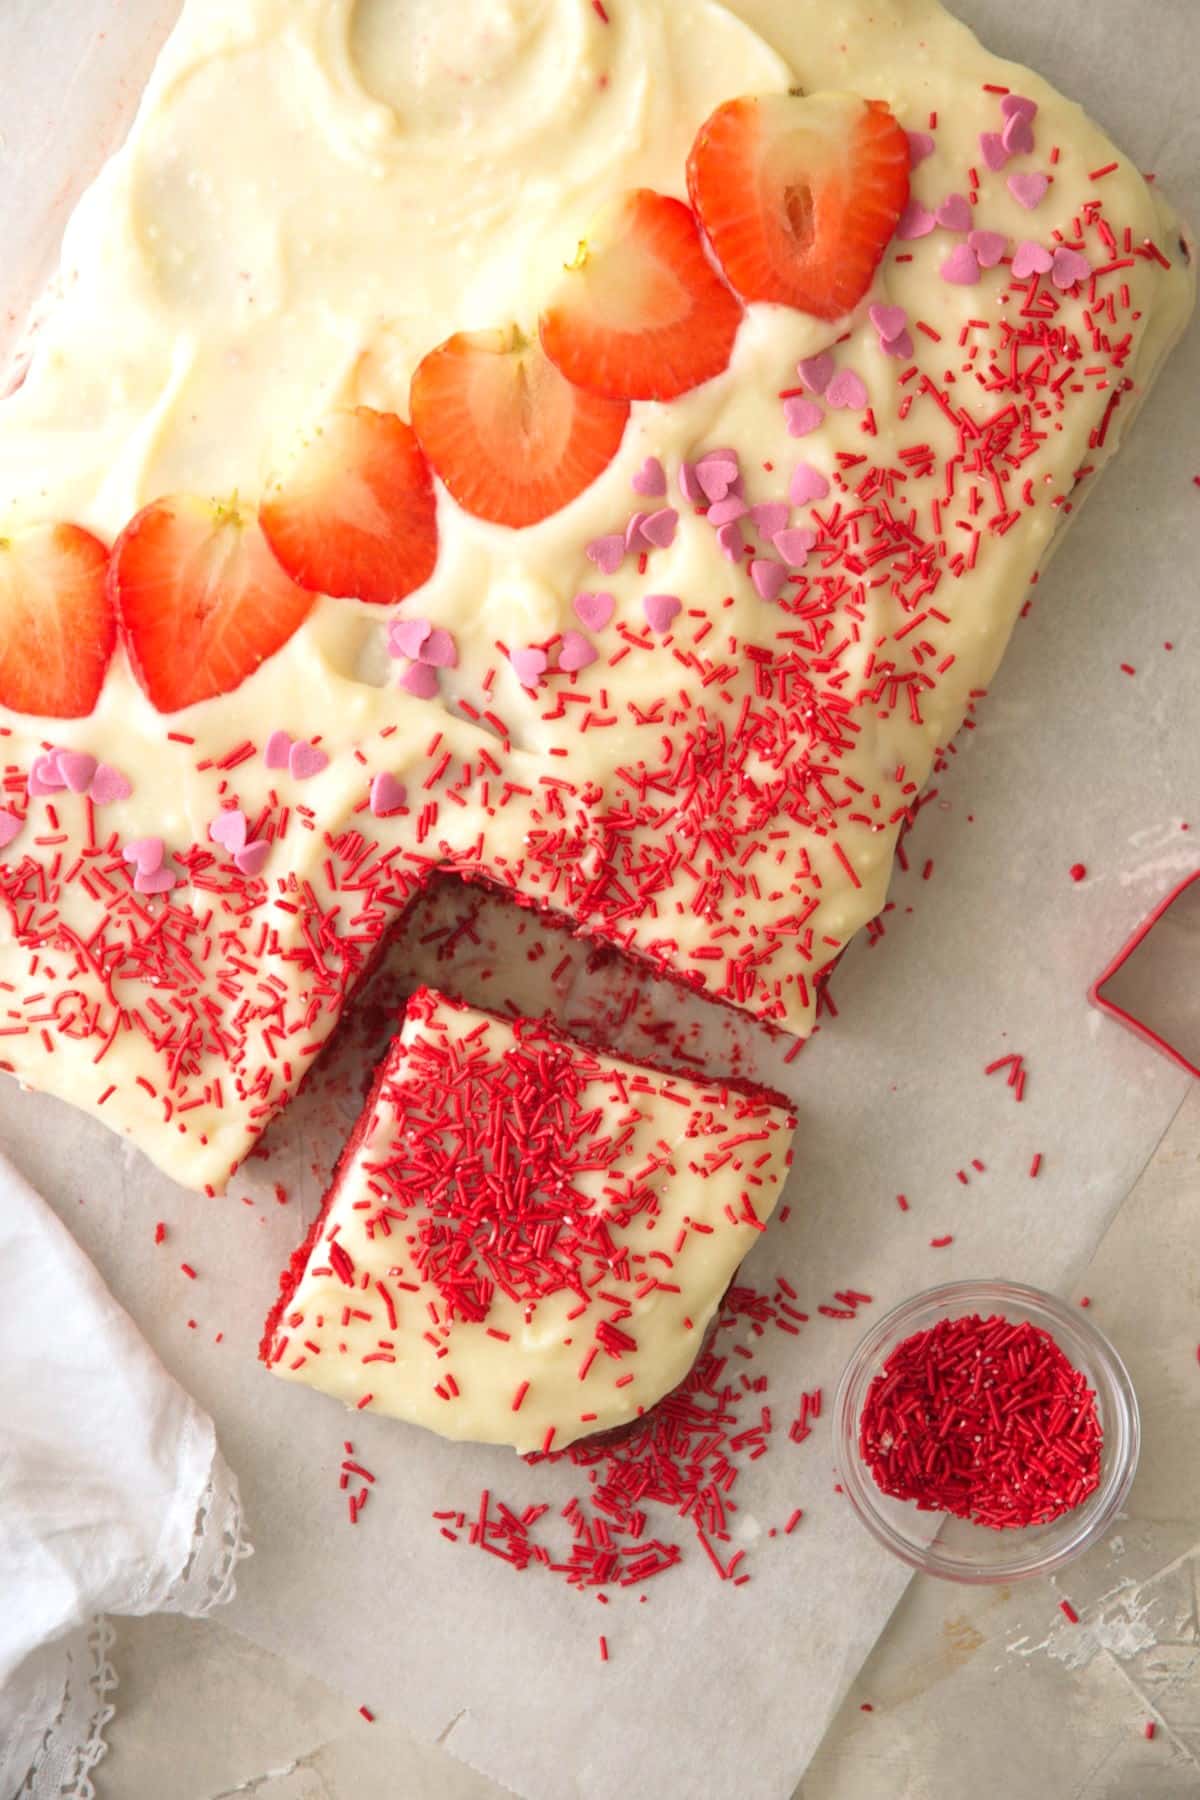
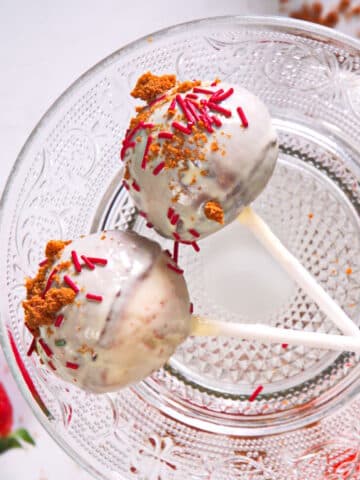
It's decorated with red, pink and white toppings like sliced strawberries and candy sprinkles but you can choose to decorate it as you wish. It can be a lot of fun to get creative with, so use your imagination!
I also make this strawberry champagne cake and strawberry hard candy that are perfect to make this special day even sweeter.
Jump to:
🍓 Ingredients
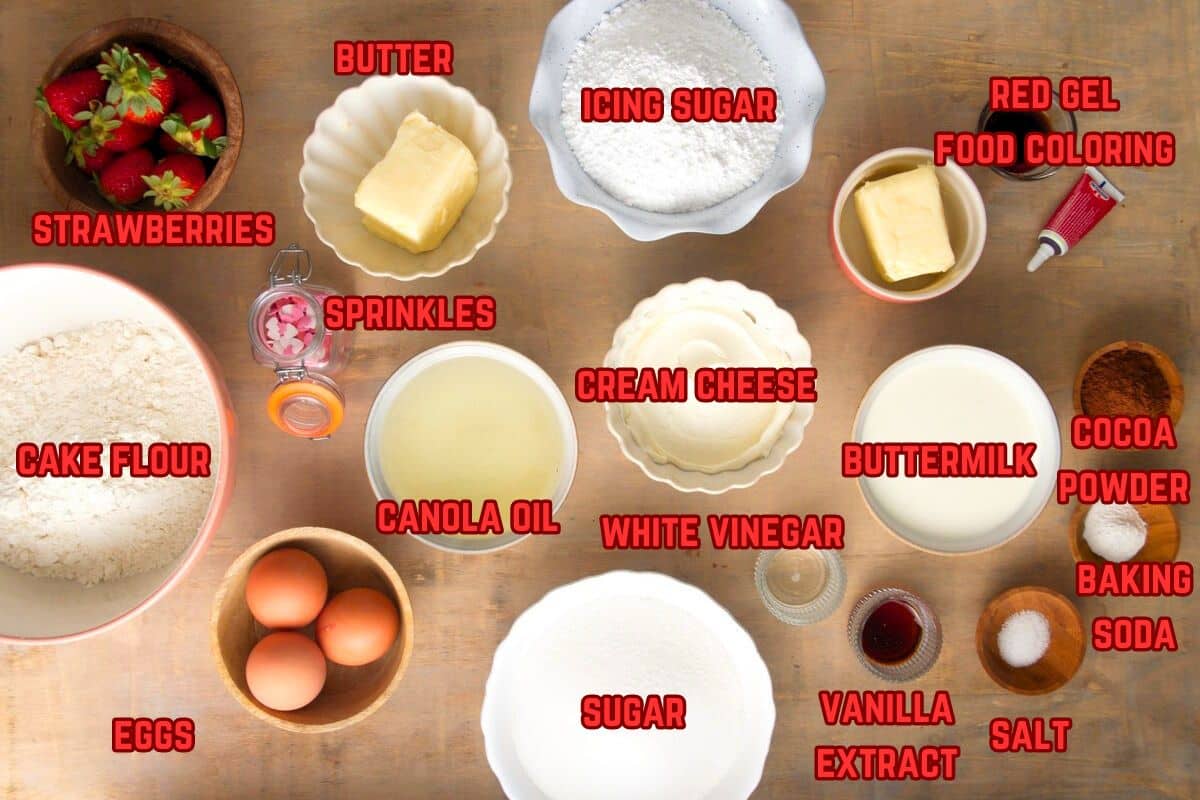
- cake flour - Cake flour has a lower protein content, so it will form less gluten.
- red gel food coloring - You can use liquid food coloring but it will be harder to achieve brilliant colors than with the gel.
- buttermilk - If you don't have buttermilk, you can add 1 tablespoon of vinegar or lemon juice to a 1 cup measuring glass. Then, fill it with regular milk until it reaches the 1 cup mark. Stir it and let sit for 5 to 10 minutes.
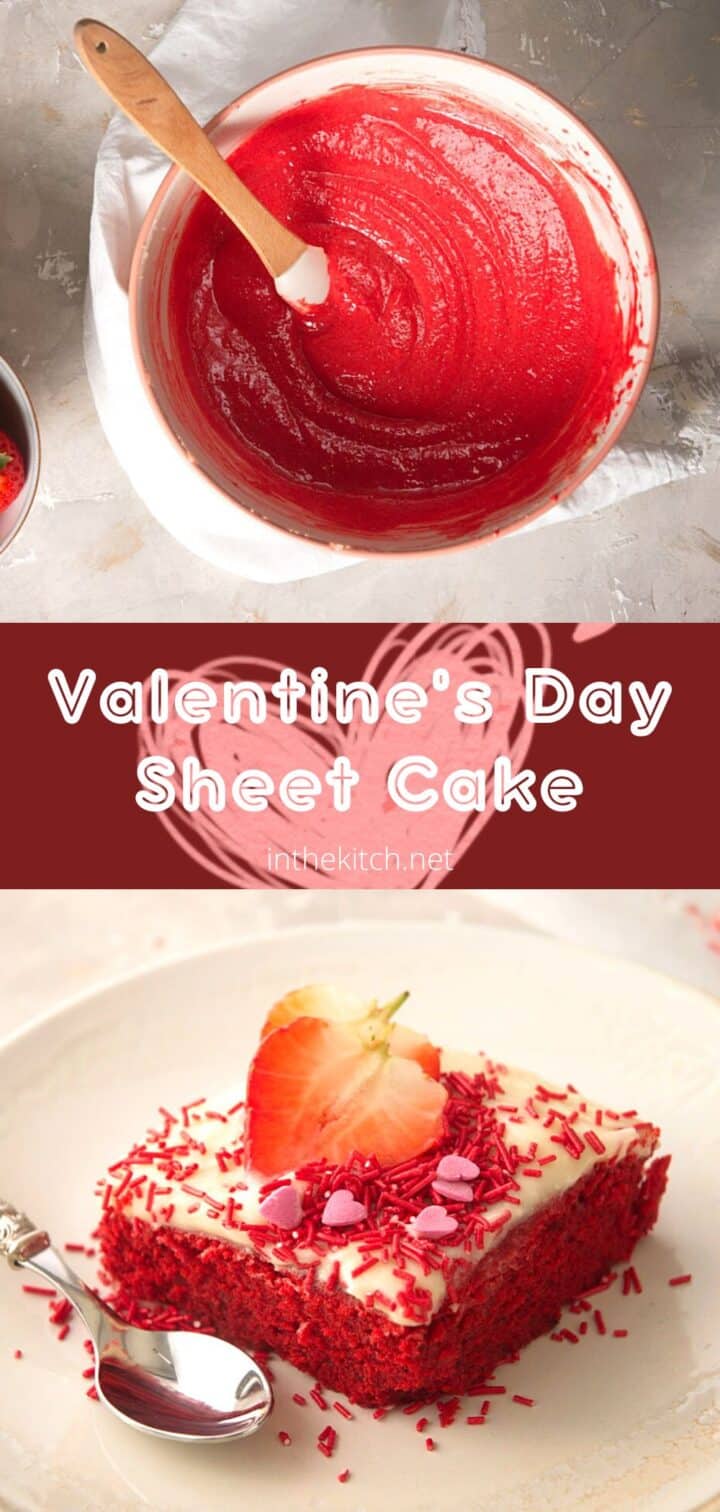
- white vinegar - The vinegar may appear to be an odd addition, but do not omit it! White vinegar serves as a helpful leavening agent for cakes when used with baking soda, creating a moist, fluffy, and delicious crumb structure. It was also originally used in red velvet cakes to preserve the color from beet juice. Vinegar can be added to nearly all baking recipes to improve the consistency of the final product.
- Fresh strawberries - It is best to add them just before serving because otherwise you will end up with moisture from the strawberries leaking onto the frosting. You don't have to use fresh strawberries as a decoration; it's only a suggestion.
- Red and pink sprinkles - Or any type of Valentine's Day themed sprinkles.
*Check for ingredient amounts in recipe card.
📖 Recipe Tweaks
For some tweaking ideas, feel free to swap out your food coloring based on what you want the final appearance of your Valentine's Day cake to be. Leaving it in the batter as the recipe states will give you a nice dark red cake with white icing (think classic red velvet cake). This option will look clean and simple with some sliced strawberries and/or sprinkles on top.
Alternatively, you could add your food dye to the icing for a pink cake with a brown center. A very small amount will create a beautiful rosy pink cake, but adding more will make a bold and festive bright pink cake.
These colors will also look lovely with strawberries and sprinkles, but you could get creative with whatever decorations you have available.
🍰 How to Make Valentine's Day Cake
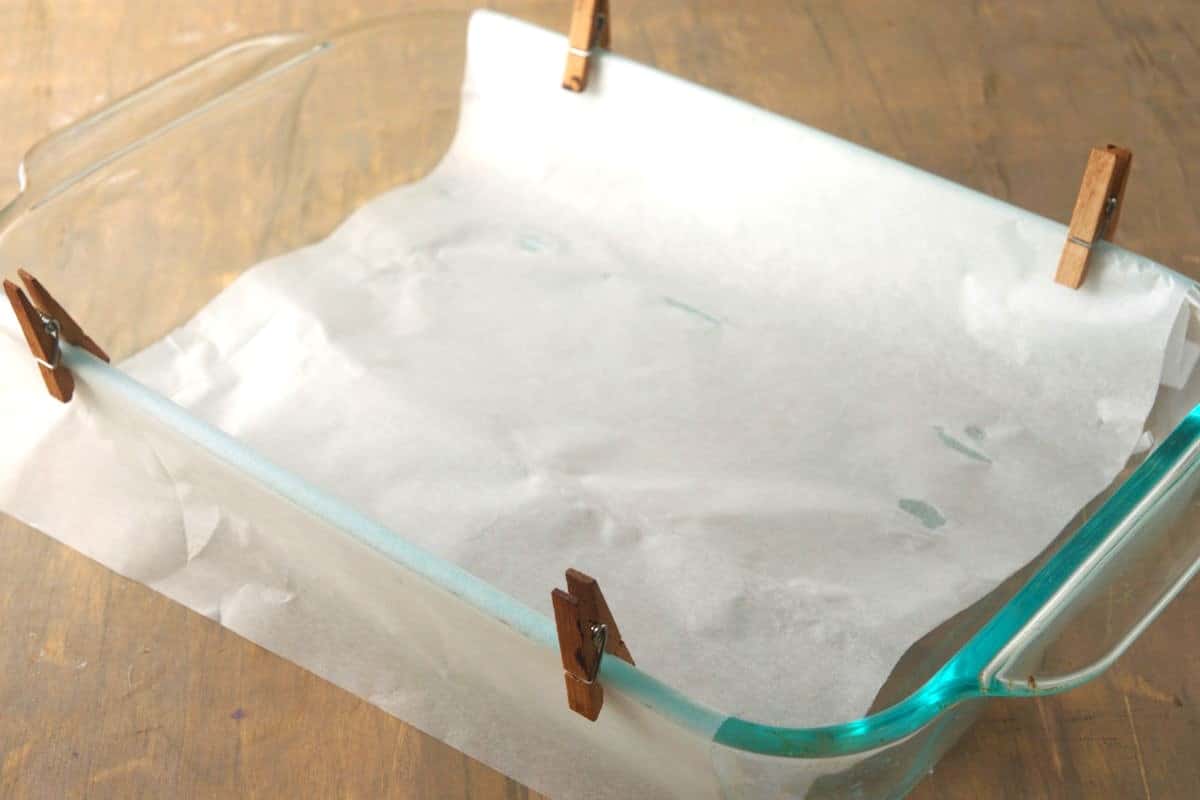
Step 1. Preheat the oven to 350°F. Grease and lightly flour a 9" x 13" baking pan or line it with parchment paper.
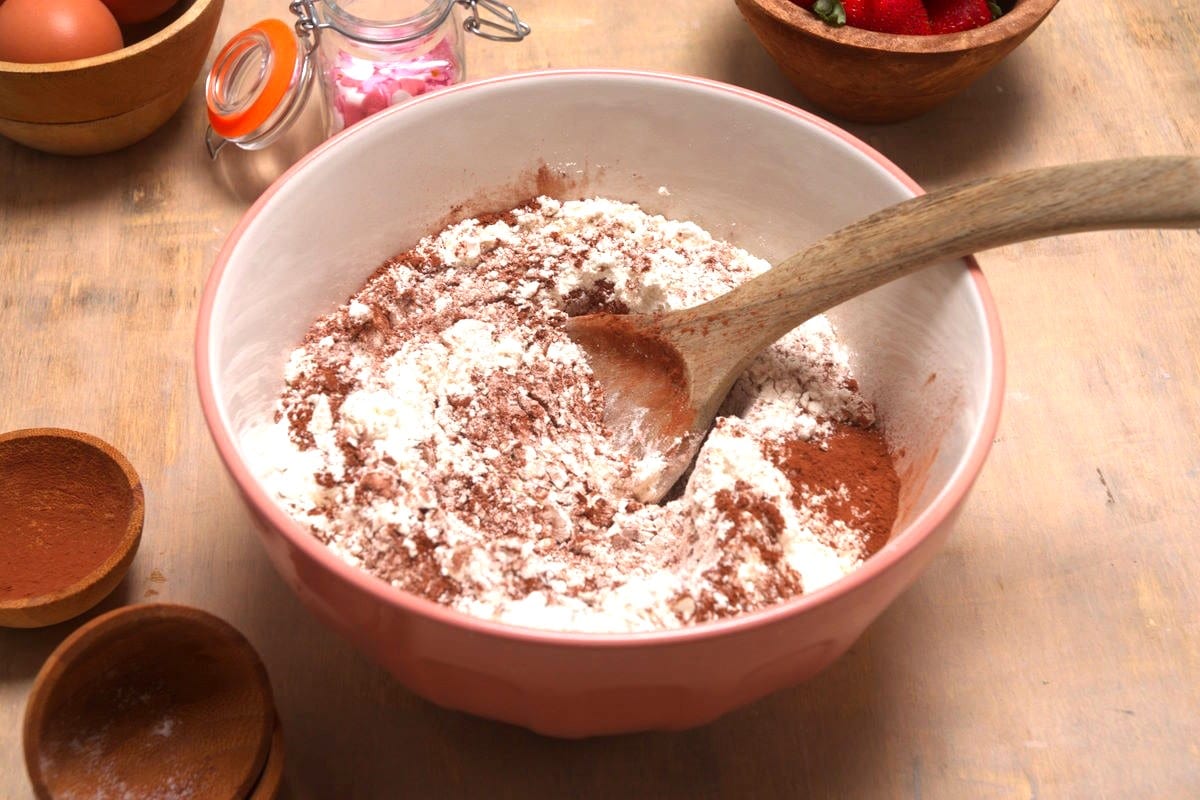
Step 2. Sift together the cake flour, cocoa, baking soda and salt.
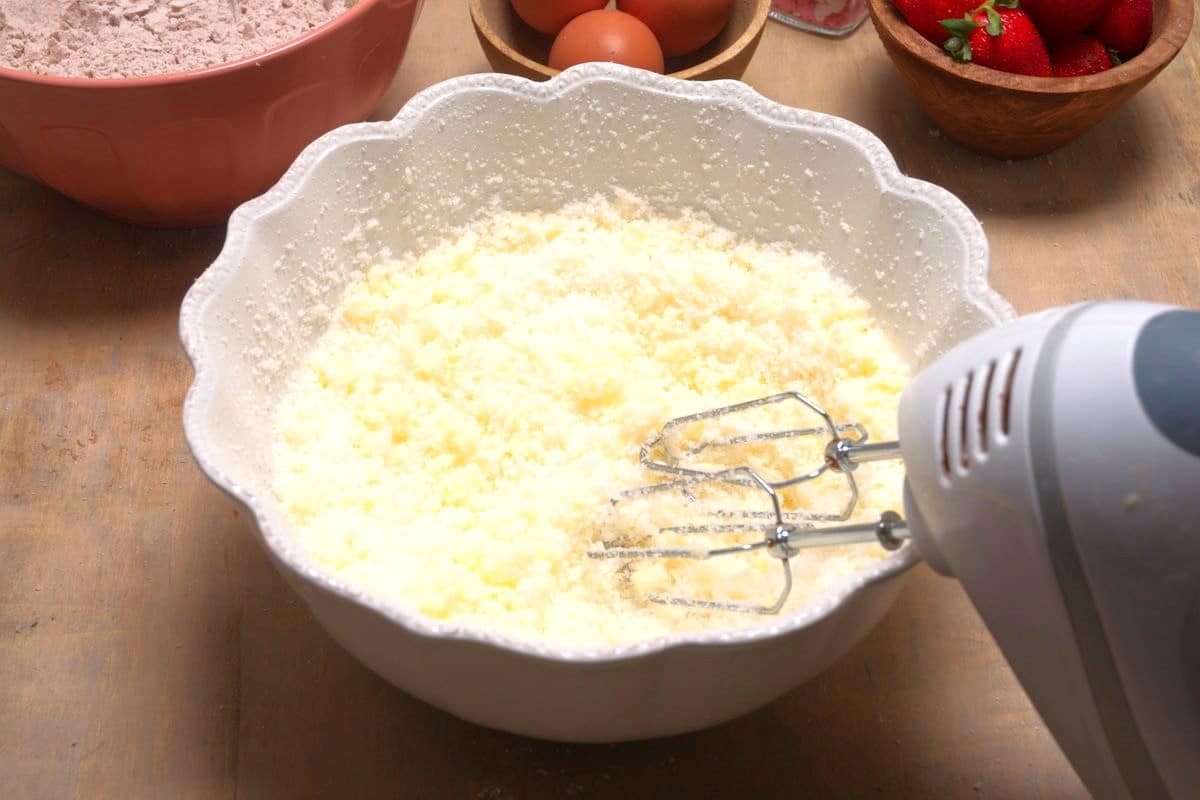
Step 3. In a separate bowl, combine the butter and white sugar until fluffy.

Step 4. Beat in the oil, eggs, vanilla extract and food coloring until combined.

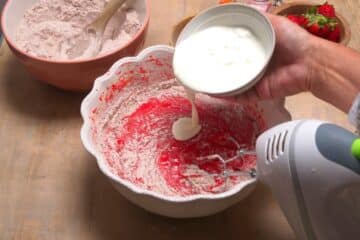
Step 5. Alternate adding the flour mixture and buttermilk to the butter mixture, until combined. Stir in the vinegar.

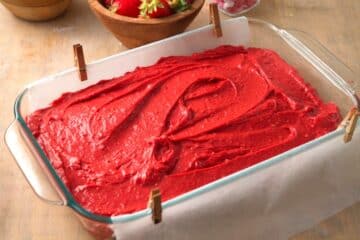
Step 6. Pour the batter into the baking pan.

Step 7. Bake for about 35 to 40 minutes, or until a toothpick inserted into the center comes out clean. Let cool before frosting.

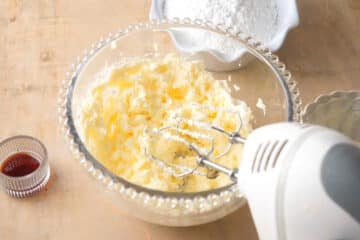
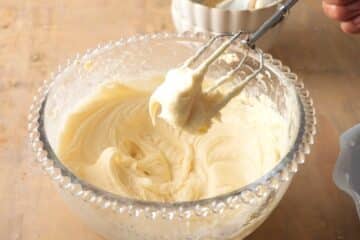
Step 8. Combine the softened cream cheese and butter in a bowl with an electric mixer, until smooth. Add the vanilla extract. Slowly add the powdered sugar with the mixer on low, until combined.

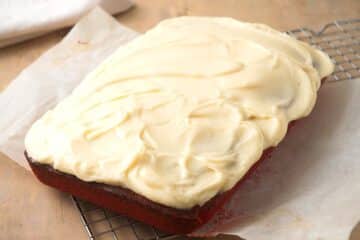
Step 9. You can either keep the cake in the pan or carefully remove it before frosting. Frost the cake with the cream cheese frosting. Decorate it with the fresh strawberries and sprinkles.
Step 10. Slice the Valentine's Day cake and serve!
💝 Joss' Tips
- Make Ahead Prep: This cream cheese frosting can be prepped ahead of time and then refrigerated for up to two weeks. Bring it up to room temperature before frosting the cake.
- Decorating: You could use a piping bag or an icing pen to add artistic designs and a special message for that special someone, or for your kids if that is who you are making this cake for. You can even attempt to make icing flowers or hearts.
- Moisten the Cake: If it turned out dry, no worries! Check out my tutorial for how to fix a dry cake.
- Convert to Cupcakes: You may also prefer to make Valentine's Day cupcakes instead of a larger Valentine's Day cake. To do this, you need only adjust the baking time. Converting a cake recipe to cupcakes generally requires reducing the bake time by up to half, so check on your cupcakes with a toothpick 15-20 minutes into baking to see if they are finished.
- Remove Cake Carefully: You can either decorate and serve the cake right out of the pan or remove it and then decorate, depending on your preference. This video below shows you how to easily remove the cake from the pan without making a crumbled mess.
🌡️ Valentine's Day Cake Storage
- Fridge: Cover the cake and store in the fridge for up to 5 days.
- Serving: Take it out of the fridge 30 minutes before serving for best results.
- Freezer: This Valentine's Day cake can be frozen frosted or unfrosted for up to 3 months. If you prefer to freeze the cake in slices, make sure to wrap each one individually and place into a freezer bag.
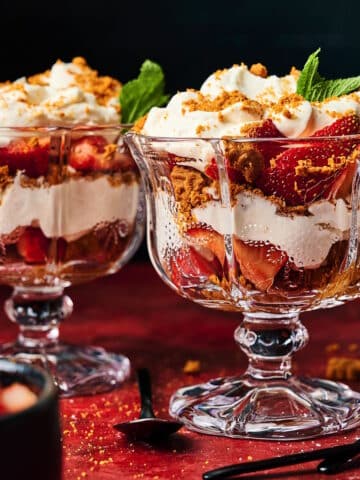
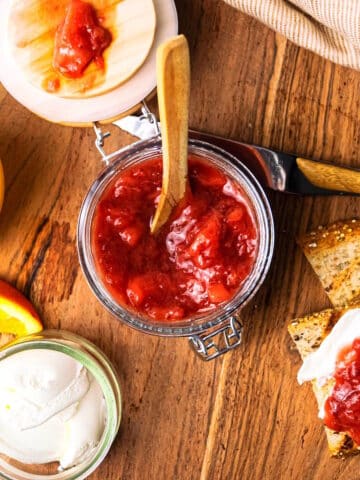
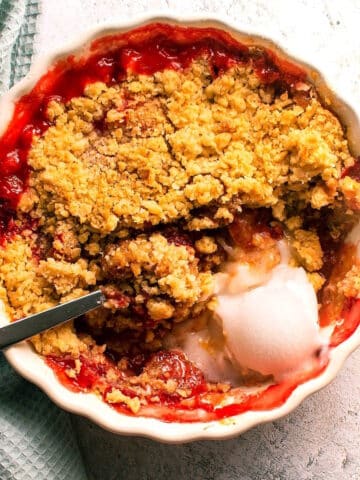
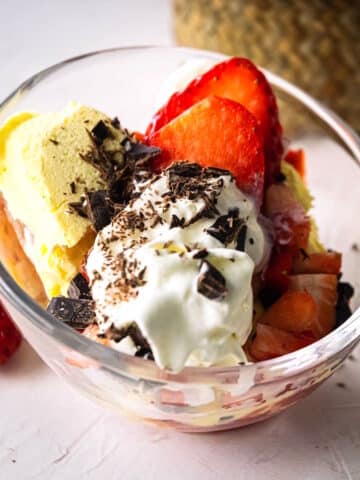
💕 More Amazing Red Desserts
If you tried this 💝🍰 Valentine's Day Cake Recipe or any other recipe on my website, please leave a 🌟 star rating and let me know how it went in the 📝 comments below. And please share the recipe!
📋Recipe
Valentine's Day Red Velvet Sheet Cake
Ingredients
For the Cake Batter
- 2 ⅔ cups cake flour
- 2 tablespoons cocoa powder
- 1 teaspoon baking soda
- ¼ teaspoon salt
- ½ cup butter - softened
- 1 ¾ cups white sugar
- 1 cup canola oil
- 3 large eggs - at room temperature
- 1 tablespoon vanilla extract
- 2 teaspoons red gel food coloring
- 1 cup buttermilk - at room temperature
- 2 teaspoons white vinegar
For the Cream Cheese Frosting
- 8 ounces cream cheese - softened
- ½ cup butter - softened
- 1 teaspoon vanilla extract
- 3 cups powdered sugar
To Decorate
- fresh strawberries - sliced--optional
- red and pink sprinkles
Instructions
For the Cake Batter
- Preheat the oven to 350°F. Grease and lightly flour a 9" x 13" baking pan or line it with parchment paper.

- Sift together the cake flour, cocoa, baking soda and salt.2 ⅔ cups cake flour, 2 tablespoons cocoa powder, 1 teaspoon baking soda, ¼ teaspoon salt
- In a separate bowl, combine the butter and white sugar until fluffy. Beat in the oil, eggs, vanilla extract and food coloring until combined.½ cup butter, 1 ¾ cups white sugar, 1 cup canola oil, 3 large eggs, 1 tablespoon vanilla extract, 2 teaspoons red gel food coloring
- Alternate adding the flour mixture and buttermilk to the butter mixture, until combined. Stir in the vinegar.1 cup buttermilk, 2 teaspoons white vinegar
- Pour the batter into the baking pan. Bake for about 35 to 40 minutes, or until a toothpick inserted into the center comes out clean. Let cool before frosting.


For the Cream Cheese Frosting
- Combine the softened cream cheese and butter in a bowl with an electric mixer, until smooth. Add the vanilla extract.8 ounces cream cheese, ½ cup butter, 1 teaspoon vanilla extract
- Slowly add the powdered sugar with the mixer on low, until combined.3 cups powdered sugar
To Decorate
- You can either keep the cake in the pan or carefully remove it before frosting (see tips in post). Frost the cake with the cream cheese frosting. Decorate it with the fresh strawberries and sprinkles.
- Slice and serve!
Equipment
Notes
- Fridge Storage: Cover the cake and store in the fridge for up to 5 days. Take it out of the fridge 30 minutes before serving for best results.
- Freezer Storage: It can be frozen frosted or unfrosted for up to 3 months. If you prefer to freeze the cake in slices, make sure to wrap each one individually and place in a freezer bag.
- Yield: This cake makes between 12 and 20 slices.
- Note on nutrition info: The nutrition information includes the frosting.
- Decorating tip: It is best to decorate with the fresh strawberries shortly before serving.
- Make ahead prep: This cream cheese frosting can be prepped ahead of time and then refrigerated. Bring it up to room temperature before frosting the cake.
- Cake to cupcake conversion: You may also prefer to make Valentine's Day cupcakes instead of a larger cake. To do this, you need only adjust the baking time. Converting a cake recipe to cupcakes generally requires reducing the bake time by up to half, so check on your cupcakes with a toothpick 15-20 minutes into baking to see if they are finished.
Nutrition
Nutrition information on In the Kitch is provided as a courtesy and is an estimate only. It may not include toppings and/or sauces.


Leave a Reply