
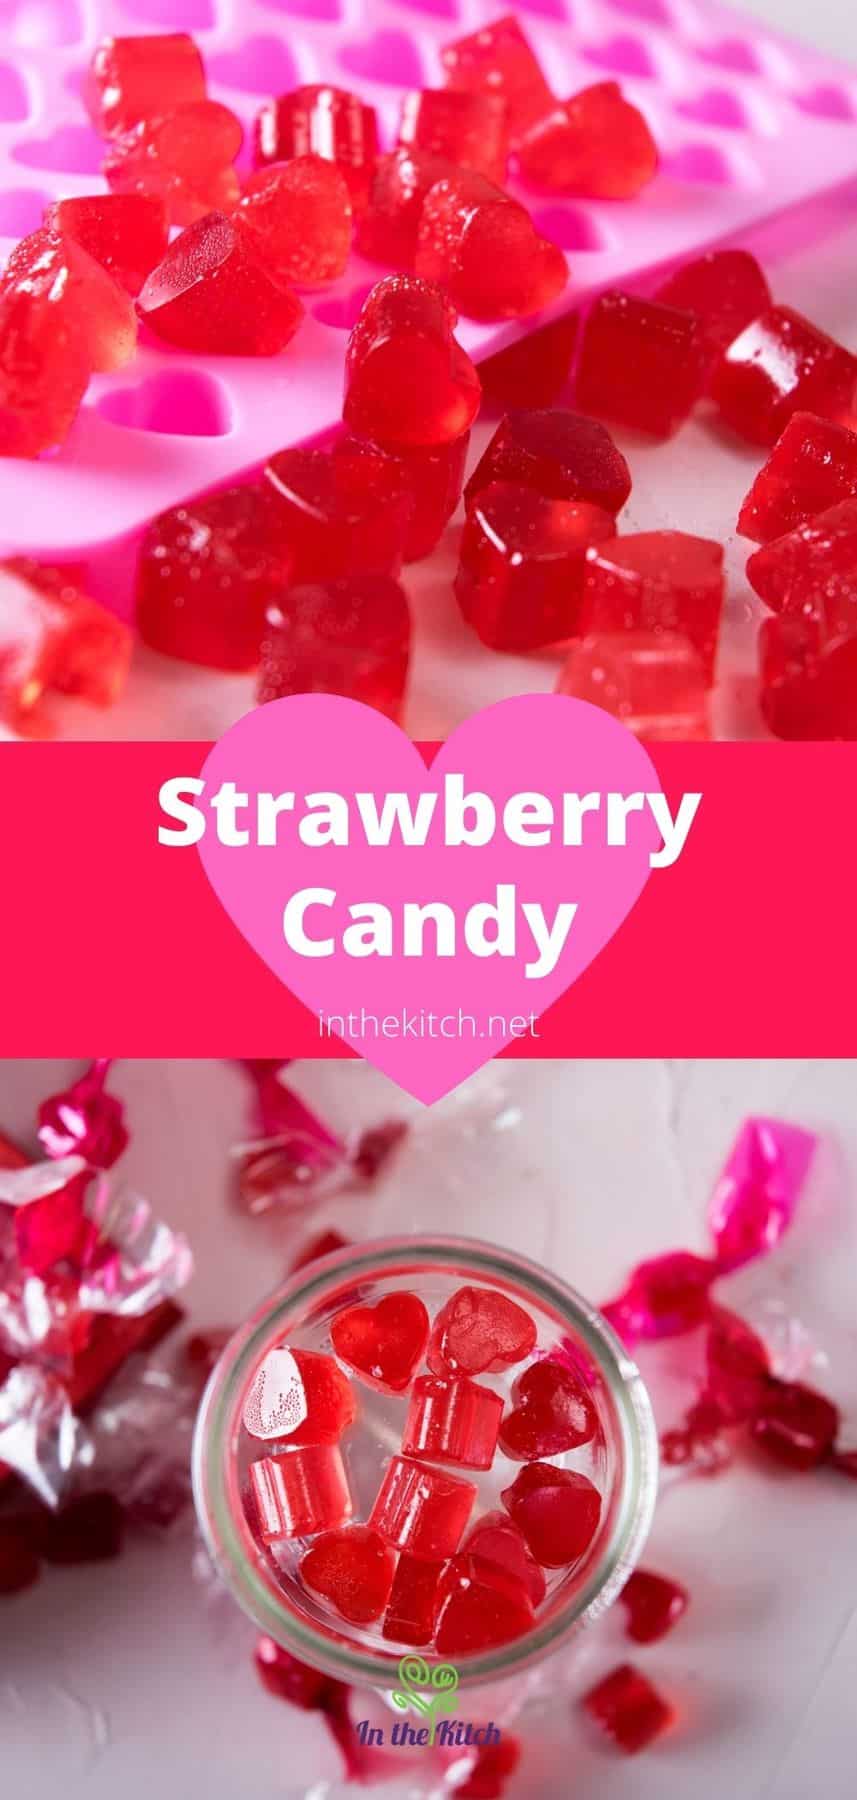
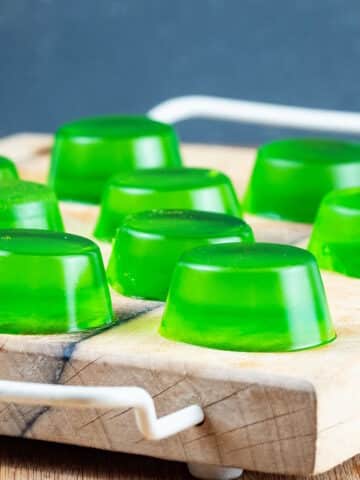
Treat yourself on Valentine's Day, or any day, with homemade strawberry candy. When you pop one of these hard candies in your mouth, sweet strawberry flavor tingles your tastebuds. Wrap these candies individually for a special gift, or fill the candy dish on your coffee table.
The red hue makes strawberry flavored candy ideal for Valentine's Day, but you can make these candies any time of year. Experiment with different molds to fill your candy dish with fun, festive shapes.
I also have a recipe for Valentine's Day sheet cake that you might like. As for candy, I think you'd also love my homemade chocolate caramel bars and recipe tutorial for how to candy limes.
SUMMARIZE & SAVE THIS CONTENT ON
Jump to:
🍓 About Strawberry Hard Candy
According to the American Chemistry Society, hard candy is technically a form of glass made of sugar. The chemical process is similar where tiny grains are liquified and then cooled, and when you bite into hard candy, it cracks and shatters just like glass--except it's edible!
If you really love hard candy, December 19 is national Hard Candy Day in the United States. Celebrate by making this strawberry candy at home and sharing it with friends and co-workers. They might not know about the holiday, but they'll appreciate getting free sweets.
🥘 Ingredients
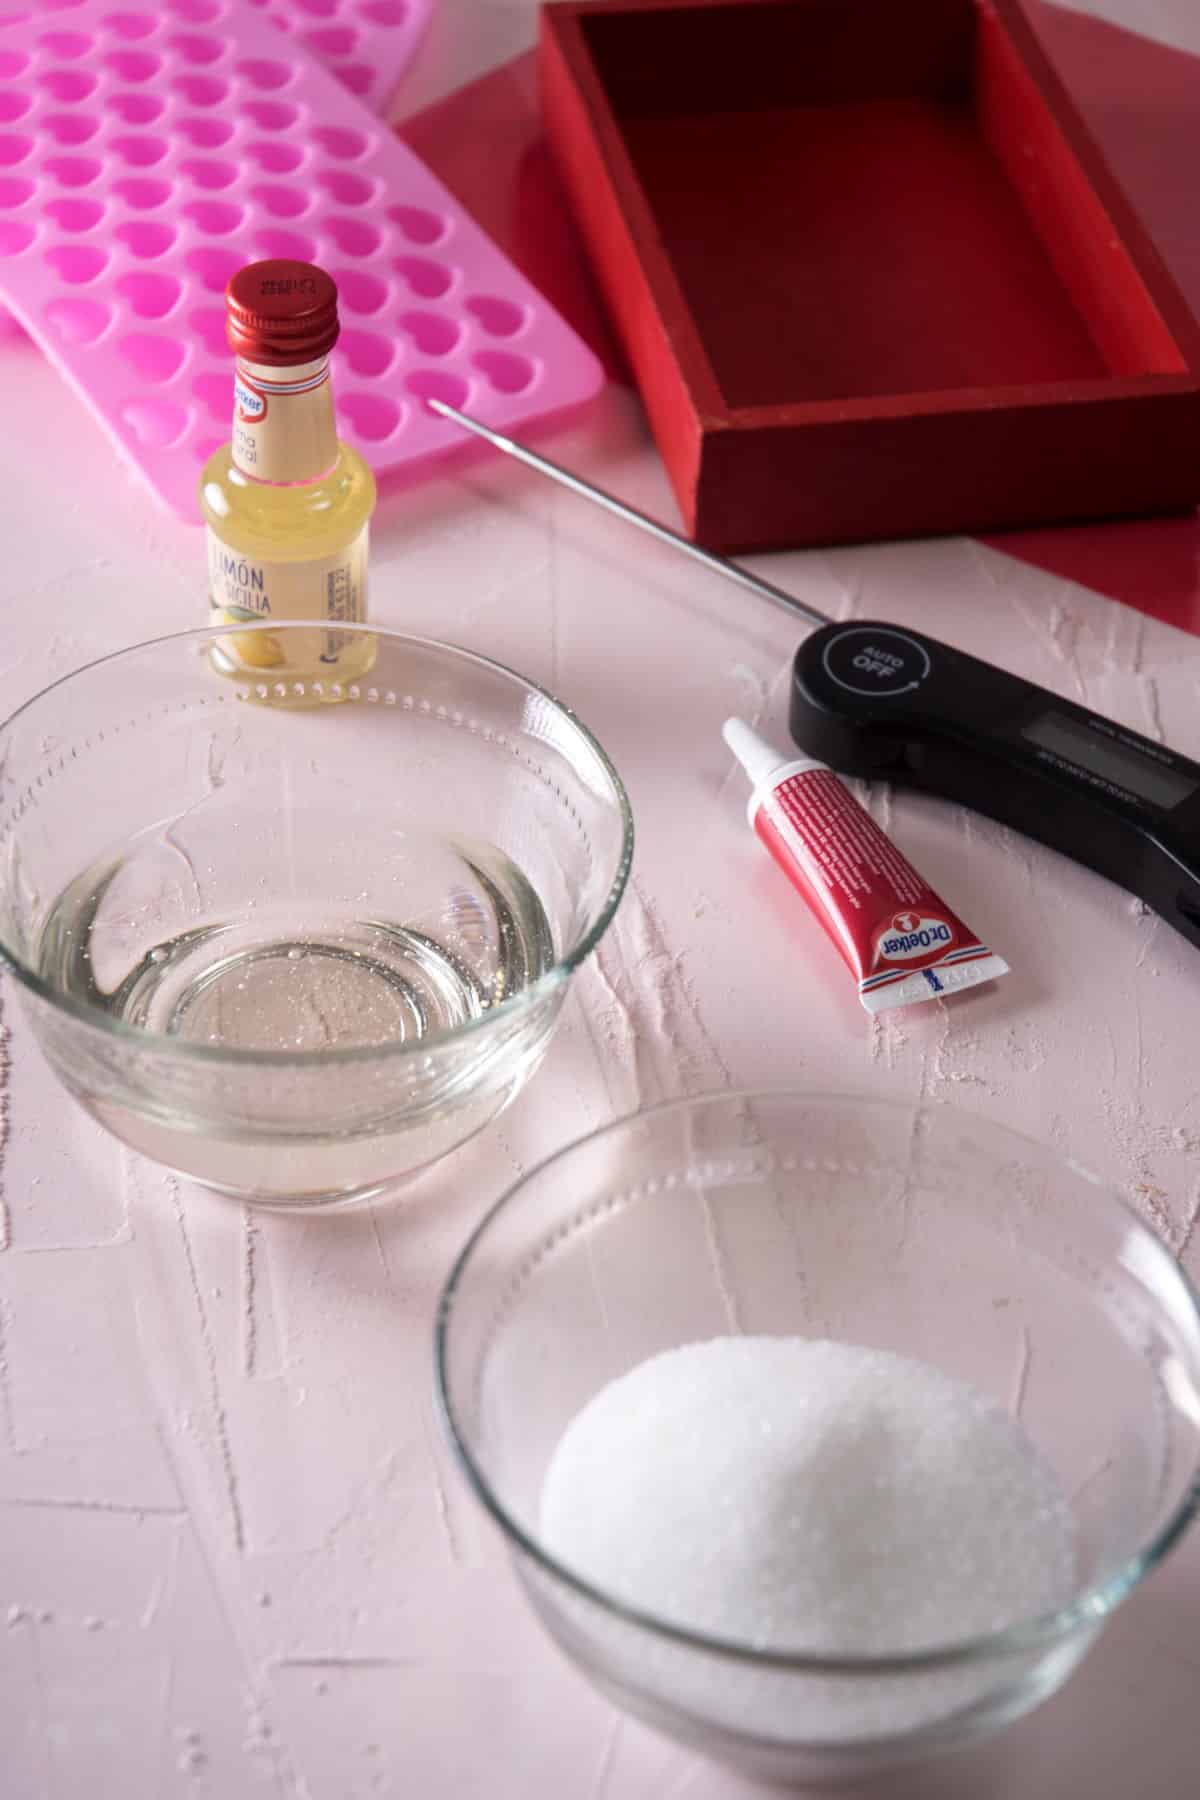
- light corn syrup - One of the main reasons for using light corn syrup in candy making is to prevent the formation of sugar crystals. It also adds sweetness.
- Strawberry flavoring - In this recipe I use super strength flavoring that holds up well to the heat involved in candy making. If you are using regular strength flavor/extract, you are going to want to double the amount you use to achieve similar flavor.
- red food coloring - You can use gel or liquid food coloring for this recipe. Gel coloring has a more vibrant color and is more concentrated than liquid, so you can use less of it.
*Check recipe card for ingredient amounts.
🍽 Special Equipment
- candy mold - I use a small heart candy mold because it is perfect for Valentine's Day, but you can use any small candy mold you like.
- candy thermometer - This is a must because you want to get the correct consistency/hardness for your candy.
- pastry brush - This is used to wipe down any crystals that form on the sides of the pot.
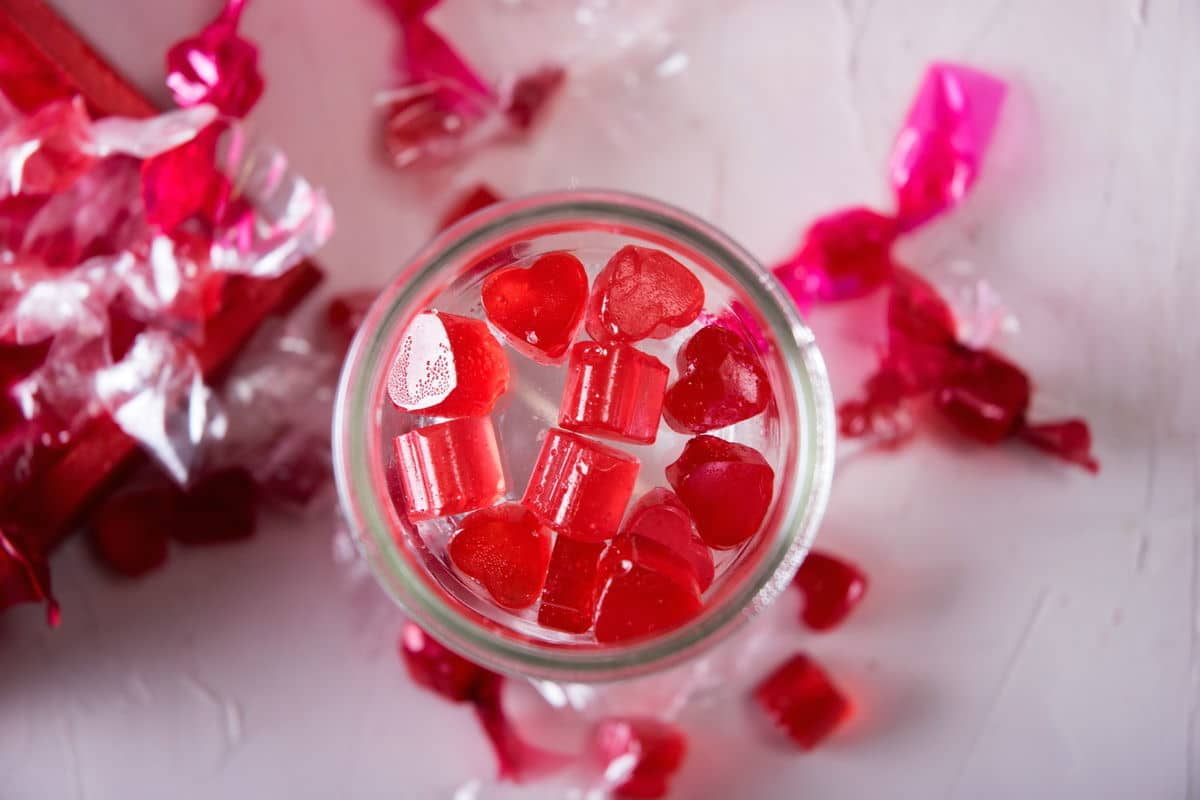
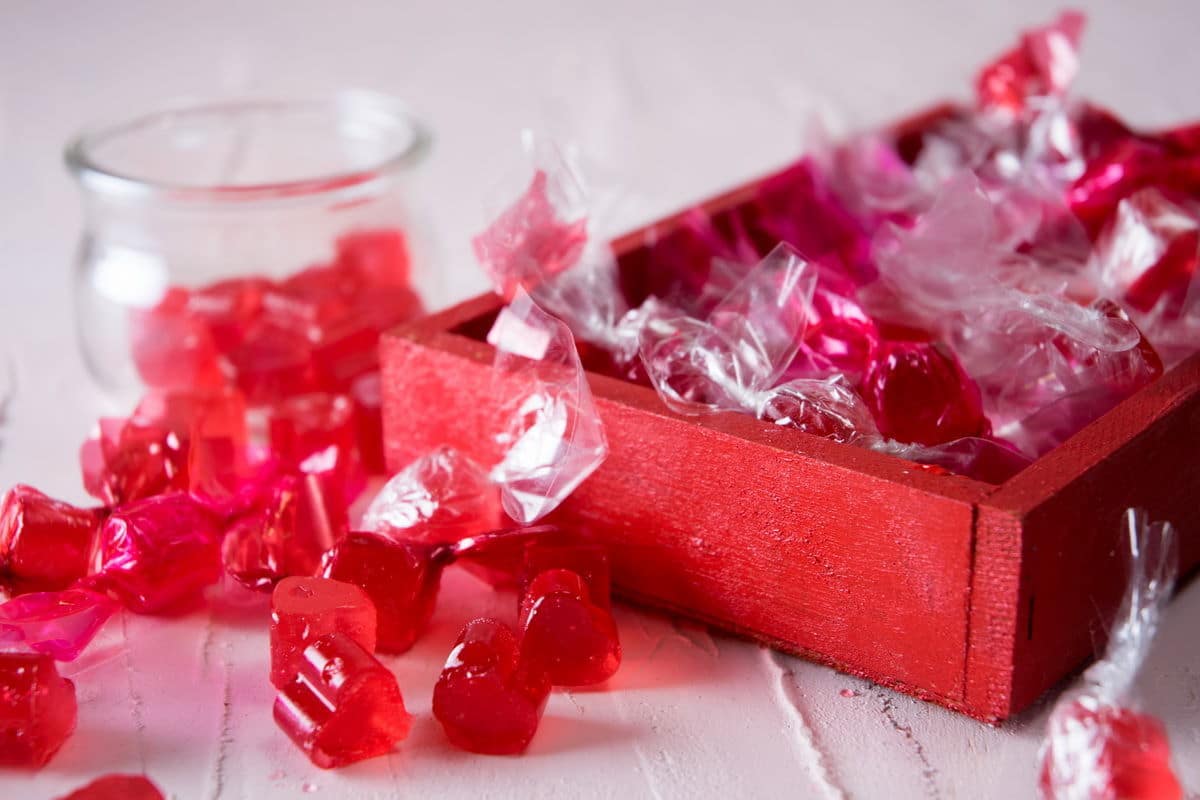
- candy wrappers - The candy wrappers are optional. If you're giving them as gifts, I highly suggest wrapping them. It helps to keep them from sticking together and looks great.
🔪 How to Make Strawberry Candy
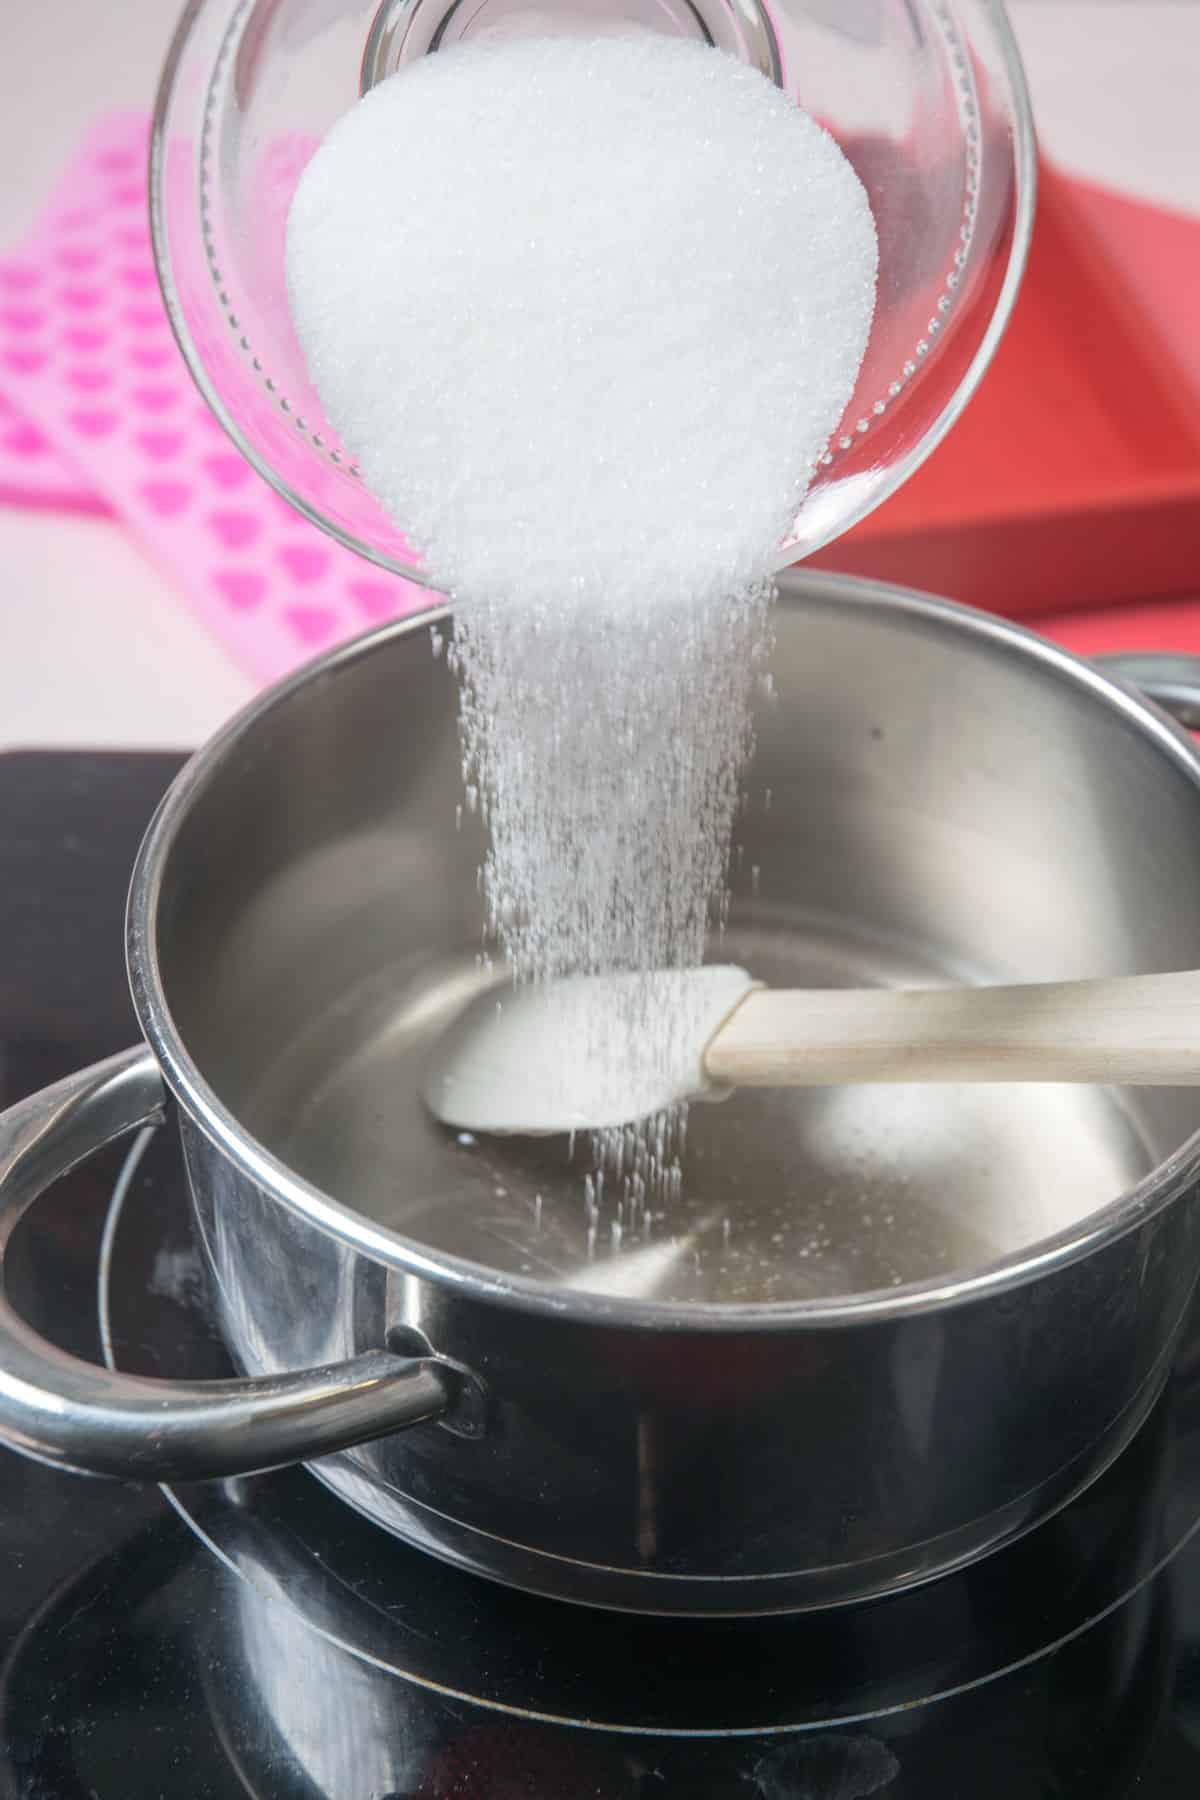
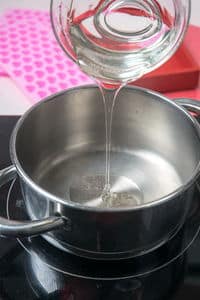
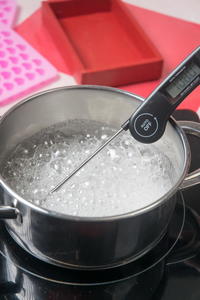
Step 1. Add ingredients to saucepan. Lay out a piece of wax paper and set a candy mold right on top. In a small saucepan, combine the corn syrup, sugar and water over medium-high heat.
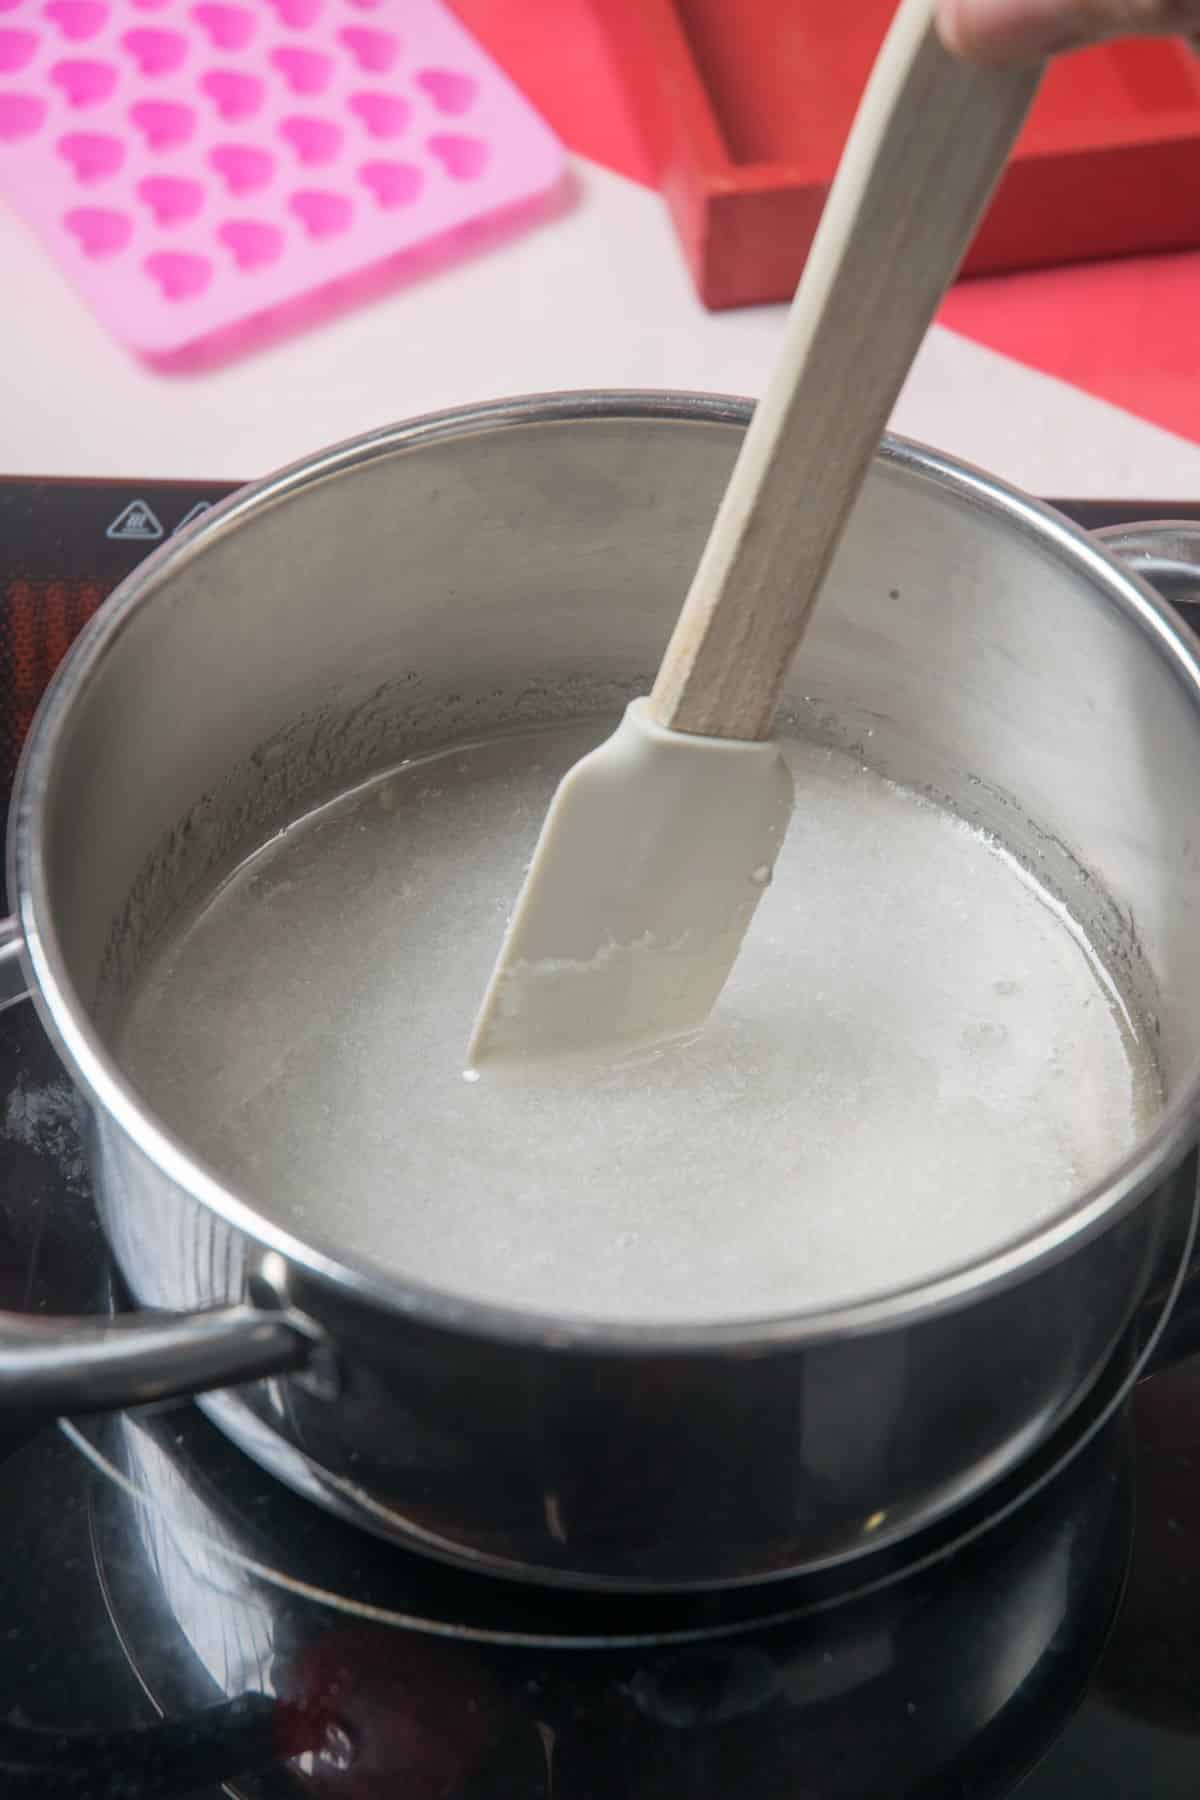
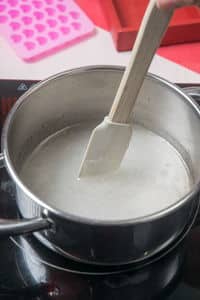
Step 2. Heat. Cook, giving it an occasional stir, until the sugar completely dissolves. If you see any crystals forming on the sides of the pot, just brush them down with a wet pastry brush.
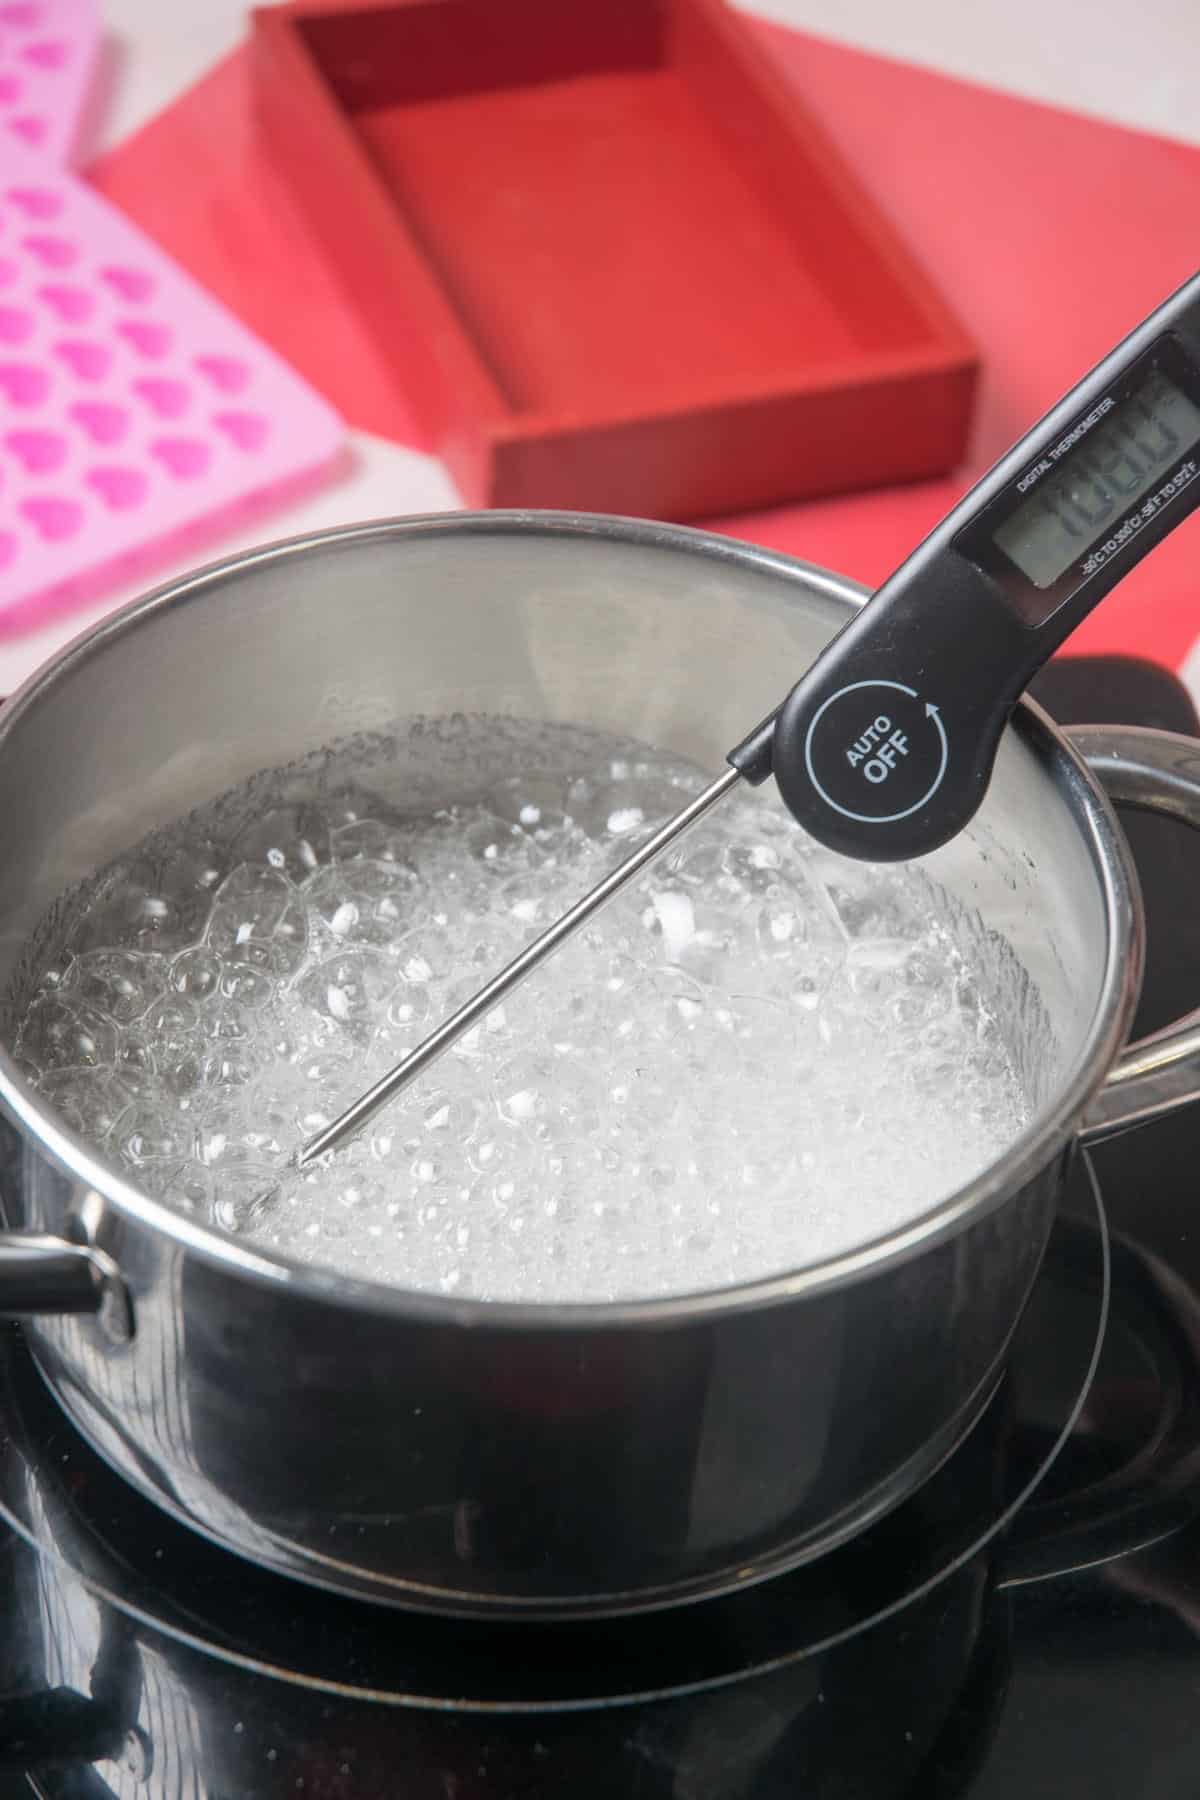
Step 3. Cook until hard-crack stage. Bring the mixture up to a boil, then lower the heat to medium. Cook, without stirring, until a candy thermometer reads 300°F, which takes about 8 minutes.
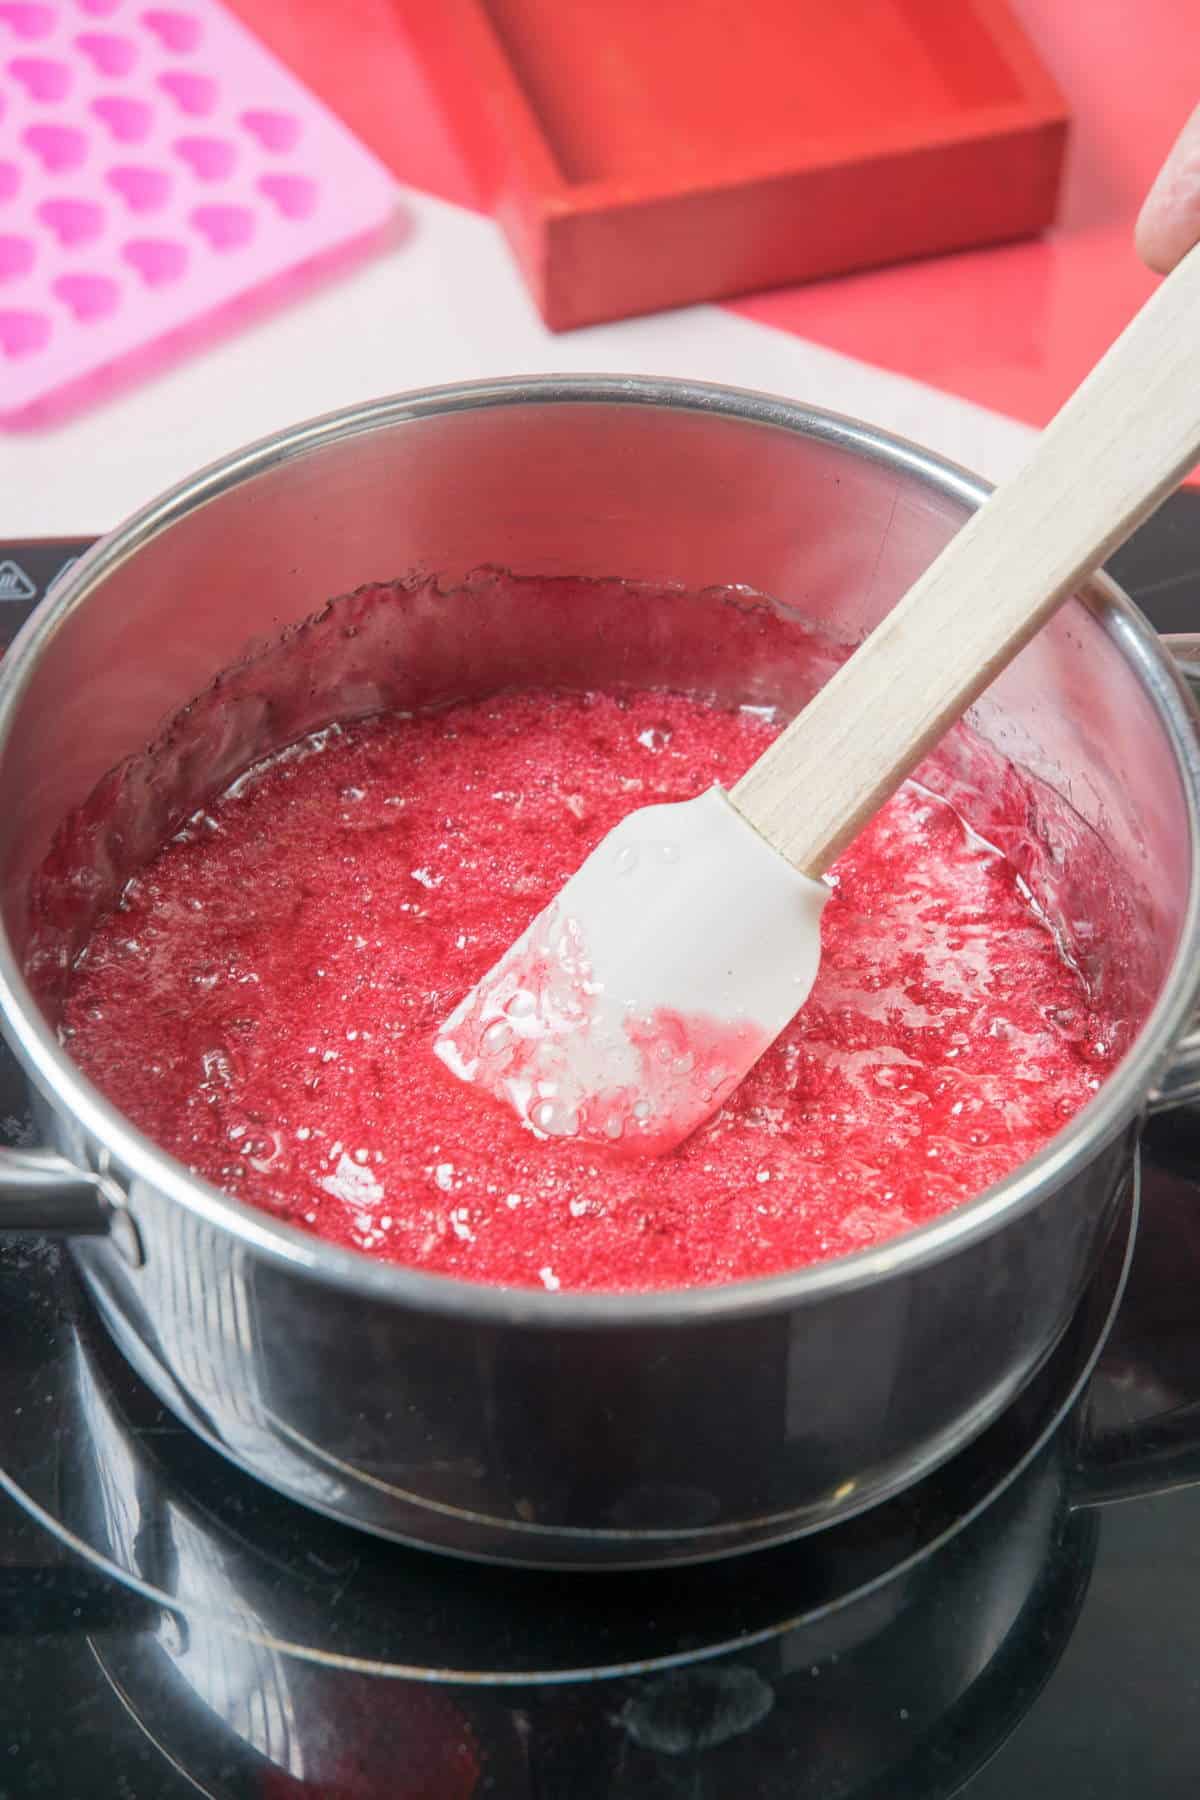
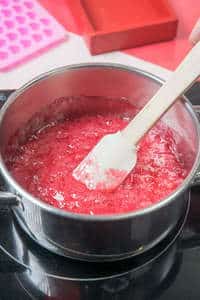
Step 4. Add flavor and color. Immediately remove from heat so that it doesn't get overcooked. When it stops bubbling, stir in the strawberry flavor and food coloring.

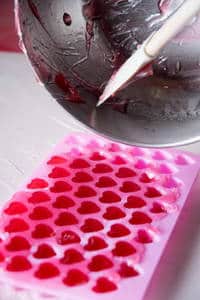
Step 5. Transfer to mold. Immediately pour or spoon the mixture into the candy mold.
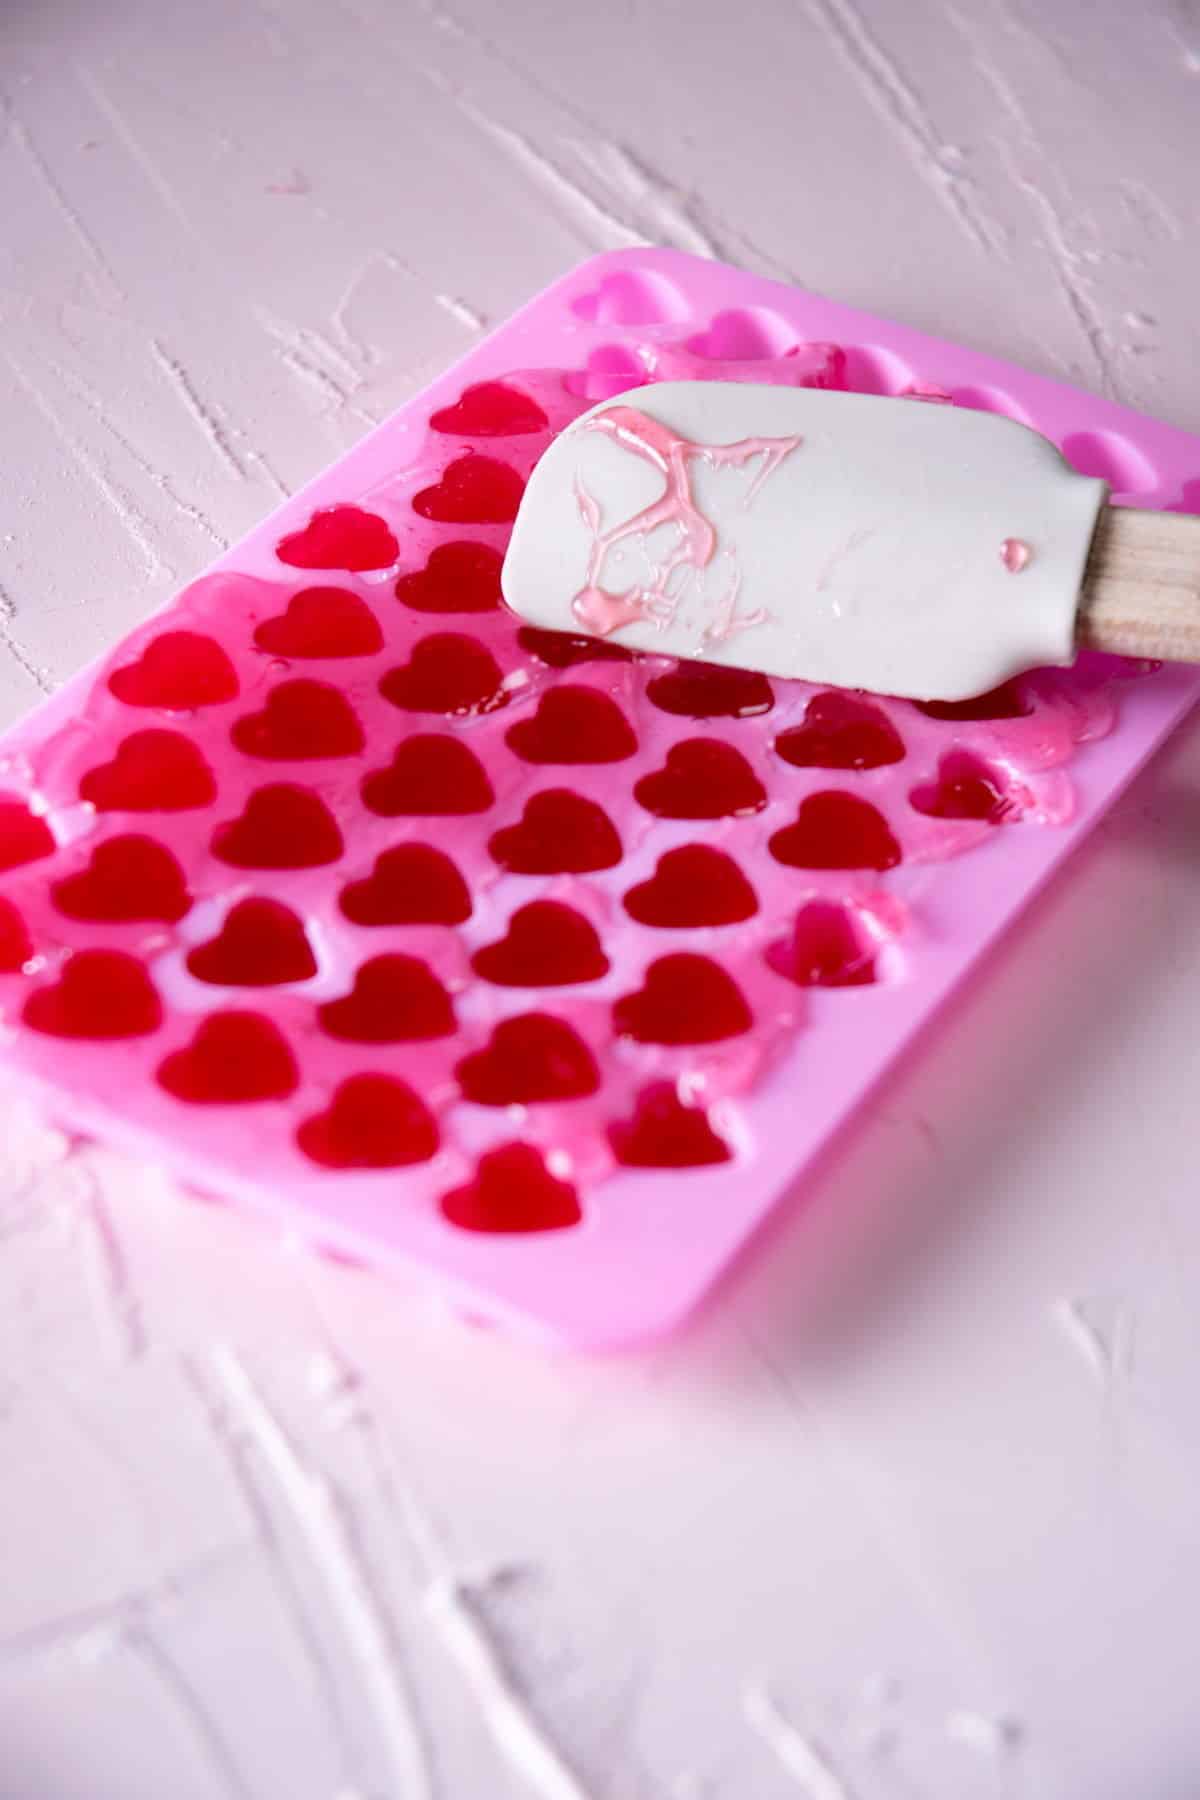
Step 6. Even it out. Glide over the top of the mold with a spatula right after pouring to ensure the candy is even and fills all of the cavities.
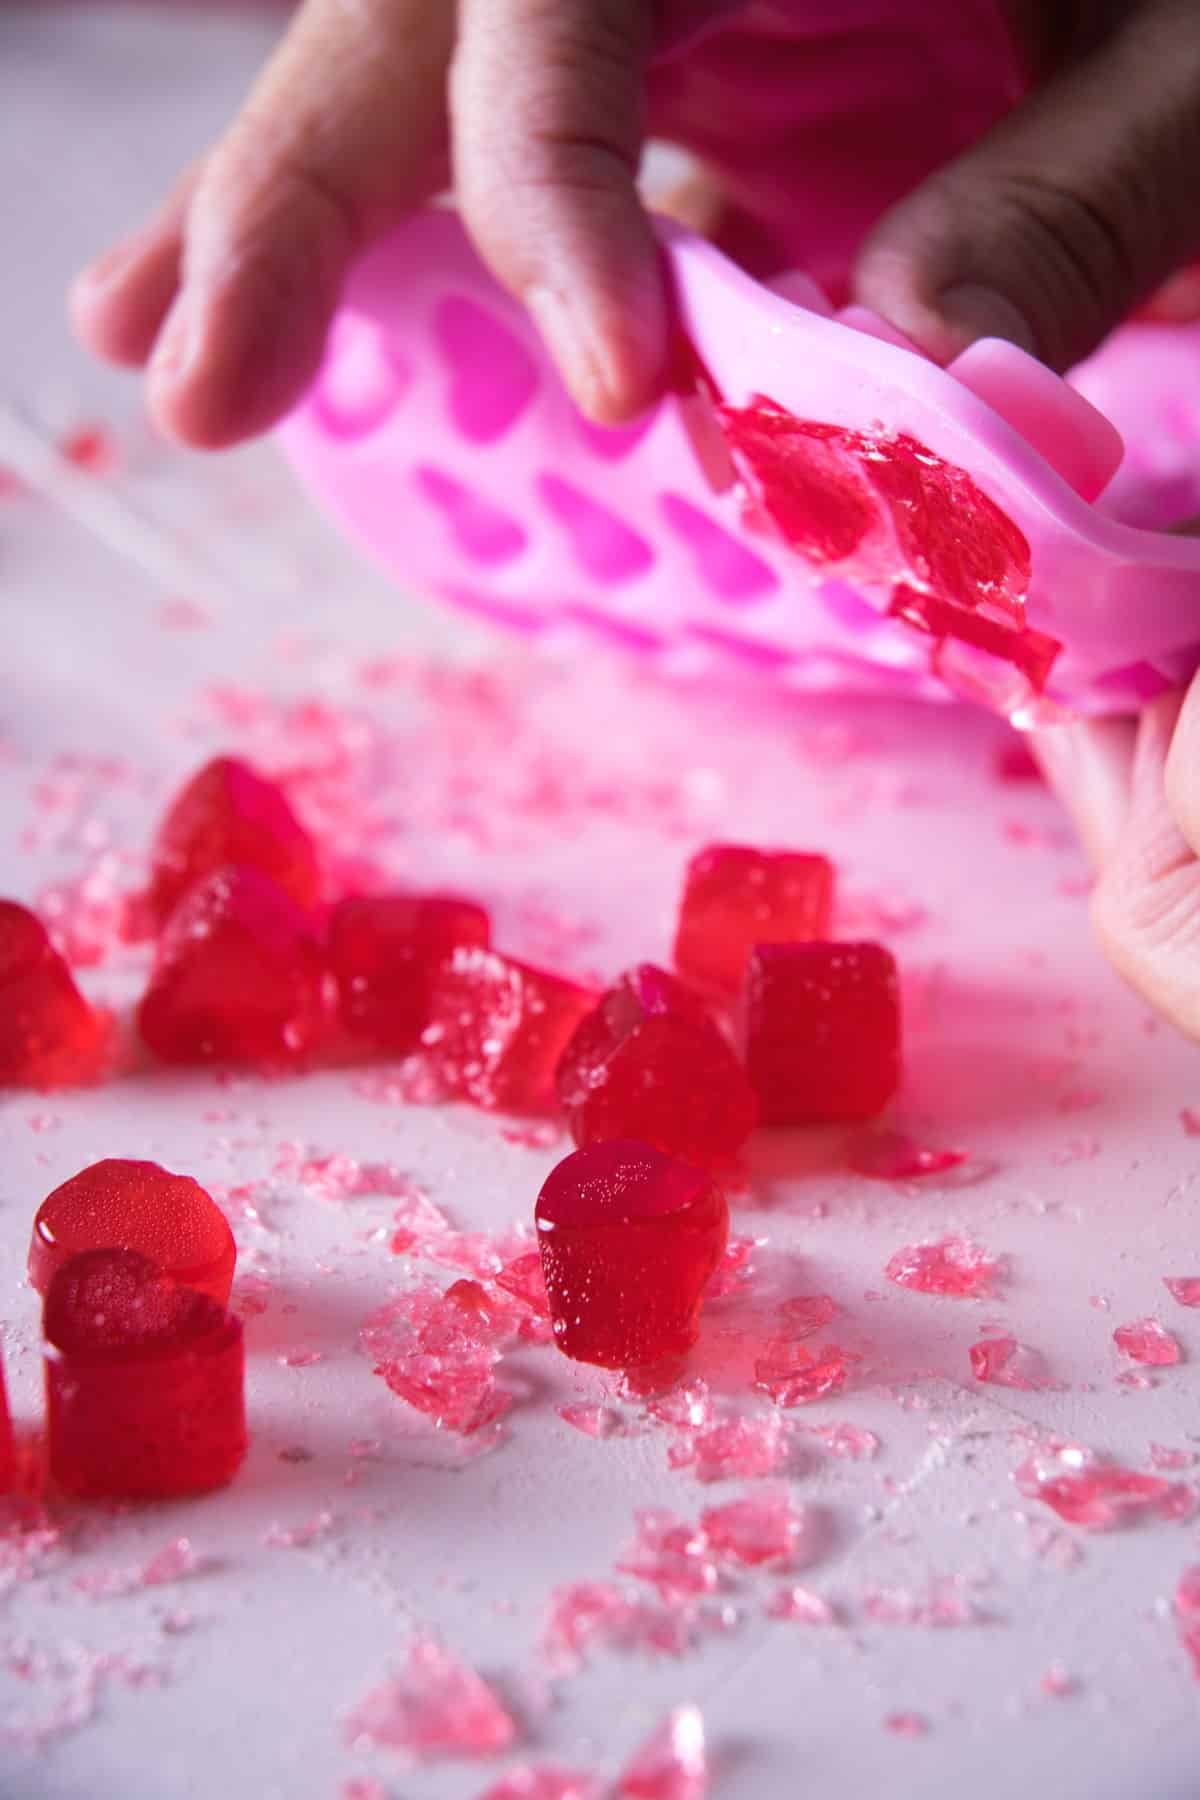
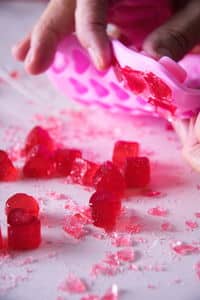
Step 7. Let harden. Let the candy sit until cooled and hardened. Now you can remove the candies from the mold!
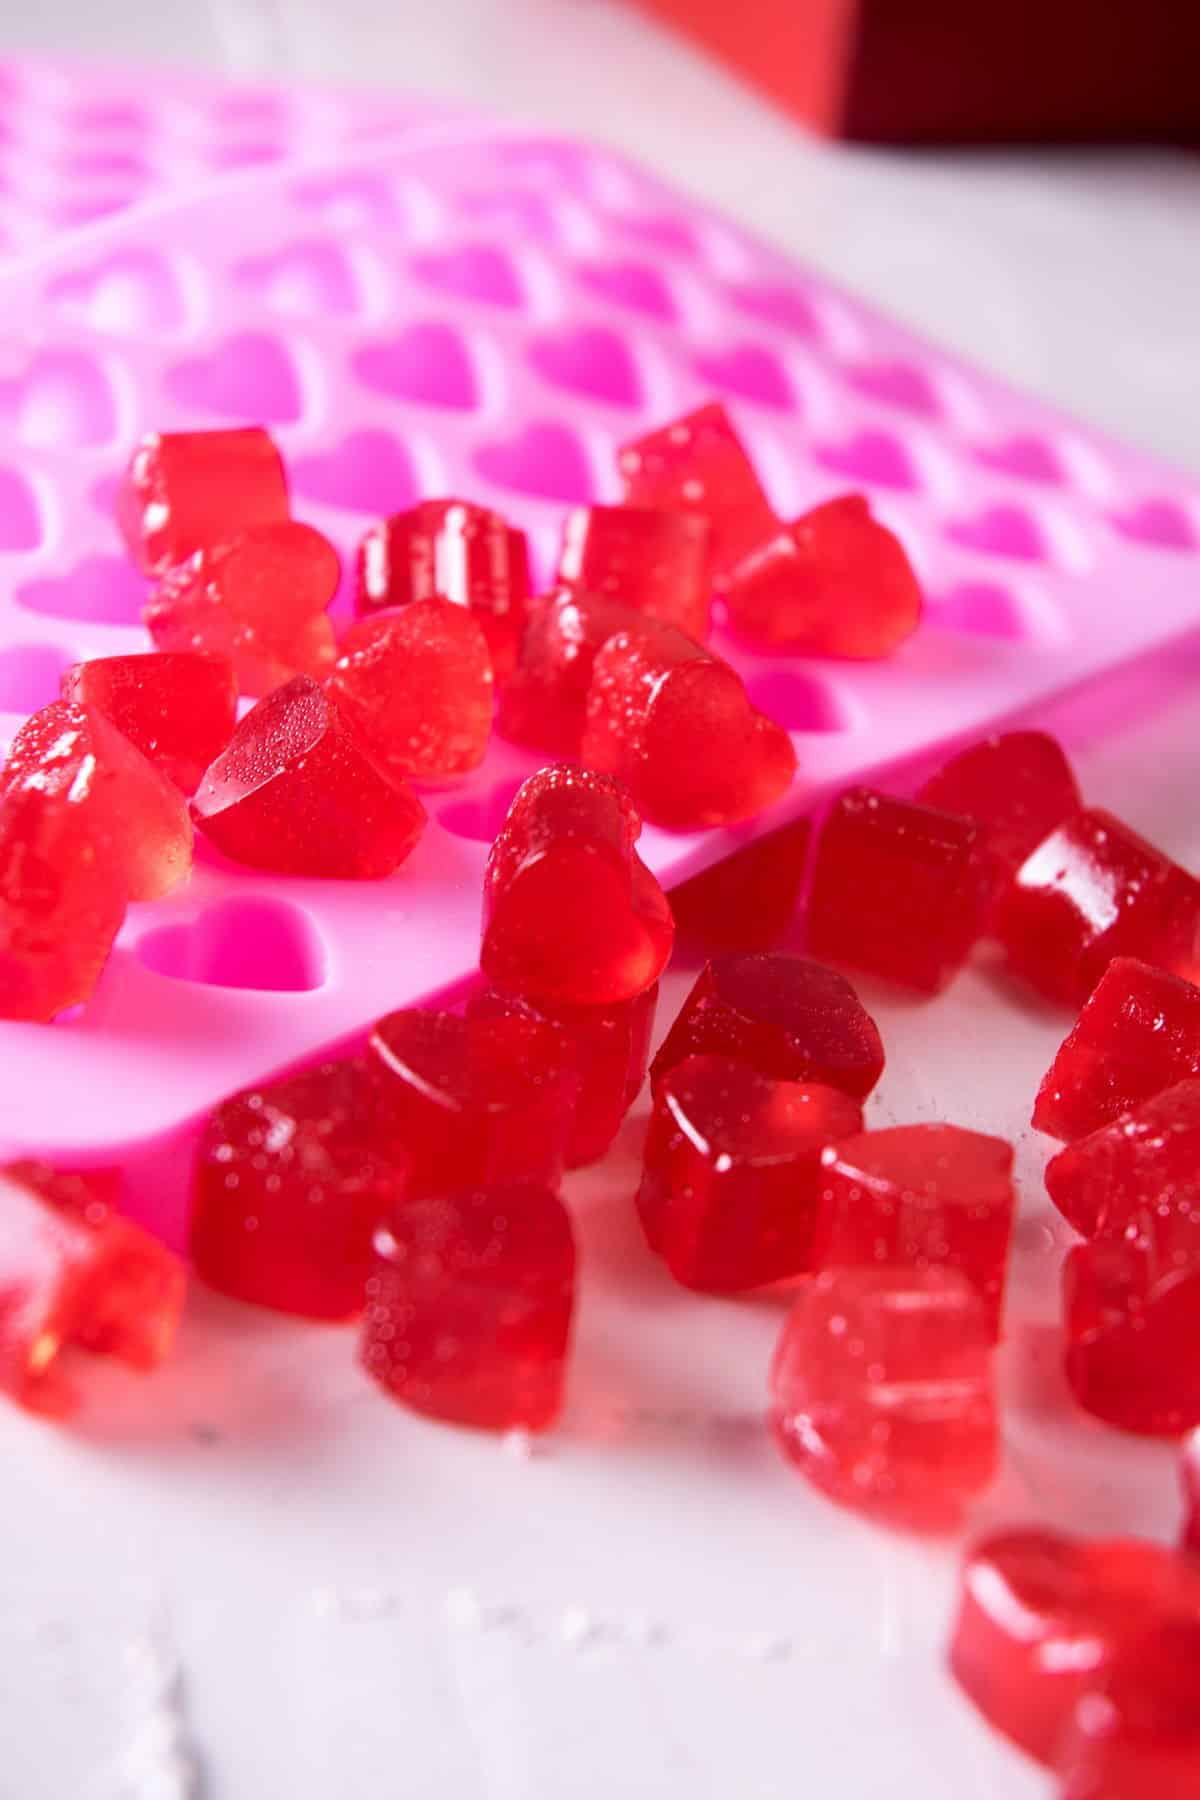
Step 8. Enjoy your homemade strawberry candy! Break off any excess candy to give them a cleaner look. Wrap the candies, if desired and enjoy!
Chef's Note: Just remember to keep the strawberry hard candy out of reach of young children because they are a choking hazard.
🍭 Candy Making Tips
- You need to work quickly once you reach the hard-crack stage as it hardens up pretty fast.
- It's very important to use a high accuracy thermometer.
- This recipe makes a small batch of strawberry hard candy. Make sure you use a small saucepan so that the thermometer can be immersed in the mixture properly.
- Work on top of wax paper for easier cleanup.
- Make sure the mold is clean and dry.
- Hard candies hold up well at room temperature, but don't let them sit out in the sun--if you do, you may find a melted puddle of red food coloring and corn syrup. Bring a cooler if you're transporting your strawberry candy in the heat.
❓ Strawberry Candy FAQs
No, but you should store the candies in a container in a dry, dark place at room temperature.
You don't have to, but it is highly recommended to get an accurate reading of the candy temperature as it's cooking to hard-crack stage. If you simply estimate and get it wrong, you could end up with really sticky candy (undercooked) or burnt candy (overcooked).
🍬 More Sweet Candy Recipes to Try

If you tried this Strawberry Hard Candy Recipe or any other recipe on my website, please leave a 🌟 star rating and let me know how it went in the 📝 comments below. And please share the recipe!
📋Recipe

Strawberry Candy
Ingredients
- ½ cup light corn syrup
- ¼ cup white sugar
- ⅛ cup water
- 1 teaspoon strawberry flavoring - super strength
- 10 drops red food coloring
Instructions
- Lay out a piece of wax paper and place a candy mold on top. Add the corn syrup, sugar and water to a small saucepan over medium-high heat.½ cup light corn syrup, ¼ cup white sugar, ⅛ cup water

- Cook and stir occasionally until the sugar is completely dissolved, about 3 minutes. If any crystals have formed on the sides of the pot, brush them down with a wet pastry brush.
- Bring to a boil and then turn the heat down to medium. Cook, without stirring, until a candy thermometer reads 300°F (hard-crack stage). This takes about 8 minutes for me.
- Remove from heat immediately. Once the mixture is no longer bubbling, stir in the strawberry flavor and food coloring.1 teaspoon strawberry flavoring, 10 drops red food coloring
- Immediately pour or spoon the mixture into a candy mold.
- Scrape the top of the mold with a spatula directly after pouring to ensure the candy is even and fills all of the cavities.
- Let the candy sit until cooled and hardened (at least 10 minutes). Release from molds. Break off any excess candy.
- Wrap the candies, if desired and enjoy!


Equipment
- Candy Wrappers (optional)
Notes
- Store in a container in a dry, dark place at room temperature.
- Hard candies hold up well at room temperature, but don't let them sit out in the sun--if you do, you may find a melted puddle of red food coloring and corn syrup. Bring a cooler if you're transporting your strawberry candy in the heat.
- Keep out of reach of young children because hard candy is a choking hazard.
- This recipe uses super strength flavoring. If you are using a regular strength flavor extract, double the amount.
- You need to work quickly once you reach the hard-crack stage.
- It's important to use a thermometer. Use a small saucepan so that the thermometer can be immersed far enough into the liquid.
- Work on top of wax paper for easier cleanup.
Nutrition
Nutrition information on In the Kitch is provided as a courtesy and is an estimate only. It may not include toppings and/or sauces.


Joss says
This step by step is really helpful for making candy. It’s fun to do and the candies taste delicious!
Dolores Bowen says
Fantastic explanation. Hope to see a follow-up soon..
Joss Dyckson says
Thanks for the comment, Dolores. 🙂