

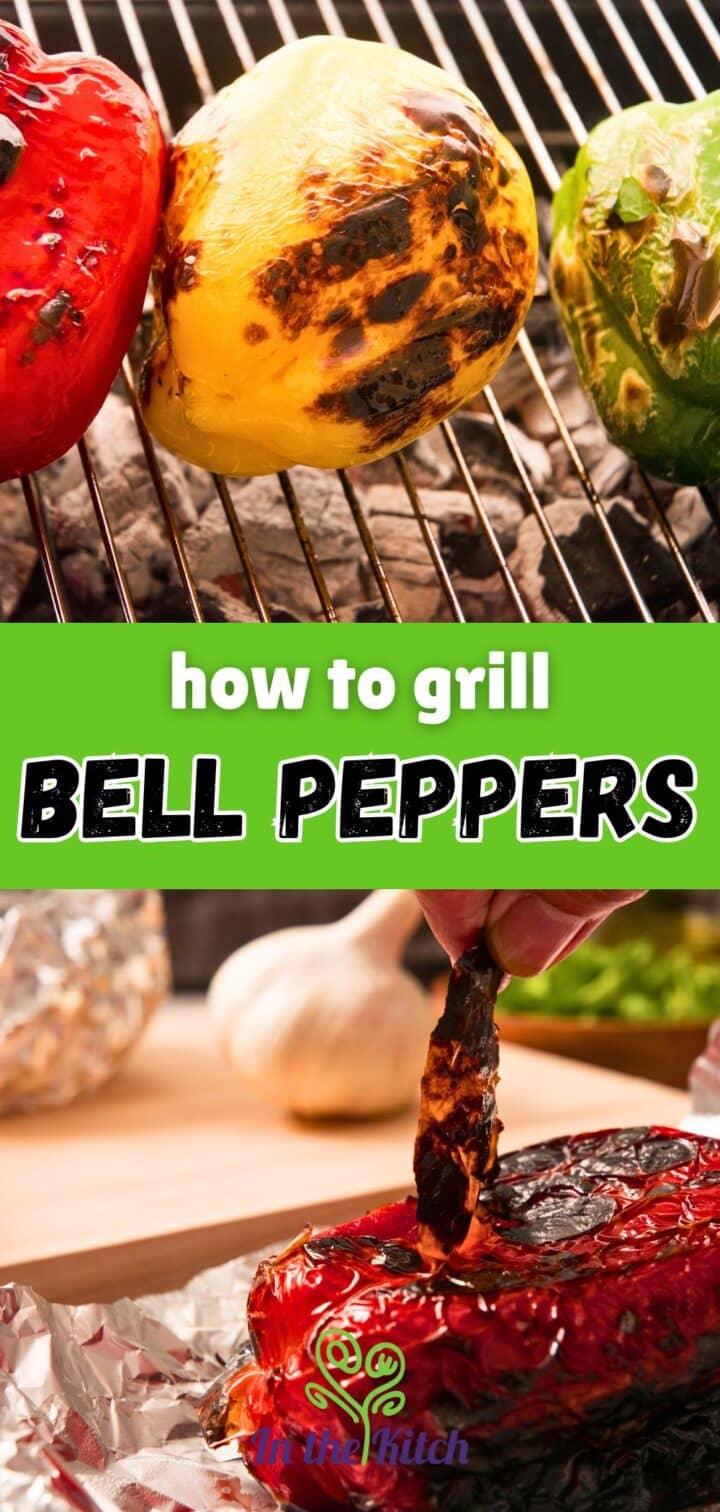
Below I will go over how to grill peppers! Hot and sizzling, grilled peppers make the perfect side dish, sandwich and burger topping or base for sauces like tomato sauce. Add olive oil and seasonings to finalize this quick, beginner-level dish.
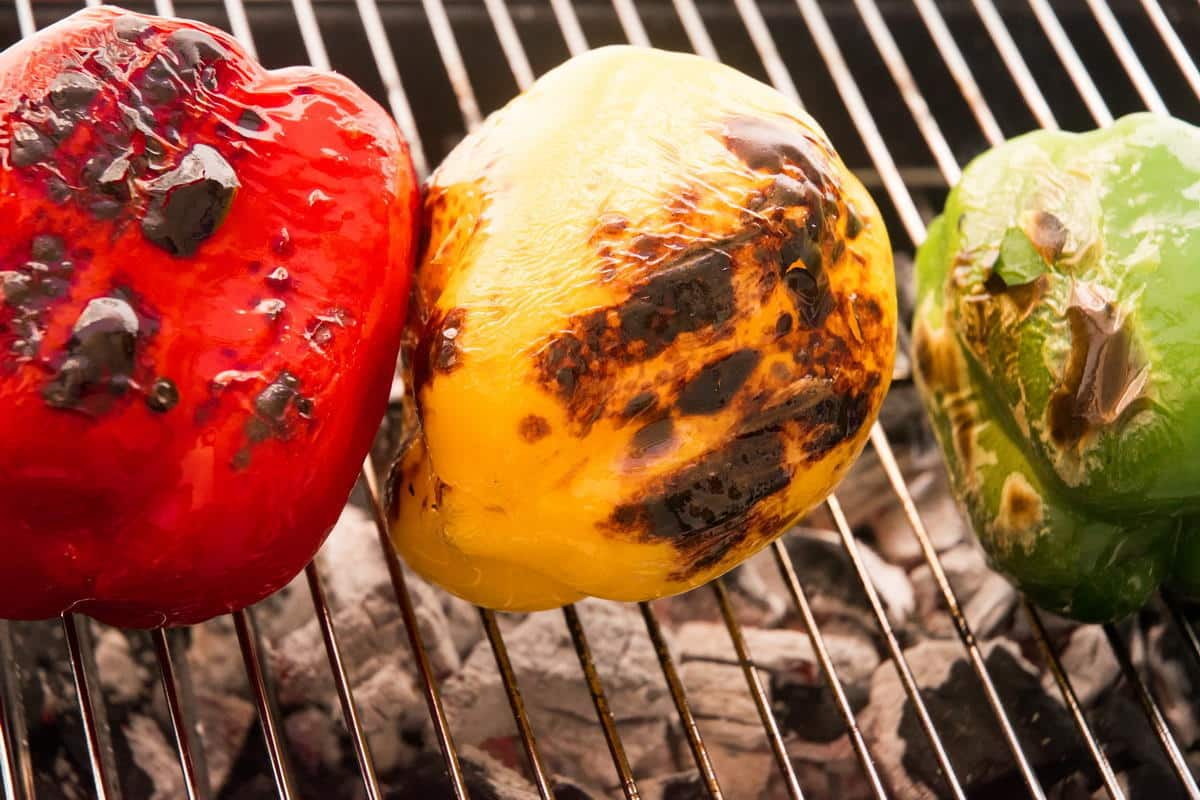
Grilled peppers are soft, tender and smoky with a charred skin, which is normally removed but you can leave it on to suit your purposes. I also have a tutorial for how to grill jalapeño poppers that I think you'll like.
Jump to:
🫑Ingredients
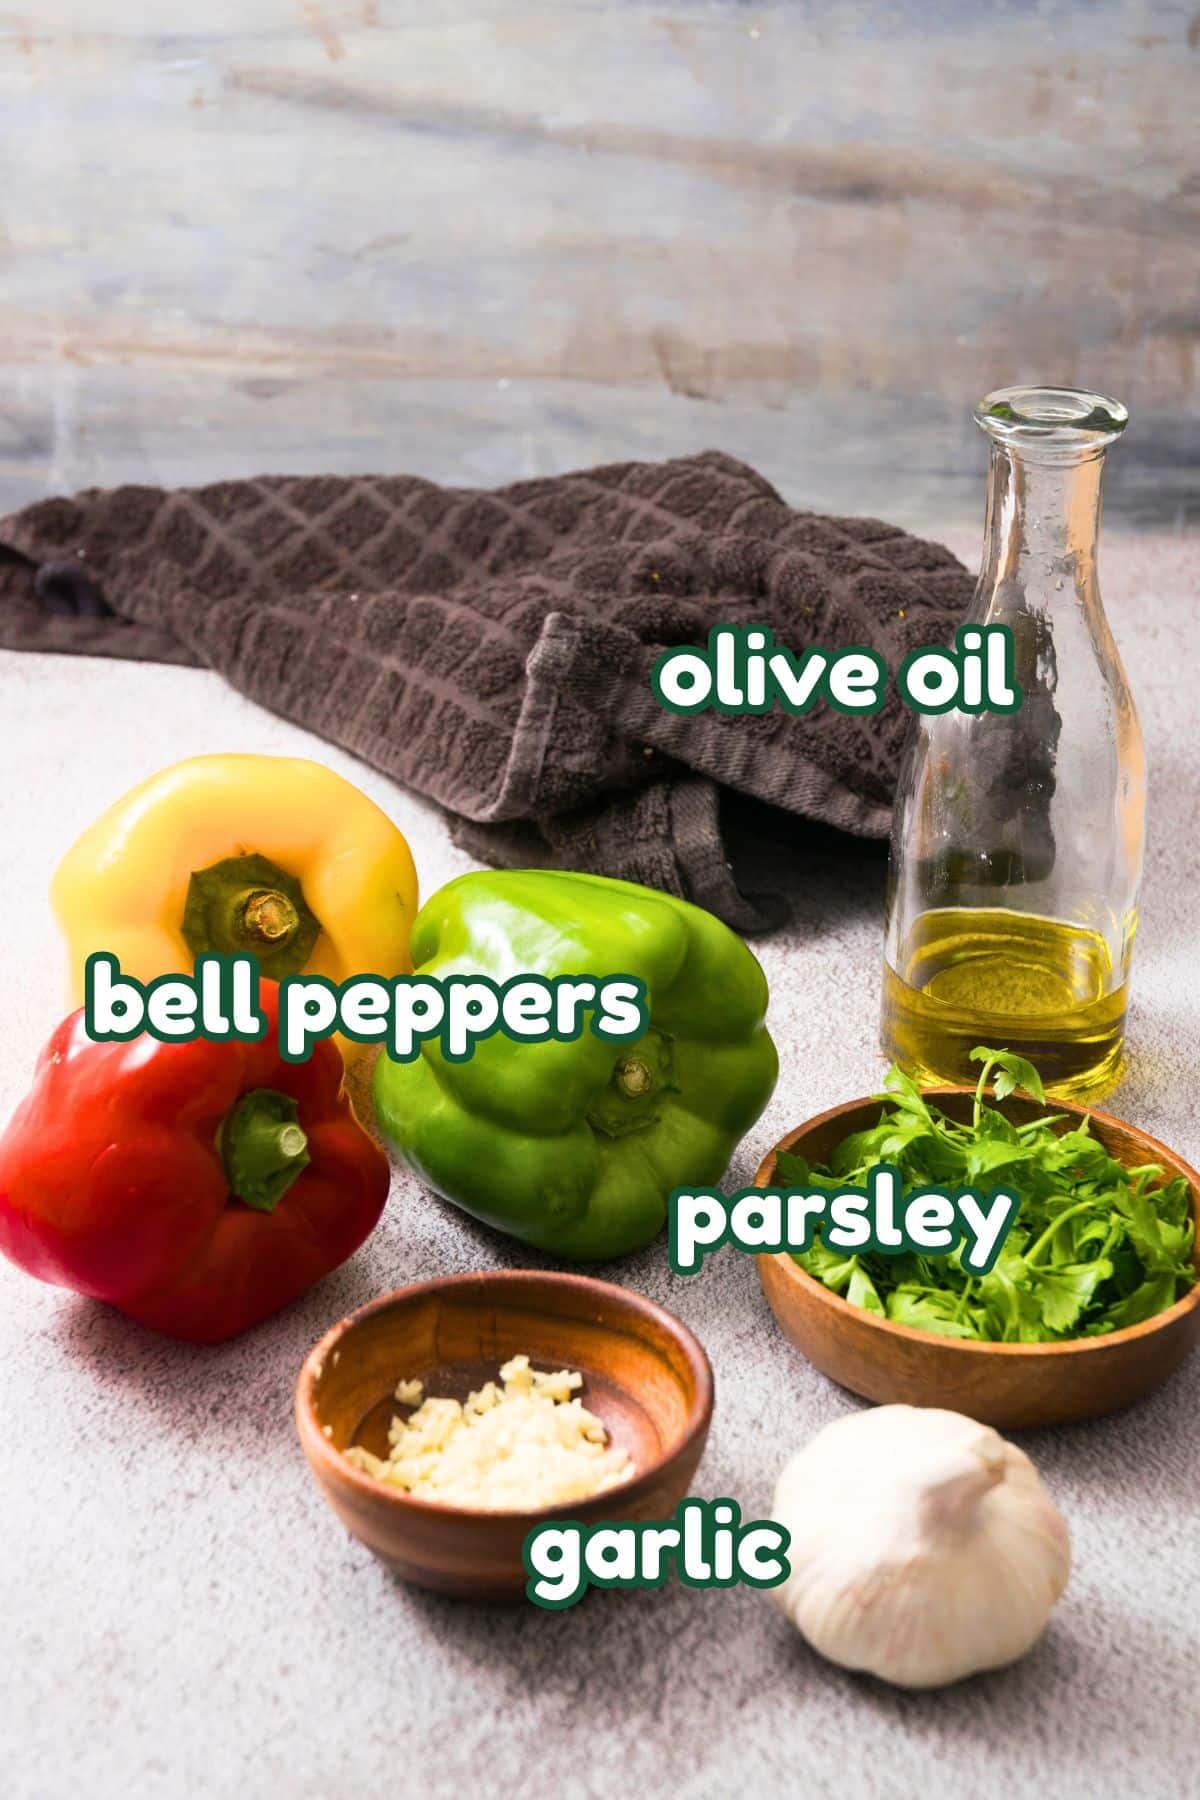
- bell peppers - Take your pic of colors (red, yellow, green). This recipe also works with hot peppers.
- olive oil - You are going to either brush the oil over the peppers with a pastry brush or rub it all over with your hands to help with grilling.
- garlic - The fresh garlic is optional for serving after the peppers have been grilled.
- fresh parsley - This is also optional.
- salt - Kosher salt, sea salt or pink salt work great.
*Check recipe card for ingredient amounts.
♨️Grilling Instructions
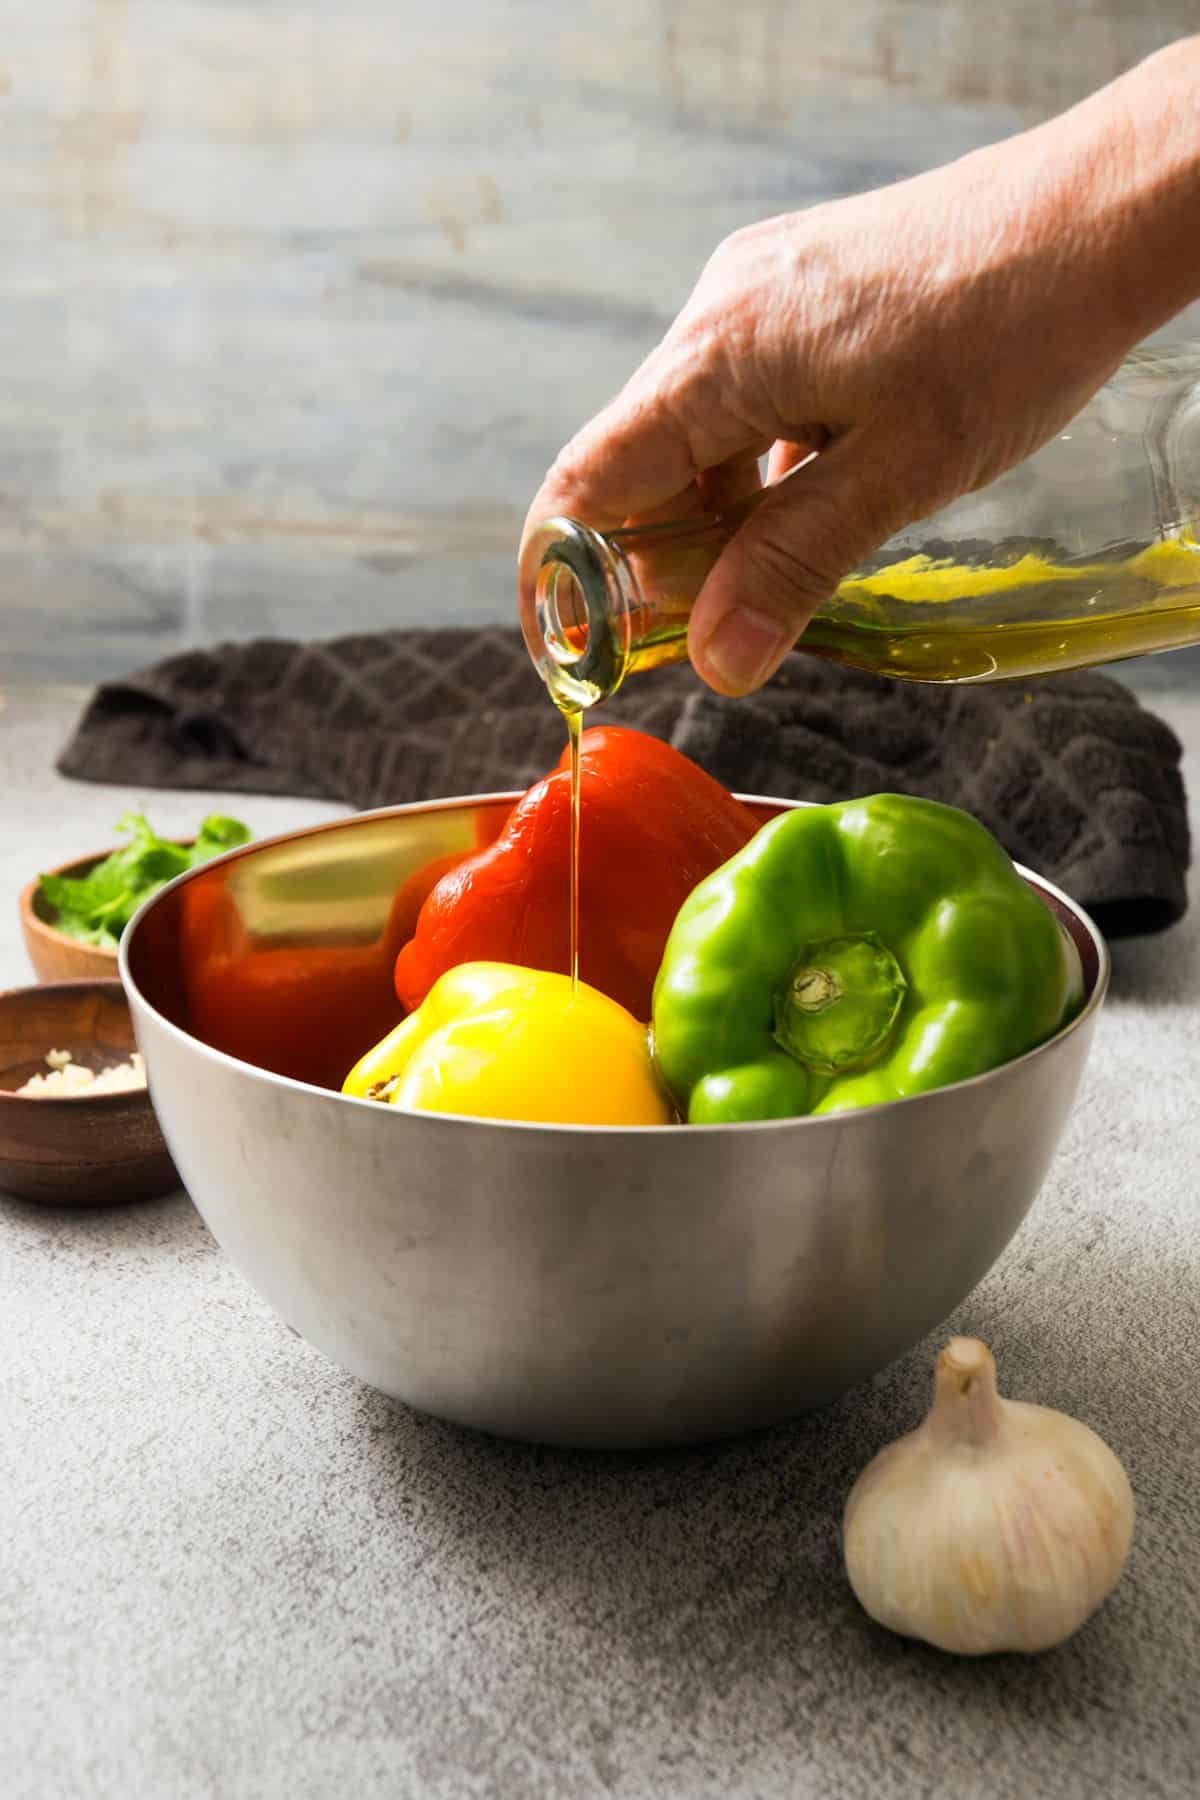
Step 1. Preheat grill and prep peppers. Heat a charcoal or gas grill to medium-high heat. If the peppers are large, they can be cored and sliced in half. Small peppers can be left whole. Brush each whole bell pepper with olive oil and lightly sprinkle with salt.
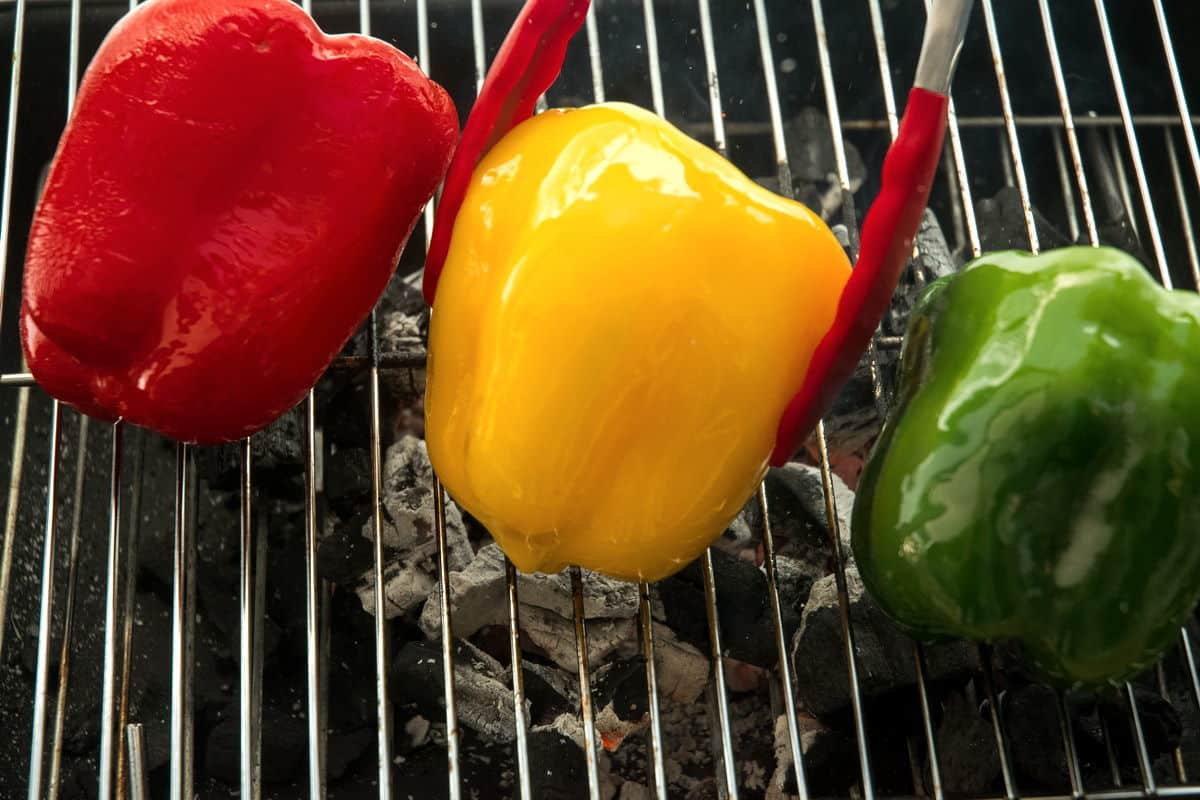
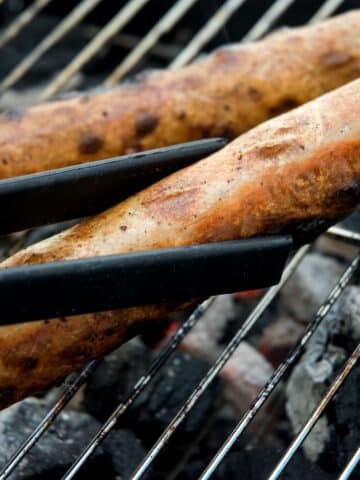
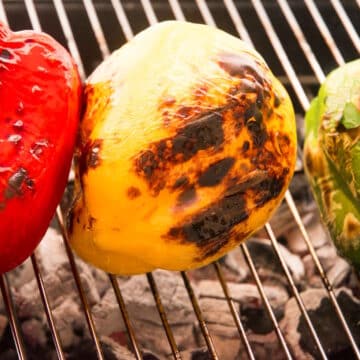
Step 2. Place peppers on grill. Place the peppers on the grill, on their side. The sliced peppers should be placed skin side down.

Step 3: Grill the peppers. Close the grill lid and cook until tender, flipping the peppers until they char on all sides. This will take about 10 to 15 minutes.
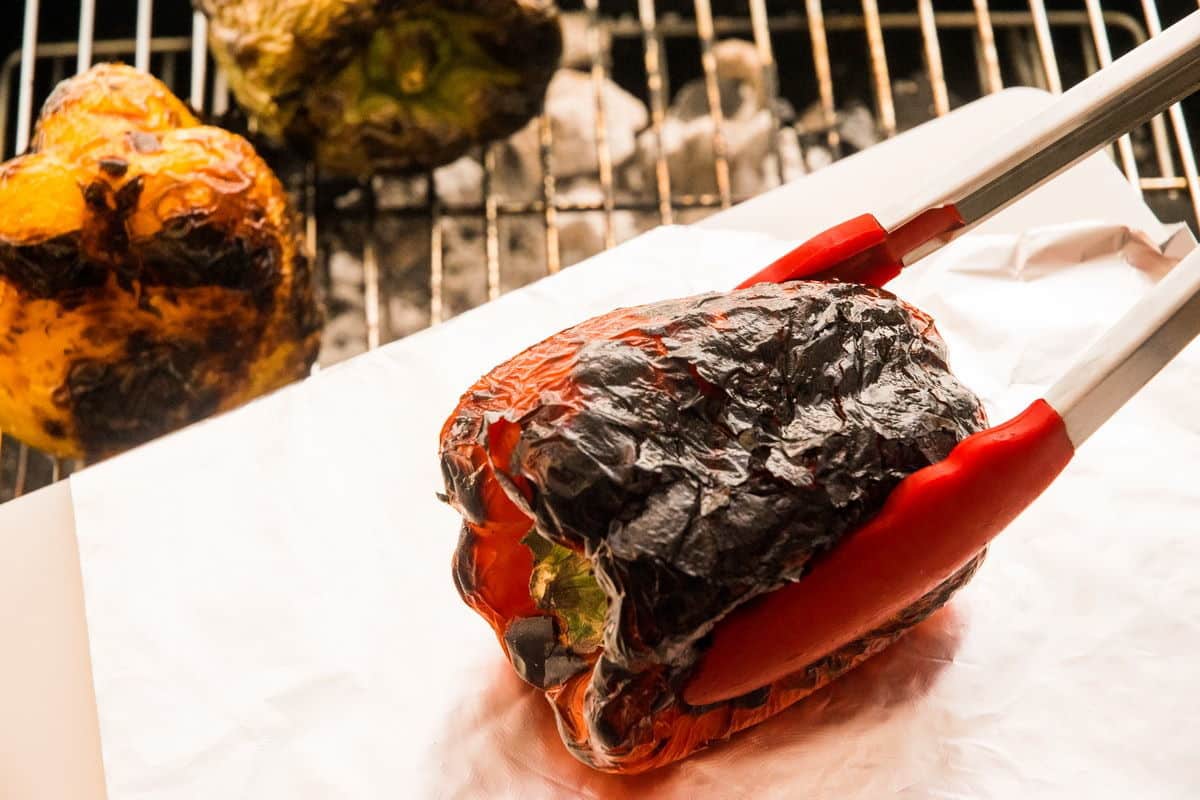
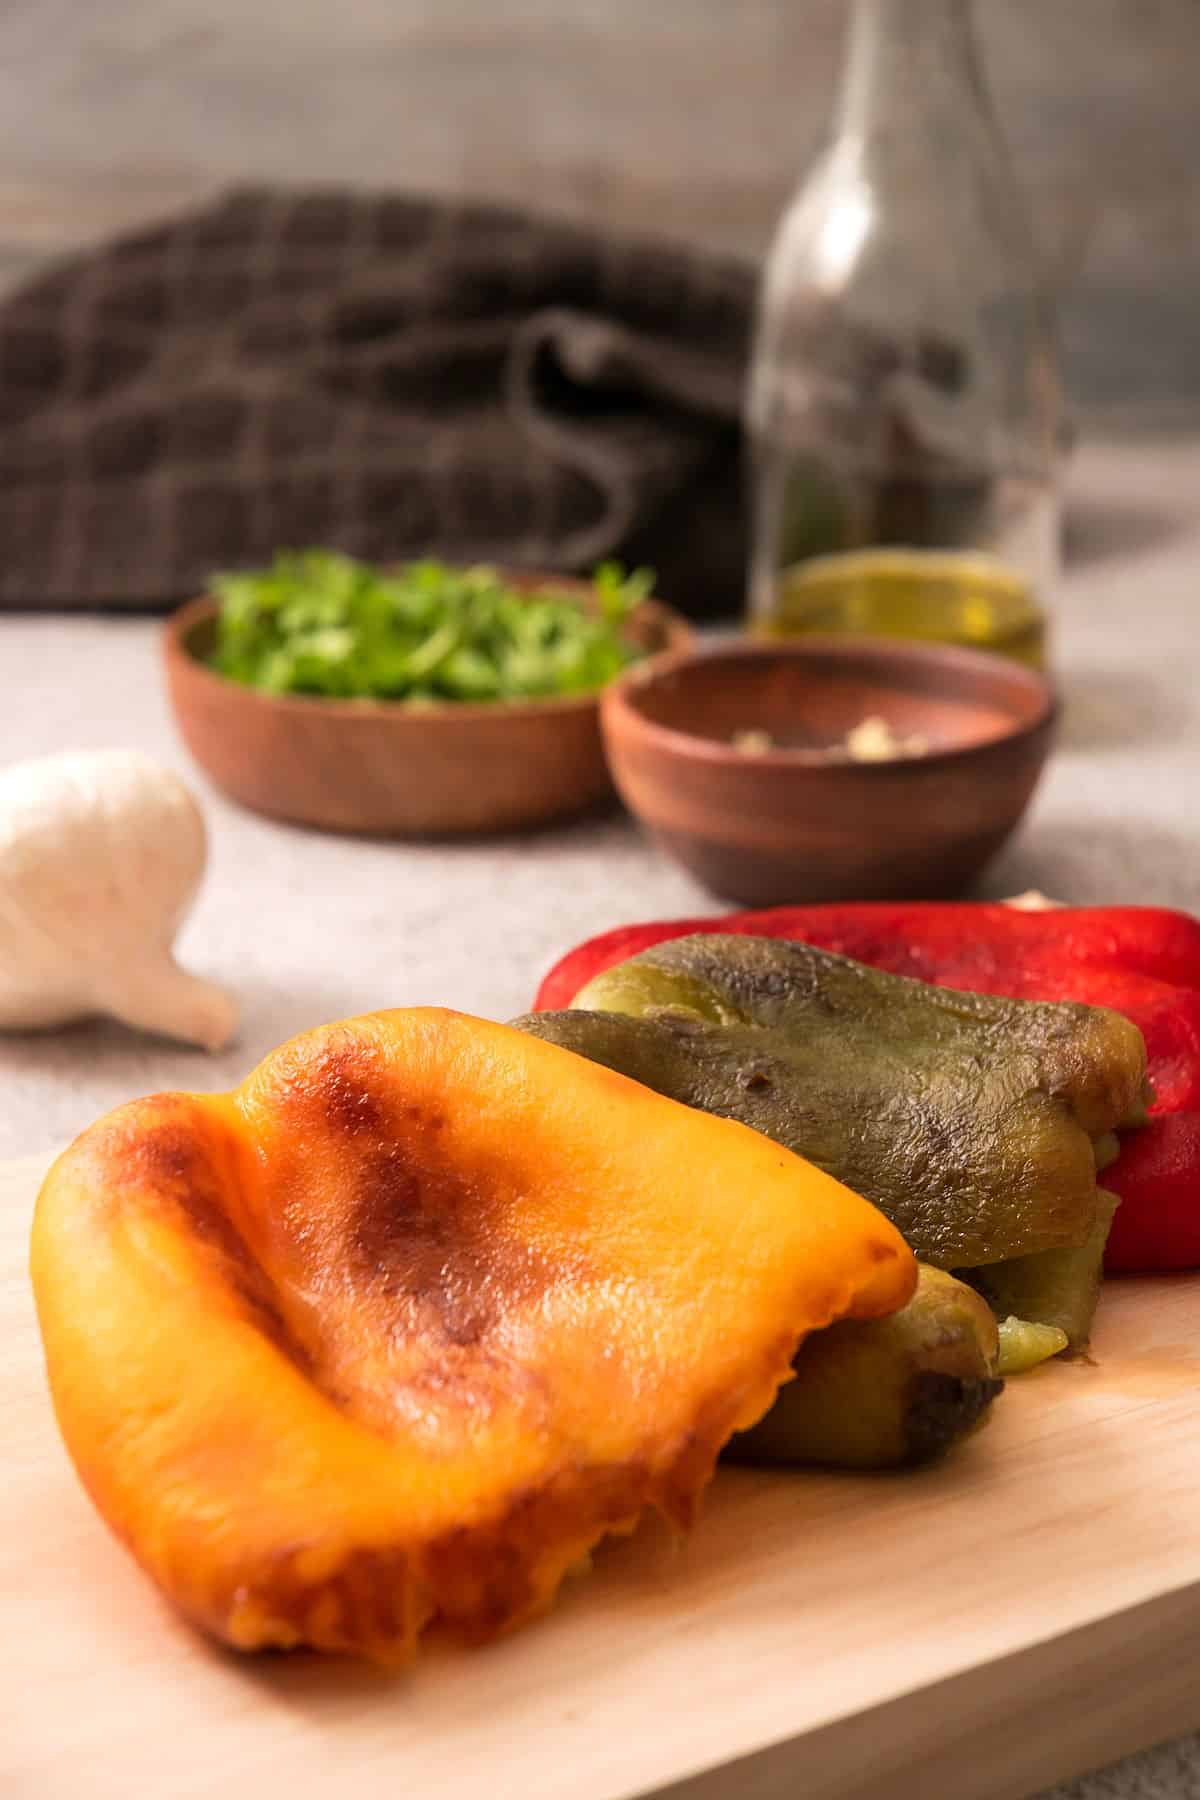
Step 4: Cool. If you are serving the peppers with the skin, let them cool a few minutes and serve as desired. If you would like the skins removed (highly recommended), continue to the next step.
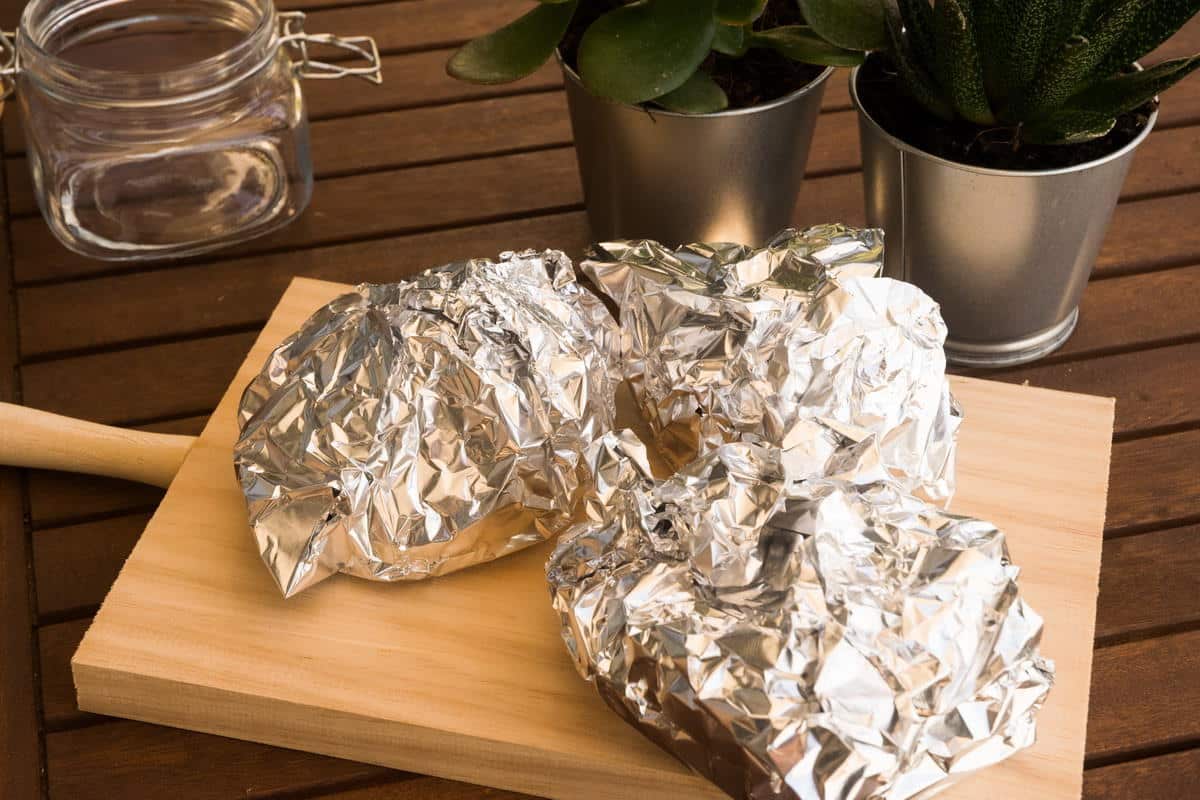
Step 5. Sweat the skins. Place the peppers in a paper bag or in foil and onto a cutting board. Let cool for about 10 minutes. This way, it will be easier to remove the skin.
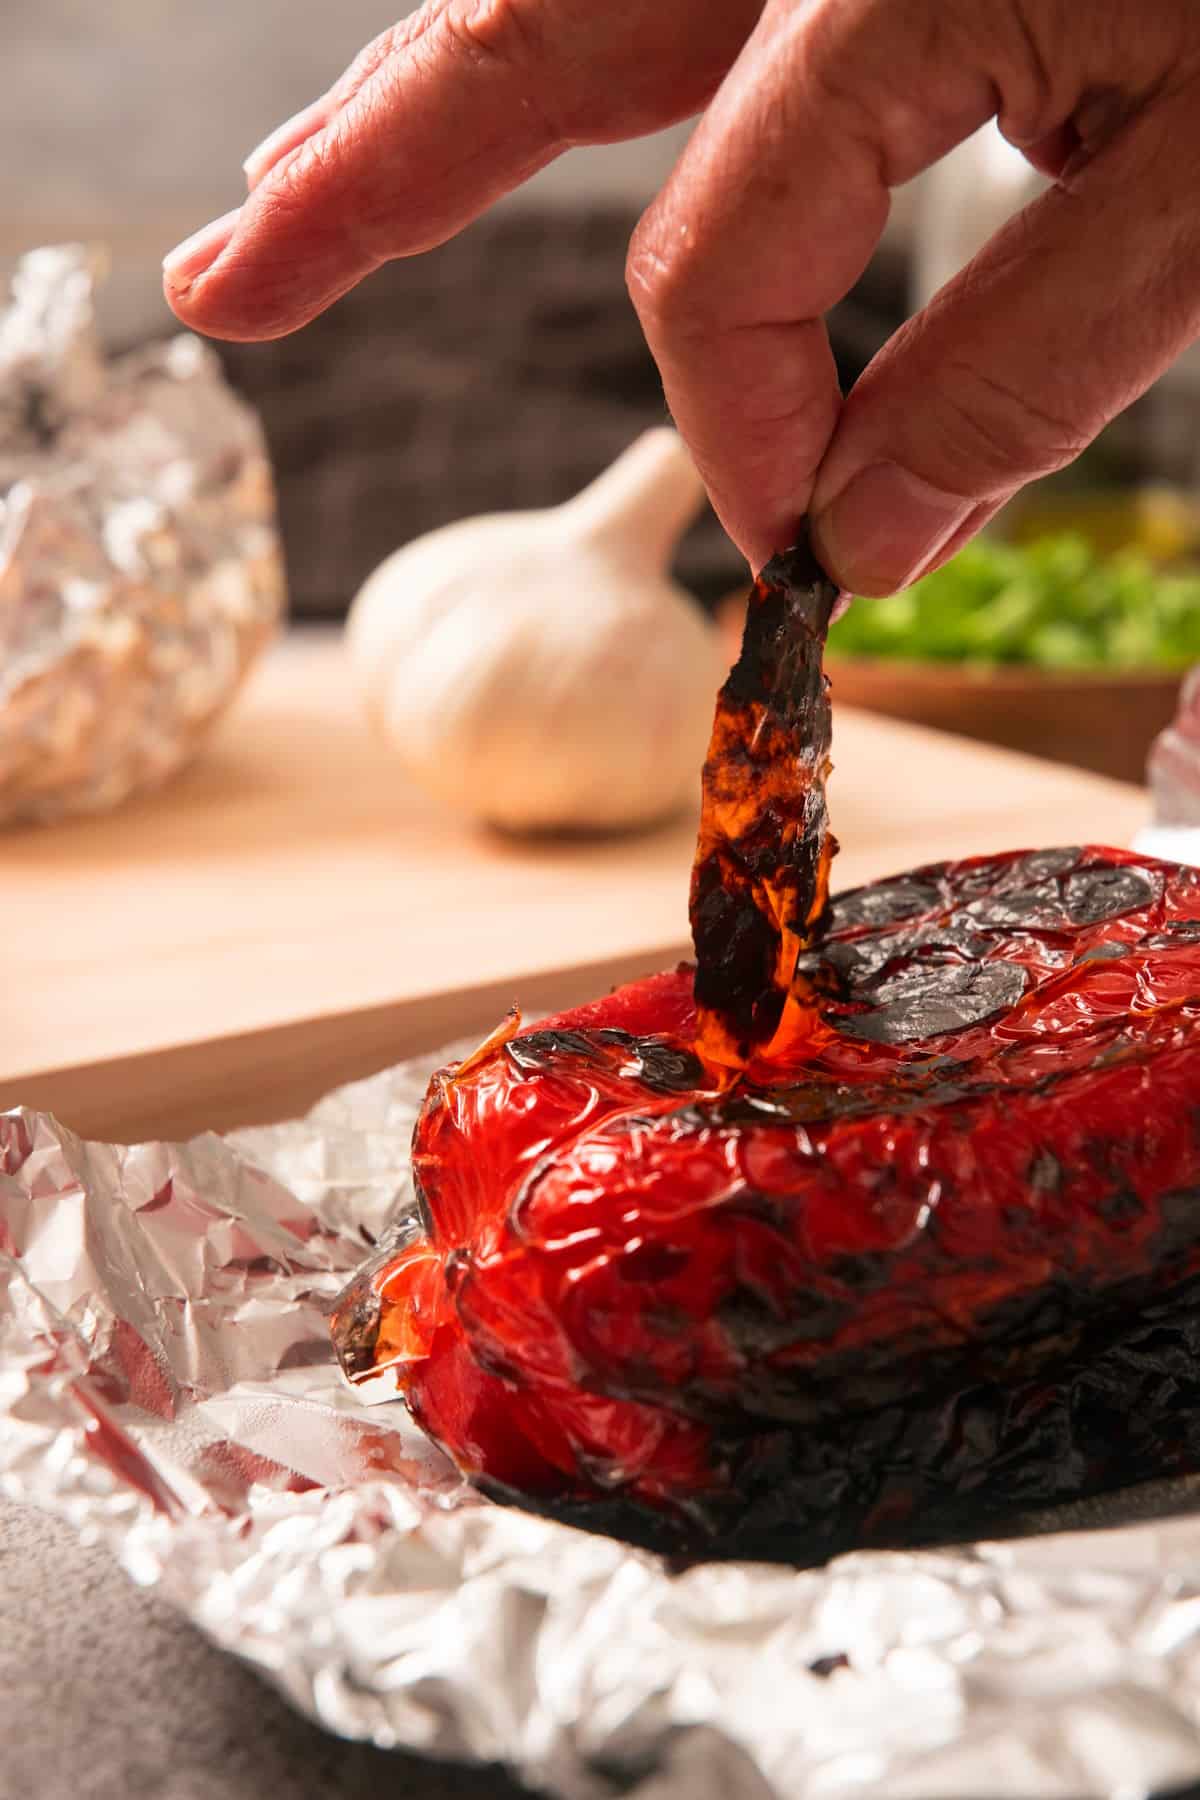
Step 6. Remove skin & seeds. Remove the charred skin, core and seeds. Repeat for all of the peppers.
Pro Tip: The skin should be easy to peel off but if it isn't, you can use a paring knife.
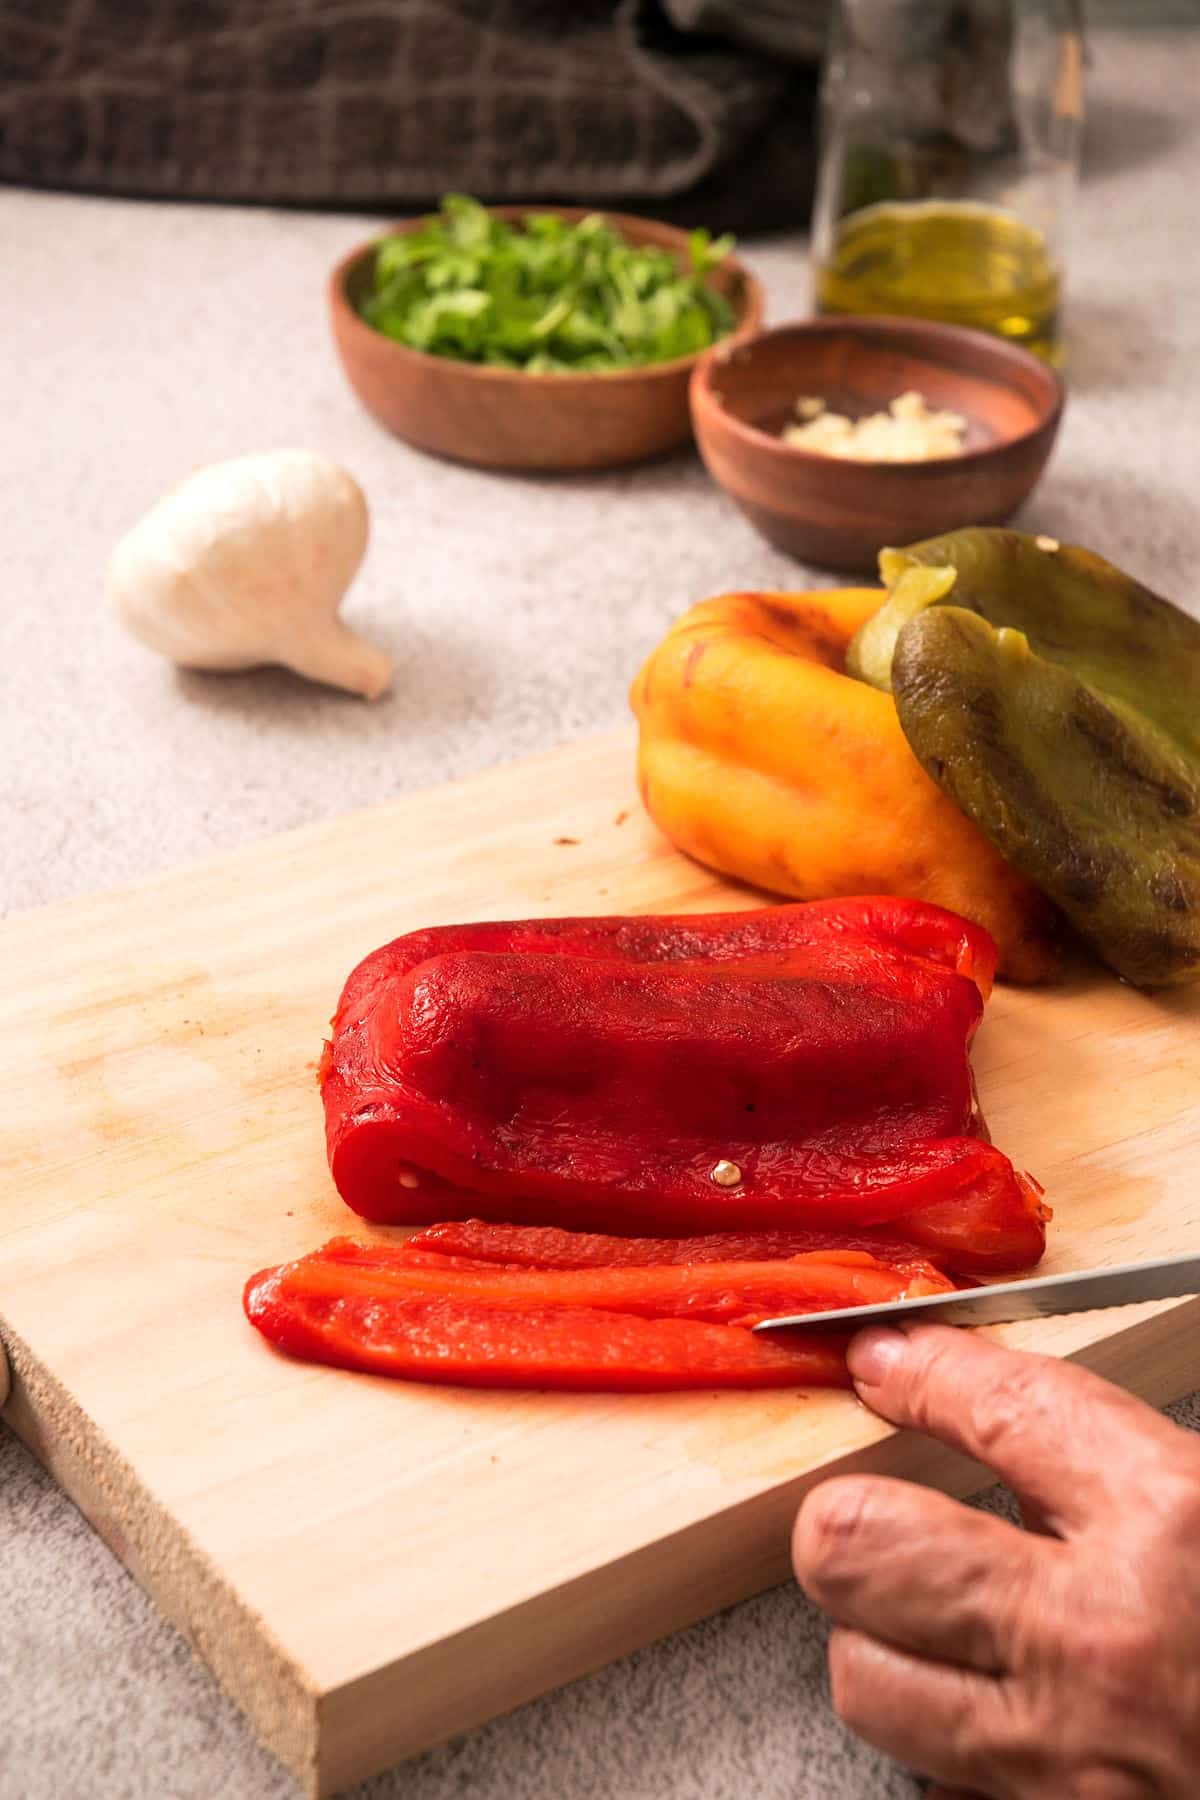
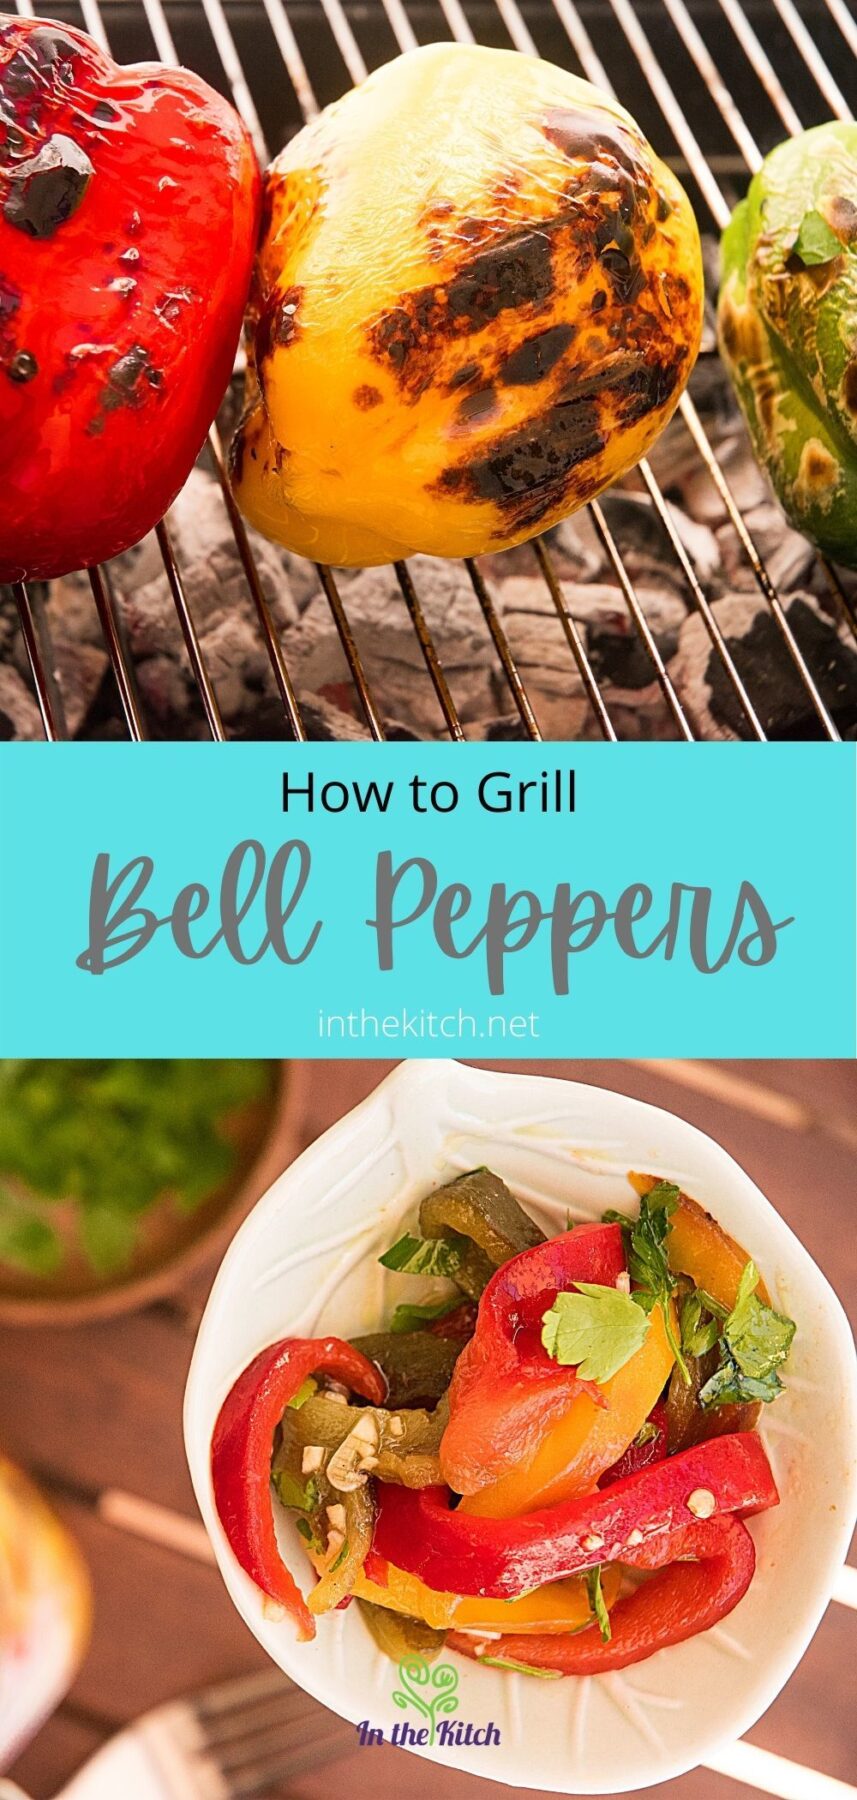
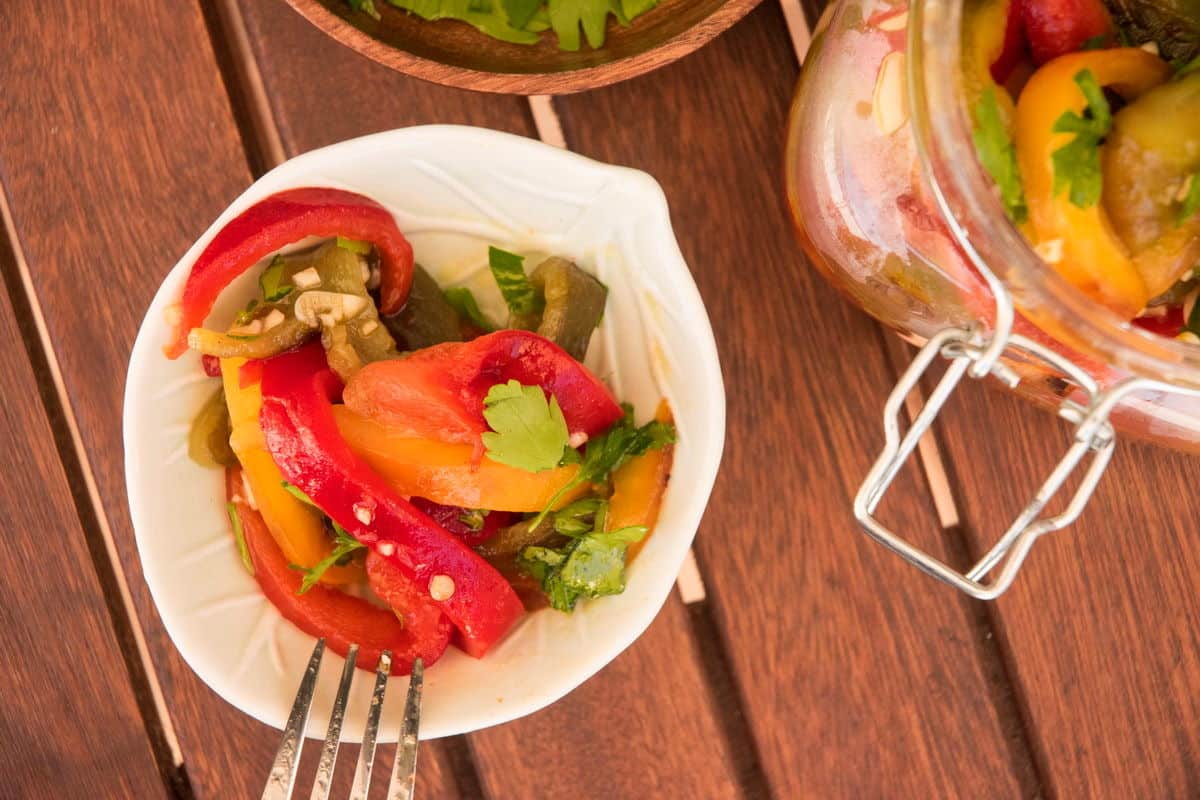
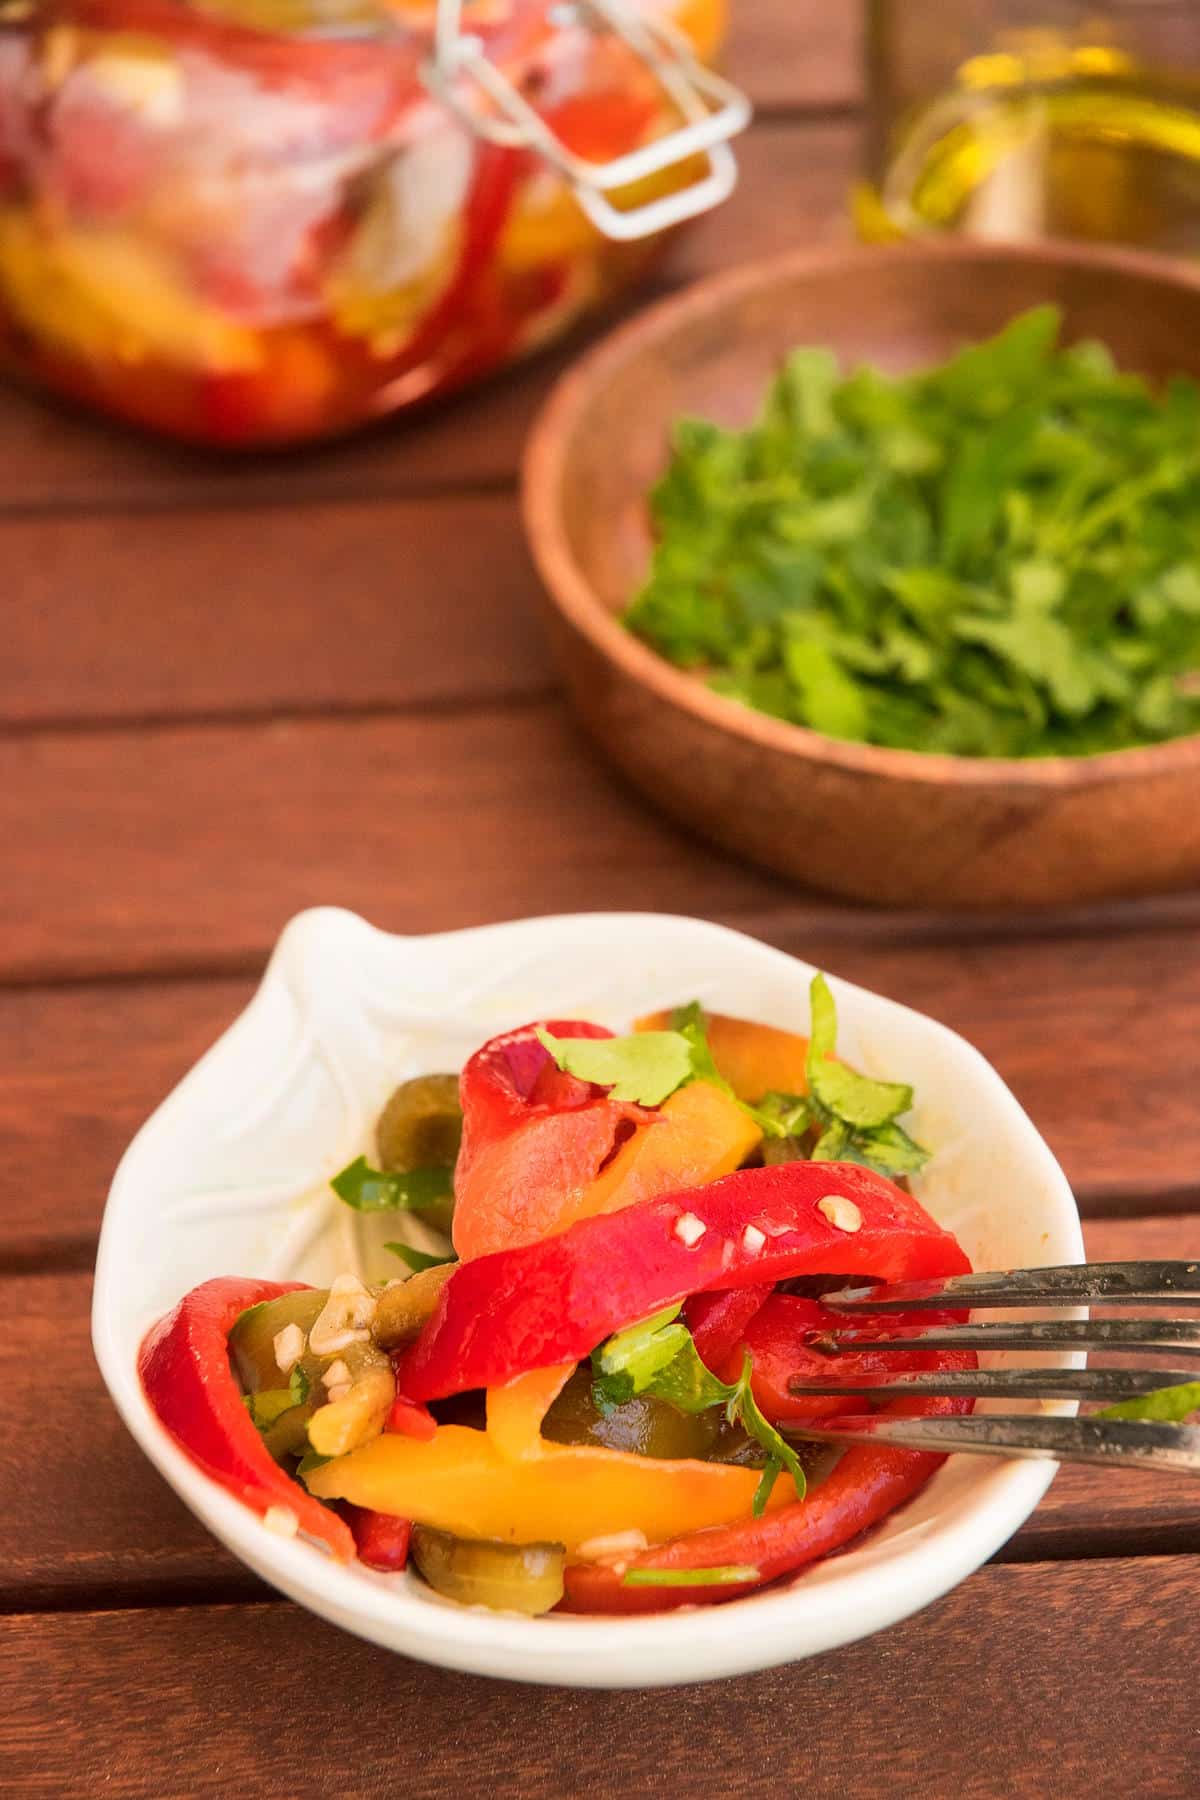
Step 7: Slice the peppers. Slice the peppers into strips and put them in a medium bowl.
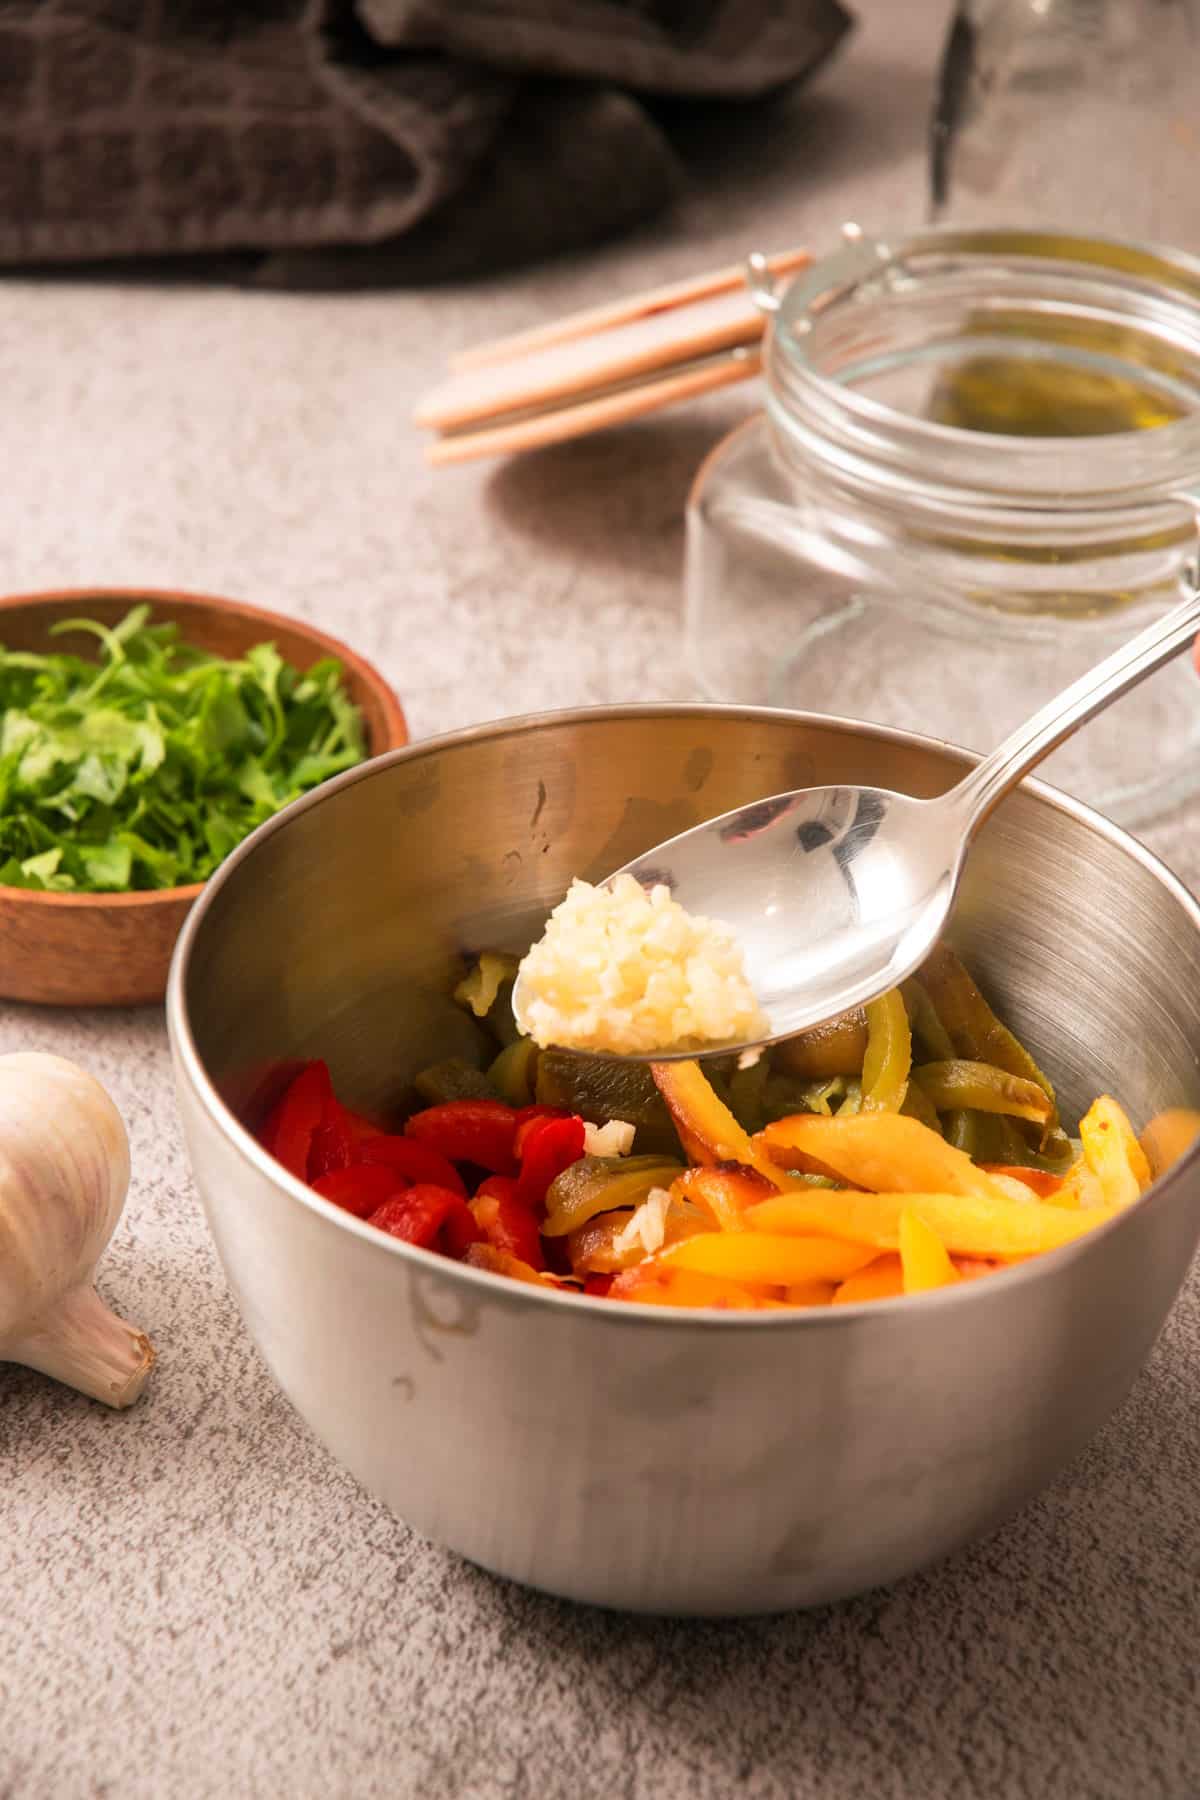
Step 8. Add flavoring. Drizzle a bit of olive oil on top. Sprinkle with the minced garlic, fresh parsley and salt, to taste. Serve as a side dish or as desired.
🍽️Tips for Serving Grilled Peppers
- You can serve grilled peppers as a side dish with other grilled vegetables like tomatoes, eggplant, zucchini and onions.
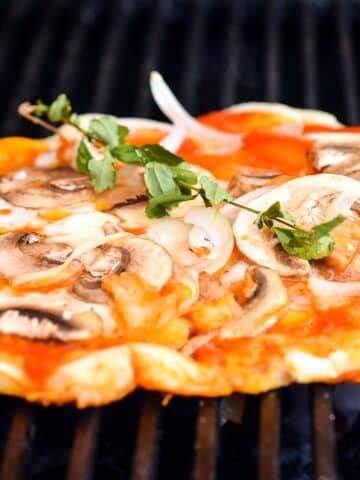
- Serve them alongside grilled proteins like steak, kimchi grilled chicken, ground bison burgers or brats for a complete summer meal.
- You can add a few slices to your sandwiches and wraps, such as this blackened chicken sandwich.
- With rich olive oil and a sprinkle of garlic, grilled peppers make a delicious side dish all on their own or you can experiment with different side dishes.
- You can use them the same way you would roasted peppers.
- Planning a sit-down dinner? Red, yellow and green peppers make a festive, colorful addition to anyone's plate.
- Stick with the classic olive oil and garlic, or try some of your favorite herbs and spices, such as basil, to bring out the mildly sweet-and-smoky flavor of your delicious peppers.
❓Grilled Pepper FAQs
Bell peppers are not spicy. Red, yellow and green bell peppers are mild in comparison to hot peppers and have a pleasant crunch when you bite into the flesh.
However, they do taste slightly different from each other. Red bell peppers are the most ripe of the three and have the sweetest flavor, whereas green bell peppers are going to be a little more on the bitter side.
Need a last-minute side dish for your barbecue? It takes only a few minutes to clean and season your peppers, then another ten minutes to cook them on the grill, until tender and charred.
Plan for another ten minutes if you want to remove the skins. Overall, grilled bell peppers are a fairly quick side dish that can be grilled at the same time as the main.
You can store them in a glass container or other airtight container in the refrigerator for up to 5 days.
🔥More Smoky Grilling Recipes

If you tried this recipe tutorial for 🫑 How to Grill Peppers or any other recipe on my website, please leave a 🌟 star rating and let me know how it went in the 📝 comments below. And please share the recipe!
📋Recipe
How to Grill Peppers
Ingredients
- 3 bell peppers of your choice - red, yellow, green
- olive oil - to brush onto the peppers
- 1-2 teaspoons garlic - minced
- fresh parsley - chopped-to serve
- salt - to taste
Instructions
- Heat a charcoal or gas grill to medium-high. If the peppers are large, they can be cored and sliced in half. Small peppers can be left whole.
- Brush each bell pepper with olive oil. Lightly sprinkle with salt.
- Place the peppers on the grill, on their side. The sliced peppers should be placed skin side down.
- Close the grill lid and cook until tender, flipping the peppers until they char on all sides. This will take about 10 to 15 minutes.
- If you are serving the peppers with the skin, let them cool a few minutes and serve as desired.
- If you would like the skins removed (highly recommended): Place the peppers in a paper bag or in foil and onto a cutting board and let cool for about 10 minutes. This way, it will be easier to remove the skin.
- Remove the charred skin, core and seeds. The skin should be easy to peel off or you can use a paring knife.
- Slice the peppers and put them in a medium bowl. Drizzle a bit of olive oil on top. Sprinkle with the minced garlic, fresh parsley and salt, to taste.
- Serve as a side dish or as desired.
Equipment
Notes
- The nutrition information only includes the bell peppers, as the other ingredients are optional and the amounts are not specified.
- This recipe also works with hot peppers.
- You can store them in a glass container or other covered container in the refrigerator for up to 4 to 5 days.
- You can serve grilled peppers as a side dish alongside grilled proteins like steak, chicken, burgers or brats for a complete summer meal. You can add a few slices to your sandwiches and wraps etc.
Nutrition
Nutrition information on In the Kitch is provided as a courtesy and is an estimate only. It may not include toppings and/or sauces.


Leave a Reply