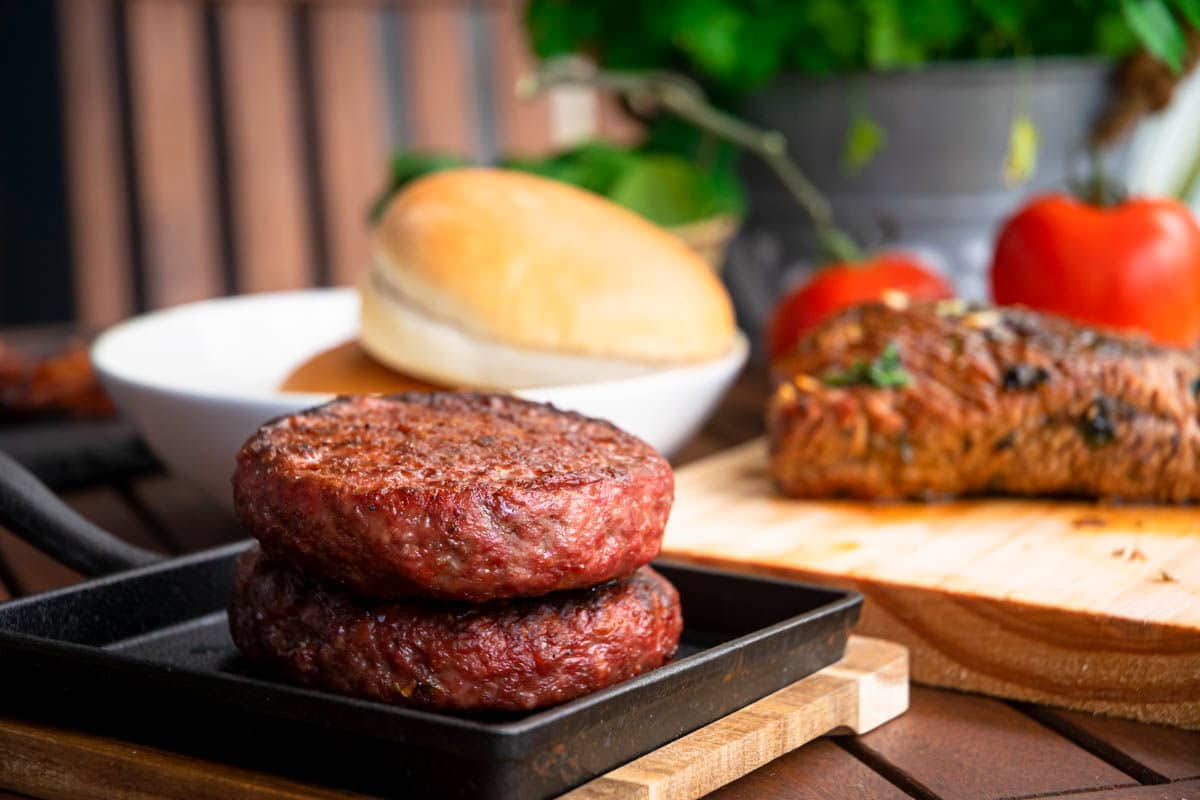
Check out how to grill frozen burgers without thawing them first and still have that same juicy, flavorful patty in a short time!
Jump to:
Why You Will Love This Technique
- Easy and quick. Burgers on the grill have an amazing, savory taste with a subtle smoky flavor that is just what we crave for summer outings or social gatherings. But if you are in a pinch and you only have frozen burgers, you can grill them straight from frozen on gas or charcoal without adding a ton of extra cook time.
- Delicious crust. I have found that grilling the frozen burgers vs. frying burgers in a skillet results in a more delicious, caramelized crust.
- Convenient. Frozen burgers are convenient and great to have on hand when you are craving a last minute BBQ dinner.
- Versatile. I like to use this method for not only beef burgers but all types like salmon, chicken, veggie, turkey, bison burgers, etc.
- Can make them from scratch and freeze them. You can easily buy your favorite ground meat, mix in some spices, shape them into patties and freeze them yourself. To get a little more adventurous, you can go as far as grinding the meat yourself.
How Long Does it Take To Grill Frozen Burgers?
As for how long to grill frozen burgers, I usually do about 15 minutes while flipping them every five minutes. However, burger cooking times will vary, depending on your grill, burger thickness and how well done you like them.
For this recipe, since you are cooking the beef burgers from frozen, you are going to want to cook them to an internal temperature of 160°F for food safety reasons. However, if you are cooking frozen seafood, chicken or turkey burgers, the recommended temperature is 165°F.
Frozen Beef, Lamb & Pork Burgers = 160°F
Frozen Seafood, Chicken and Turkey Burgers = 165°F
Store-bought ground beef tends to contain a lot of bacteria from the work area. This is why some people choose to grind their own cuts of meat at home in order to enjoy a medium-rare burger.
Ingredients
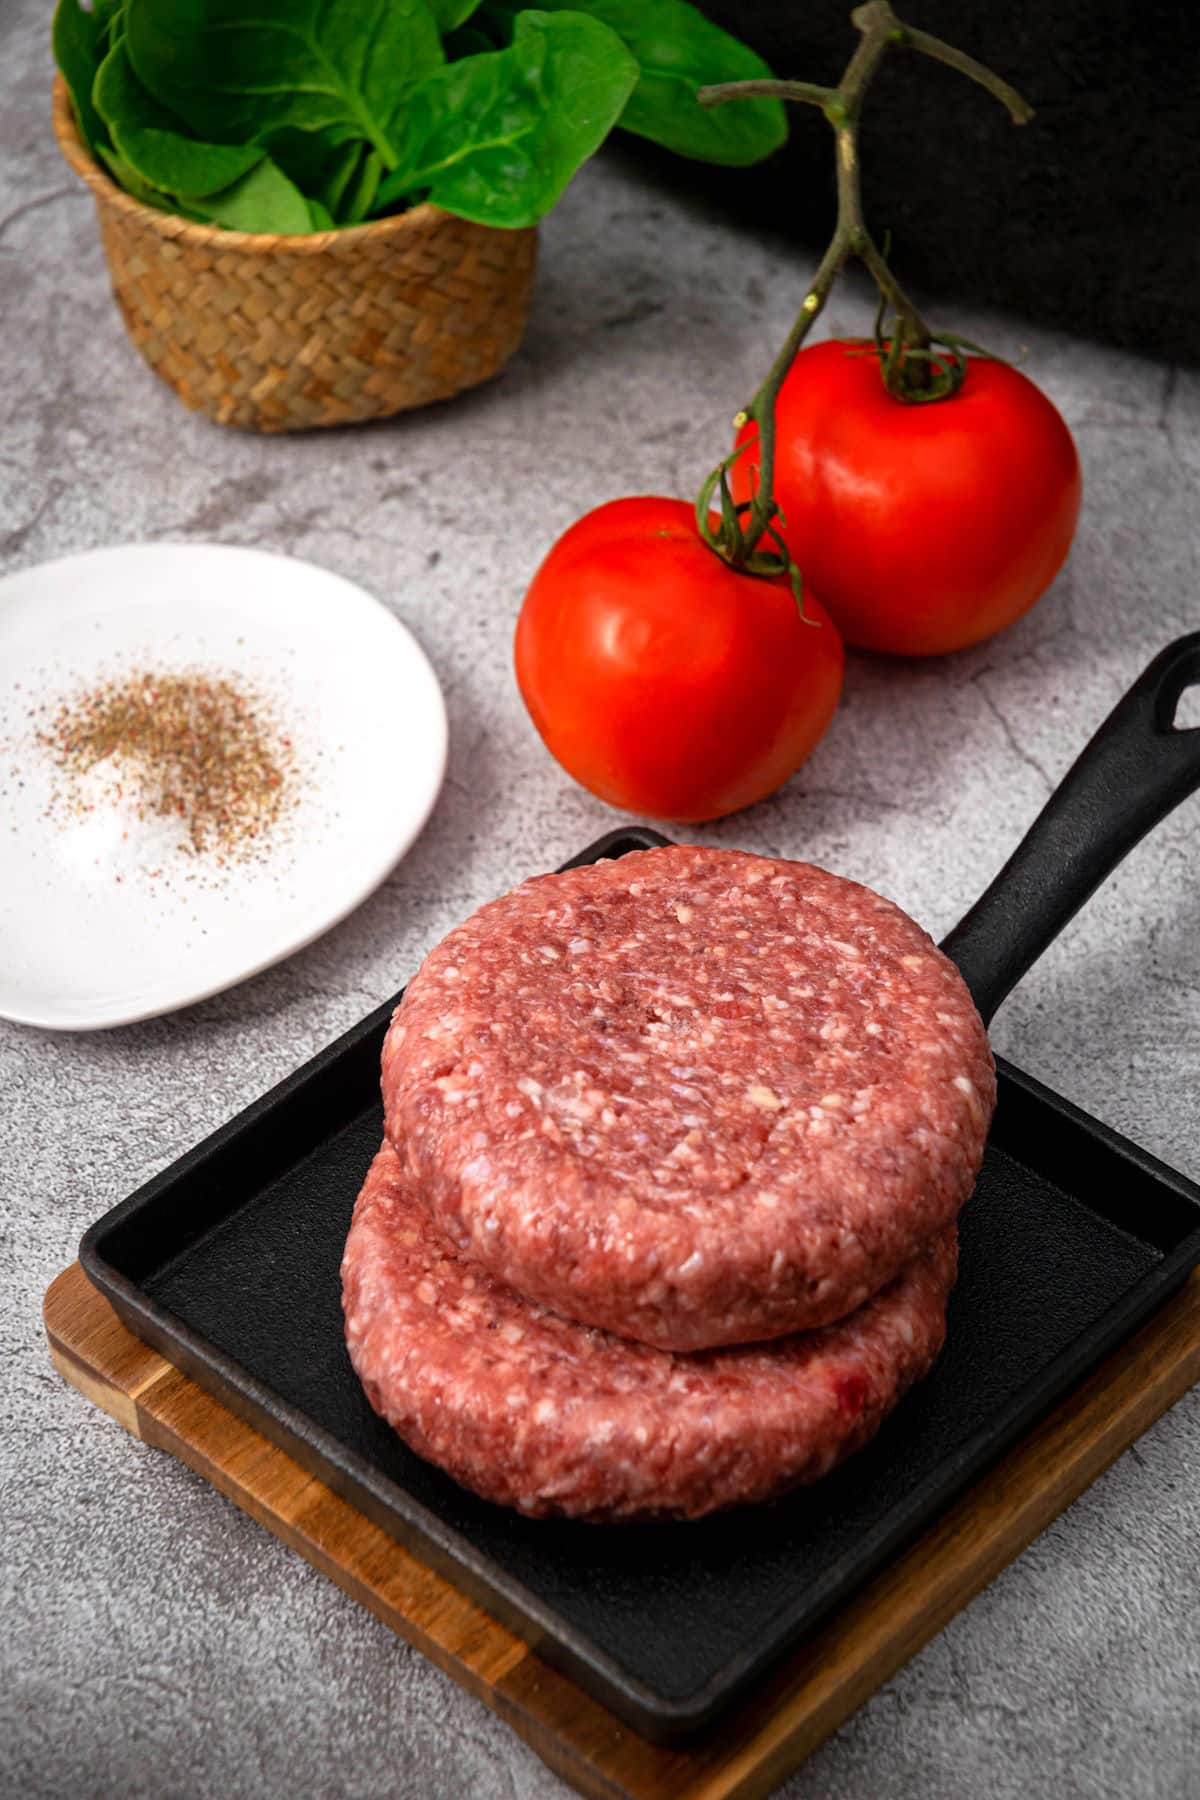
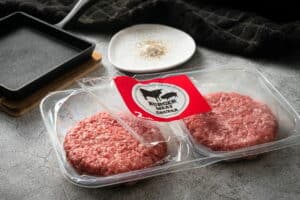
- frozen burger patties - There is no need to thaw them first. We are grilling them straight from frozen.
- hamburger buns - My favorite buns for hamburgers are brioche or sesame seed.
- toppings and condiments - Pick your favorite.
Instructions
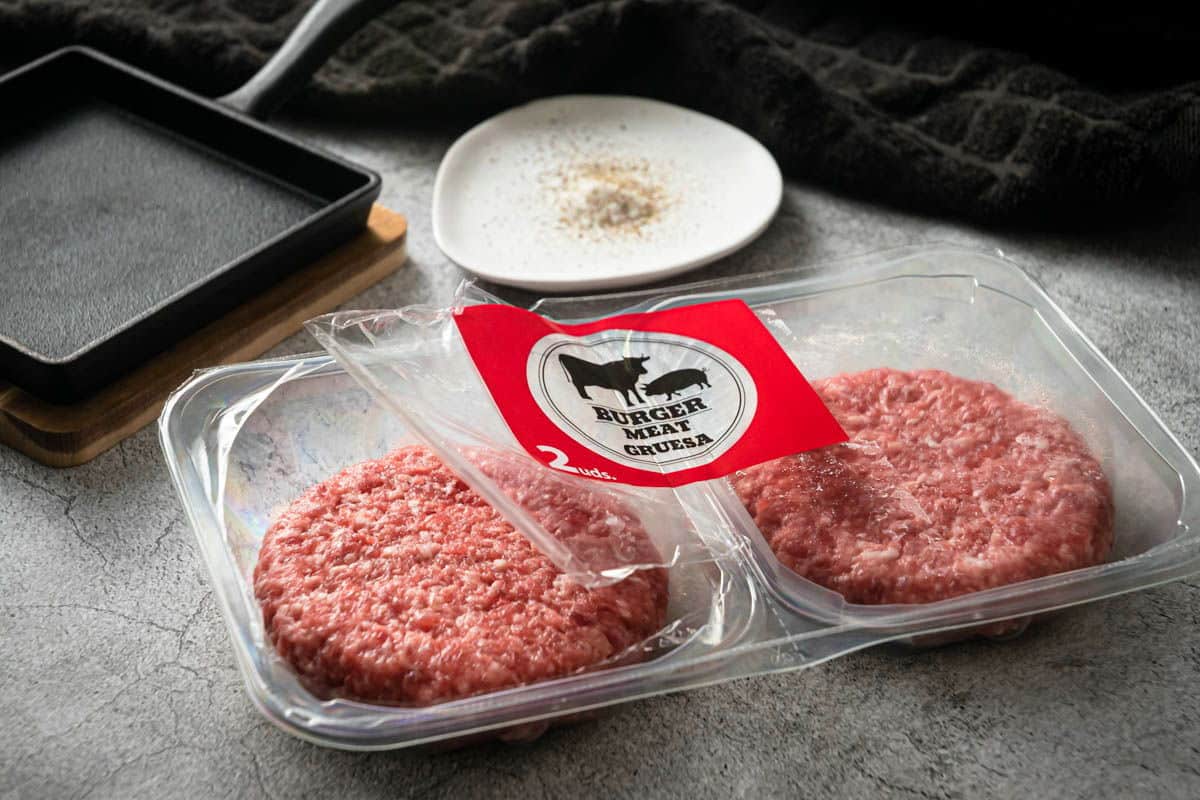
Step 1. Preheat grill. Preheat the grill to medium-high heat. Remove burger patties from the freezer.
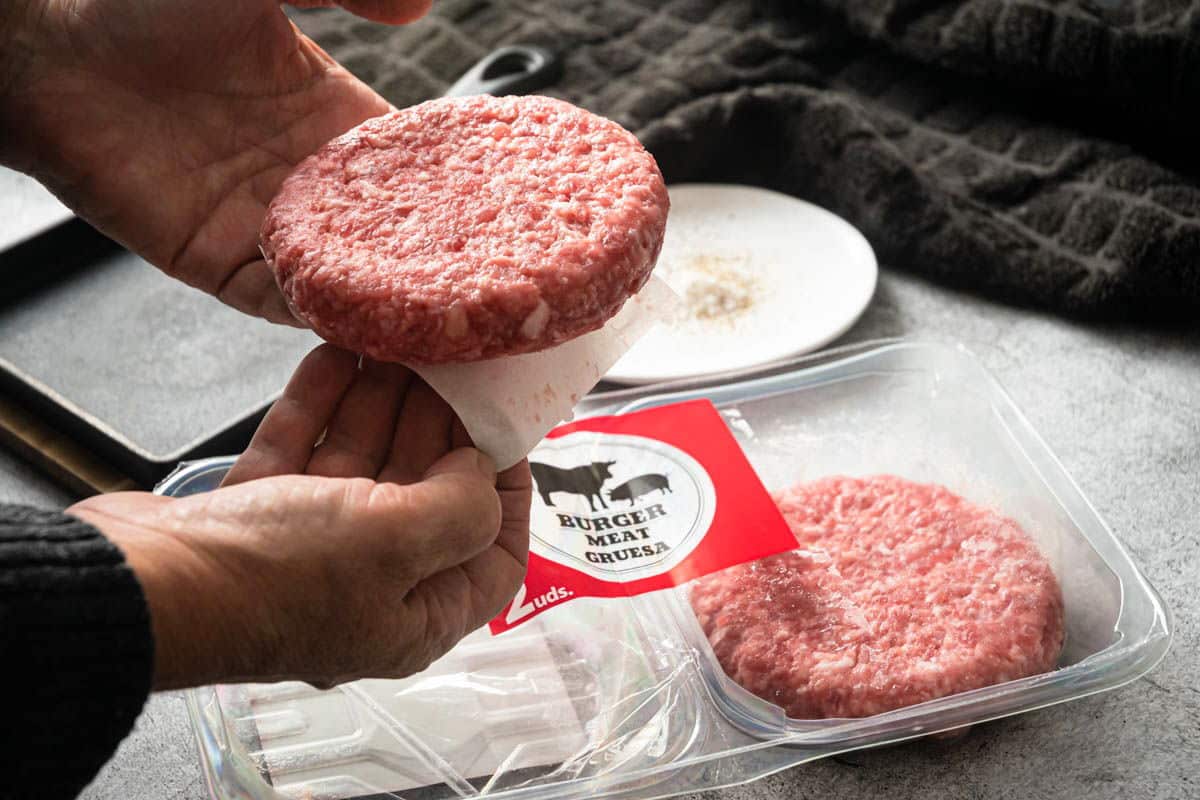
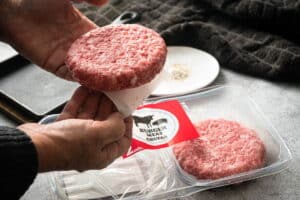
Step 2. Separate patties. Separate the burger patties and remove the papers.
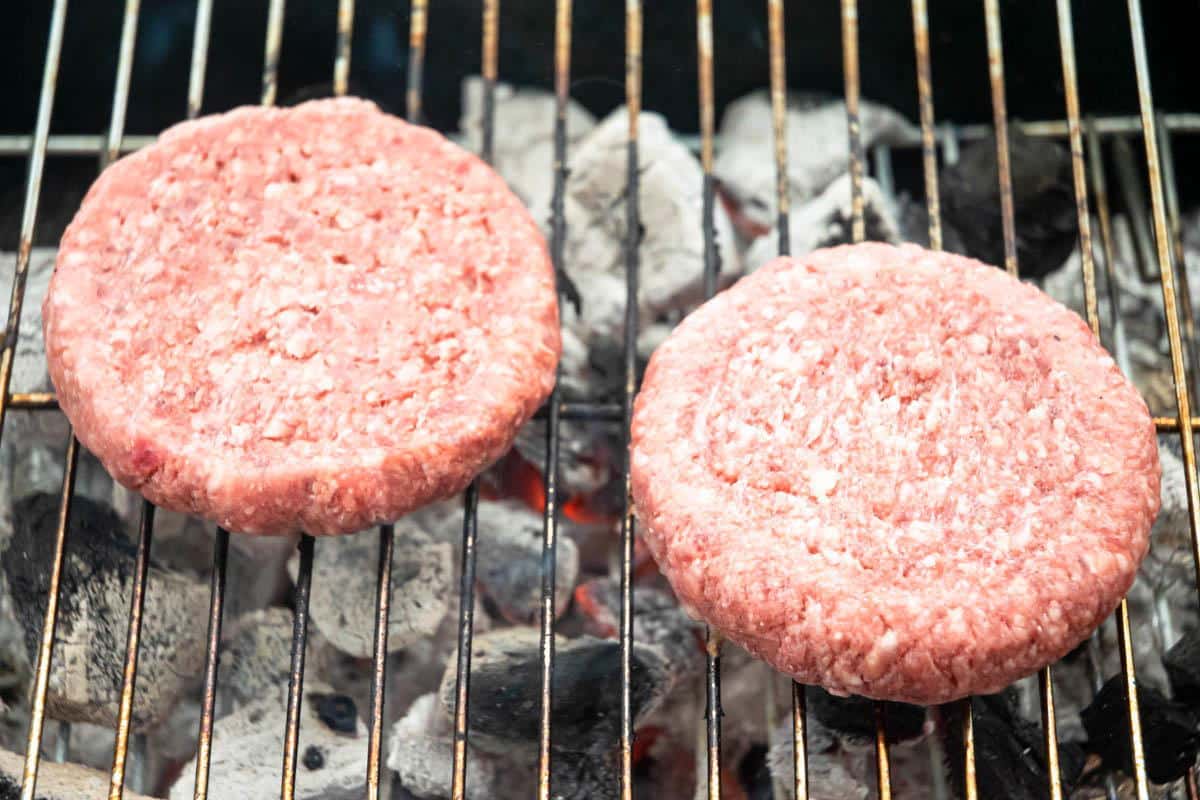
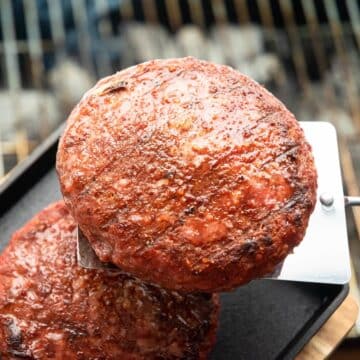
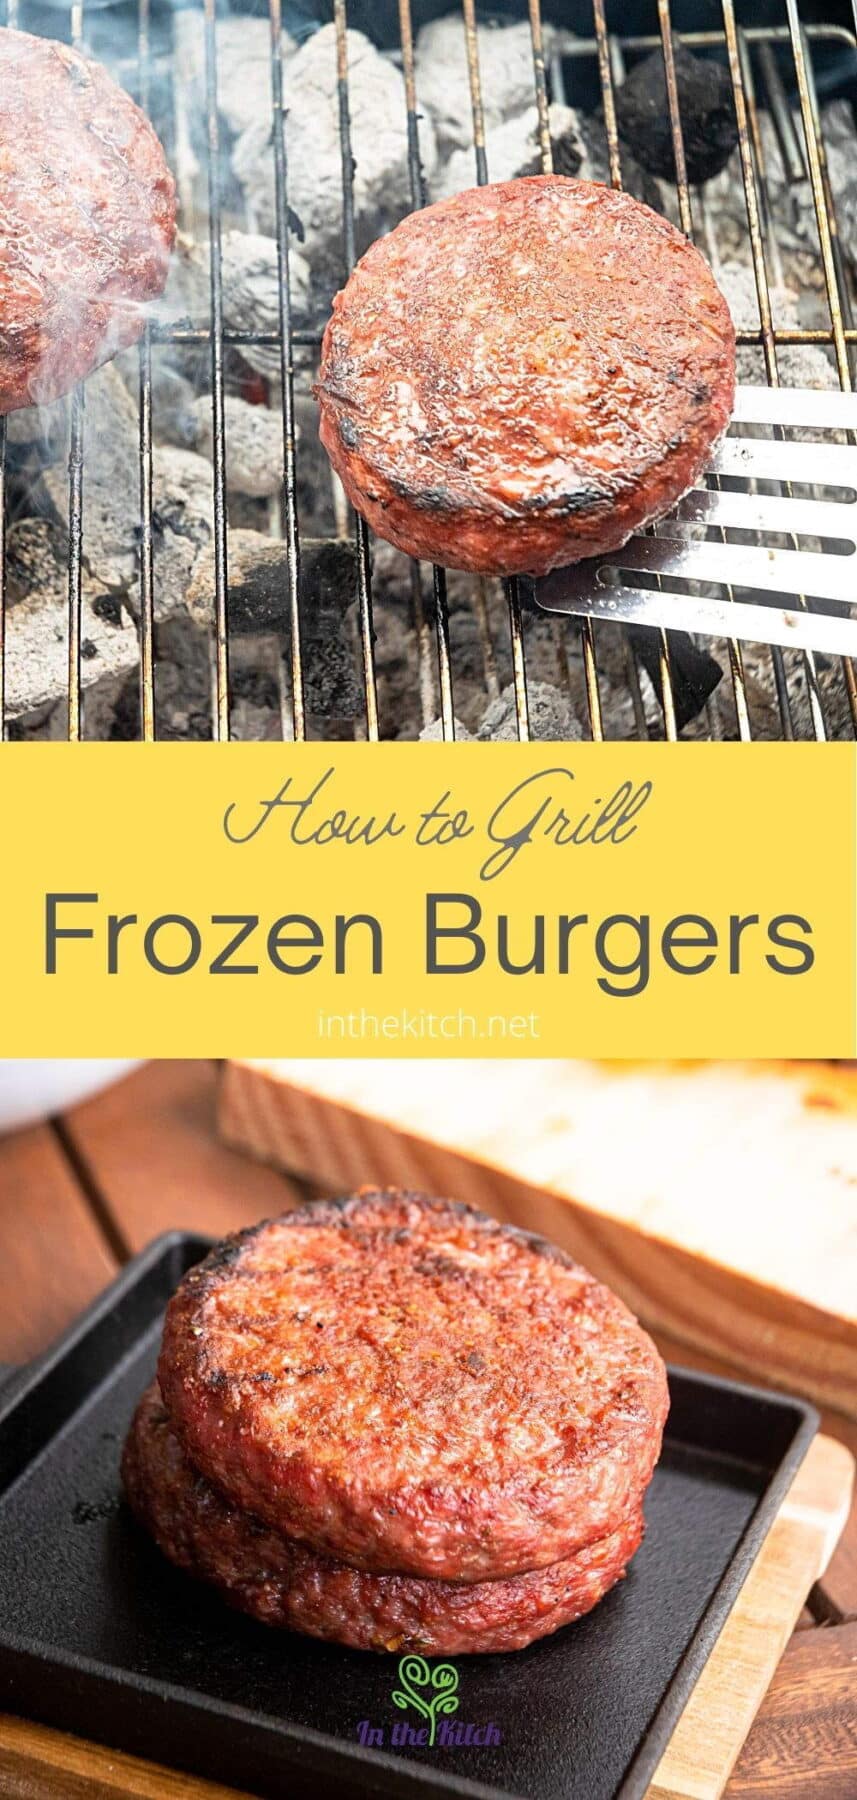
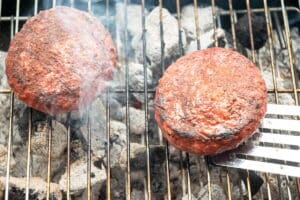
Step 3. Grill the burgers. Place the frozen patties on the grill and cook for about 15 minutes, flipping every 5 minutes (or until the burgers are cooked through to an internal temperature of 160°F).
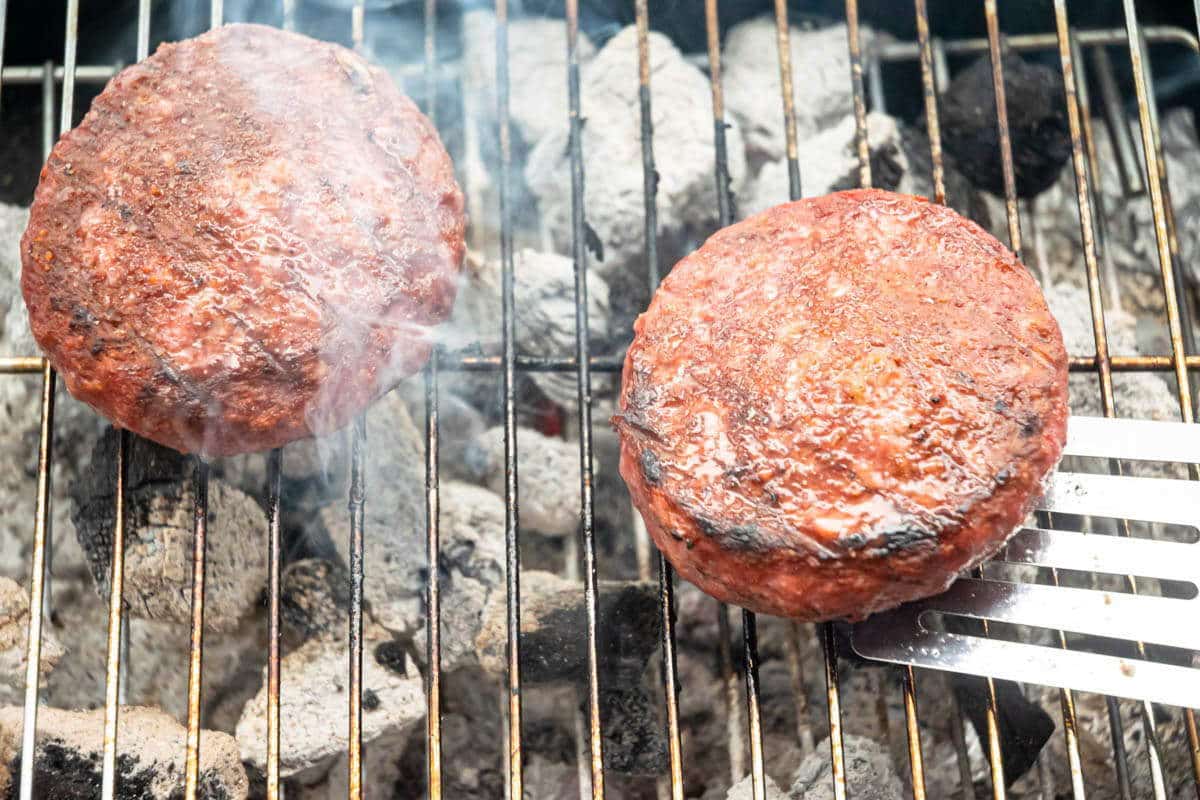
Step 4. Add cheese (optional). If you are adding cheese slices, add them during the last minute or two.
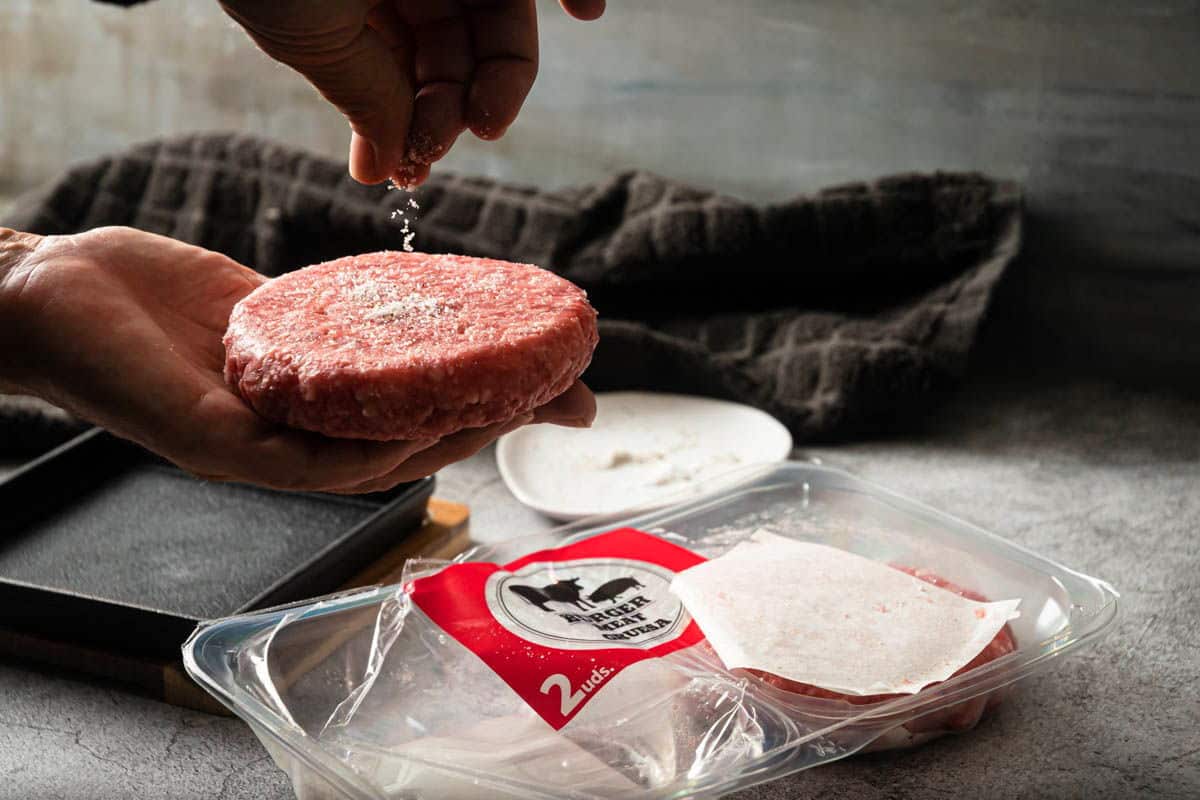
Chef's Note: If they were not seasoned, you can season them with some salt and pepper once they start to thaw on the grill. This is completely optional.
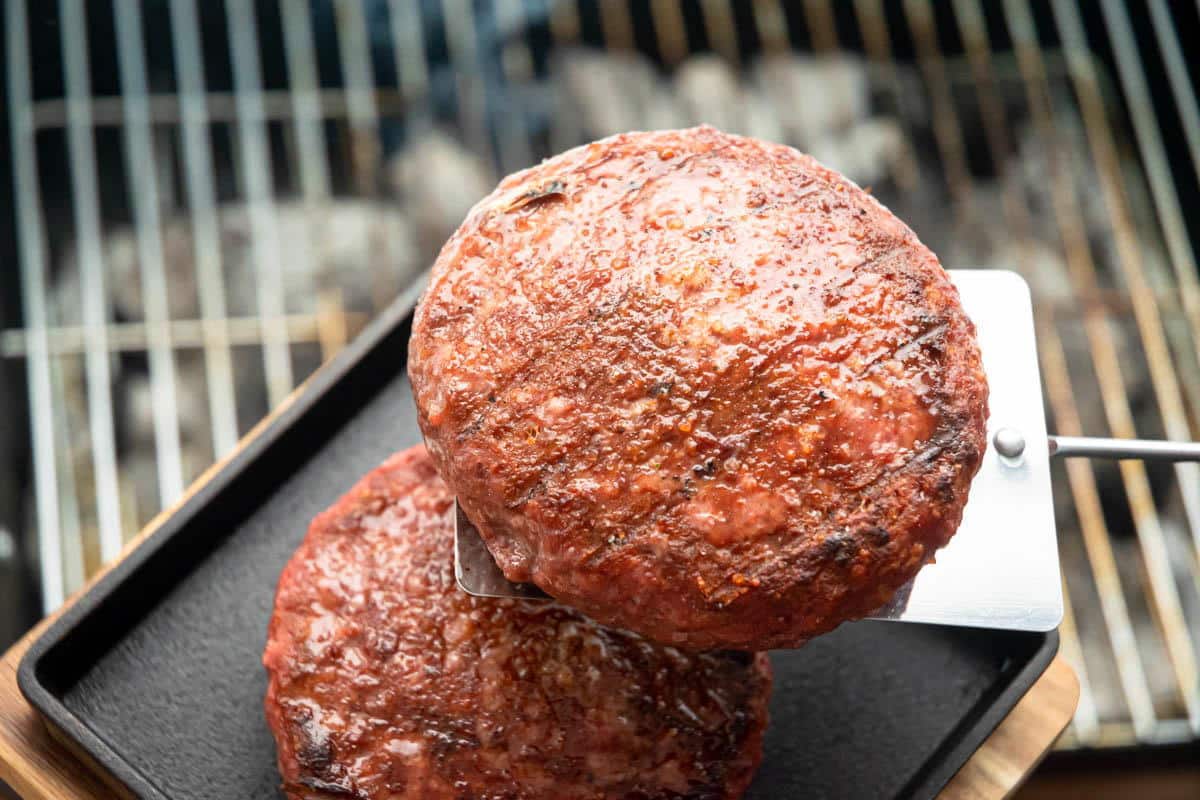
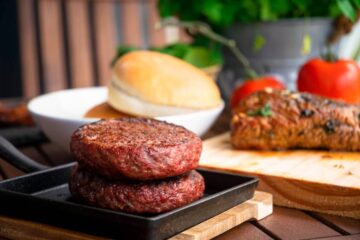
Step 5. Remove the patties and serve. Remove the burgers from the grill and let them rest for 5 to 10 minutes. Toast the buns lightly, if desired. It should take only 1 to 2 minutes. Add the patties to the hamburger buns with toppings and condiments of your choice. Serve!
These grilled onions and grilled peppers go great with burgers!
Tips
- No need to smash. Fight the urge to smash them against the grid of the gas grill for a small fire show. They will lose their round shape, the juices will spill out, and the juices may get into the heat and catch your burgers on fire.
- Flare ups. Keep an eye on the burgers for flare ups. If they are flaring up too much, move them so they aren't over direct flame and/or close the lid.
- Hot spots. Be aware that some parts of the grill are hotter than others, so move the burgers around depending on their doneness.
- First flip. Flip the patty for the first time when you start to see the juices bubble up to the surface.
- Lid open or closed. If it's a windy day or the grill doesn't seem to be cooking the burgers fast enough, you can close the lid to retain more heat but keep an eye on them. This works well especially if the burgers are on the thicker side (over ¾ inch). However, I find that my burgers cook just fine with the lid open.
Frozen Burger Grilling FAQs
If they don't separate easily by hand, I like to place the frozen burgers on a cutting board on their side and carefully wedge a butter knife in between the patties where there is a groove. Then I gently tap in a downward motion towards the cutting board. They should come apart quite easily and quickly this way.
You shouldn't have to season frozen burgers as they are typically already seasoned and good to go. If they aren't seasoned, however, you can sprinkle them with some salt and pepper after they have thawed for a few minutes or while they are cooking.
When it comes to grilling them, I recommend keeping the grill temperature at medium-high or lower. If it is too high, it will cook the outside of the burger quicker but leave the inside raw.
They can last up to 4 to 5 months in the freezer, depending on how well you package them. If you were to thaw them in the refrigerator, they should be cooked within 1 to 2 days. Cooked burgers will last up to 3 to 4 days in the fridge, covered.
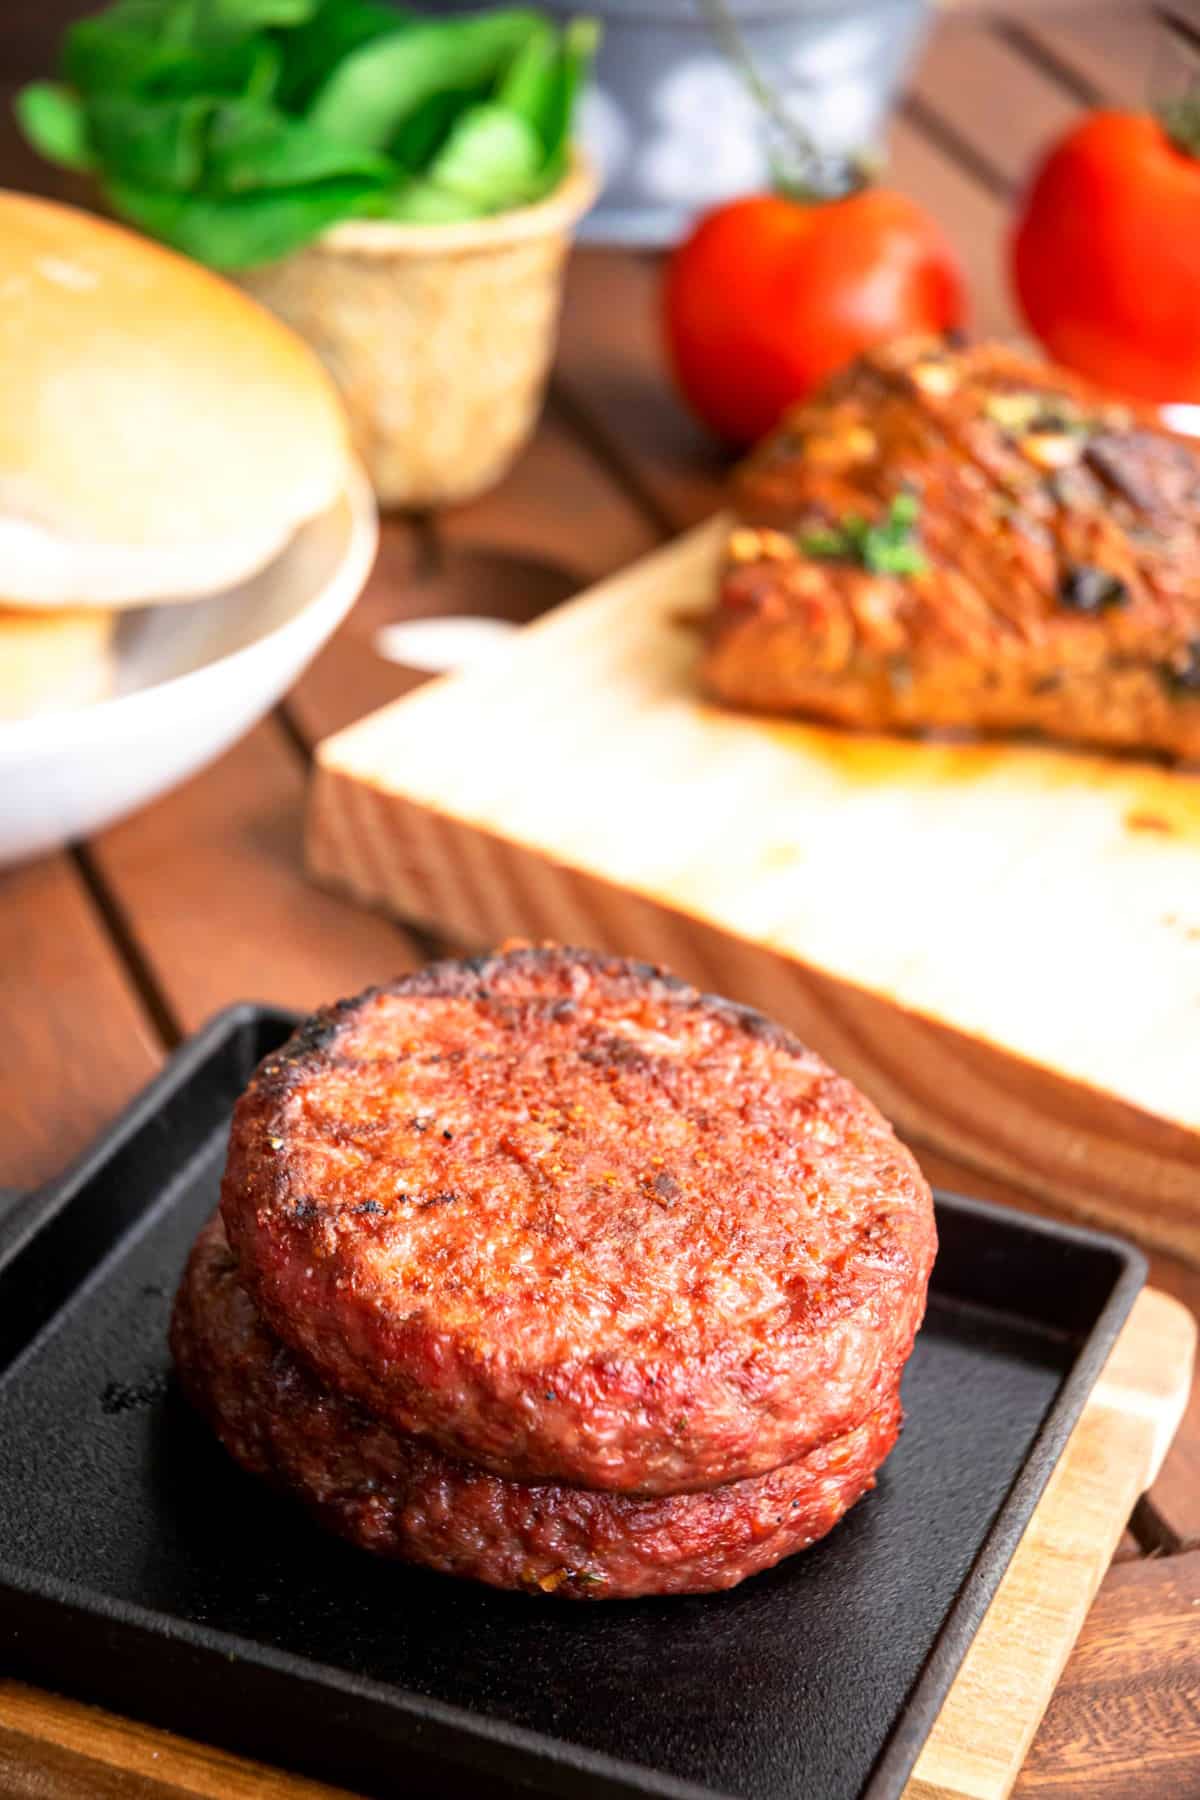
More Amazing Grilling Recipes
If you tried this recipe technique for 🍔 how to grill frozen burgers or any other recipe on my website, please leave a 🌟 star rating and let me know how it went in the 📝 comments below. And please share the recipe!
📋Recipe
How to Grill Frozen Burgers
Ingredients
- 4 frozen hamburger patties
- 4 hamburger buns
- desired toppings
- salt and pepper - optional
Instructions
- Preheat the grill to medium-high heat. Remove burger patties from the freezer.
- Separate the patties and remove the papers.
- Place the frozen patties on the grill and cook for about 15 minutes, flipping every 5 minutes (or until the burgers are cooked through to an internal temperature of 160°F). If they were not seasoned, you can season them with some salt and pepper once they start to thaw on the grill. If you are adding cheese slices, add them during the last minute or two.
- Remove the burgers from the grill and let them rest for 5 to 10 minutes. Toast the buns lightly, if desired. It should take only 1 to 2 minutes. Add the patties to the hamburger buns with toppings and condiments of your choice. Serve!
Equipment
Notes
- Nutrition info. The nutrition information is for 1 standard burger patty, so keep in mind that this will vary.
- Flare ups. Keep an eye on the burgers for flare ups. If they are flaring up too much, move them so they aren't over direct flame and/or close the lid.
- Hot spots. Be aware that some parts of the grill are hotter than others, so move the burgers around depending on their doneness.
- Lid closed or open. If it's a windy day or the grill doesn't seem to be cooking the burgers fast enough, you can close the lid to retain more heat but keep an eye on them. This works well especially if the burgers are on the thicker side (over ¾ inch). However, I find that my burgers cook just fine with the lid open.
- Separating the burgers tip. If they don't separate easily by hand, I like to place the frozen burgers on a cutting board on their side and carefully wedge a butter knife in between the patties where there is a groove. Then I gently tap in a downward motion towards the cutting board. They should come apart quite easily and quickly this way.
- Seasoning. You shouldn't have to season frozen burgers as they are typically already seasoned and good to go. If they aren't seasoned, however, you can sprinkle them with some salt and pepper after they have thawed for a few minutes or while they are cooking.
- Storage. Frozen burger patties can last up to 4 to 5 months in the freezer, depending on how well you package them. If you were to thaw them in the refrigerator, they should be cooked within 1 to 2 days. Cooked burgers will last up to 3 to 4 days in the fridge, covered.
Nutrition
Nutrition information on In the Kitch is provided as a courtesy and is an estimate only. It may not include toppings and/or sauces.



OrbitKitchen says
Great tips on maximizing the longevity of frozen burgers and ensuring a quick and delicious meal.
Jim says
This is just what I was looking for. Turned out great. Thank you
Joss D says
Thanks Jim!
Marlo says
Great ingredients checklist! Simple and easy to keep track of step by step. Delicious!
Joss D says
Thanks Marlo!