
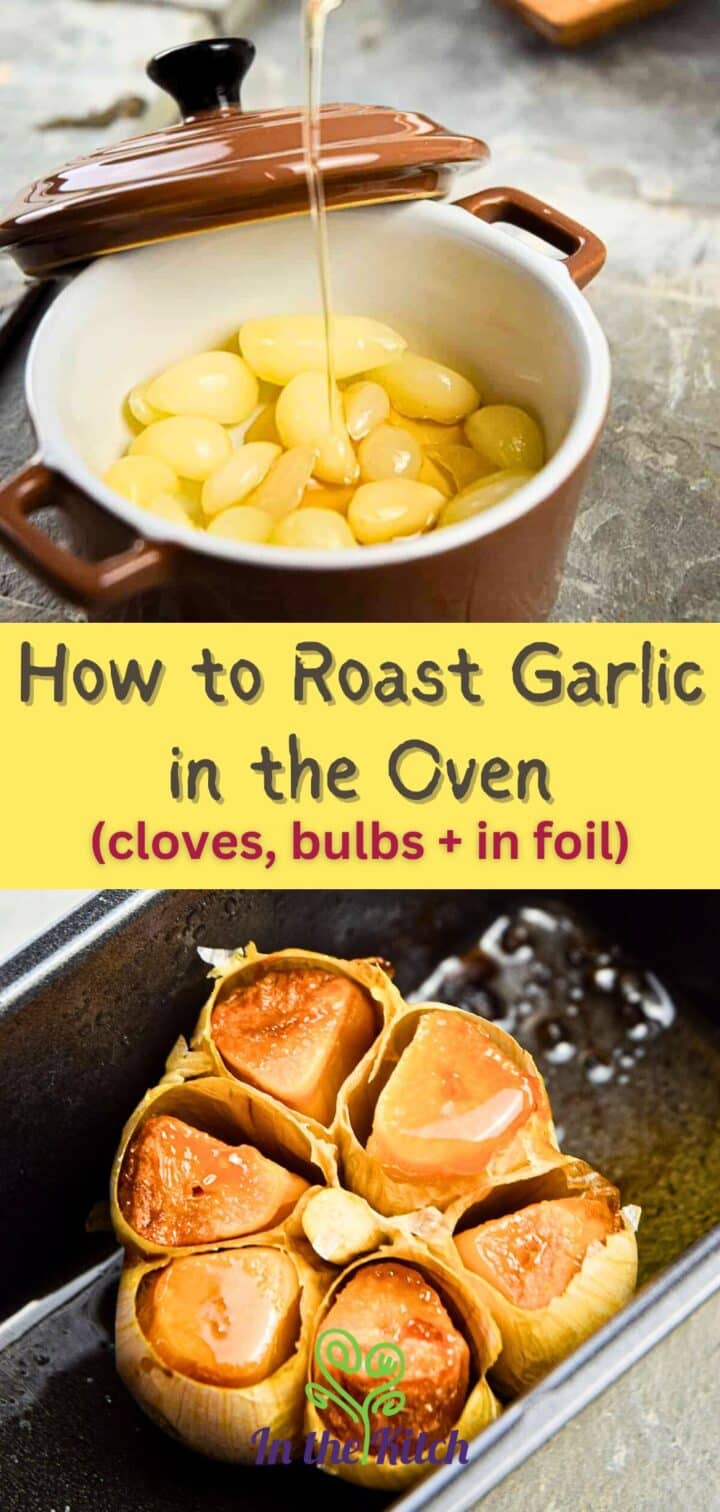
It would be hard to find anyone out there who doesn't love garlic. A cornerstone of dishes from across the world, garlic adds a uniquely pungent taste you can't get enough of. Plus, the smell is amazing. Did you know there's a way to make garlic taste even better? Check out how to roast garlic in the oven three ways.
Whether you'd rather work with peeled cloves or a whole head, with or without foil, these three methods of roasting fresh garlic will give you great results.
We start with raw garlic that has a strong, pungent bite and by the end of this tutorial, you are left with garlic that has roasty, caramelized, sweet, rich flavor.
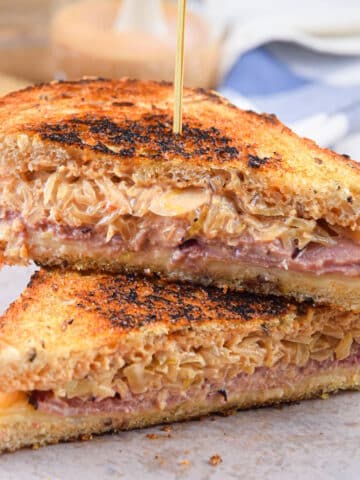
It is amazing to eat roasted garlic as is or it can be added to so many dishes, some of my favorites being this kimchi potato salad and Italian sausage sandwich. But honestly, I am tempted to add it to most of my dishes because I can't get enough of the taste and aroma.
You might also want to check out my tutorials for how to chop garlic and how to slice garlic.
Jump to:
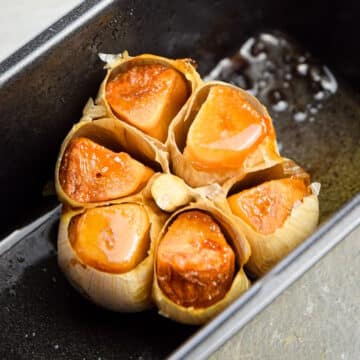
Option 1: How to Roast a Whole Head of Garlic
I find this option to be the easiest because there is no need to peel the individual cloves (you just squish them out later) and the loaf pan keeps it all nicely contained while roasting.
Ingredients

- 1 head of garlic - also called a garlic bulb
- 1 tablespoon olive oil - standard olive oil is recommended over EVOO for cooking in temperatures of higher than 350°F-415°F so I would save the expensive EVOO for drizzling over salads, dunking bread etc.
- salt - optional but recommended
Steps

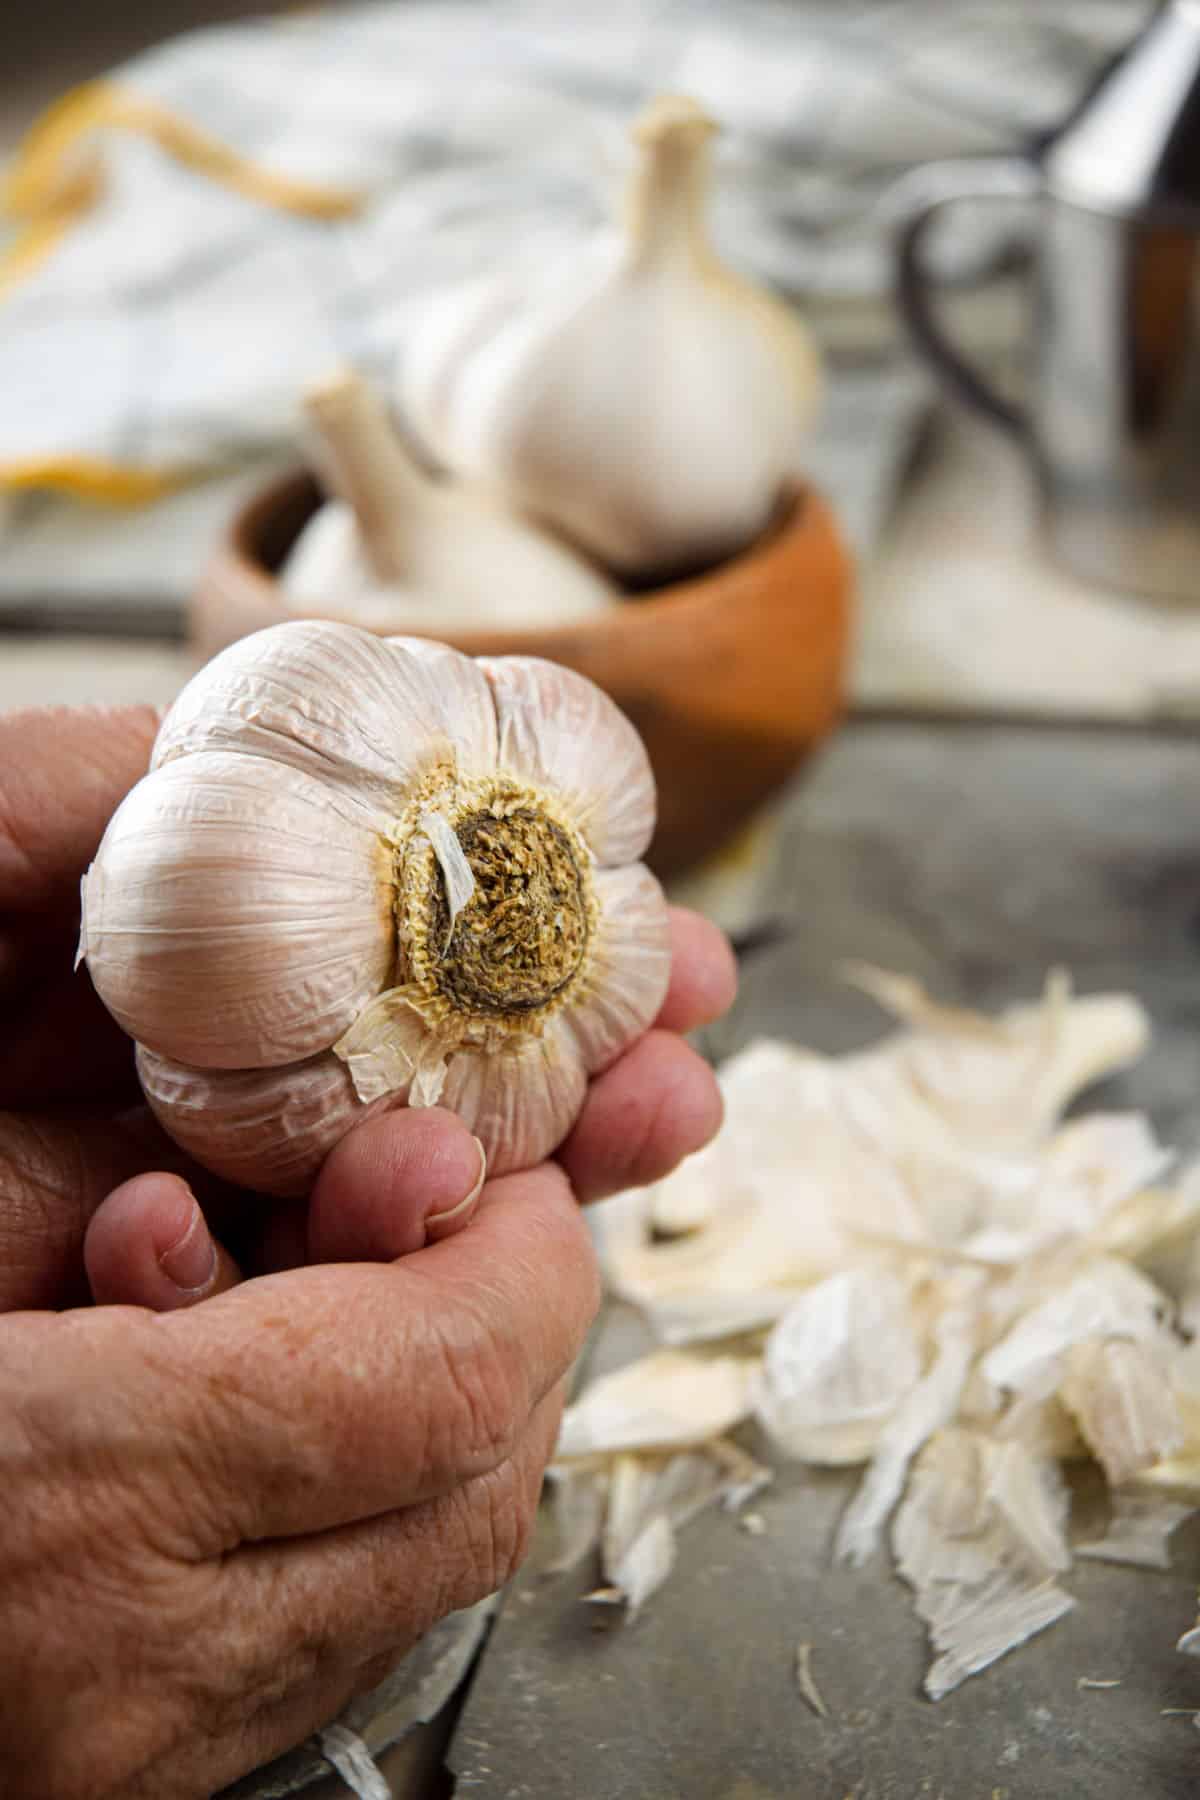
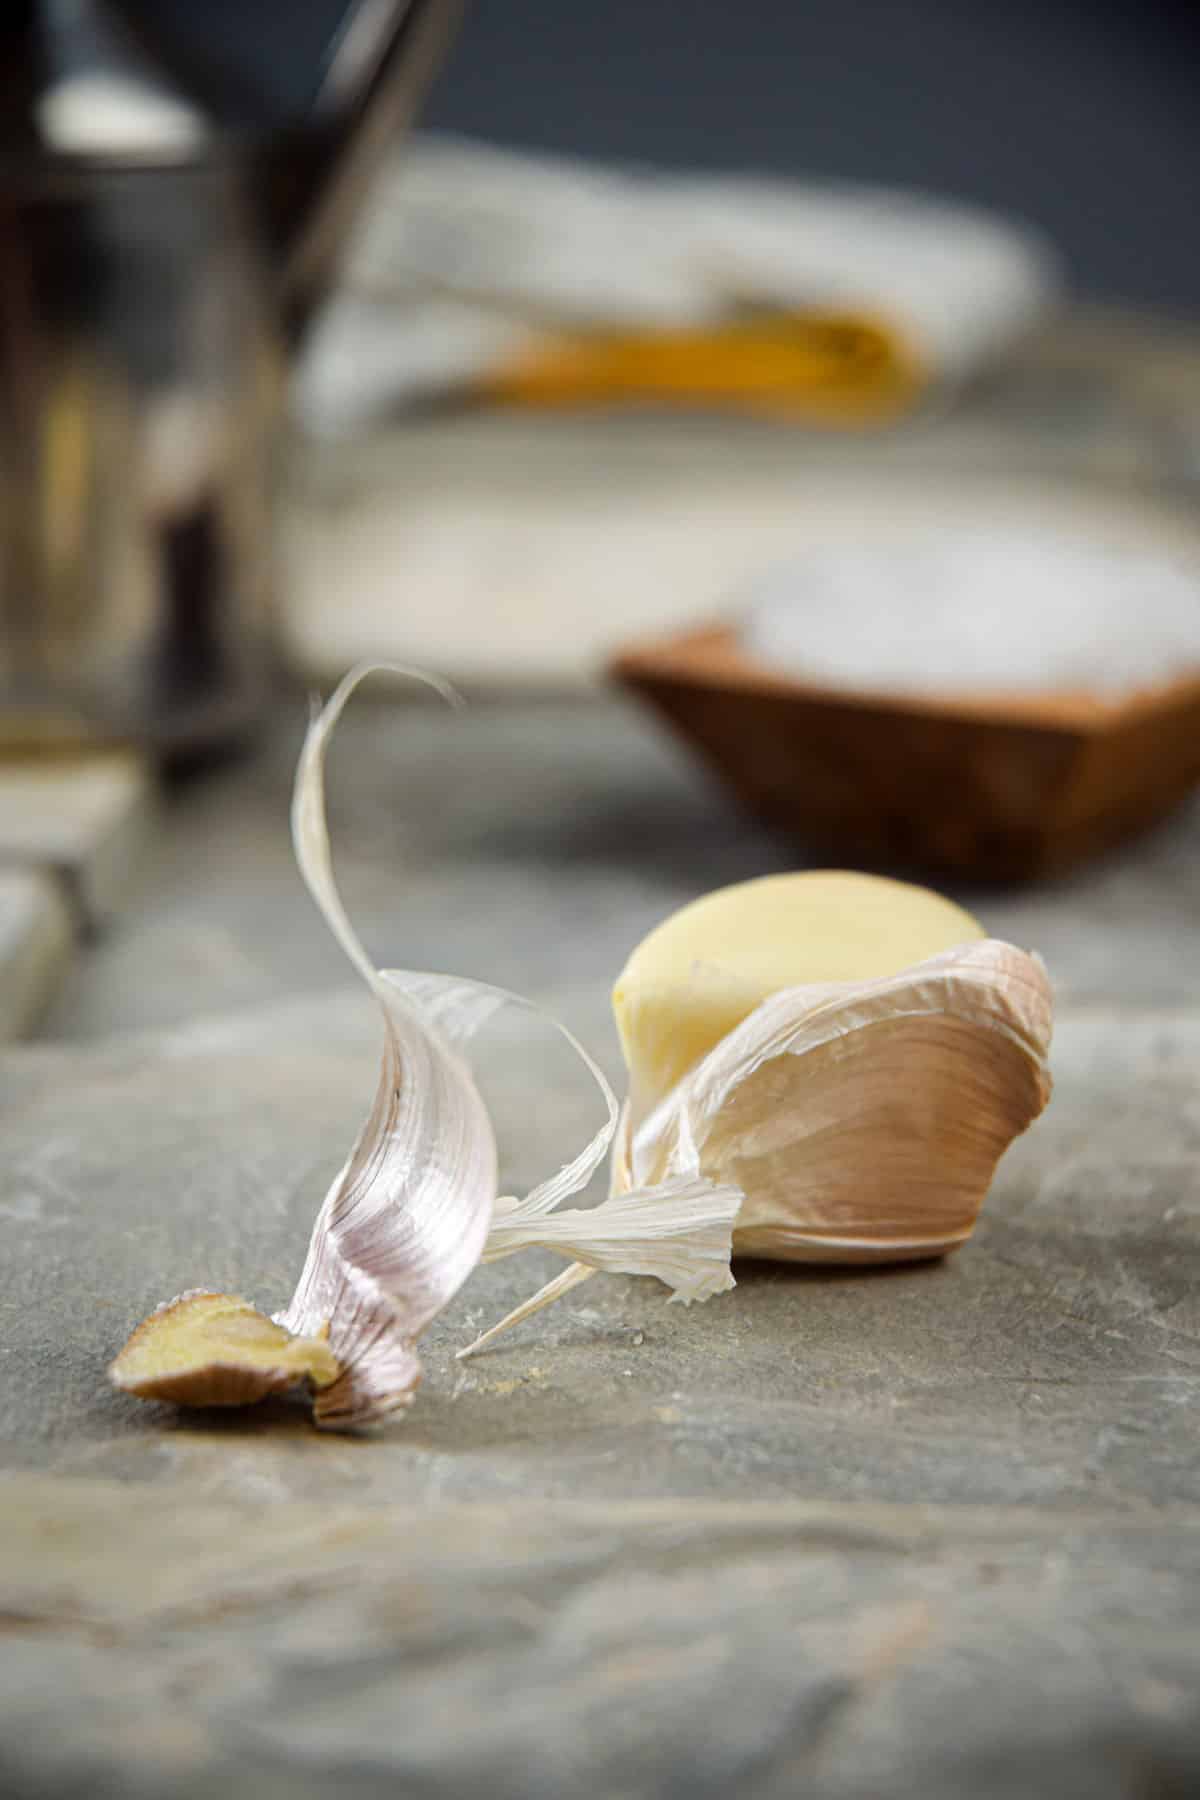
Step 1: Peel the outer layer. Preheat oven to 400°F. Gently peel the outer skin from the garlic head, leaving the cloves intact in their casings.
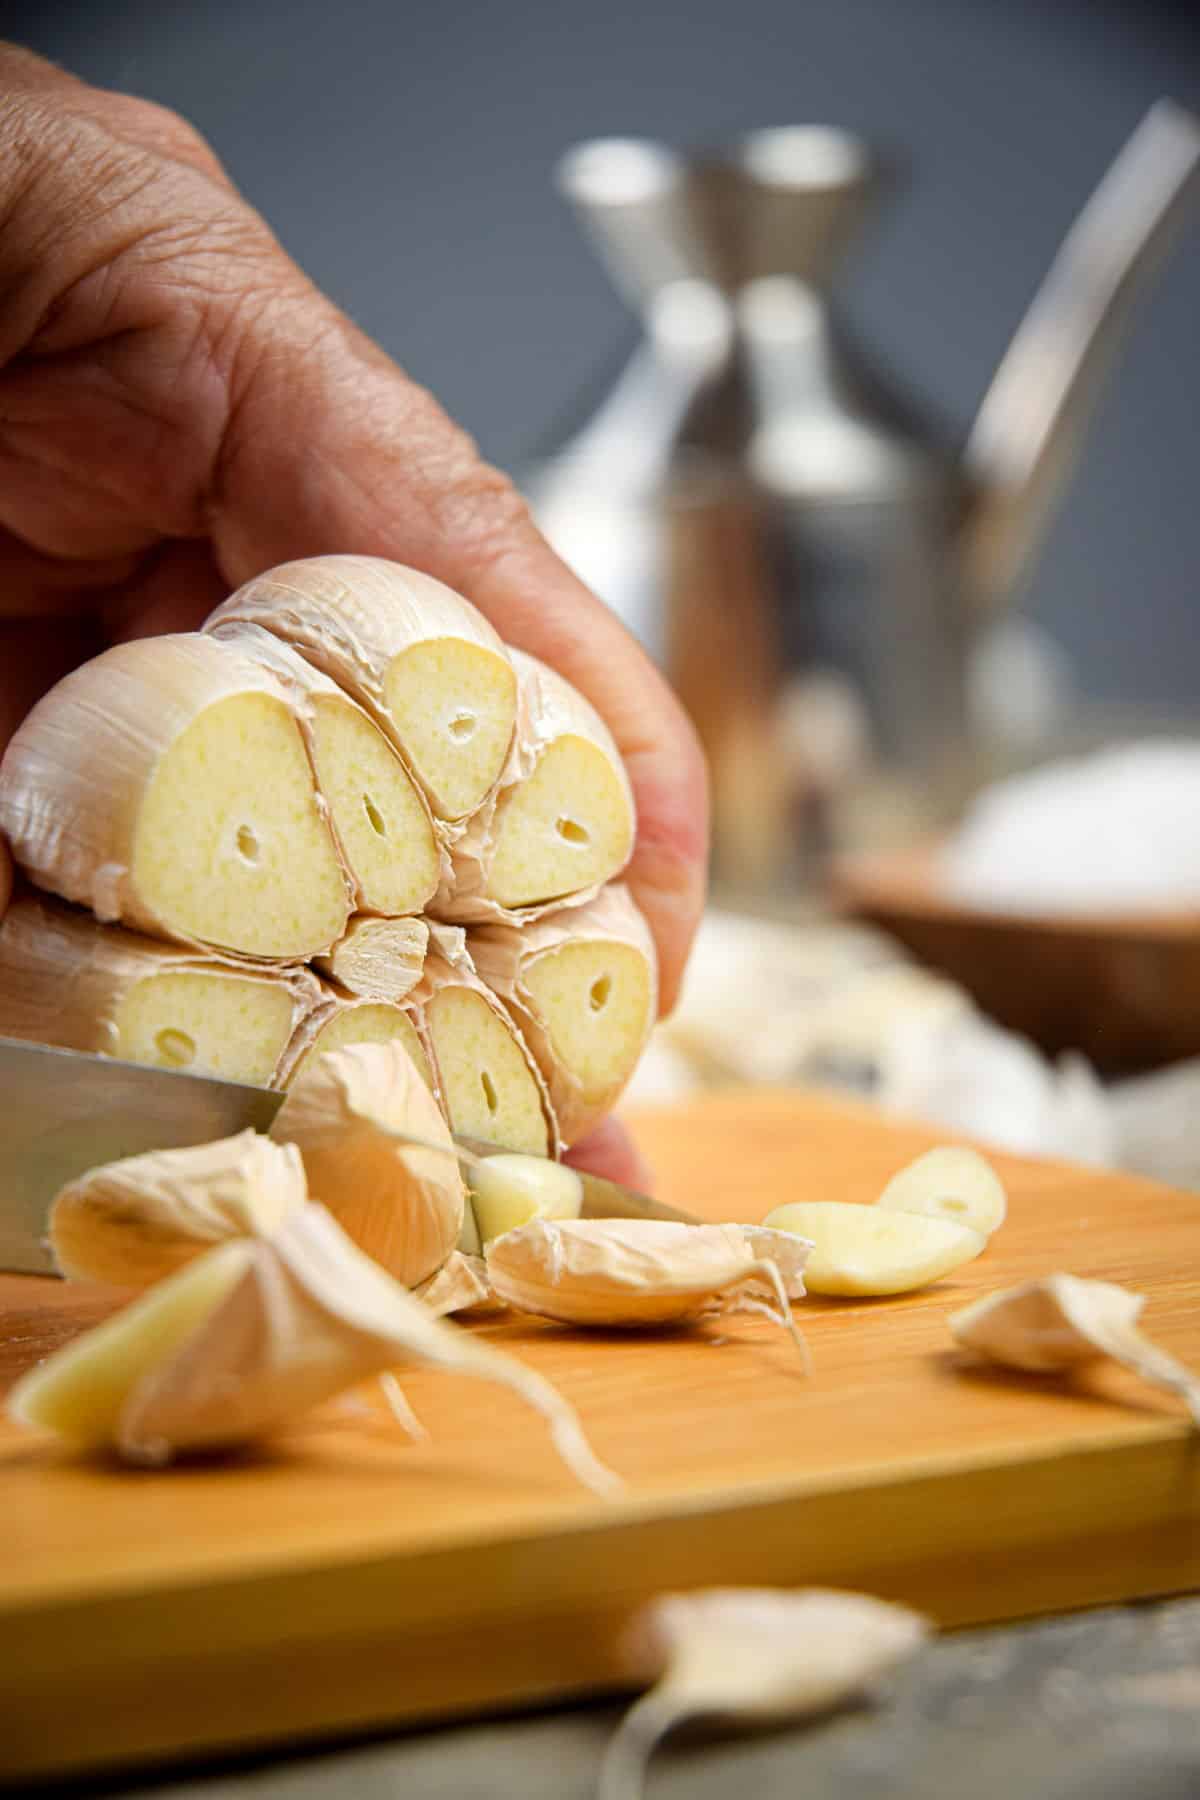
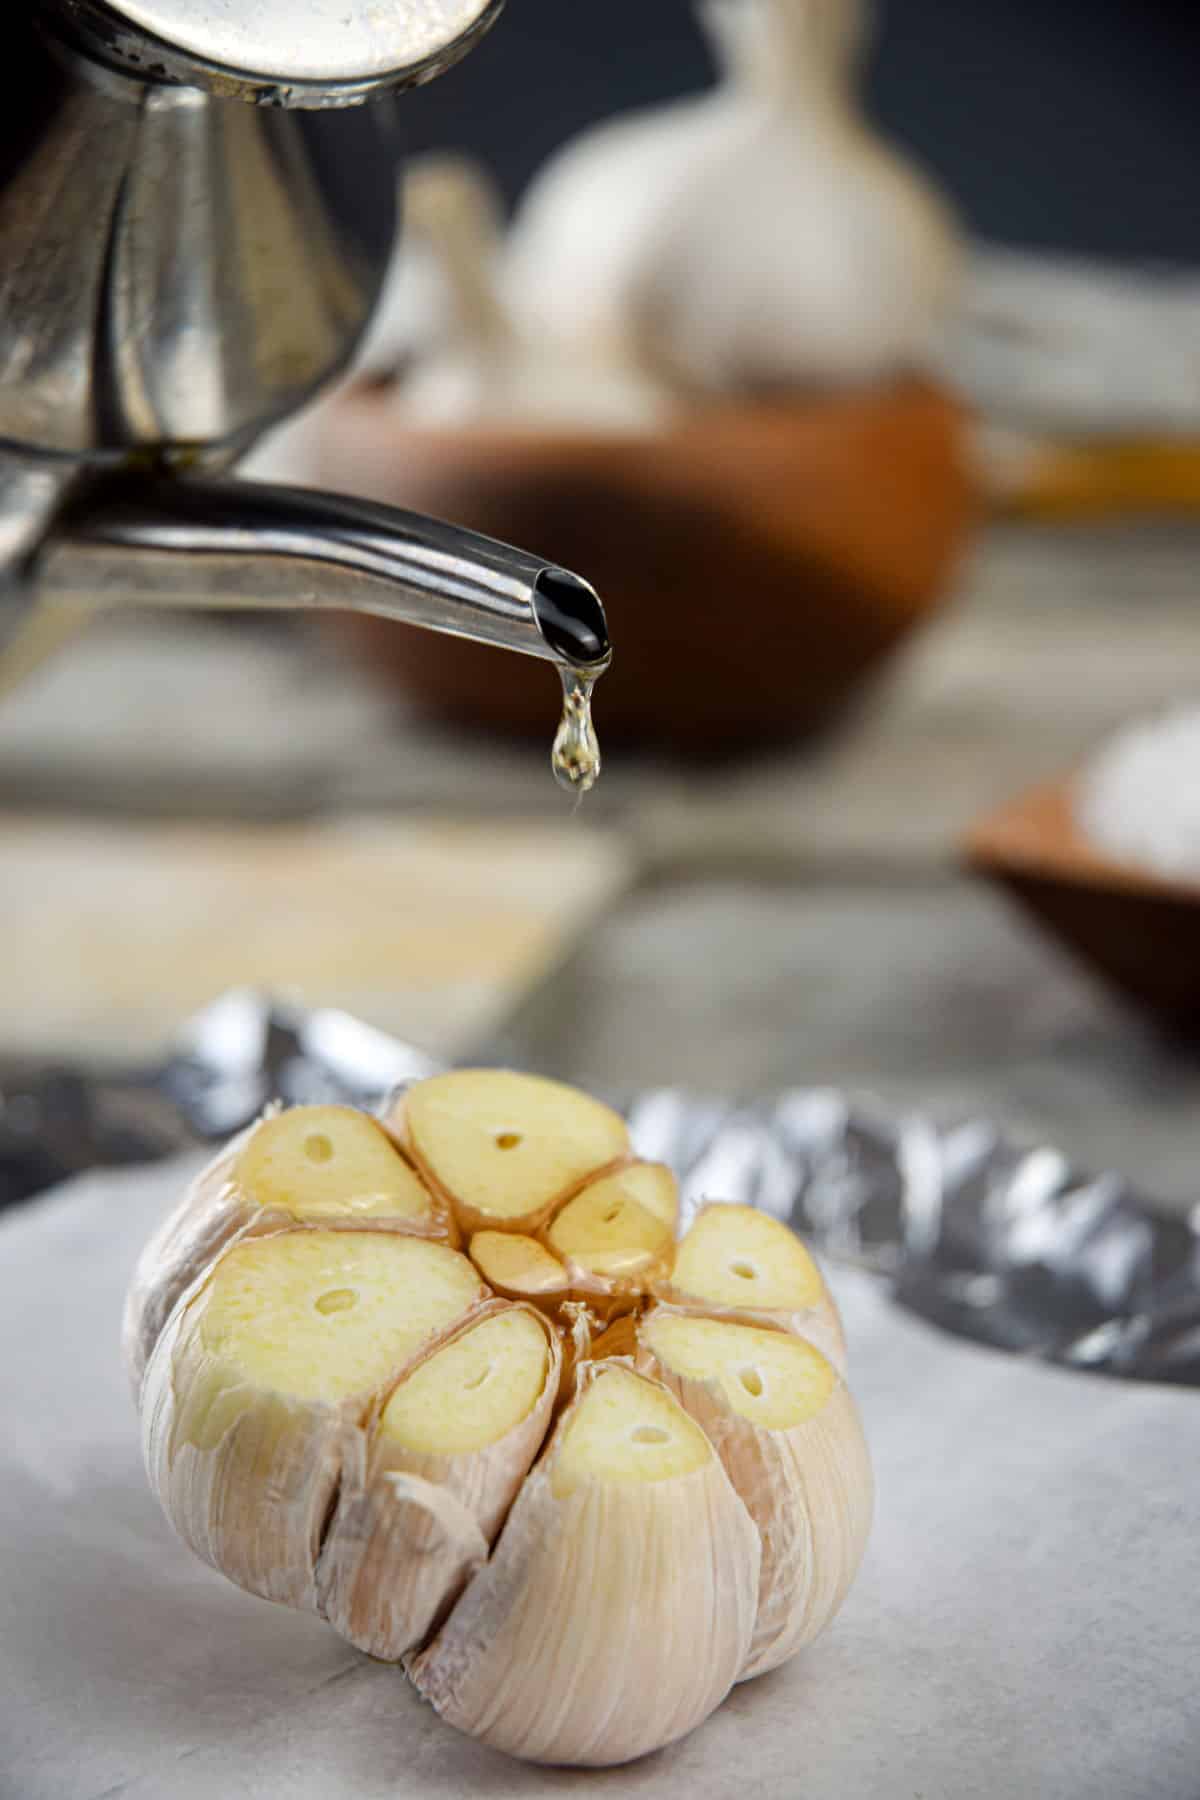
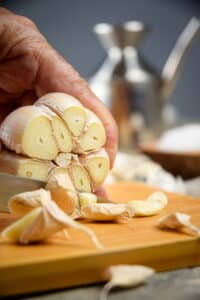
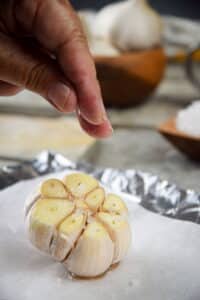
Step 2: Cut the top off. Cut the very top part of the garlic head off. All of the cloves need to be slightly exposed to roast properly.
💭Pro Tip: You don't want to cut it too low or you will lose a lot of the garlic. If you find that some of the end cloves aren't exposed because they are shorter, cut those tips off individually.
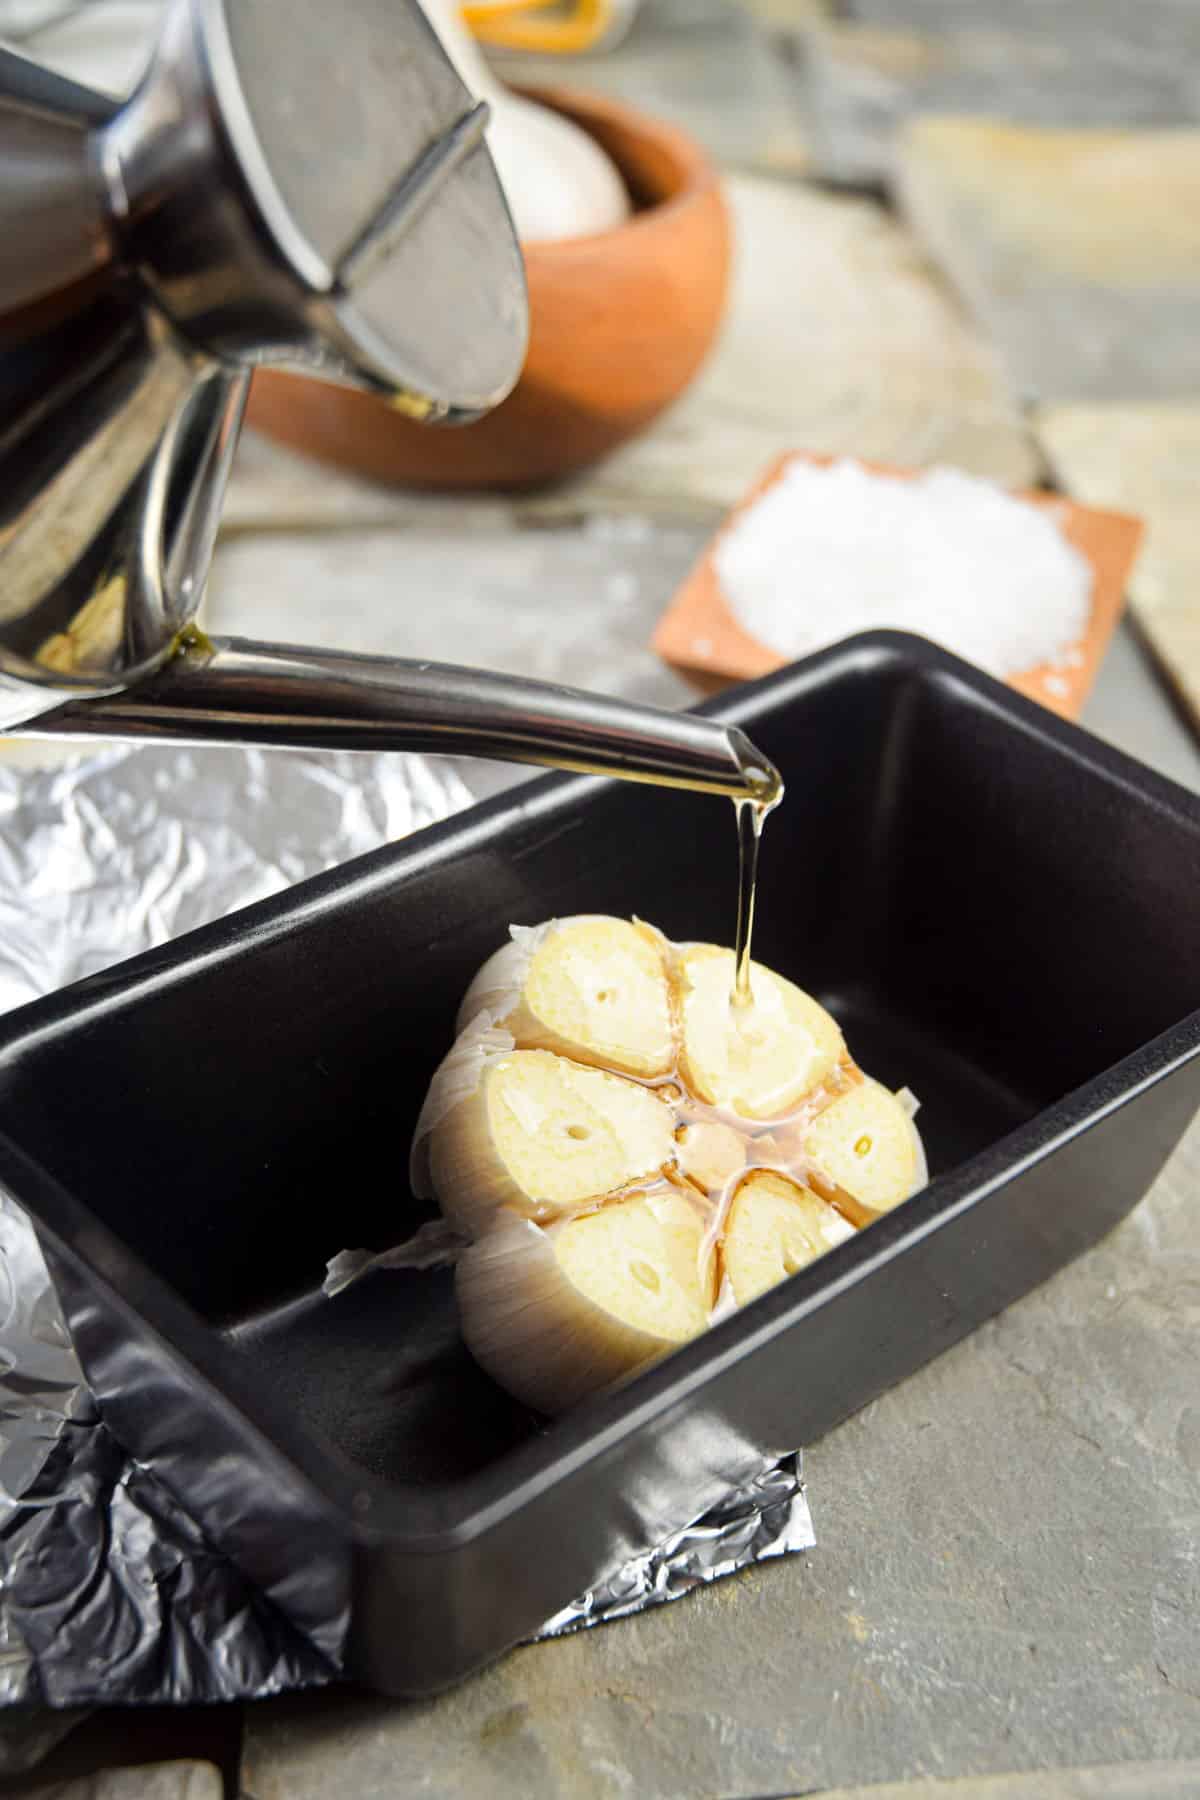
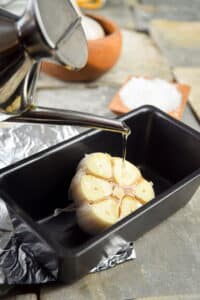
Step 3: Coat with oil and salt. Place your prepared head of garlic into the bread pan and add the olive oil and salt, coating the heads evenly.
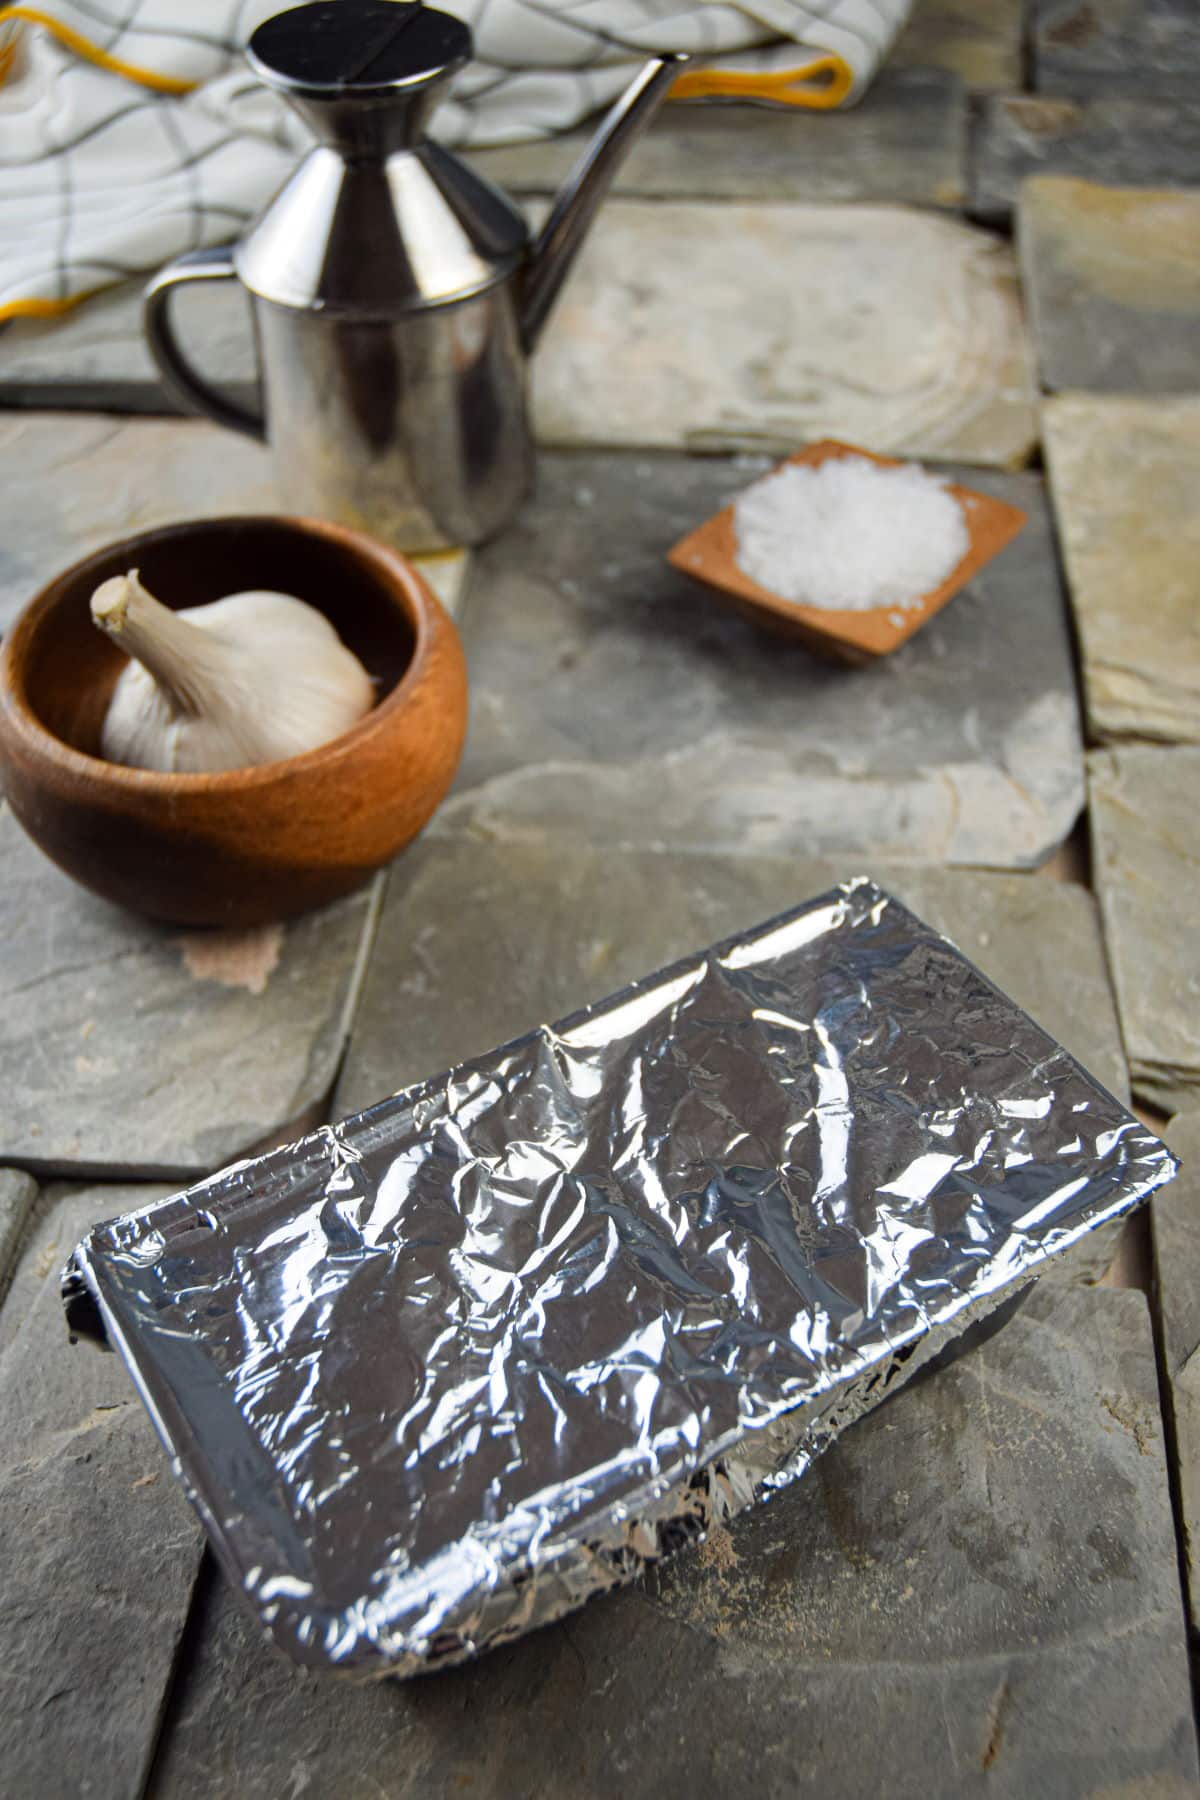
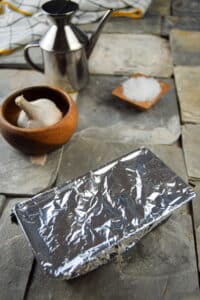
Step 4: Cover with foil. Cover the pan with aluminum foil.
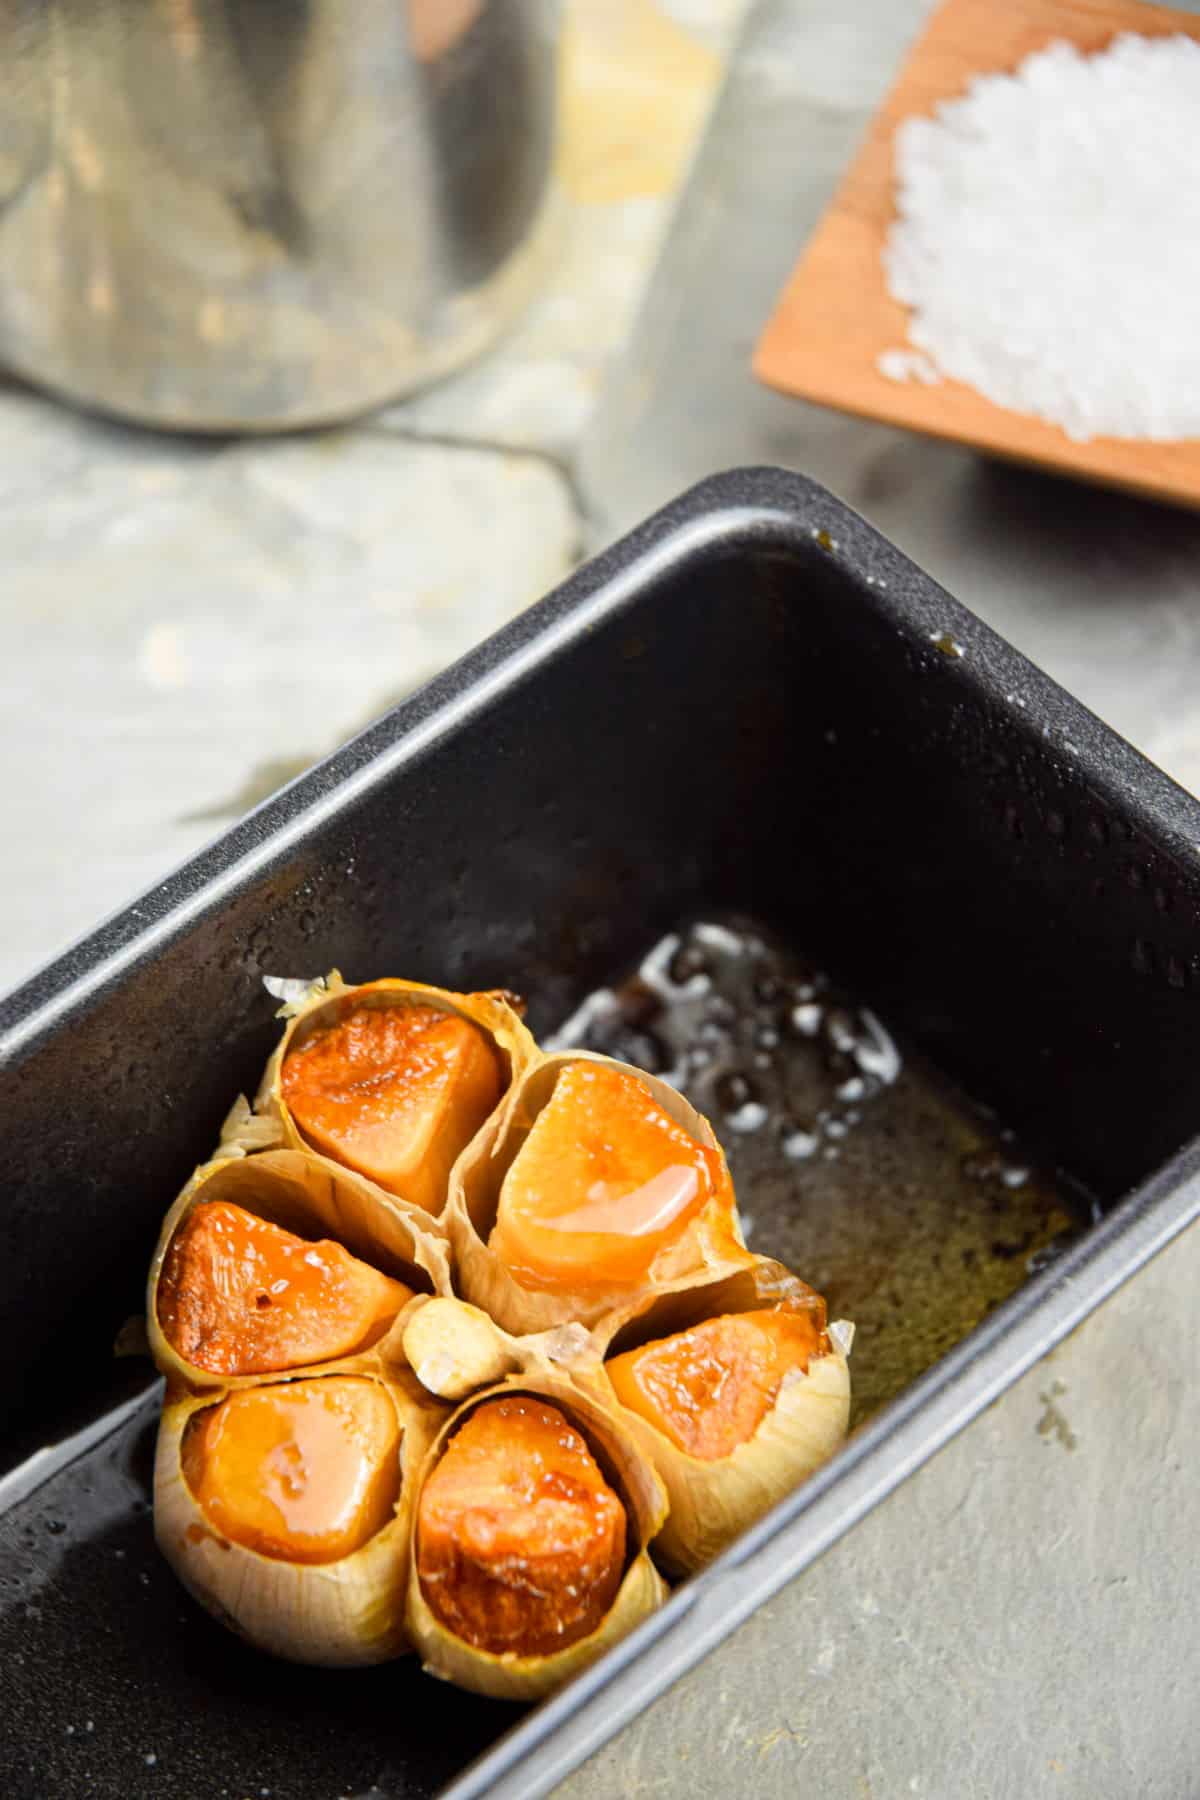
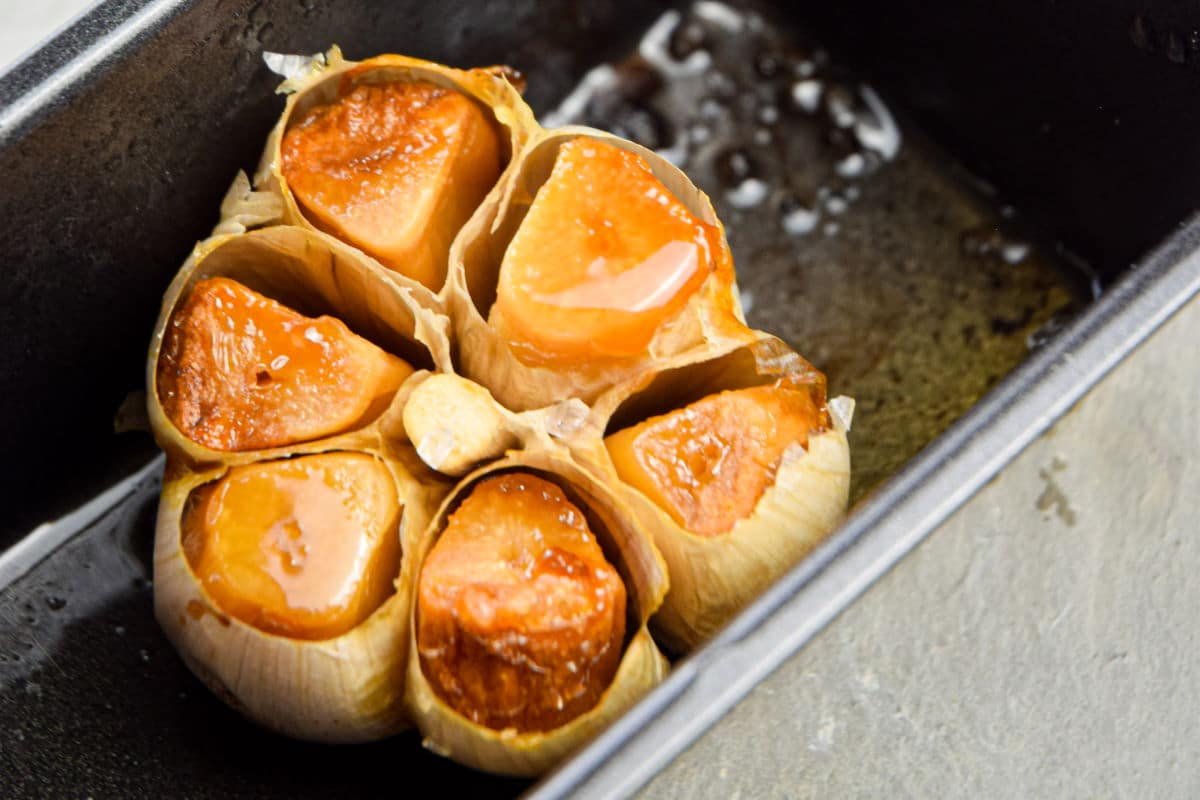
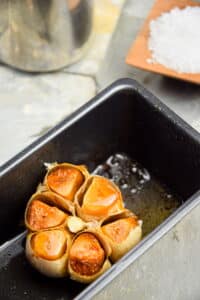
Step 5: Roast in the oven. Roast in the oven for approximately 40-45 minutes, or until the garlic is soft, caramelized and aromatic.
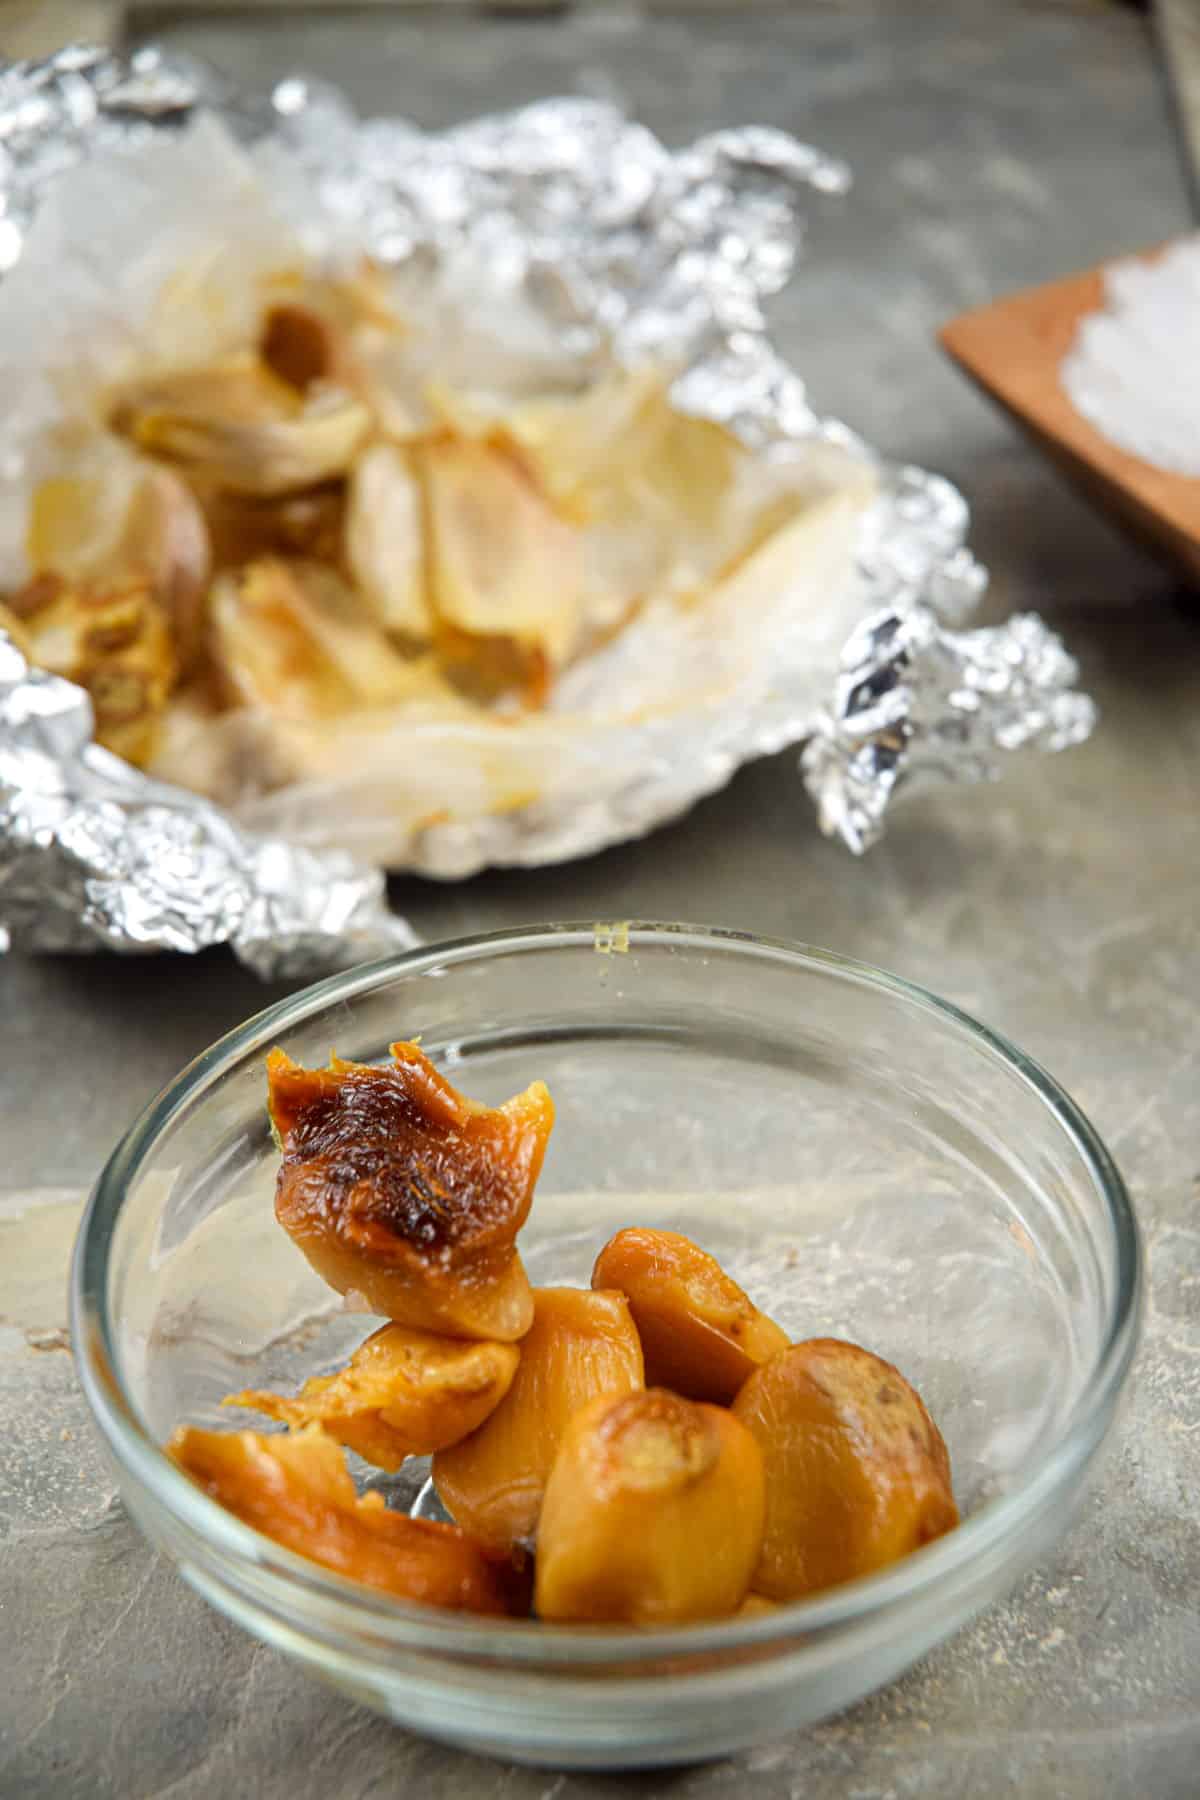
Option 2: How to Roast a Garlic Bulb in a Foil Pouch in the Oven
This option is nice for having less clean up as we aren't using any pans, just a simple, foil pouch.
Ingredients
- 1 head of garlic
- 1 tablespoon olive oil
- salt (optional)
Steps
Step 1: Peel. Preheat oven to 400°F. Gently peel the outer skin from the garlic head, leaving the cloves intact in their casings.
Step 2: Cut the top off. Cut the very top part of the garlic head off. All of the cloves need to be slightly exposed to roast properly.
Step 3: Place garlic in foil. Cut out 1 piece of parchment paper and 1 piece of foil into a square. Place the parchment square on top of the foil square and add the garlic head to the center.

Step 4: Add oil and salt. Drizzle with the olive oil and sprinkle with some salt.
👩🏻🍳Chef's Note: The foil square should be a bit larger than the parchment square, but both should be big enough to wrap around the garlic head completely.
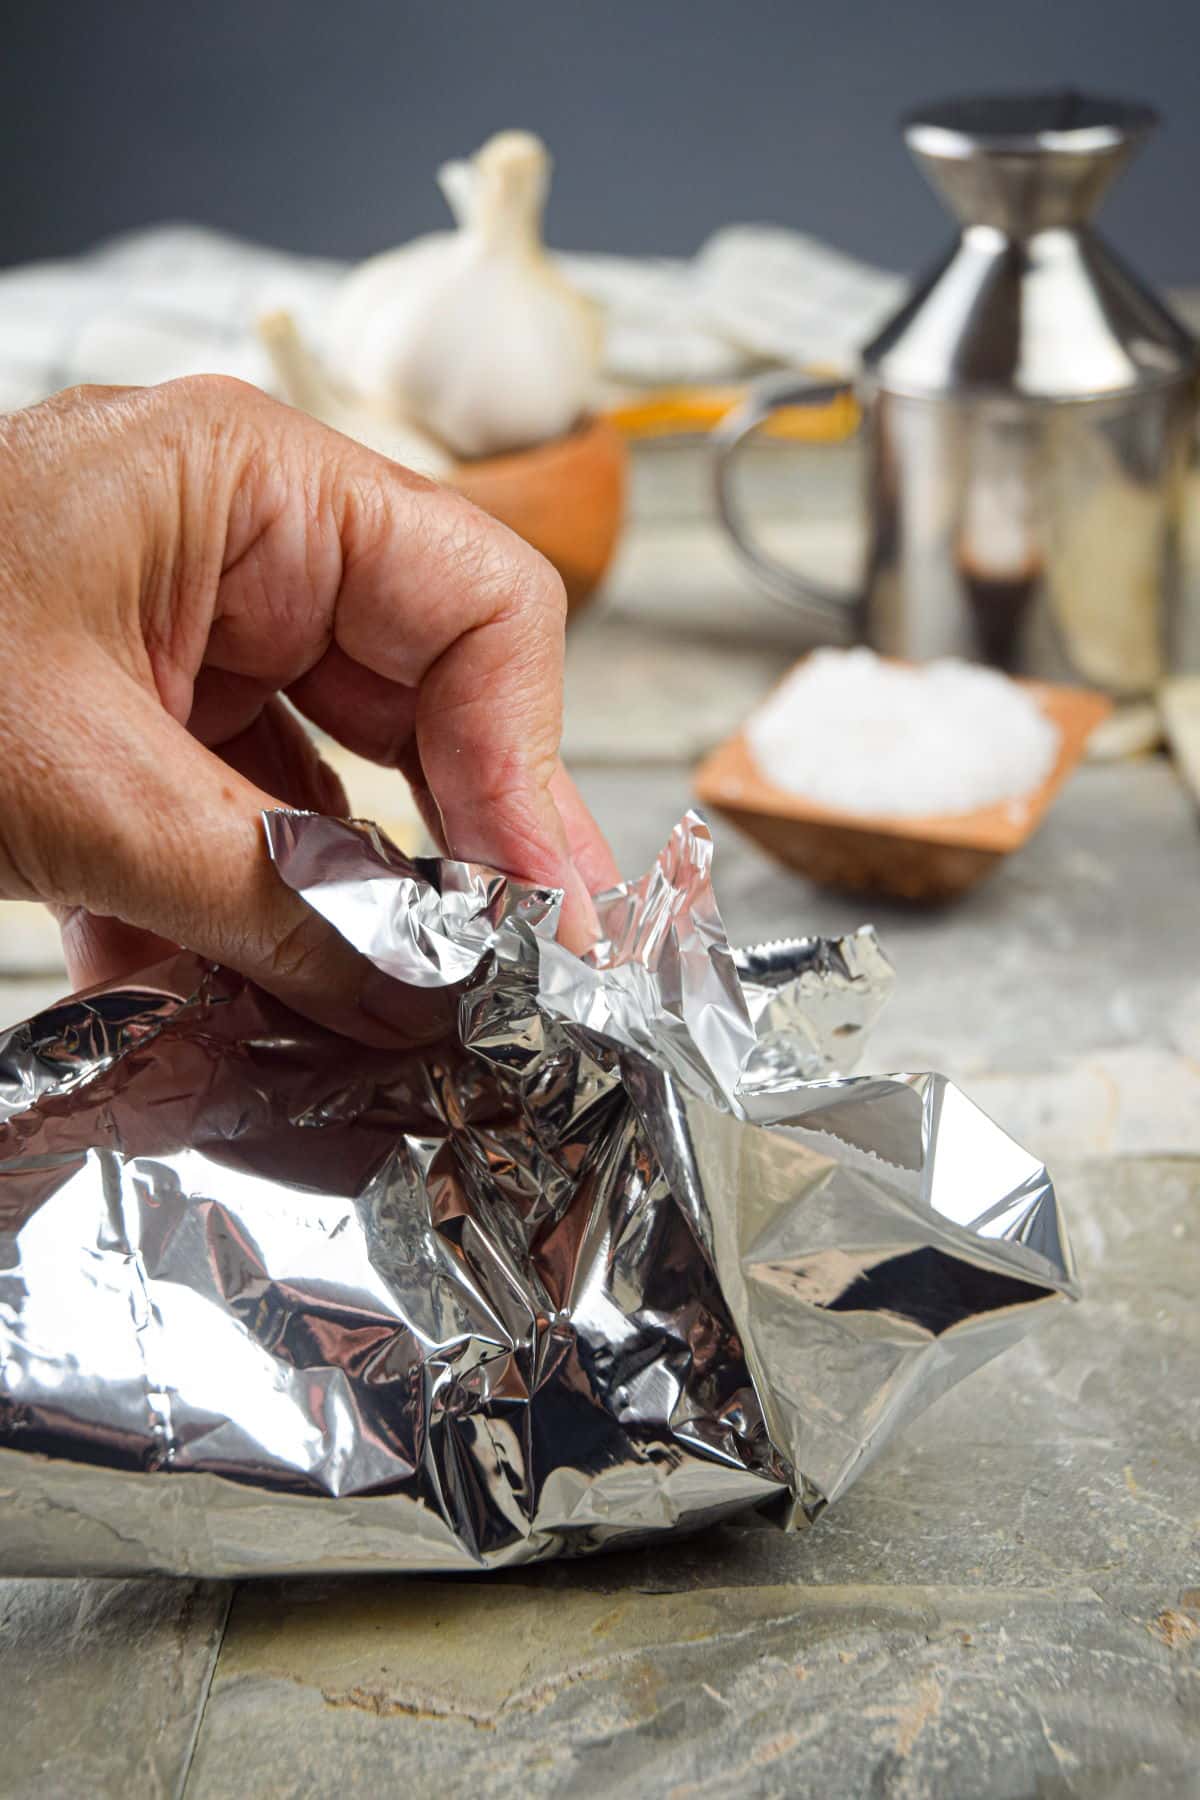
Step 5: Close the pouch. Close the parchment/foil squares around the garlic head, crumpling the foil at the top to create a pouch.

Step 6: Roast. Transfer the pouch directly to the middle oven rack. Roast in the hot oven for approximately 40-45 minutes, until the cloves are tender.
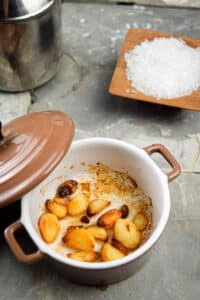
Option 3: How to Roast Peeled Garlic Cloves
If you do the work of peeling ahead of time, the roasted cloves are immediately available to use after roasting and if you don't want to roast a whole bulb, you don't have to.
Ingredients
- 1 head of garlic, cloves separated and peeled
- 1 tablespoon olive oil
- salt (optional)
Steps
To get started, preheat the oven to 375°F.
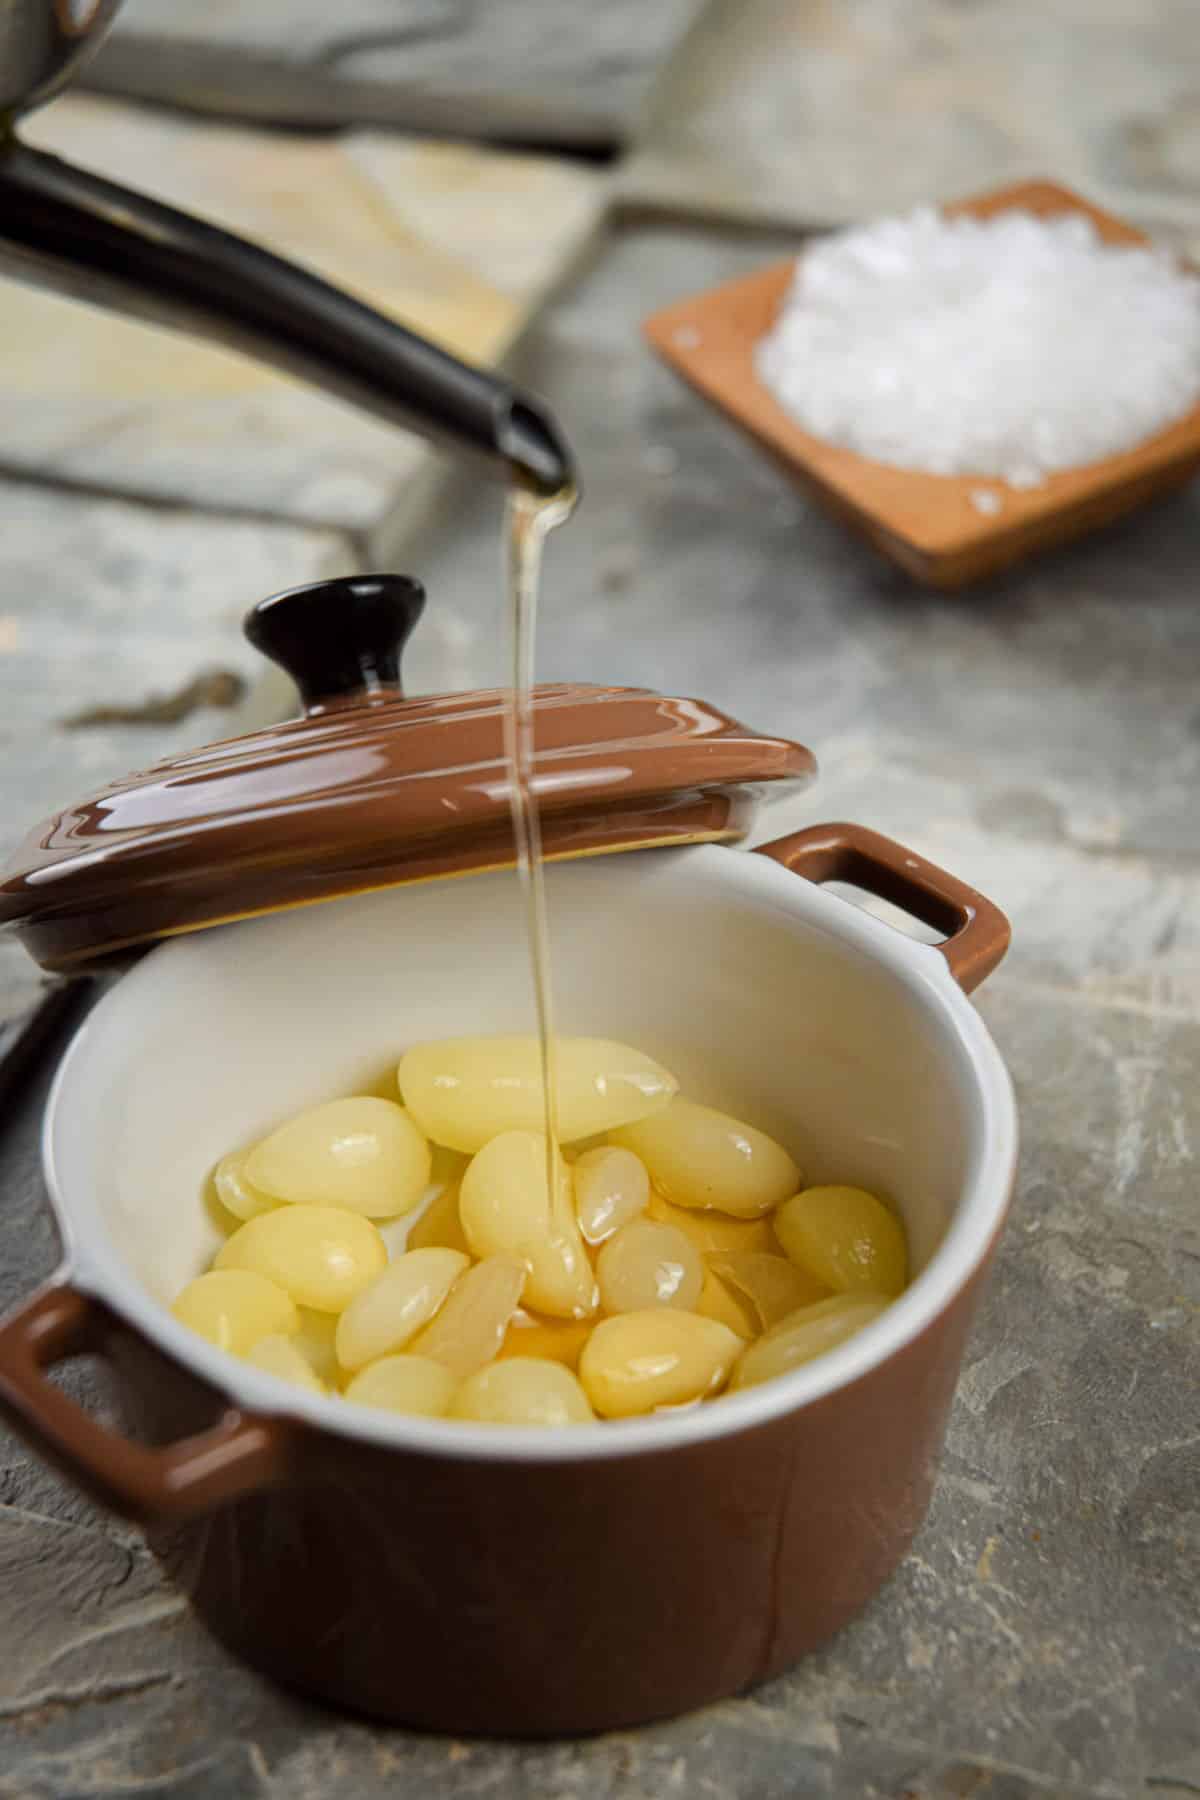
Step 1: Coat garlic cloves. In a small, oven-safe, ceramic bowl with a lid, spread out the peeled garlic cloves in a single layer. Add the olive oil and some salt. Cover the ceramic bowl with its lid.

Step 2: Roast the cloves. Transfer the covered bowl to the oven. Roast the garlic cloves for 45-50 minutes, until the cloves are tender and golden.
How to Remove the Roasted Garlic Cloves
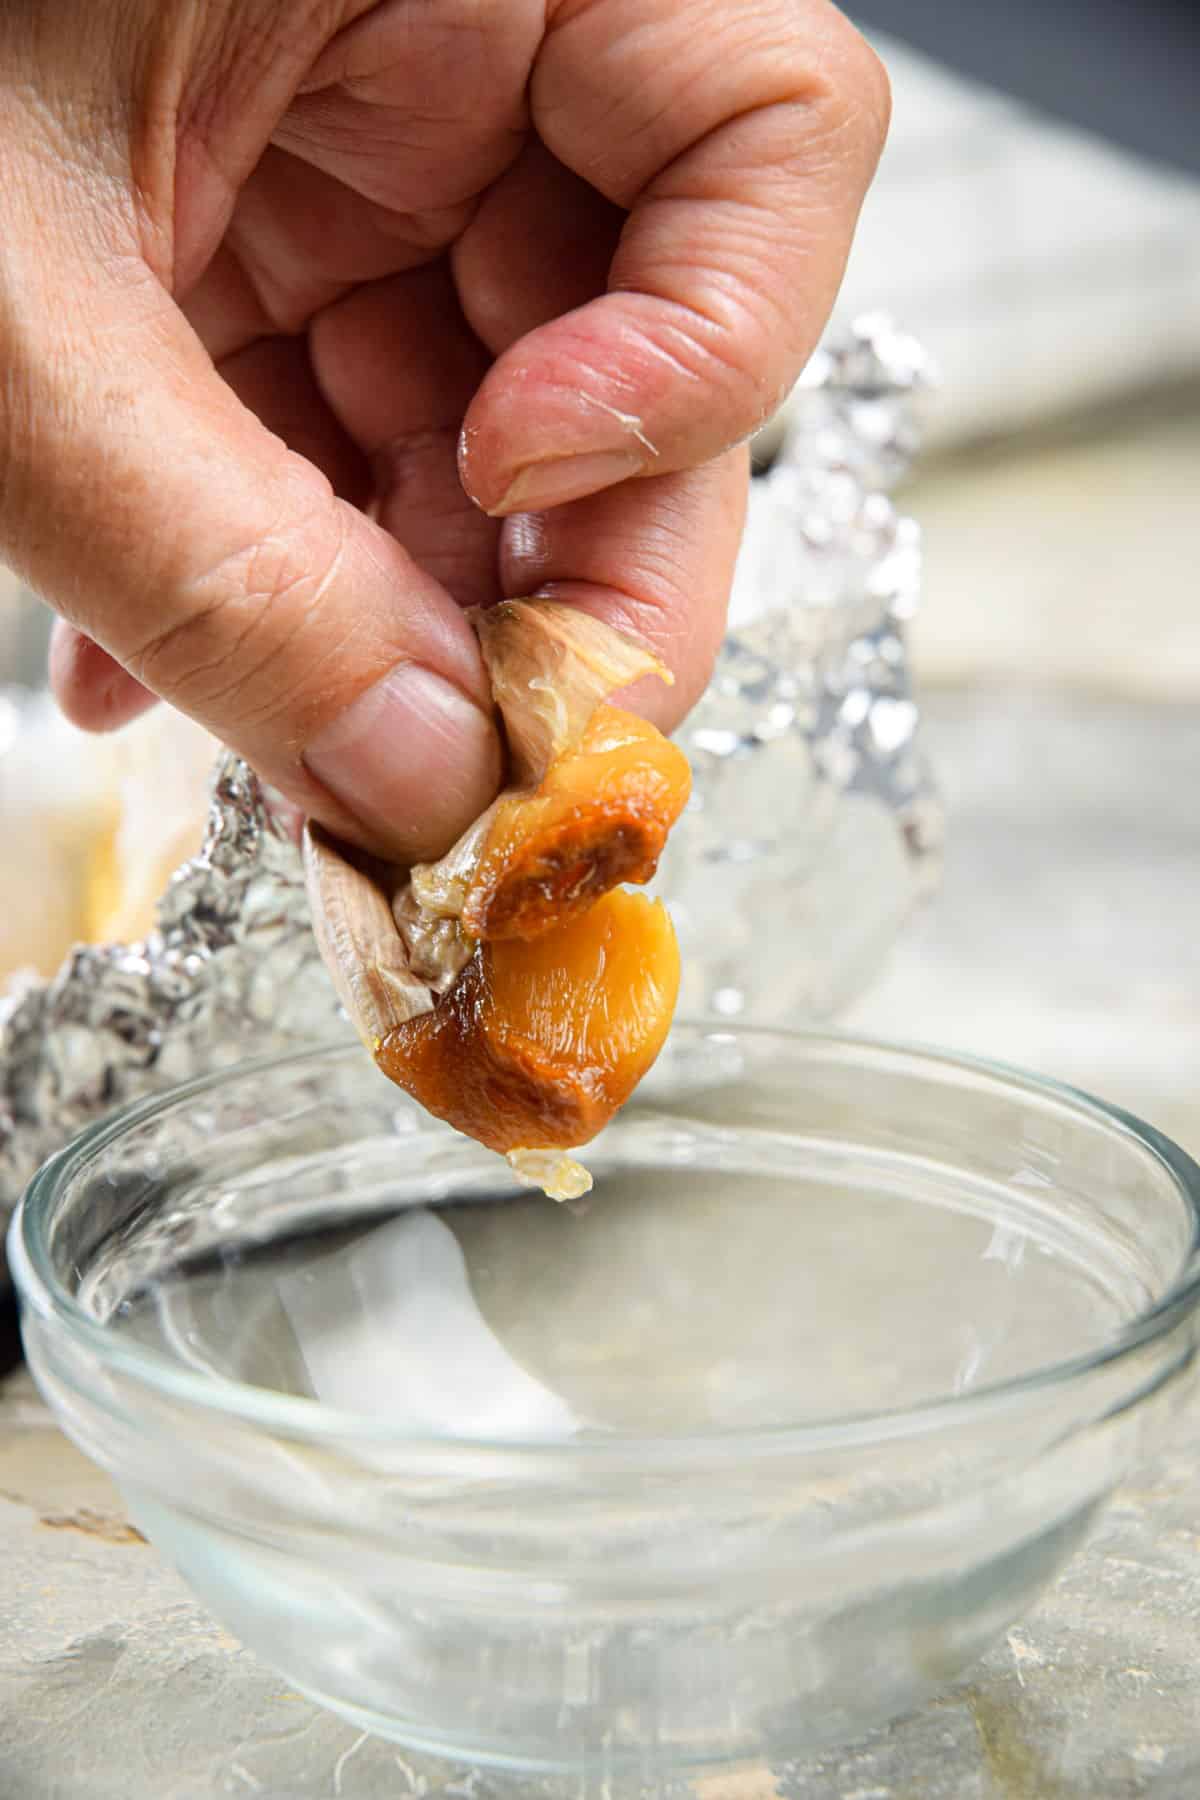
For options 1 and 2: Remove the roasted cloves one by one by gently squeezing the clove out of each casing. It should come fairly easy now that the cloves have been softened in the roasting process.
Storage
- Fridge: Put the roasted garlic in an airtight container, jar or zip-top bag and store in the refrigerator for up to 3 days.
- Freezer: Or you can also freeze it for up to 3 months. One way is to mash it and fill an ice cube tray so that it is pre-portioned.
- Thaw: Thaw the garlic in the fridge overnight.
👩🏻🍳Chef's Note: For options 1 and 2, you can keep the cloves in the casings when refrigerating.
What to Do With Roasted Garlic
Now the only thing that remains is what to do with your new bounty of flavorful roast garlic.
- I can seriously eat a whole bulb of roasted garlic on it's own. But there are of course other ways to use it!
- If you're wondering how to eat roasted garlic, the secret is that you can swap it into just about any dish that calls for garlic to add an extra helping of deliciousness.
- The roasted, caramelized flavor the garlic will add goes great with tons of dishes from salads to sandwiches to stews and beyond. Try this smoked salmon pasta salad or kimchi beef stew.
- More specifically, individual garlic cloves are great for smashing and mixing into things like basil hummus, mashed potatoes, homemade aioli or sauces and can even be spread onto bread or toast like butter.
- For a large bulb, you can toss it into a pot to make stock (try this bison stock) for some seriously delicious soup. Or, serve it on a charcuterie board and let diners spread it onto their crackers and crusty bread.
Recipe FAQs
Roasted garlic does have a more mild flavor than raw garlic, but I still find the scent can linger in my mouth afterwards--albeit not as strong.
You will cut the top side of the garlic bulb, not the root end.
You do not need to wash the garlic bulb but do brush off any dirt you find or use a moist paper towel. You will be removing the outer papery layer anyway and this helps eliminate any dirt.
❤️More Cooking Tutorials To Consider


If you tried this recipe tutorial for 🧄 How to Roast Garlic in the Oven (Cloves, Bulbs + in Foil) or any other recipe on my website, please leave a 🌟 star rating and let me know how it went in the 📝 comments below. And please share the recipe!
📋Recipe
How to Roast Garlic in the Oven: 3 Ways
Ingredients
Option 1: How to Roast a Whole Head of Garlic
- 1 head garlic
- 1 tablespoon olive oil
- salt - optional
Option 2: How to Roast Garlic in a Foil Pouch in the Oven
- 1 head garlic
- 1 tablespoon olive oil
- salt - optional
Option 3: How to Roast Individual Garlic Cloves
- 1 head garlic - cloves separated and peeled
- 1 tablespoon olive oil
- salt - optional
Instructions
Option 1: How to Roast a Whole Head of Garlic
- Preheat oven to 400°F. Gently peel the outer skin from the garlic head, leaving the cloves intact in their casings.

- Cut the very top part of the garlic head off. All of the cloves need to be slightly exposed to roast properly.
- Place your prepared head of garlic into the bread pan and add the olive oil and salt, coating the heads evenly.
- Cover the pan with aluminum foil.
- Roast in the oven for approximately 40-45 minutes, or until the garlic is soft, caramelized and aromatic.

Option 2: How to Roast Garlic in a Foil Pouch in the Oven
- Preheat oven to 400°F. Gently peel the outer skin from the garlic head, leaving the cloves intact in their casings.
- Cut the very top part of the garlic head off. All of the cloves need to be slightly exposed to roast properly.
- Cut out 1 piece of parchment paper and 1 piece of foil into a square. (The foil square should be a bit larger than the parchment square, but both should be big enough to wrap around the garlic head completely.) Place the parchment square on top of the foil square and add the garlic head to the center. Drizzle with olive oil and salt.
- Close the parchment/foil squares around the garlic head, crumpling the foil at the top to create a pouch.
- Transfer the pouch to the middle oven rack. Roast in the hot oven for approximately 40-45 minutes, until the cloves are tender.


Option 3: How to Roast Individual Garlic Cloves
- Preheat the oven to 375°F. In a small, oven-safe, ceramic bowl with a lid, spread out the peeled garlic cloves in a single layer. Add the olive oil and some salt. Cover the ceramic bowl with its lid.
- Transfer the covered bowl to the oven. Roast garlic for 45-50 minutes, until the cloves are tender and golden.

Removing the Roasted Garlic Cloves
- To remove the roasted cloves one by one: gently squeeze the clove out of each casing.

Notes
- Nutrition: The nutrition information is for 1 head garlic plus 1 tablespoon olive oil.
- Cleaning: You do not need to wash the garlic bulb but do brush off any dirt you find or use a moist paper towel. You will be removing the outer papery layer anyway and this helps eliminate any dirt.
- To store: Put the roasted garlic in an airtight container, jar or zip-top bag and store in the refrigerator for up to 3 days, or you can also freeze it. For options 1 and 2, you can keep the cloves in the casings when refrigerating.
Nutrition
Nutrition information on In the Kitch is provided as a courtesy and is an estimate only. It may not include toppings and/or sauces.


T71 L9194 says
I have done both, whole head of garlic and peeled garlic. I like both methods, but it just depends on if I am in the mood to take the time to peel the garlic. This is a great breakdown on each recipe.
Joss Dyckson says
Thanks for the comment. I really appreciate it and I'm glad you enjoyed the recipe. 🙂