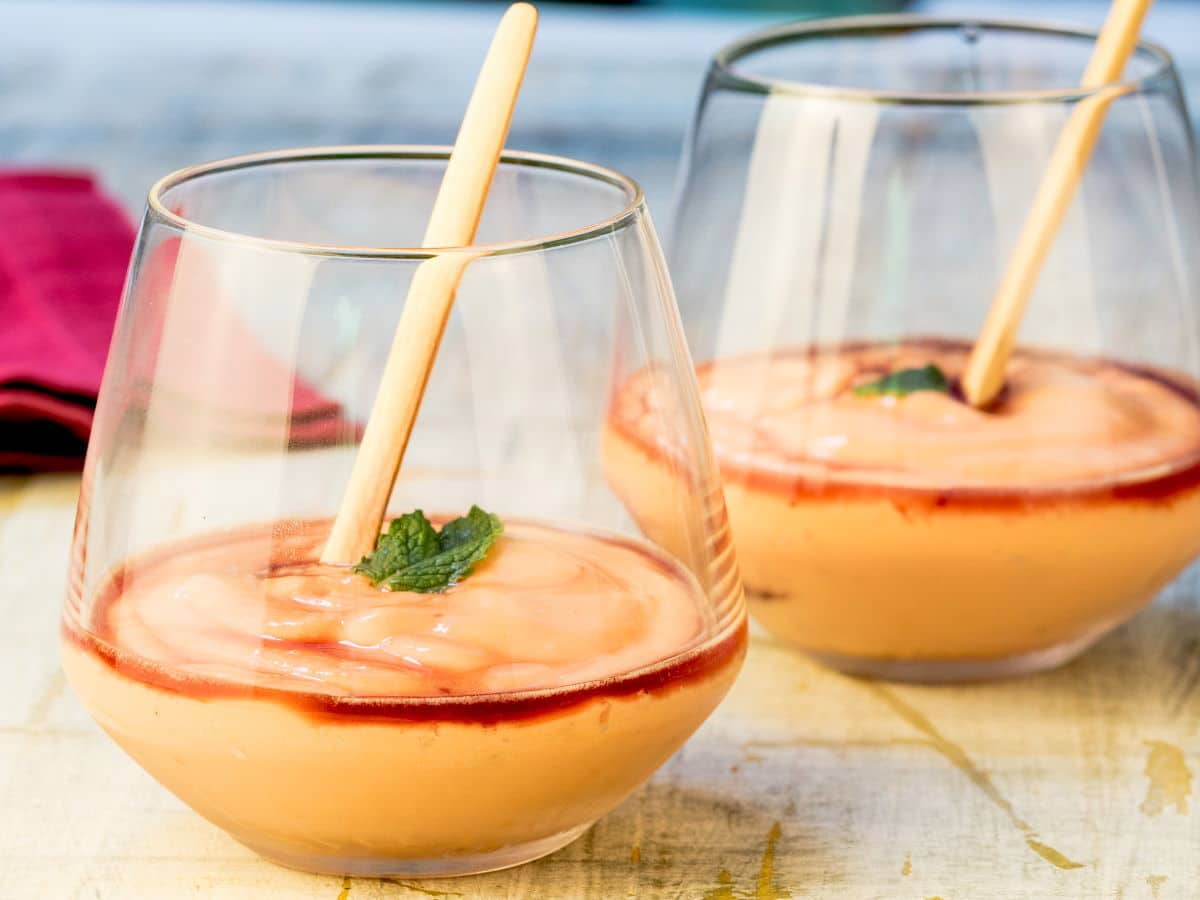
If you are looking for a delicious, homemade pumpkin spice coffee creamer that is simple to make, then you will fall in love with this flavorful autumn recipe. Three simple ingredients combine to create a rich, spicy taste that will delight your senses.

It's creamy and comforting and made with a blend of pumpkin pie spices. Sweet and slightly spicy, this creamer turns any cup of coffee into a cozy, autumn treat without all of the added and weird ingredients that you get in a store-bought creamer.
This homemade creamer is very simple to make and full of delicious, homemade pumpkin pie flavor without the pulpy texture. It has the flavor of a pumpkin spice coffee flavoring syrup but with the addition of cream.
You can check out more of my cozy, seasonal fall recipes here.
[feast_advanced_jump_to]🍶 What is Pumpkin Coffee Creamer?
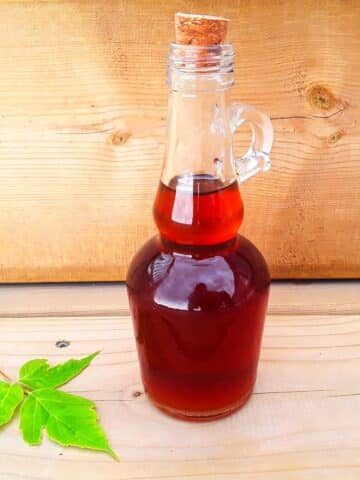
Pumpkin creamer is just what it sounds like: a milky base with a touch of sweetness and classic pumpkin pie spices. It's made to add directly to coffee, giving it fall flavor in a pinch.
📝 Ingredients
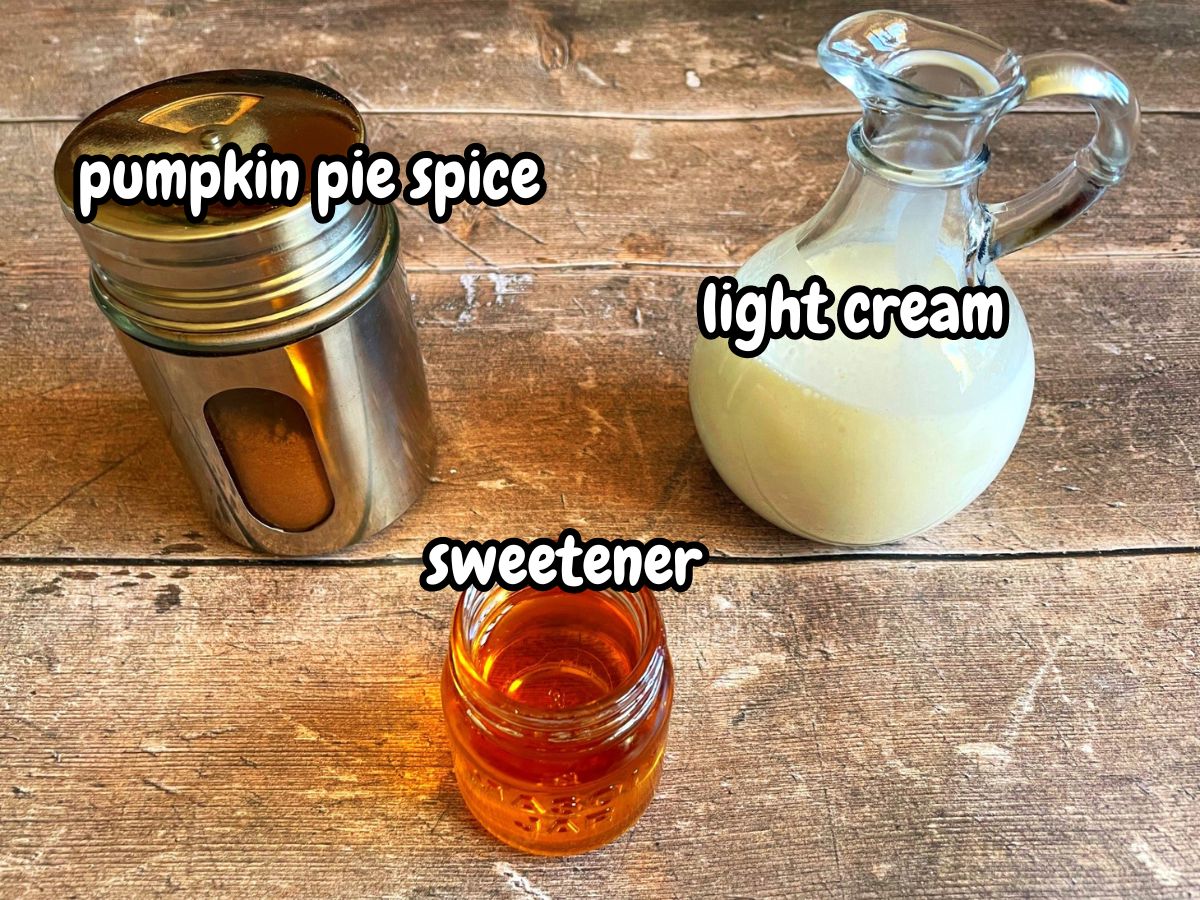
Here is everything you need to make this pumpkin spice creamer recipe: It yields 2 cups of coffee creamer.
- light cream - 18% smooth, light cream is the key to the creamy texture. You can use half and half (10%) if you prefer that in your coffee. Make it vegan by using coconut cream.
- sweetener - Brown sugar or agave nectar adds the perfect touch of sweetness for your morning java.
- pumpkin pie spice blend - The pumpkin spice will perk up your senses, and you will look forward to your next coffee break. If you do not have it on hand, you can check out my tutorial for how to make pumpkin pie spice.
*See ingredient amounts in recipe card.
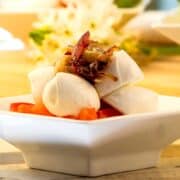
💡 Elevate your pumpkin spice latte with a dollop of toasted marshmallow!
🥣 How to Make Pumpkin Spice Coffee Creamer
It takes only a few minutes to whisk or shake all of the ingredients together, so no need to wait too long for your pumpkin spice coffee!

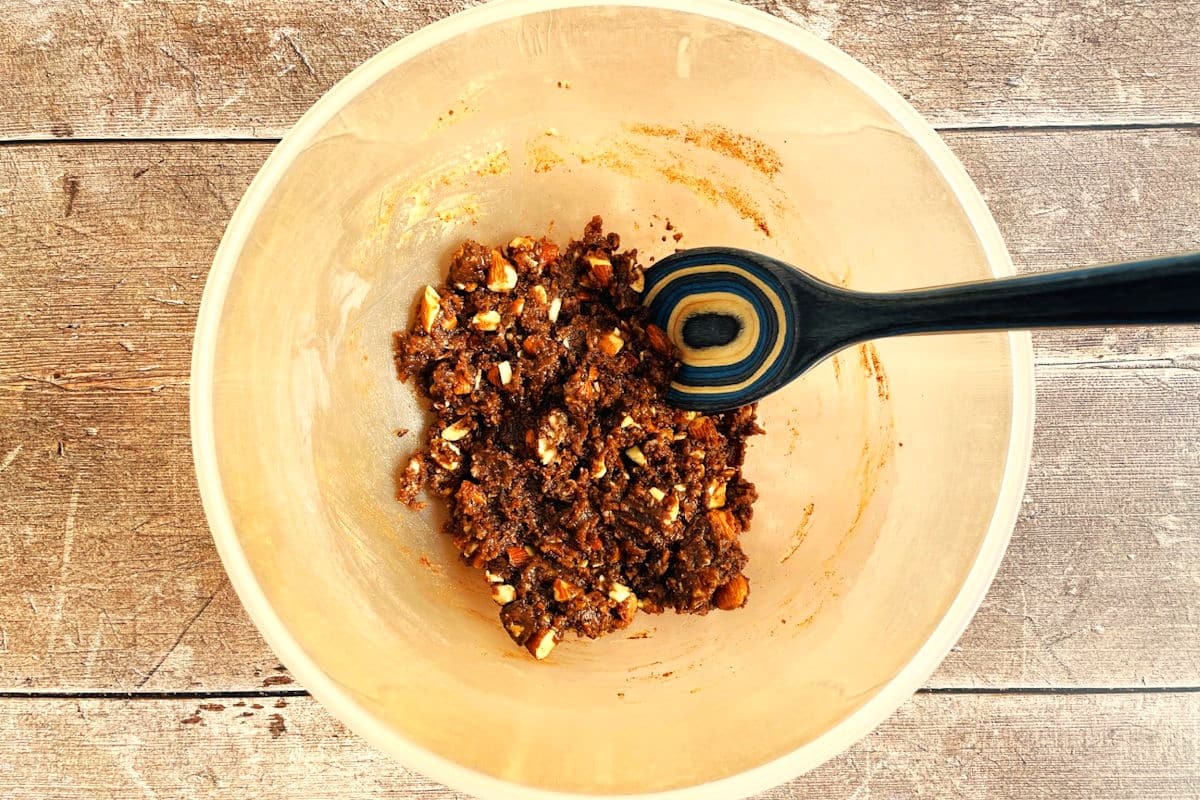
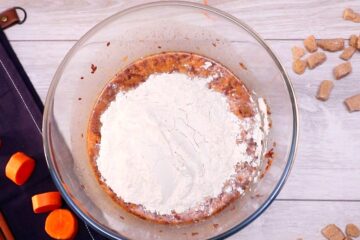
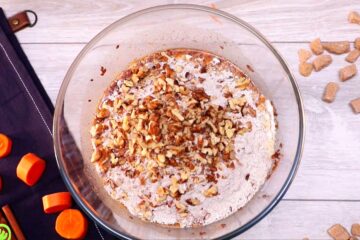
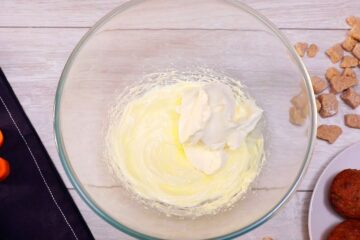
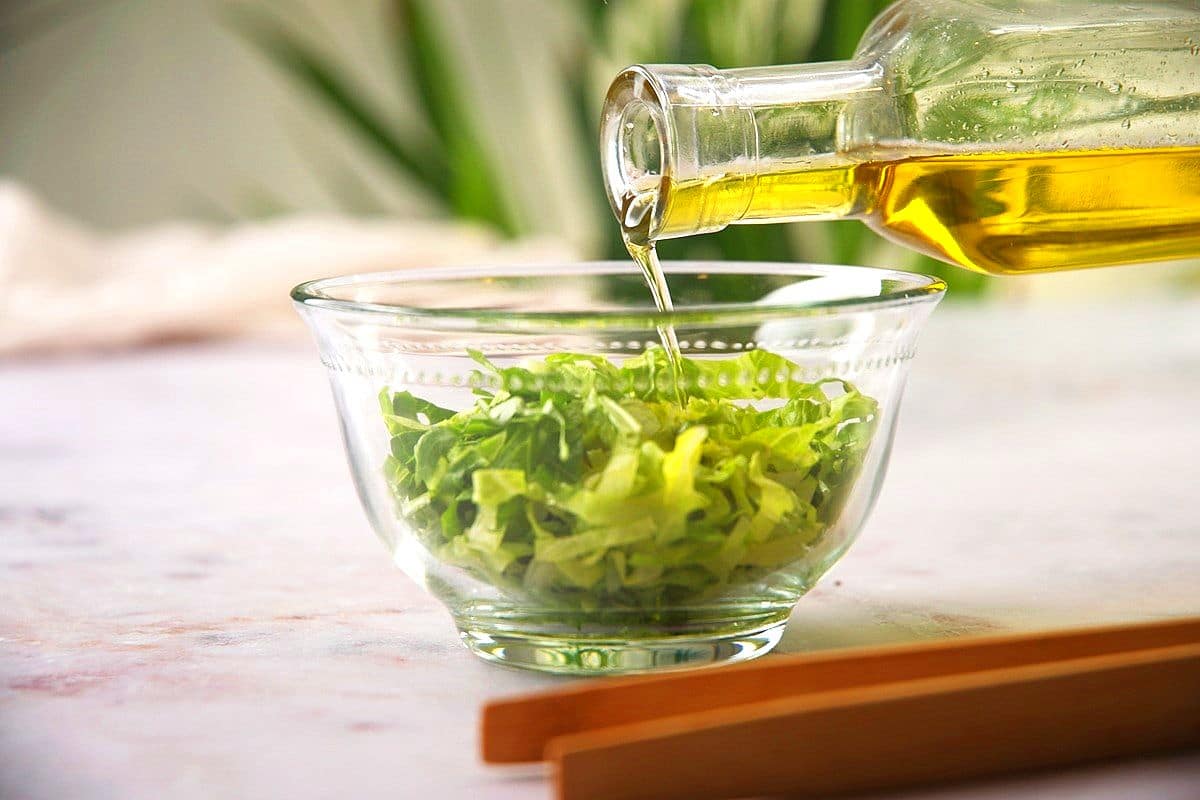
Step 1. Whisk. Whisk the ingredients together in a measuring cup or small mixing bowl until well combined.

Step 2. Transfer. Transfer to a squeeze bottle, glass jar or small pitcher.
Chef's Note: While I prefer my pumpkin creamer without the pumpkin pulp, feel free to add a touch for extra color and pumpkin flavor. Just don't add too much, or the texture becomes off-putting.
Step 3. Ready to use. Add desired amount to your coffee.
👉 Joss' Tips
- The spice will settle to the bottom over time so give it a quick shake or stir before each use.
- Give it that extra homemade quality touch by making your own pumpkin spice blend.
- Label your DIY creamer with the flavor and date made. This makes it easy to keep track of freshness and identify the different varieties if making more than one.
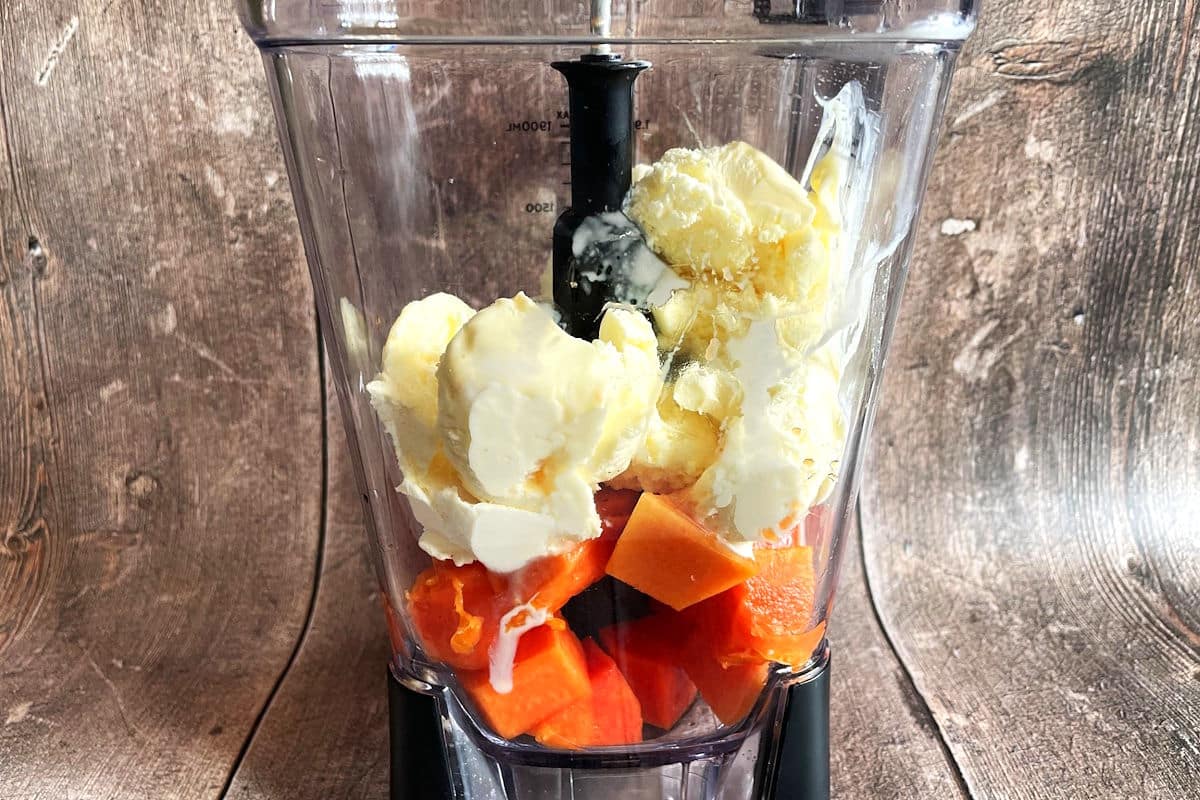
- For an extra smooth texture, use a blender to help incorporate all the ingredients evenly and create a creamy consistency.
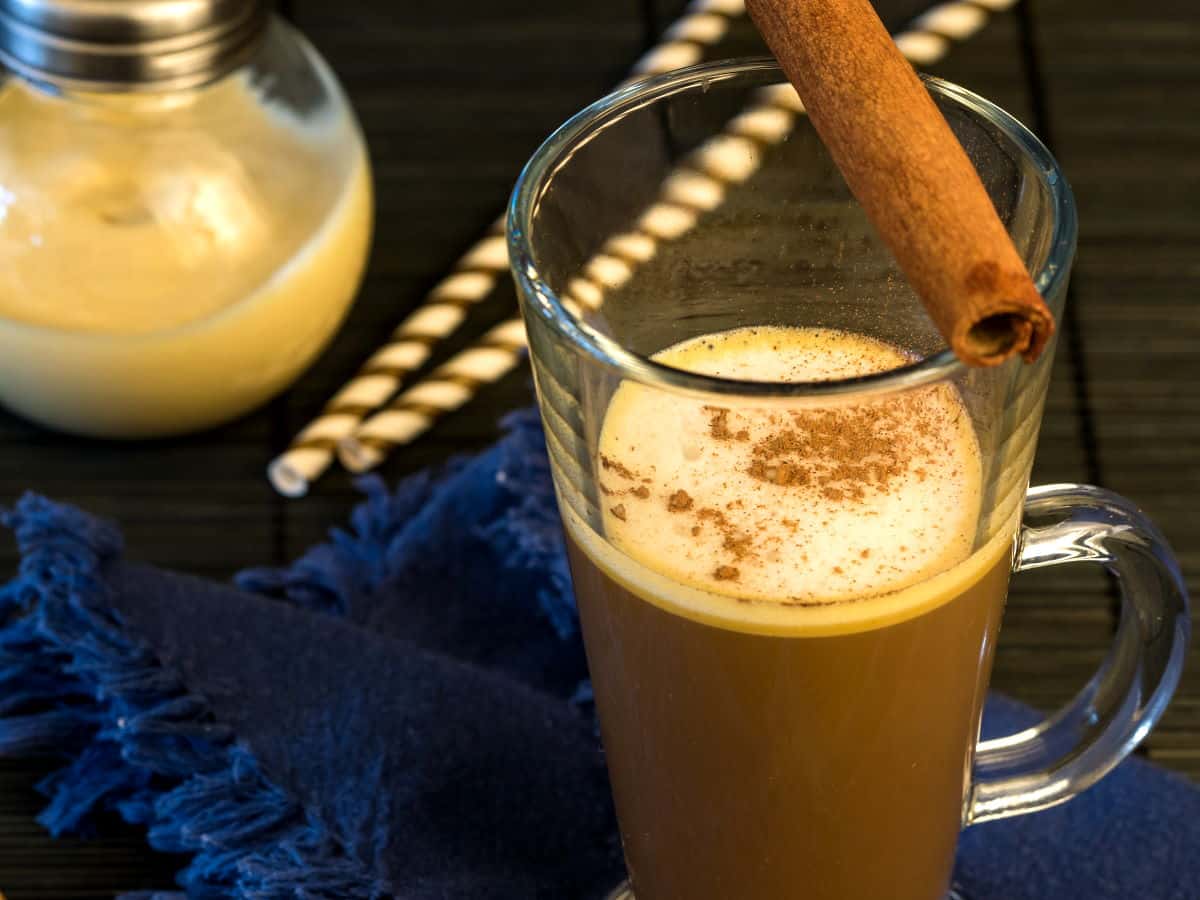
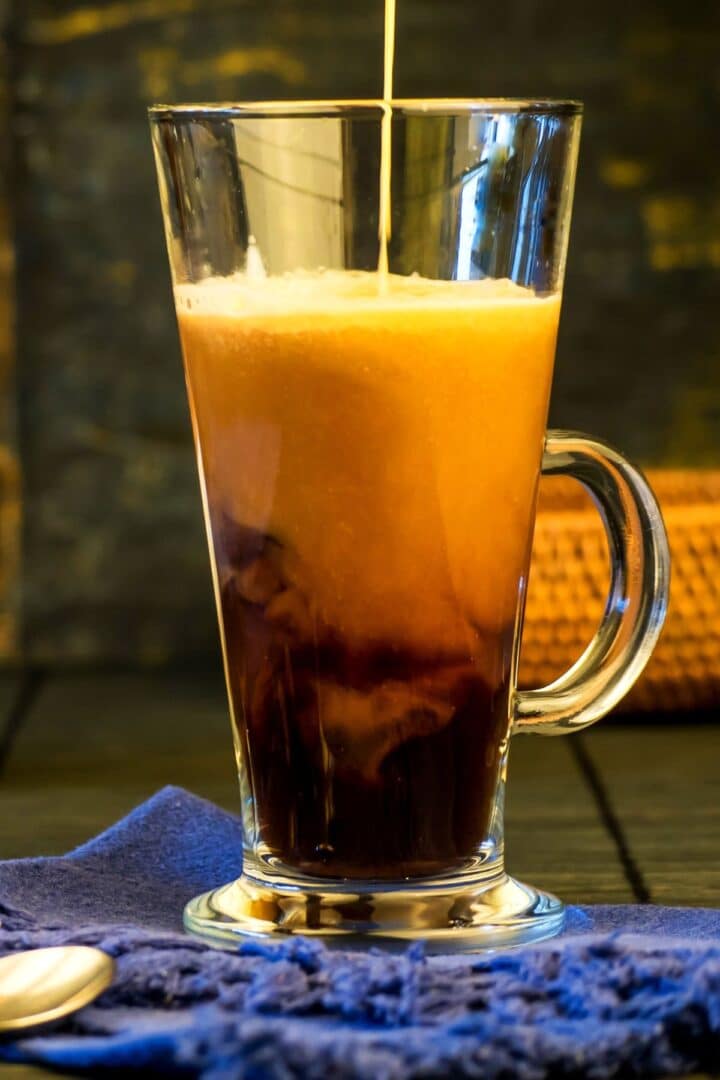
☕ How to Use Pumpkin Spice Creamer
- The creamer can be added straight to your freshly brewed coffee or latte, until your desired taste.
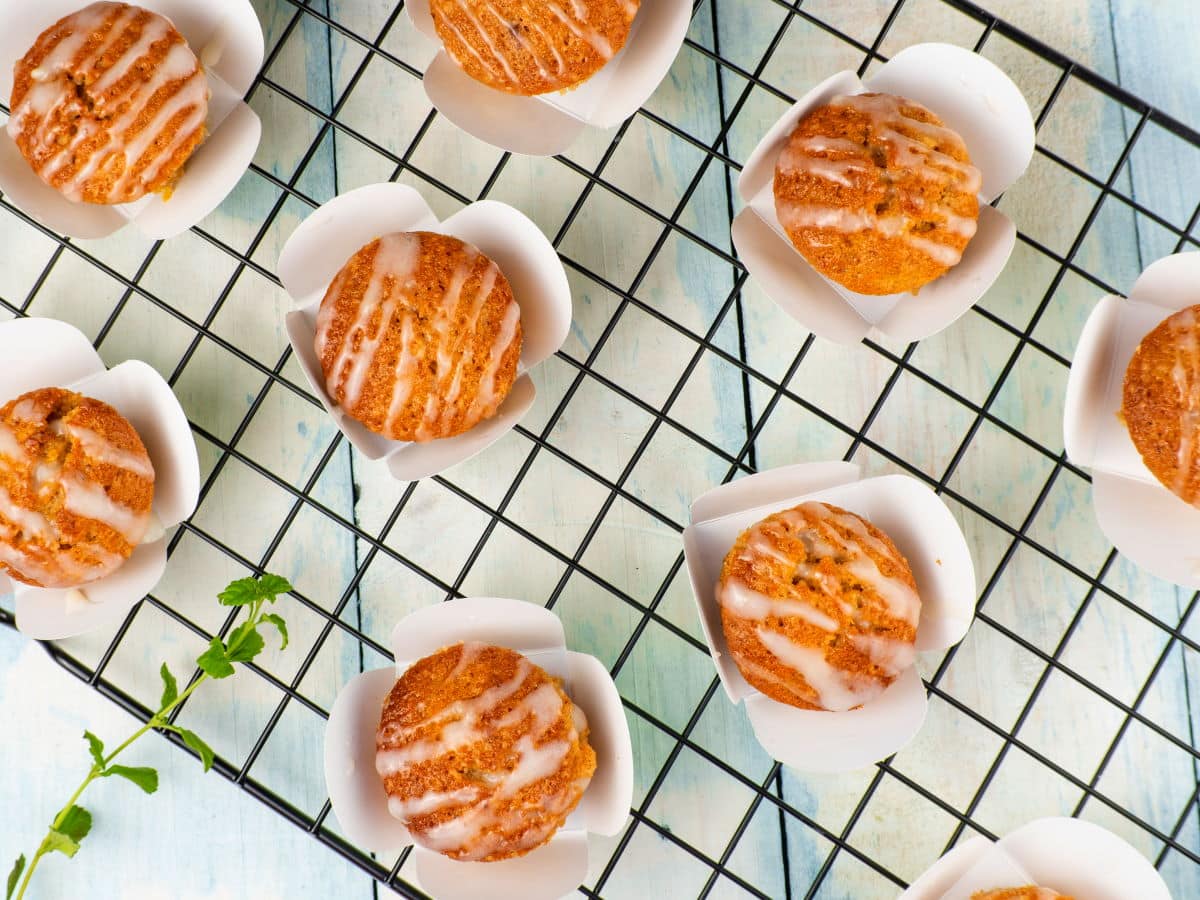
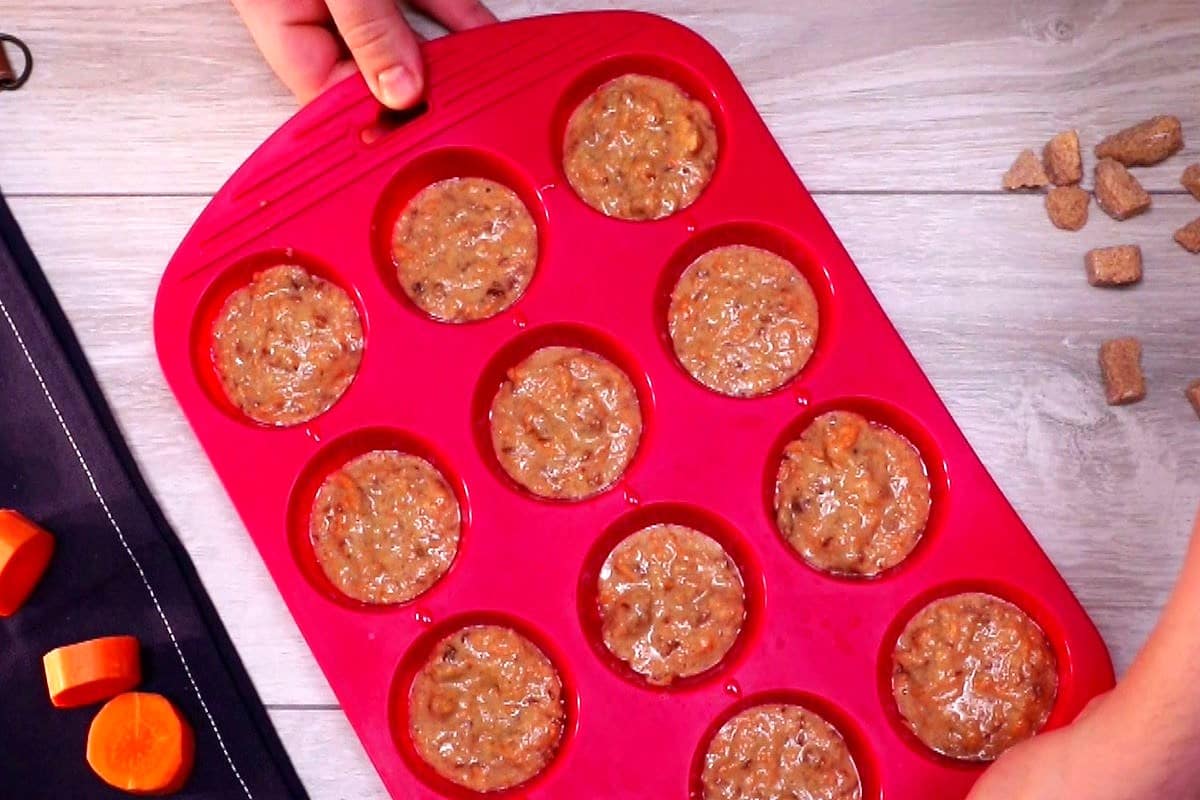
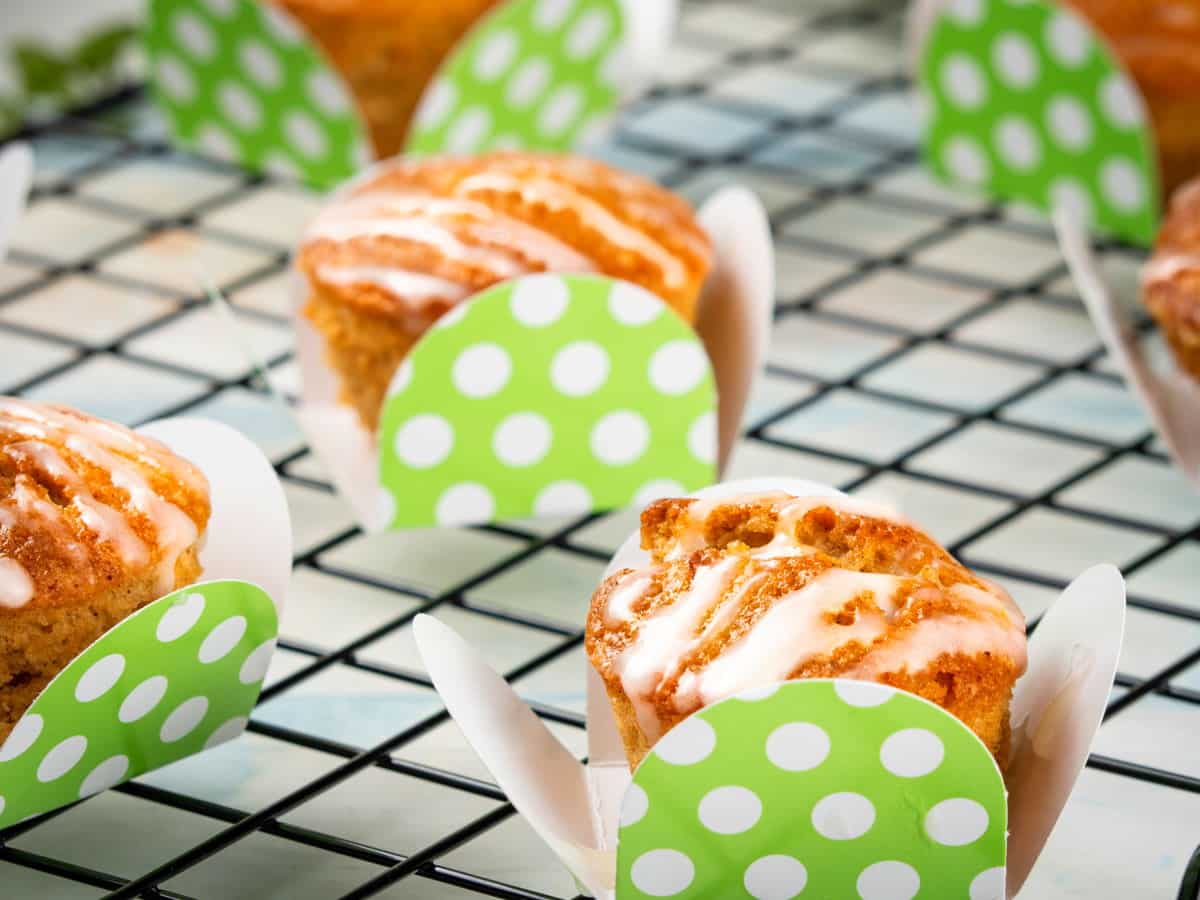
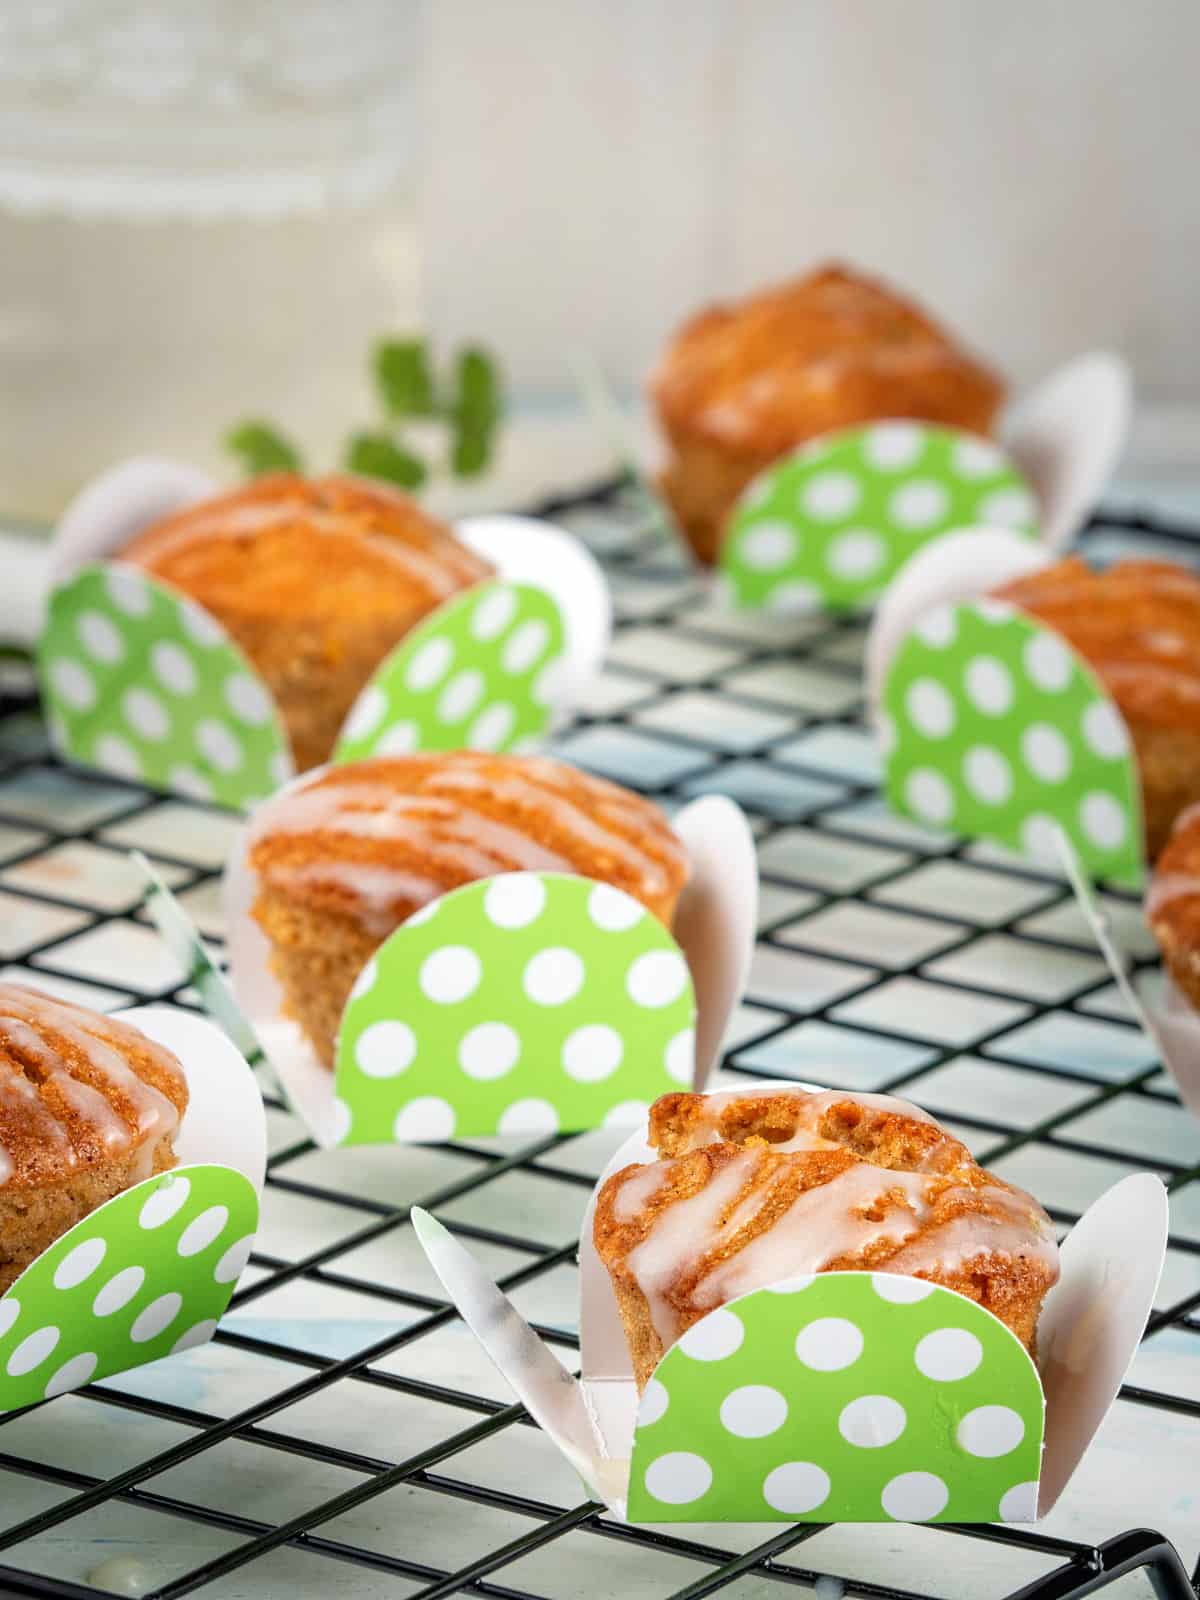
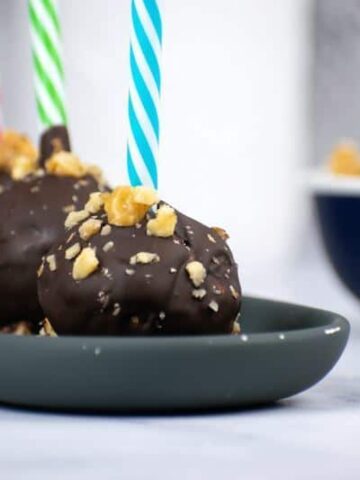
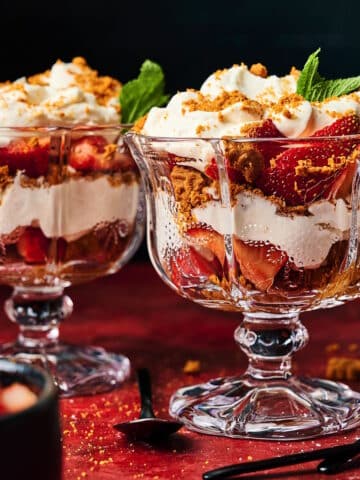
- Use it to infuse pumpkin spice flavor into homemade treats like truffles, pumpkin oatmeal muffins, pumpkin bread with frosting and my clear pumpkin pie.
- Add it to this pumpkin spice baked oatmeal and plain yogurt.
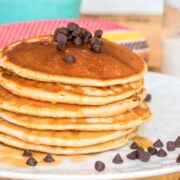
- Swap out some of the milk in your favorite pancake or waffles recipe and add a little of this creamer instead.
- Use it in homemade milkshakes.
❓ Recipe FAQs
The creamer should be refrigerated in an airtight container or squeeze bottle for up to 10 days or until the date noted on the cream carton.
I recommend you start with a small amount and taste for sweetness as you go.
You can definitely use your favorite sugar free sweetener, such as stevia. Start with a small amount and add it to taste.
🧡 More Pumpkin Flavored Recipes You Will Love


If you tried this Homemade Pumpkin Spice Coffee Creamer Recipe or any other recipe on my website, please leave a 🌟 star rating and let me know how it went in the 📝 comments below. And please share the recipe!
📋Recipe

Homemade Pumpkin Spice Coffee Creamer
Equipment
Ingredients
- 2 cups light cream 18%
- 4 tablespoons sweetener like sugar or agave nectar--or to taste
- 1 teaspoon pumpkin pie spice blend
Instructions
- Whisk the above 3 ingredients together in a measuring cup or small mixing bowl, until well combined.2 cups light cream, 4 tablespoons sweetener, 1 teaspoon pumpkin pie spice blend
- Transfer to a squeeze bottle, glass jar or small pitcher.
- Add desired amount to your coffee.
Notes
- This recipes yields 2 cups coffee creamer.
- You can substitute with half and half (10%) cream if you prefer that in your coffee.
- I recommend you start with a small amount in your coffee and taste for sweetness as you go.
- Store the creamer in the refrigerator at all times.
- The spice will settle to the bottom over time so give it a quick shake or stir before each use.
- Label your creamer with the flavor and date made. This makes it easy to keep track of freshness and identify the different varieties if making more than one.
- For an extra smooth texture, use a blender to help incorporate all the ingredients evenly and create a creamy consistency.
- Make it vegan by using coconut cream.
- If you do not have pumpkin pie spice on hand, you can check out my tutorial: How to Make Pumpkin Pie Spice