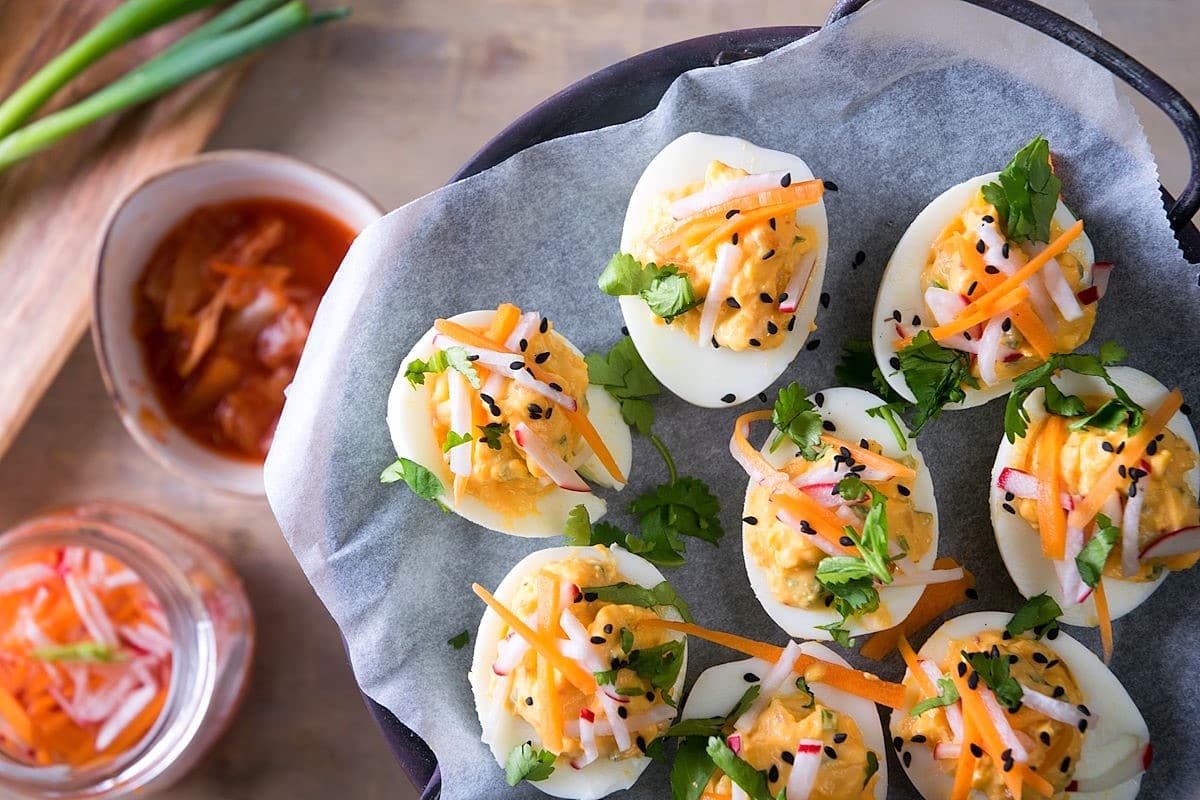
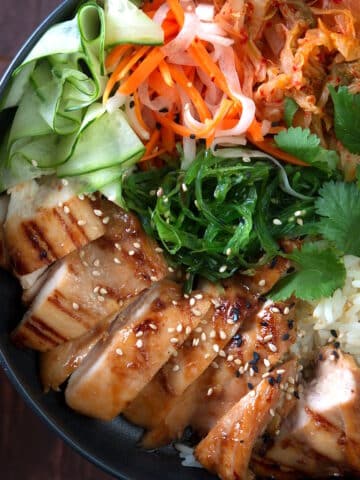
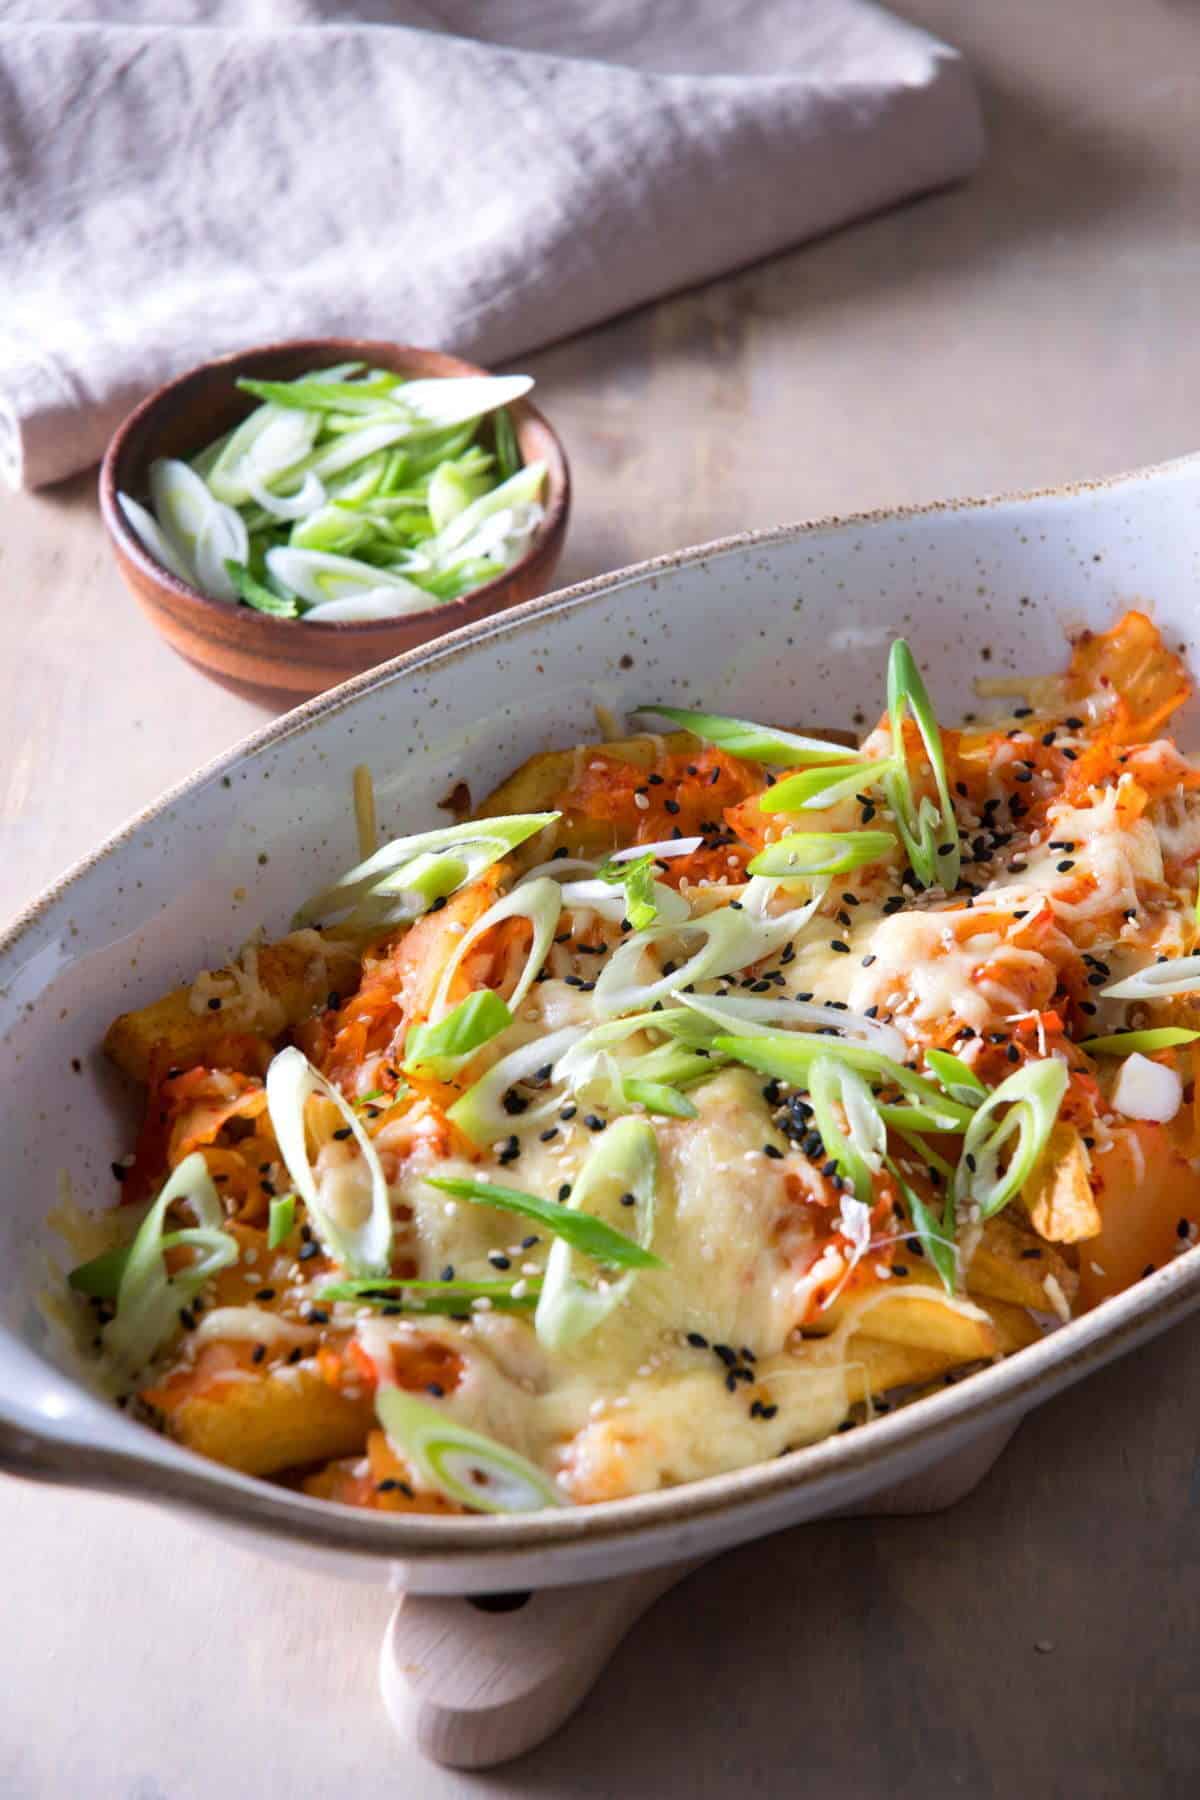
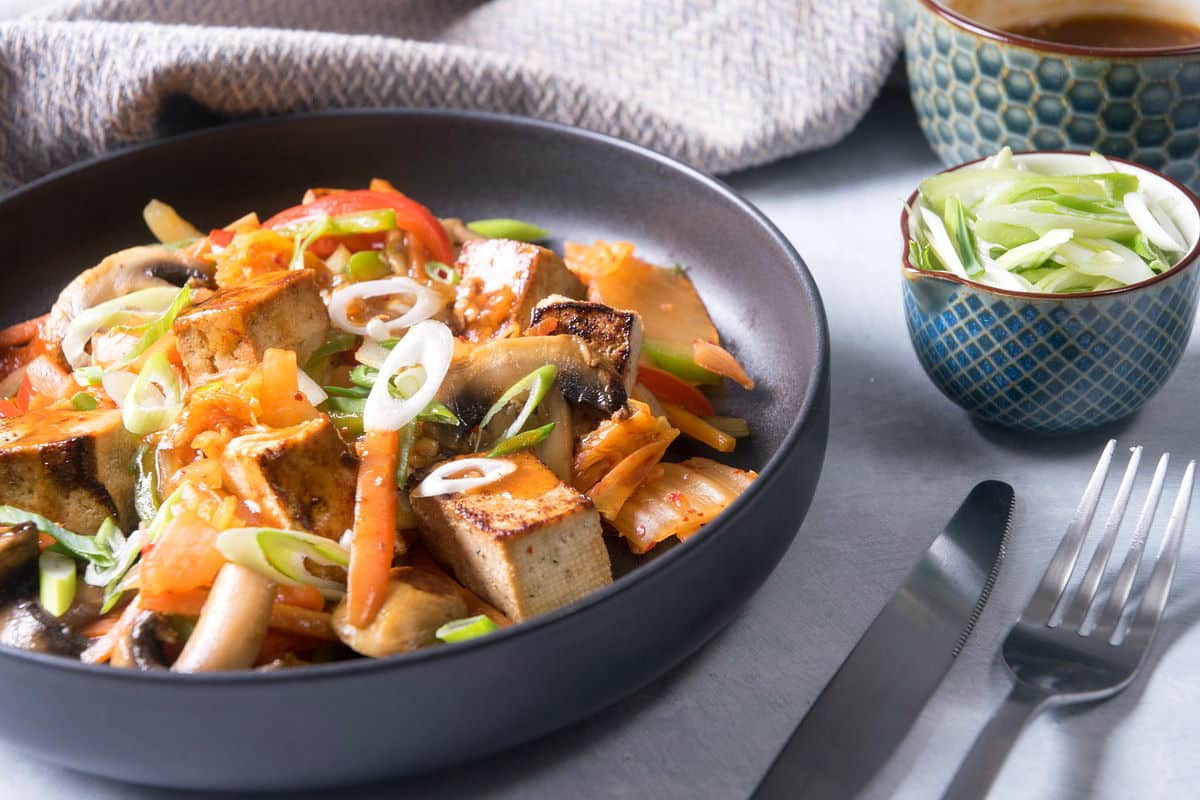
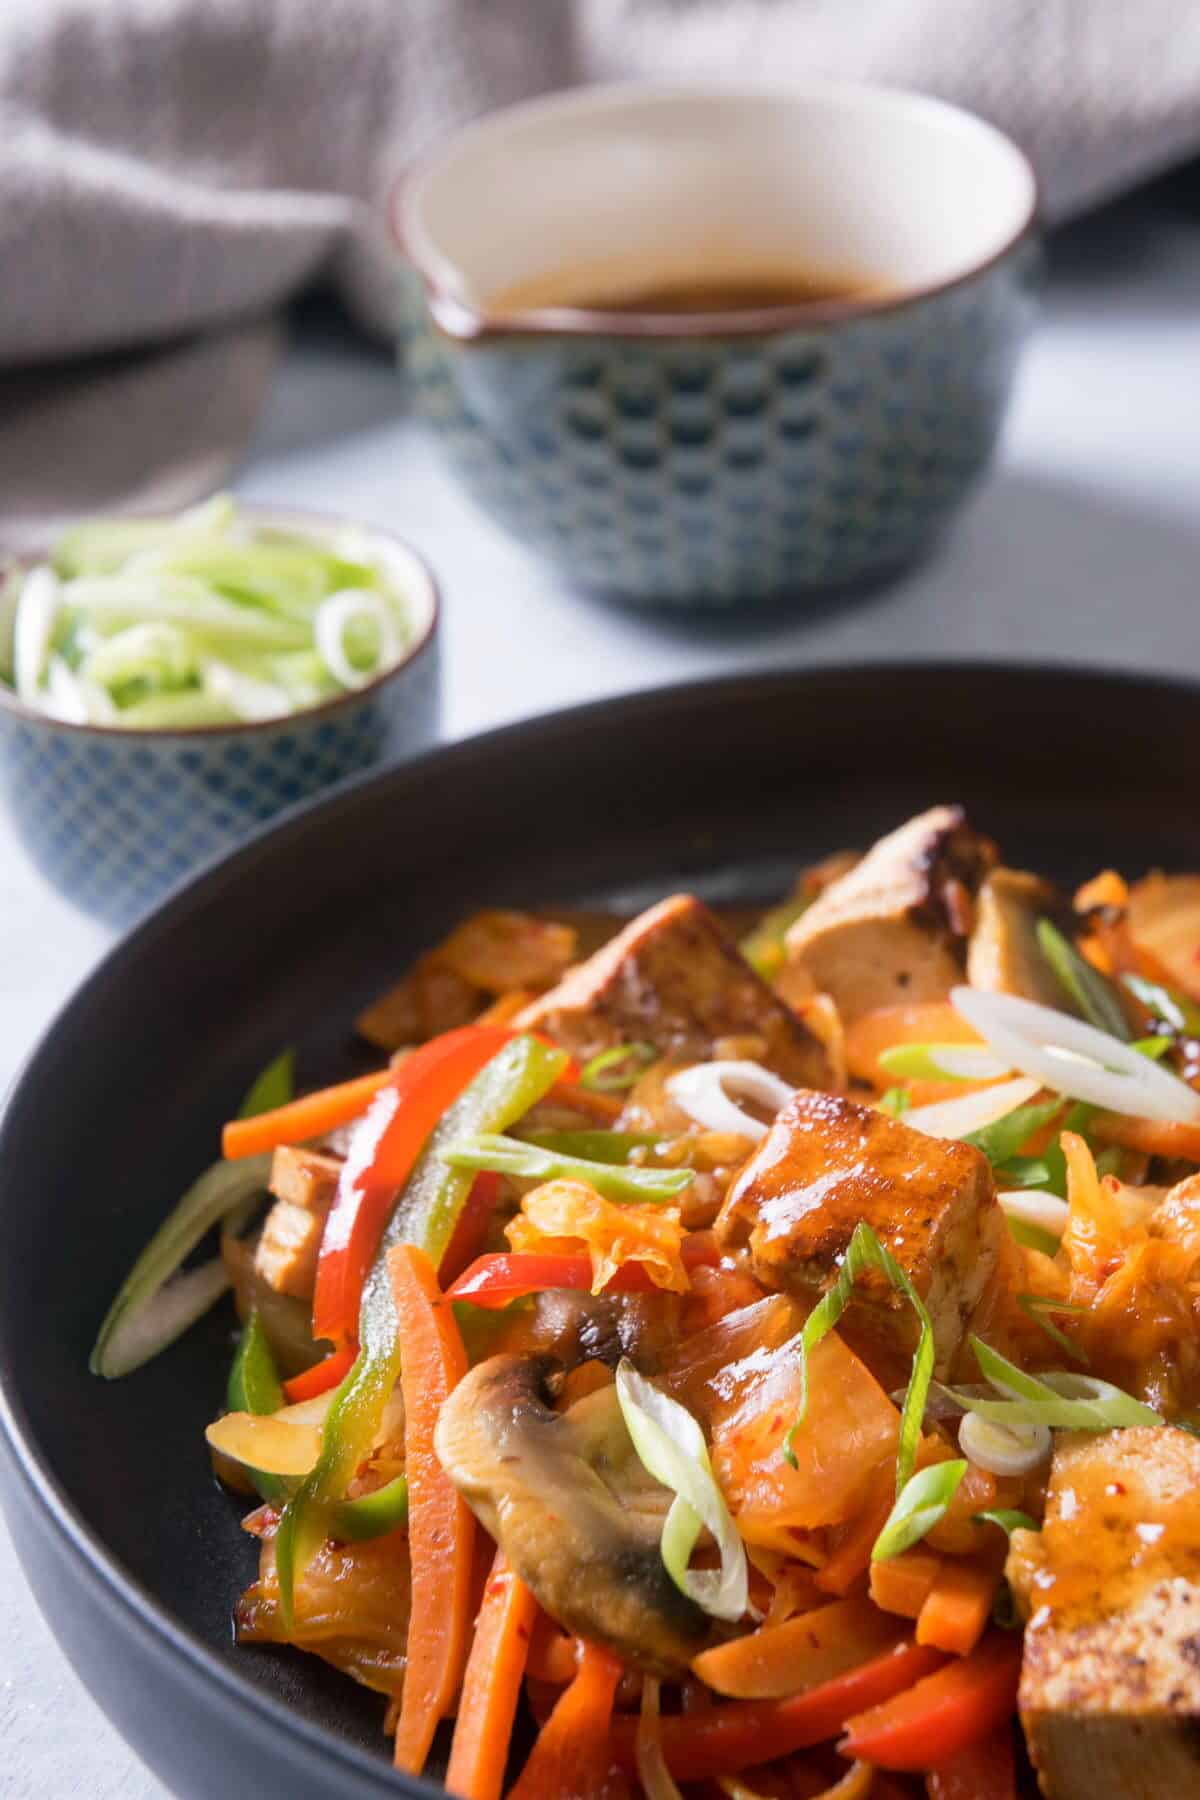
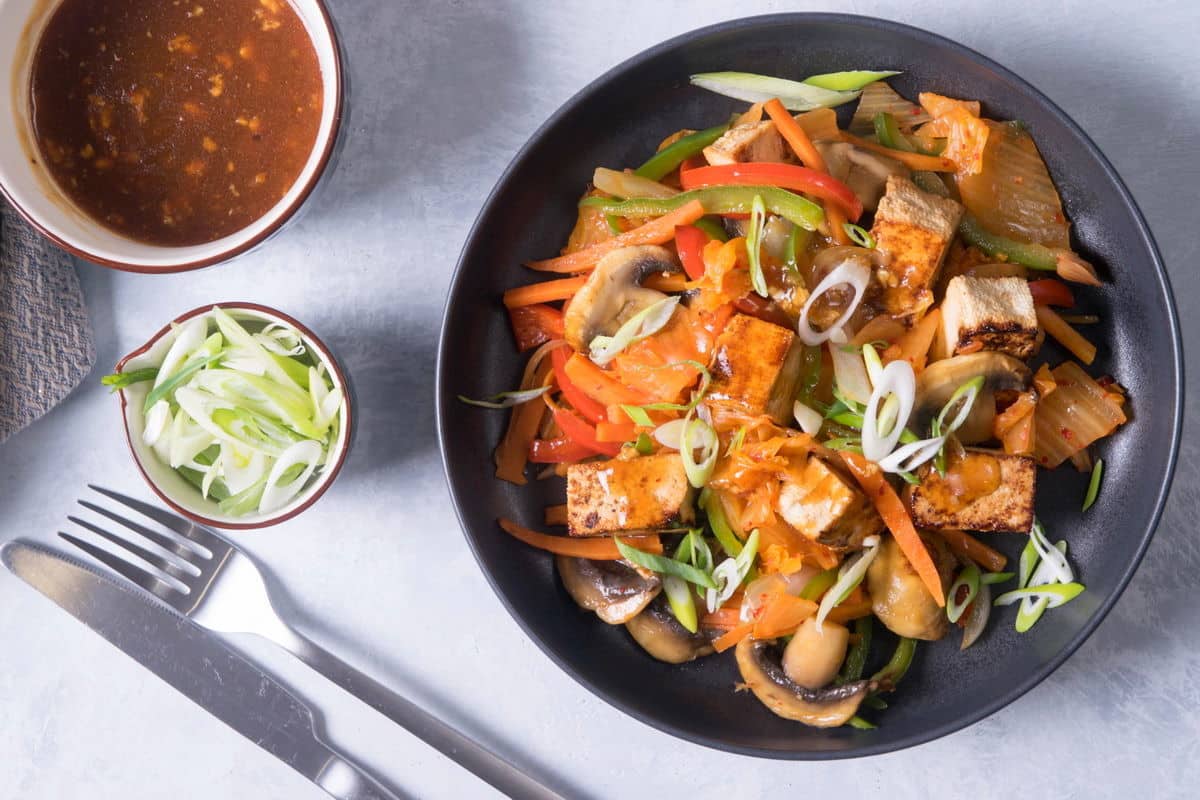
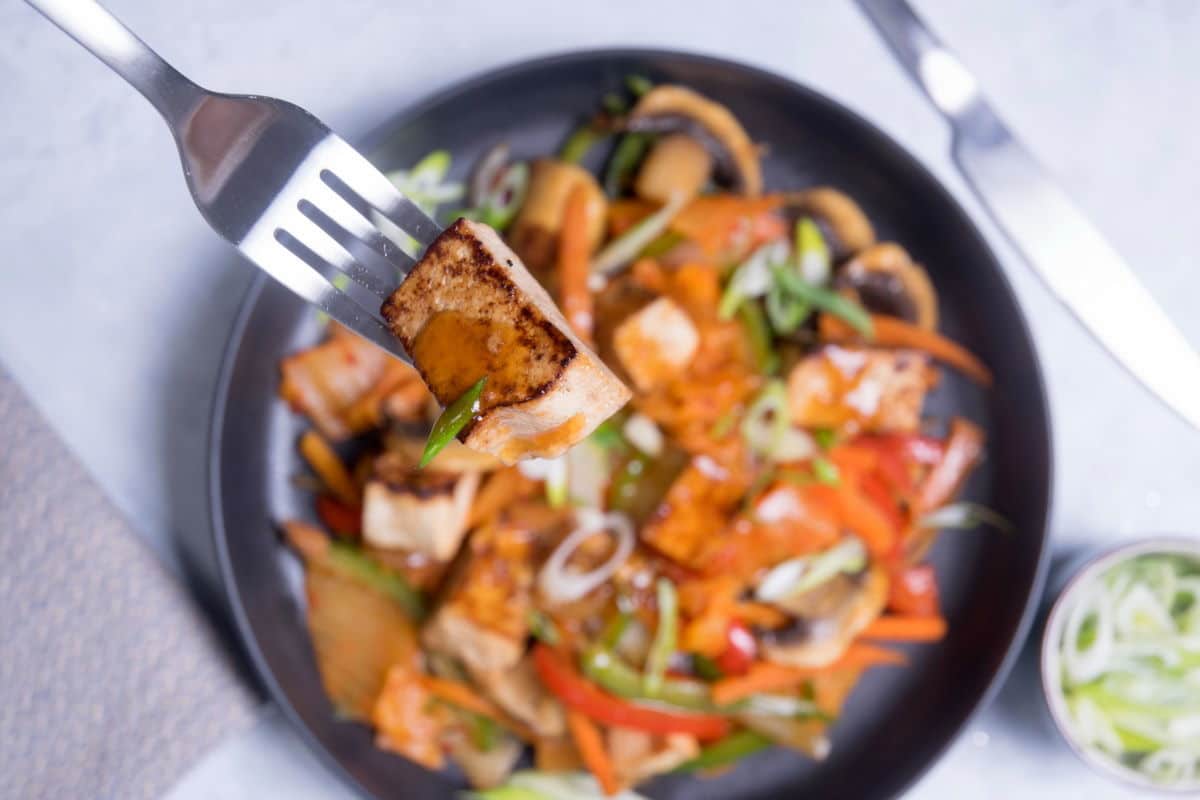
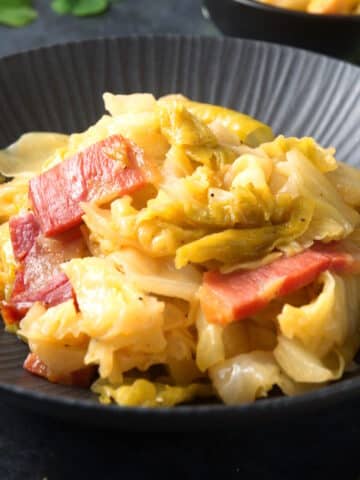
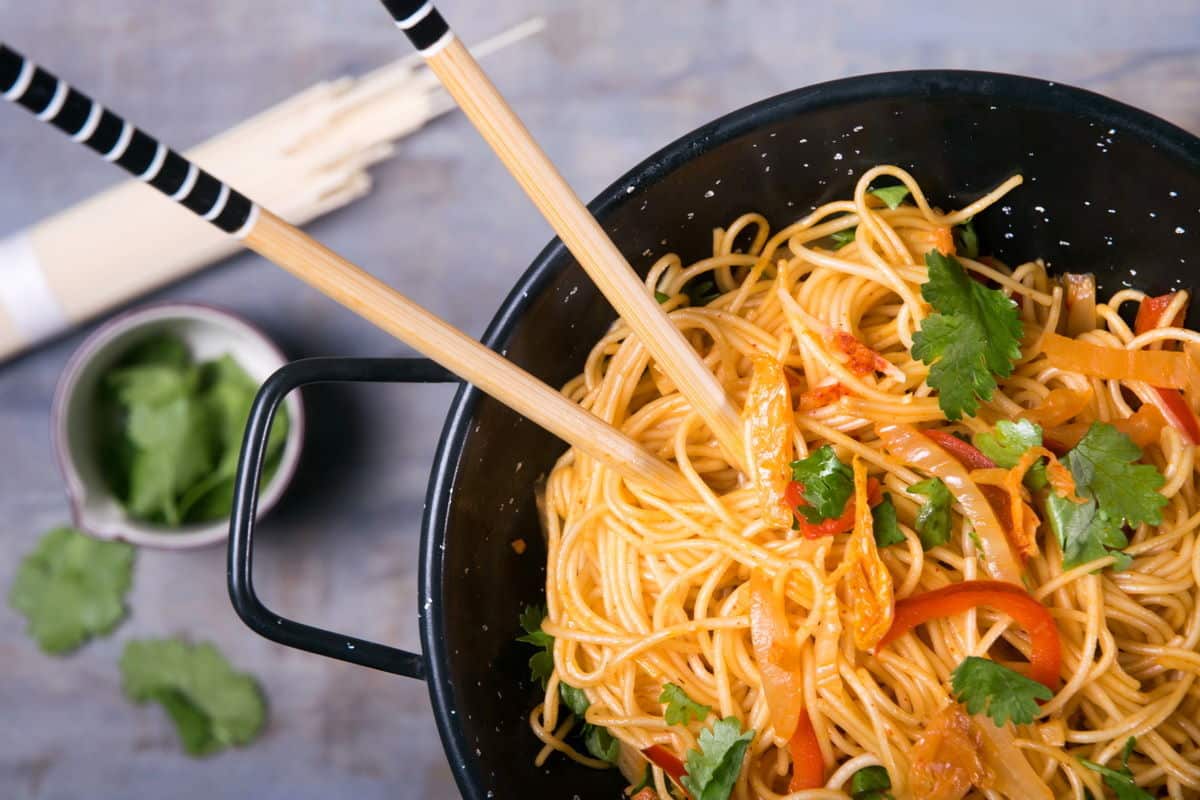
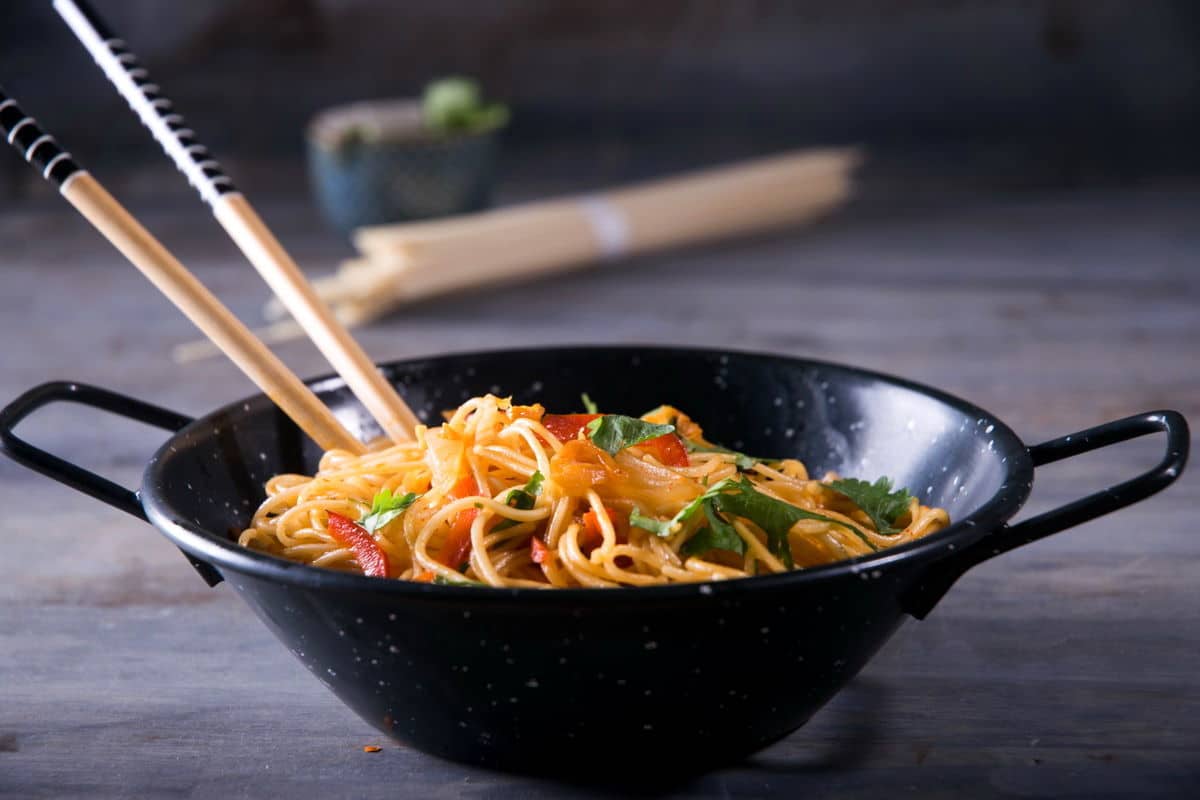
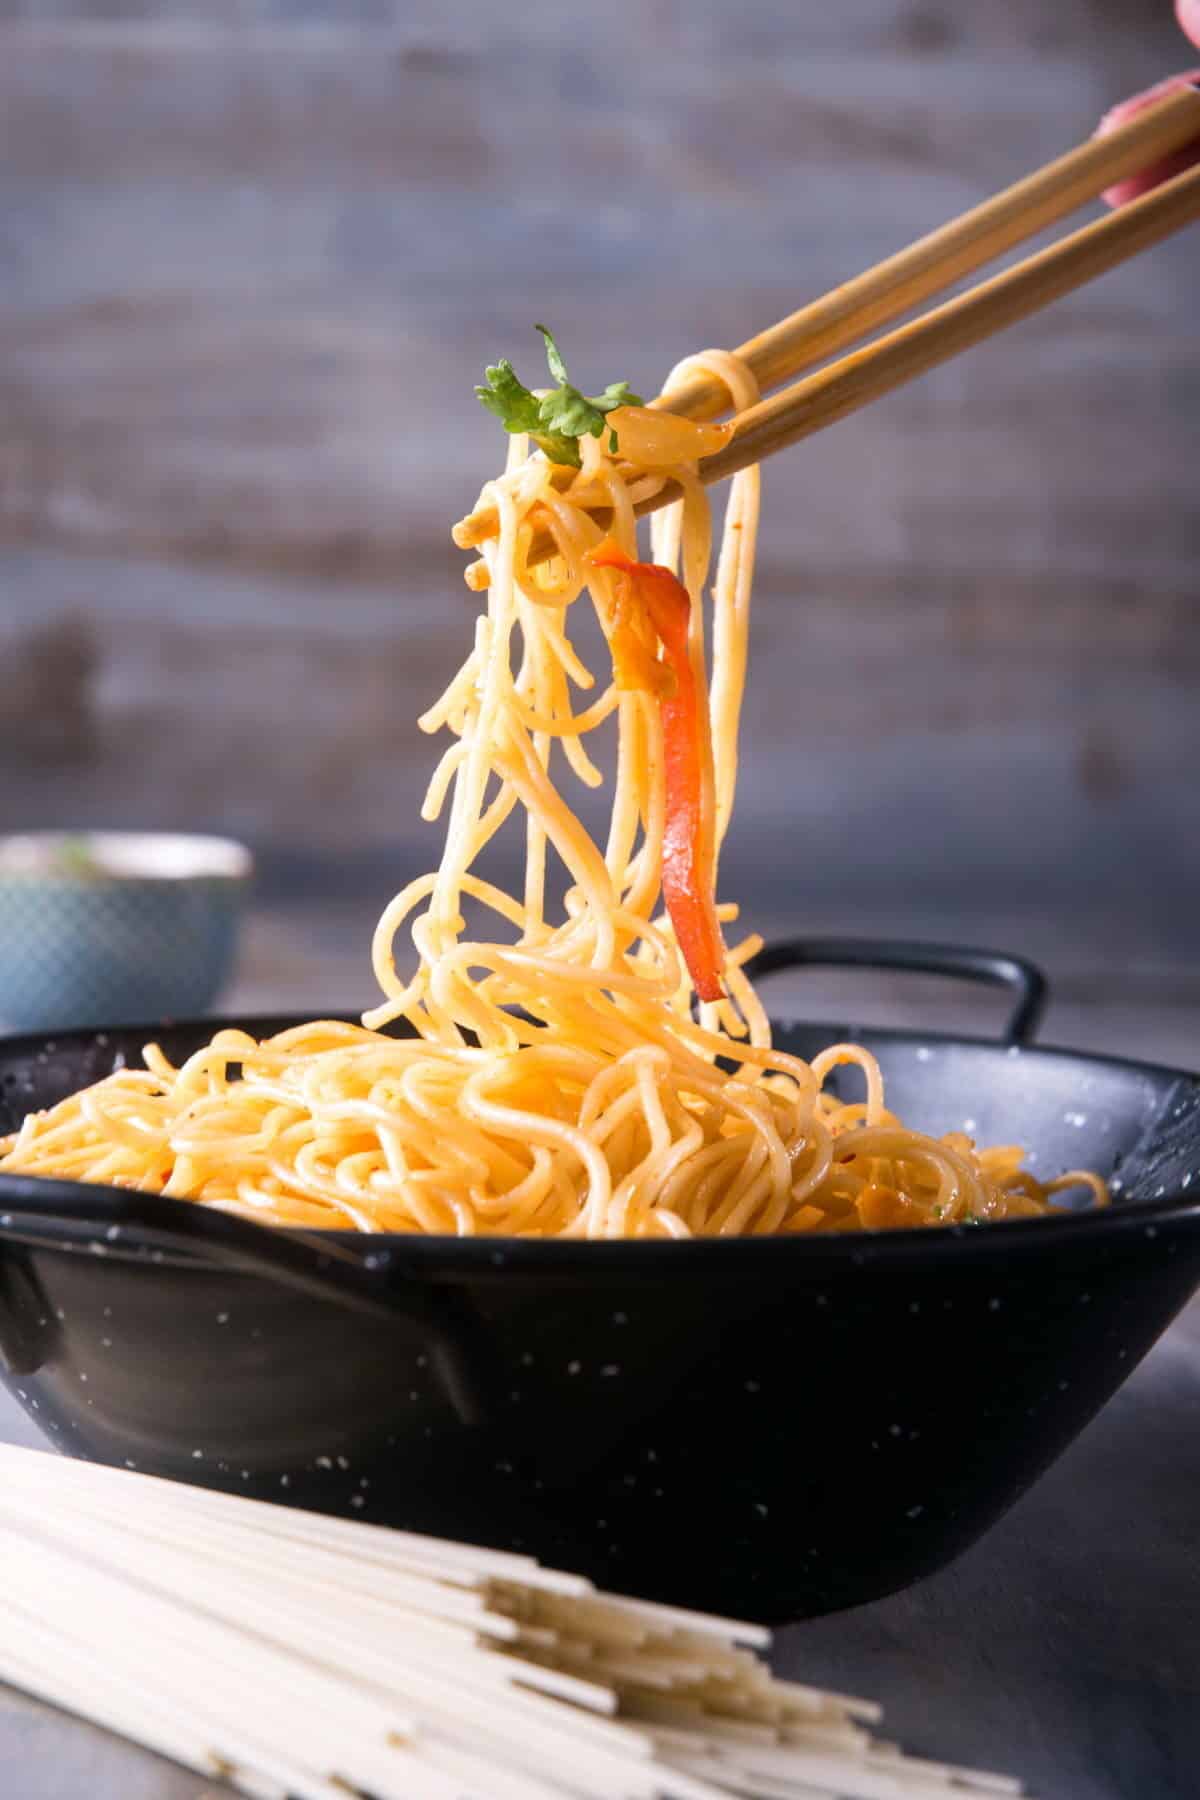
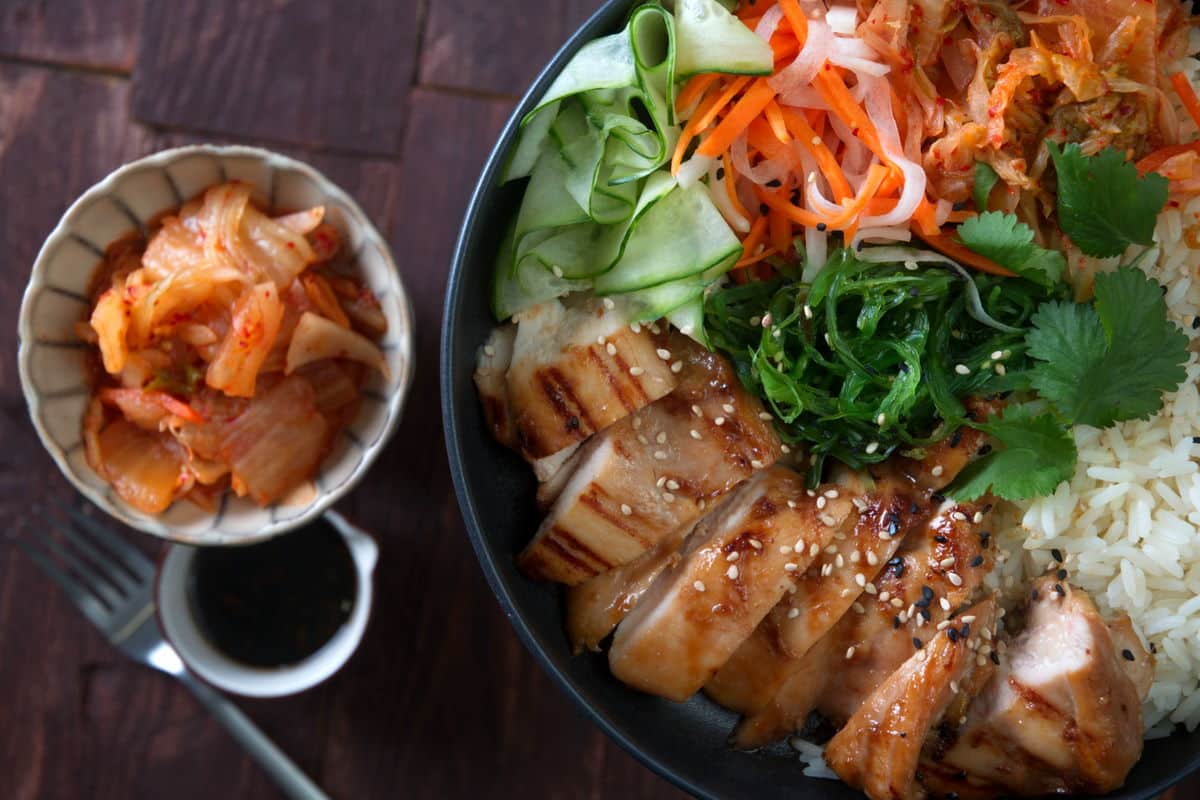
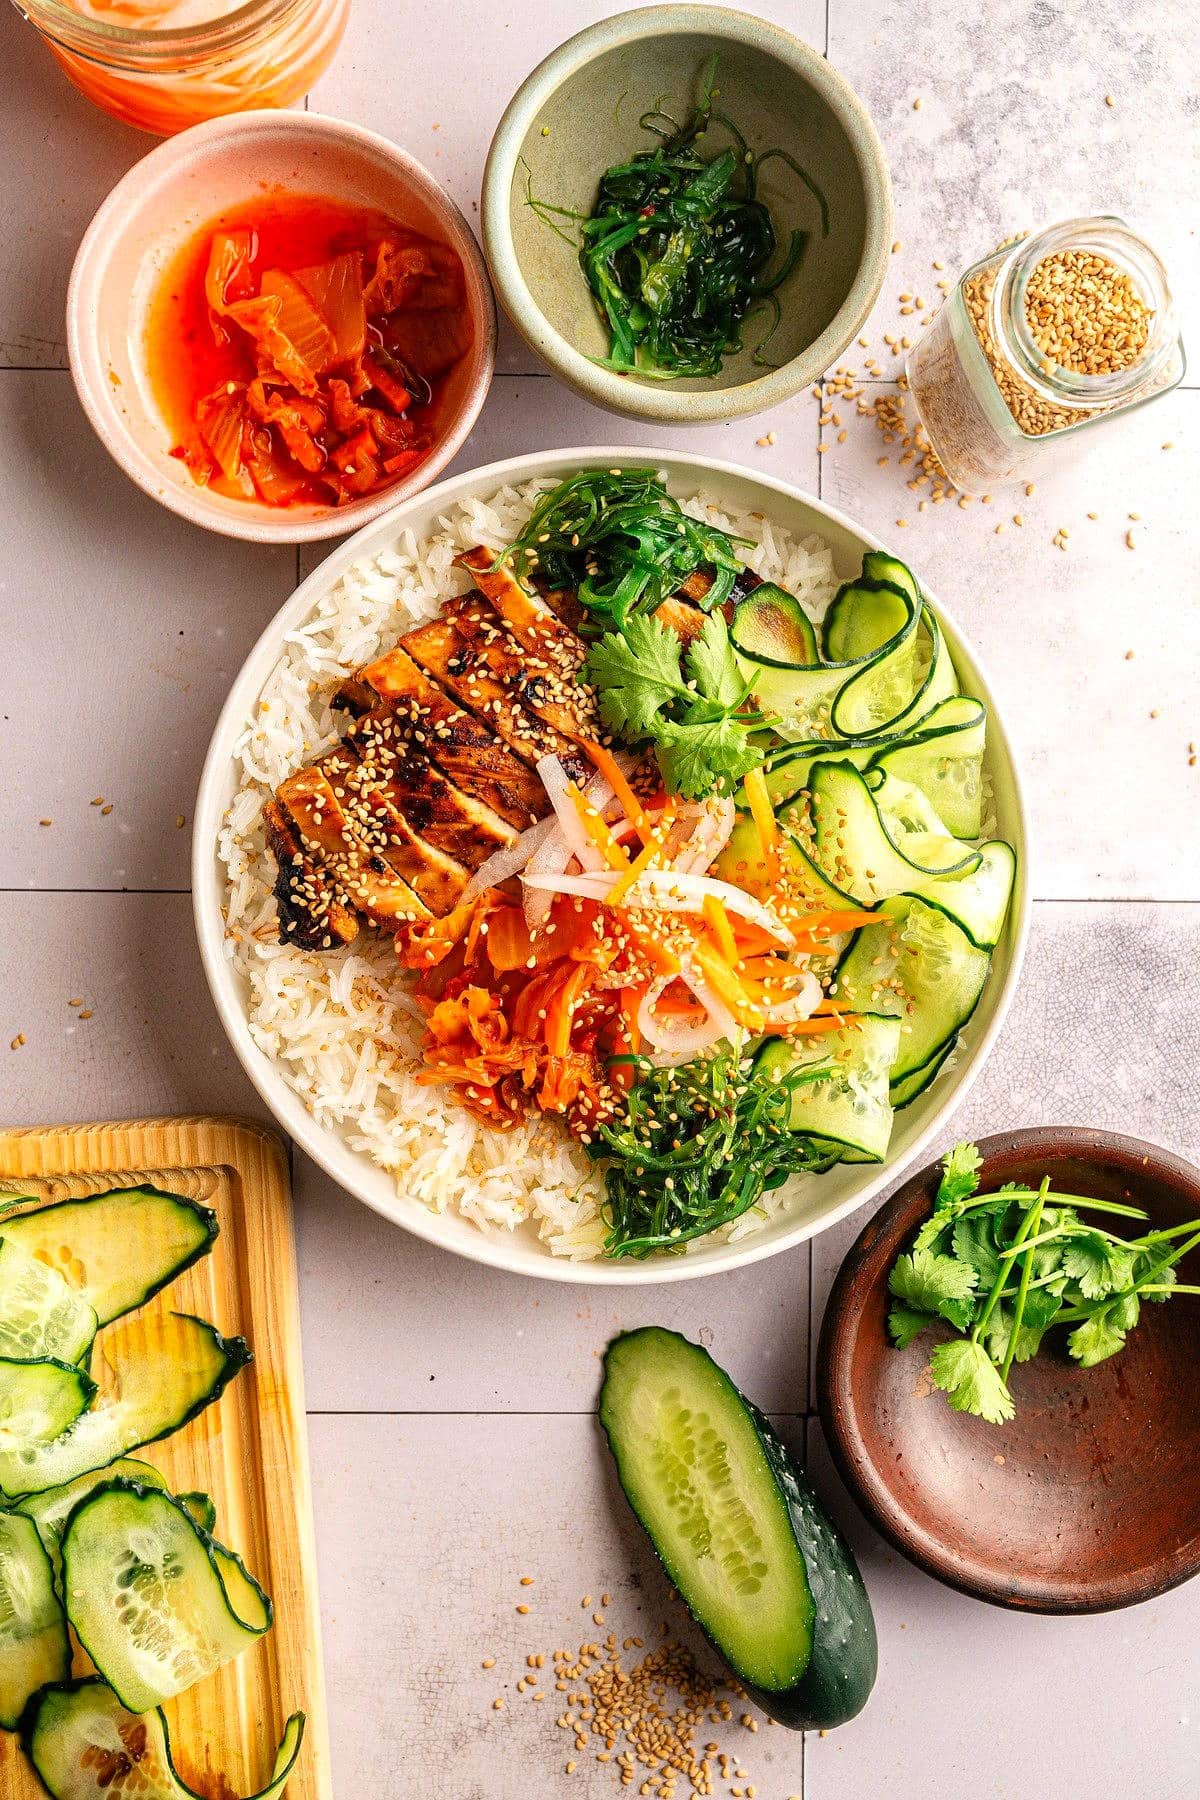
Liven up your palate with spicy kimchi, pickled vegetables and Asian seasonings over a bowl of fluffy white rice in this kimchi rice bowl. Marinated chicken adds protein to this bowl packed with vitamins and minerals.
❤️ Your New Favorite Make-Ahead Bowl
- This is a great make-ahead meal prep dish. With four full servings, you can prepare lunches ahead of time and enjoy them throughout the week or enjoy a family dinner together.
- The flavor and texture combination is delish. Kimchi and rice make a great combination for their texture and flavor contrast. Kimchi and chicken are also a common pairing.
- Versatile. Both rice and kimchi are versatile ingredients that can be combined with various ingredients. If you don't like one or two of the ingredients on the list, swap them out for something you love and happen to have on hand.
- Filling. Rice makes the dish more filling, providing an extra boost of energy.
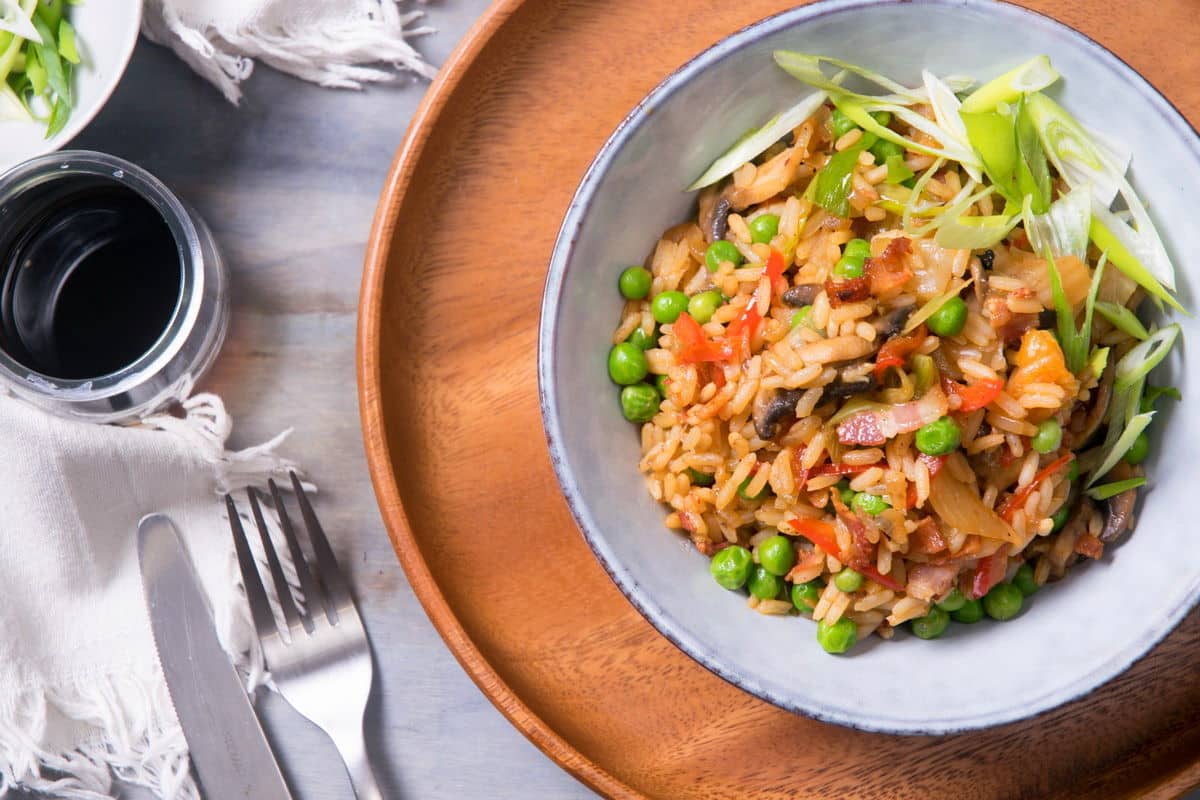
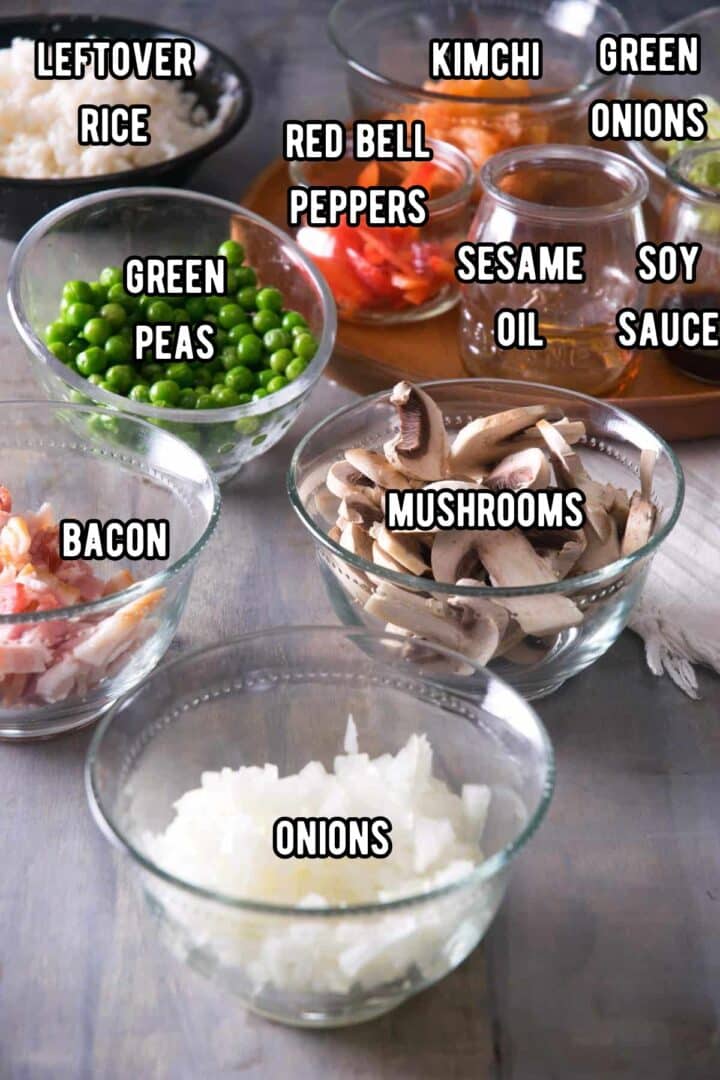
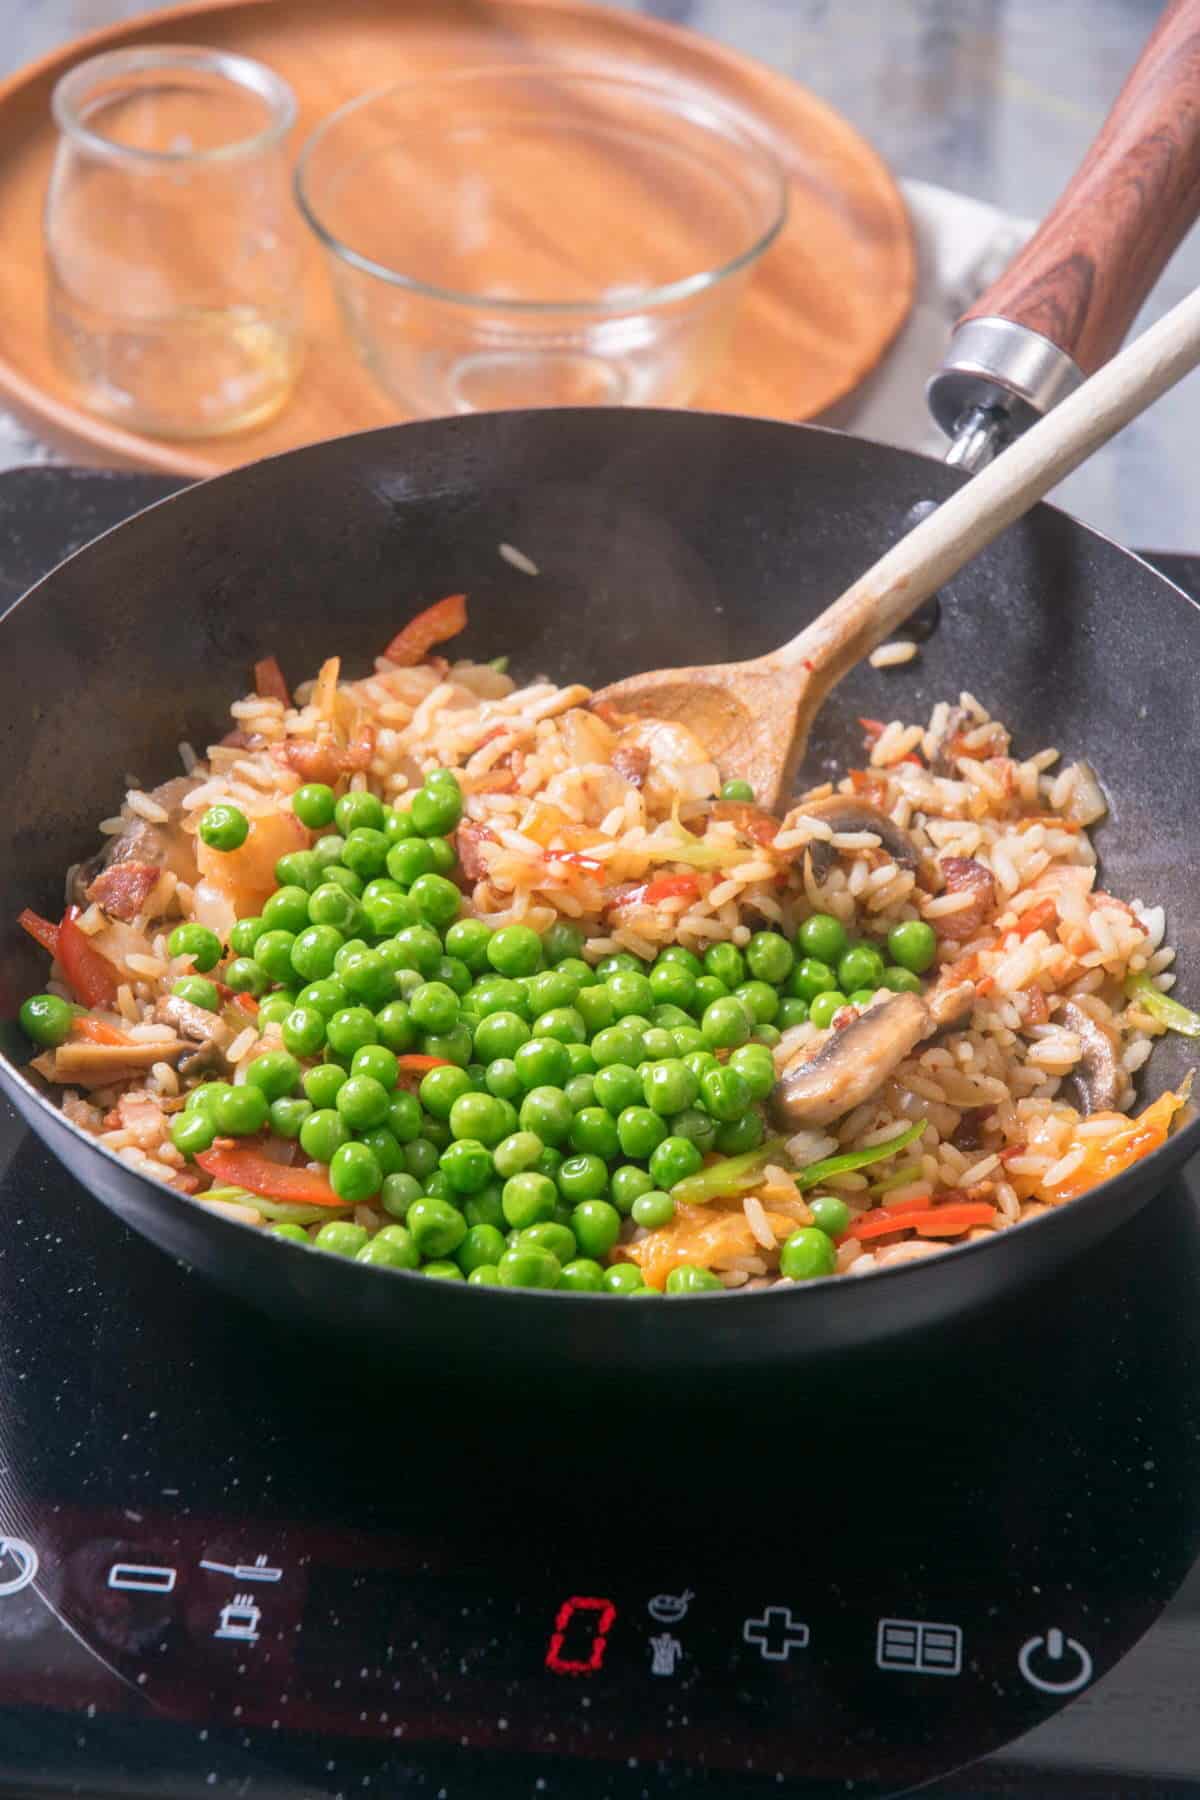
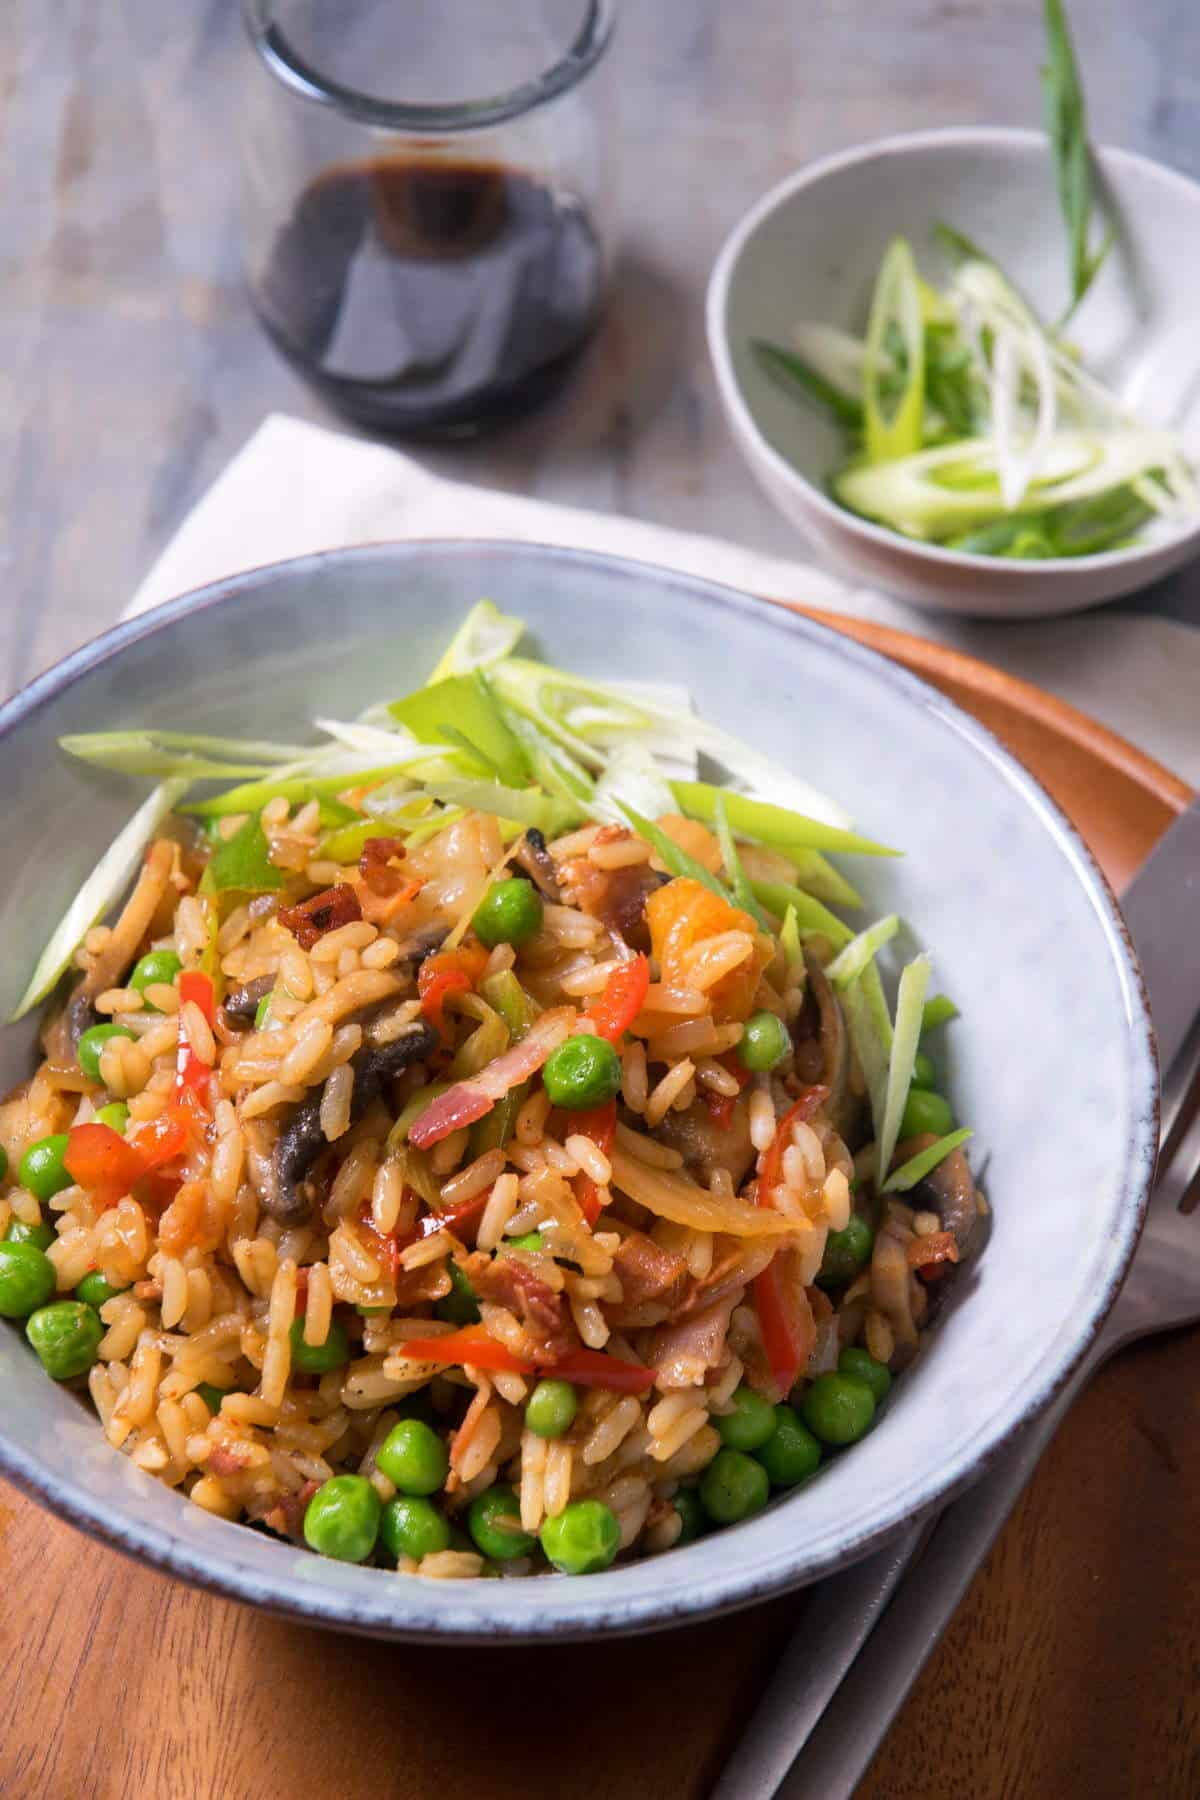
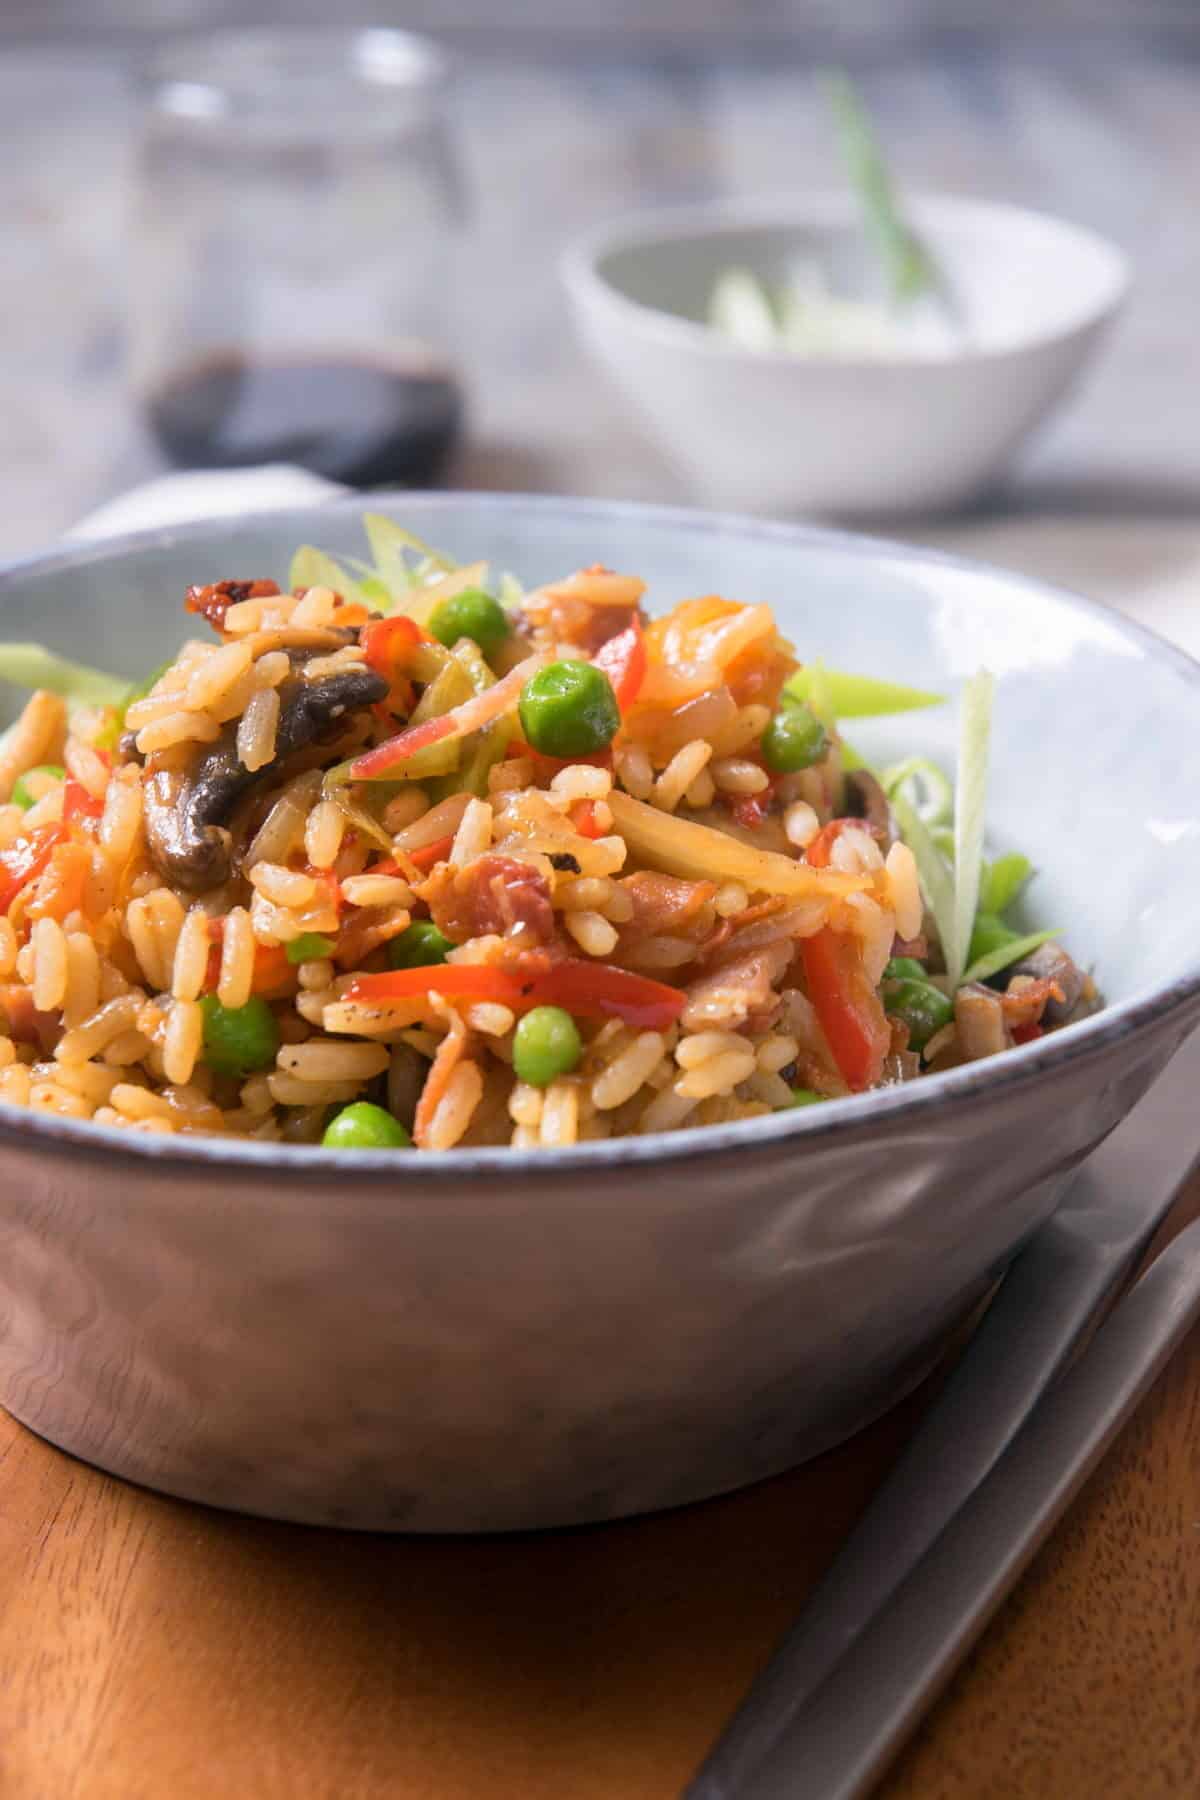
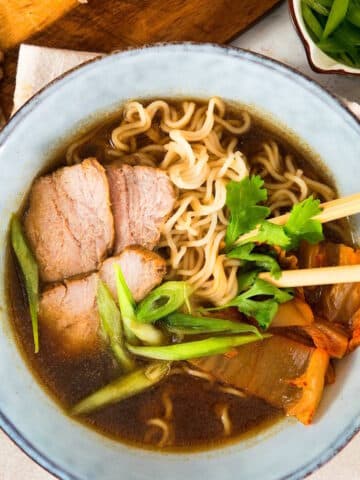
For more dishes like this, you can try my kimchi bacon fried rice and marinated kimchi chicken or check out more kimchi recipes.
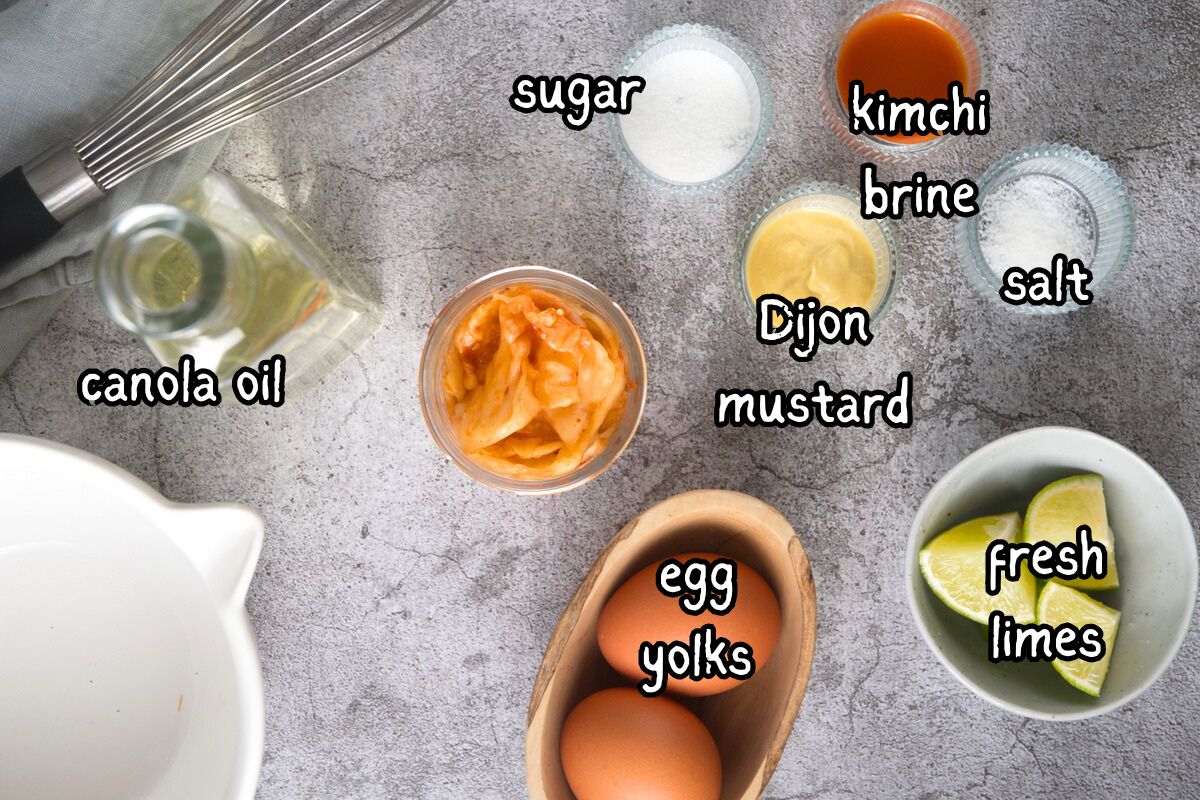
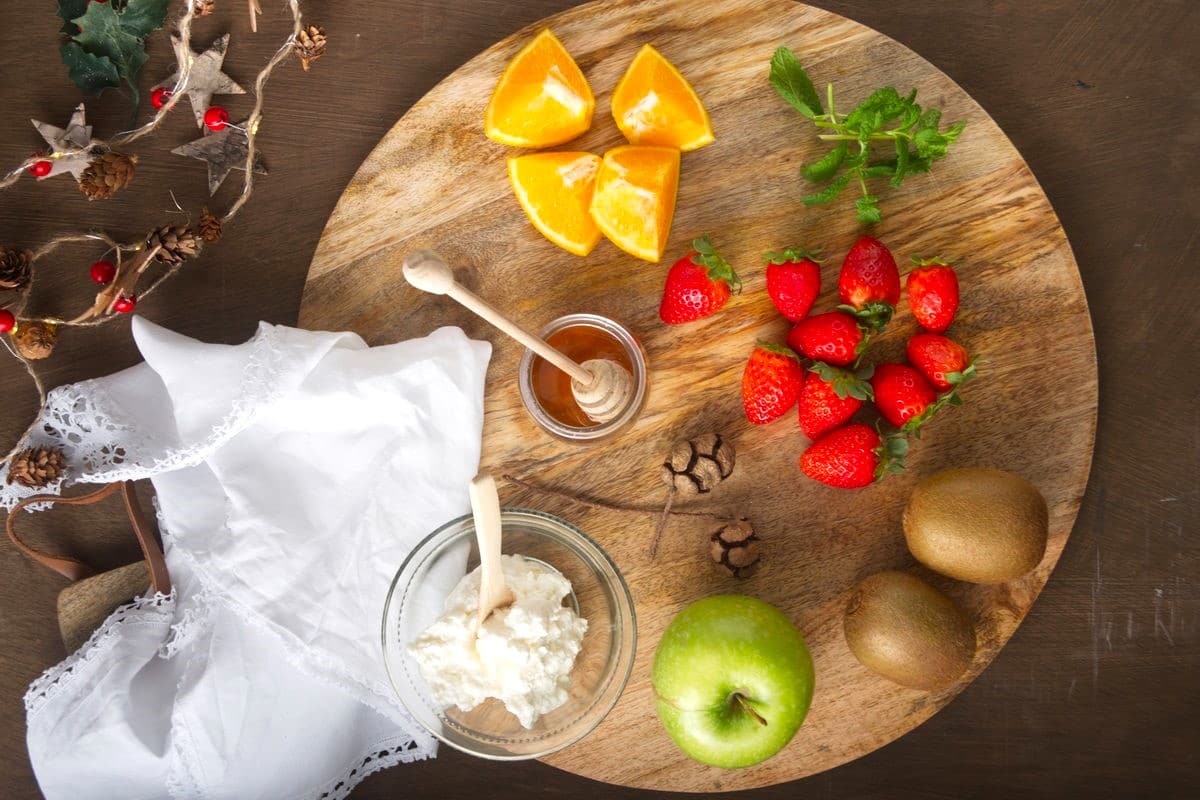
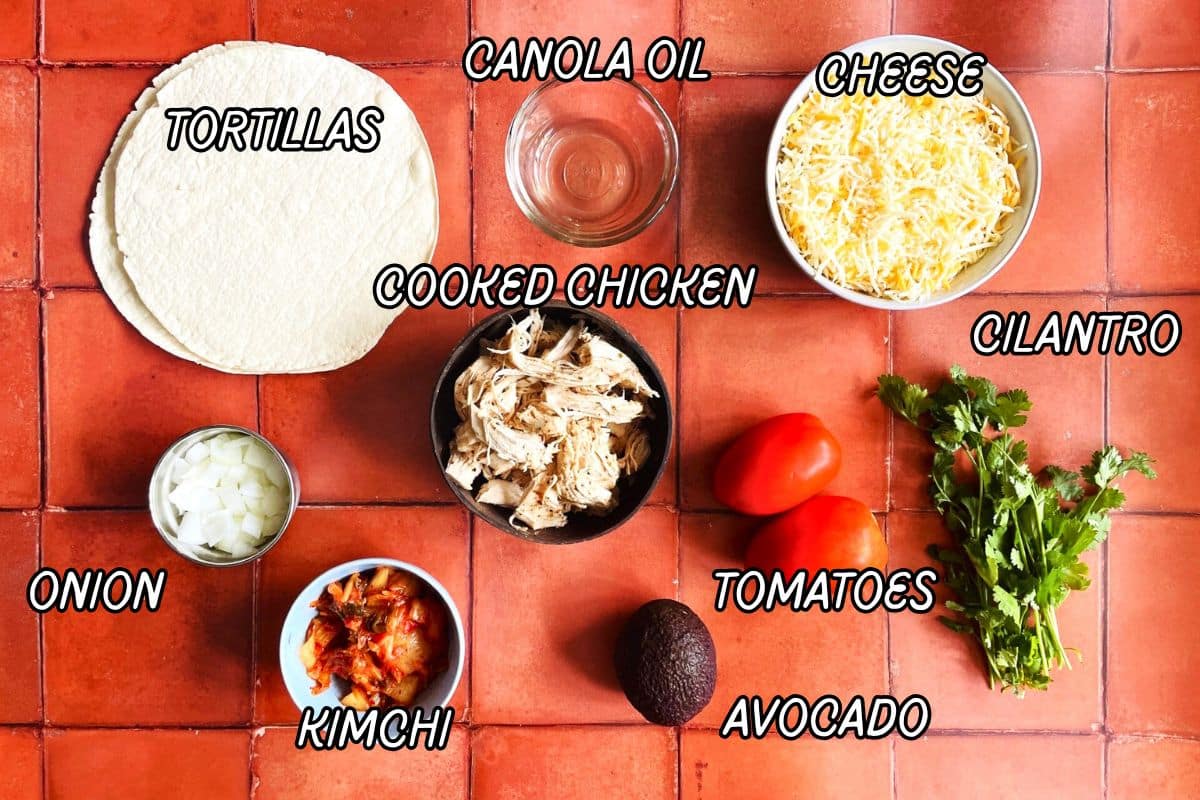
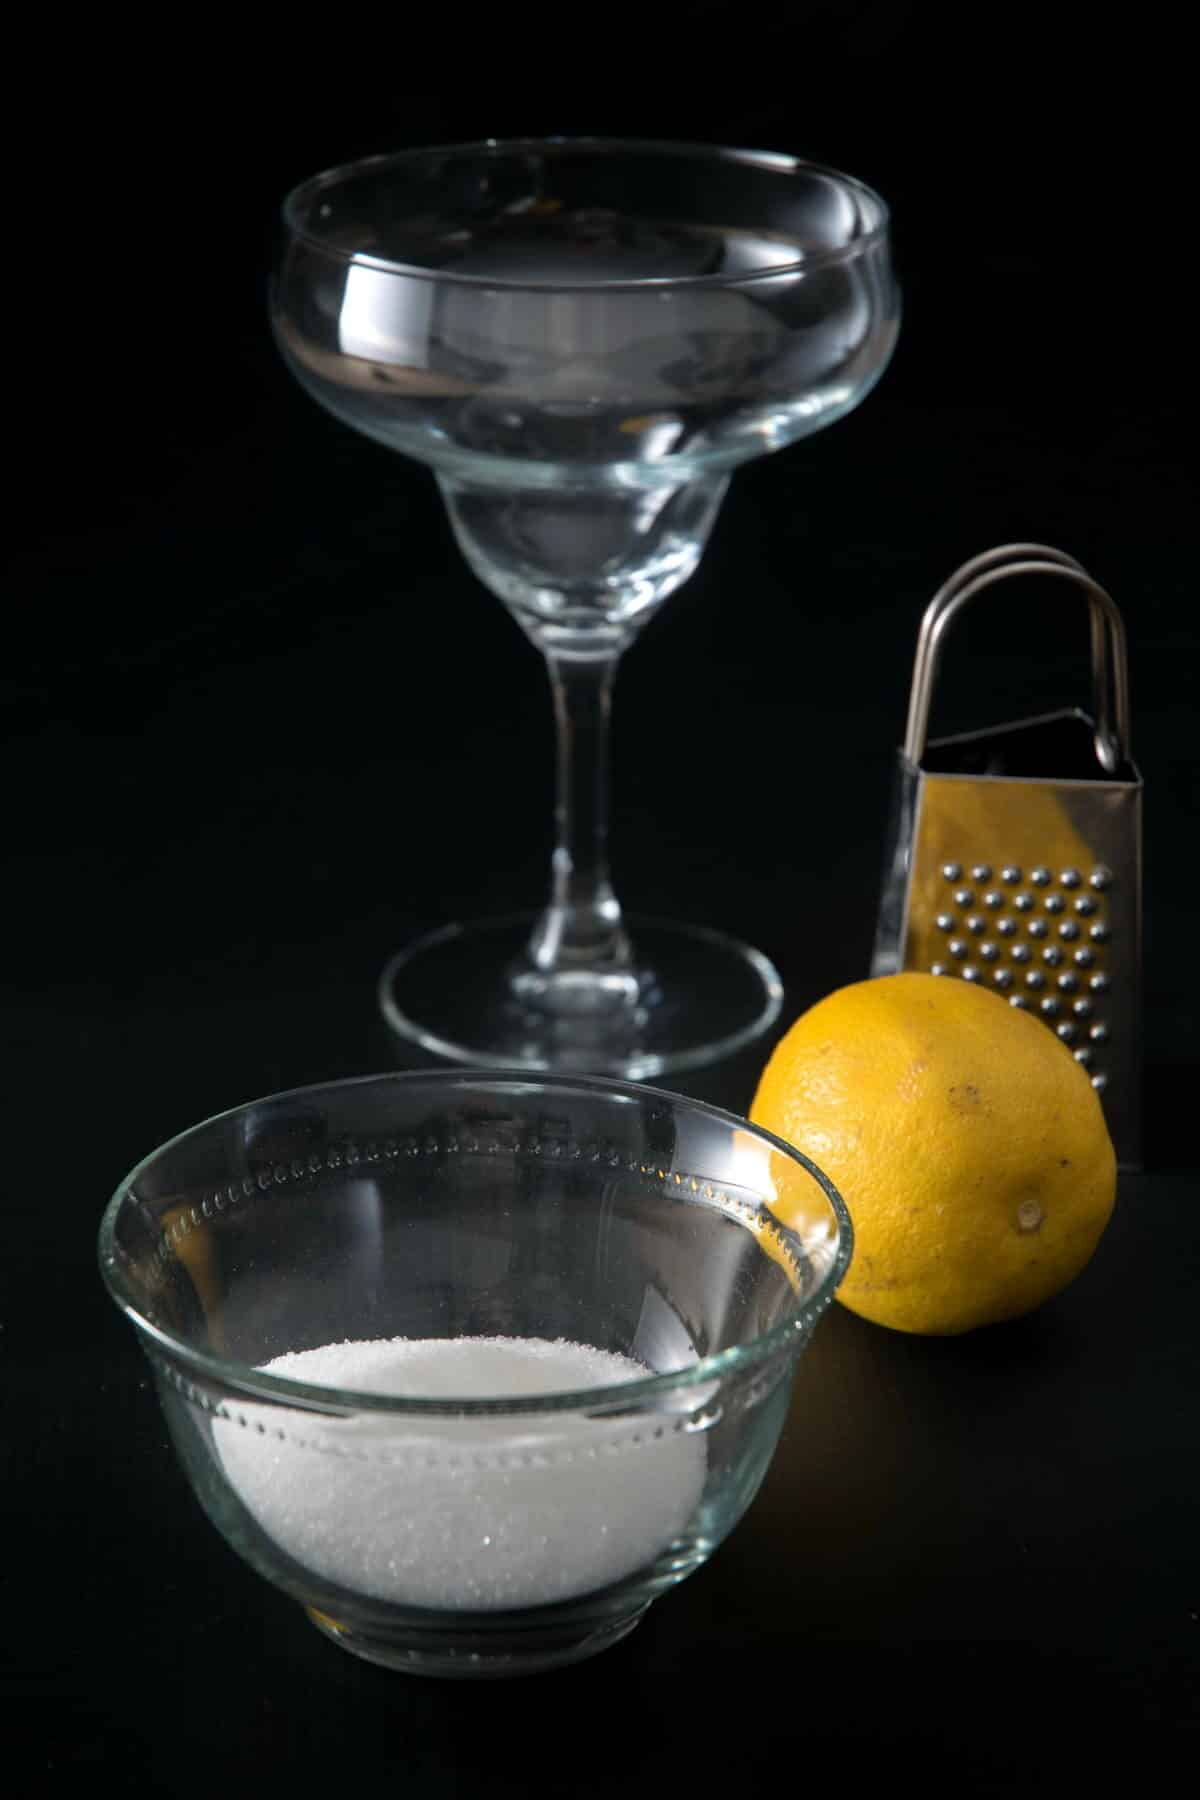
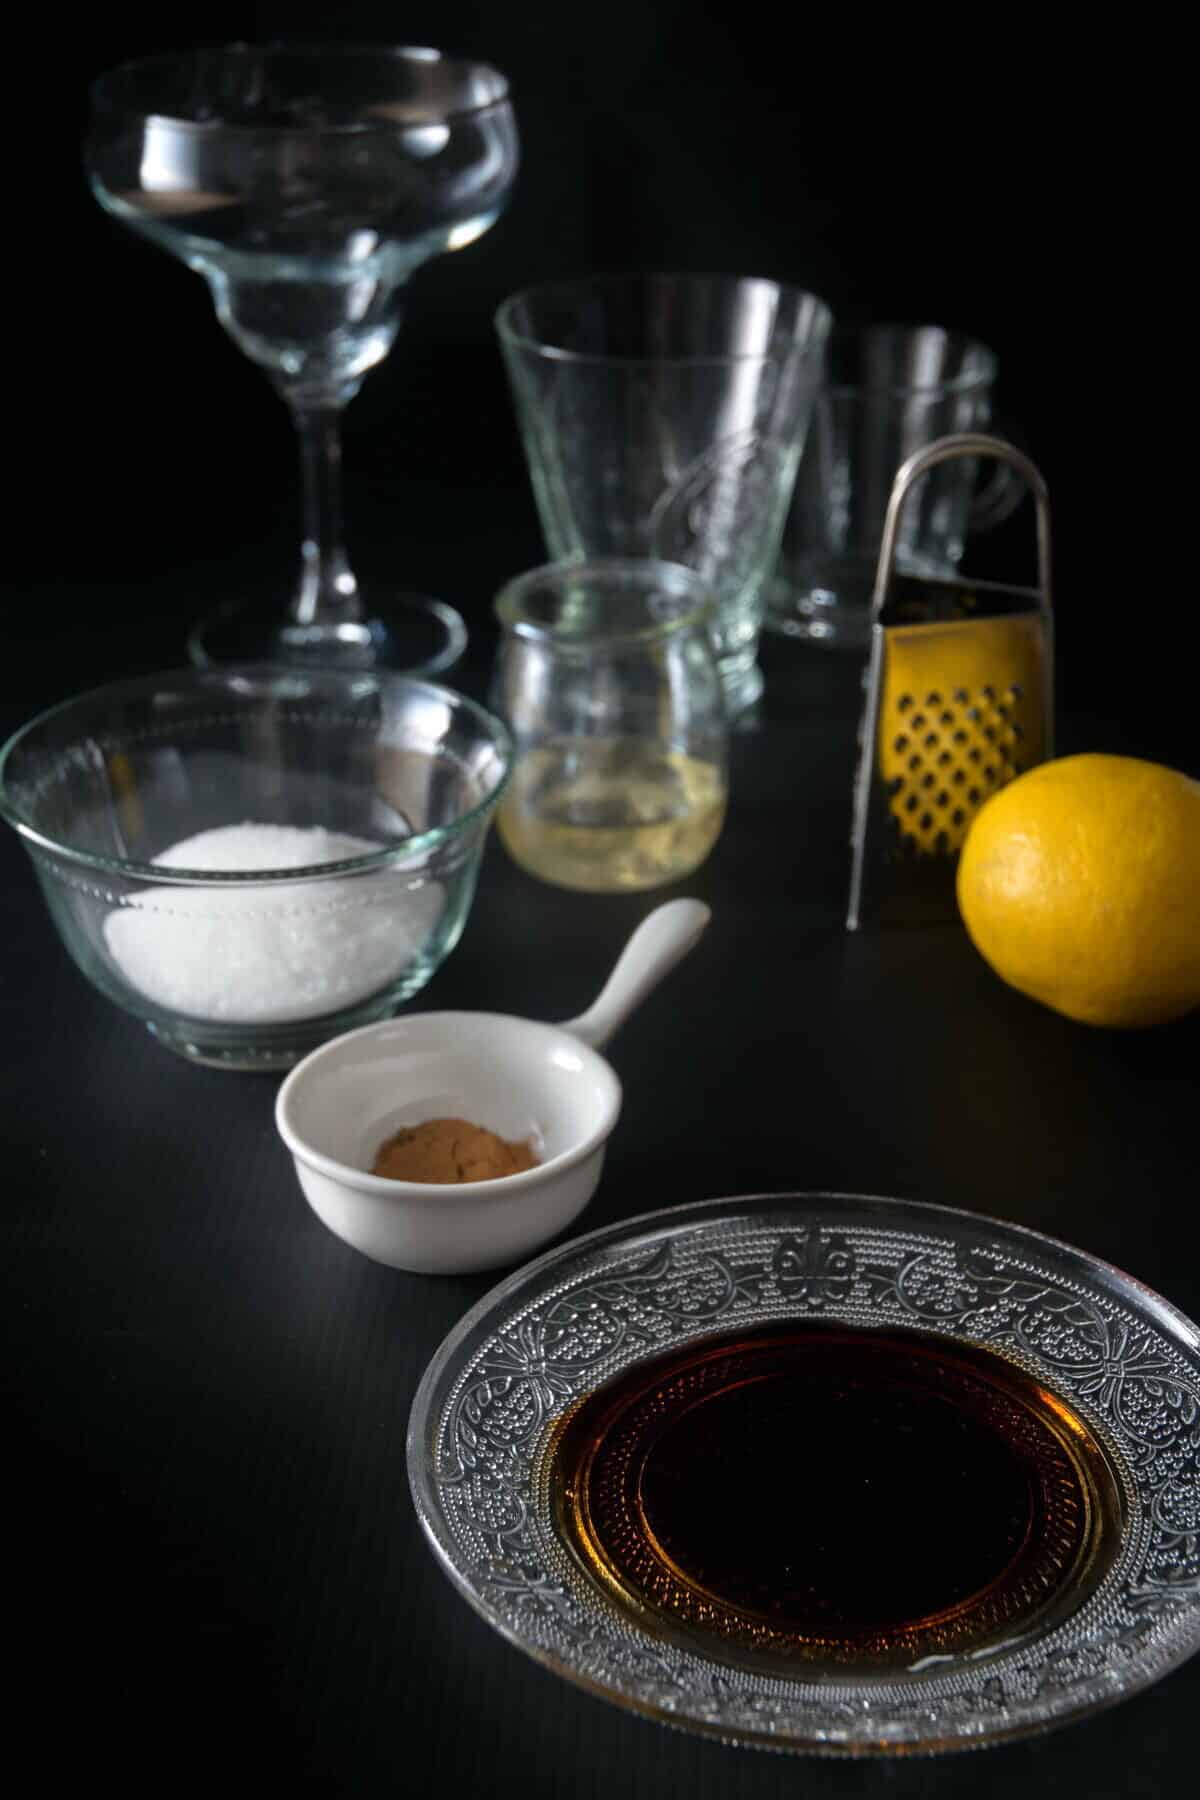
🍚 Ingredients
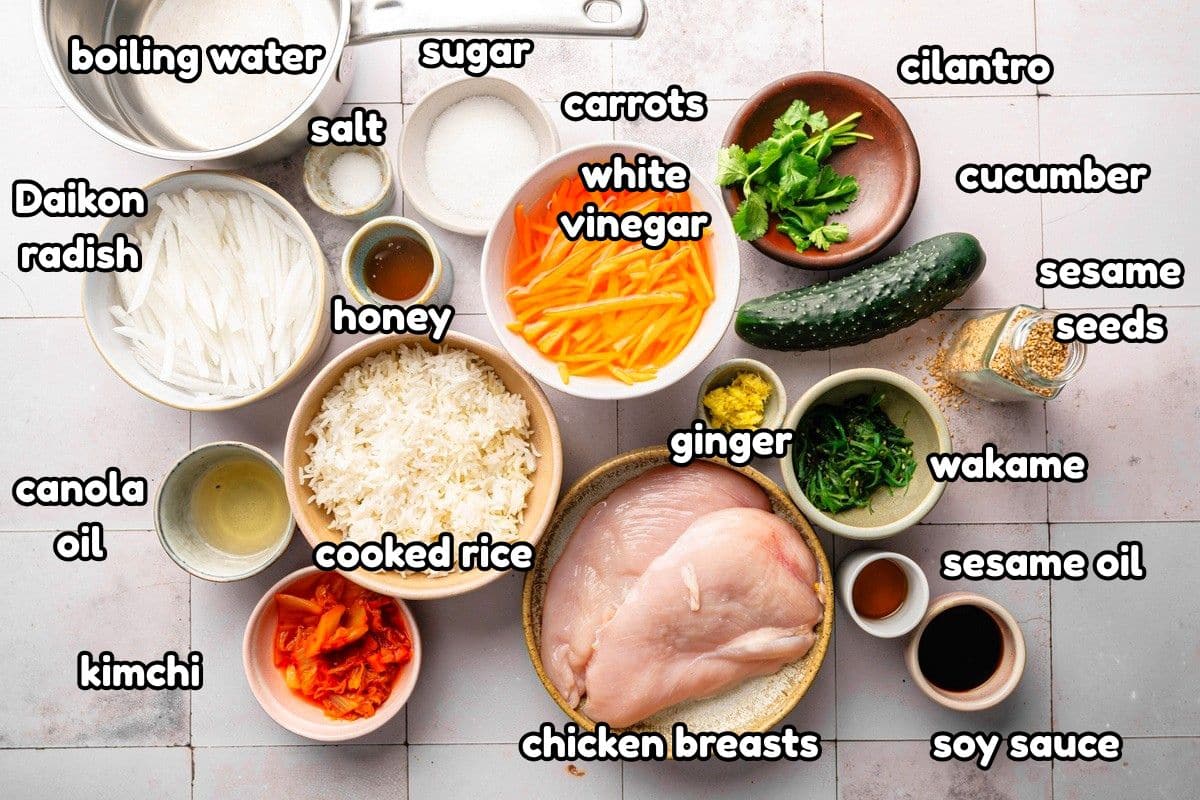
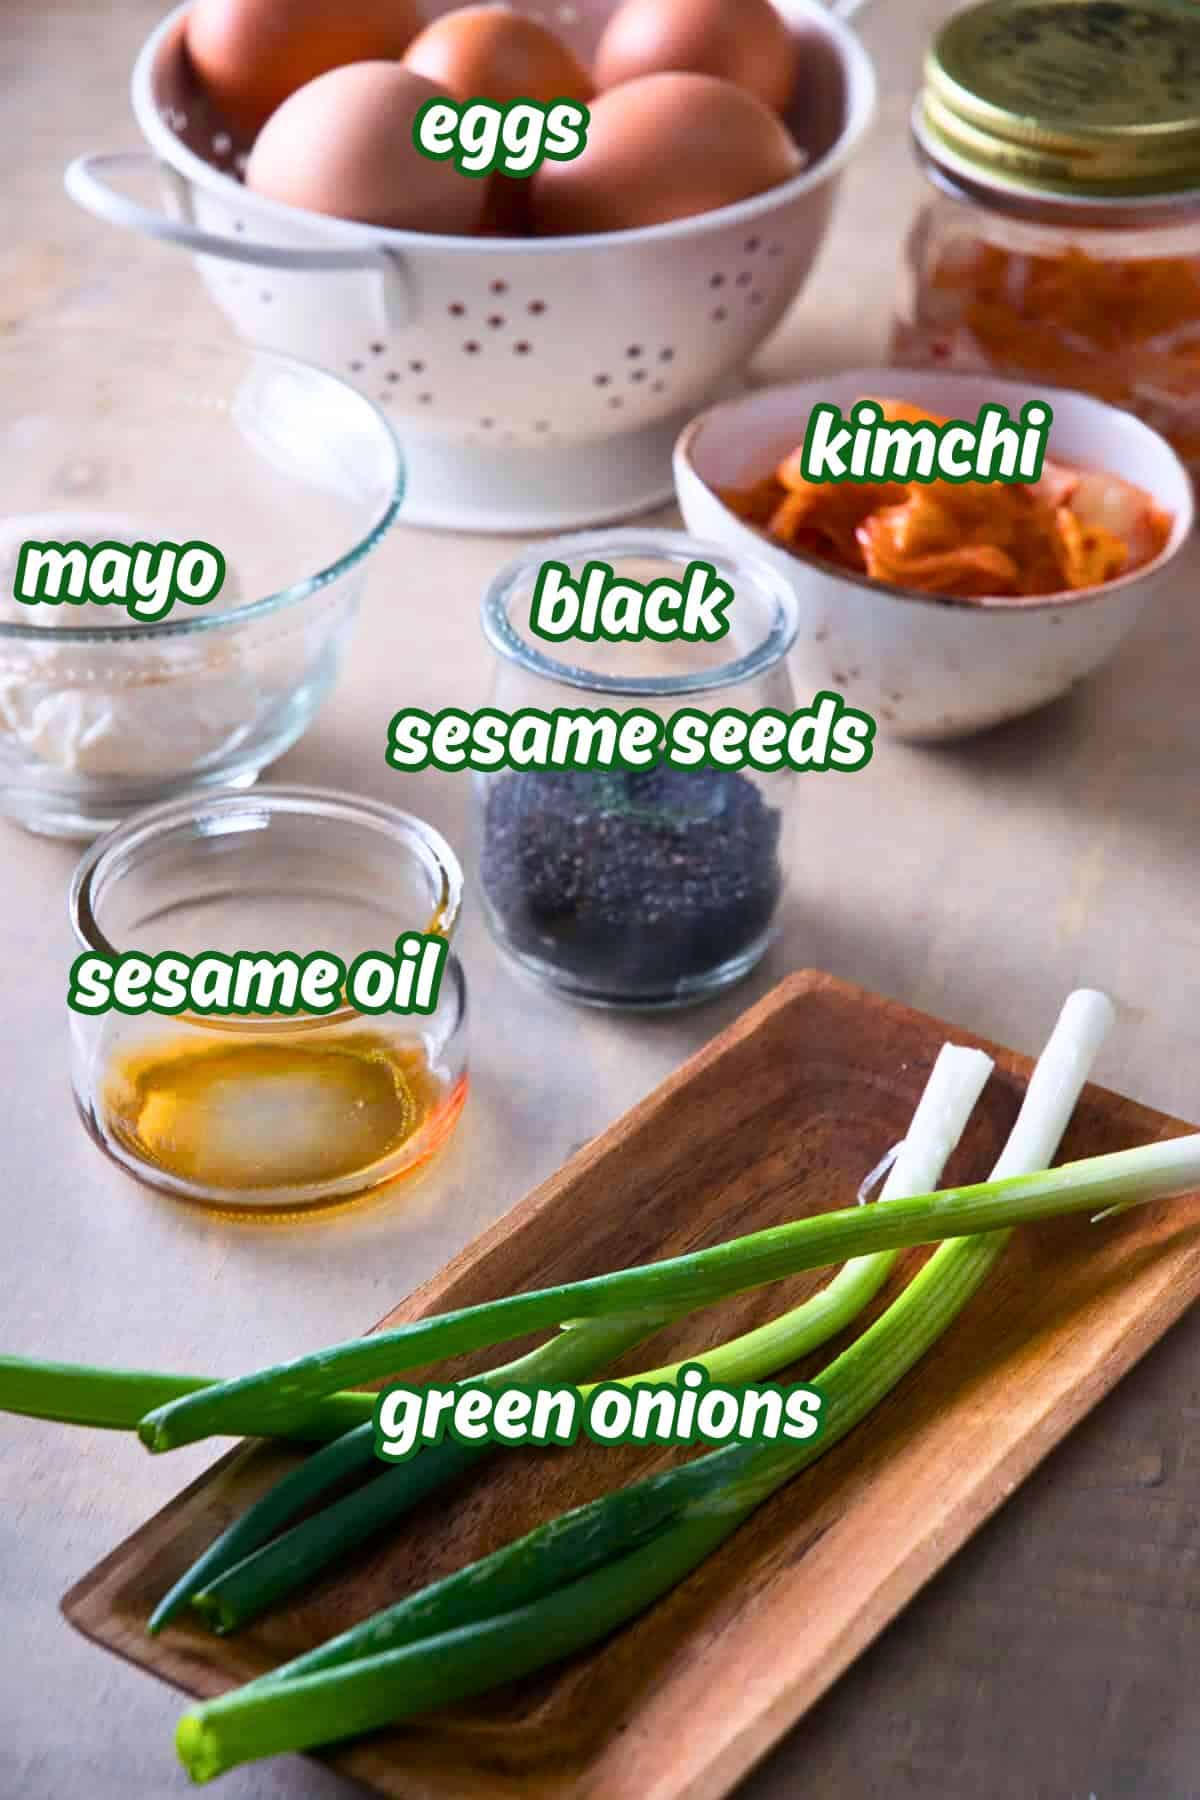
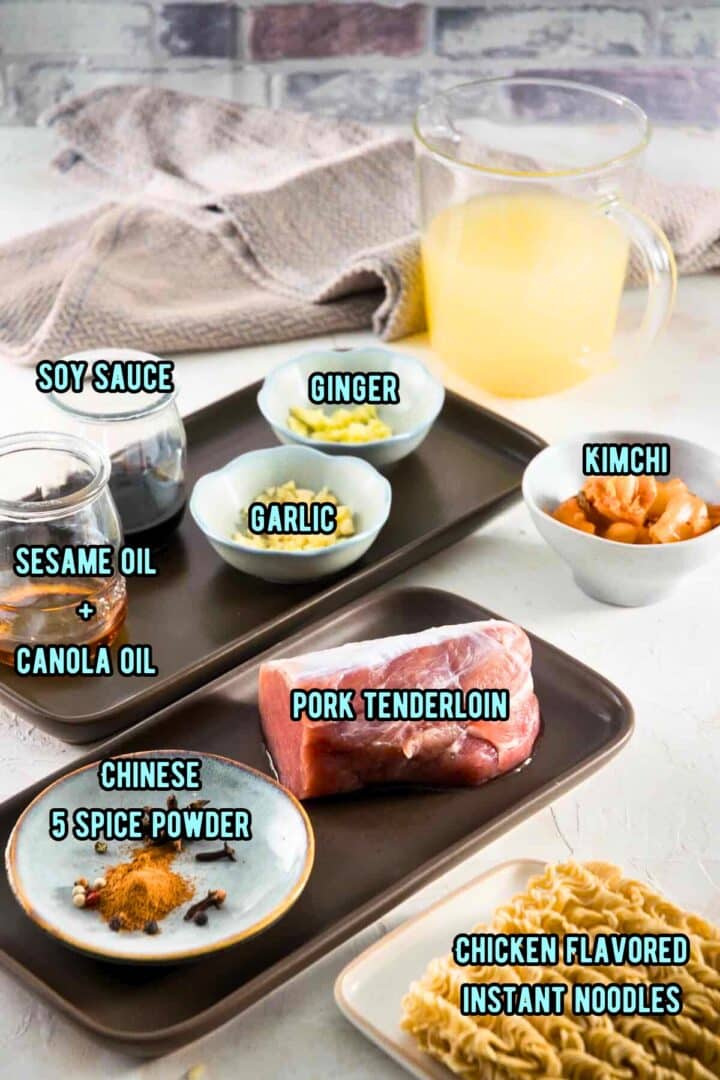
- fresh ginger - Instead of fresh ginger, you can substitute with ground ginger. For each tablespoon of fresh ginger, you can use ¼ teaspoon ground ginger.
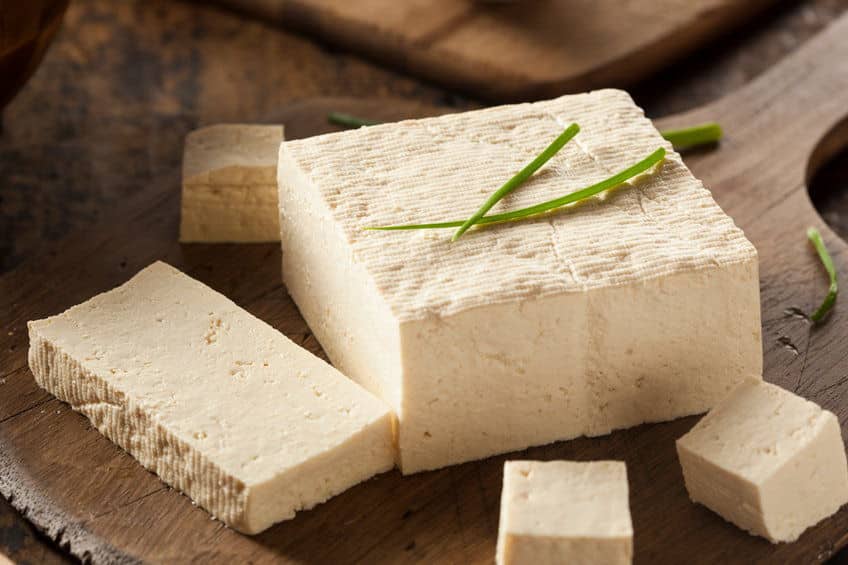
- chicken breasts - Boneless and skinless.
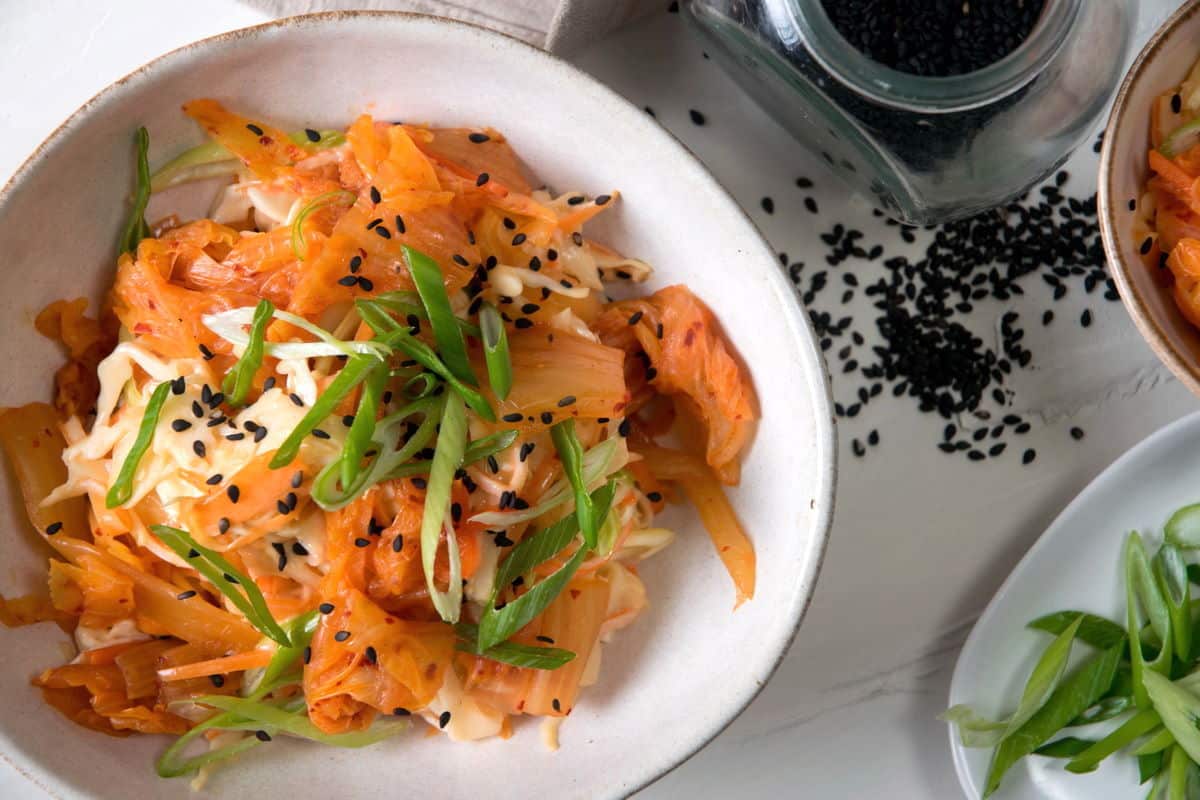
- daikon radish - Daikon radish is a long white radish, popular in Asian cooking, and it's commonly an ingredient in kimchi. It's a tad peppery but much less than the more common red radishes. The daikon and carrots will be pickled, but you could also pick up a jar of pickled Asian vegetables if you don't feel like pickling your own.
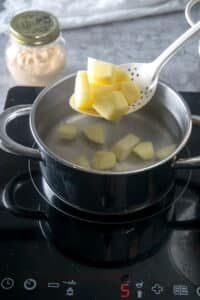
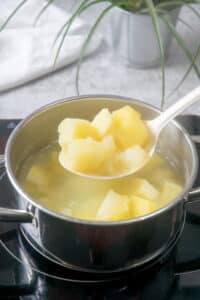
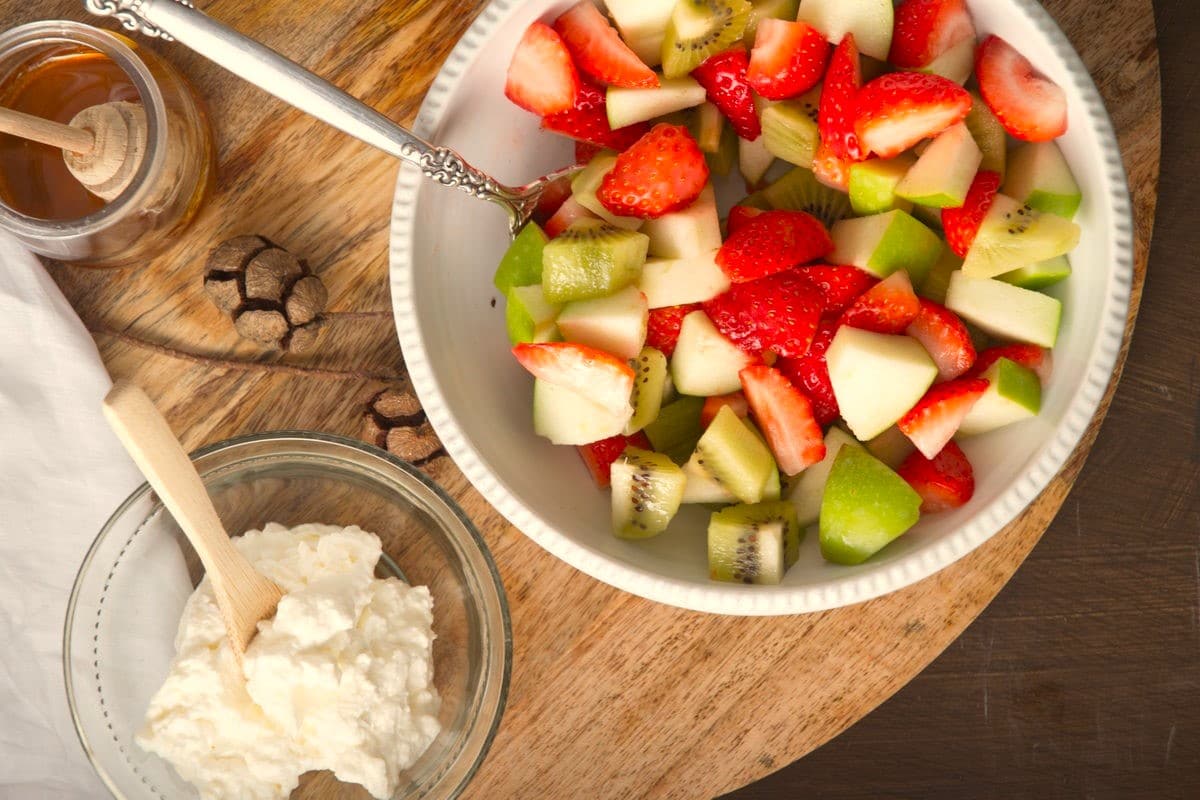
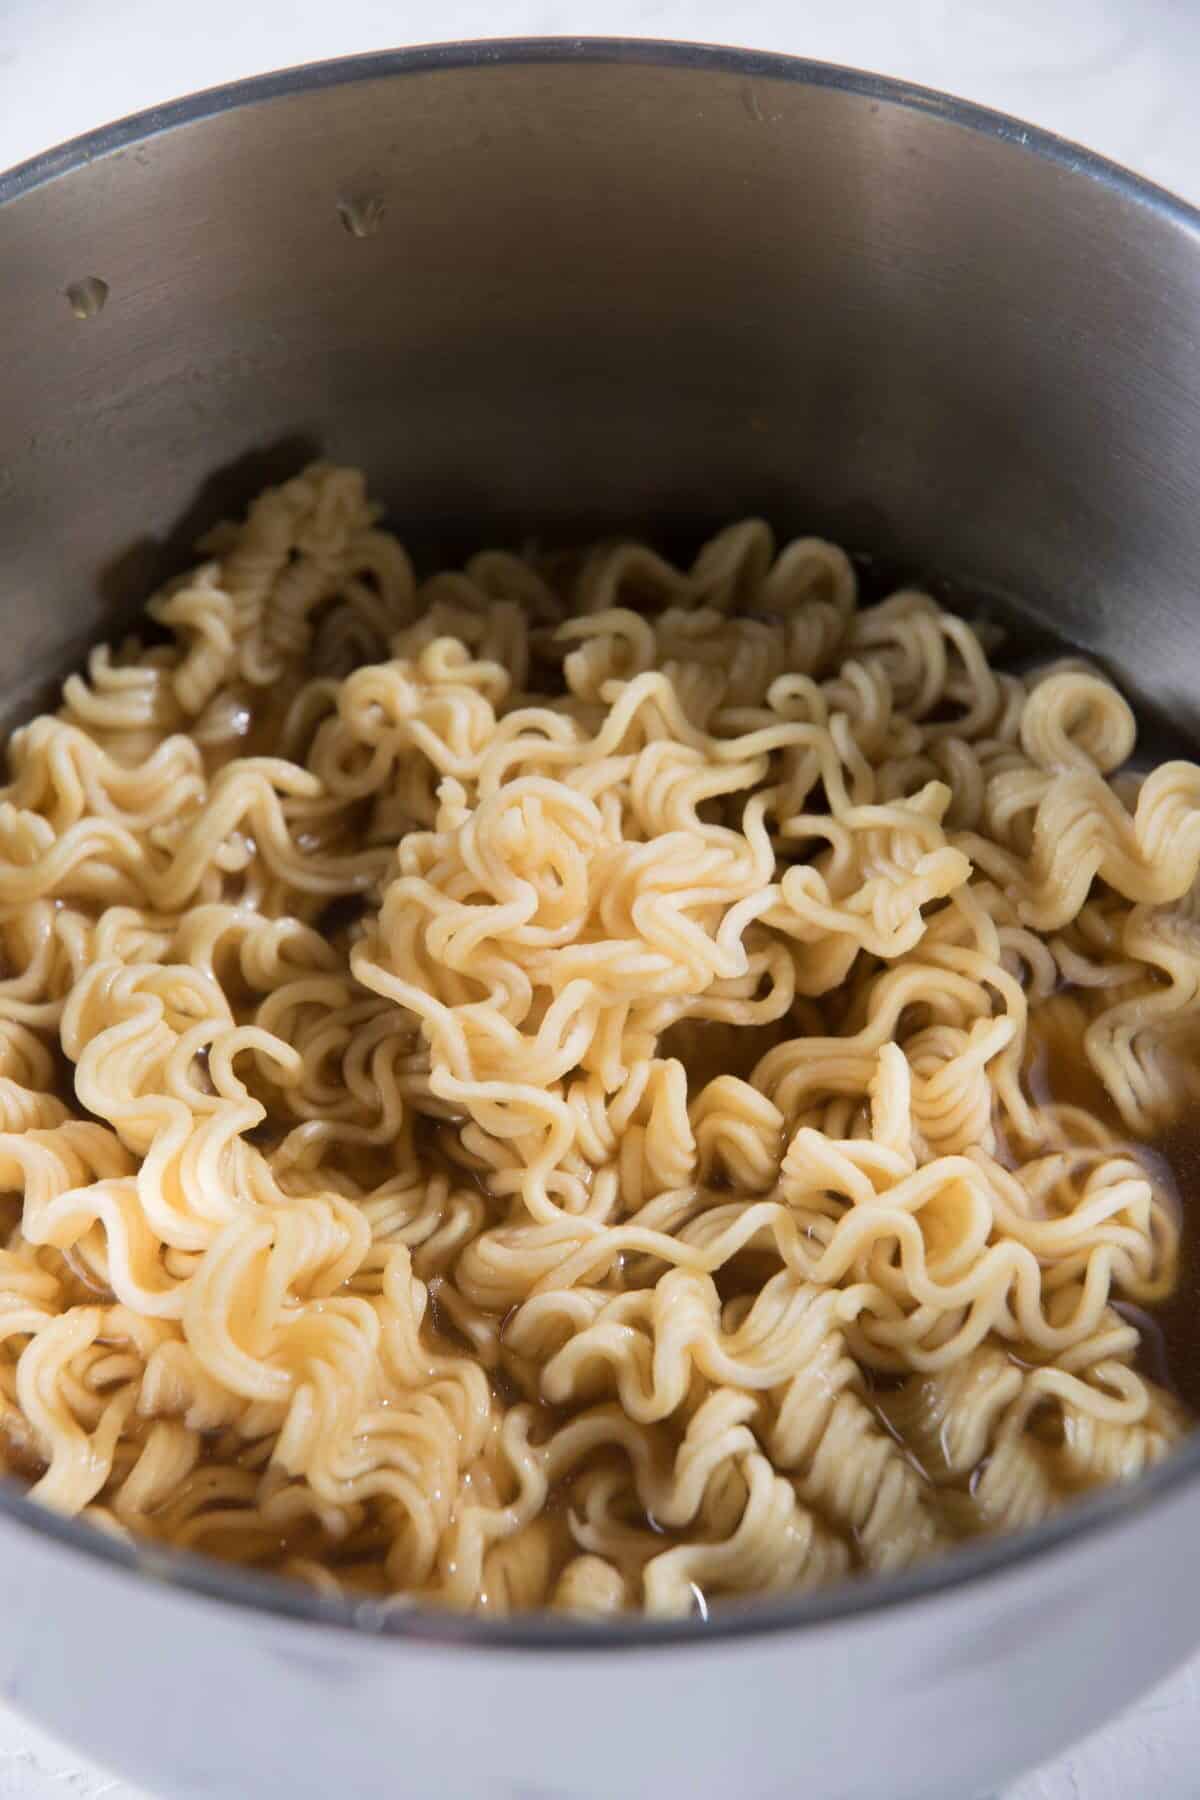
- cooked rice - This is a great way to use up leftover rice. But if you have to make more: 1 cup dry uncooked rice = about 3 cups cooked.
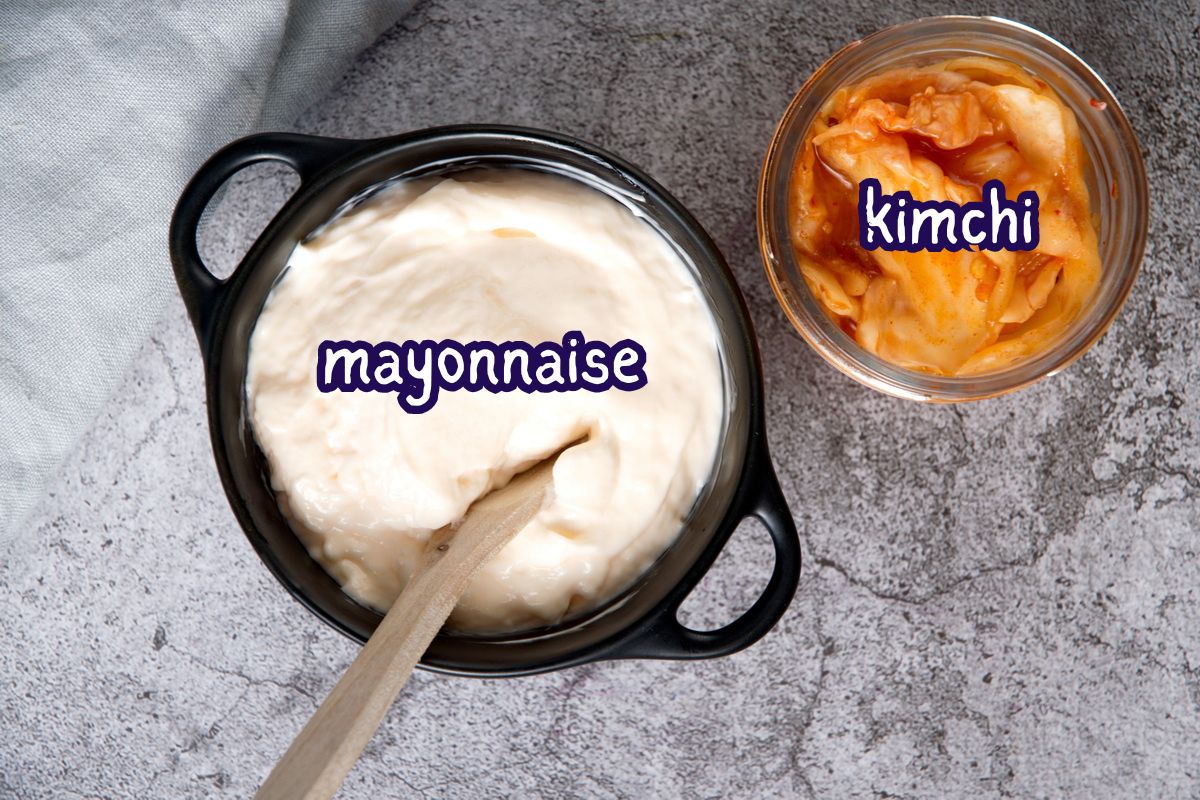
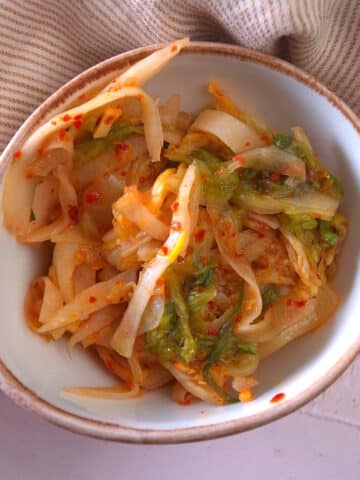
- kimchi - Check out how to make kimchi here. You can also pick a jar up from the grocery store or online.
- cucumber - Thinly sliced cucumbers balance the hot ingredients with a light, cooling sensation. I have tips for slicing them thinly below. Asian cucumbers are great for slicing and pickling but you can also use English cucumbers.
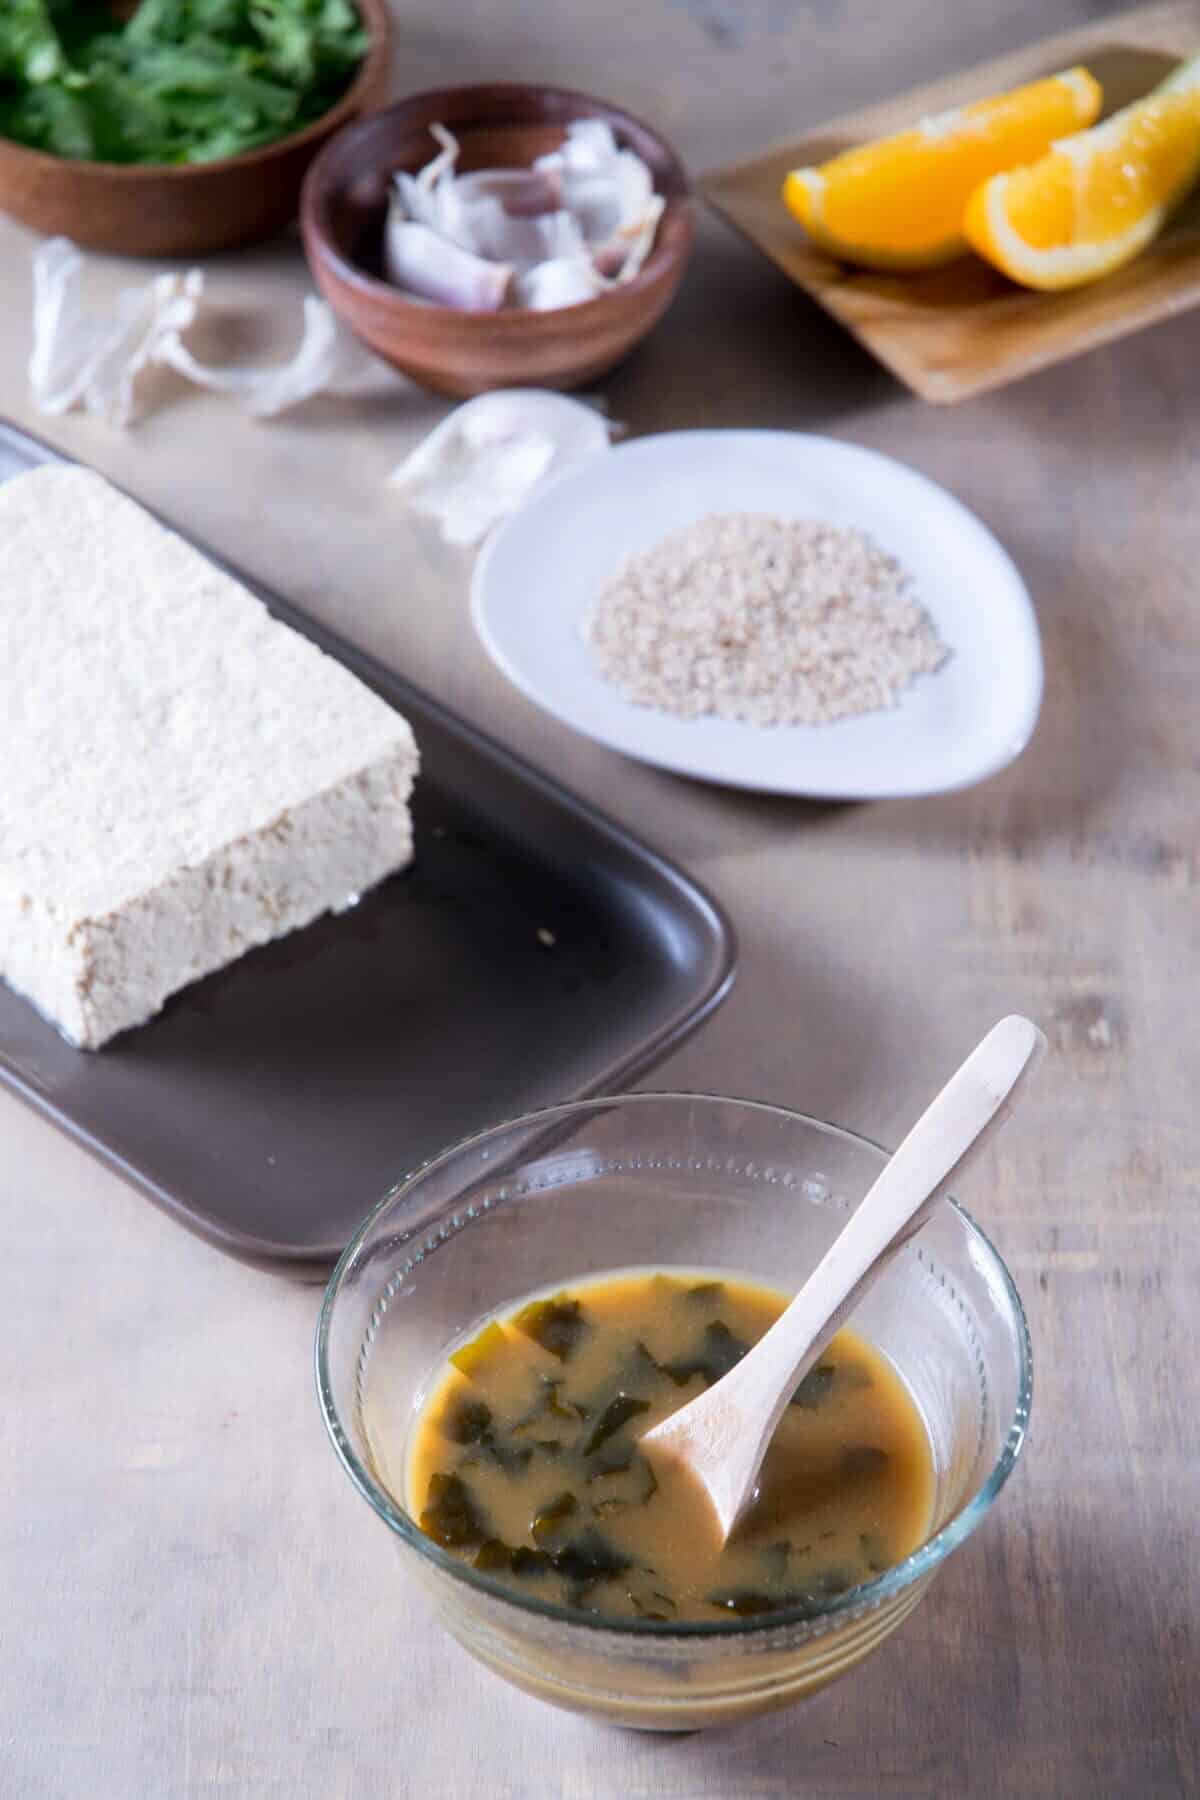
- wakame - Never tried wakame before? Visit a global food store to pick up this edible seaweed that offers a salty, savory flavor. It will need to be rehydrated. If you can't find any or just don't like wakame, leave it out.
*Check recipe card for ingredient amounts.
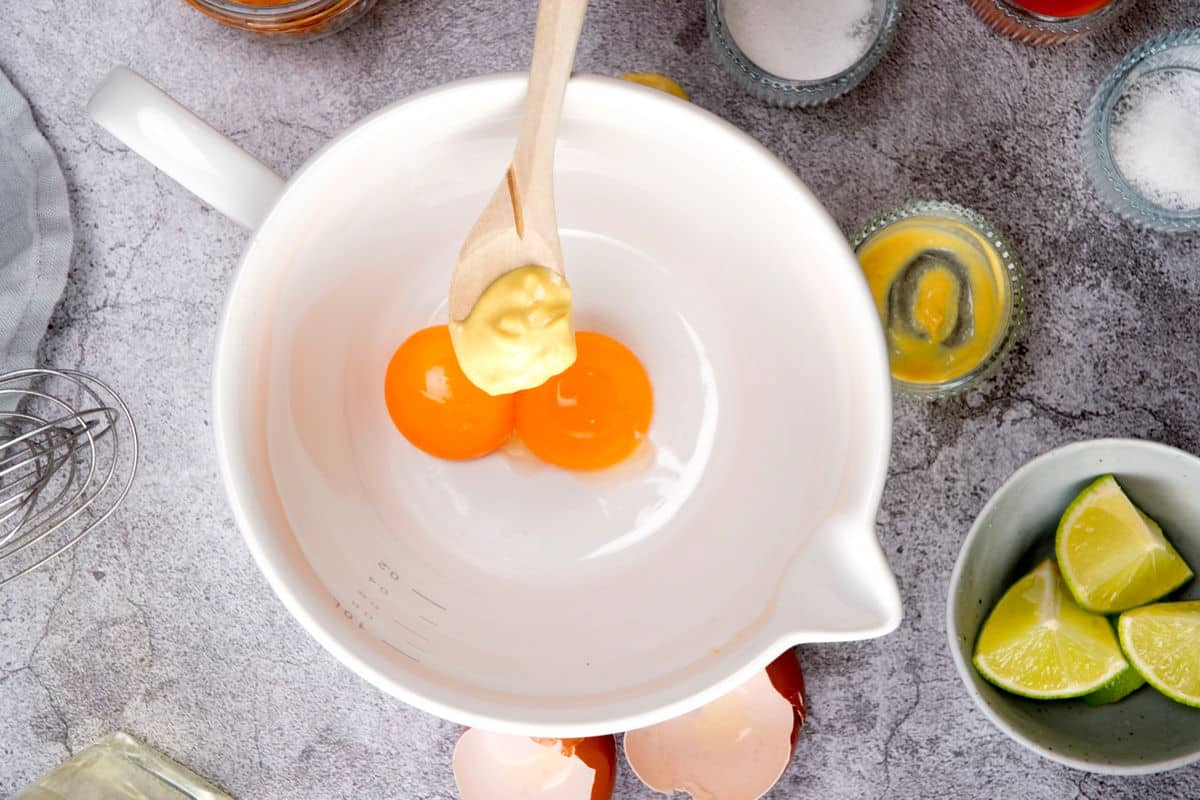
🥘 How to Make a Kimchi Rice Bowl
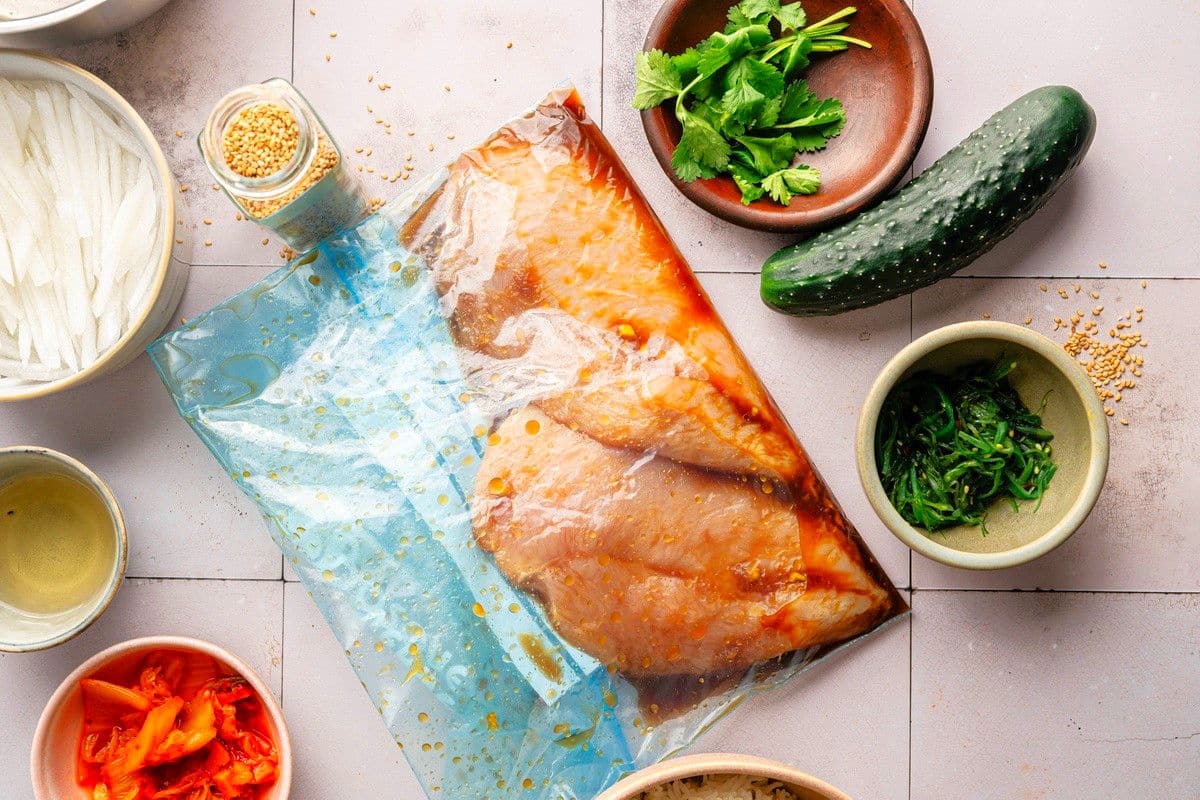
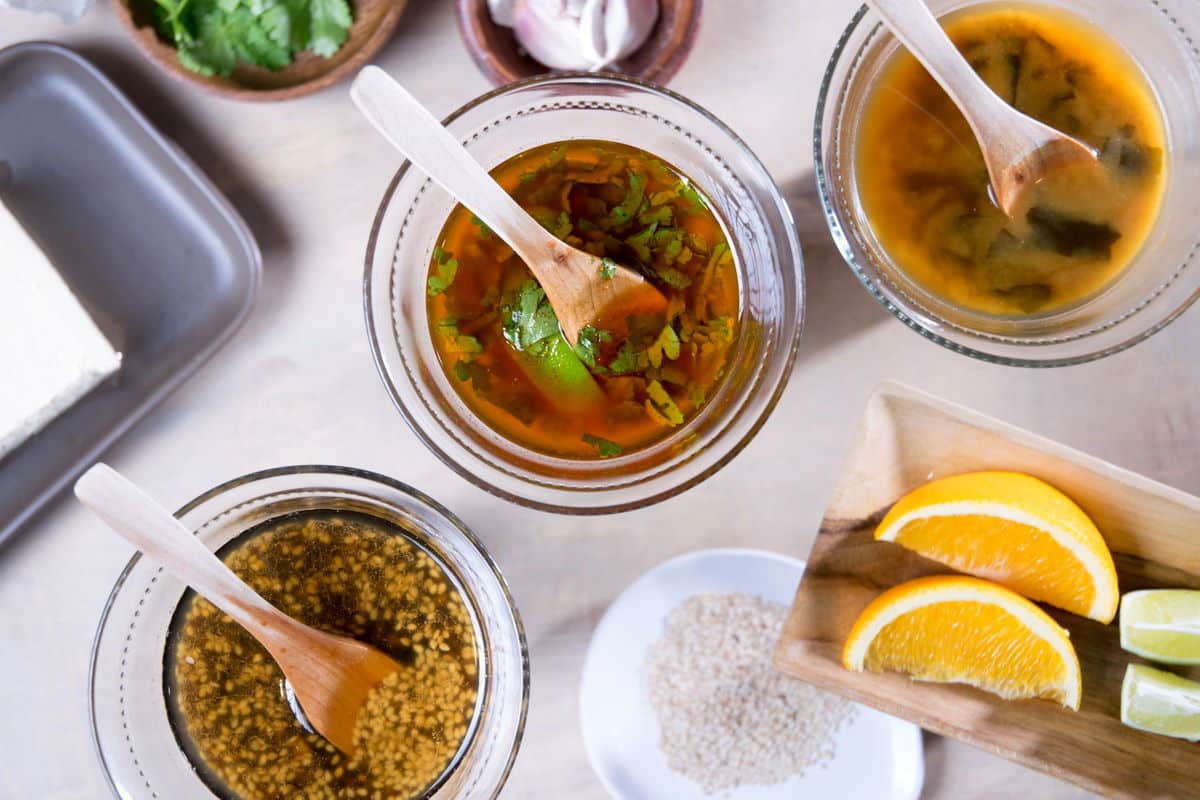
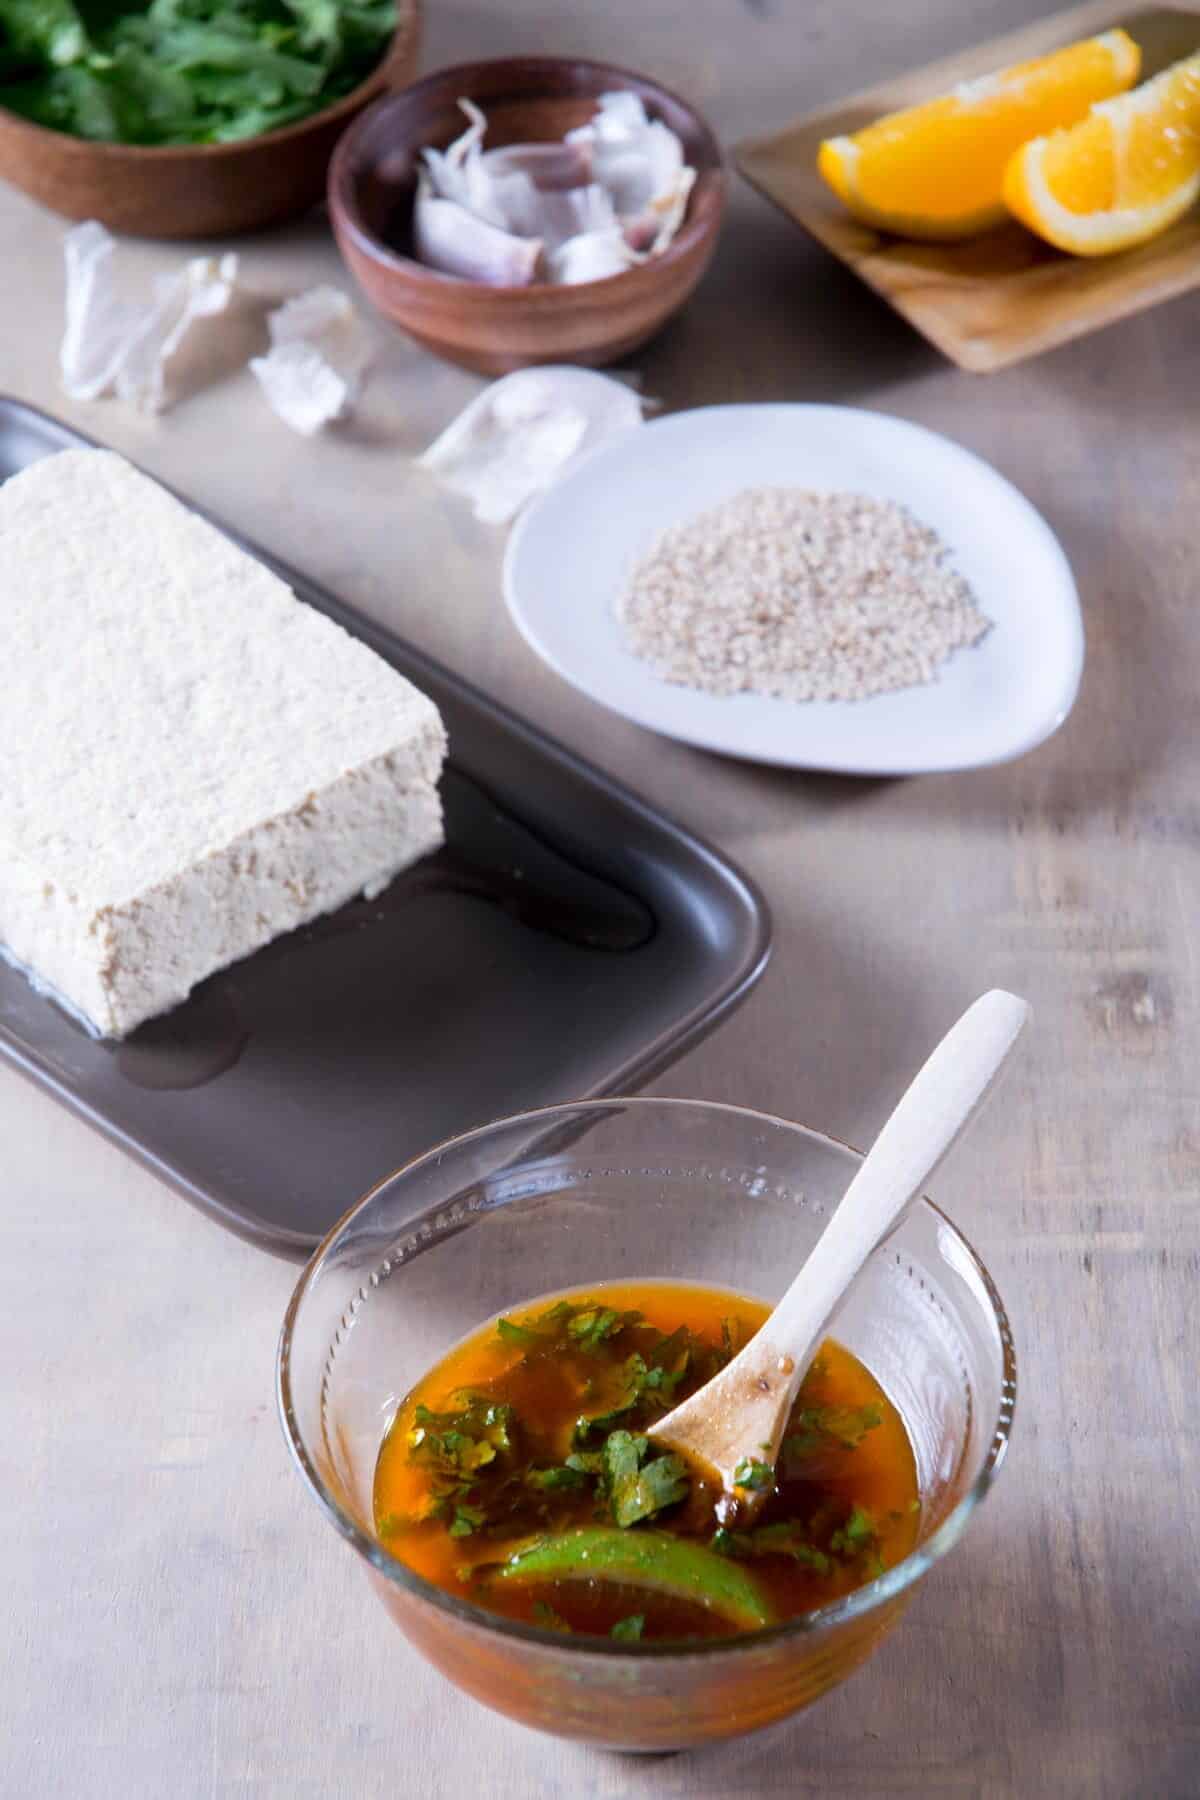
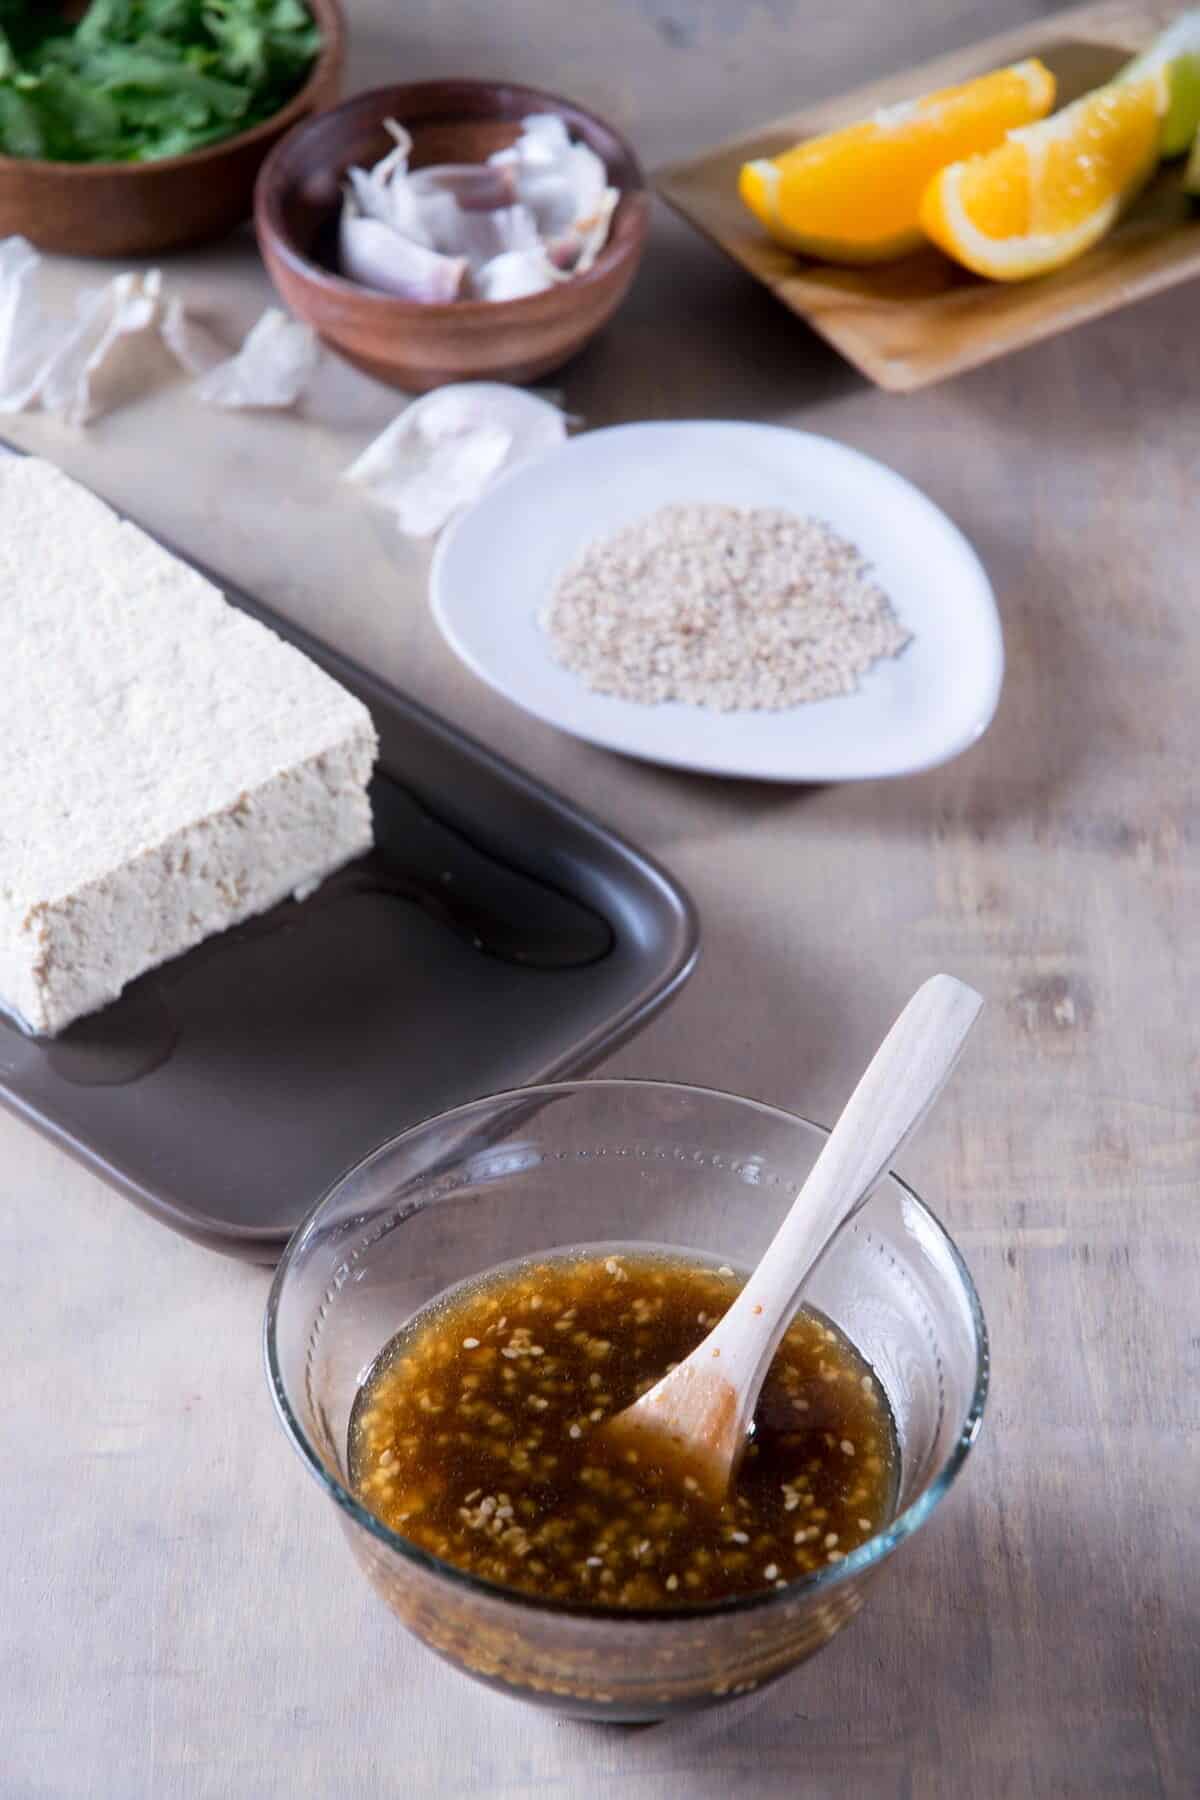
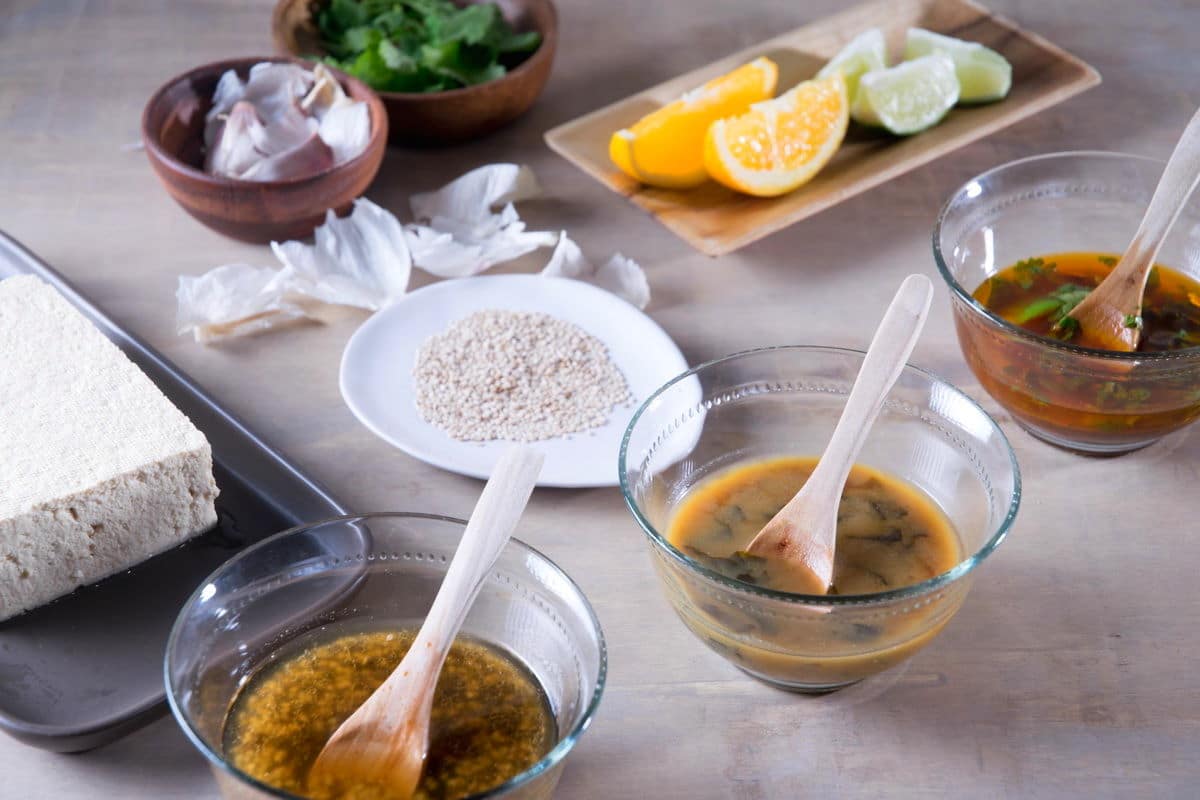
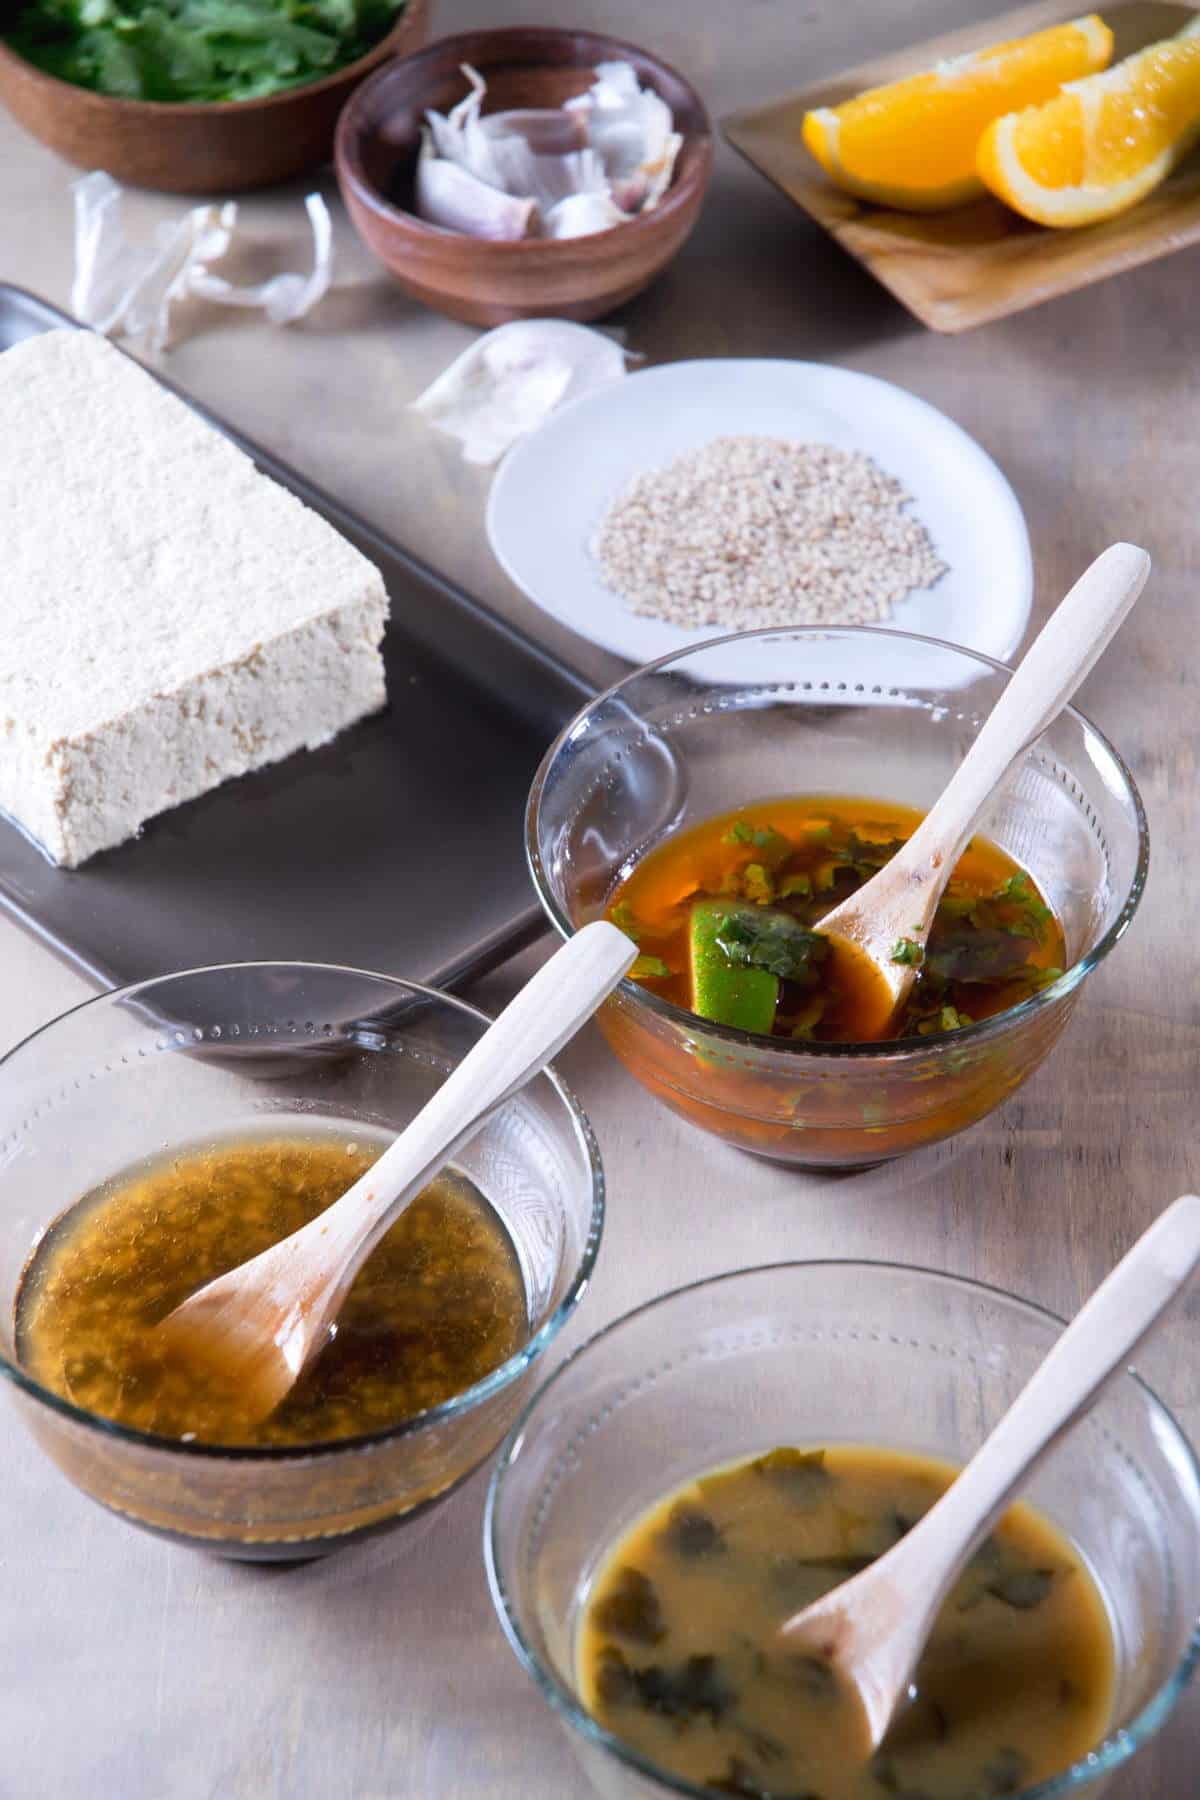
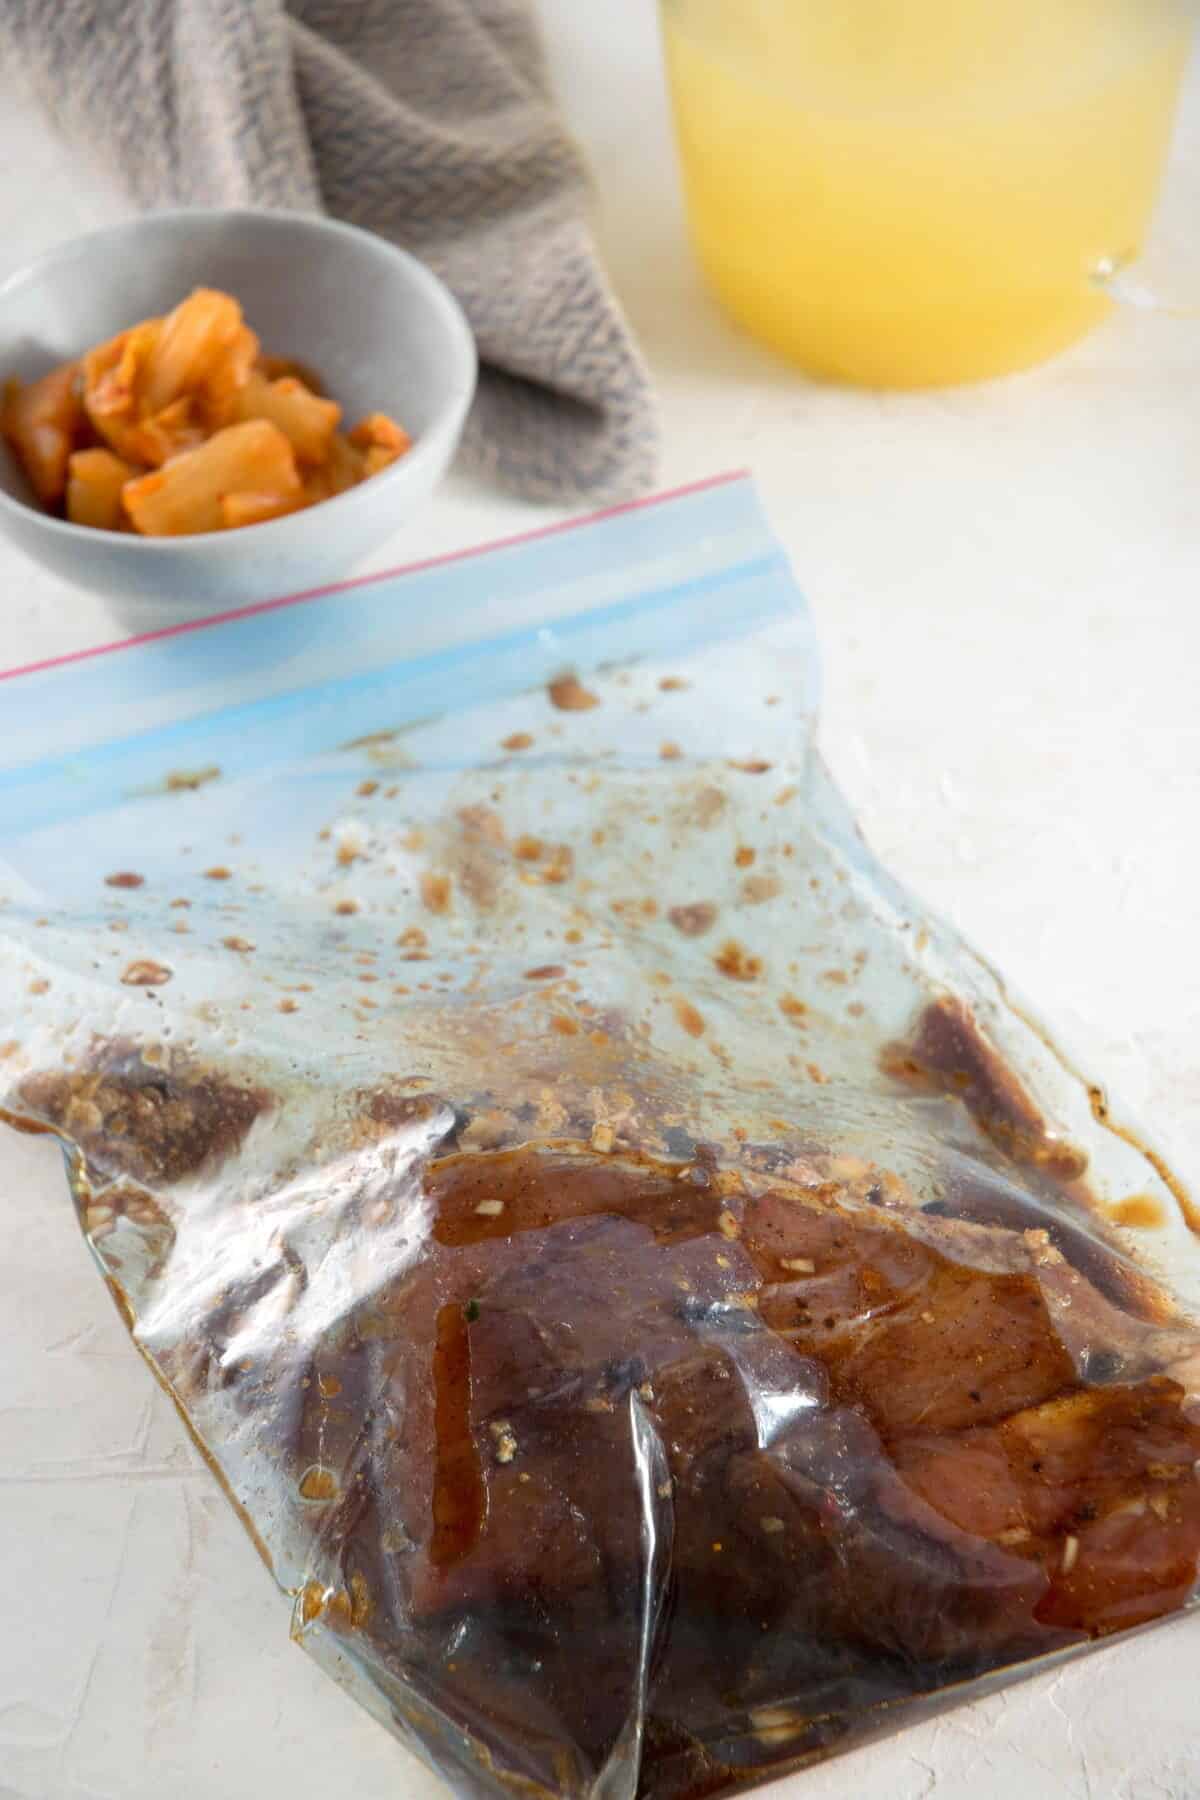
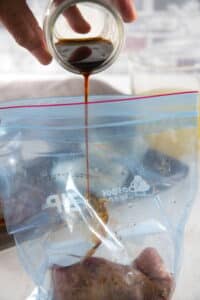
Step 1. Marinate the chicken. Whisk the soy sauce, honey, sesame oil and ginger together. Transfer the marinade to a zip-top bag, add the chicken breasts and marinate for 30 minutes.
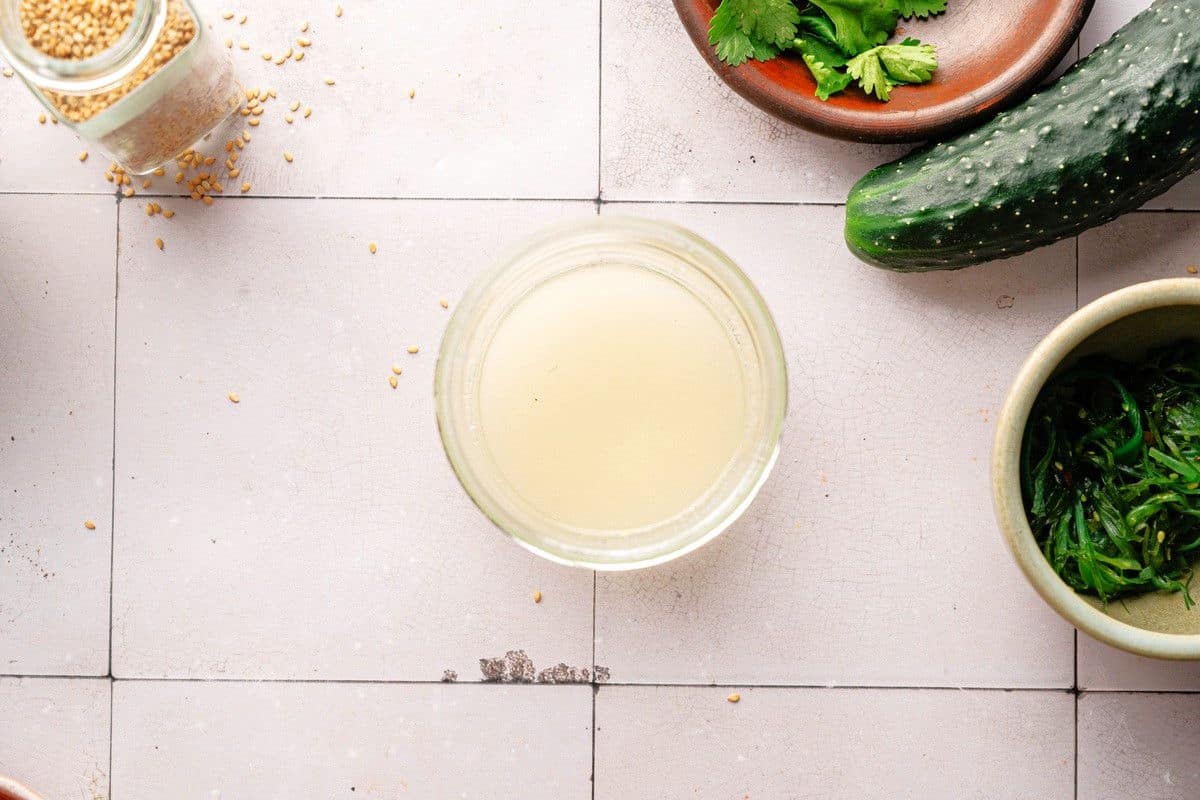
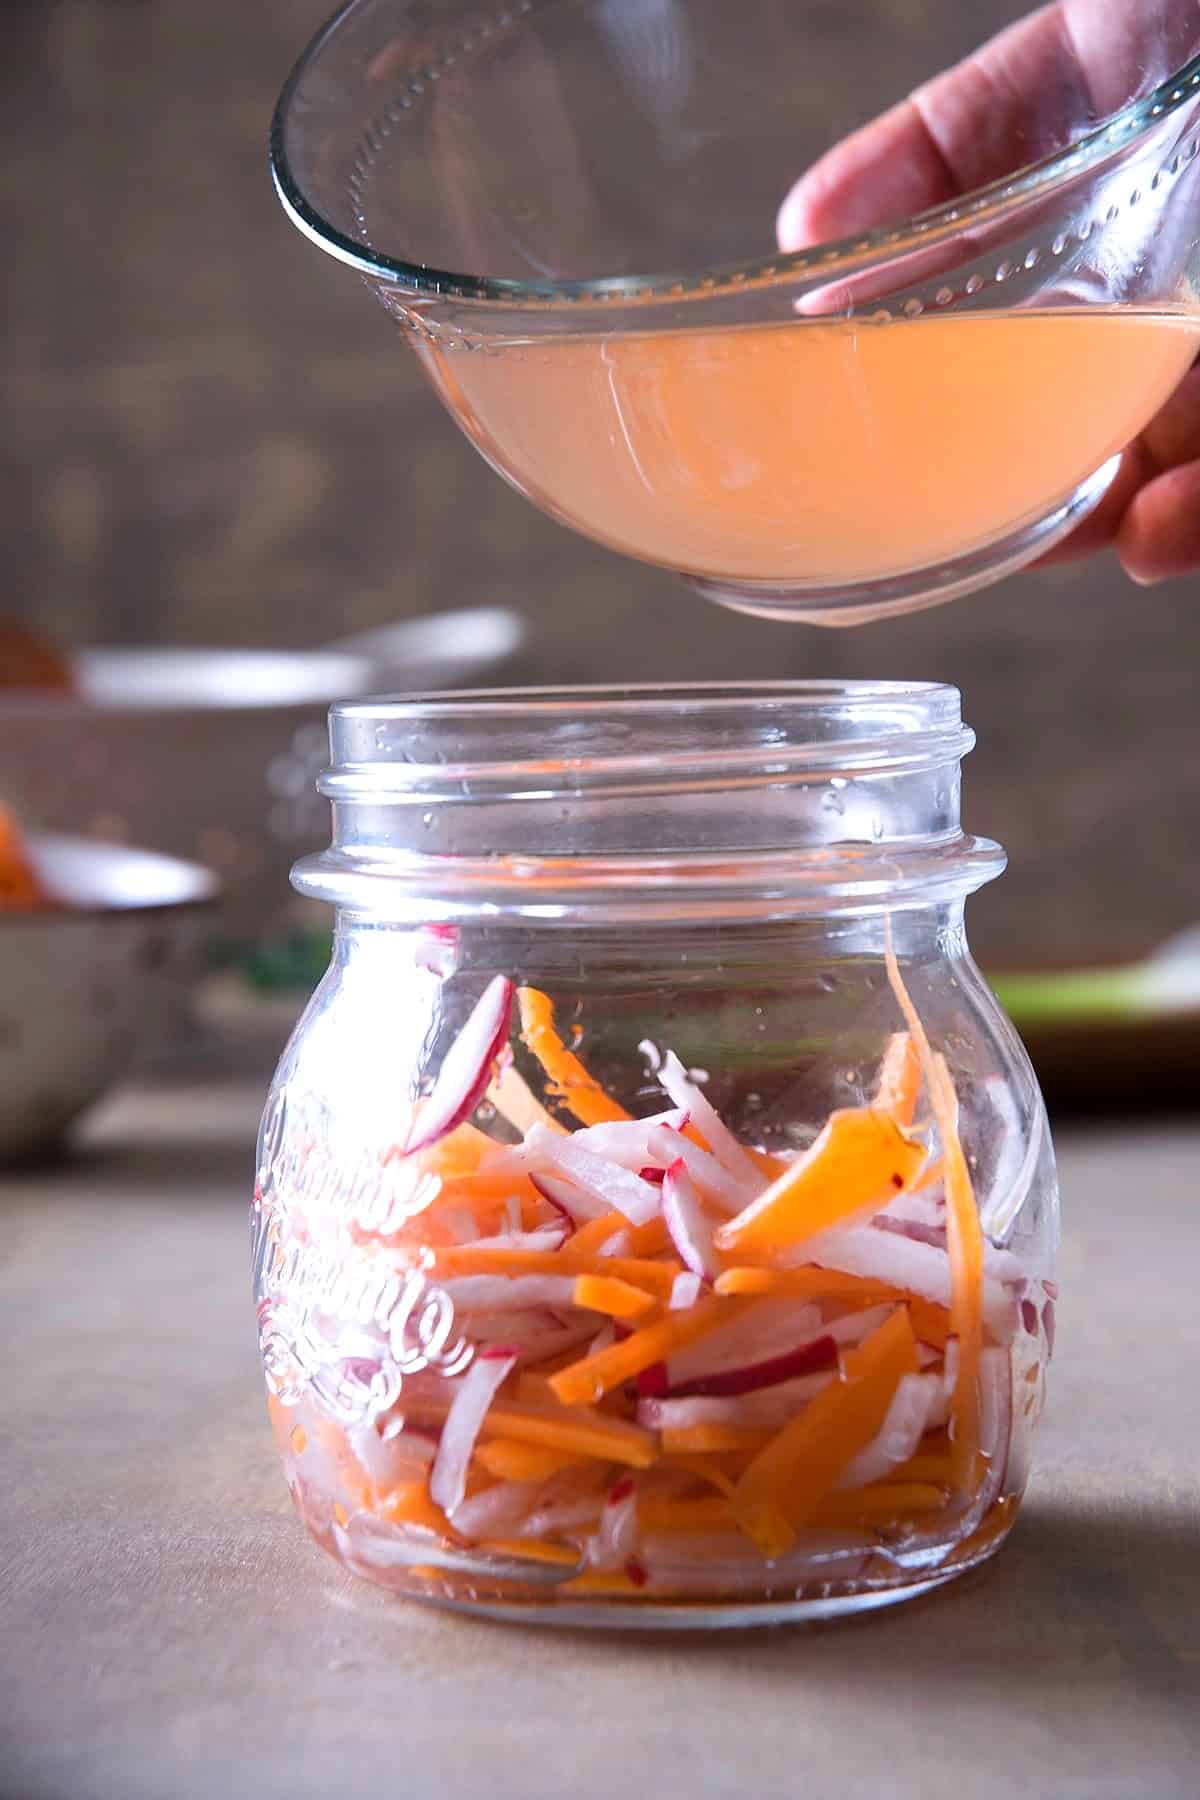
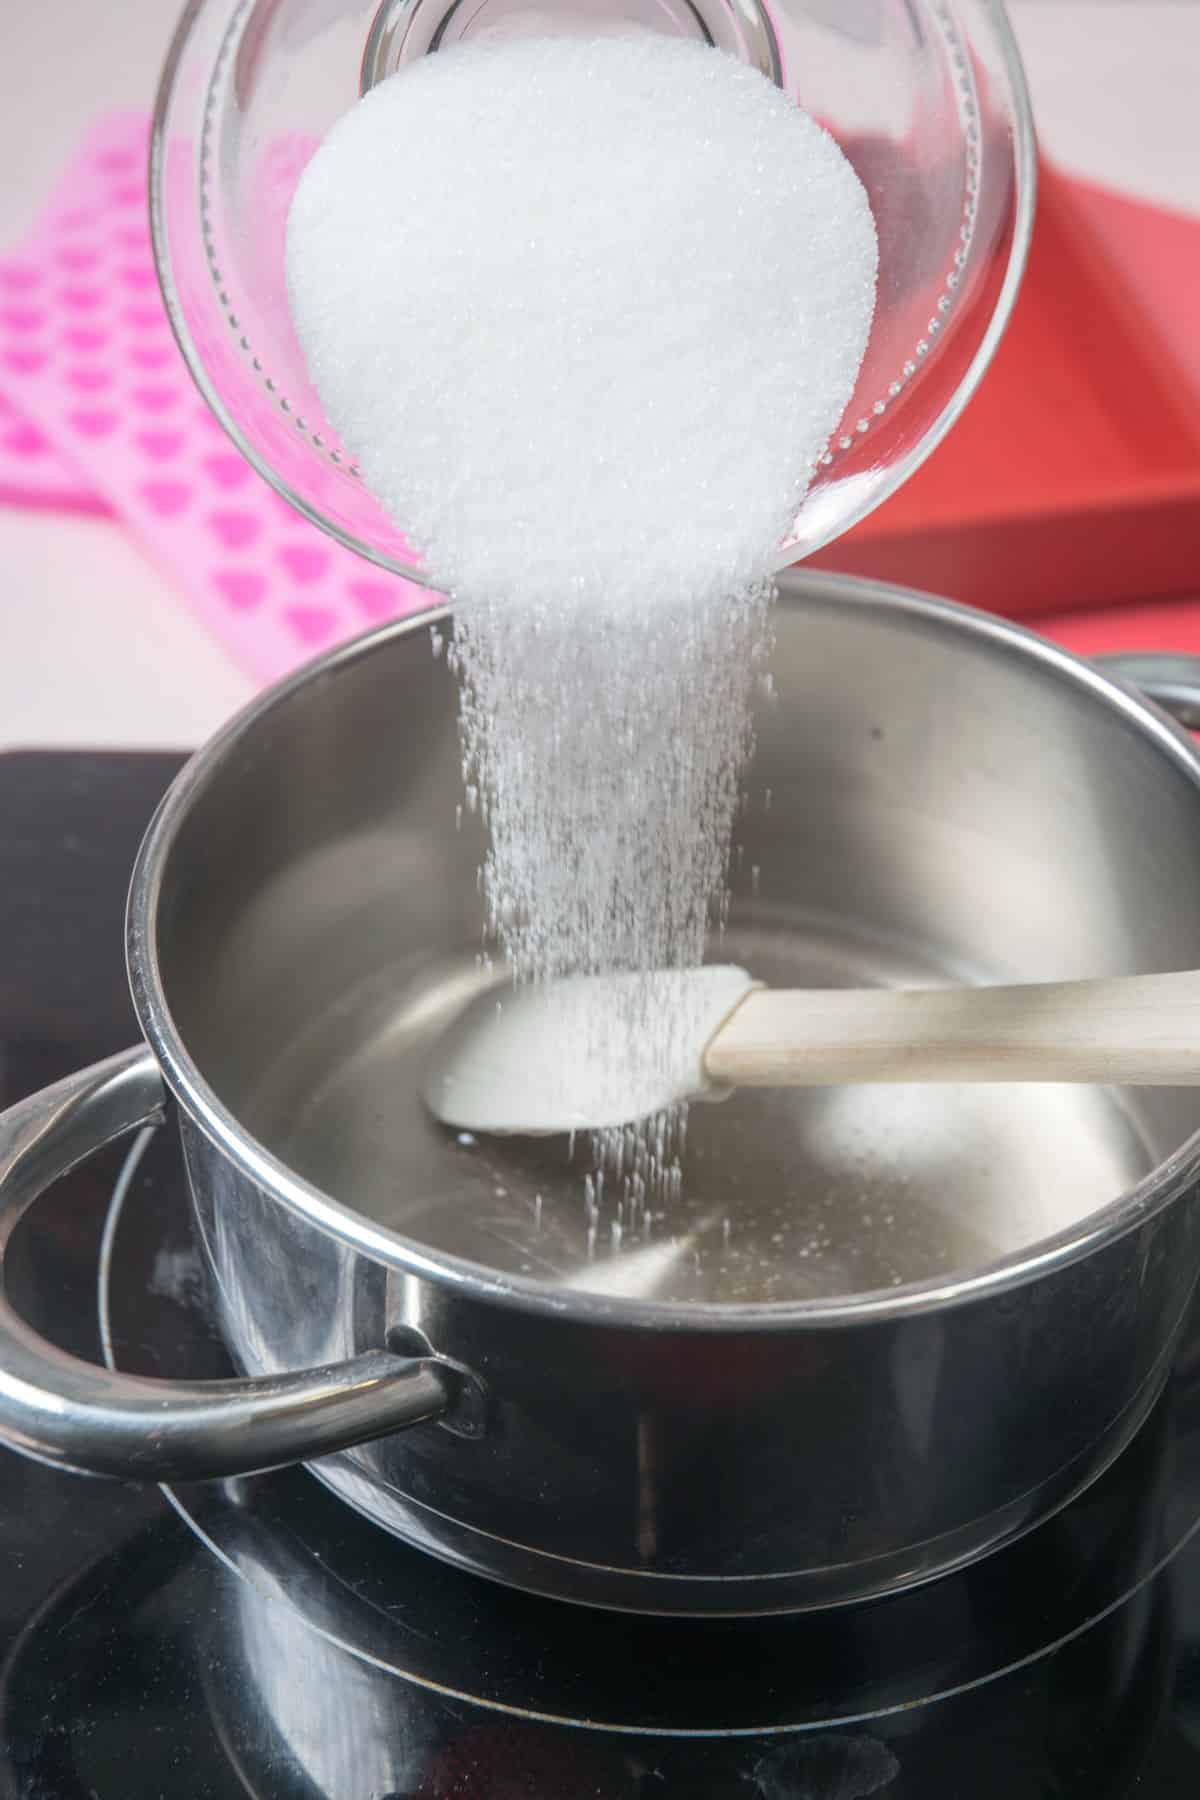
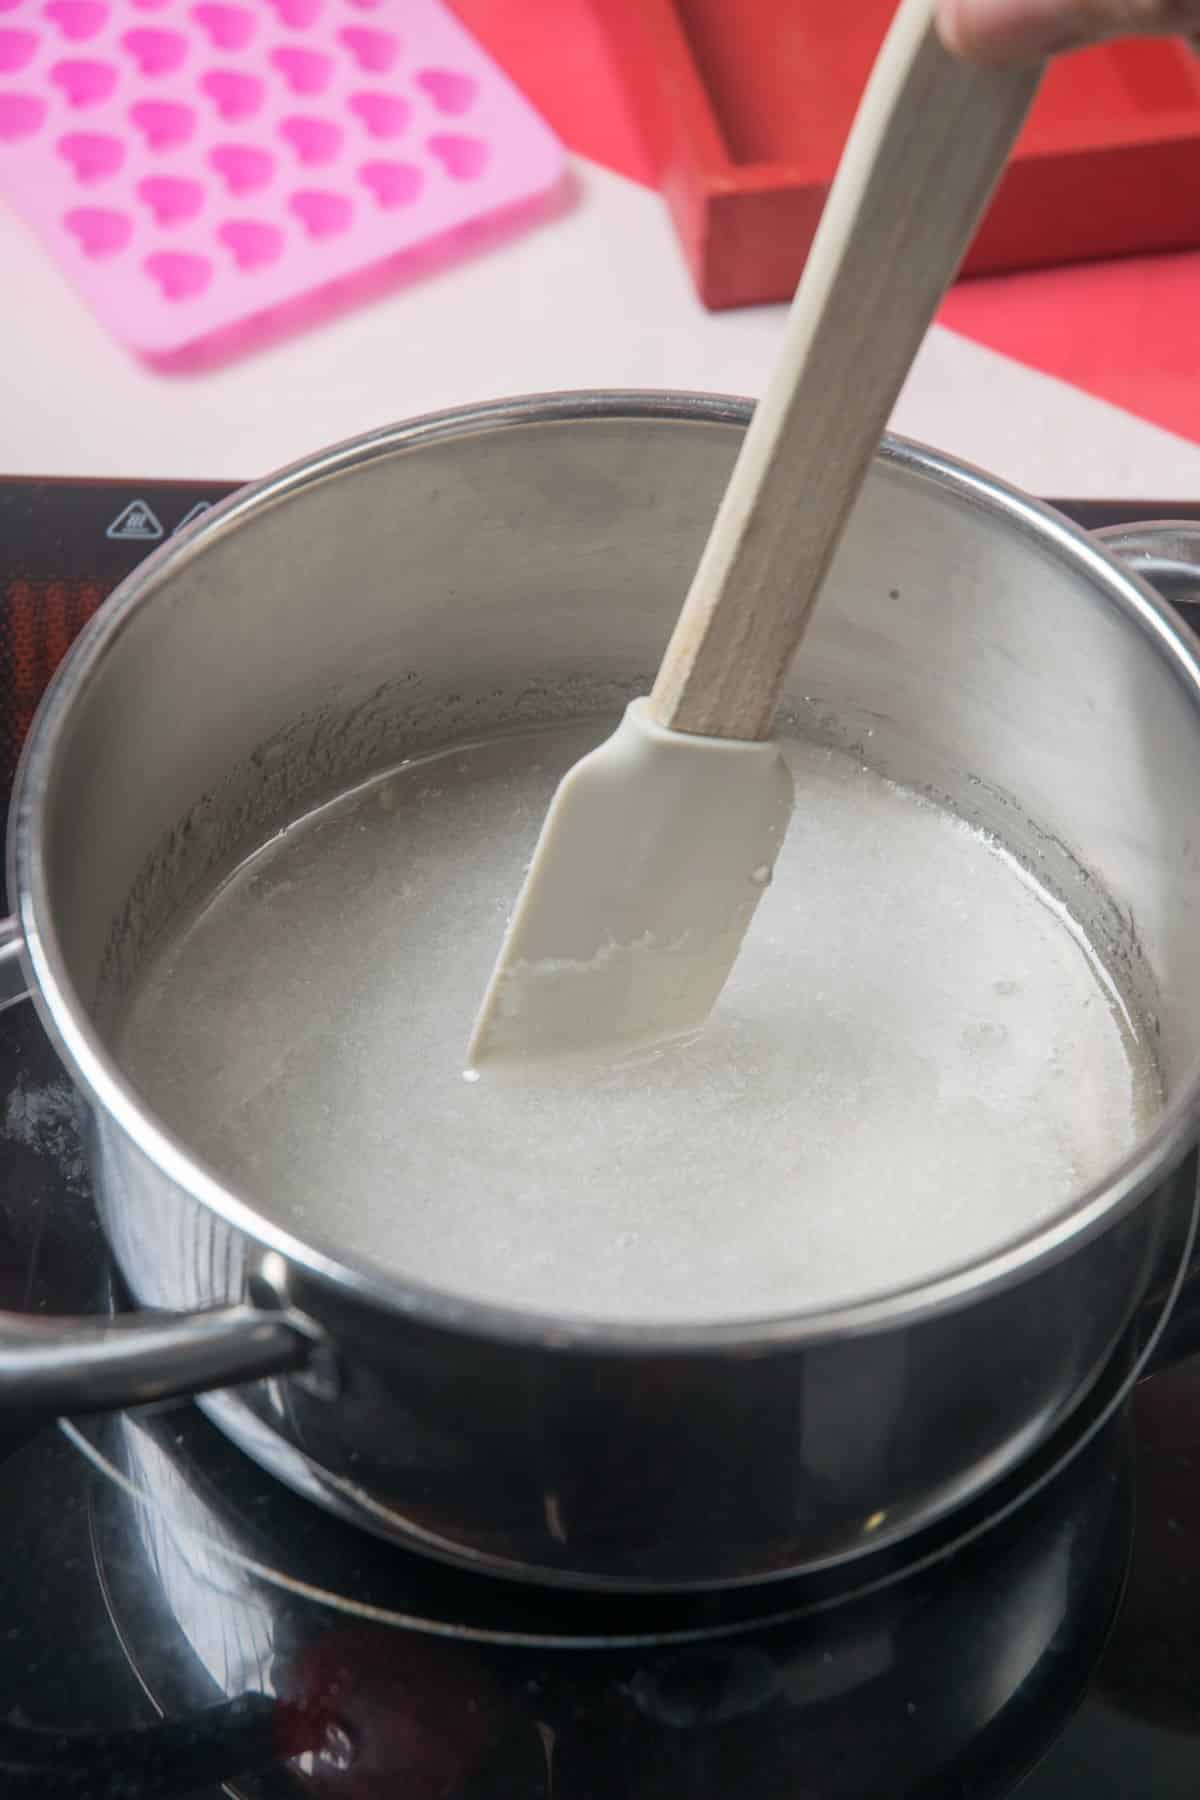
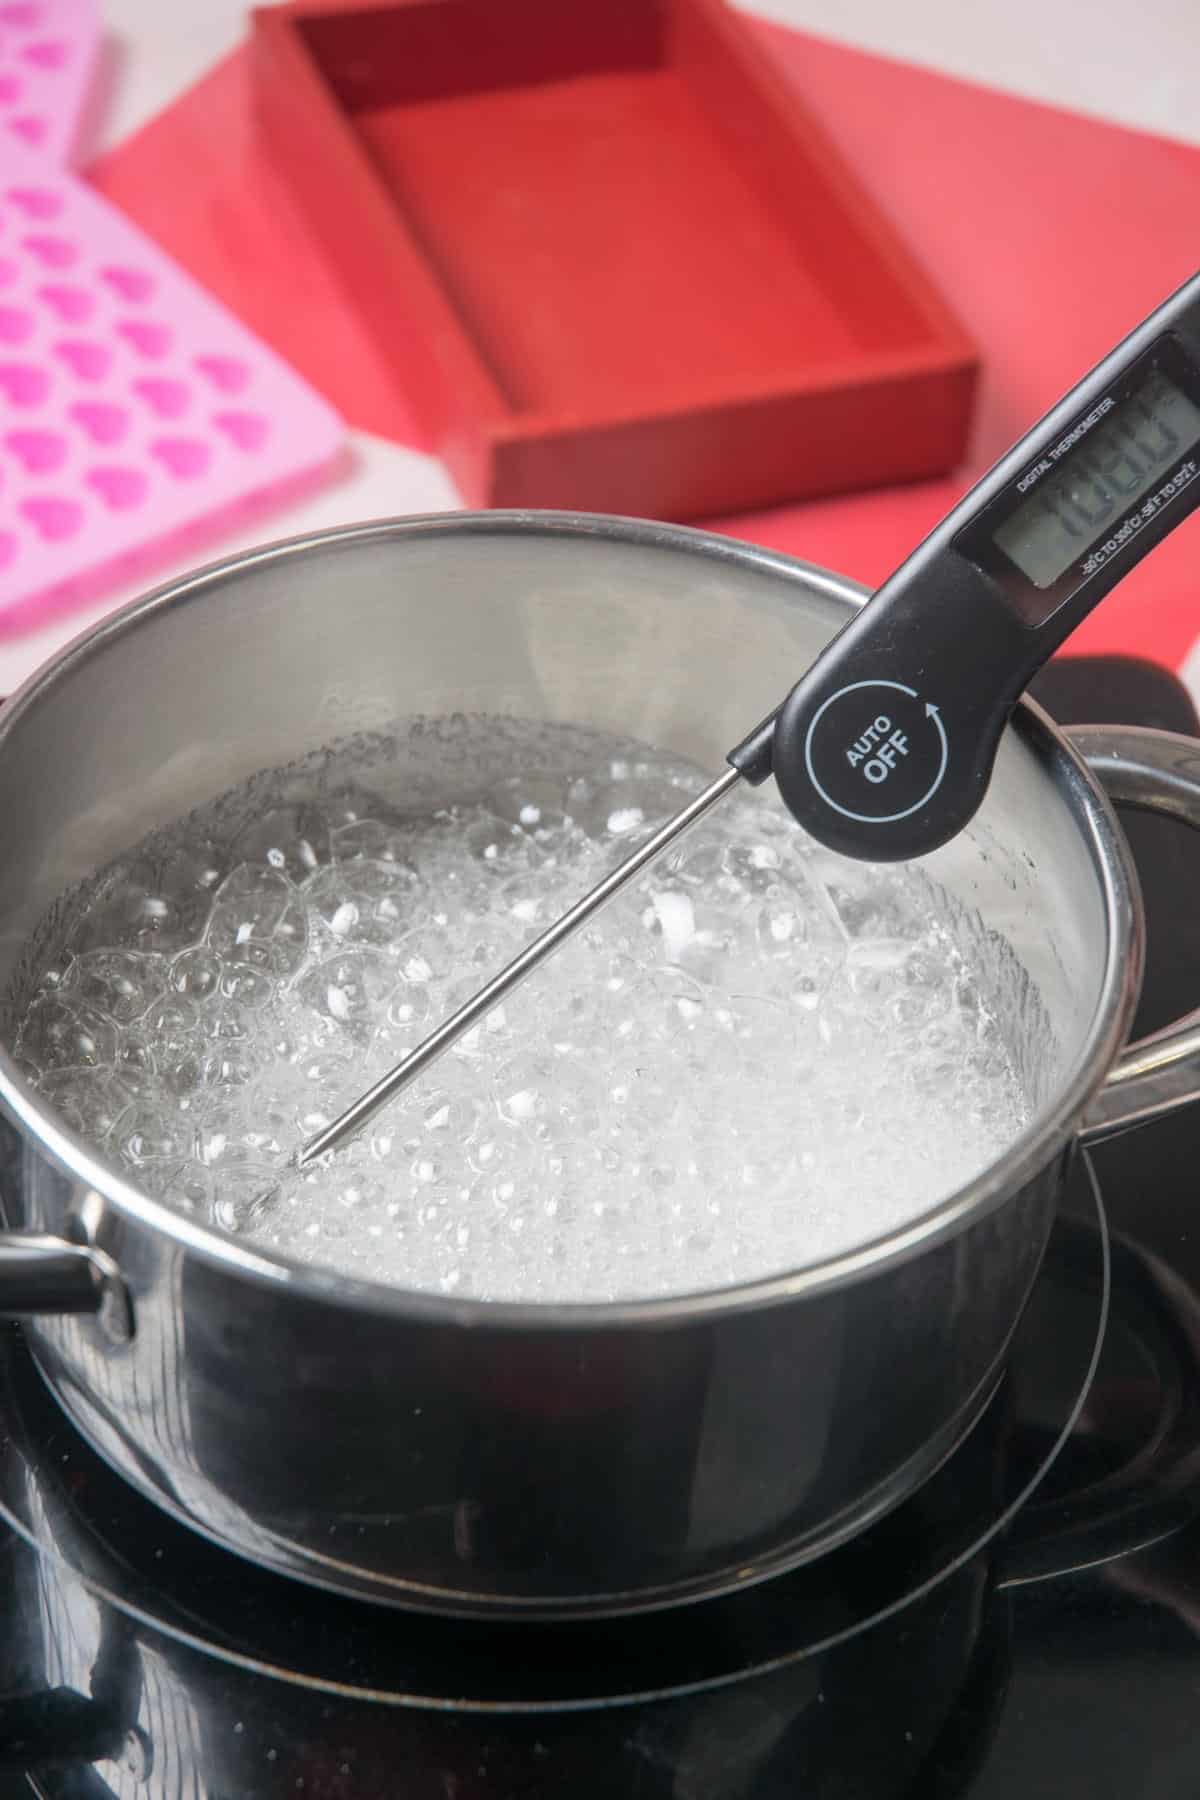
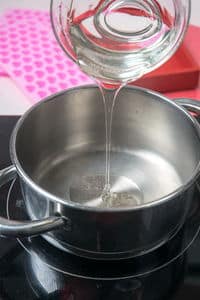
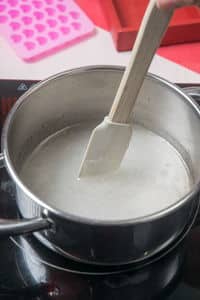
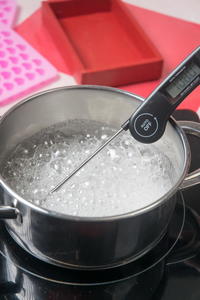
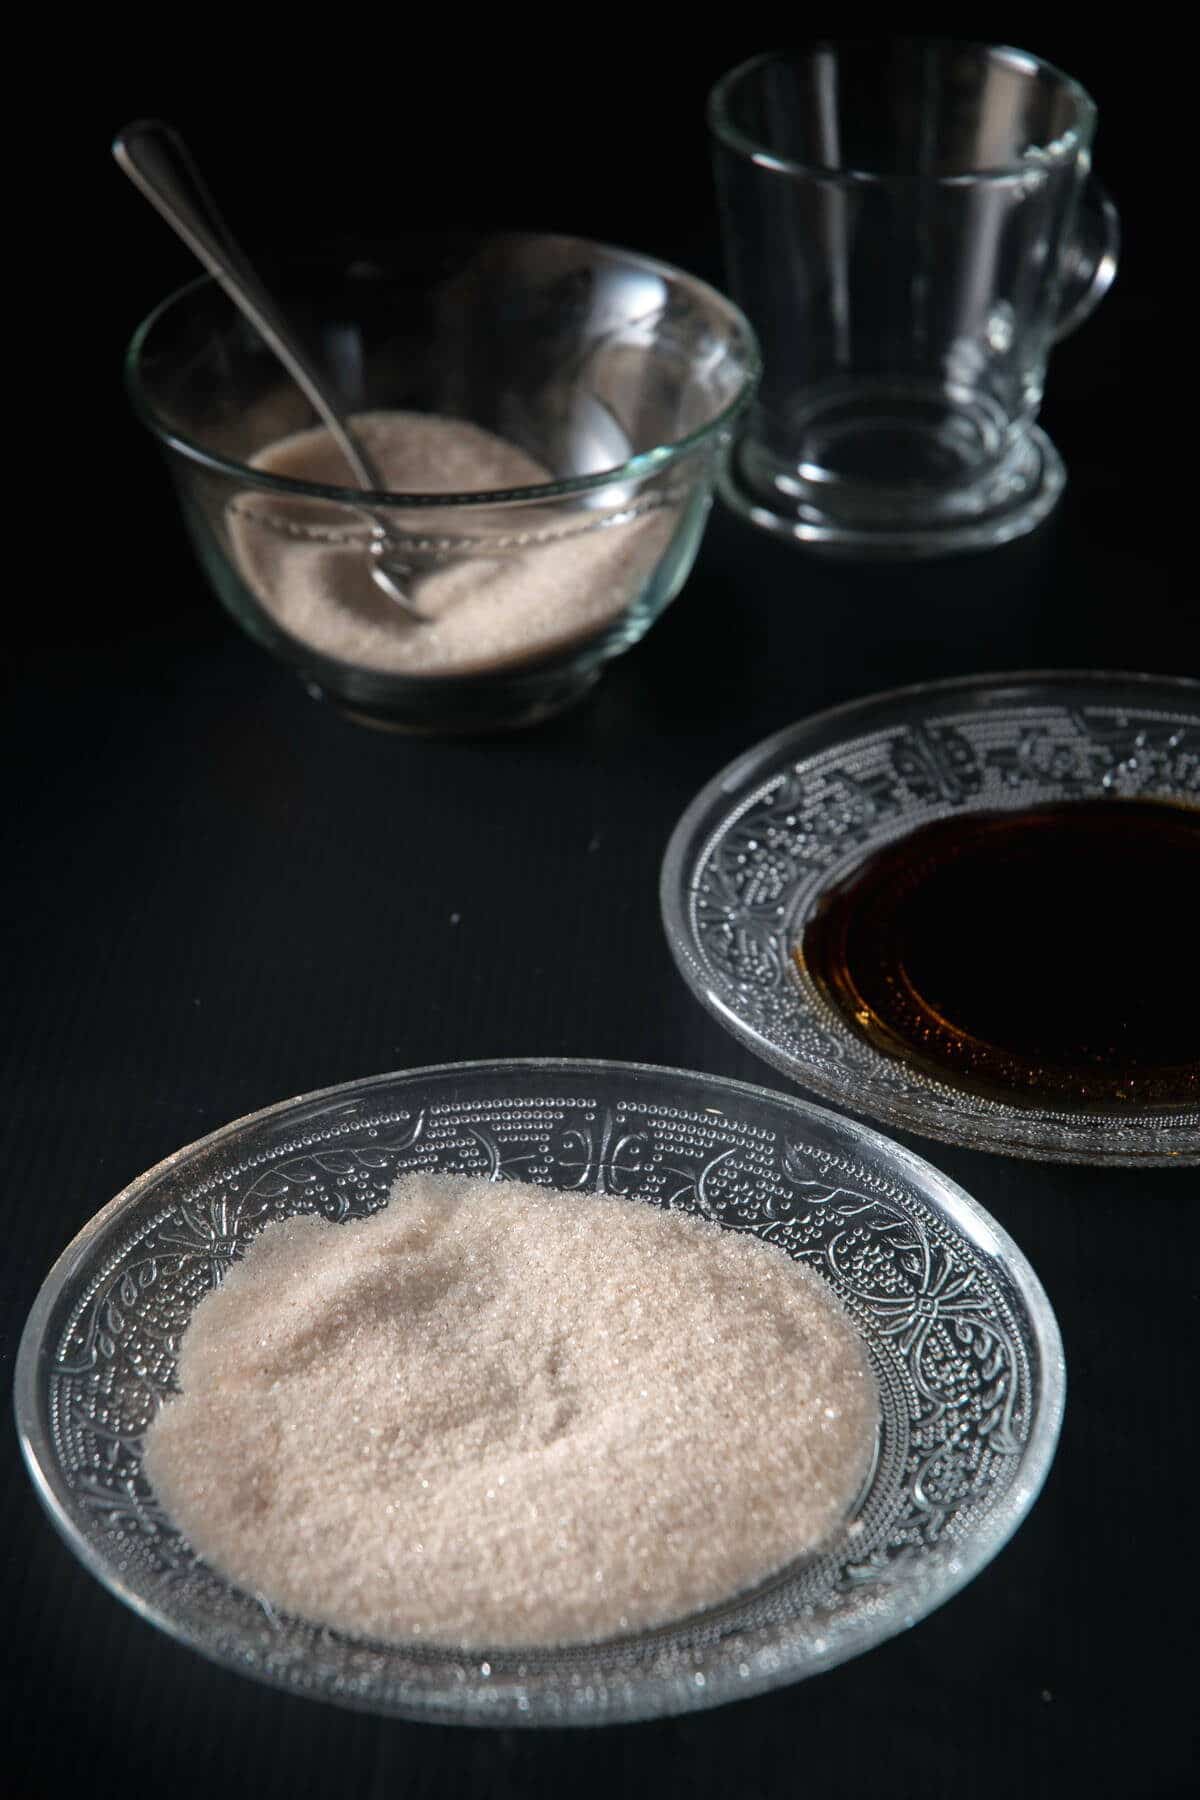
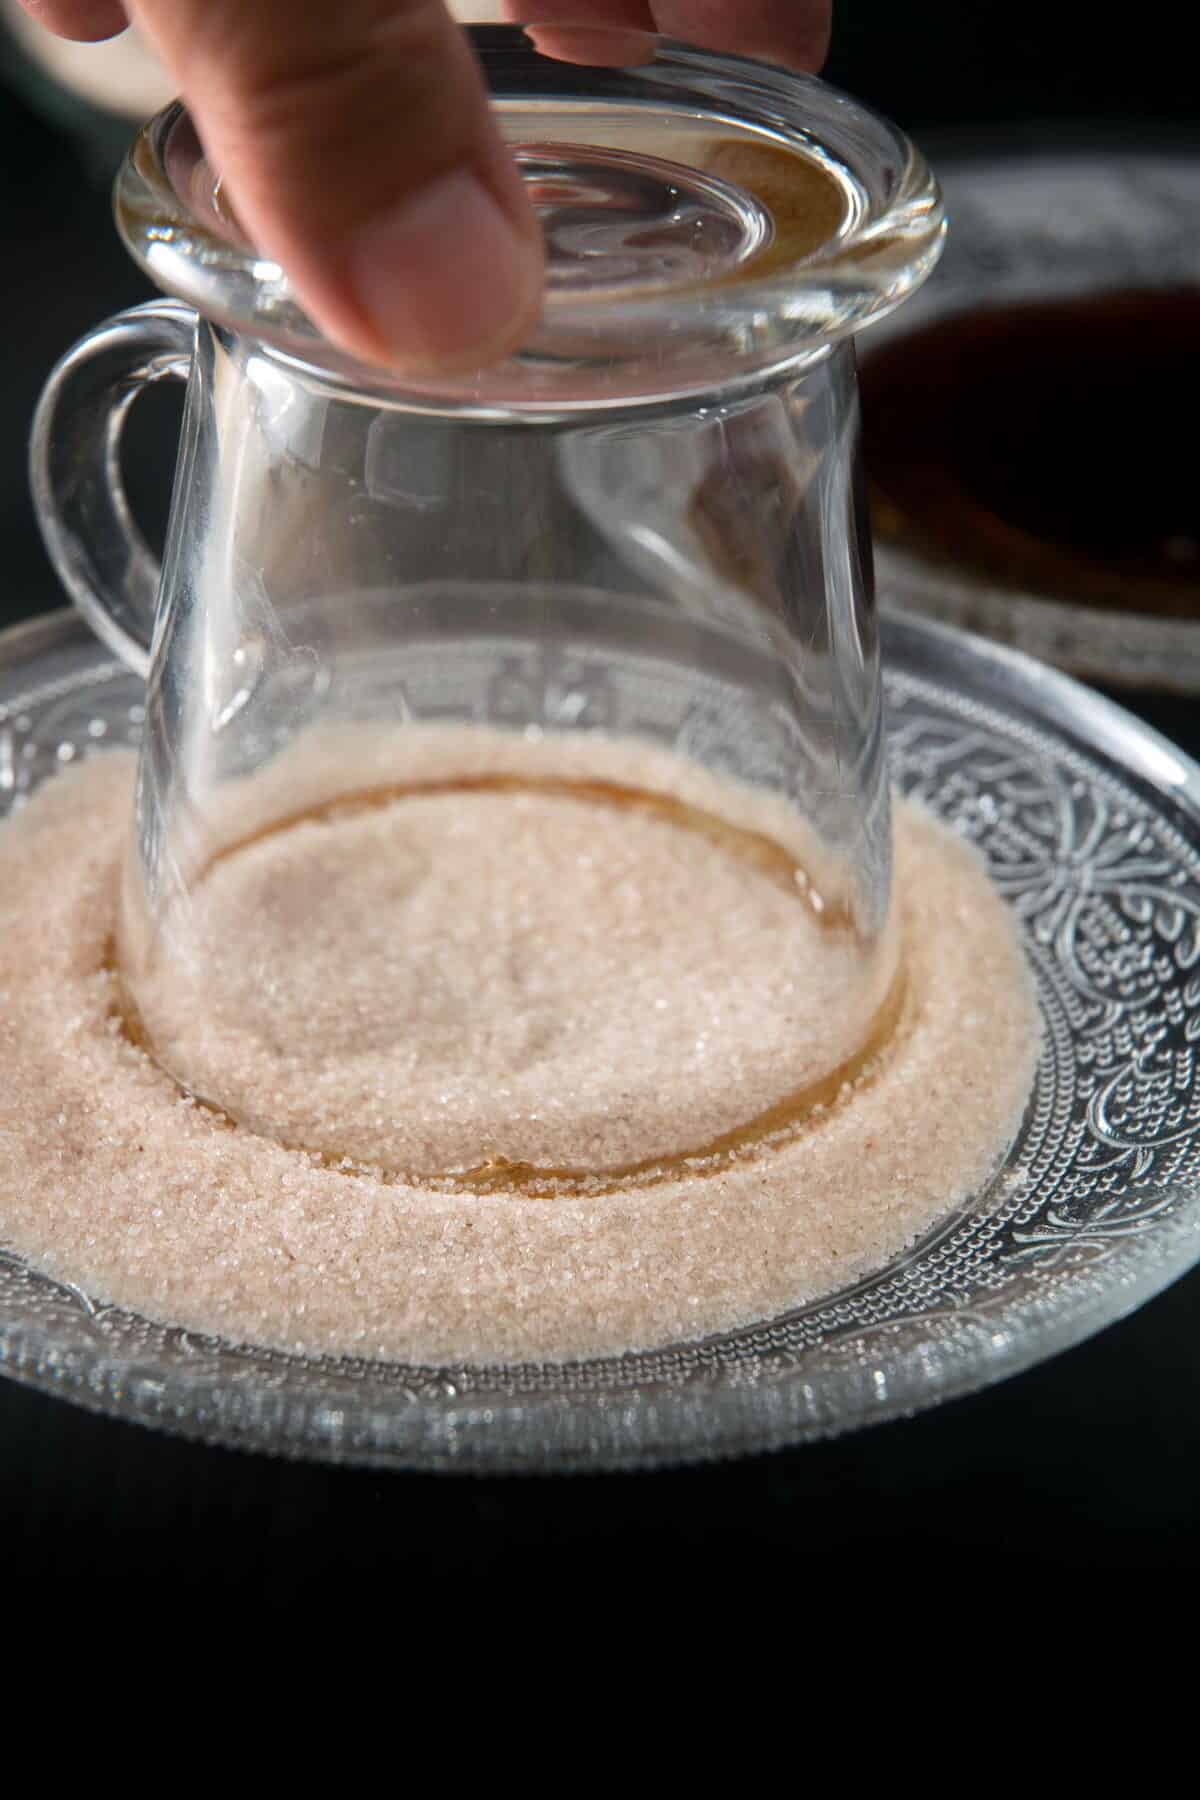
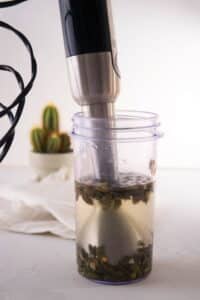
Step 2. Make a brine. In a quart-size mason jar, add the vinegar, sugar and salt. Pour the boiling water into the jar and stir until dissolved. This will be the pickling brine.
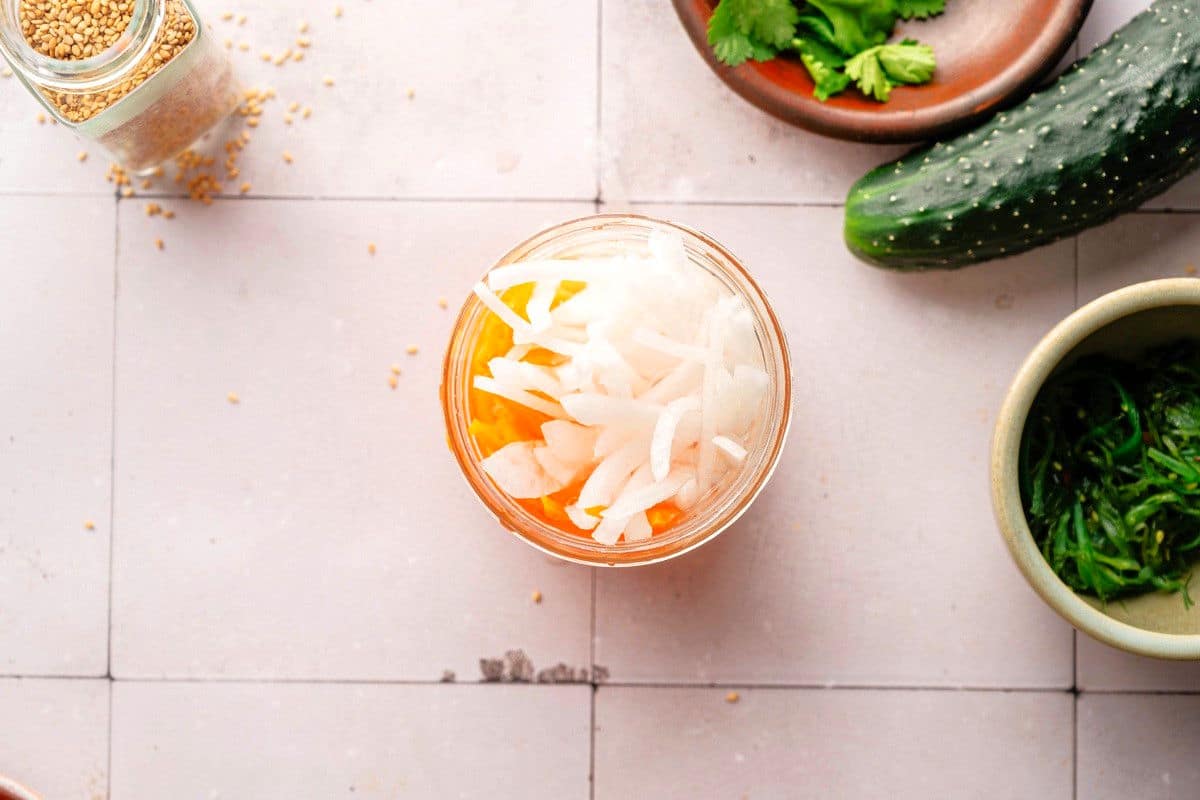
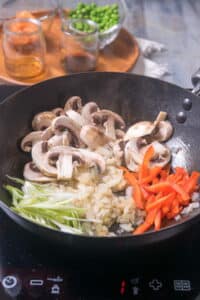
Step 3. Pickle the veggies. Stuff the julienned carrots and daikon into the jar, then let them hang out and cool for 20 minutes so they can soak up all of that tangy brine.

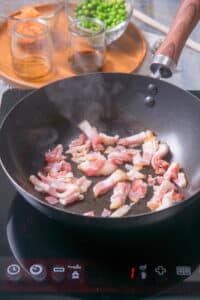
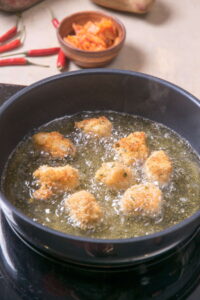
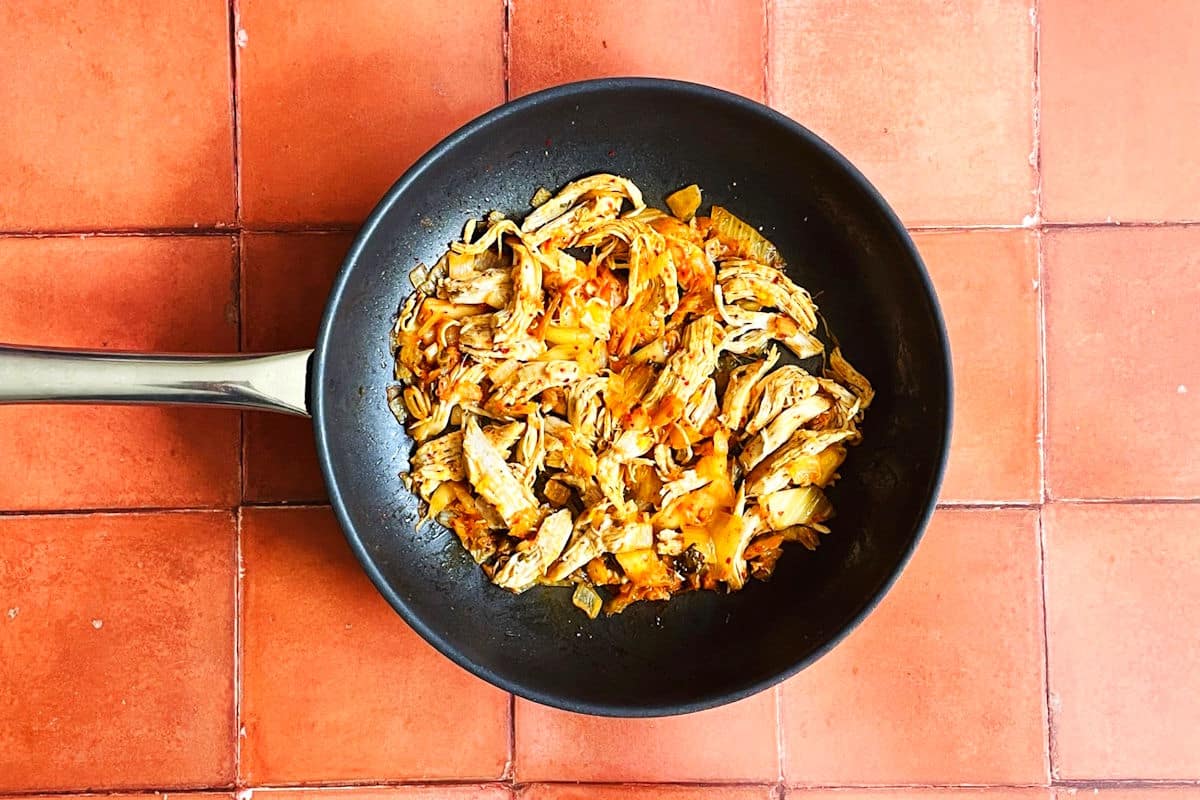
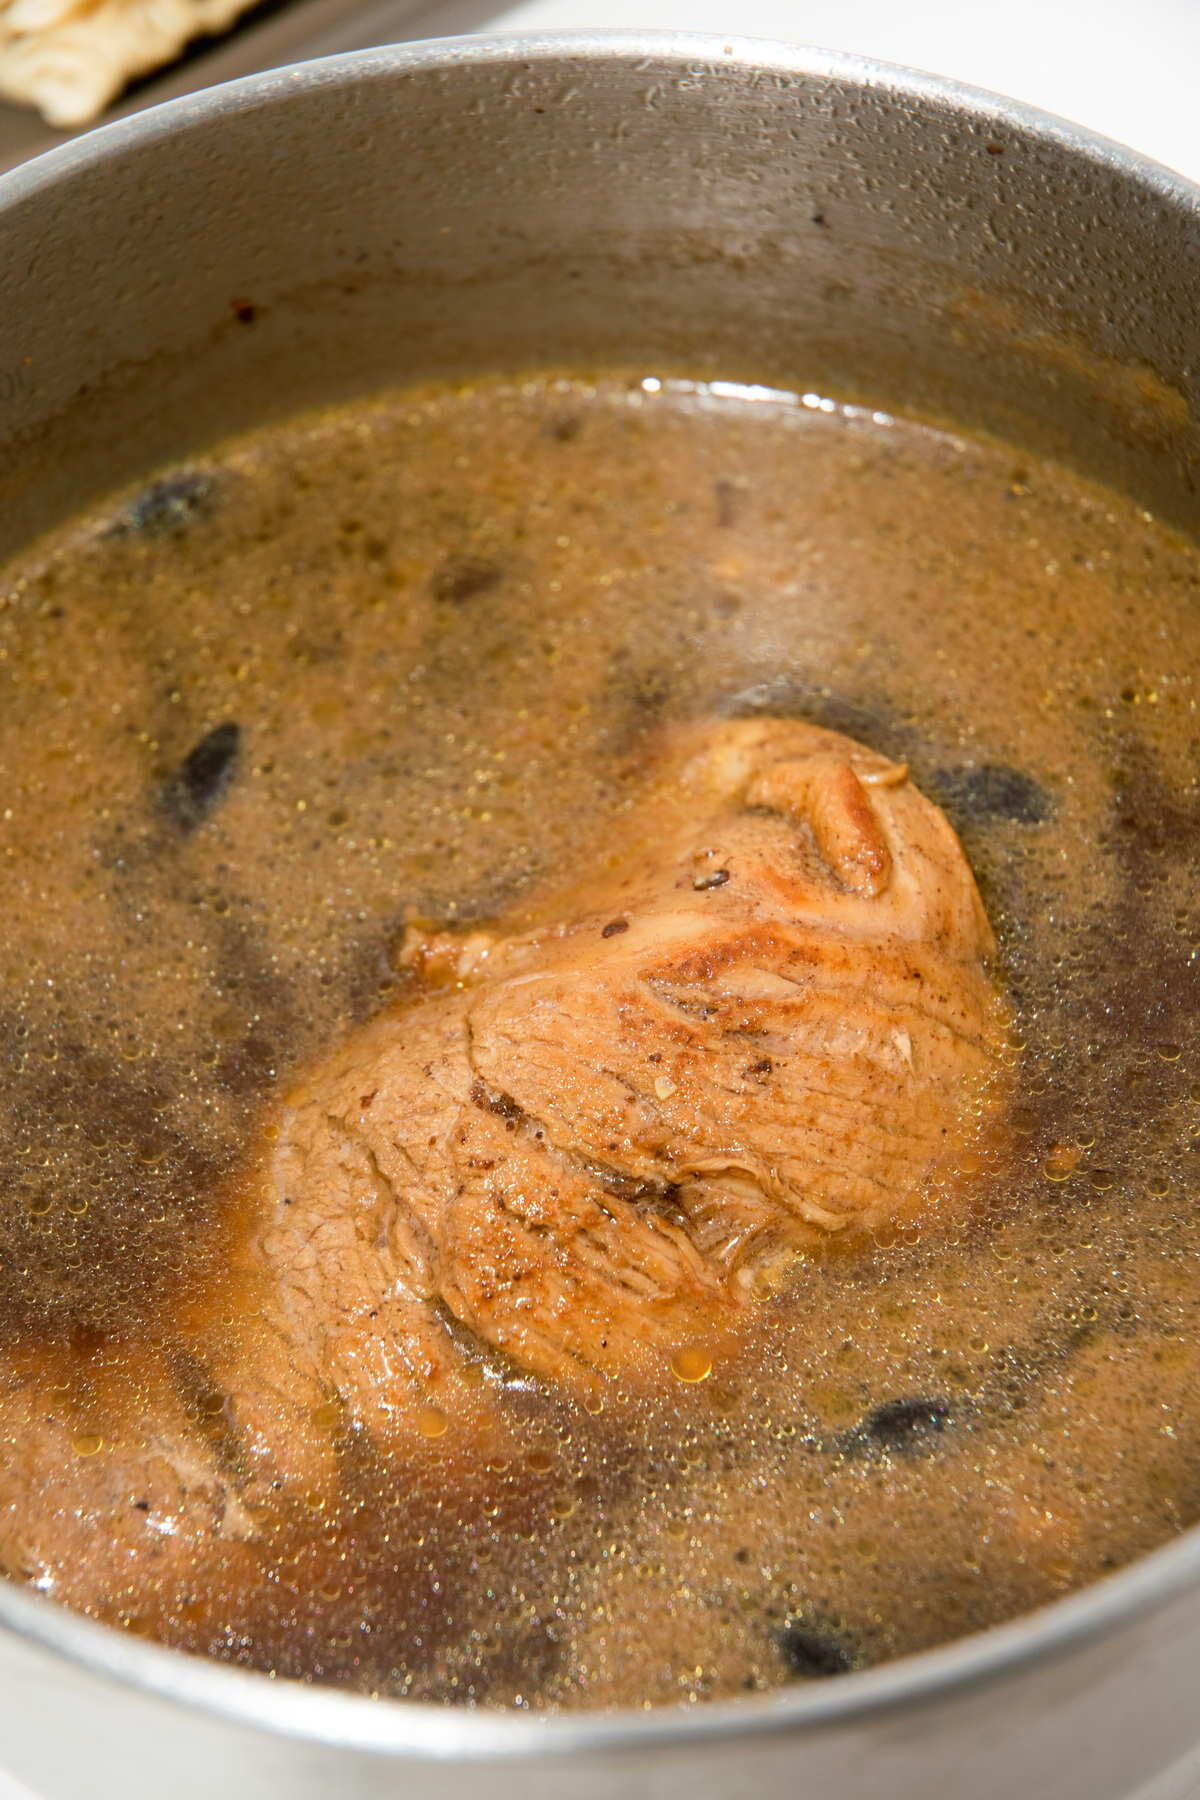
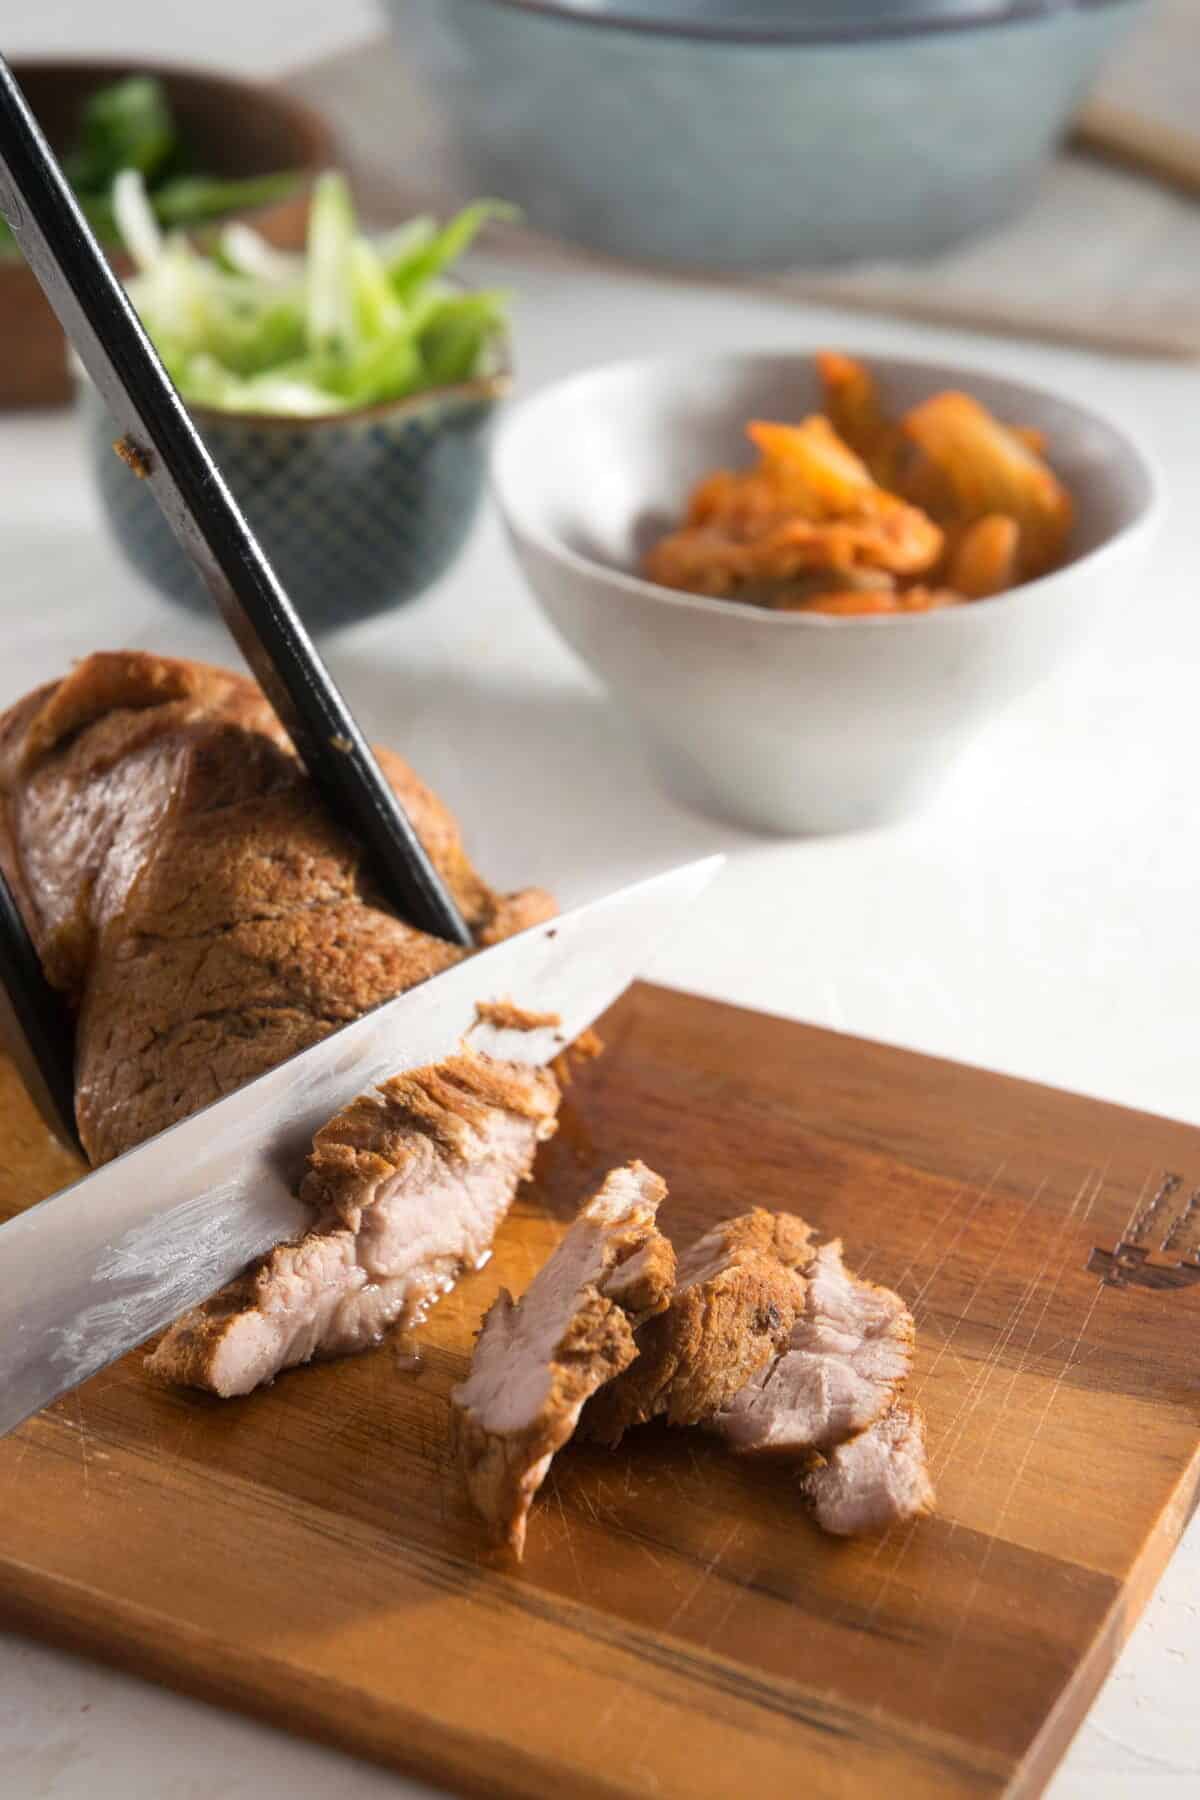
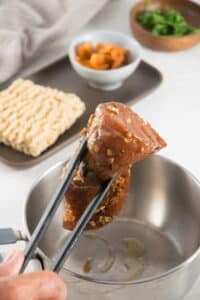
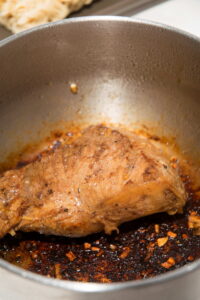
Step 4. Fry the chicken. Heat the canola oil in a frying pan. Remove the chicken breasts from the marinade, letting the excess drip off and fry them in the pan. The internal temperature needs to reach 165°F.
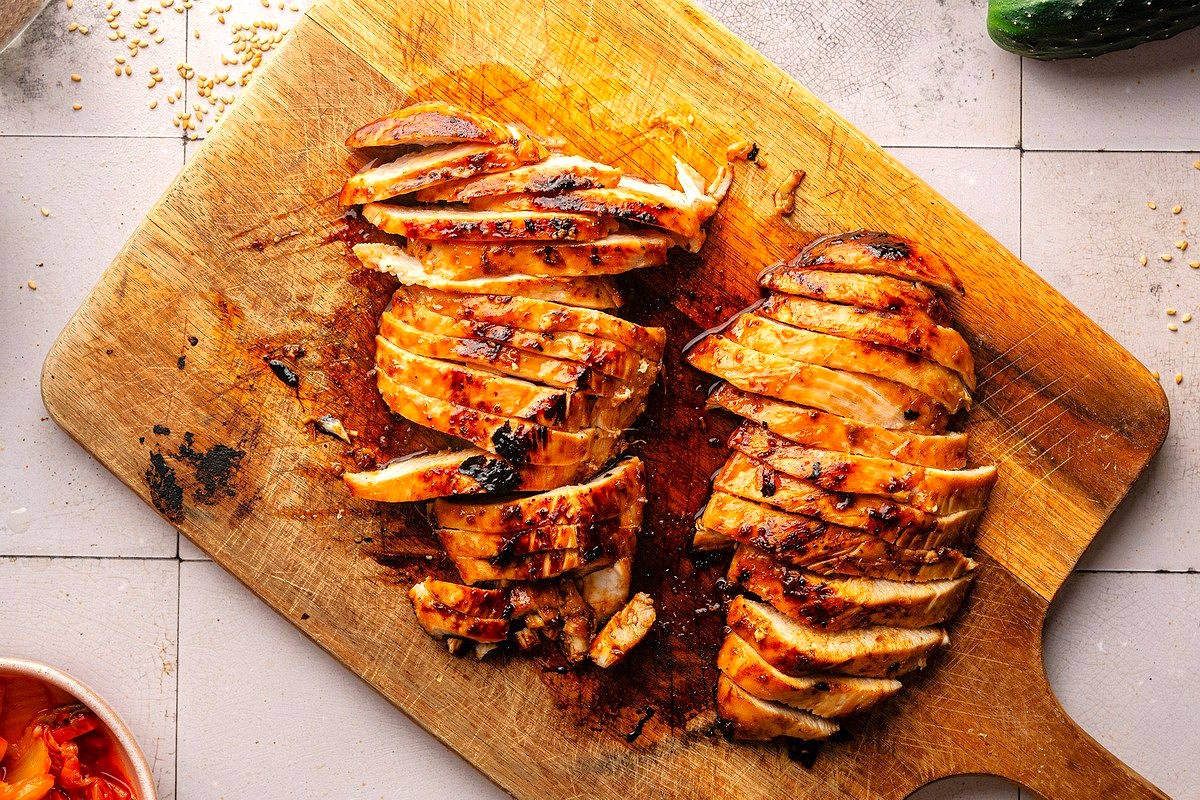
Step 5. Slice the chicken. Remove the chicken to a cutting board and slice it into even slices.
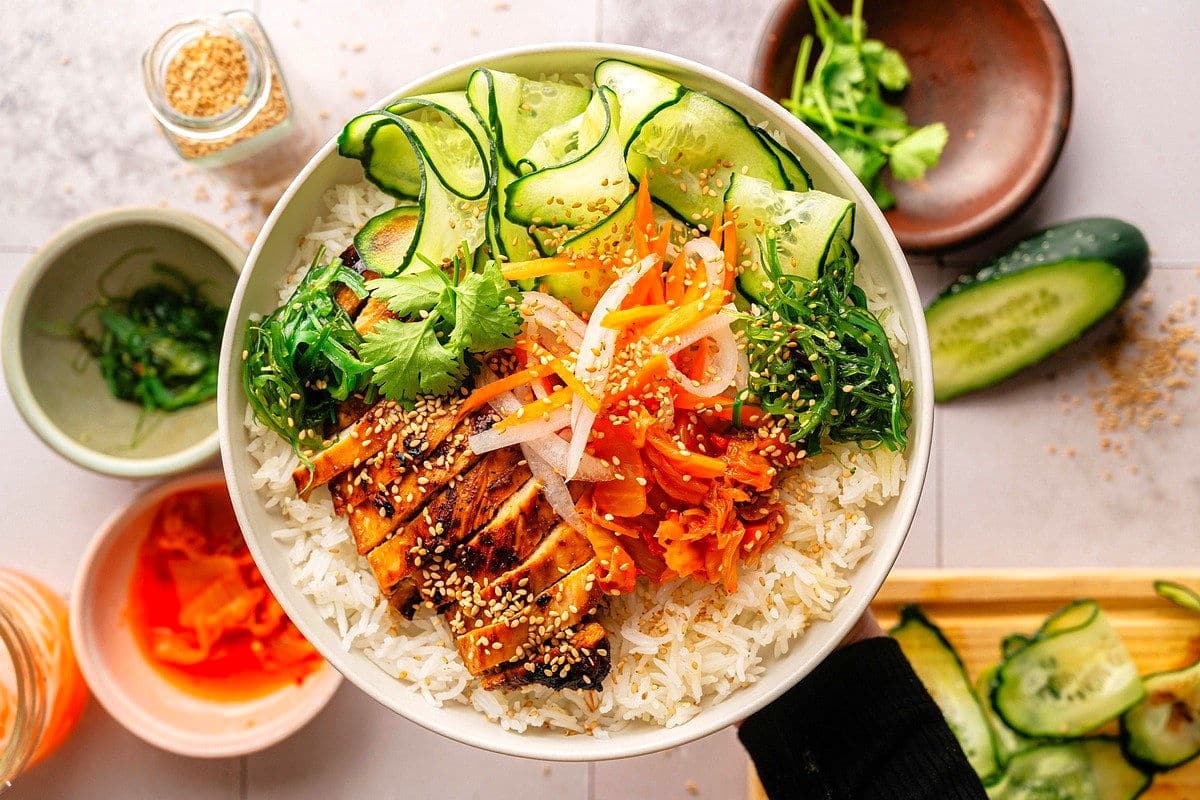
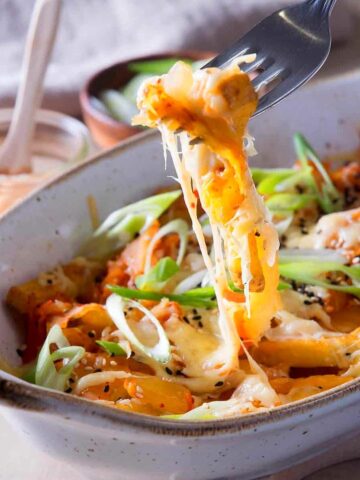
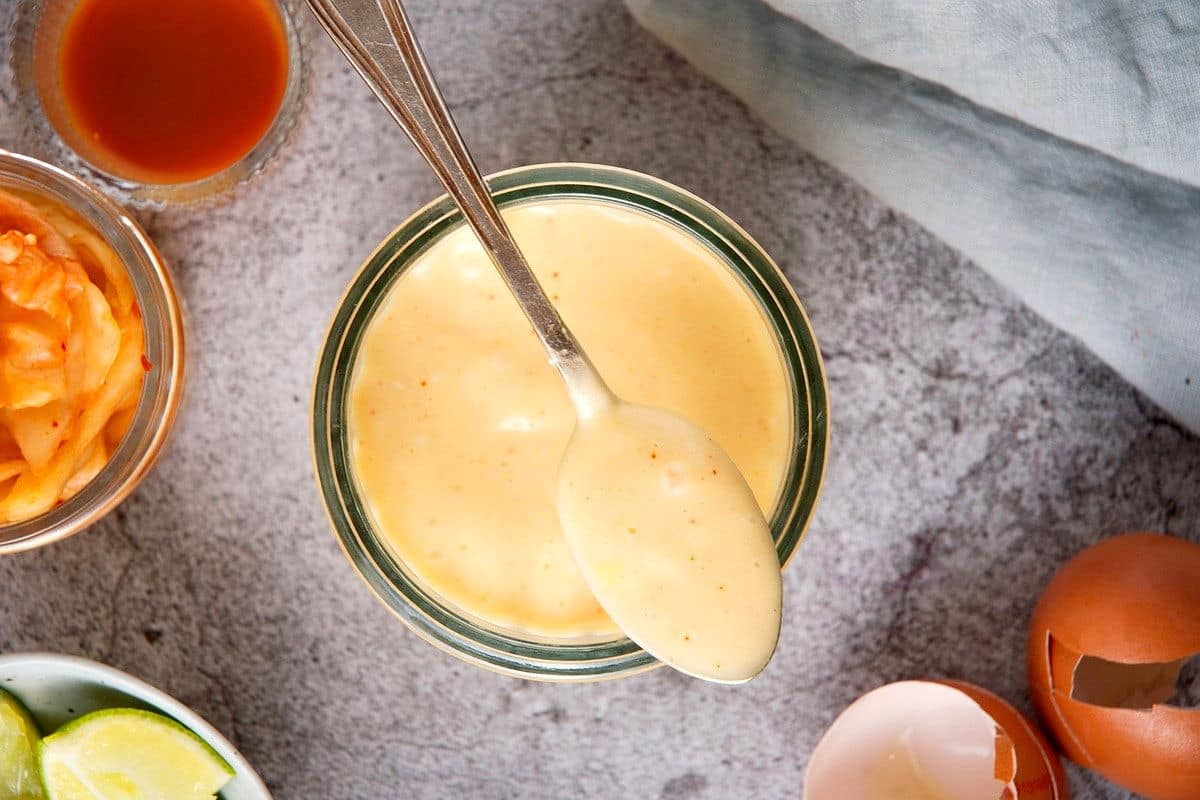
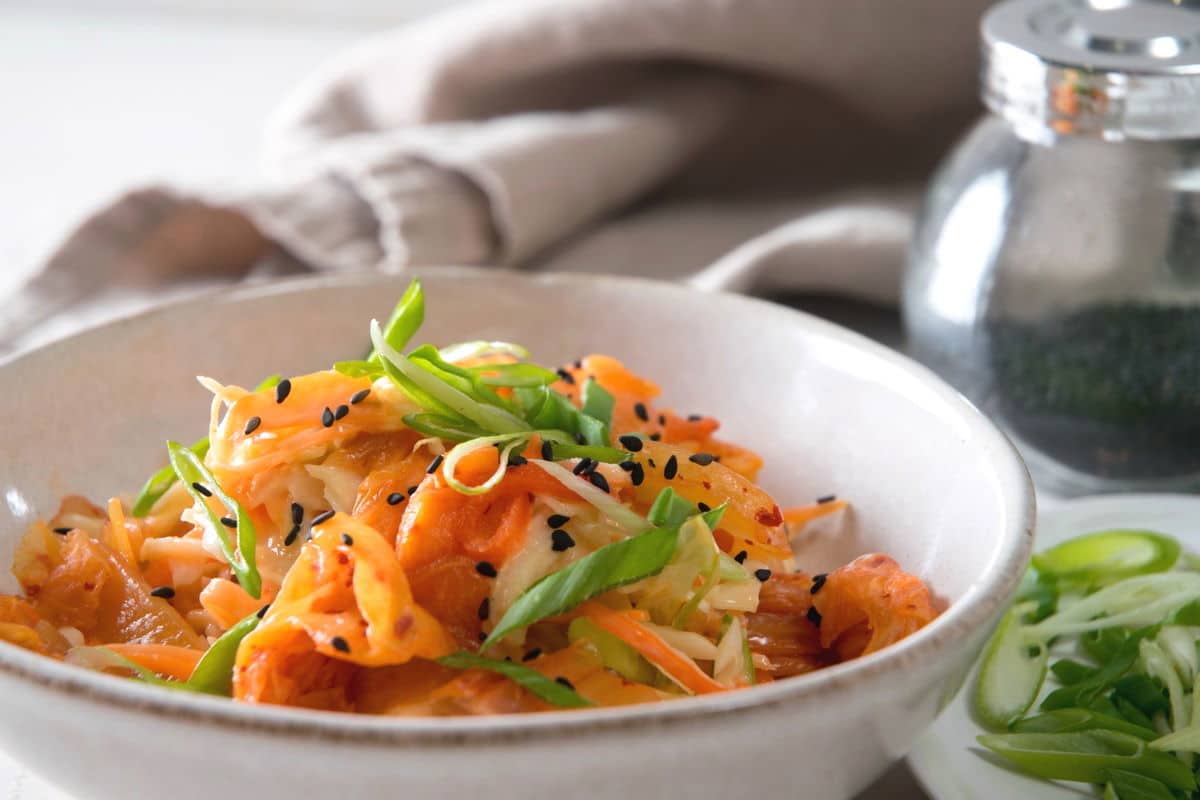
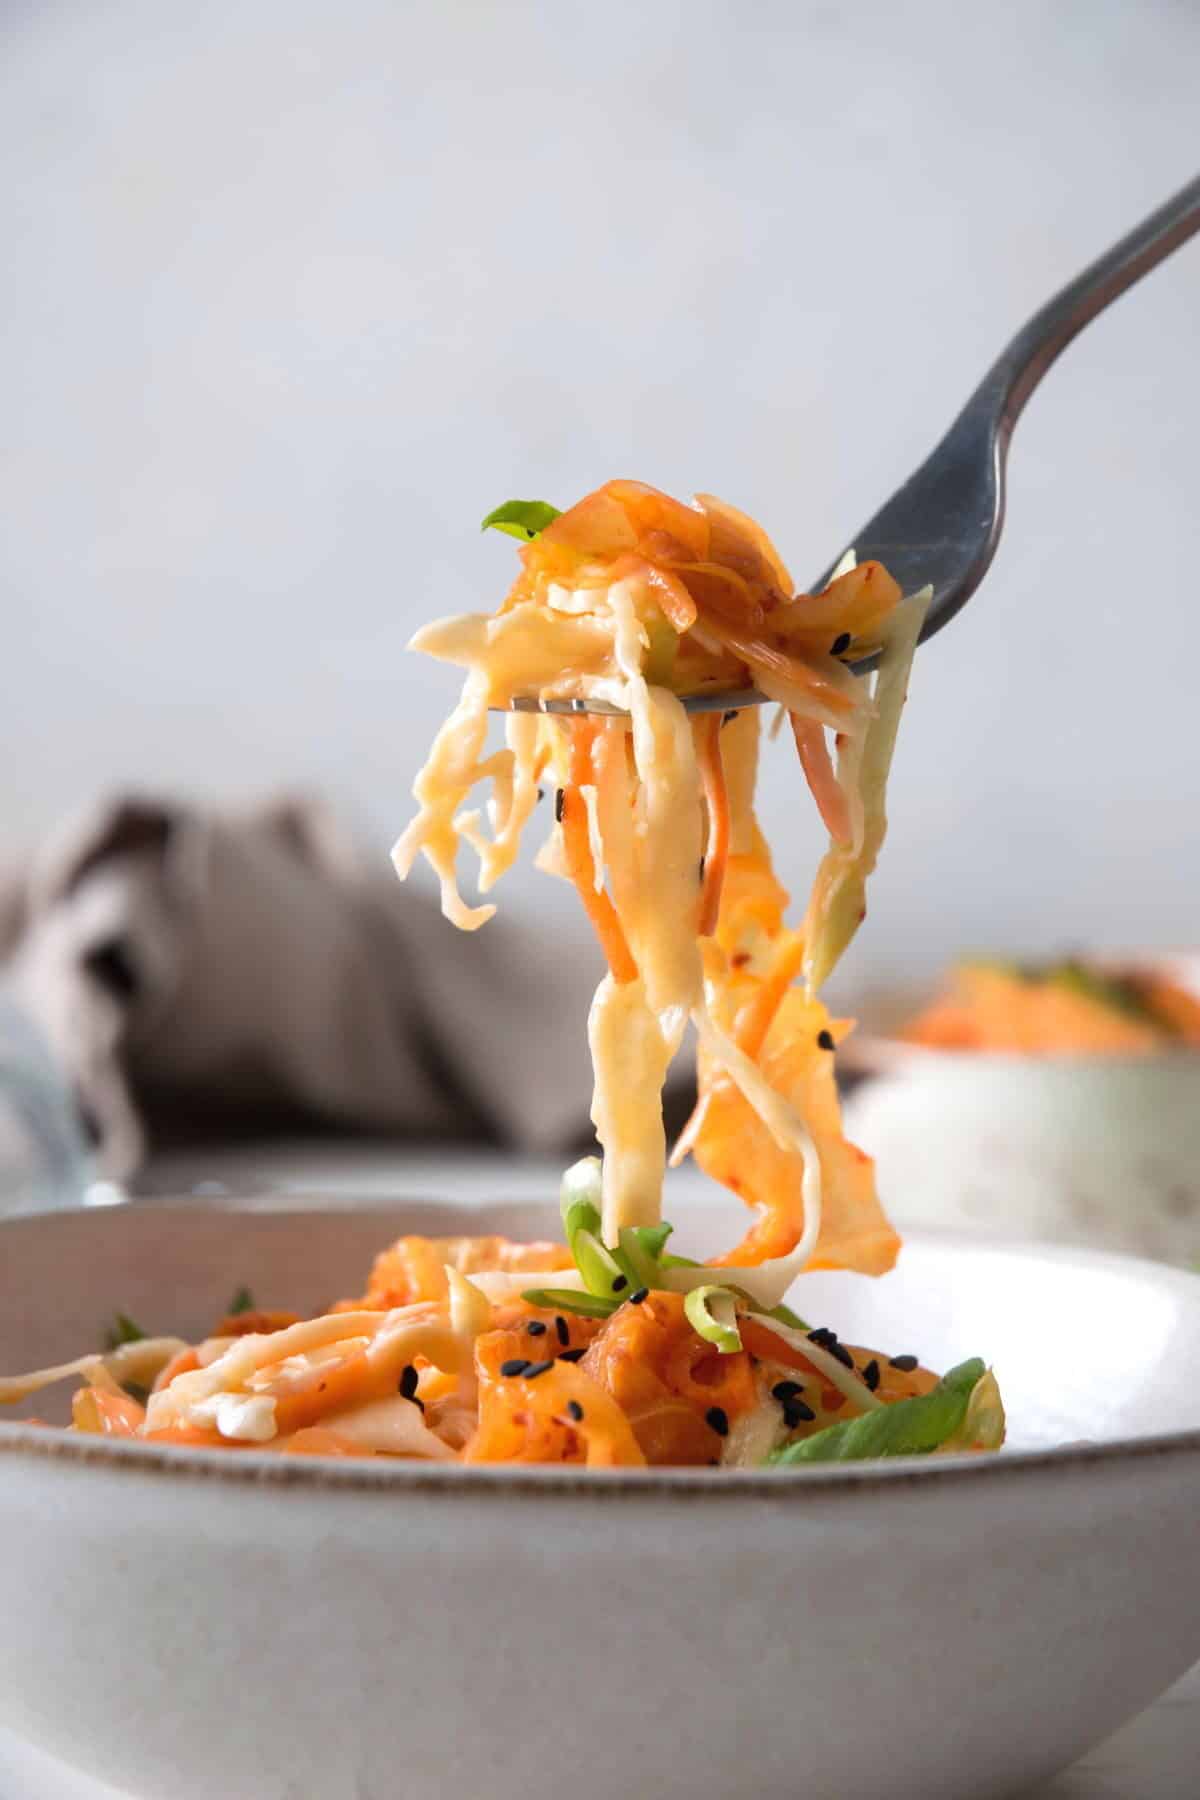
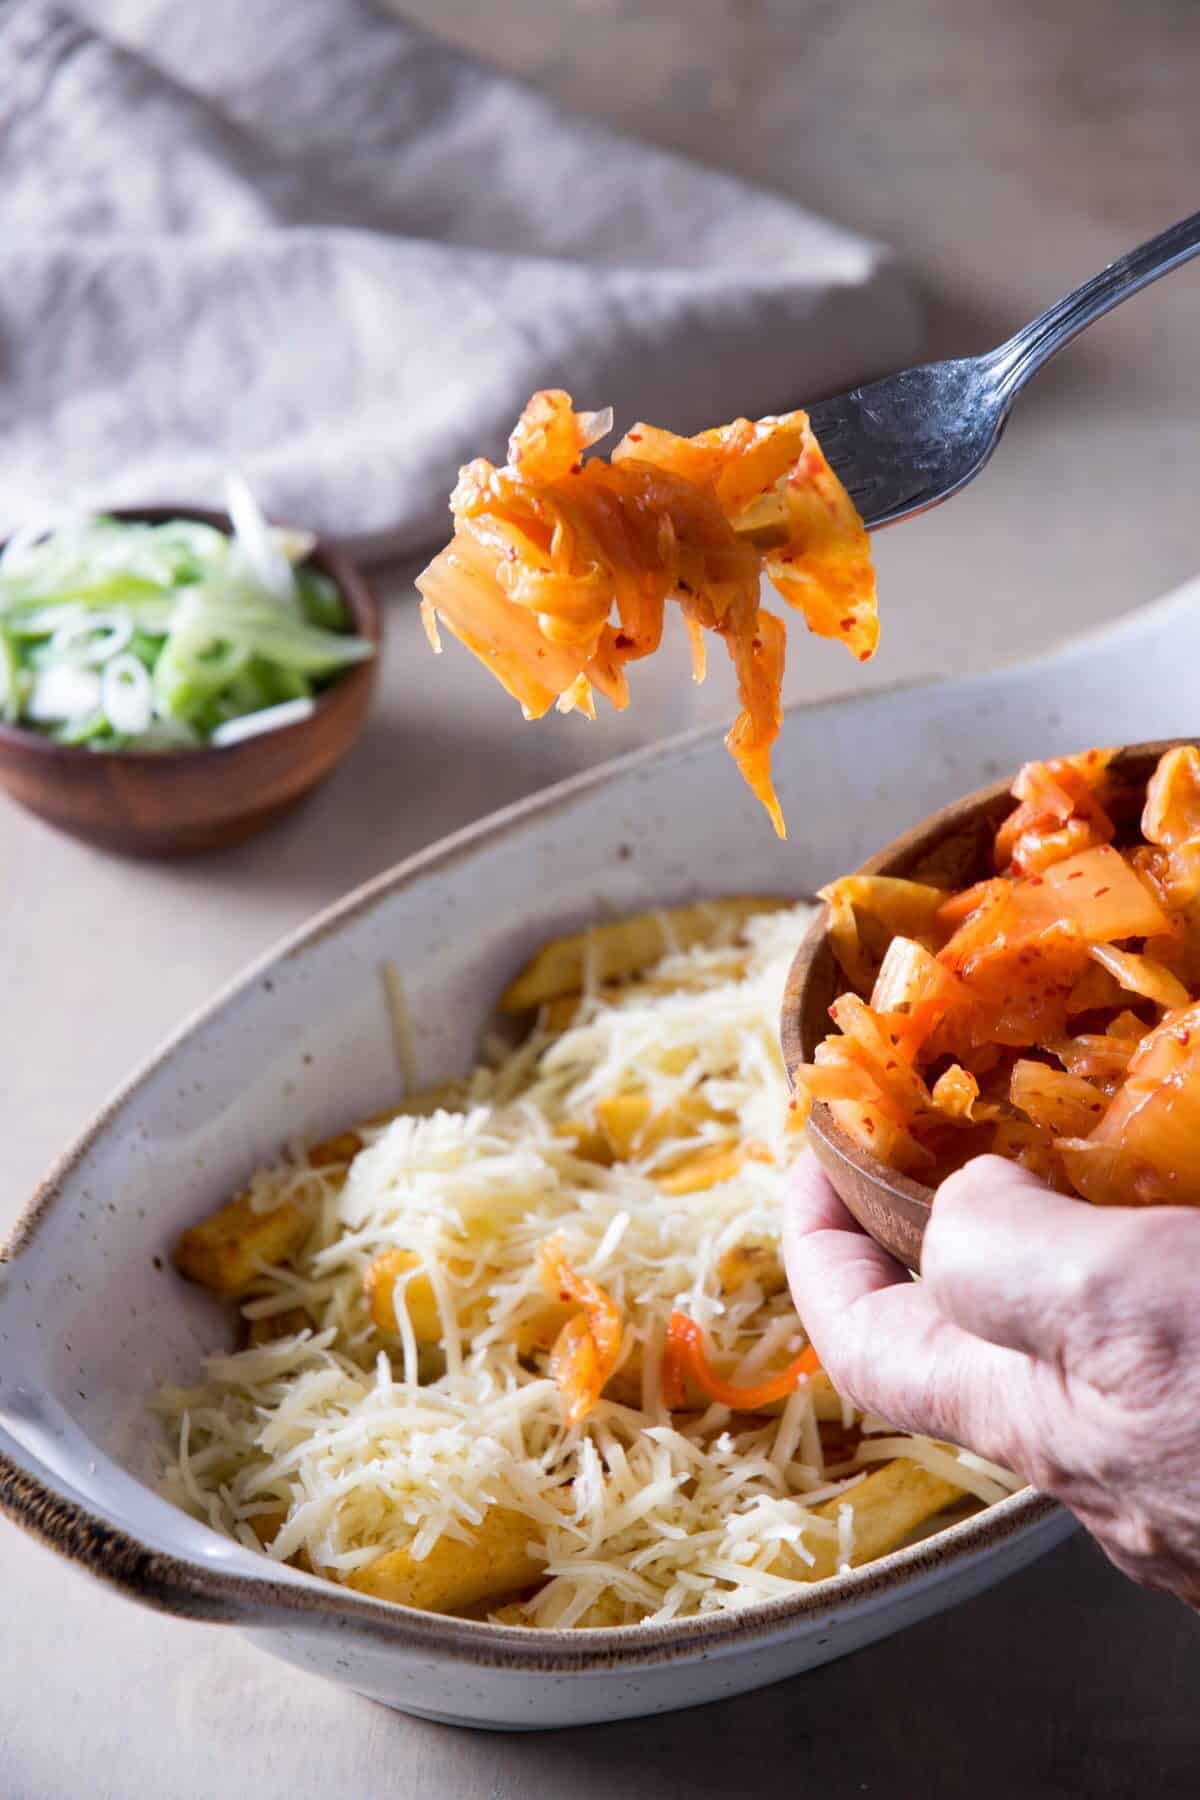
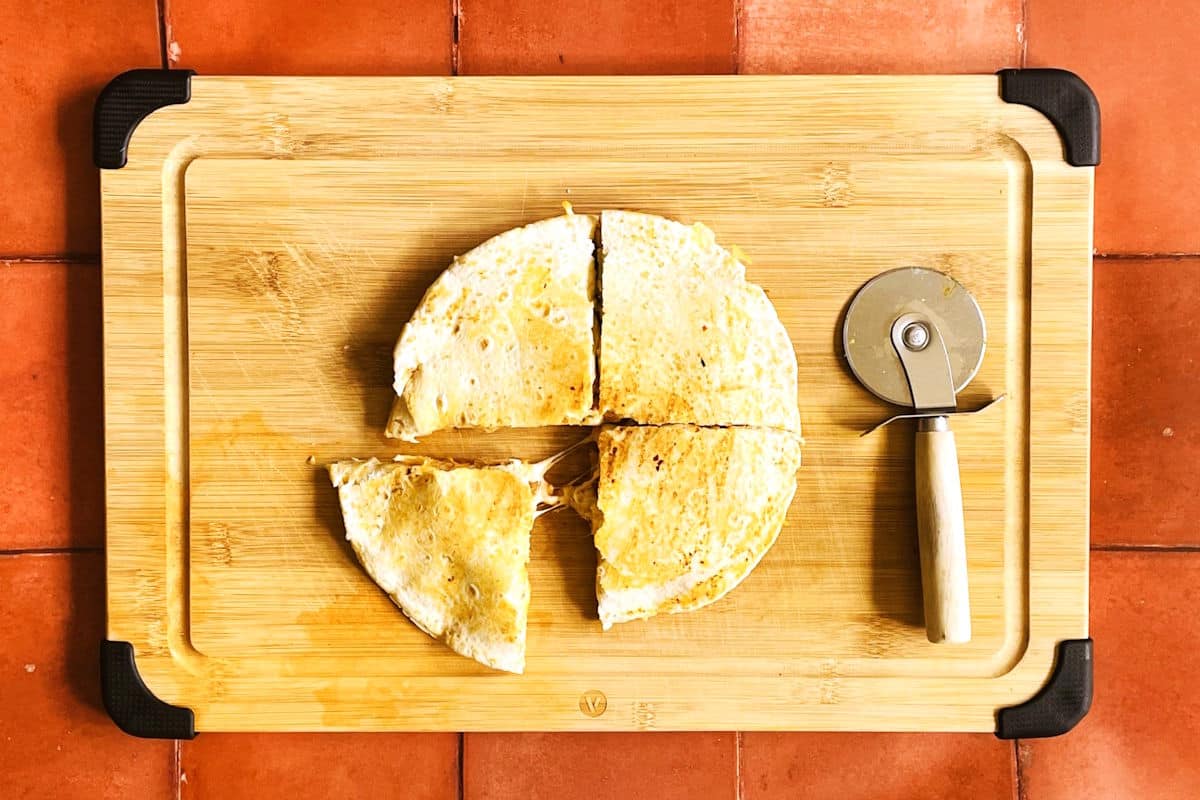
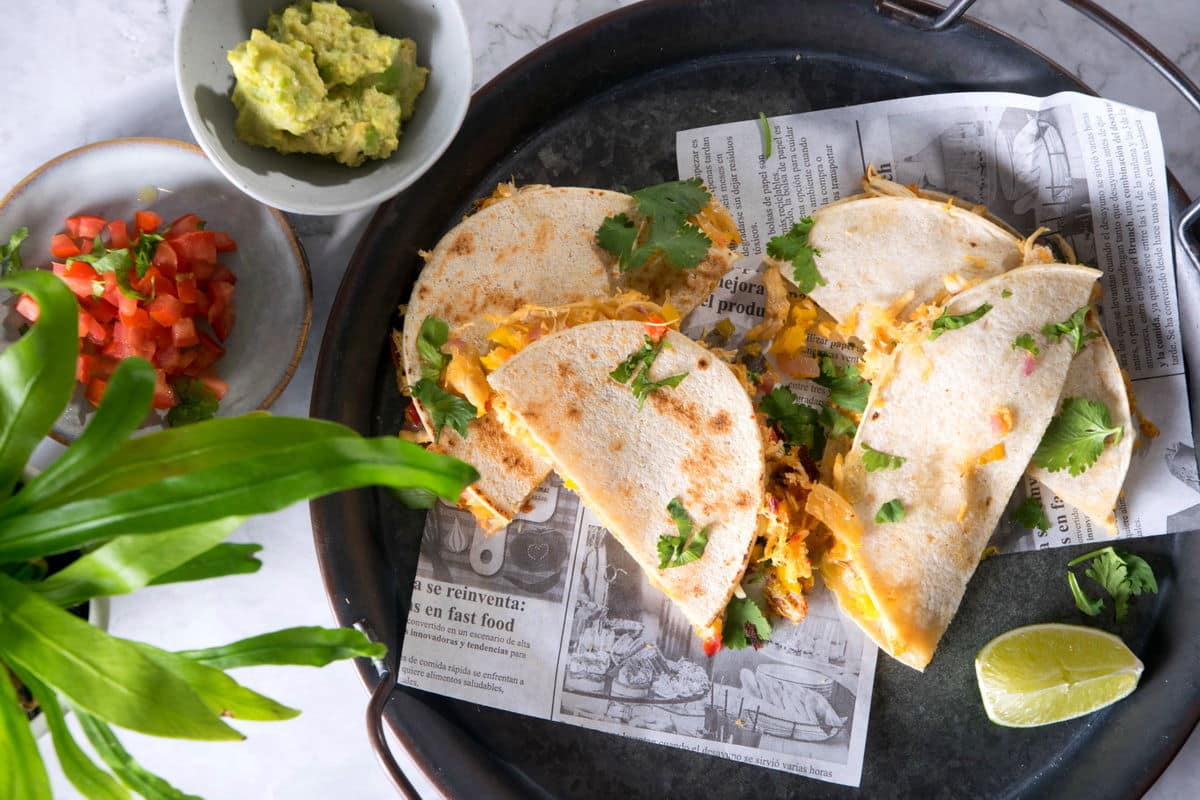
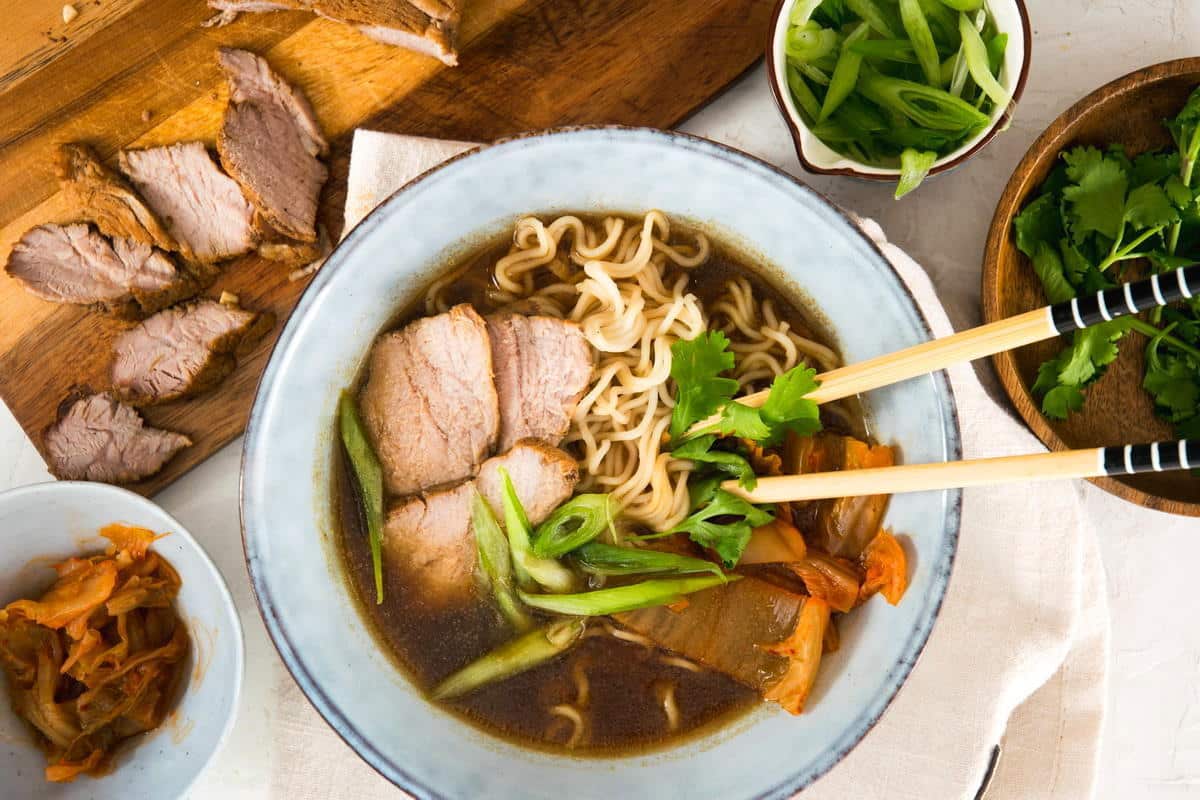
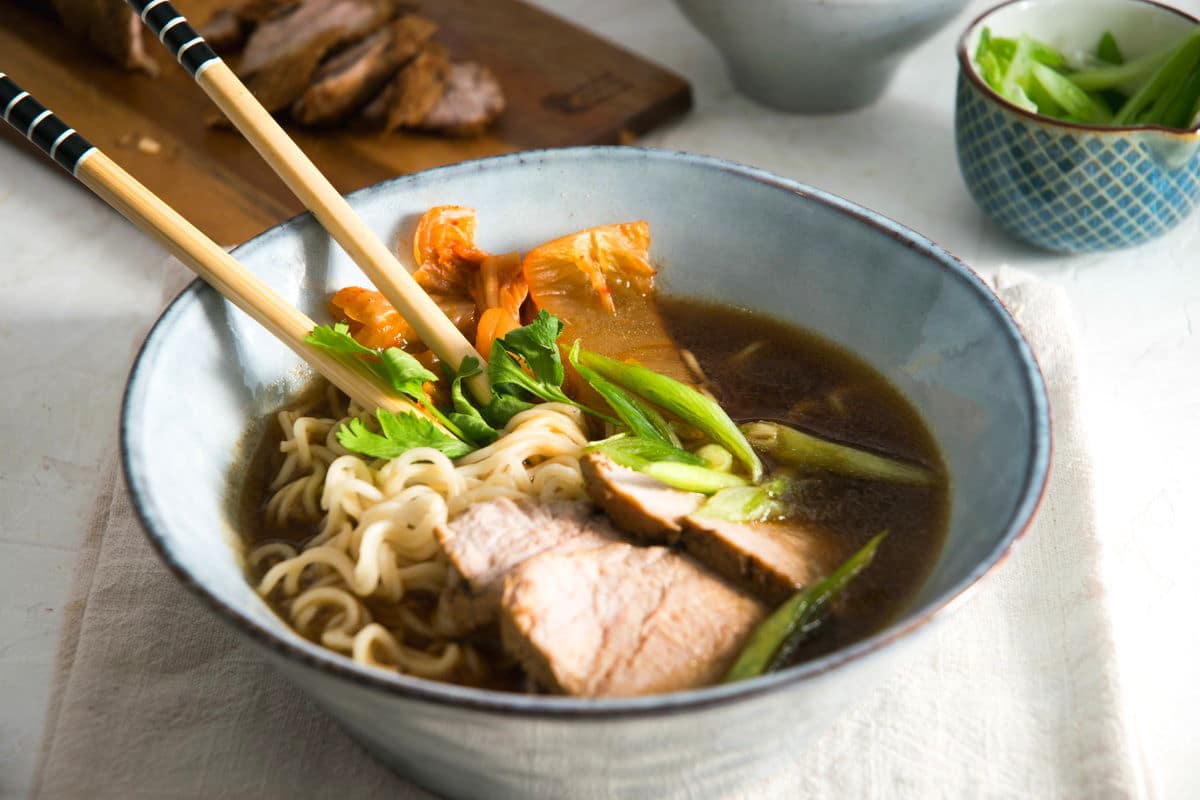
Step 6. Assemble the kimchi chicken rice bowls. Divide the rice, chicken breast, kimchi, pickled veggies, sliced cucumbers and wakame evenly among 4 bowls. Garnish and serve!
🔪 How to Get Thin Cucumber Slices
Here is a pro tip: When you're slicing cucumbers thinly, a knife won't always cut it. Use a vegetable peeler or mandolin slicer to create thin, papery slices that are almost transparent.
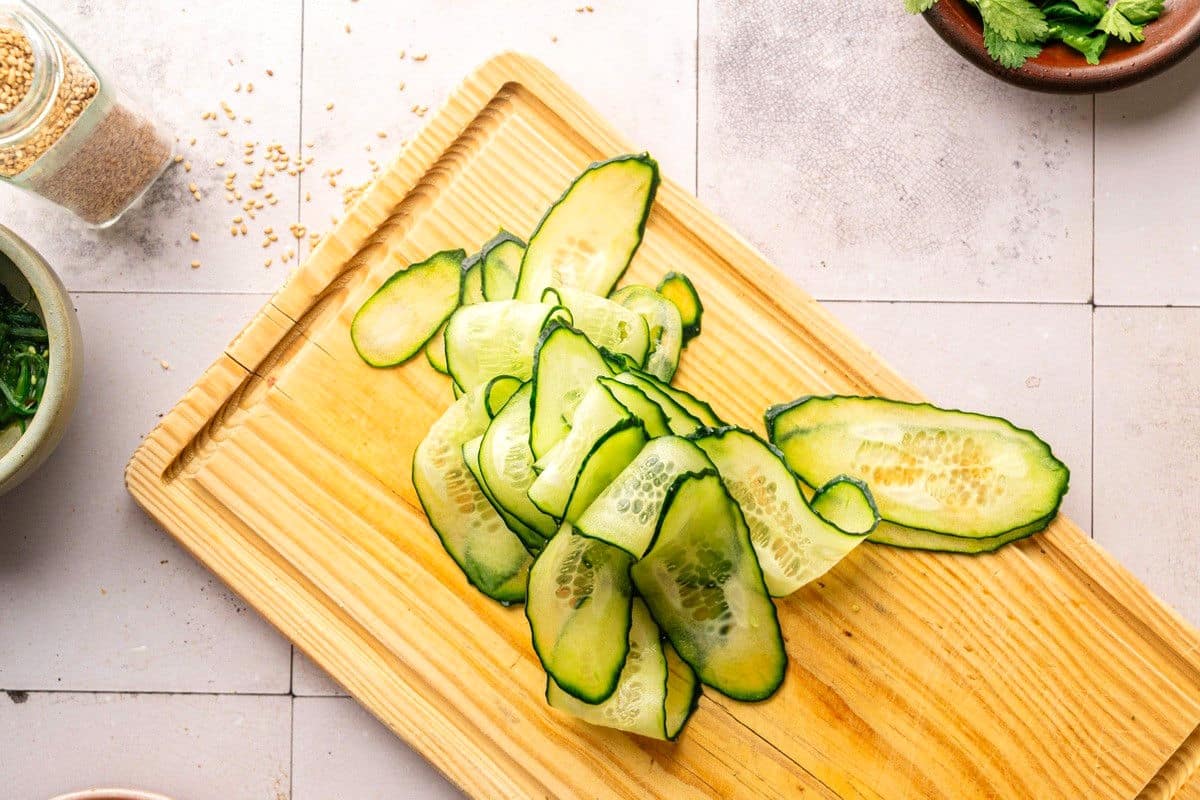
While thick slices are hard and chunky, thin slices are light and refreshing and can be rolled up like ribbon, adding an aesthetic touch to the bowl.
❓ Kimchi Rice Bowl FAQs
A kimchi rice bowl is a combination of components that come together in a bowl including a base of rice, a protein, veggies, kimchi and a sauce. There is always rice and kimchi, but you can pick and choose the other ingredients you would like to fill the bowl with.
Store leftovers in a closed container in the fridge for up to 3 to 4 days.
You can reheat this dish in the microwave (with a wet paper towel on top), in the oven at 350°F (covered in foil in an oven-safe dish) or in a pot on the stove over medium heat. You might need to add a splash of broth or water to remoisten it.
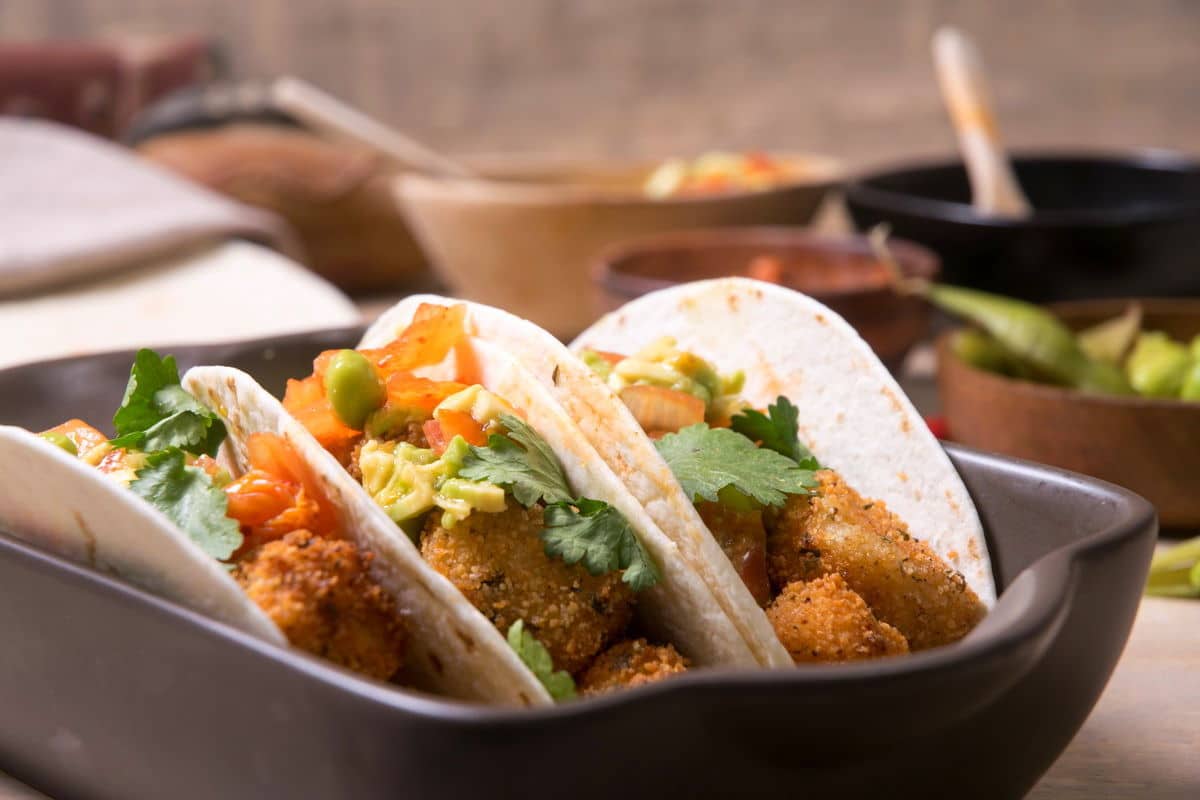
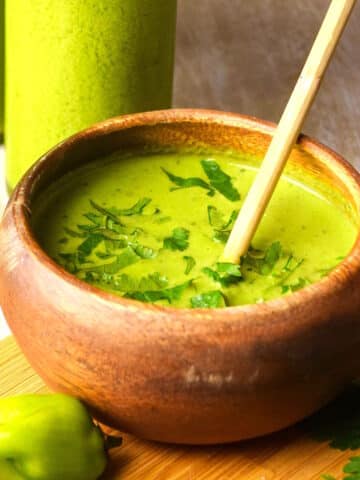
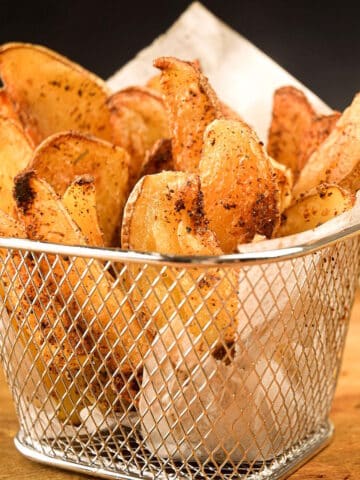
❤️ More Flavorful Kimchi Recipes


If you tried this Kimchi Rice Bowl Recipe or any other recipe on my website, please leave a 🌟 star rating and let me know how it went in the 📝 comments below. And please share the recipe!
📋Recipe

Kimchi Rice Bowl
Equipment
Ingredients
For the Chicken Marinade
- ½ cup soy sauce
- ¼ cup honey
- 2 teaspoons sesame oil
- 2 tablespoons fresh ginger grated
- 4 boneless skinless chicken breasts
For the Pickled Veggies
- ½ cup white vinegar
- ¼ cup sugar
- 1 teaspoon salt
- 1 cup boiling water
- 1 cup carrots julienned
- 1 cup Daikon radish julienned
For the Kimchi Bowl
- 1 tablespoon canola oil
- 3 cups cooked rice 1 cup dry uncooked rice = about 3 cups cooked
- 2 cups kimchi chopped
- 1 cucumber thinly sliced lengthwise
- 1 cup wakame rehydrated (optional)
Optional Garnishes
- sesame seeds
- fresh cilantro chopped
Instructions
For the Marinated Chicken
- Whisk the soy sauce, honey, sesame oil and ginger together in a small bowl. Transfer the marinade to a zip-top bag.½ cup soy sauce, ¼ cup honey, 2 teaspoons sesame oil, 2 tablespoons fresh ginger
- Add the chicken breasts and marinate for 30 minutes.4 boneless skinless chicken breasts
For the Pickled Veggies
- In a quart-size mason jar, add the vinegar, sugar and salt.½ cup white vinegar, ¼ cup sugar, 1 teaspoon salt
- Pour the boiling water into the jar and stir until the sugar and salt are dissolved.1 cup boiling water
- Stuff the julienned carrots and daikon into the jar.1 cup carrots, 1 cup Daikon radish
- Allow to cool/marinate at room temperature for at least 20 minutes.
For the Kimchi Bowl
- In a large skillet over medium heat, heat the canola oil.1 tablespoon canola oil
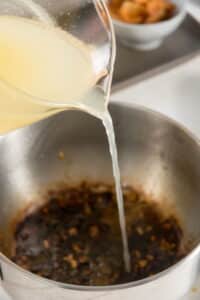
- Remove the chicken breasts from the marinade and add them to the frying pan. Cook until the internal temperature reaches 165°F (about 5 to 7 minutes per side). Remove and slice the chicken.
- Divide the rice (about ¾ cup each), chicken breast, kimchi, pickled veggies, sliced cucumbers and wakame evenly among 4 bowls.2 cups kimchi, 1 cucumber, 1 cup wakame
- Garnish with sesame seeds and fresh cilantro. Serve!
Video
Notes
- Nutrition information does not include the optional garnishes.
- When you're slicing cucumbers thinly, a knife won't always cut it. Use a vegetable peeler or mandolin slicer to create thin, papery slices that are almost transparent. While thick slices are hard and chunky, thin slices are light and refreshing and can be rolled up like ribbon, adding an aesthetic touch to the bowl.
- Instead of fresh ginger, you can substitute with ½ teaspoon ground ginger.
- Store leftovers in a closed container in the fridge for up to 3 to 4 days.
- You can reheat this dish in the microwave (with a wet paper towel on top), in the oven at 350°F (covered in foil in an oven-safe dish) or in a pot on the stove over medium heat. You might need to add a splash of broth or water to remoisten it.