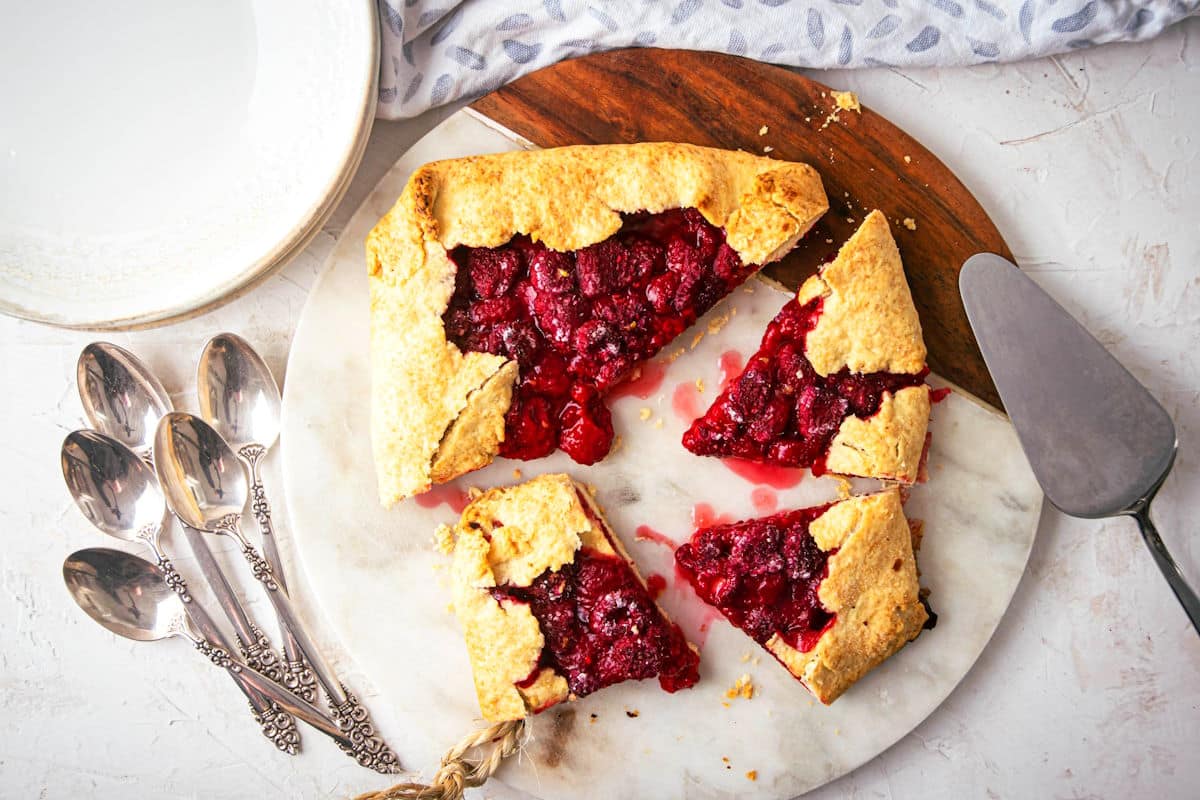
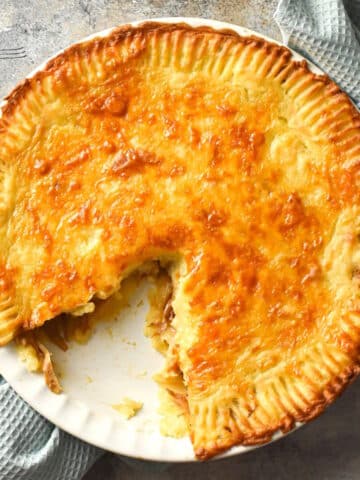
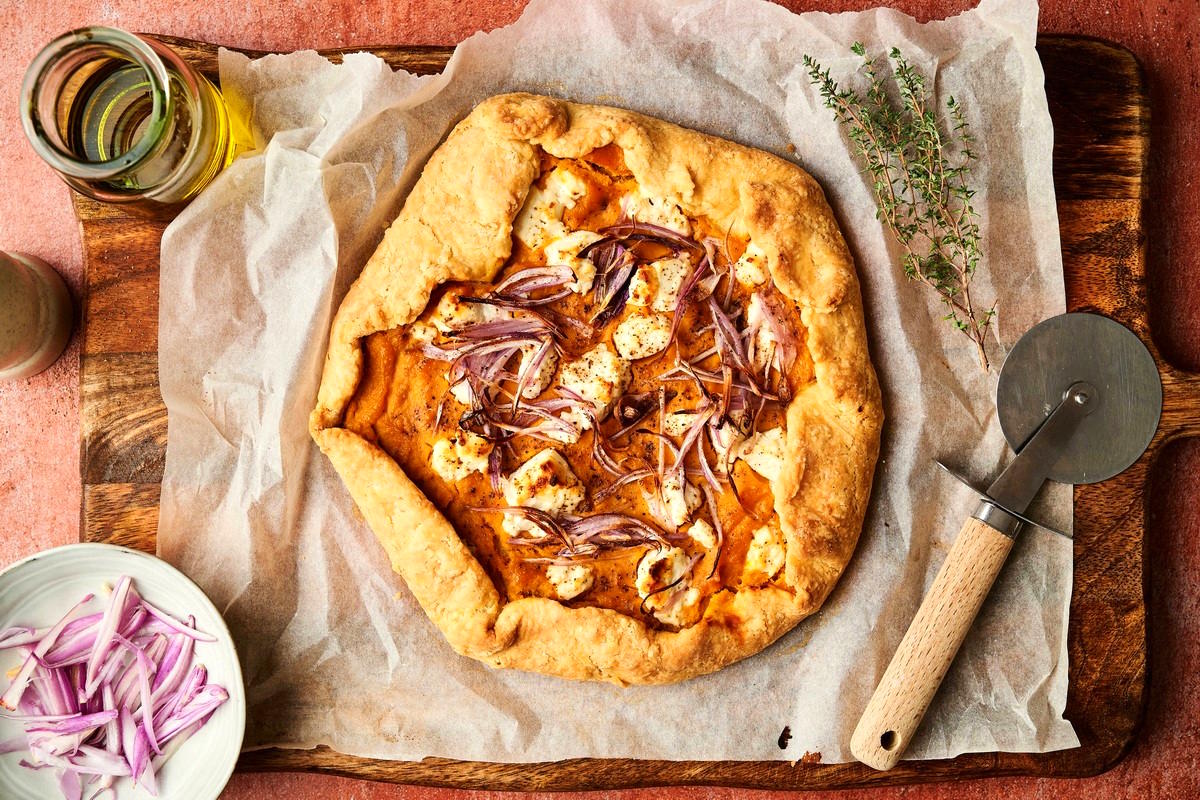
Crispy, flaky pastry surrounds a rich pumpkin filling, making this pumpkin galette a delicious savory twist on the classic pumpkin pie. It's served as a side dish or appetizer, so don't plan on eating it for dessert! Try it for Thanksgiving or a fall dinner party.

This Savory Pumpkin Galette is Pure Cozy
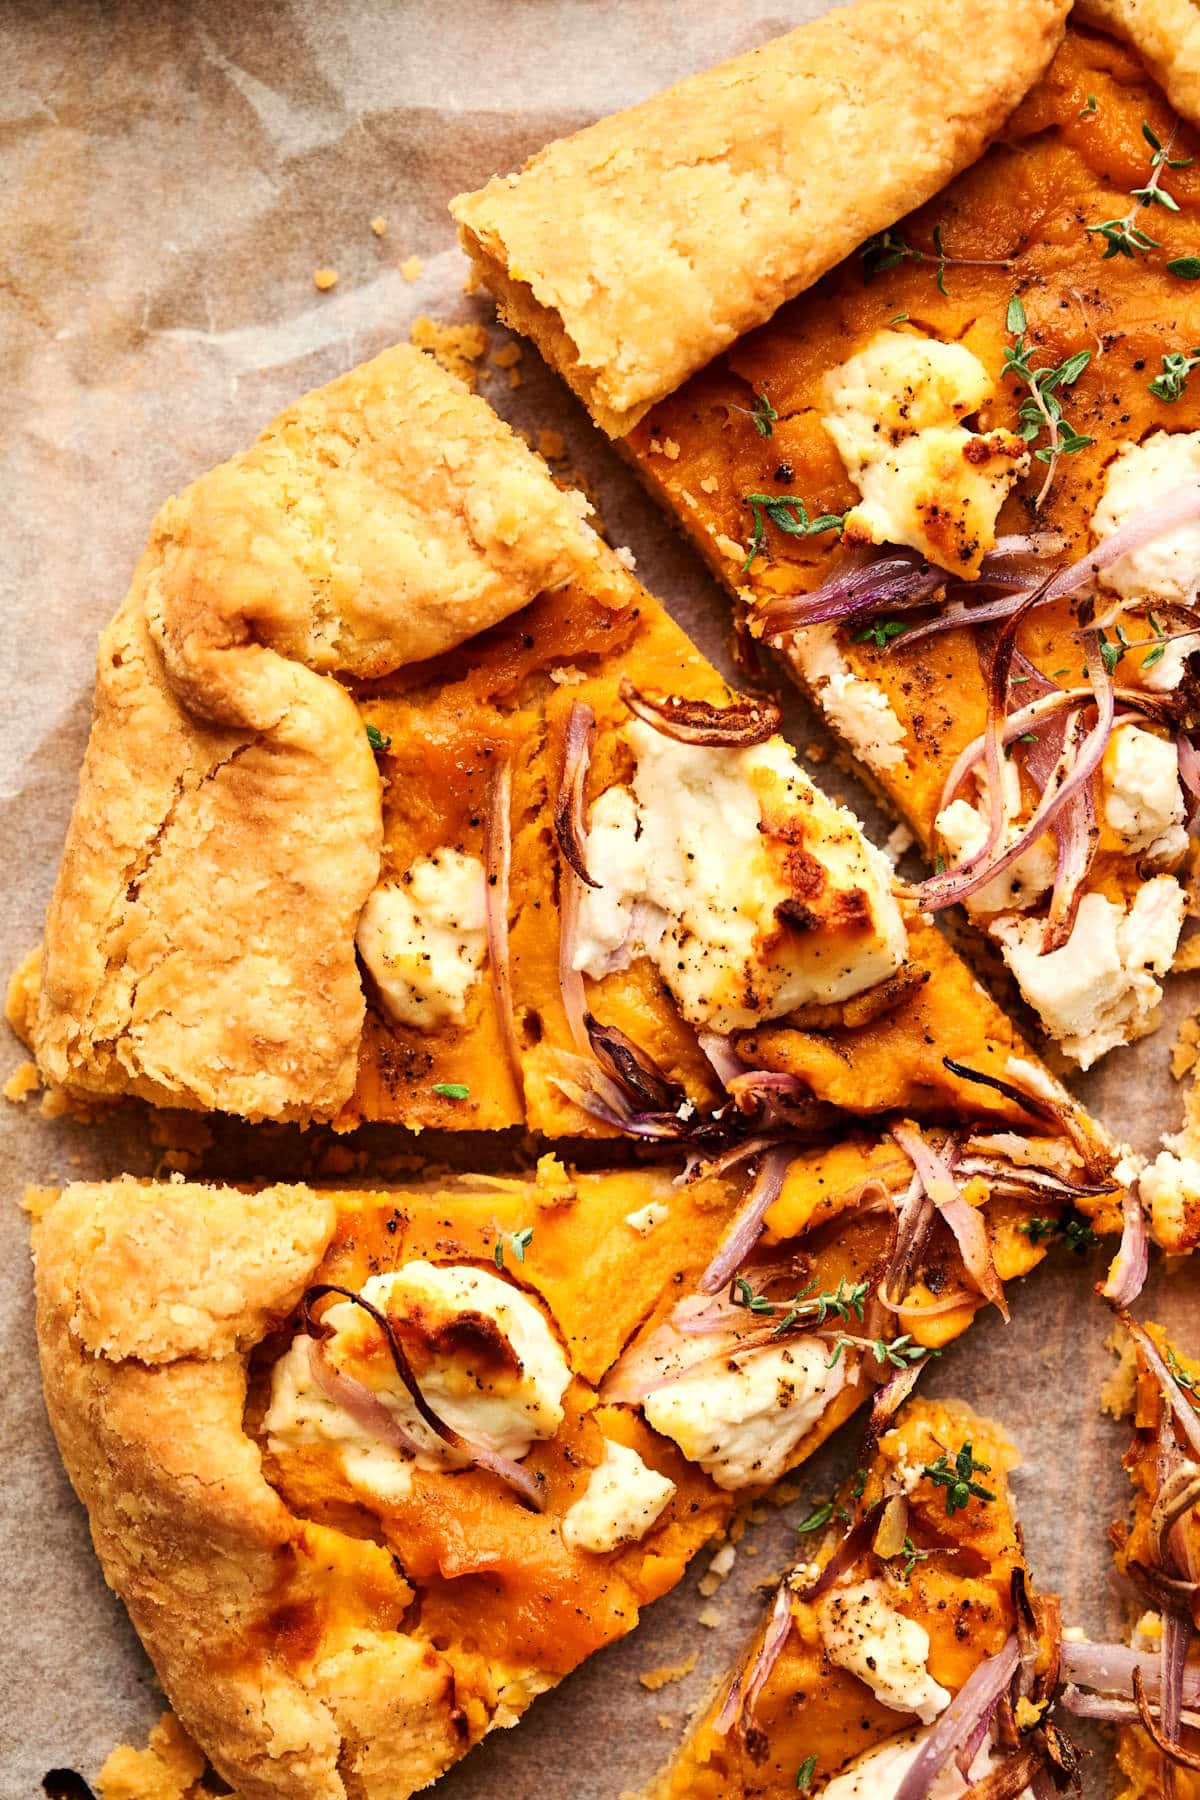
Shallots, goat cheese and fresh thyme bring out the best in a flaky, homemade pastry filled with rich pumpkin purée. This dish feels warm and comforting, and fills your home with an irresistible aroma as it bakes.
Unlike a traditional deep-dish pie, a galette is free-form with an open, rustic shape and beautifully crisp edges--almost like a pizza. No pie plate, no fuss!
It's incredibly easy to make--simply spoon the filling into the center of the pastry, then fold it up around the purée. In a little over an hour, you'll have a flat, crispy pastry that's just as tasty warm as it is straight from the fridge the next day.
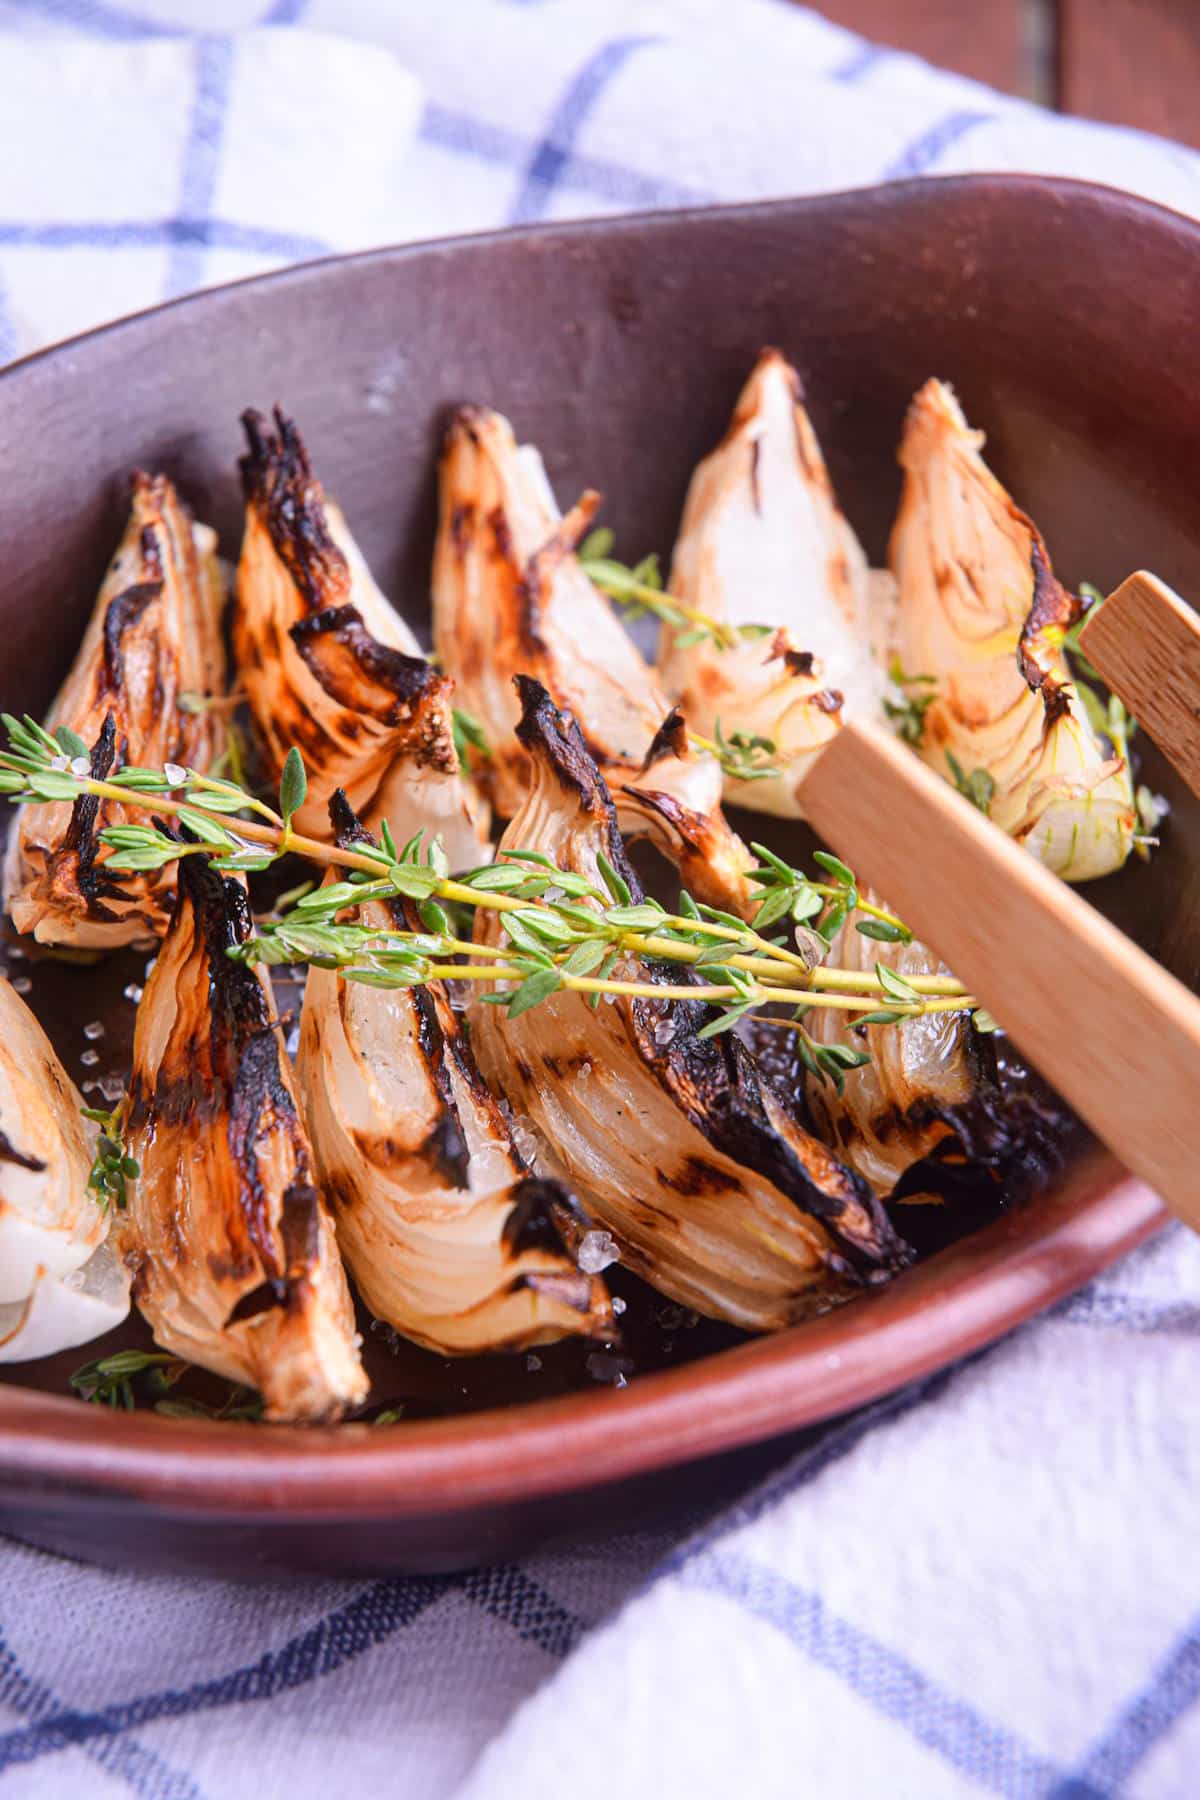
That open, rustic look makes it easy to give it a restaurant-quality touch with a simple garnish.
You can use the same fillings that you use for pies: fresh blueberries, apples or canned pumpkin purée. However, this one leans savory like my potato galette, so don't plan on eating it for dessert!
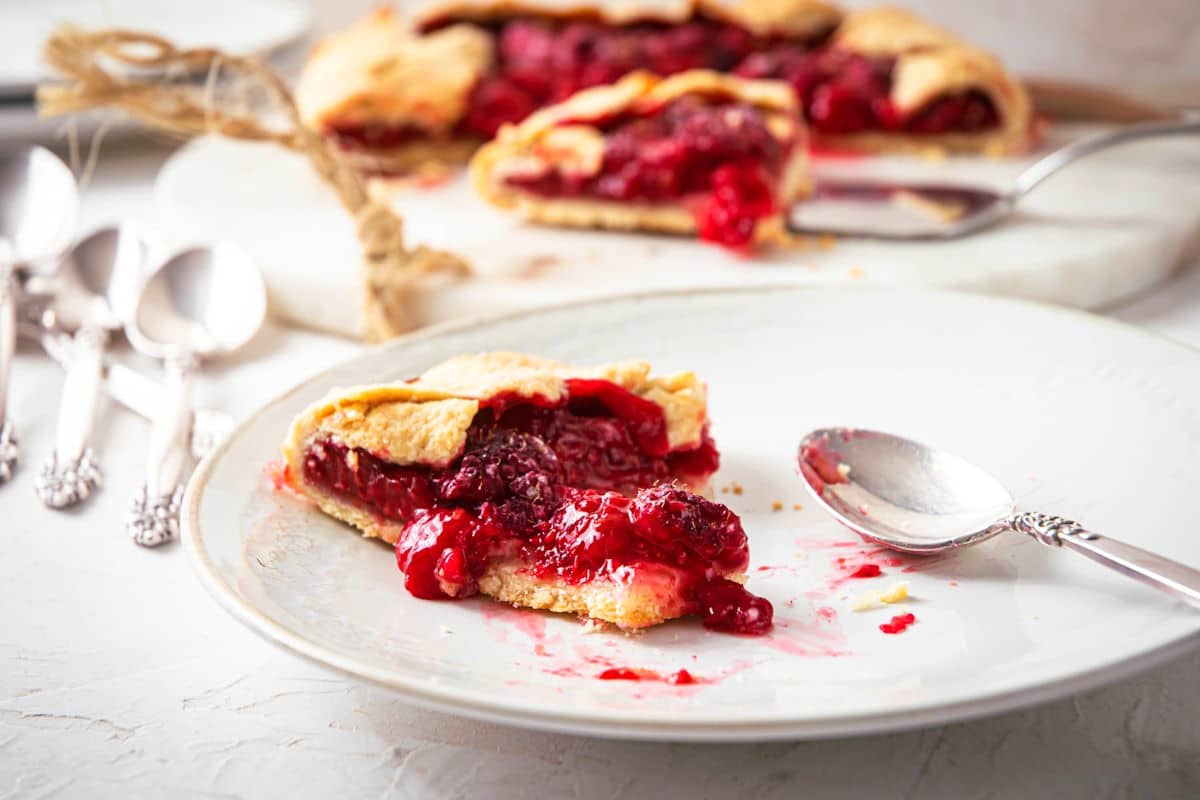
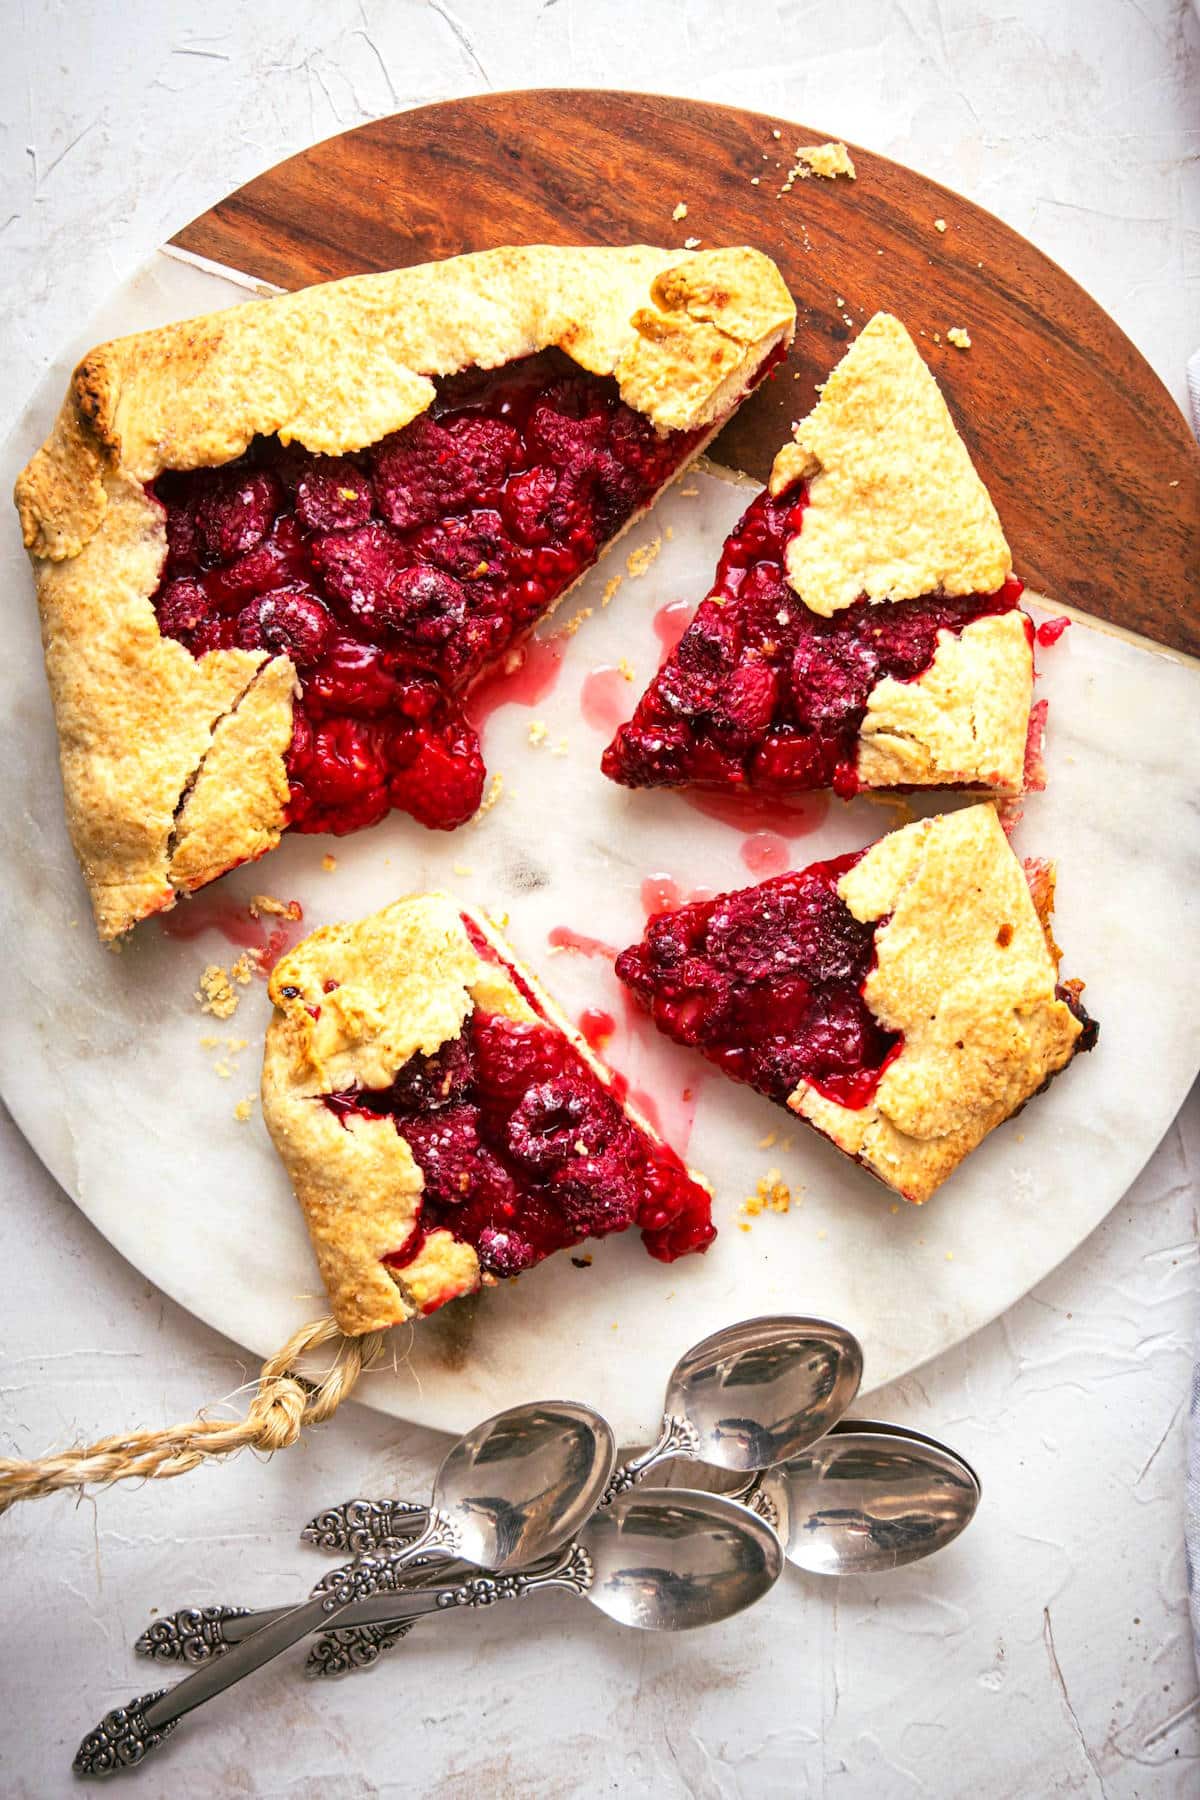
I do have a sweet fresh cherry galette, berry galette and raspberry galette recipe if you want to try those, too.
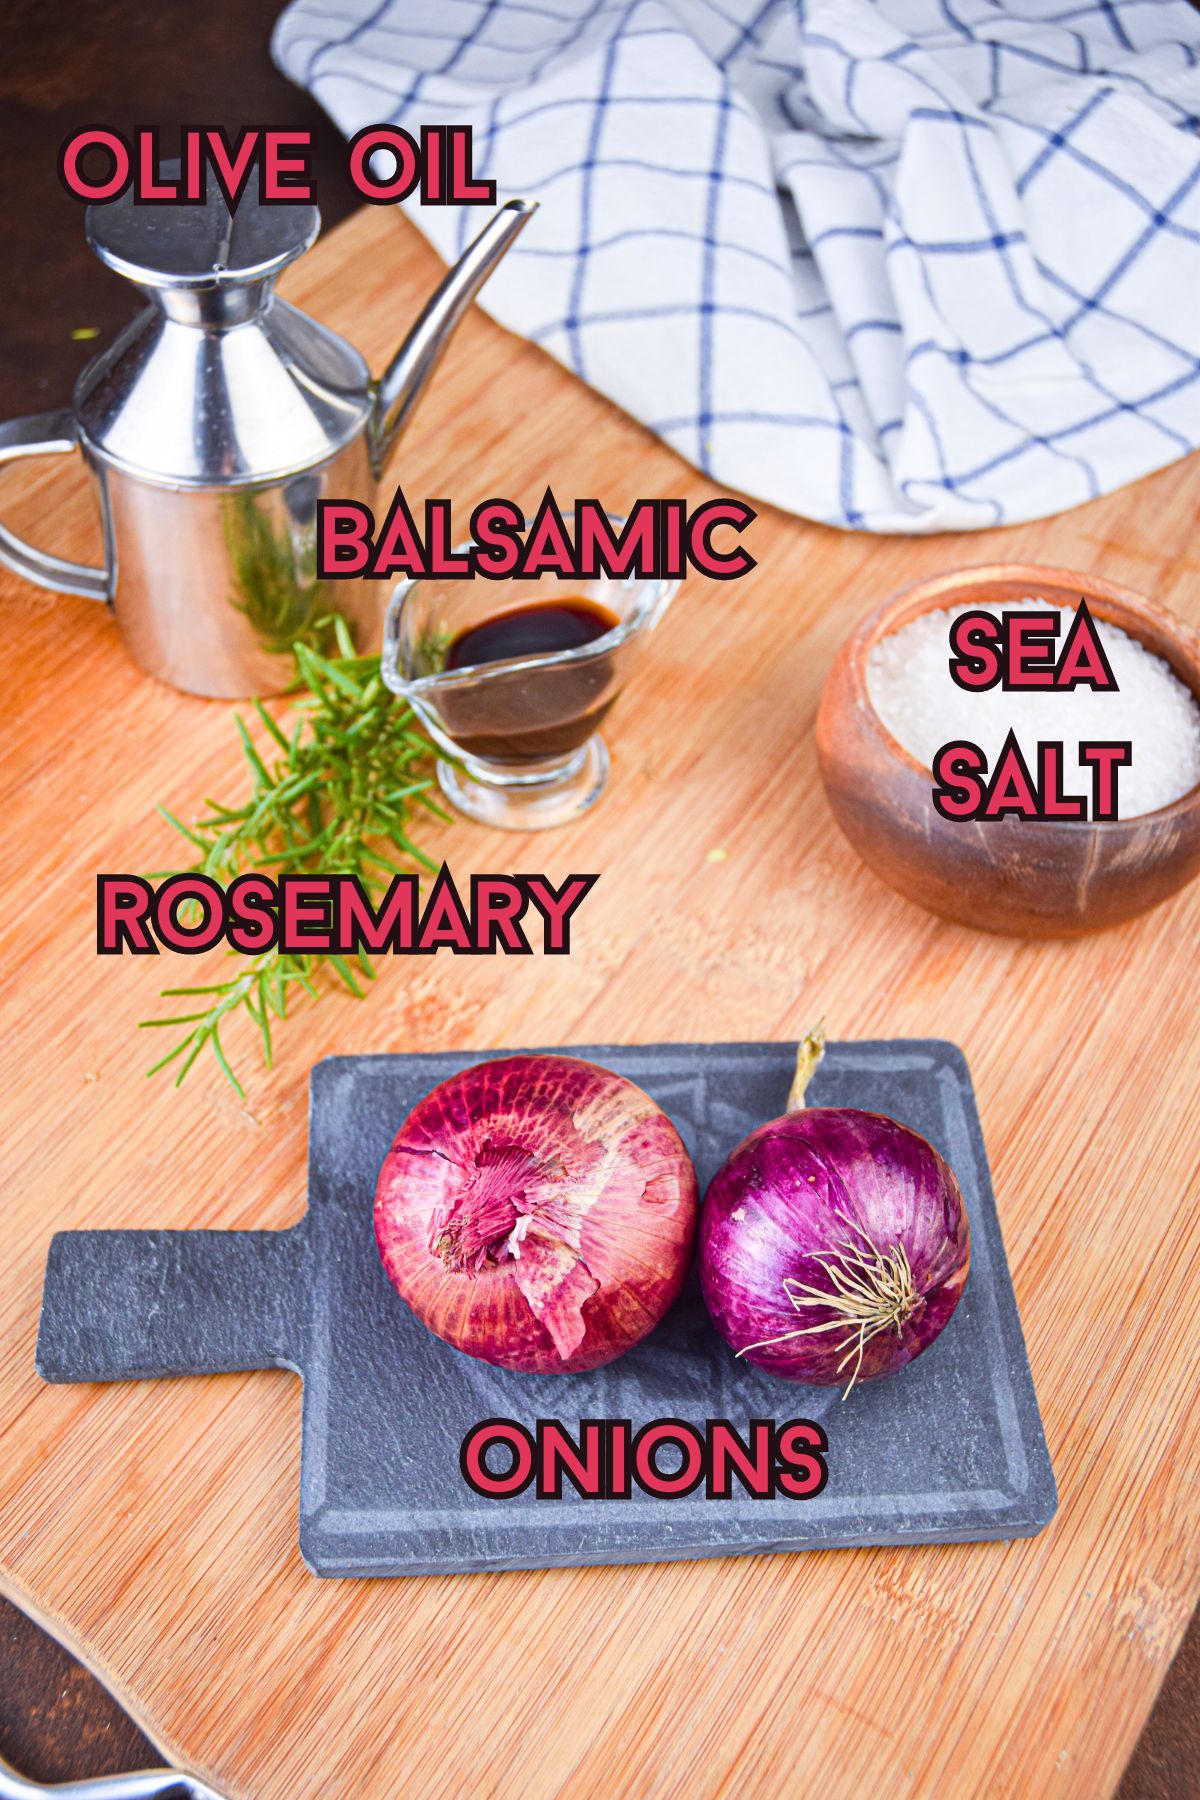
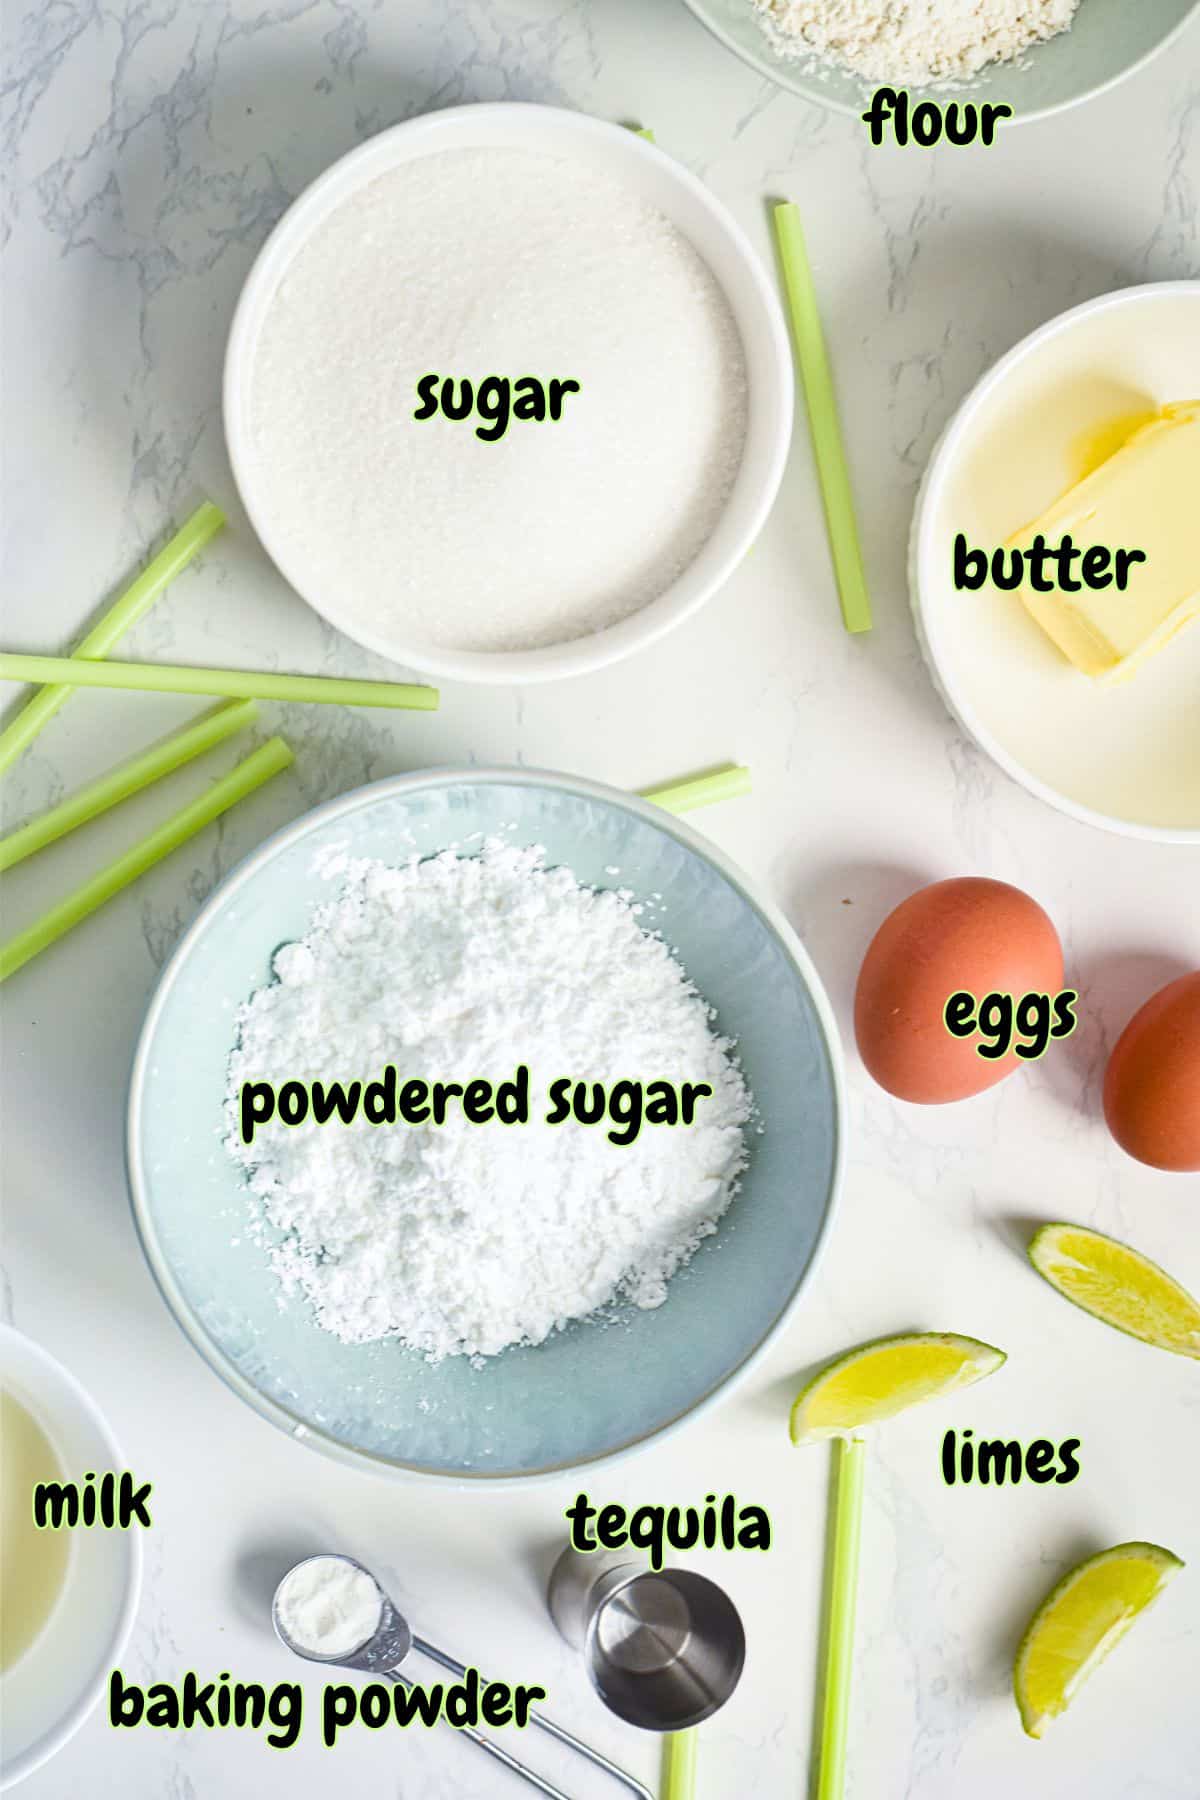
Ingredients
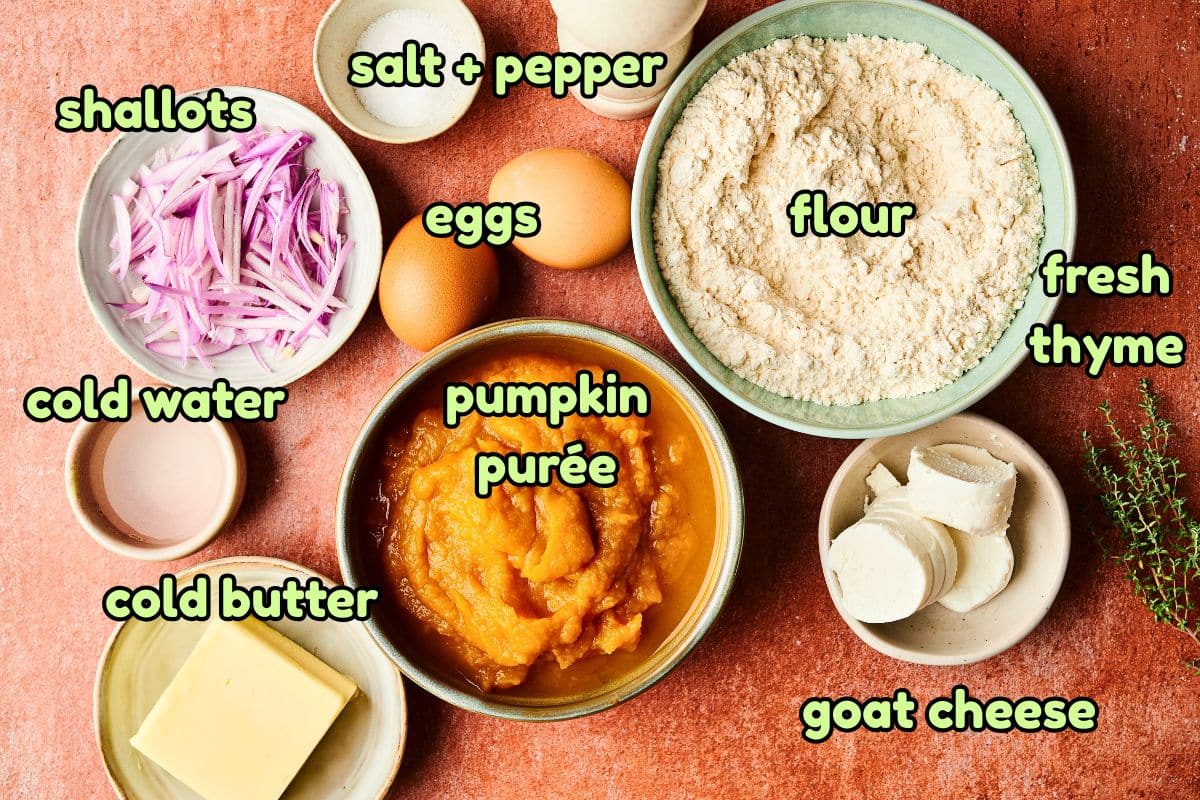
- butter - Make sure it's chilled, not soft.
- water - The water should also be nice and cold for the best pastry texture.
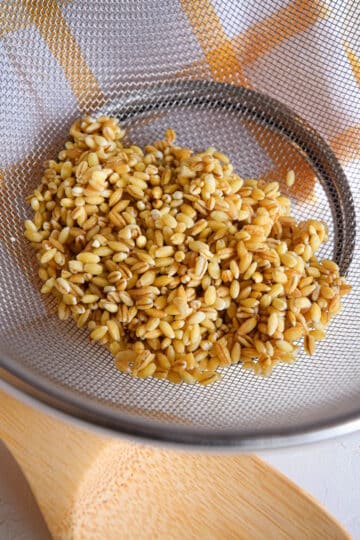
- canned pumpkin purée - Do not get confused with pumpkin pie mix--it should not be sweetened.
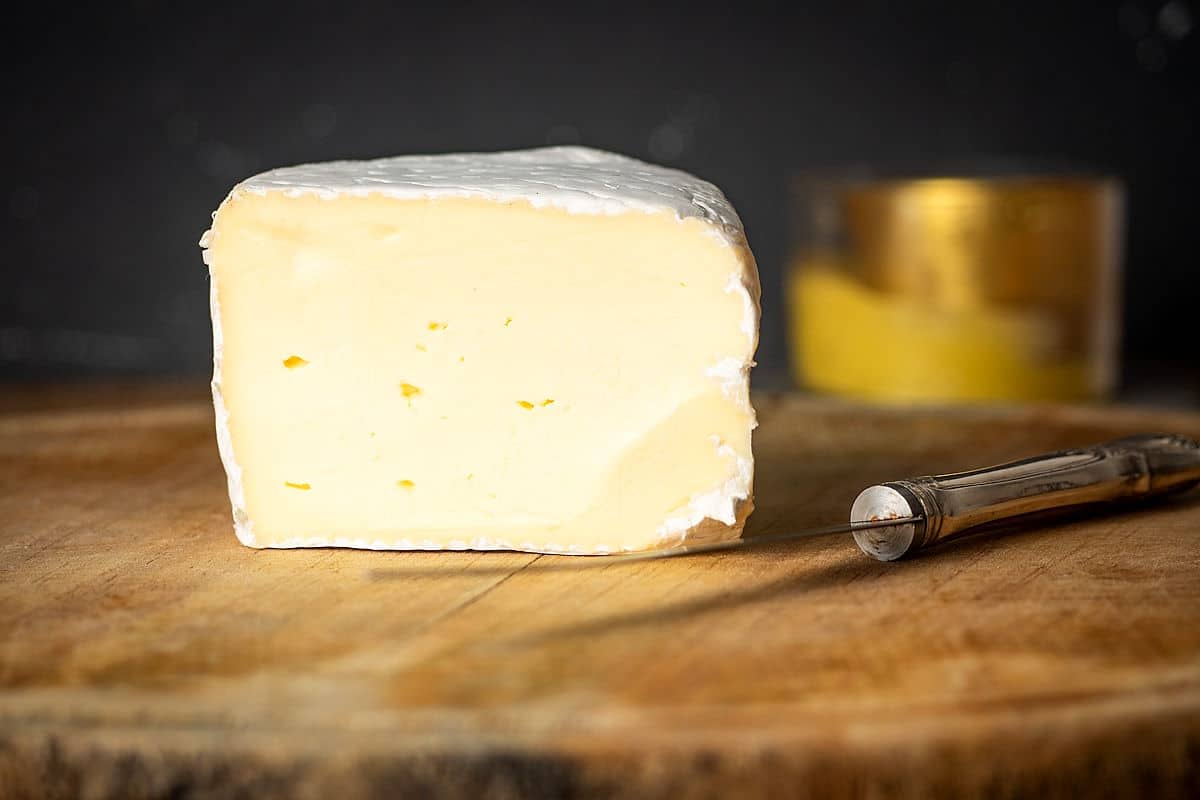
- goat cheese - Goat cheese adds some tangy, creamy bite and balances the natural sweetness of the pumpkin. It's great for baking because it doesn't leak a bunch of oil and it gets a little toasty on the edges.
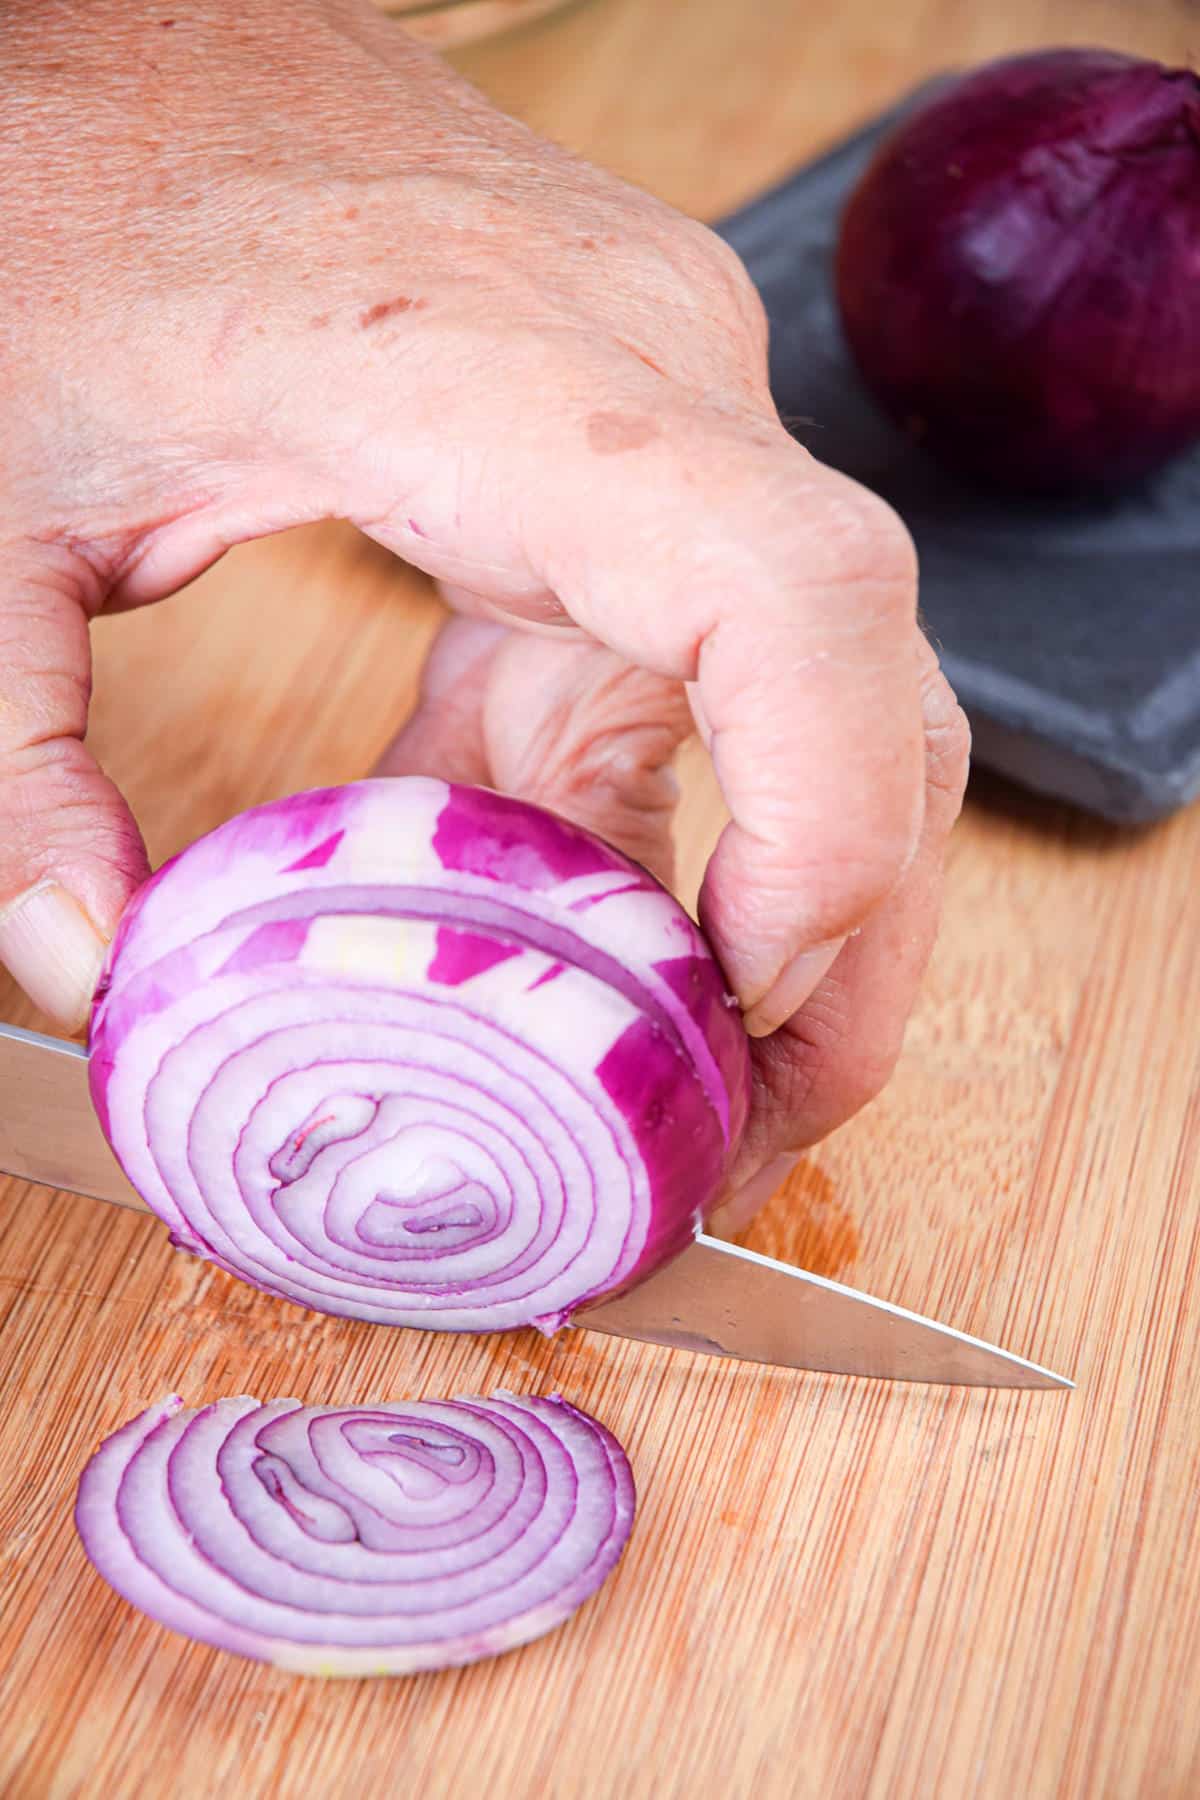
- shallots - Can also use red onion if you can't find shallots or you're looking for a cheaper option.
- salt - Table salt, kosher salt or sea salt.
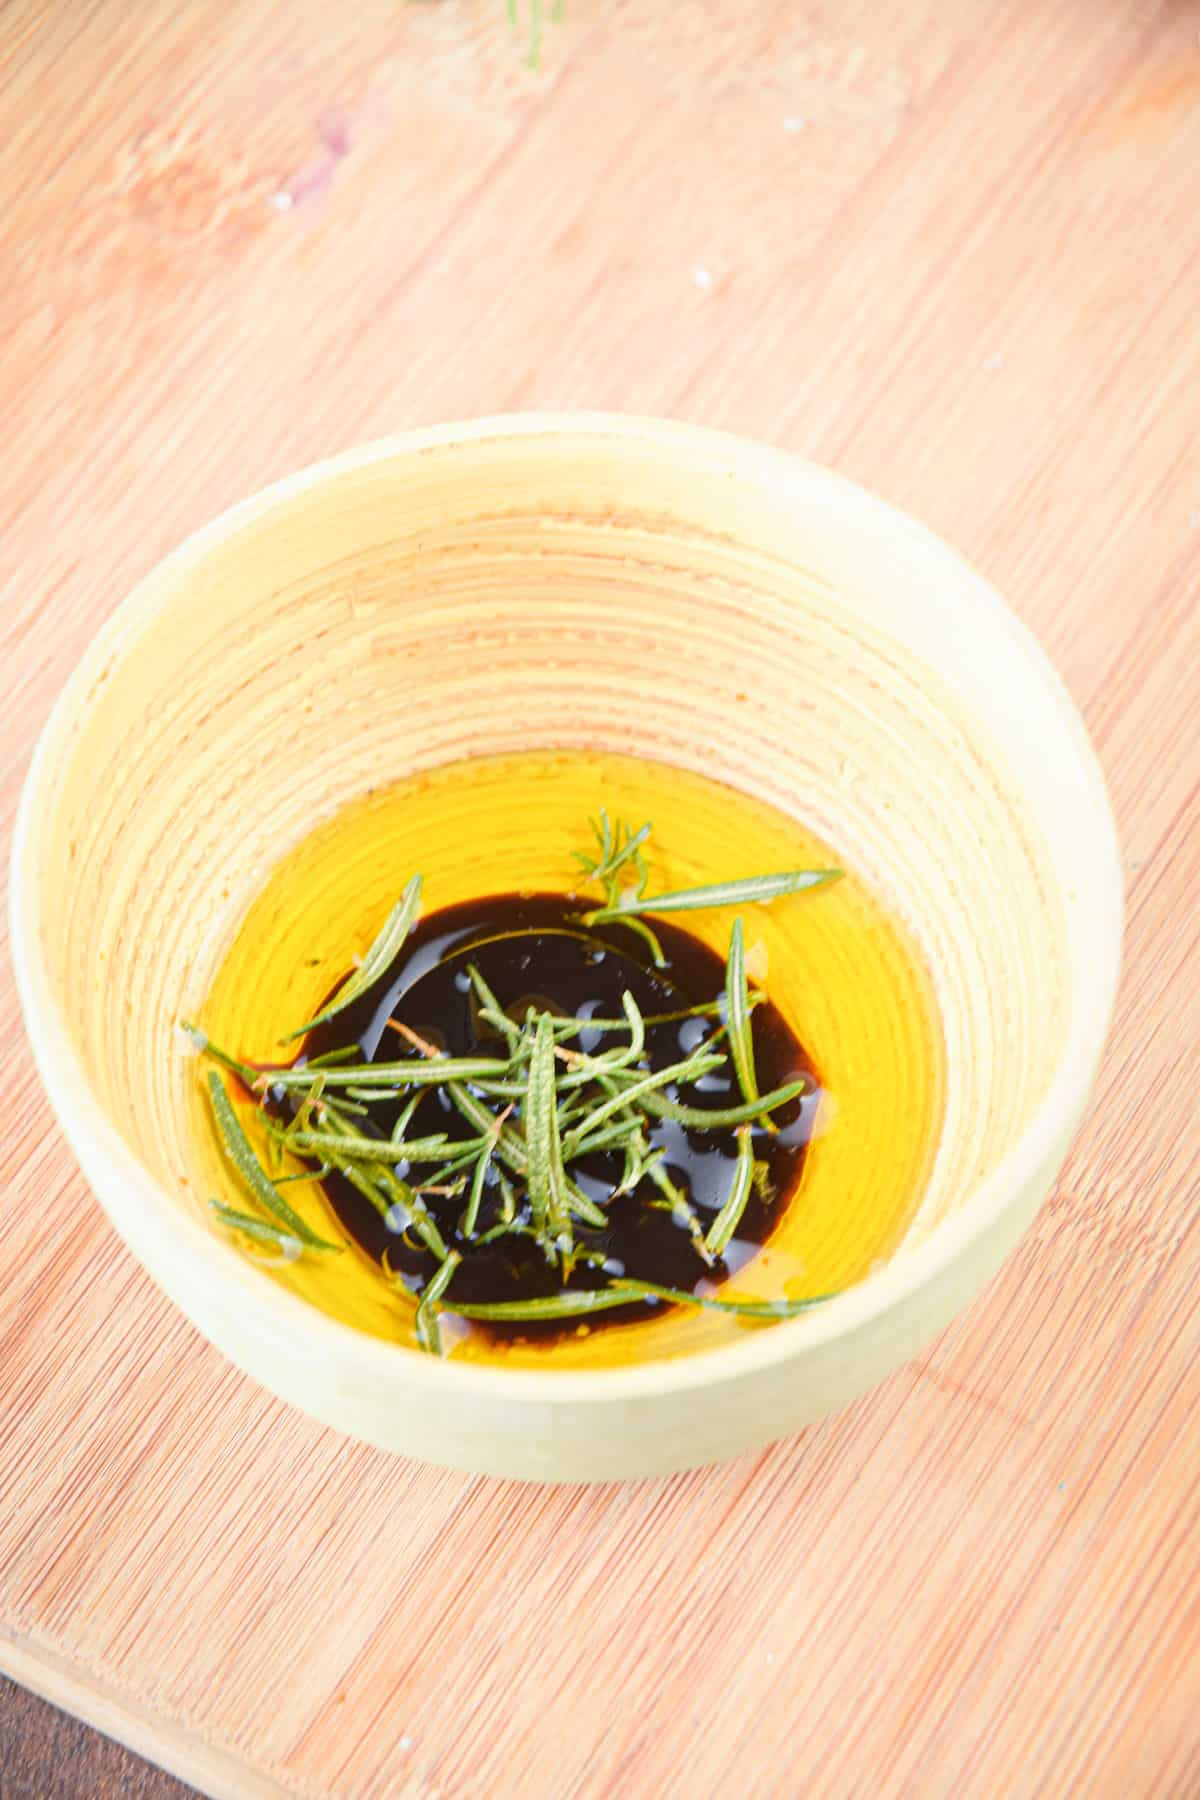
- fresh thyme leaves - This is an optional garnish--you can experiment with other herbs that go well with pumpkin such as sage, oregano and parsley.
*Check recipe card for ingredient amounts.
How to Make a Pumpkin Galette
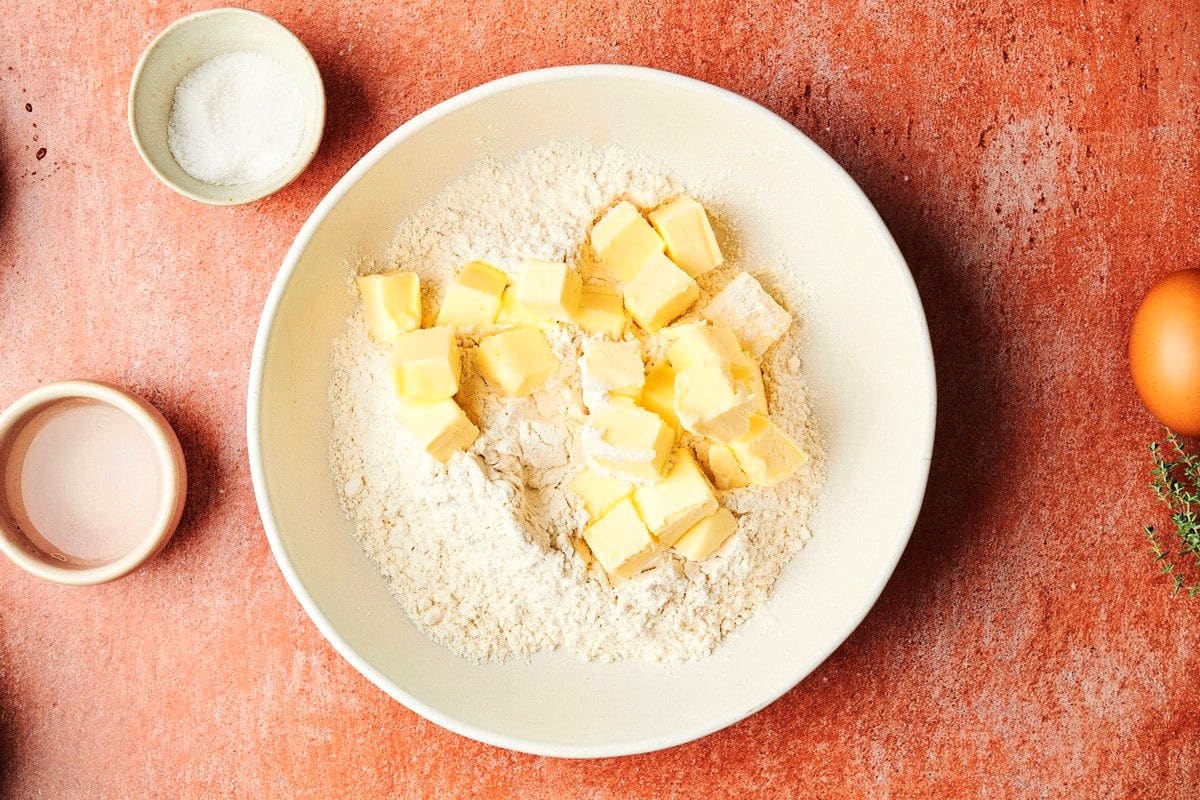
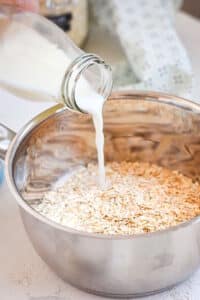
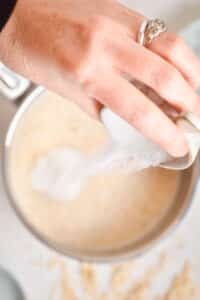
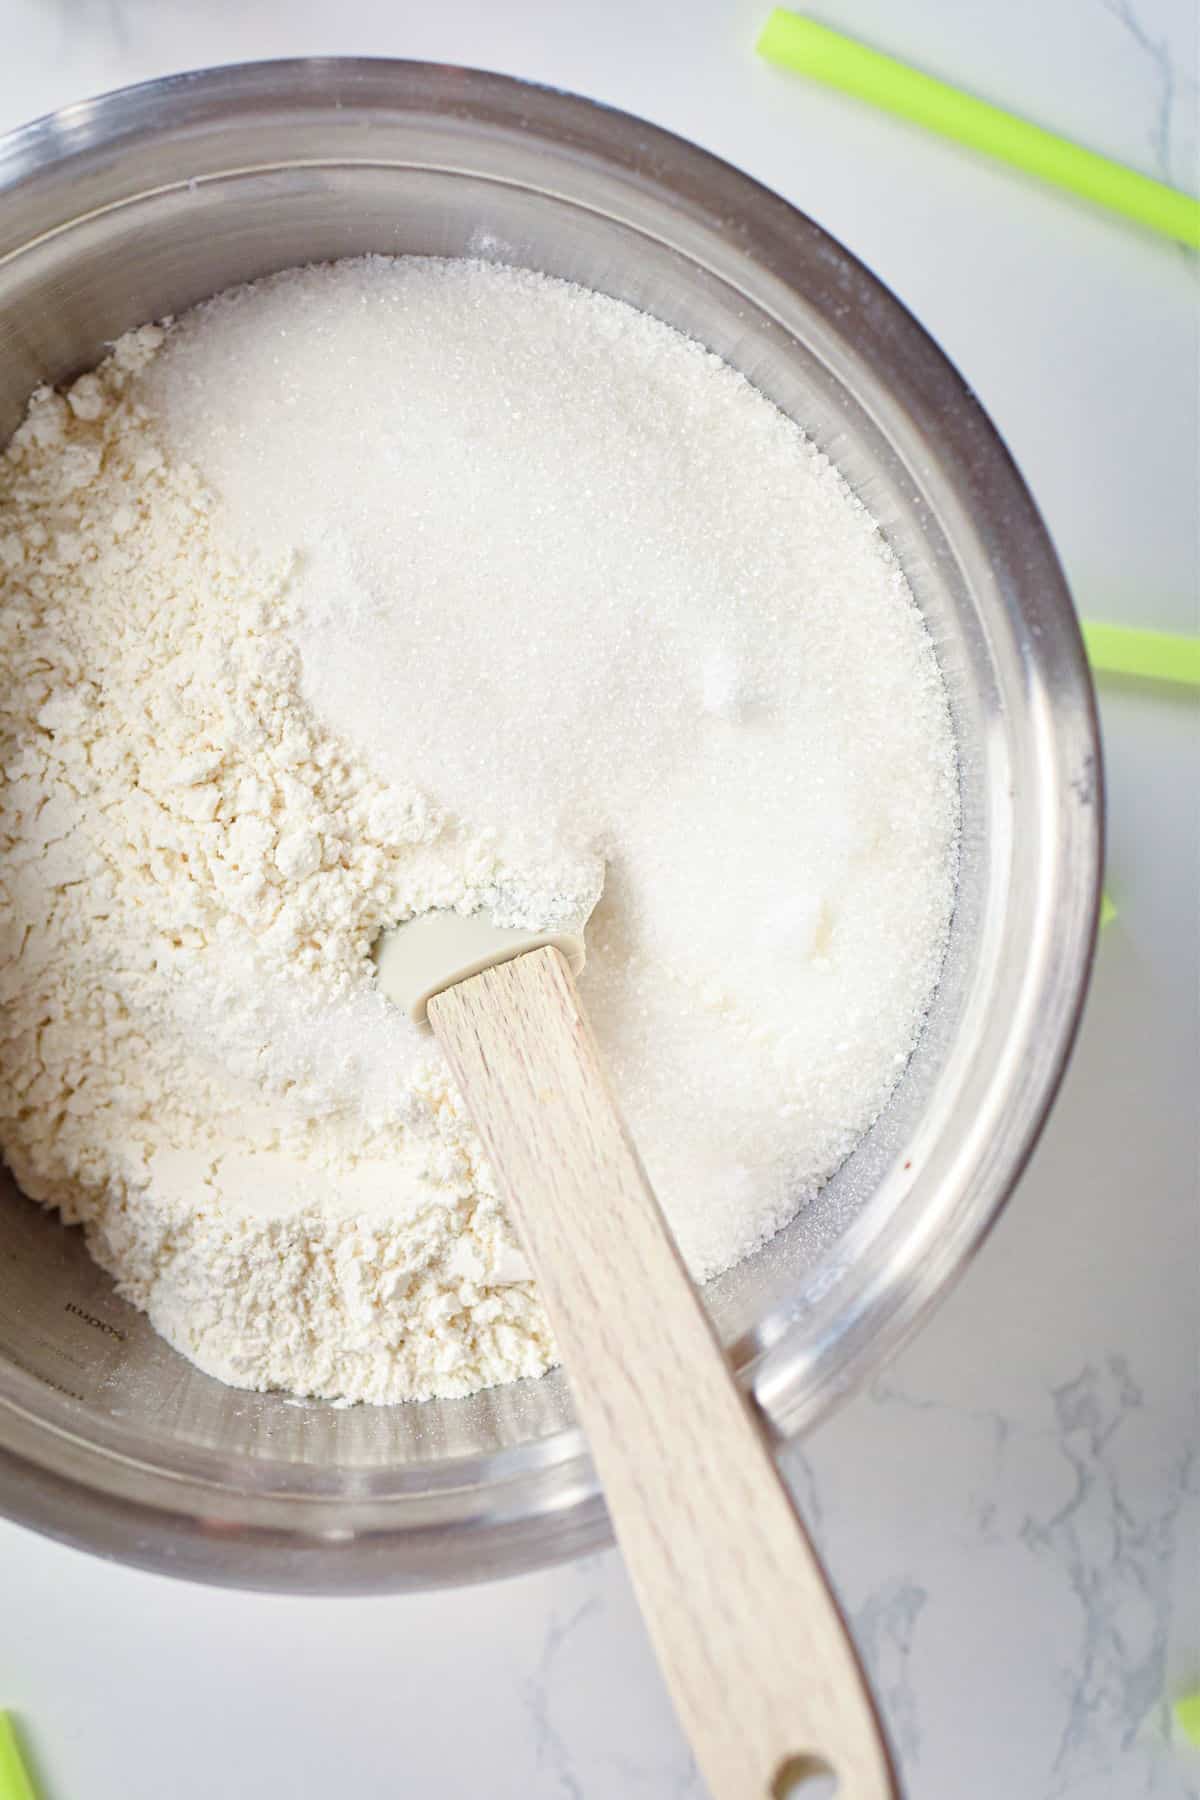
Step 1. Begin making the pastry. In a medium bowl, combine the flour and salt. Add the cubes of butter and cut them into the flour with a fork or your fingers until coarse.

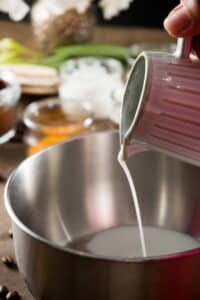
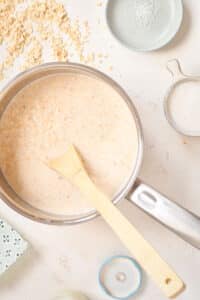
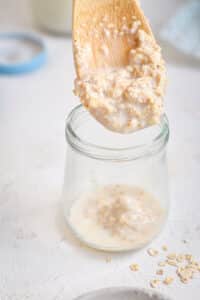
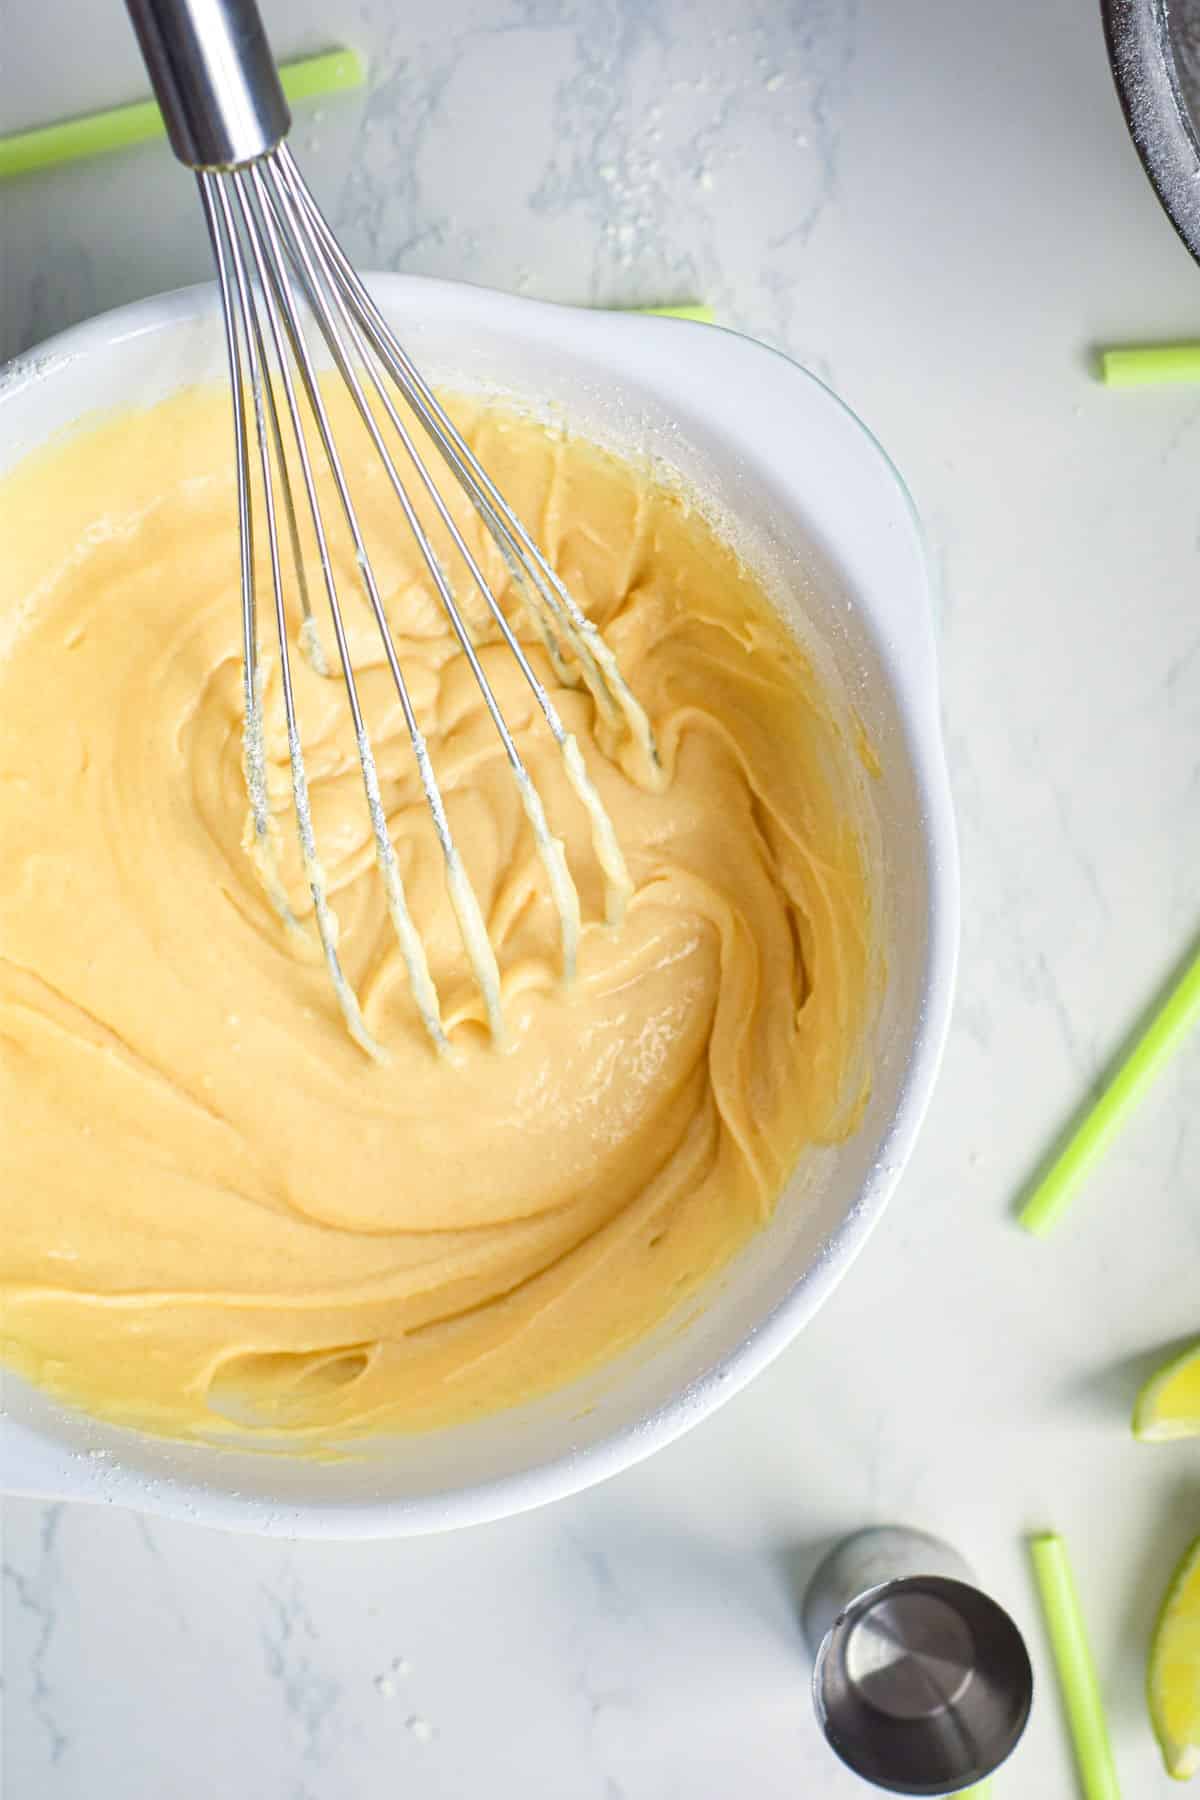
Step 2. Form a ball. Add the egg and 2 tablespoons of cold water and work the mixture together, just until it forms a ball.
👩🏻🍳 Chef's Note: You can add one more tablespoon of cold water, if needed.
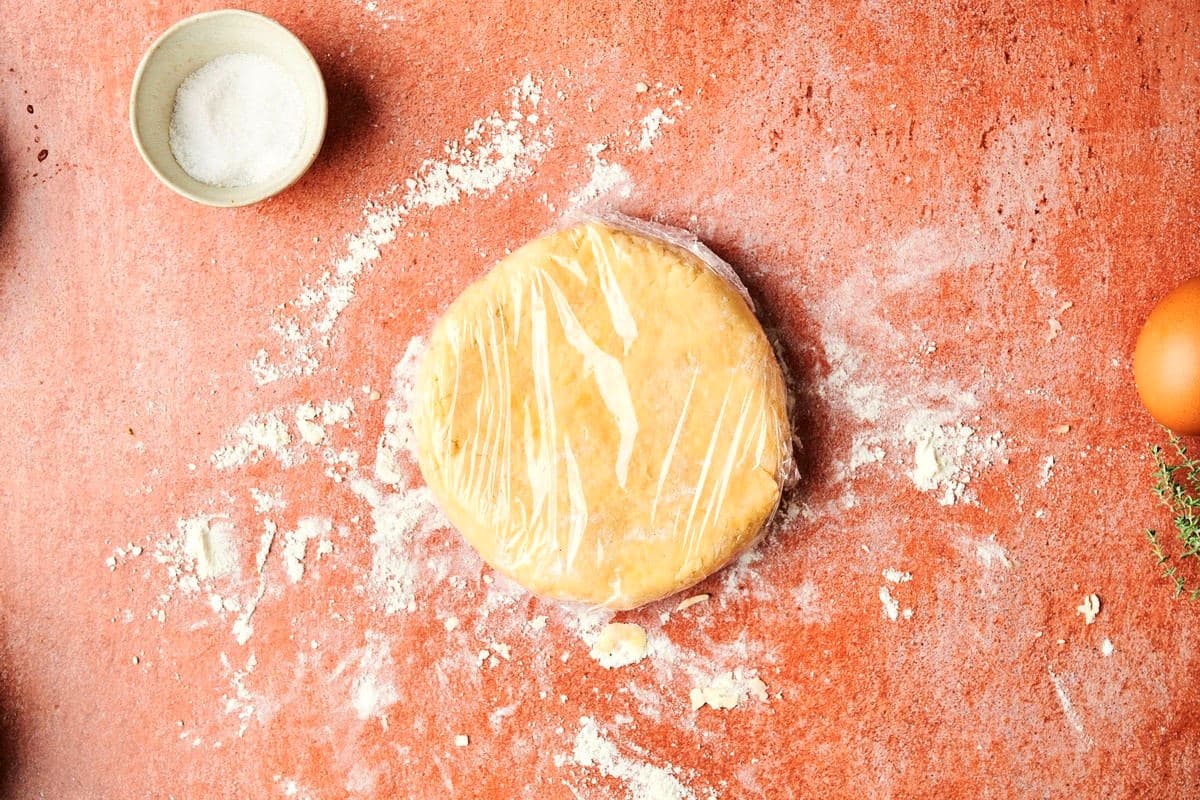
Step 3. Chill. Flatten into a disc, cover with plastic wrap and chill for 30 minutes.
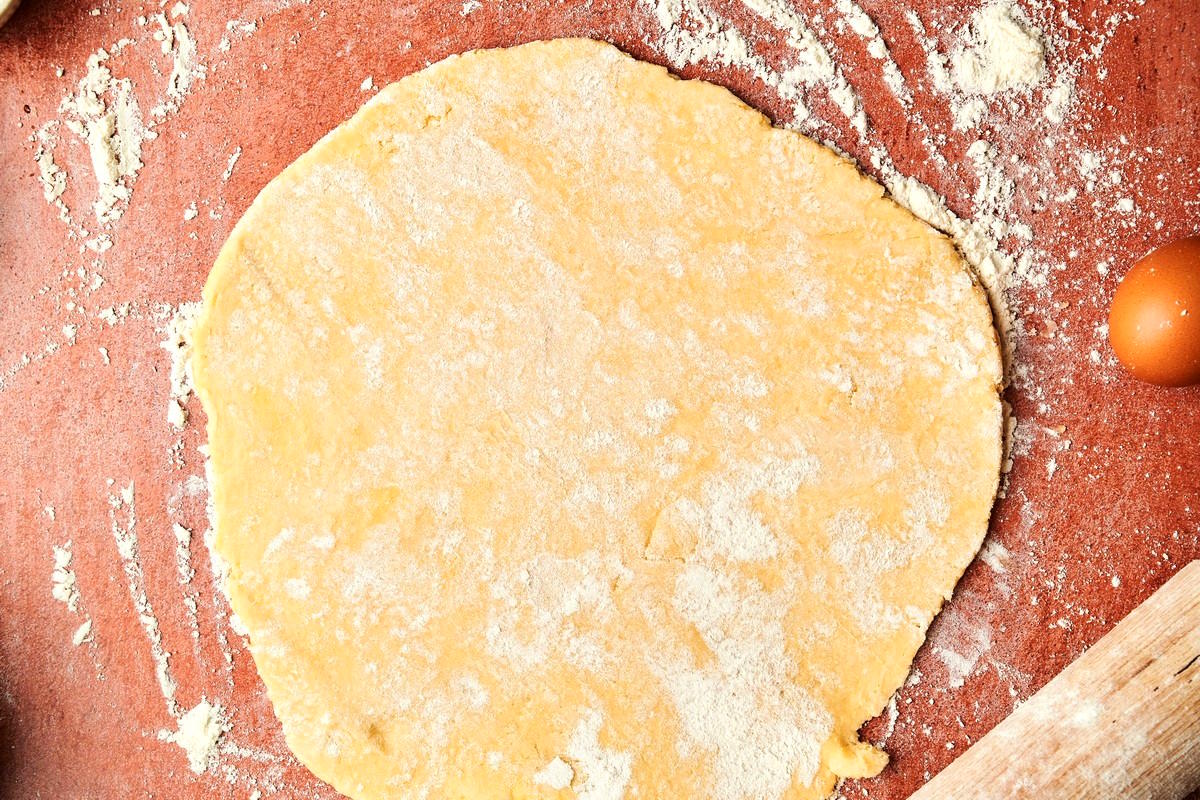
Step 4. Roll dough out. Preheat the oven to 425°F. On a lightly floured surface, roll out the dough into a circle that is approximately 13"-14" in diameter. Transfer to a parchment-lined pan.
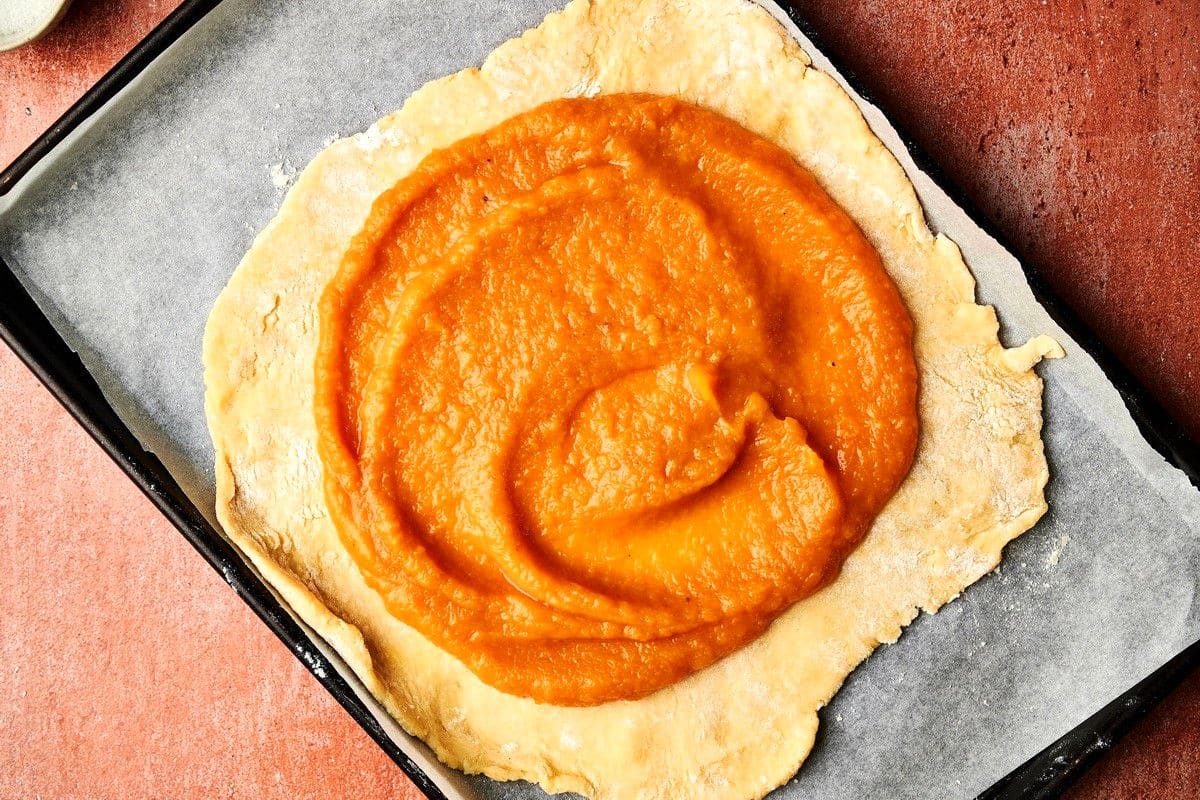
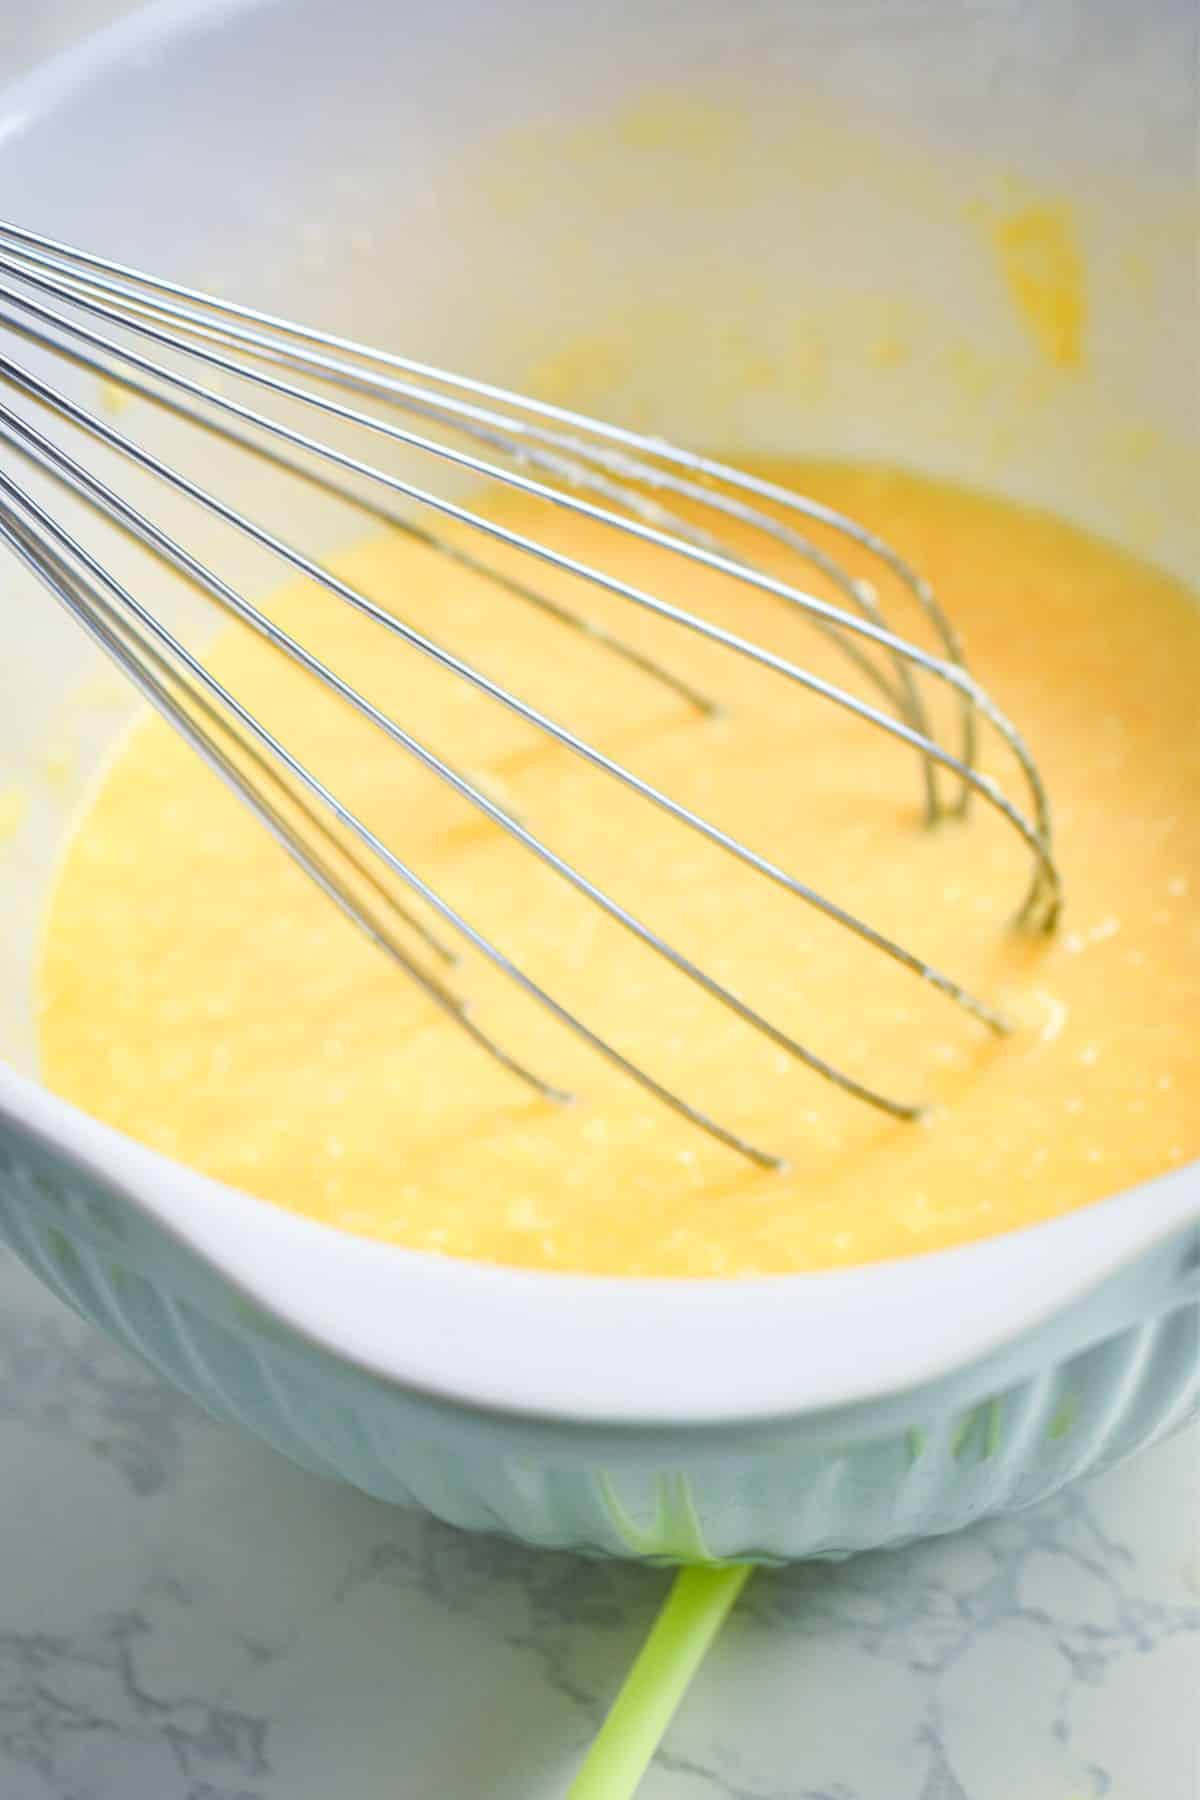
Step 5. Add pumpkin. Combine the pumpkin purée with the egg and salt. Spread the pumpkin mixture out onto the dough circle, leaving a 2" border of pastry around the outside.
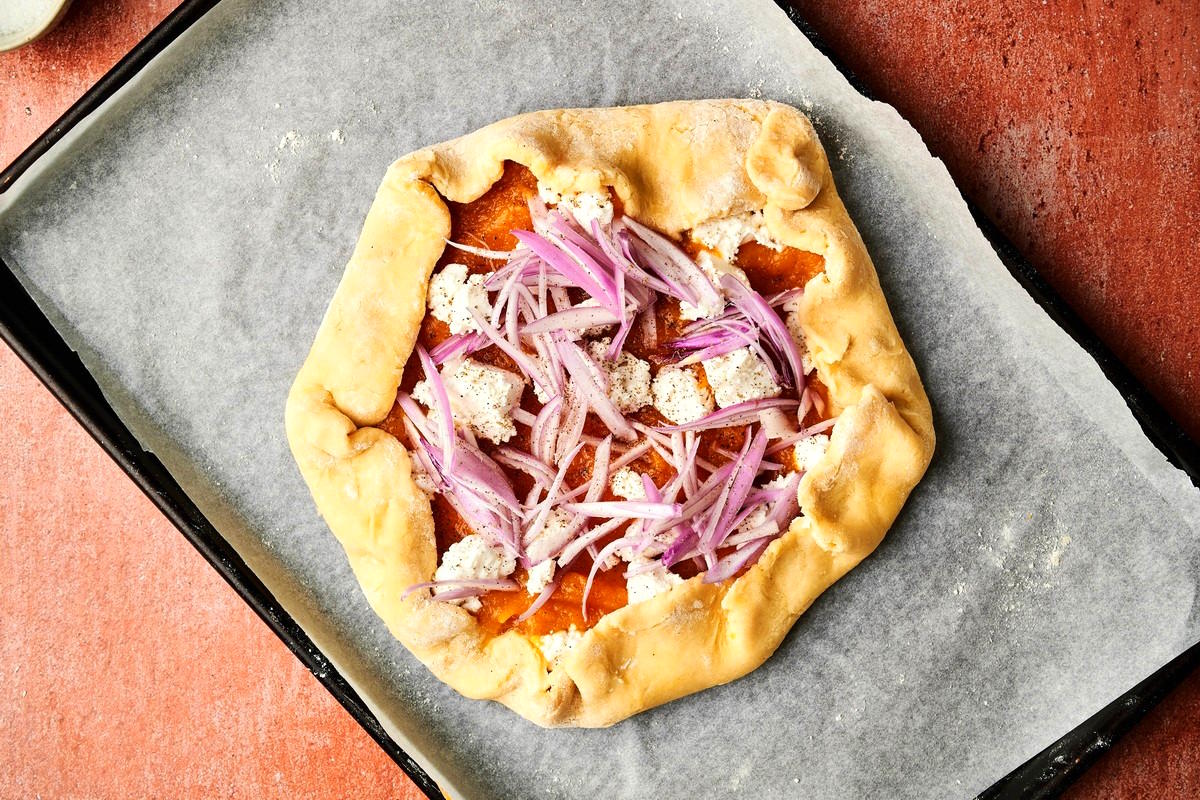
Step 6. Add toppings and fold. Add the crumbled goat cheese and sliced shallots evenly on top of the pumpkin. Sprinkle with black pepper. Fold the pastry border over the filling. The center of the galette should be left open.
Step 7. Bake. Bake for about 30 minutes or until the crust is golden brown. Keep an eye on it.
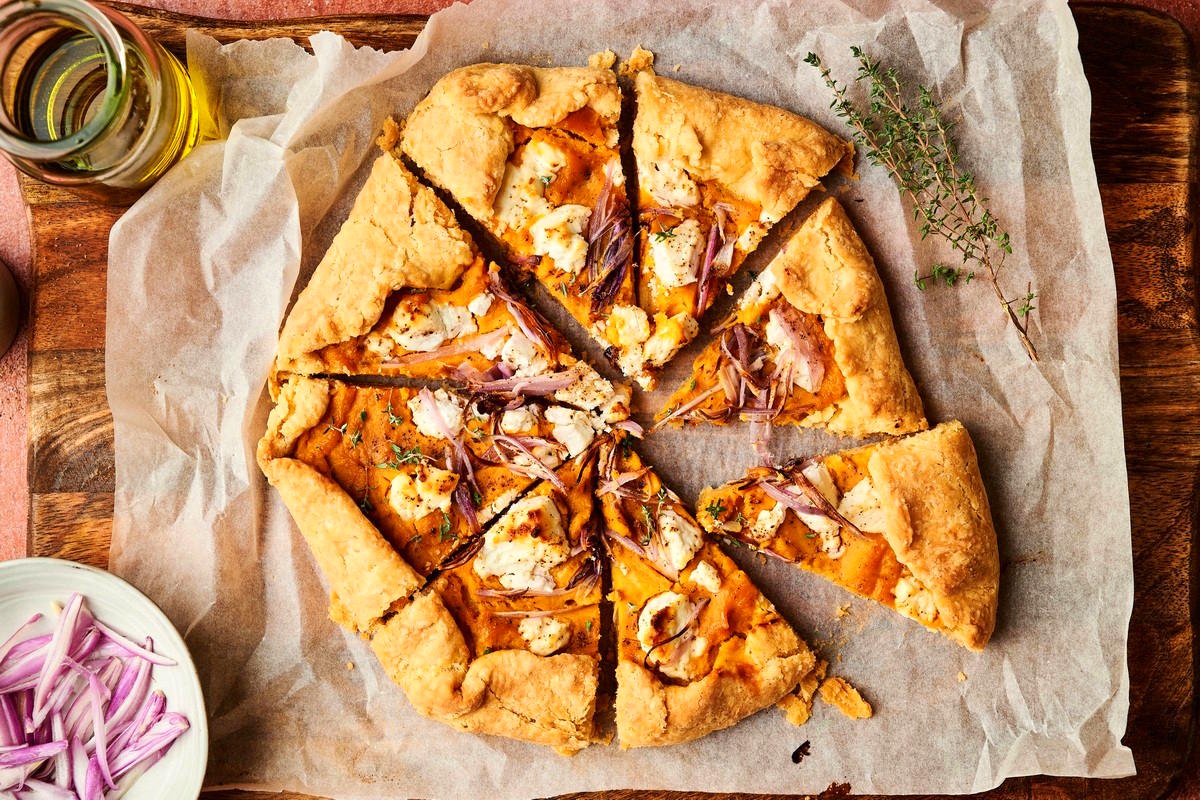
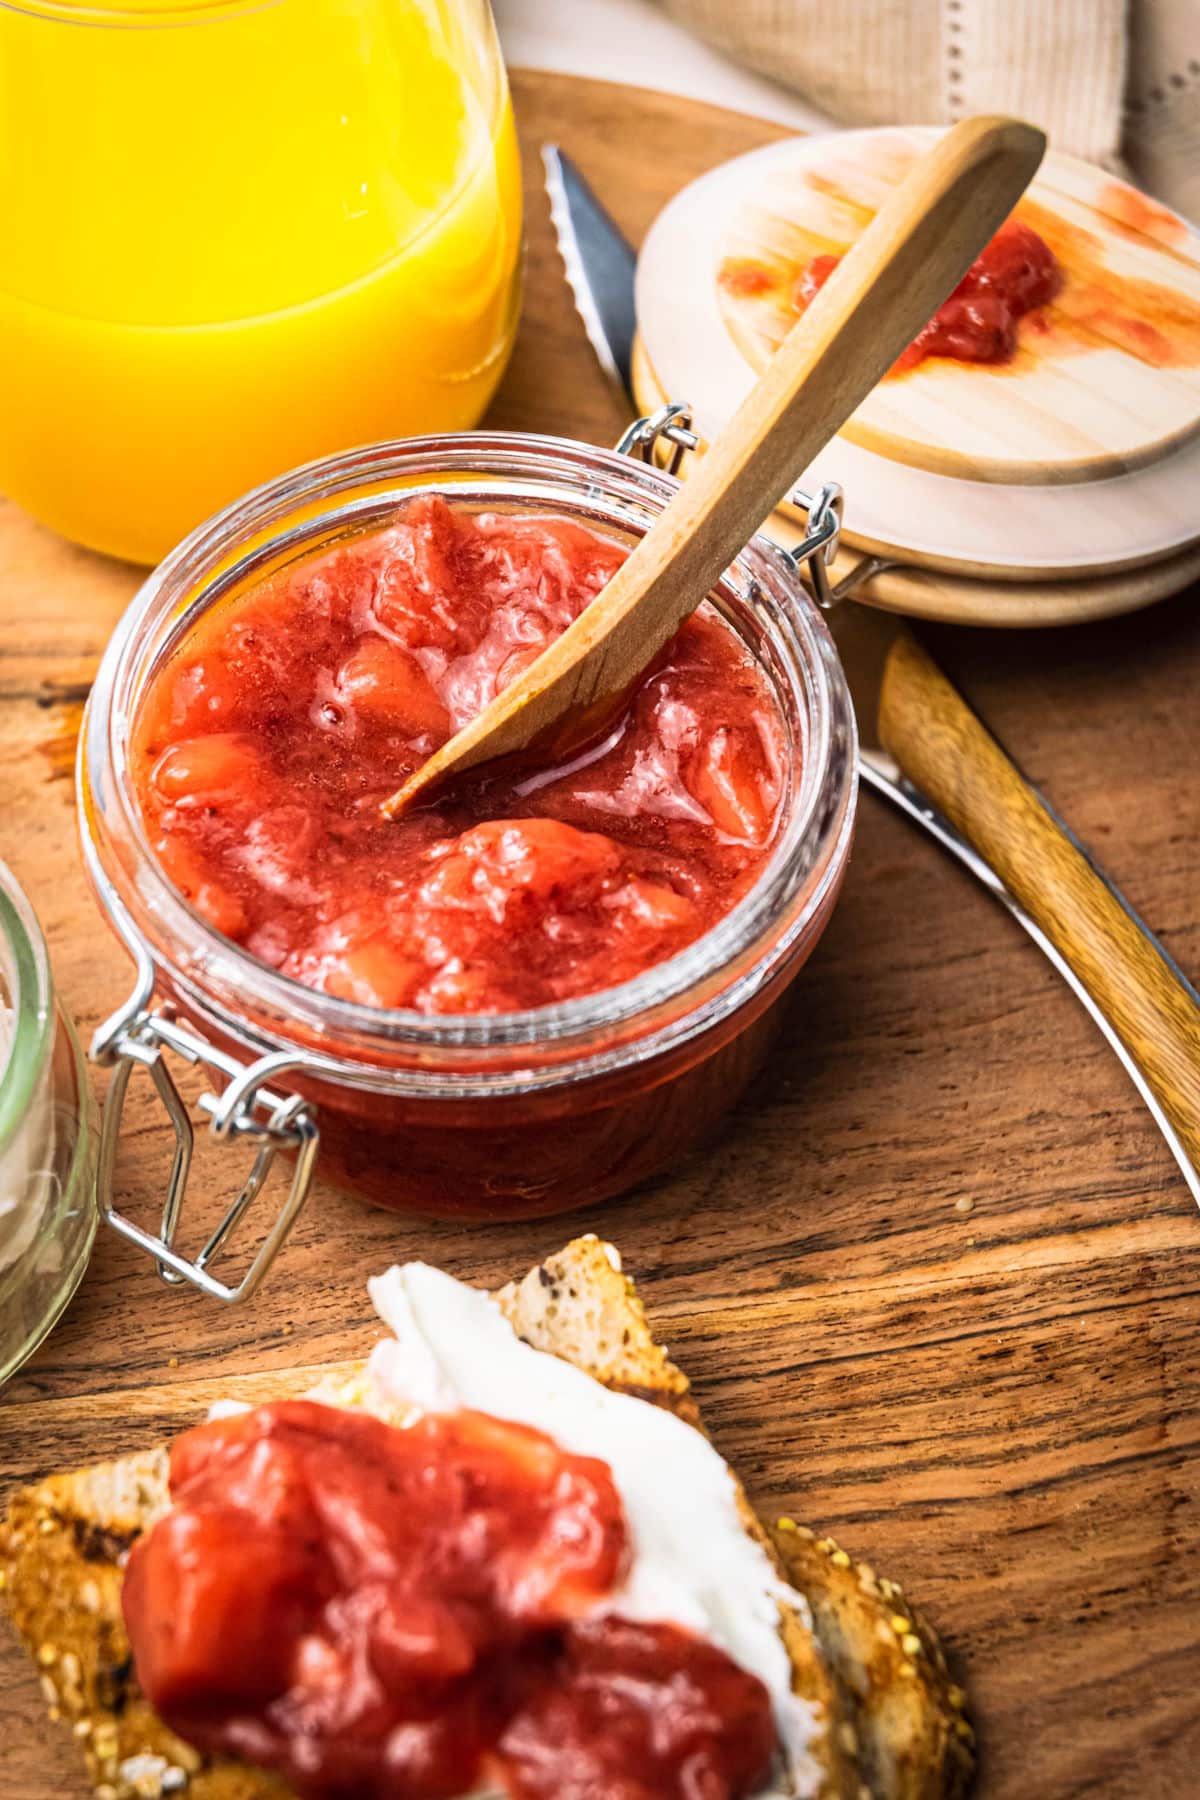
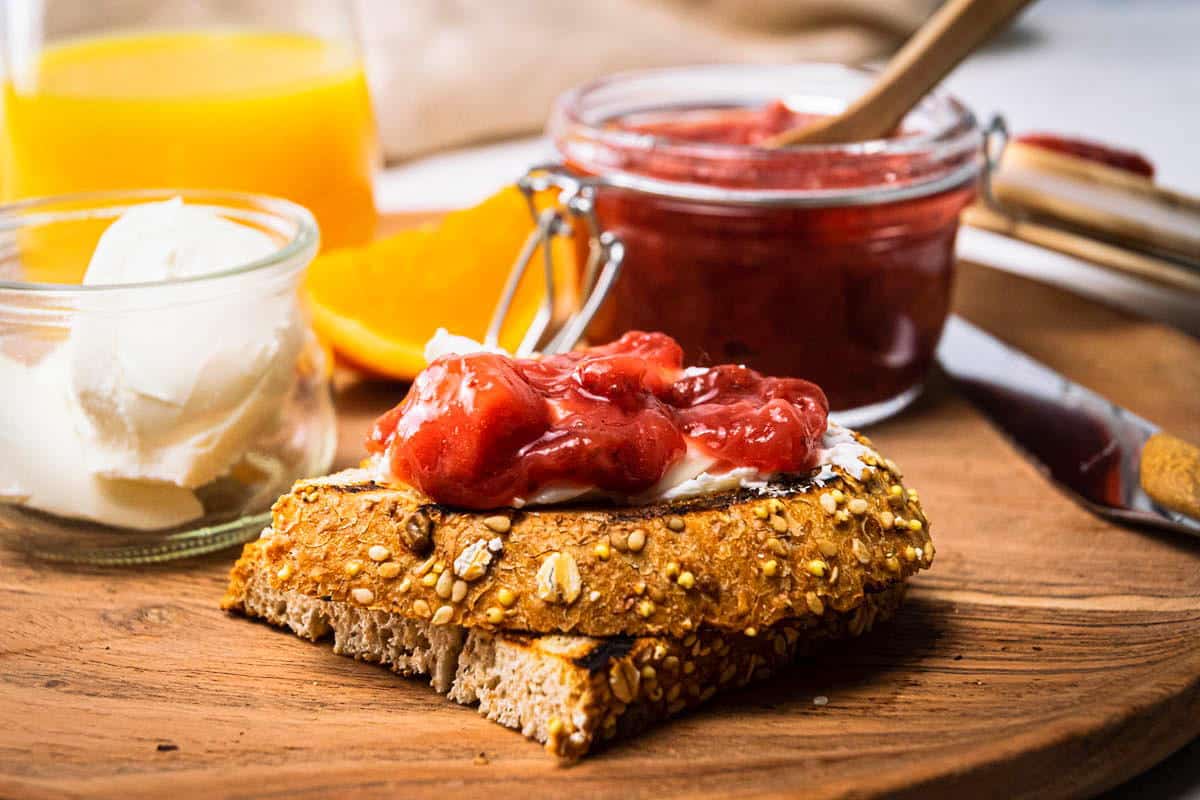
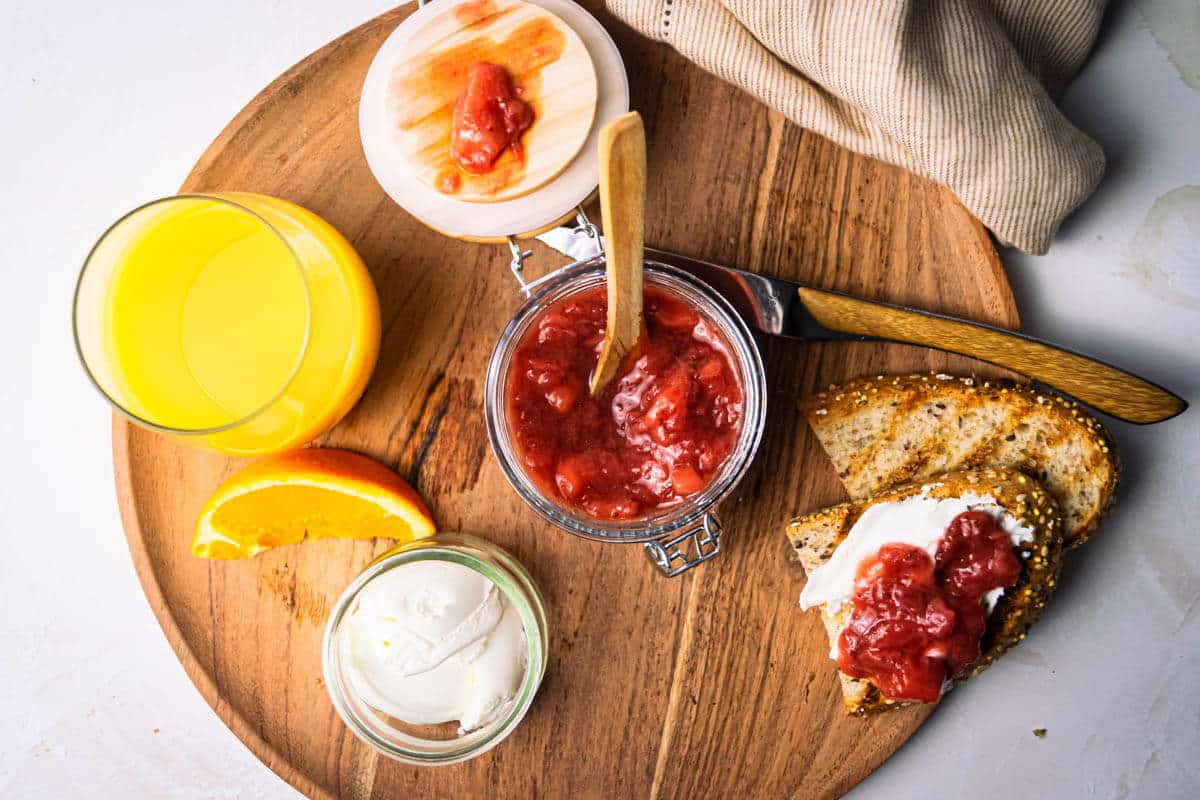
Step 8. Let cool and serve. Remove from the oven and let cool for 10-15 minutes. Sprinkle with fresh thyme leaves. Slice the savory pumpkin galette and serve!
👩🏻🍳 Chef's Note: If you're looking for a beverage to pair it with, try this pumpkin pie martini or fall rum punch.
Joss' Top Tips
One of the best things about making a galette, is that it doesn't have to be perfect. In fact, an uneven crust gives your galette pastry more character.
After you bake your pumpkin galette, let it cool for a bit--it might be hard to resist, but the filling could burn your tongue if you bite into it too quickly. It also gives the filling a chance to set.
Remember to keep the ingredients for the pastry chilled for best results. It's one of the secrets to tender, flaky, bakery-style pastry.
Pumpkin Galette Storage
- Fridge: Afterward, cover the leftovers with plastic wrap and store them in the fridge for up to 5 days.
- Freezer: Freeze the pumpkin galette for up to 3 months. Make sure to cool it first and cover well.
- Reheat: You can reheat the pumpkin galette in the oven or microwave or simply eat it cold. If frozen, you can either thaw it in the fridge first overnight or heat it up from frozen in a 350°F oven for about 15 minutes or until heated through.
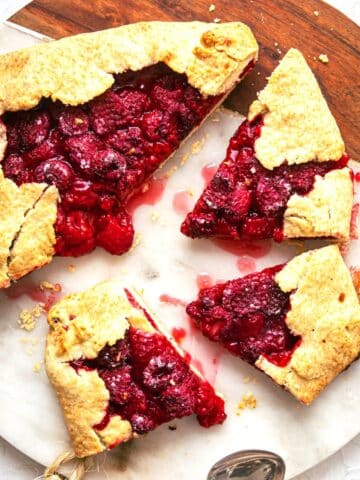
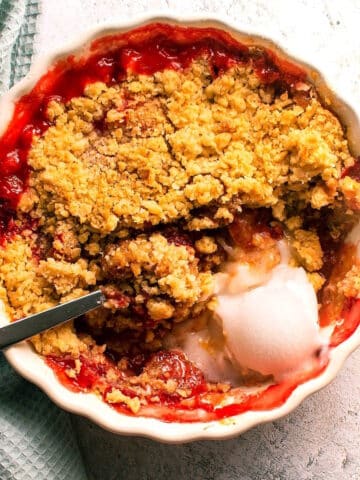
More Fall Favorites to Consider


If you tried this Pumpkin Galette Recipe or any other recipe on my website, please leave a 🌟 star rating and let me know how it went in the 📝 comments below. And please share the recipe!
📋Recipe

Pumpkin Galette
Equipment
Ingredients
For the Pastry
- 1 ⅓ cups AP flour
- ½ teaspoon salt
- ½ cup cold butter cubed
- 1 egg
- 2 tablespoons cold water
For the Filling
- 2 cups canned pumpkin purée
- 1 large egg
- 1 teaspoon salt
- 5 ounces goat cheese crumbled (about ¾ cup)
- ¼ cup shallots sliced
- freshly ground black pepper to taste
To Serve
- fresh thyme leaves
Instructions
- In a medium bowl, combine the flour and salt. Add the cubes of butter and cut them into the flour with a fork or your fingers until coarse.1 ⅓ cups AP flour, ½ teaspoon salt, ½ cup cold butter
- Add the egg and 2 tablespoons of cold water and work the mixture together, just until it forms a ball (adding one more tablespoon of cold water if needed). Flatten into a disc, cover with plastic wrap and chill for 30 minutes.1 egg, 2 tablespoons cold water
- Preheat oven to 425°F and line a baking sheet or pizza pan with parchment paper.
- On a lightly floured surface, roll out the dough into a circle that is approximately 13"-14" in diameter. Transfer to the parchment-lined pan.
- Combine the pumpkin purée with the egg and salt. Spread the pumpkin mixture out onto the dough circle, leaving a 2" border of pastry around the outside.2 cups canned pumpkin purée, 1 large egg, 1 teaspoon salt
- Add the crumbled goat cheese and sliced shallots evenly on top of the pumpkin. Sprinkle with black pepper. Fold the pastry border over the filling. The center of the galette should be left open.5 ounces goat cheese, ¼ cup shallots
- Bake for about 30 minutes or until the crust is golden brown. Keep an eye on it. Remove from the oven and let cool for 10-15 minutes.
- Sprinkle with fresh thyme leaves. Slice and serve!
Video
Notes
- Dough Tip: The dough does not have to be rolled out into a perfect circle because it is meant to be rustic, but you can trim the edges for a cleaner edge if that is important to you.
- Fridge storage: Afterward, cover the leftovers with plastic wrap and store them in the fridge for up to 5 days.
- Freezer storage: Freeze for up to 3 months. Make sure to cool it first and cover well.
- To Reheat: You can heat the galette up again in the oven or microwave or simply eat it cold. If frozen, you can either thaw it in the fridge first overnight or heat it up from frozen in a 350°F oven for about 15 minutes or until heated through.