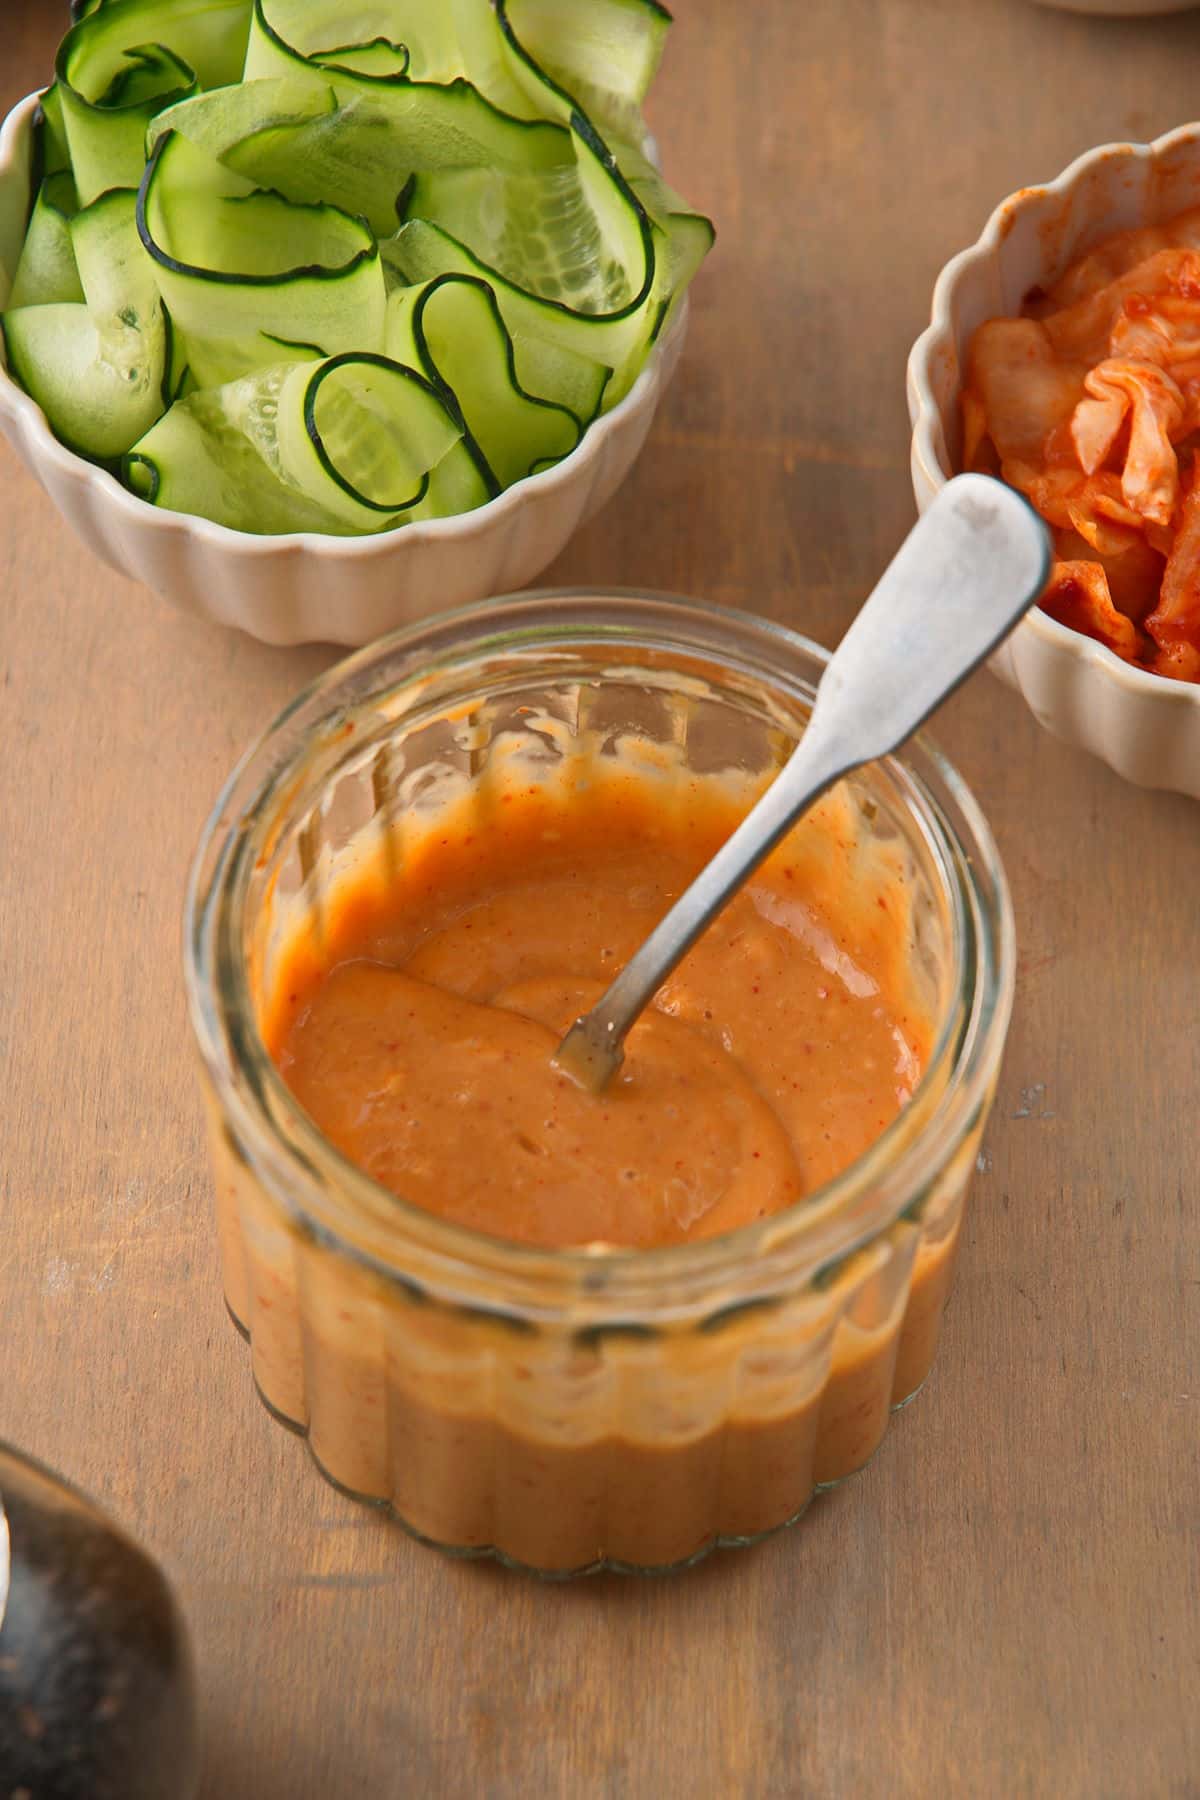
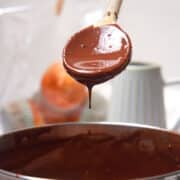
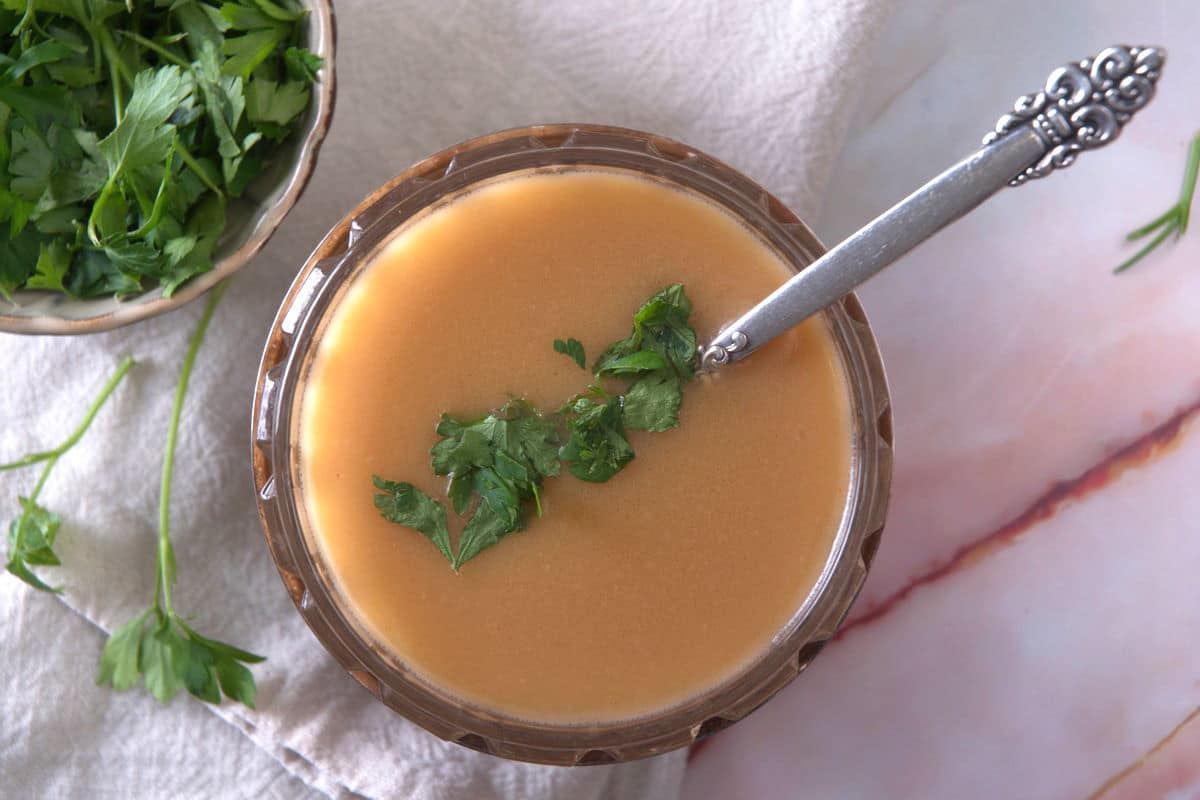
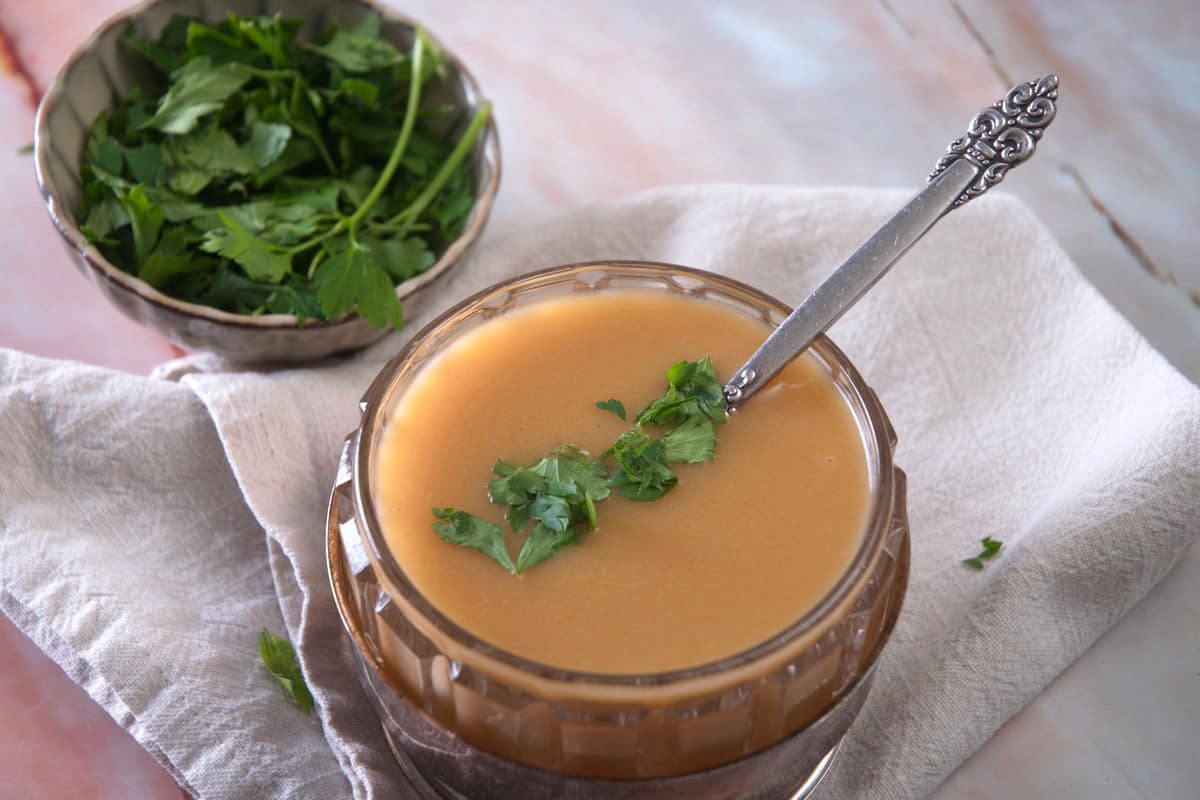
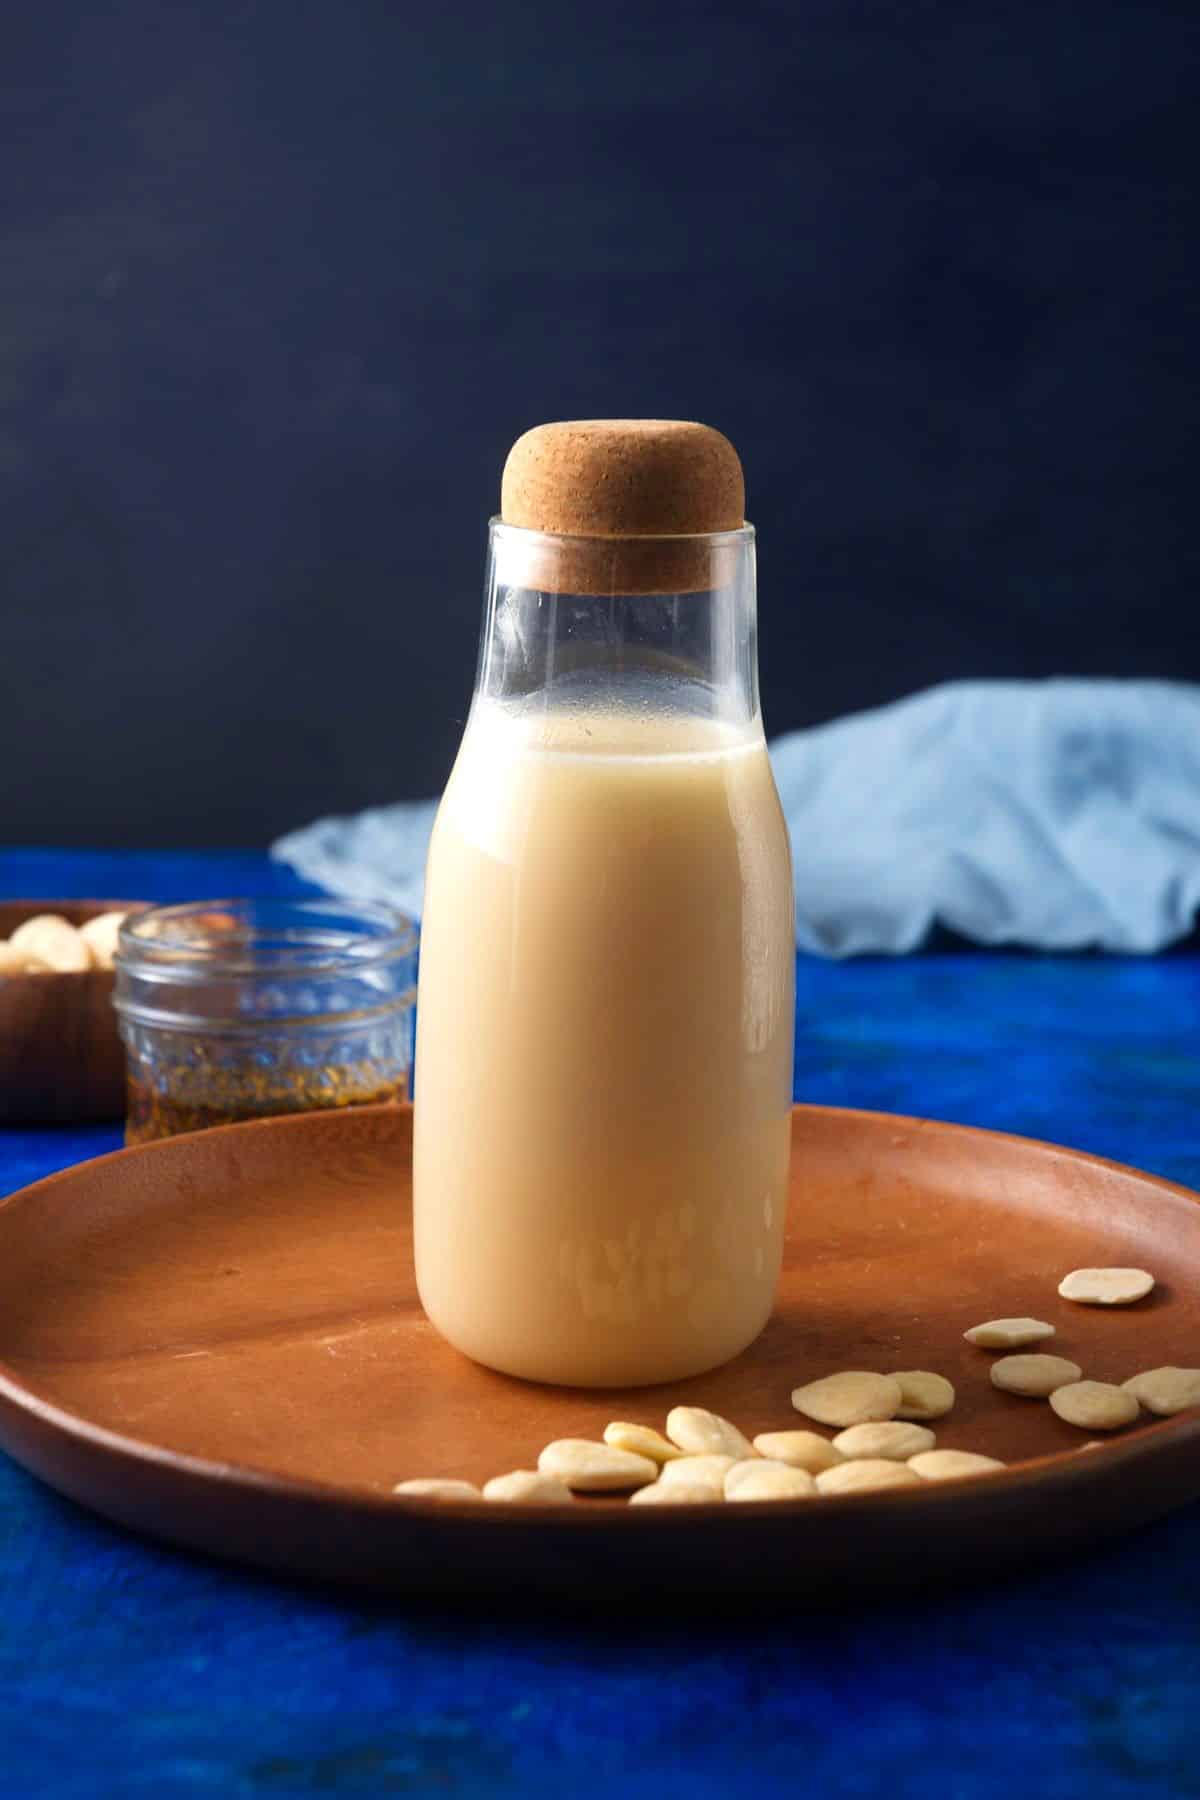
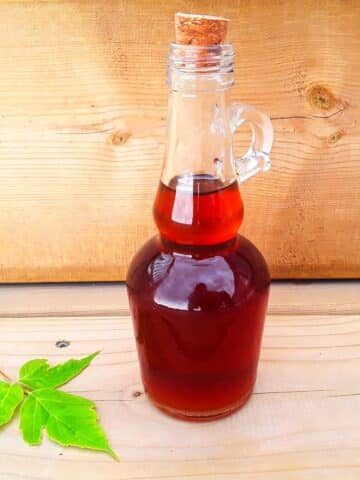
This homemade orgeat syrup recipe is an excellent, homemade flavor enhancer and sweetener for cocktails, especially tiki drinks. Use it when you want a subtle nutty, floral flavor added to your drinks instead of a plain old simple syrup.
With only a few ingredients, a food processor, and a small pot, you can make this tasty liquid sweetener for multiple uses.
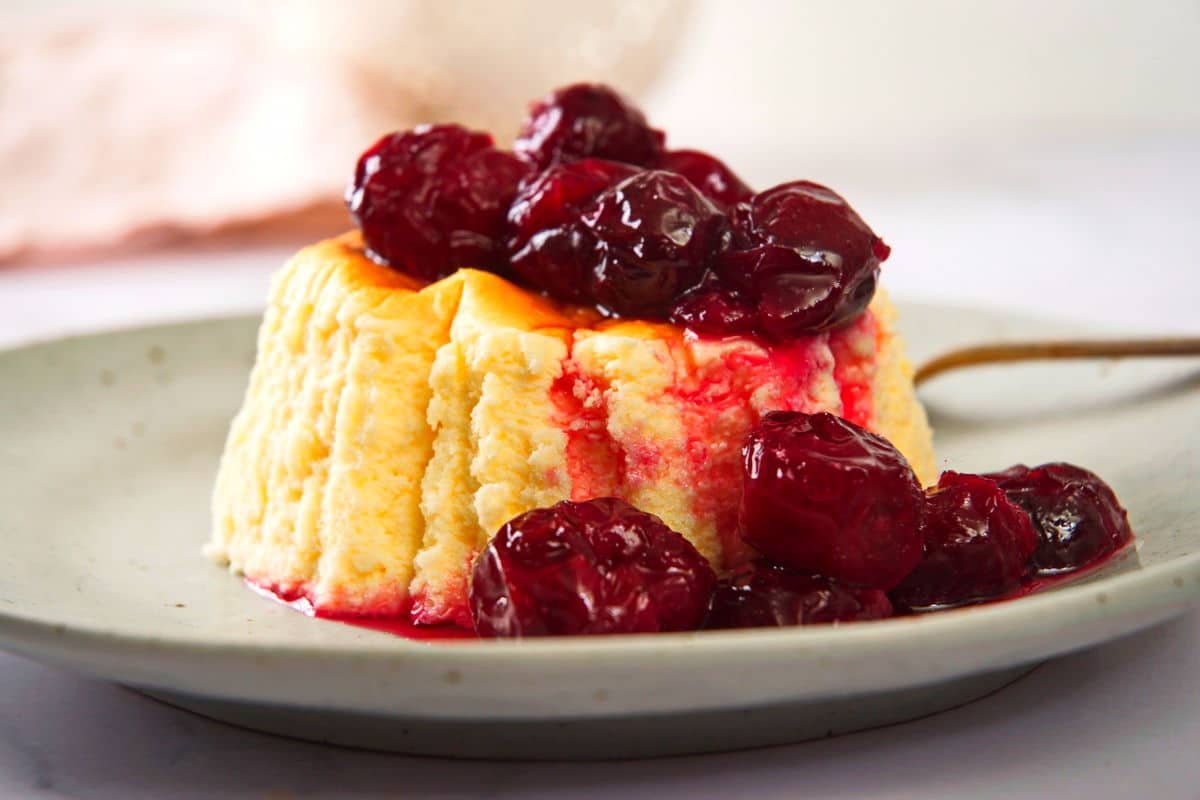
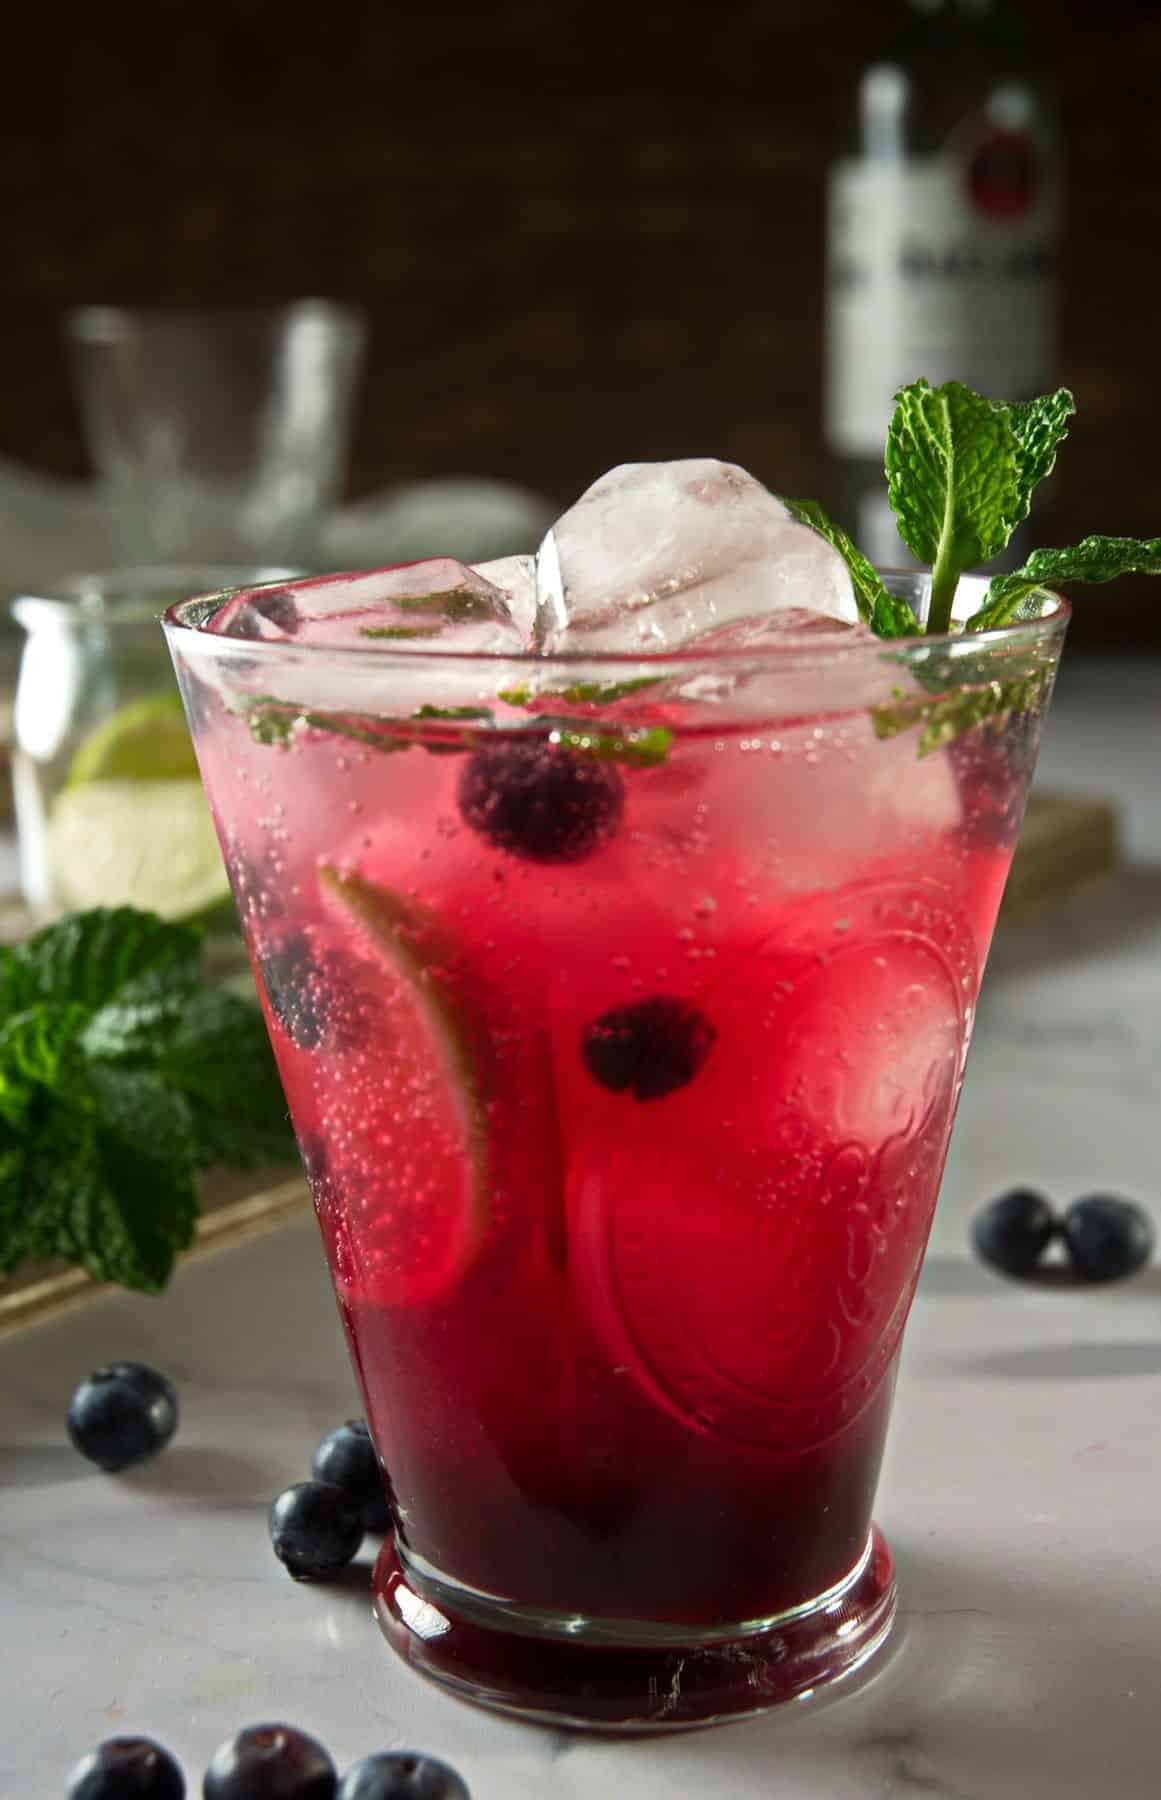
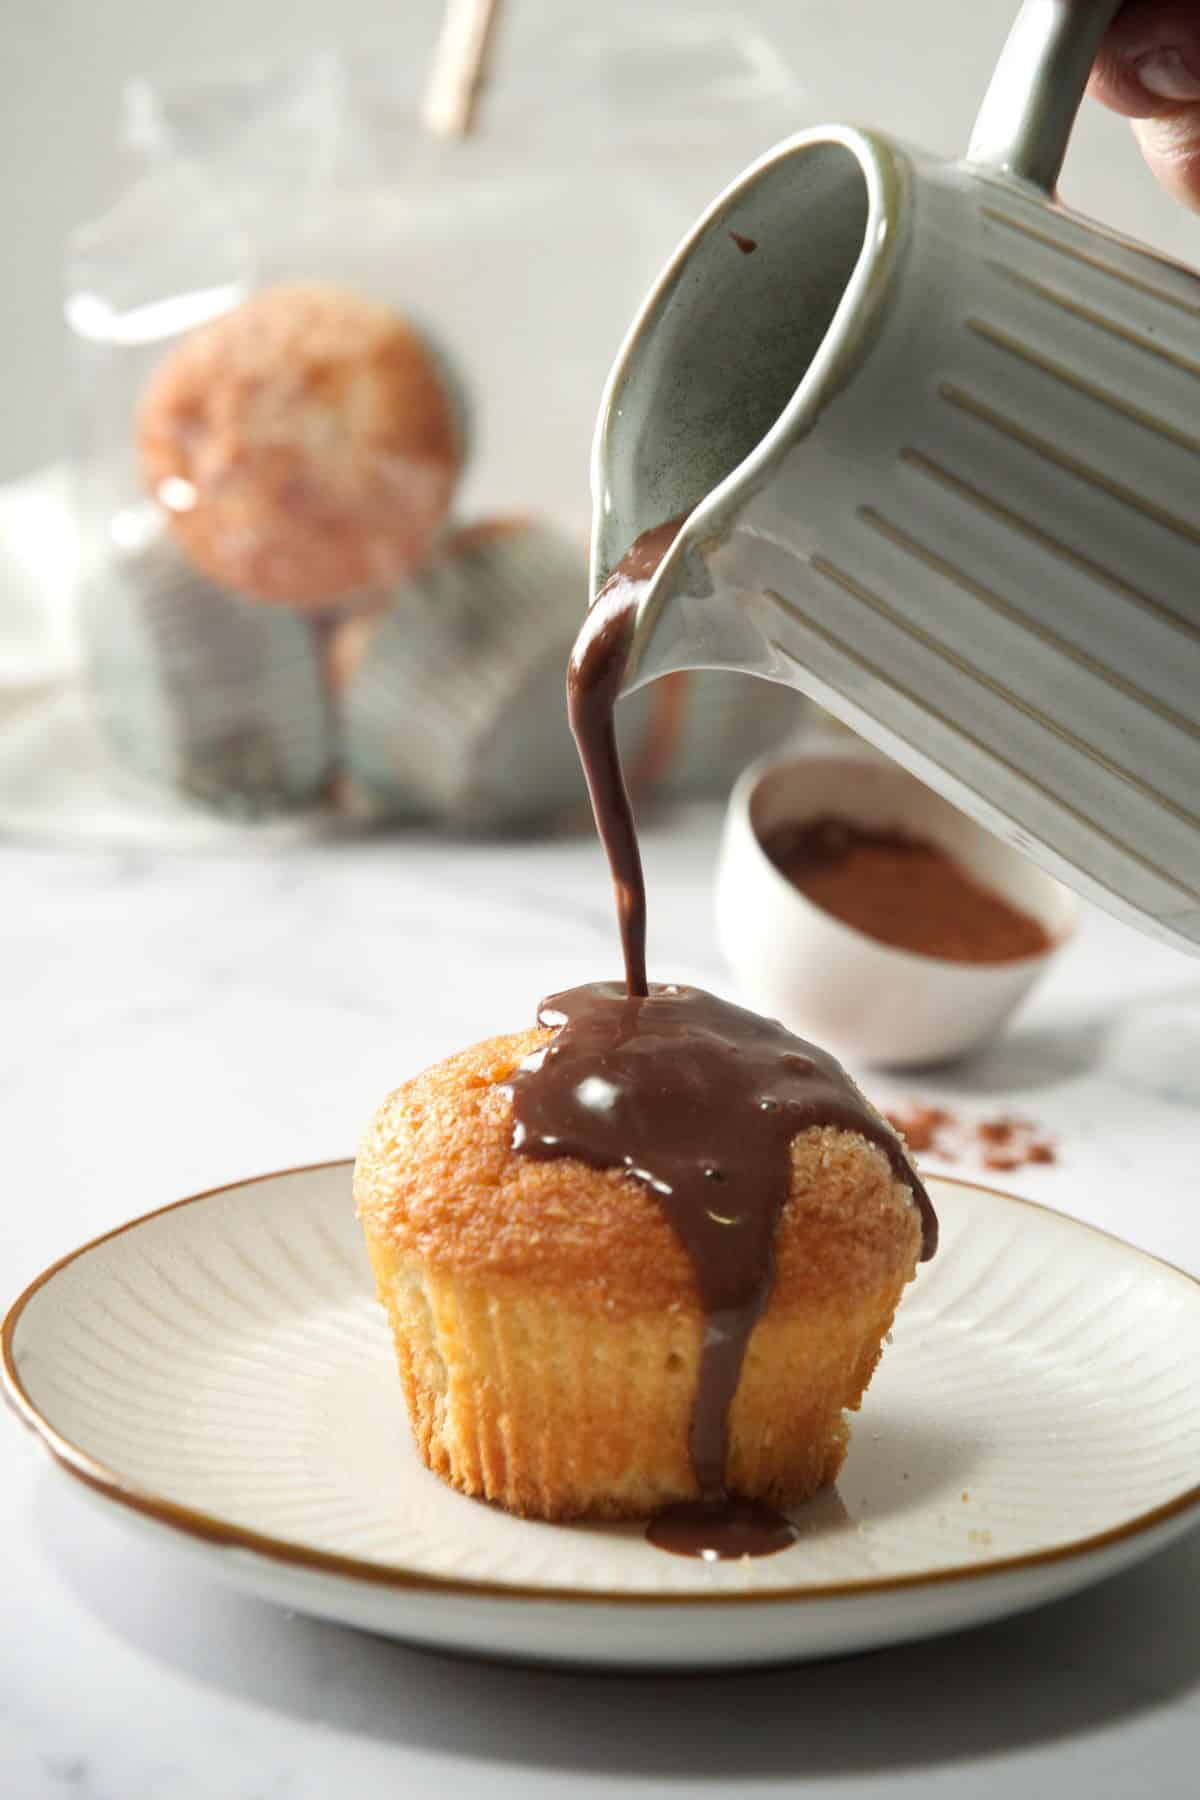
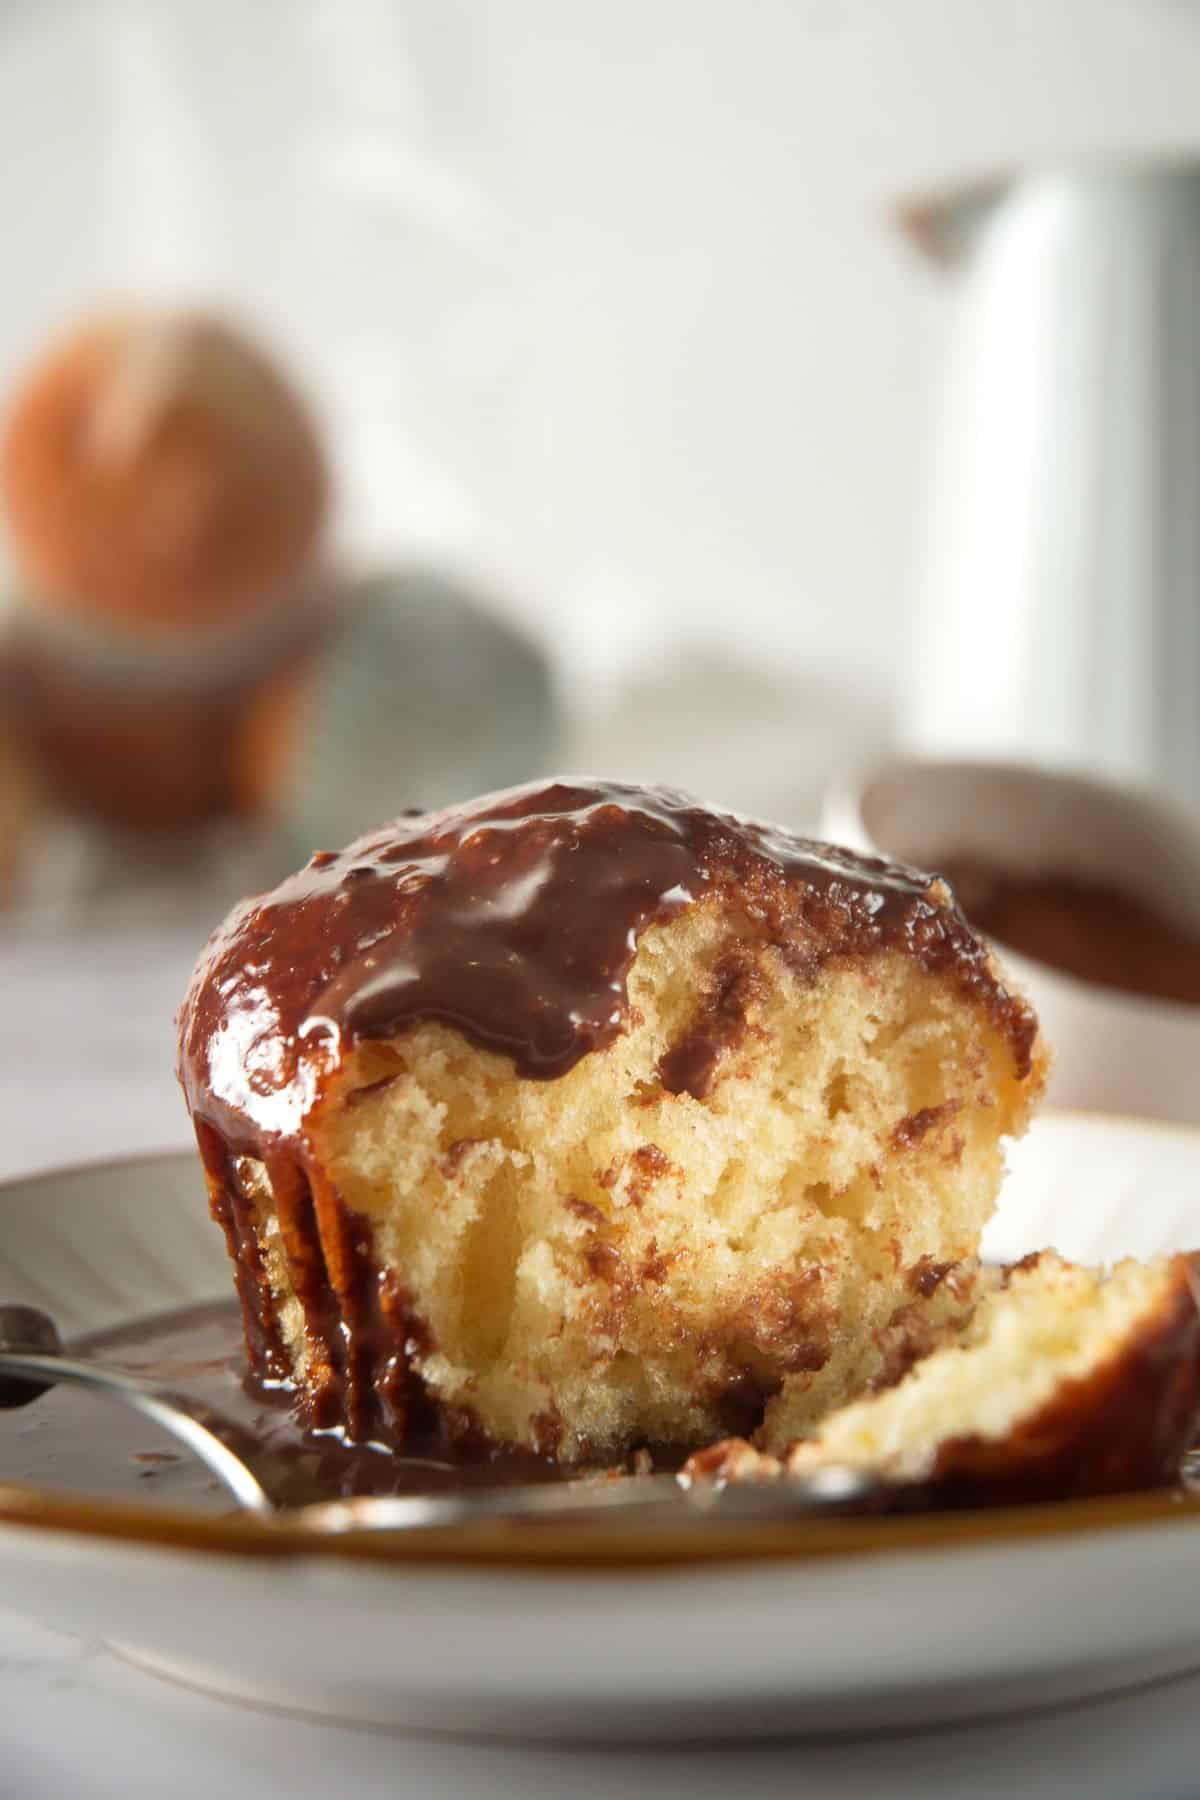
It is mostly used in tiki drinks like the mai tai or in seltzers. However, it has other uses in flavoring non-alcoholic drinks like coffee, mocktails and lemonades or dishes like ice cream, cakes, and fresh fruit or fruit salads. It gives an extra sweetness and flavor.
If you like this orgeat, I think you'll also like my cocktail syrups recipe and homemade coffee syrup recipes.
[feast_advanced_jump_to]What is Orgeat Syrup?
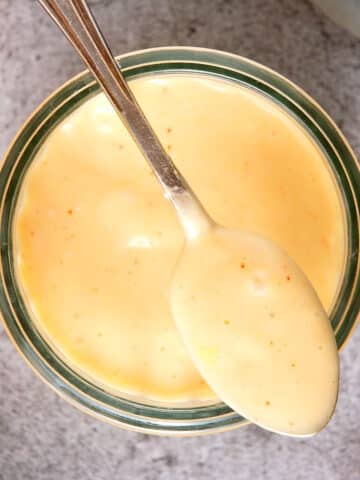
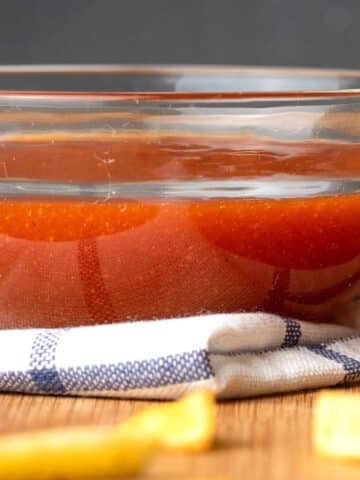
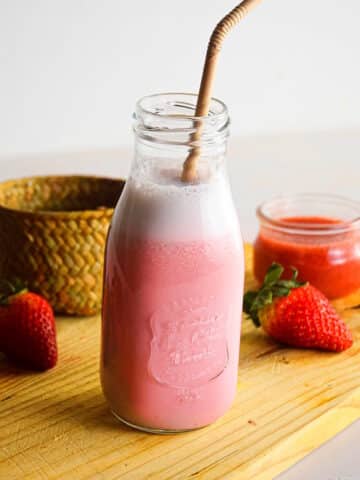
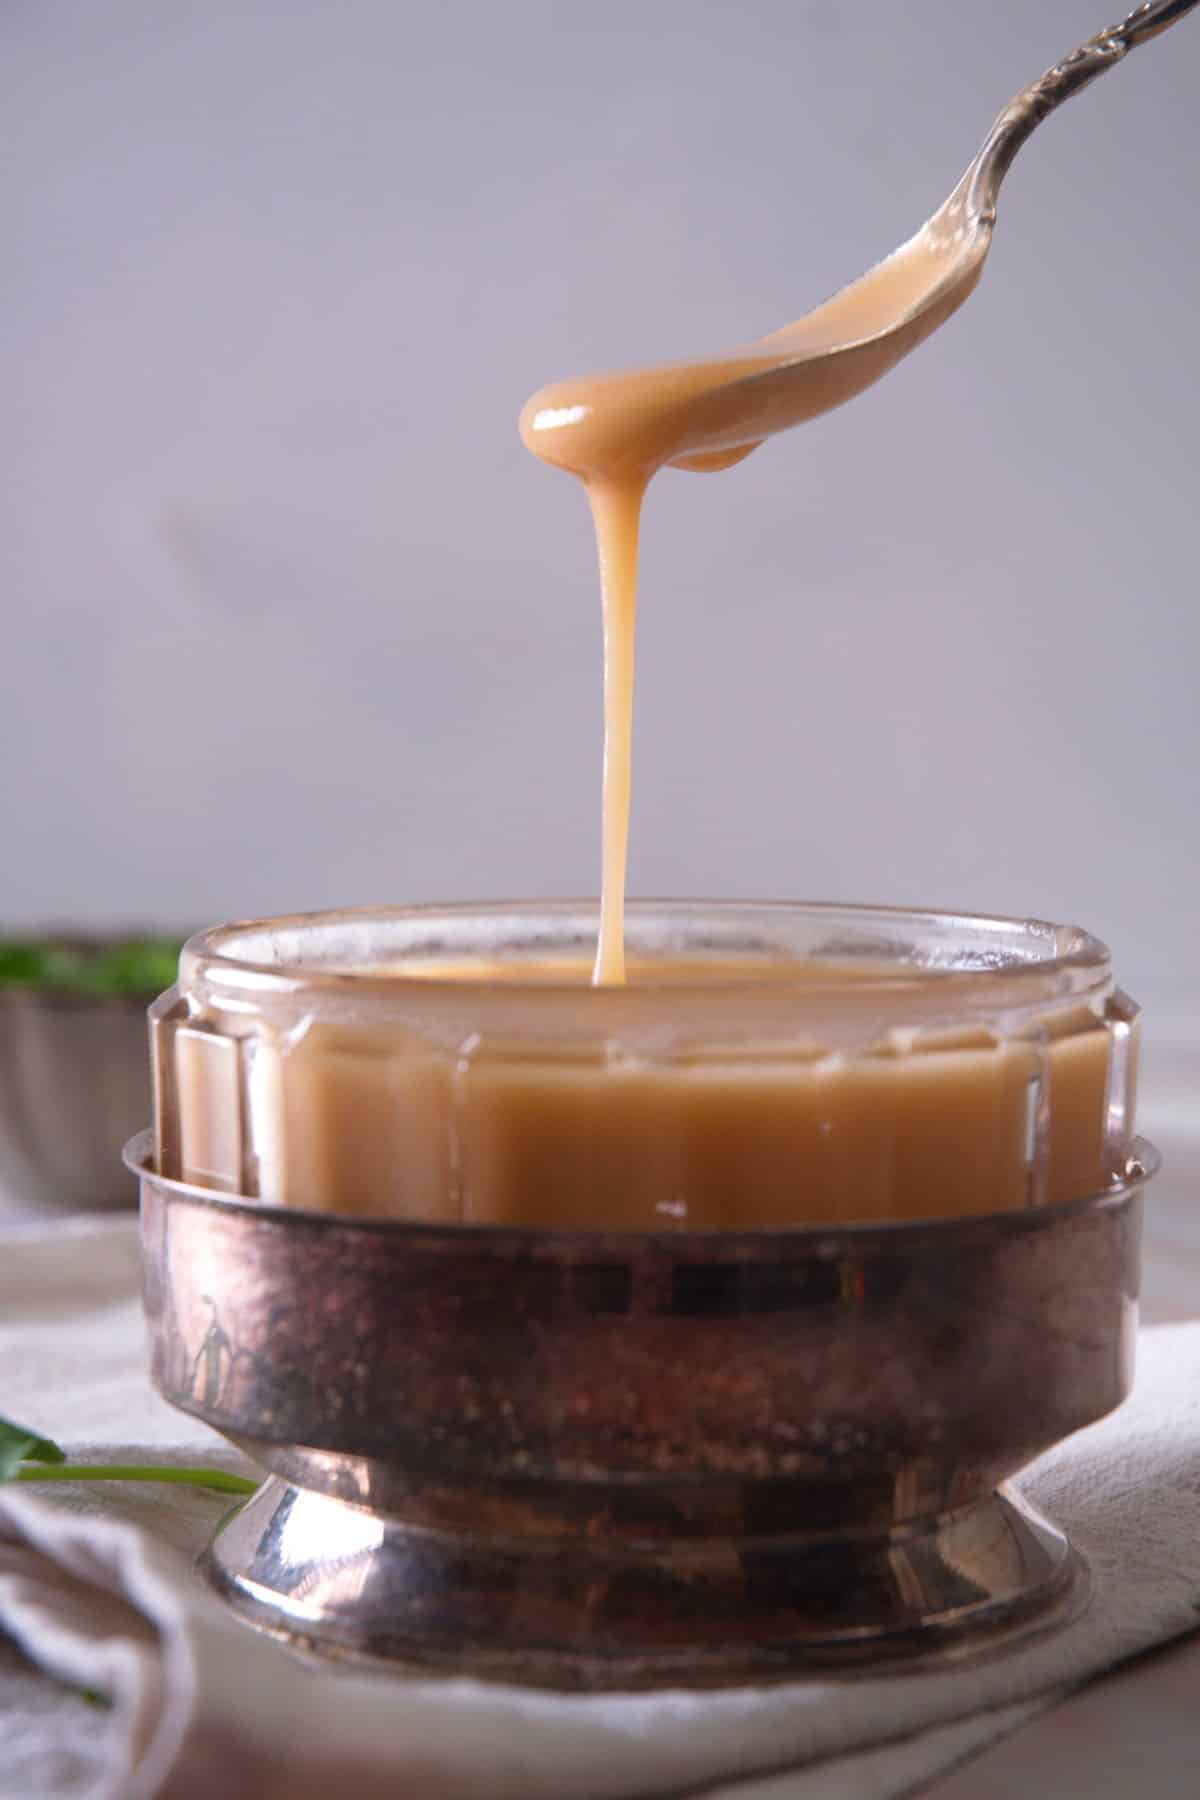
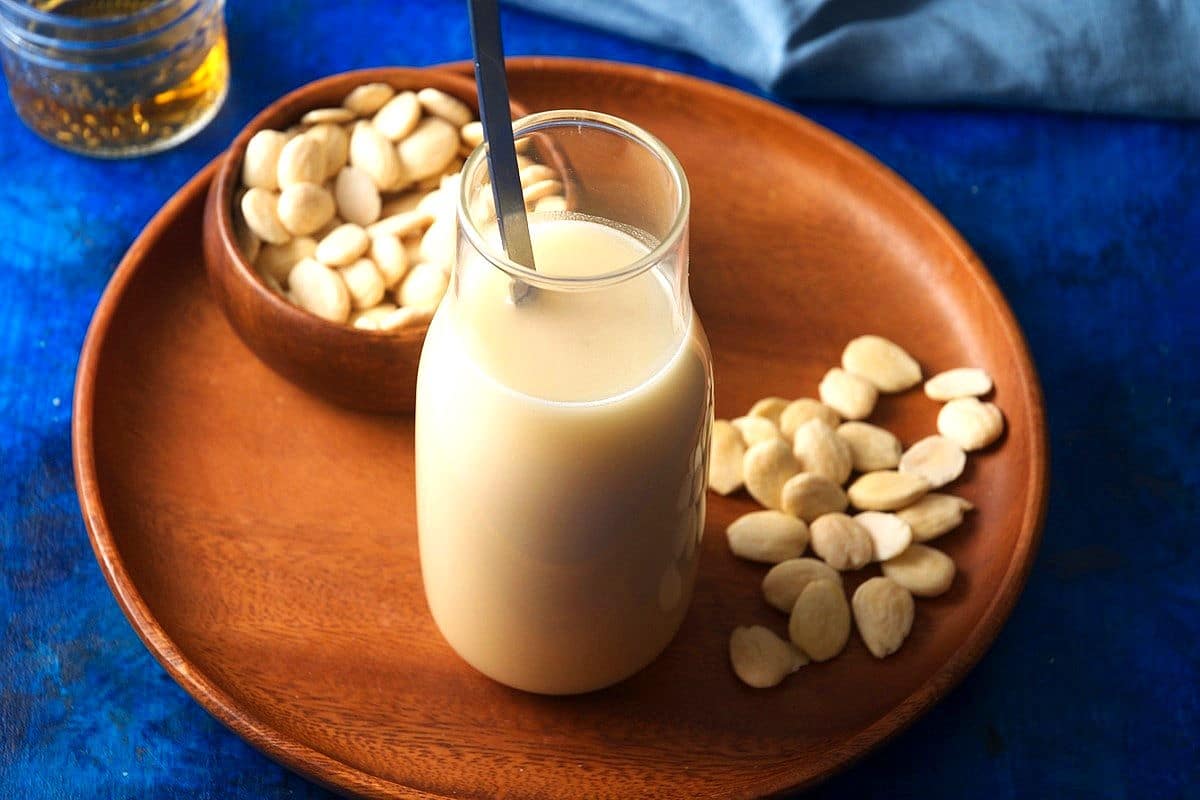
Orgeat (pronounced or · zhat) is a syrup made from ground almonds, sugar, orange flower water and sometimes alcohol like vodka or brandy. It is similar to simple syrup and is used to flavor cocktails and/or food. It has a milky, opaque appearance.
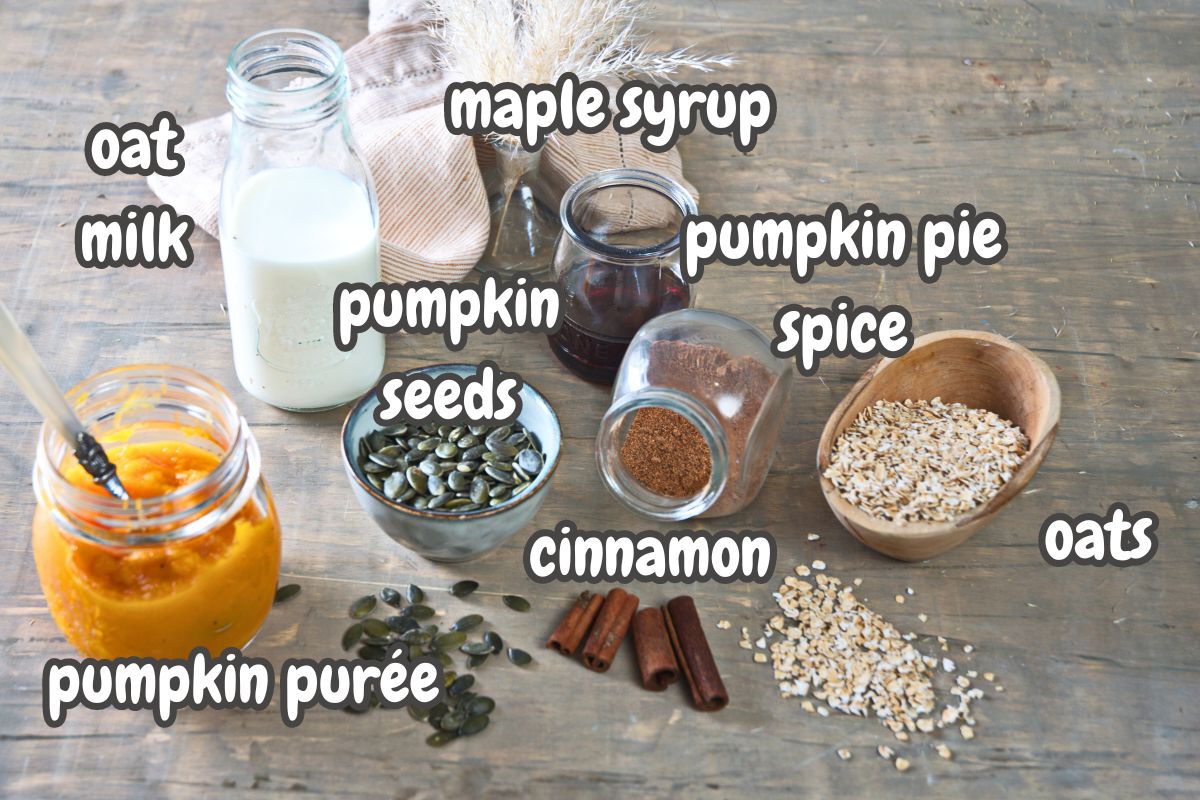
Ingredients
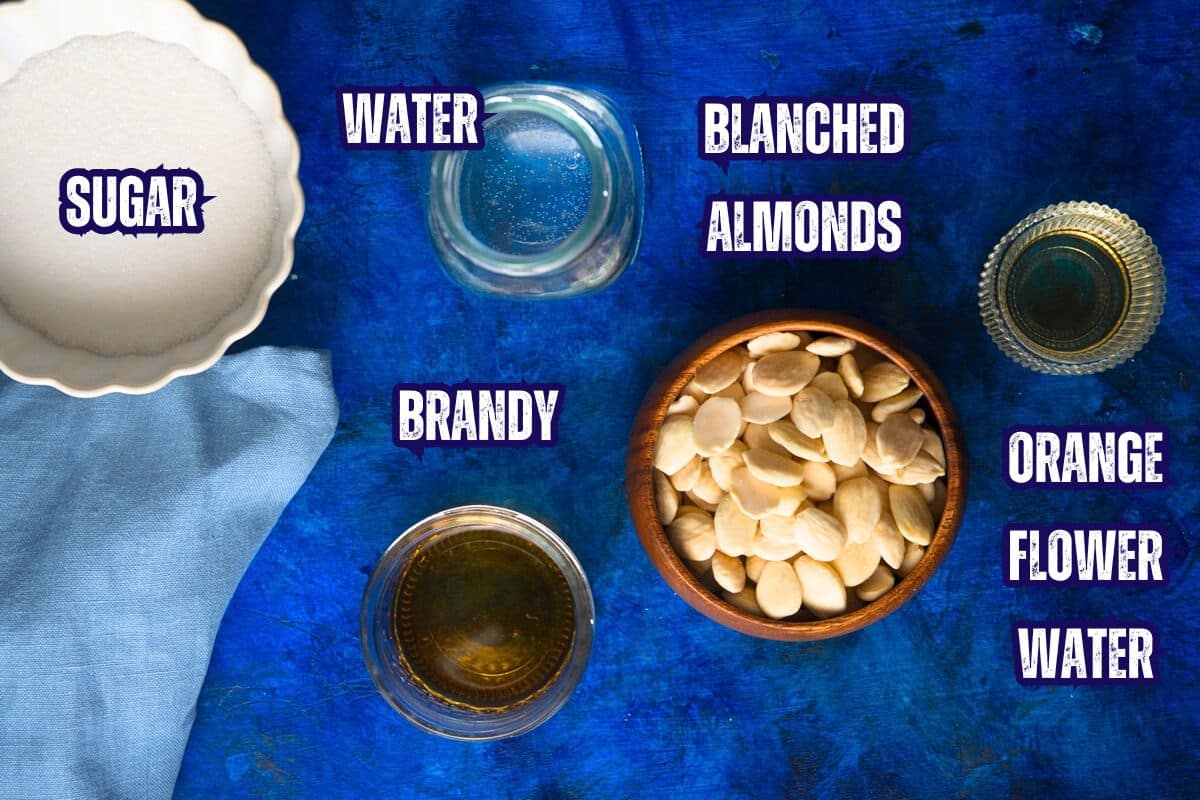
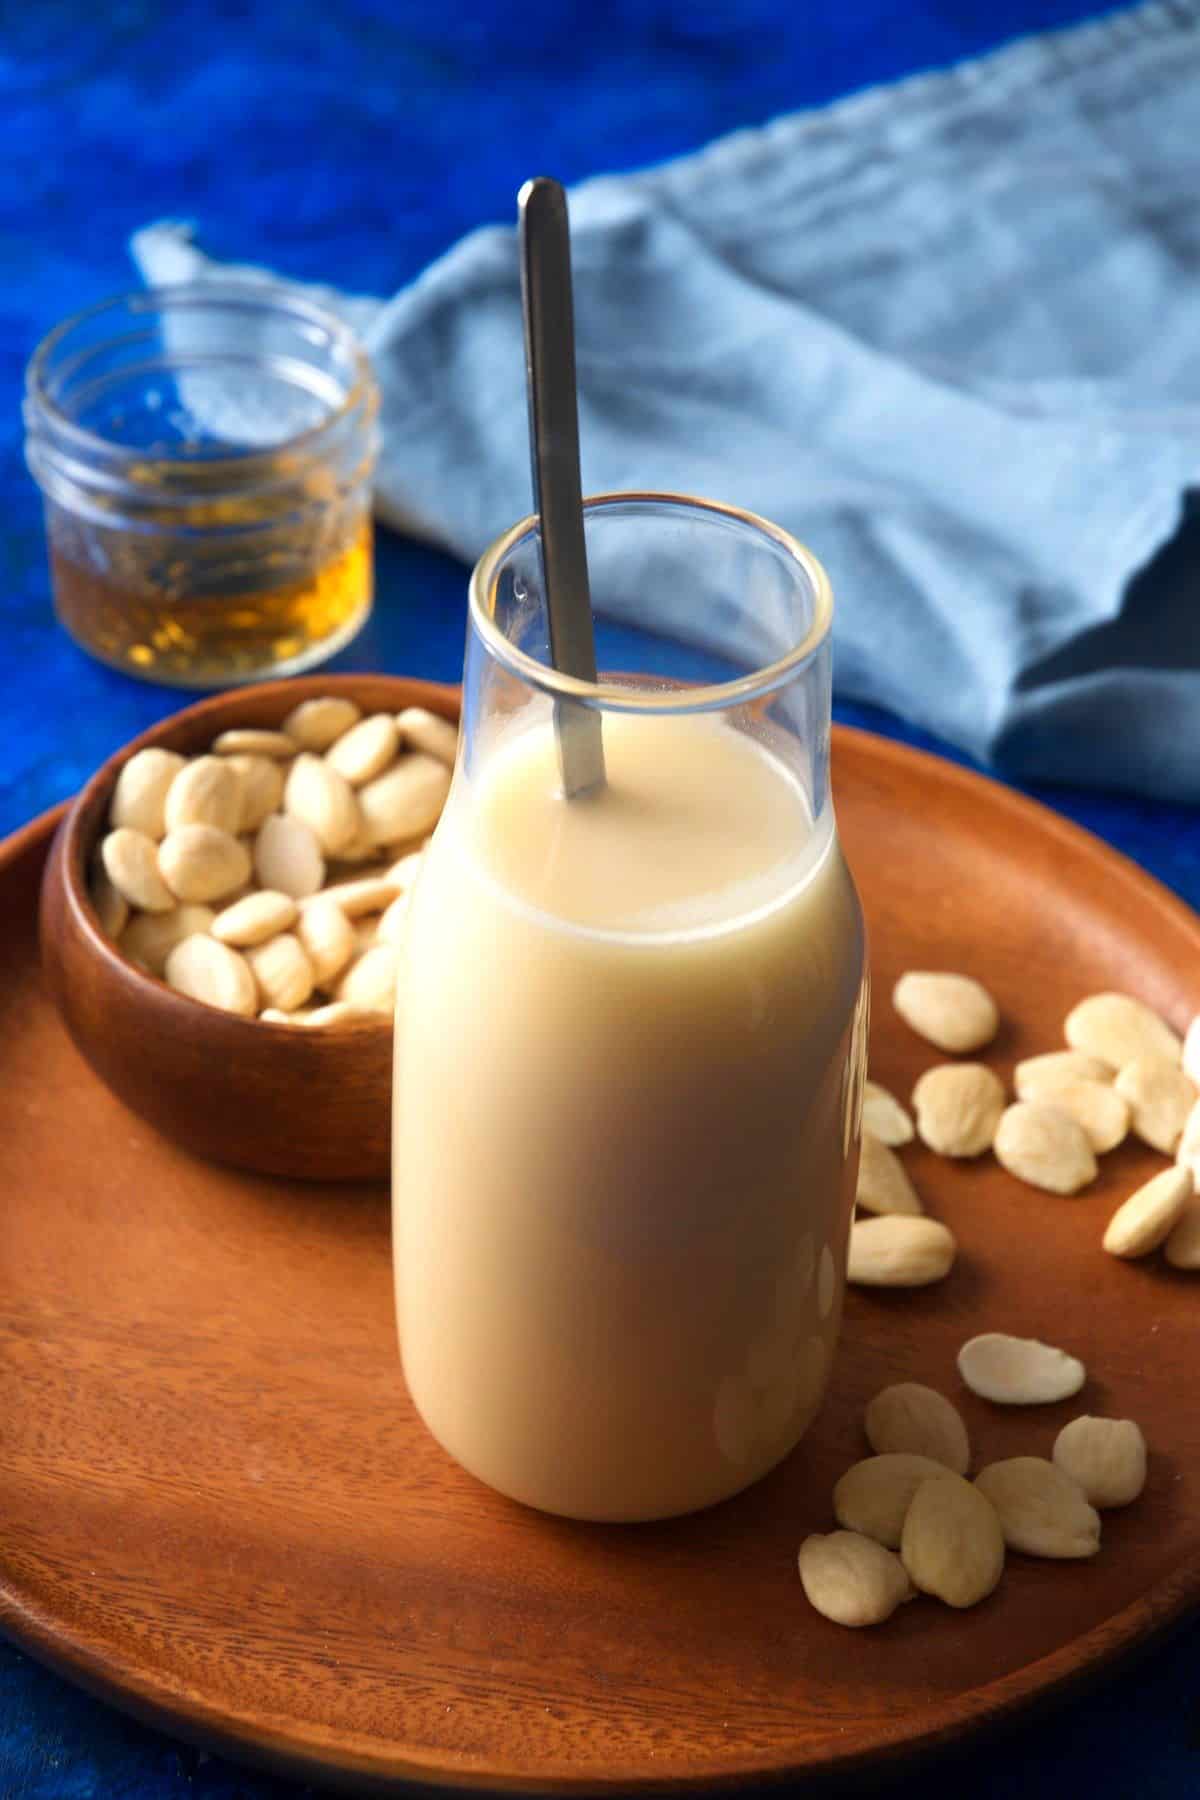
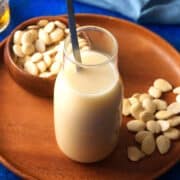
- blanched almonds - Blanched almonds are just almonds with the skin removed. They will produce a better-tasting syrup without any bitterness.
- white sugar - Use white granulated sugar.
- brandy (optional) - To extend the shelf life.
- orange flower water - Also called orange blossom water.
*Check recipe card for ingredient amounts.
How to Make Orgeat
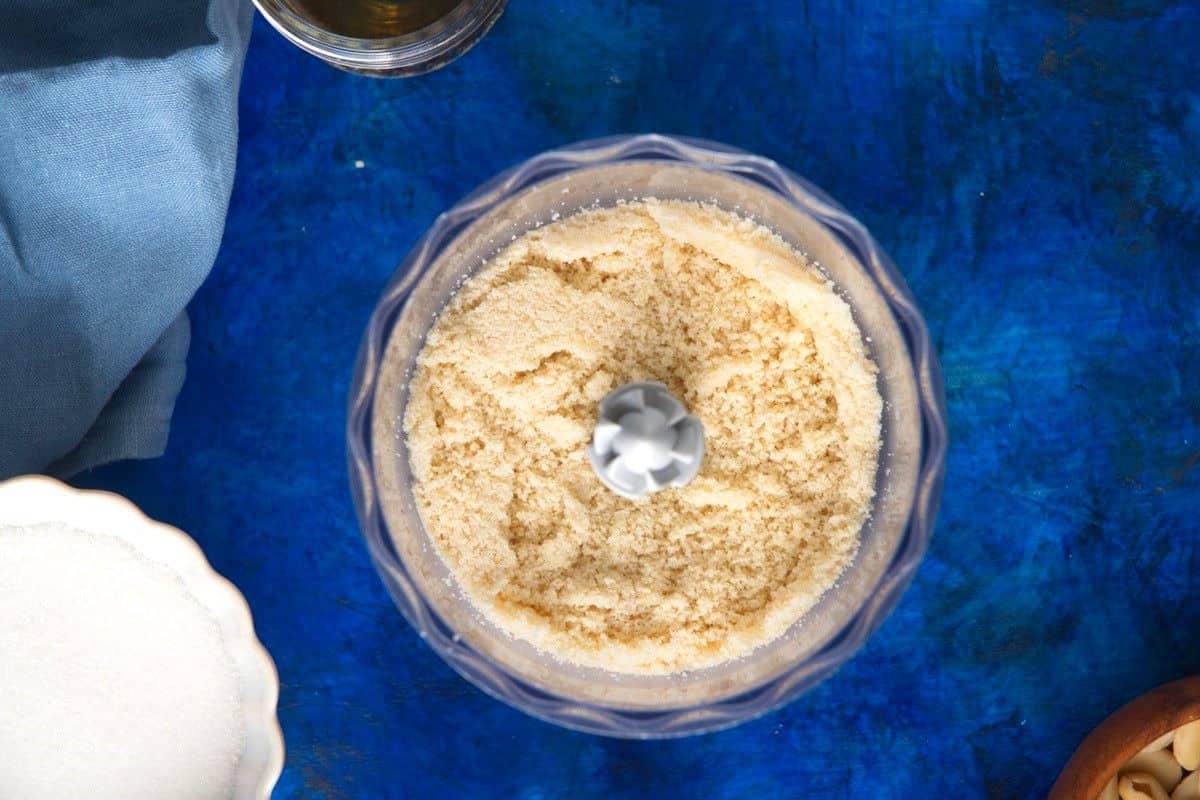
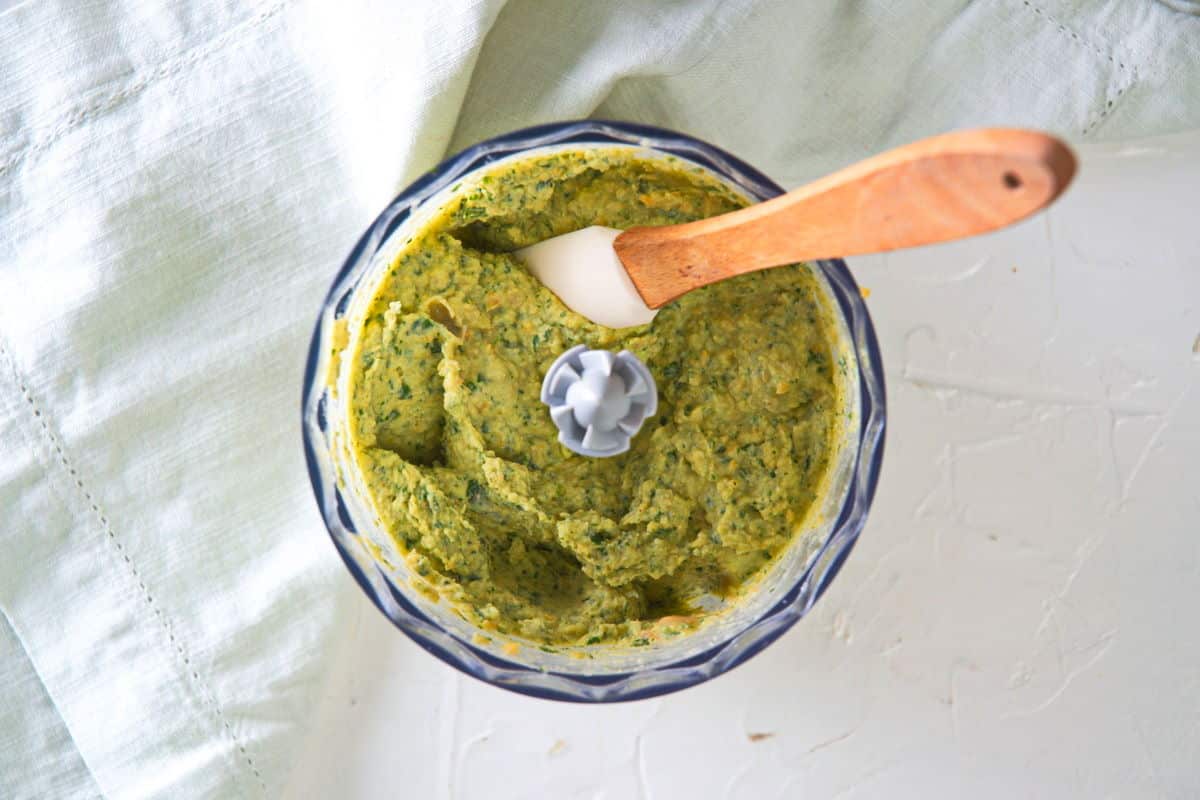
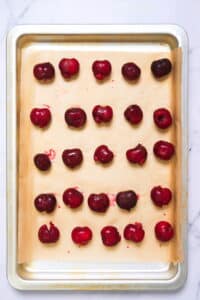
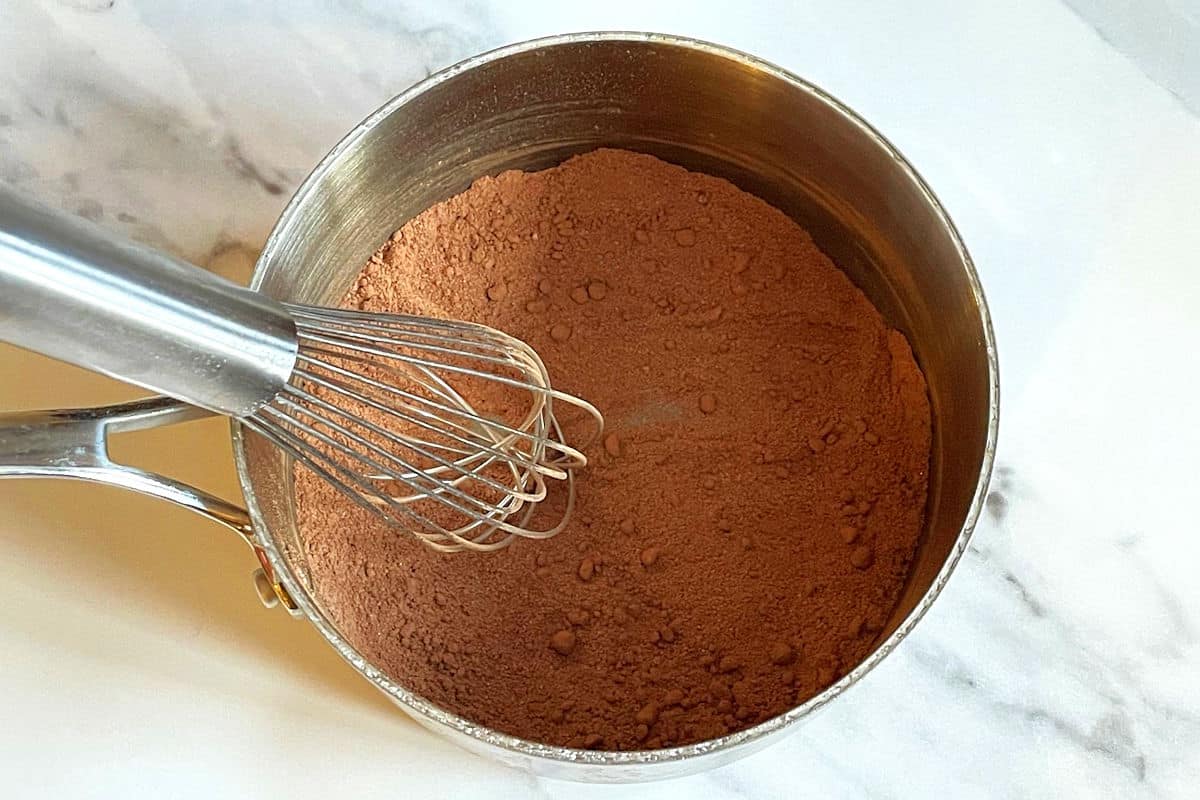
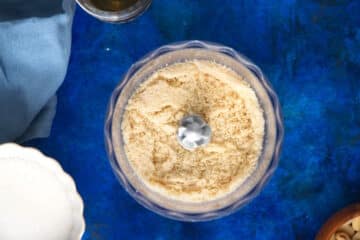
Step 1. In a food processor, pulse the blanched almonds until finely ground.
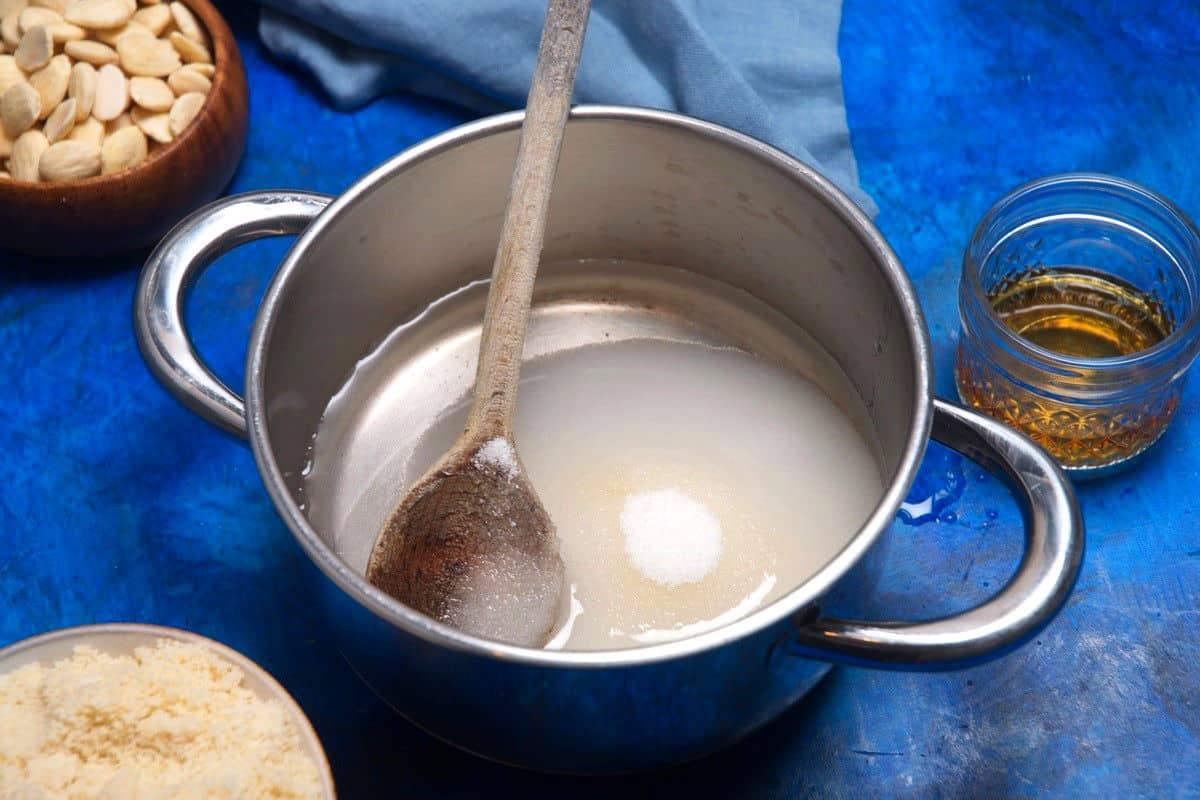
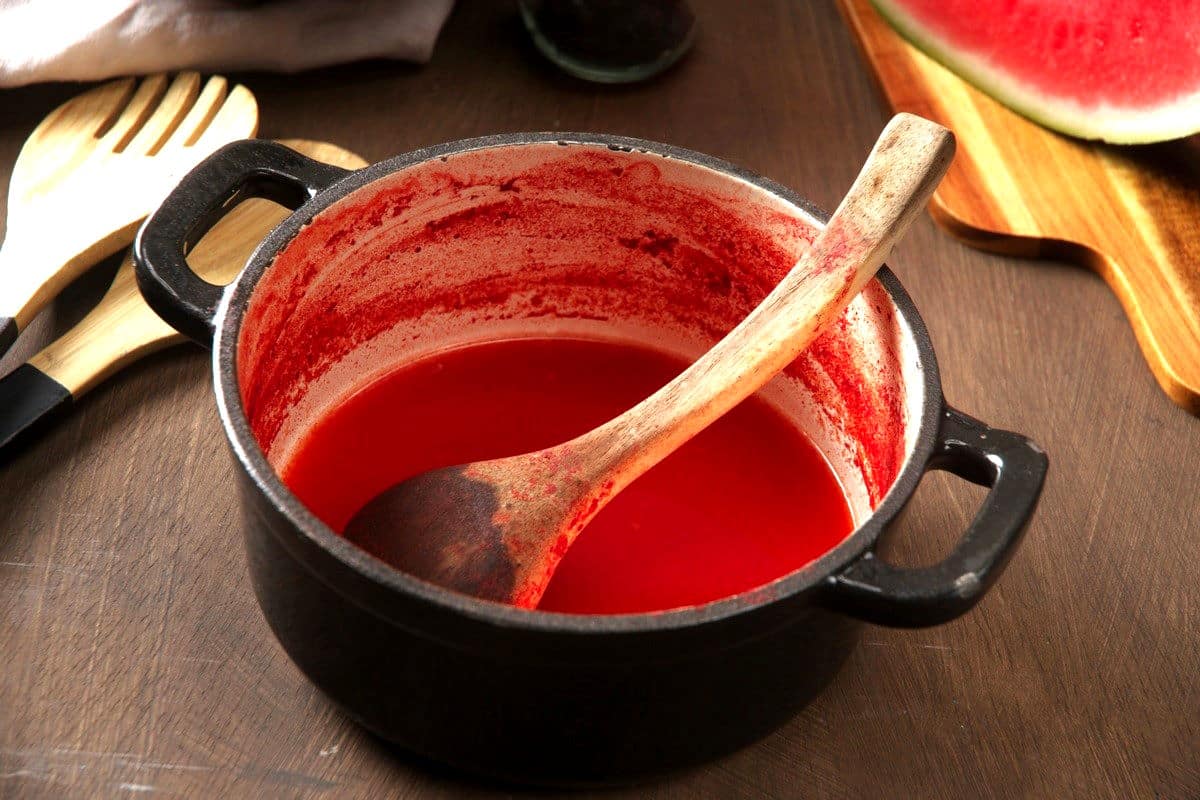
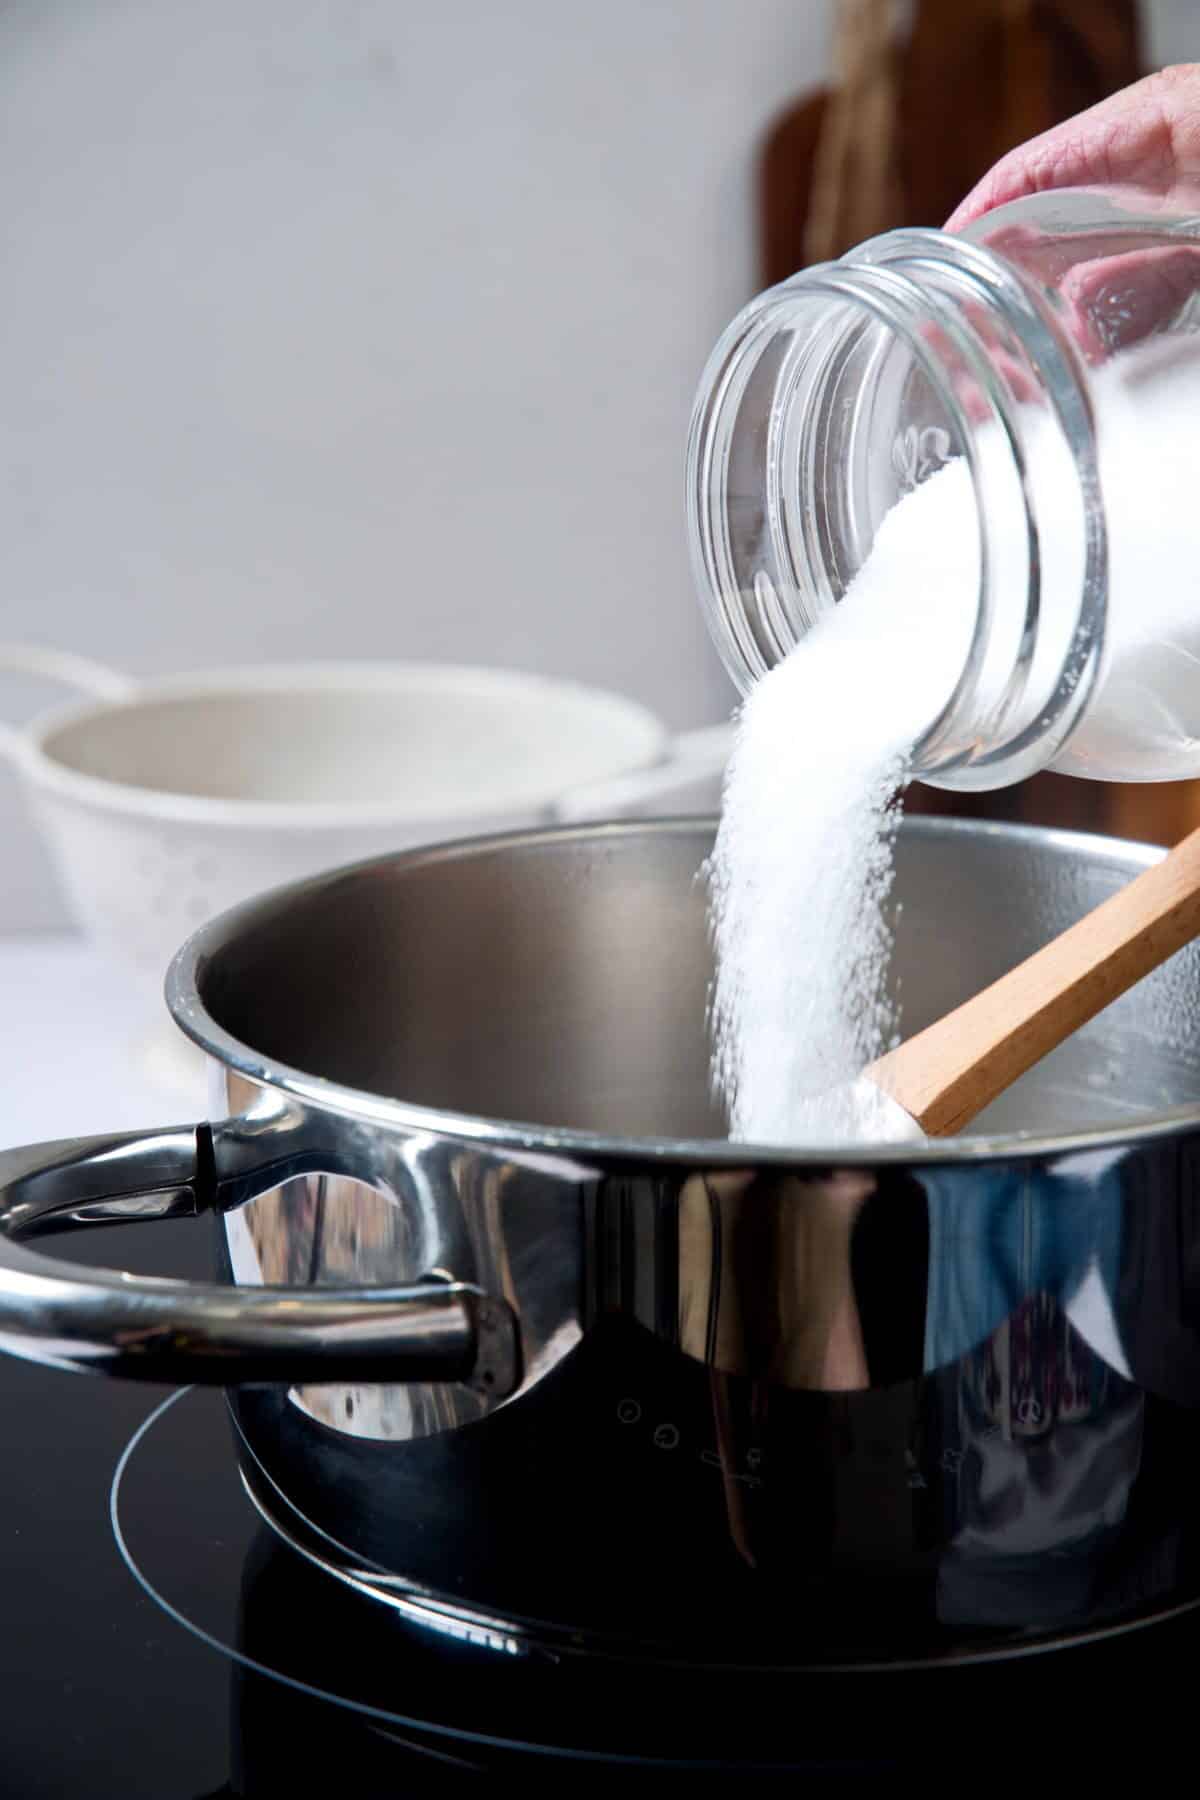
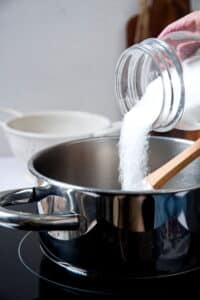
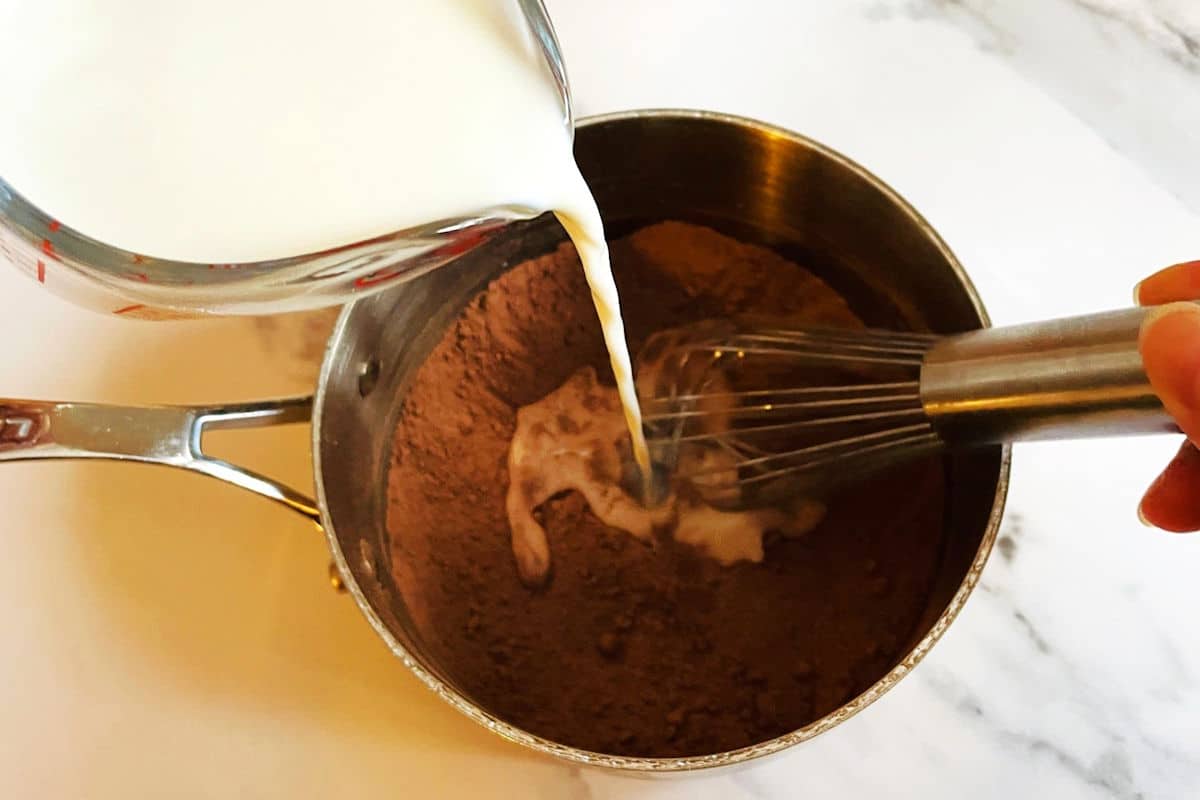
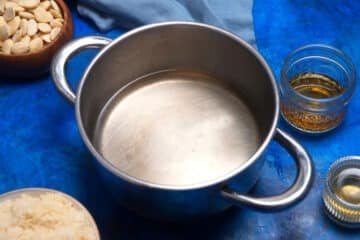
Step 2. Add the sugar and water to a saucepan. Bring to a boil over medium-high heat and stir until the sugar dissolves.
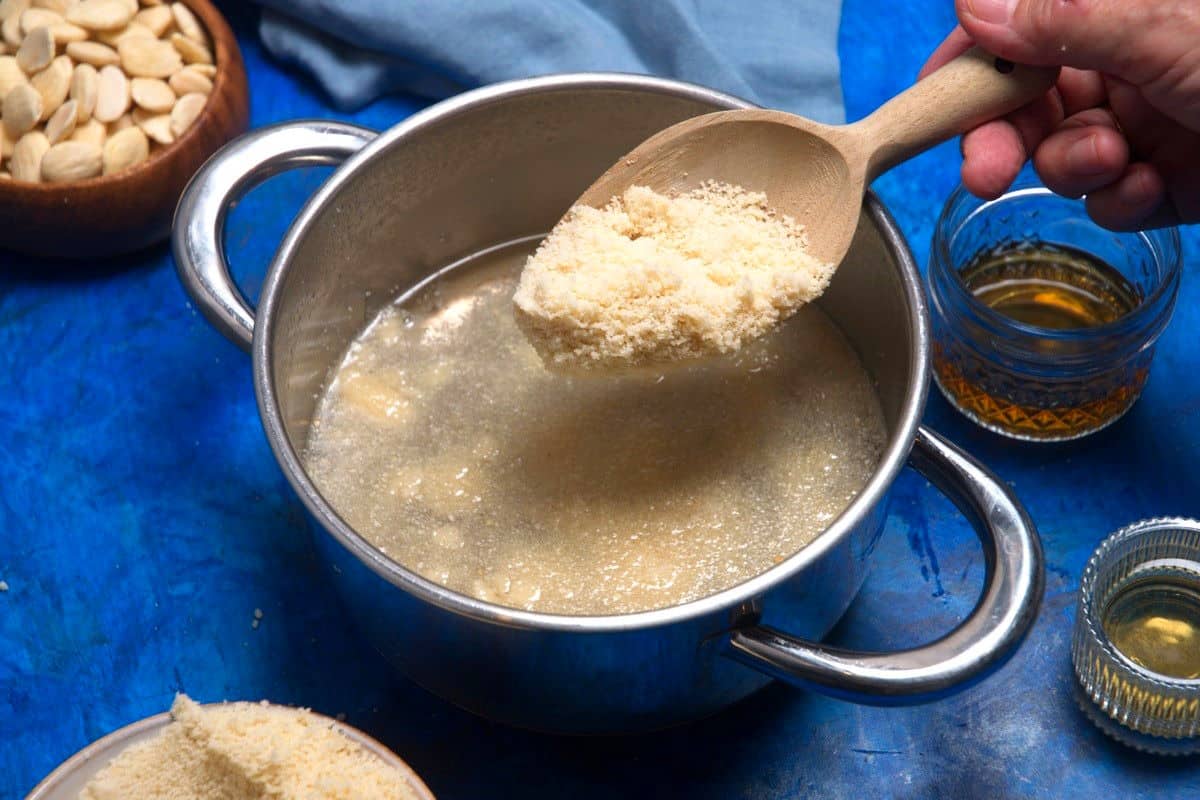
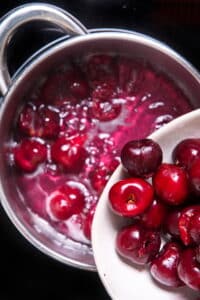
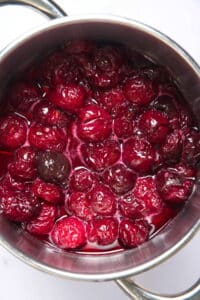
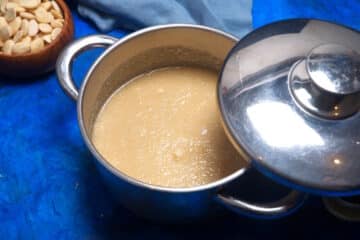
Step 3. Stir in the ground almonds.

Step 4. Remove from heat and cover with a lid. Let sit for at least 3 hours or up to 12 hours.
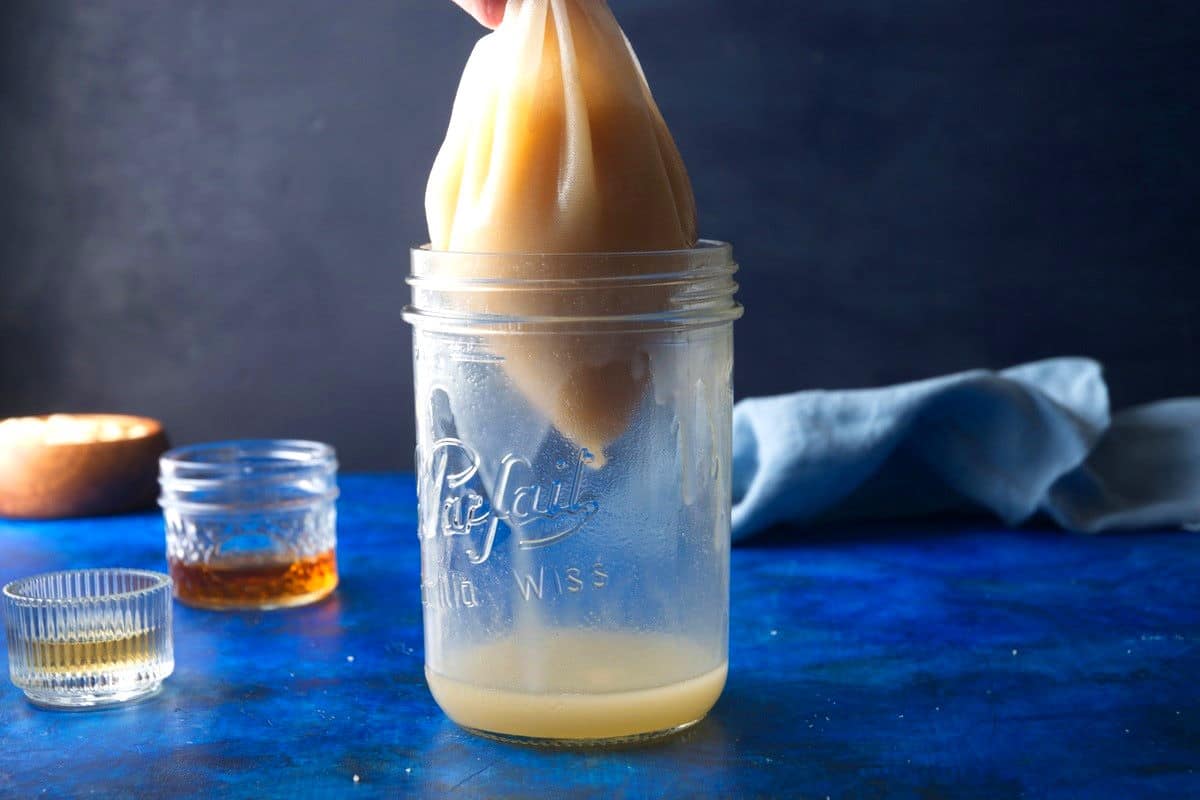
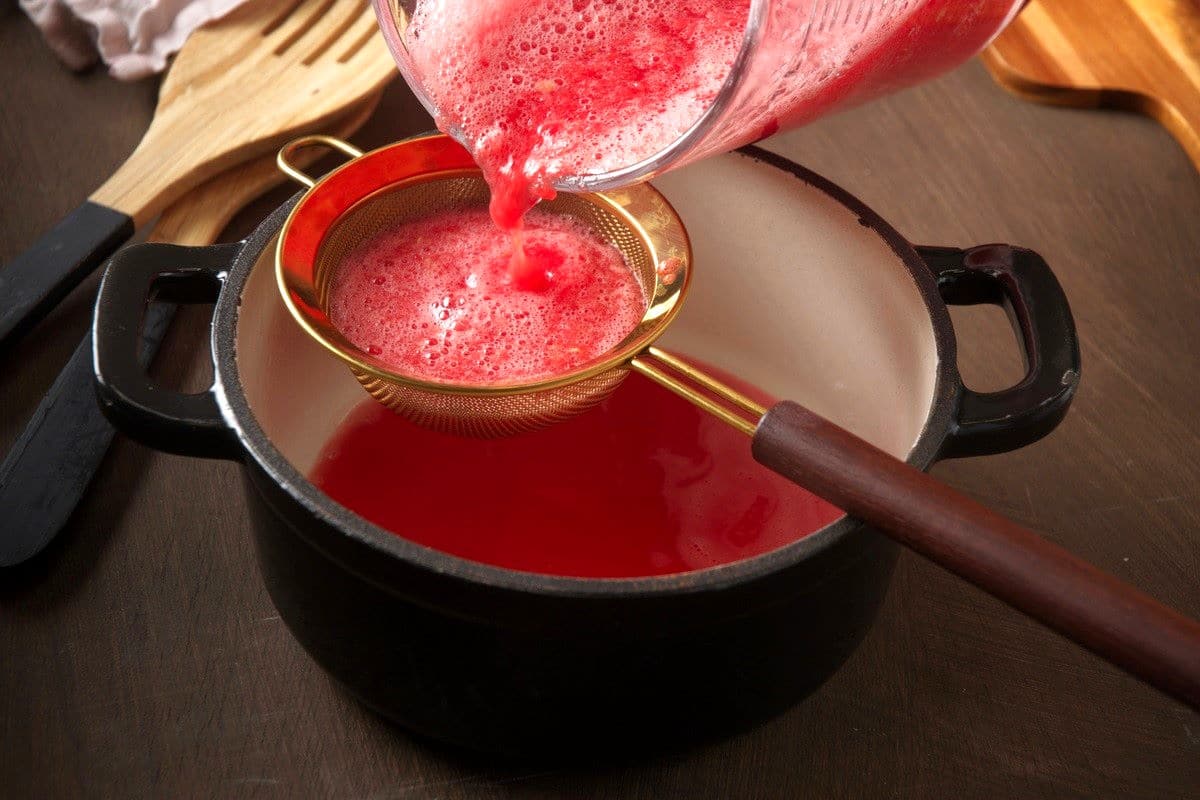
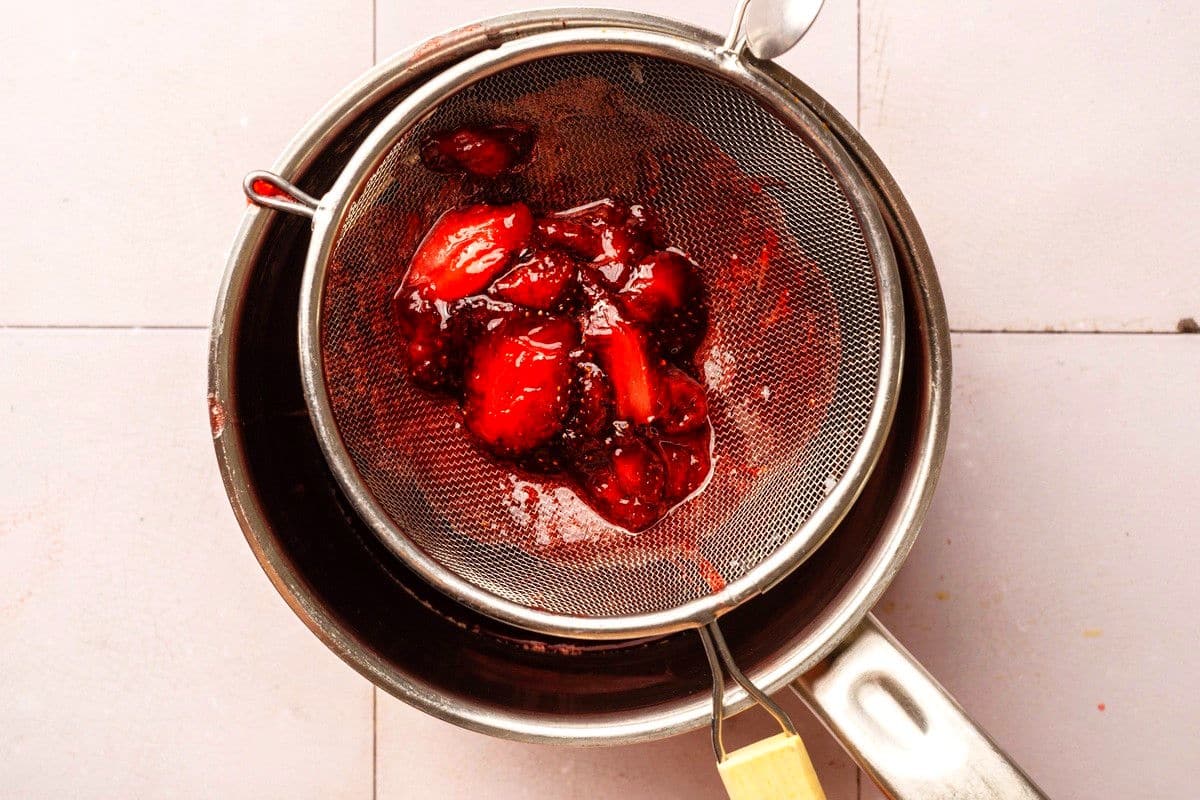
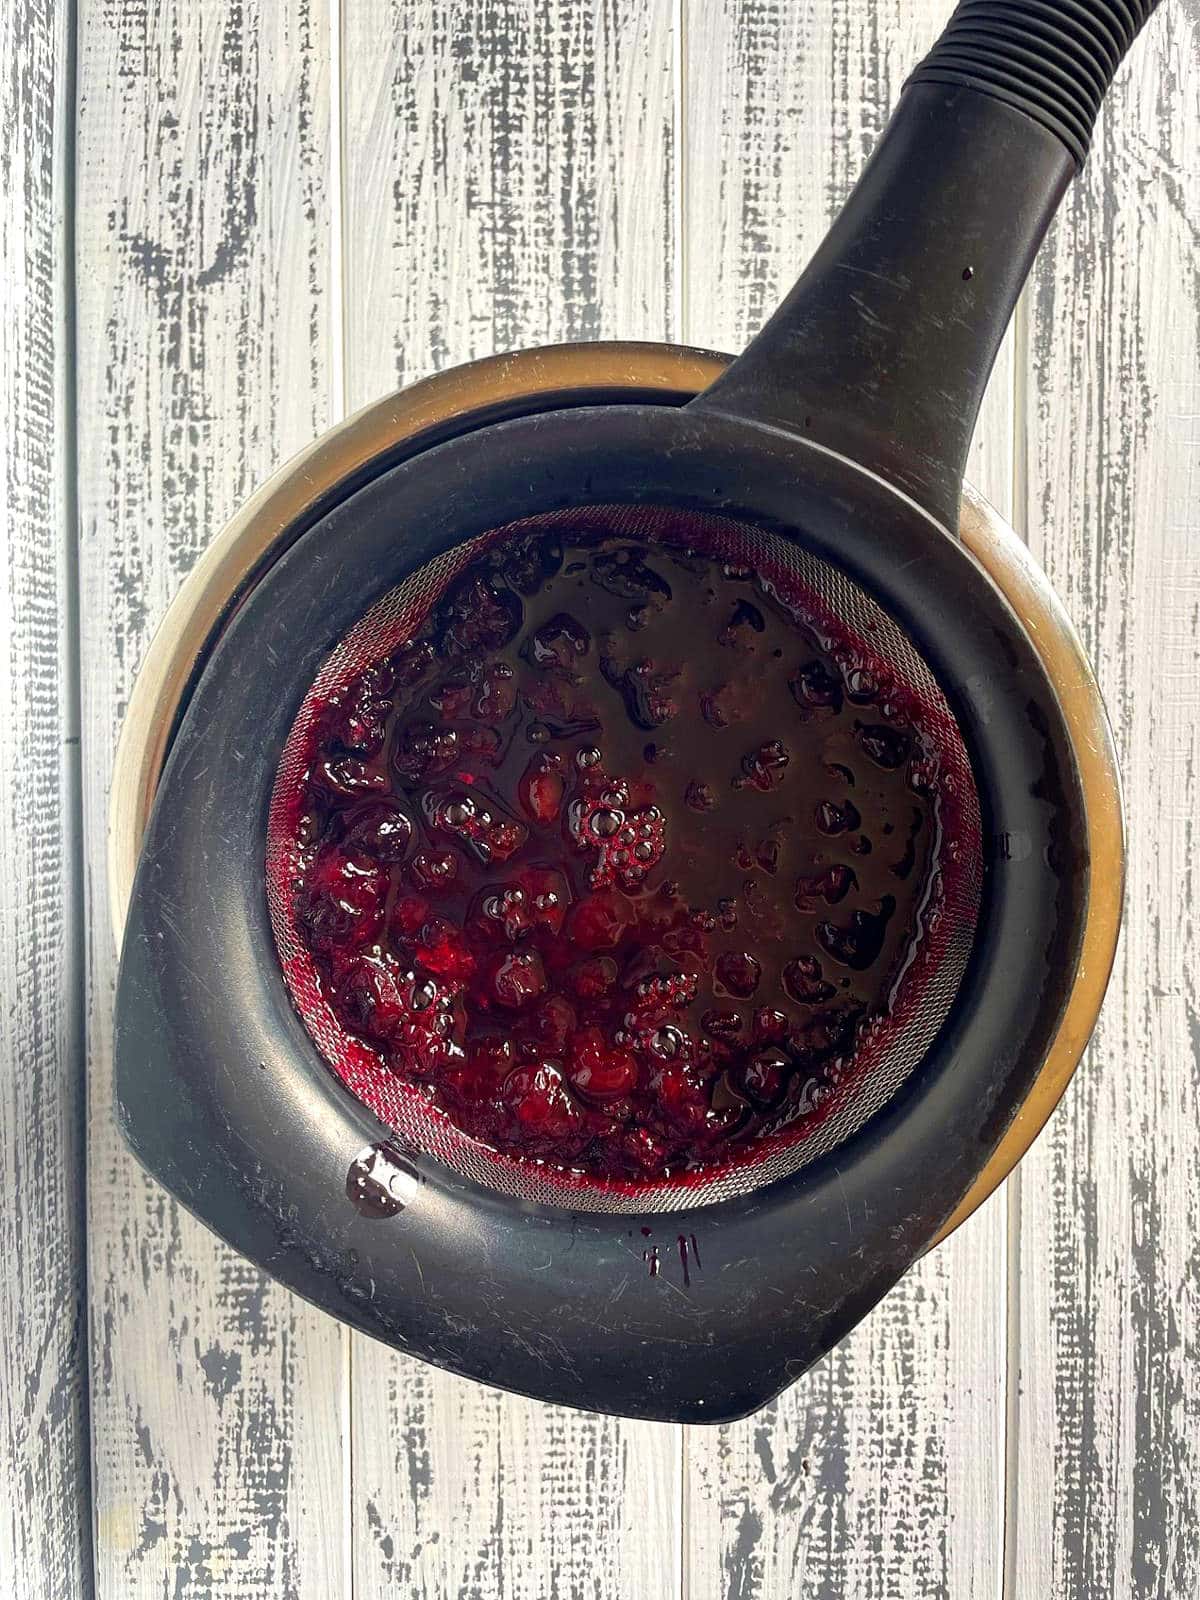
Step 5. Strain the mixture through 2 layers of cheesecloth or a nut bag and discard the ground almonds.
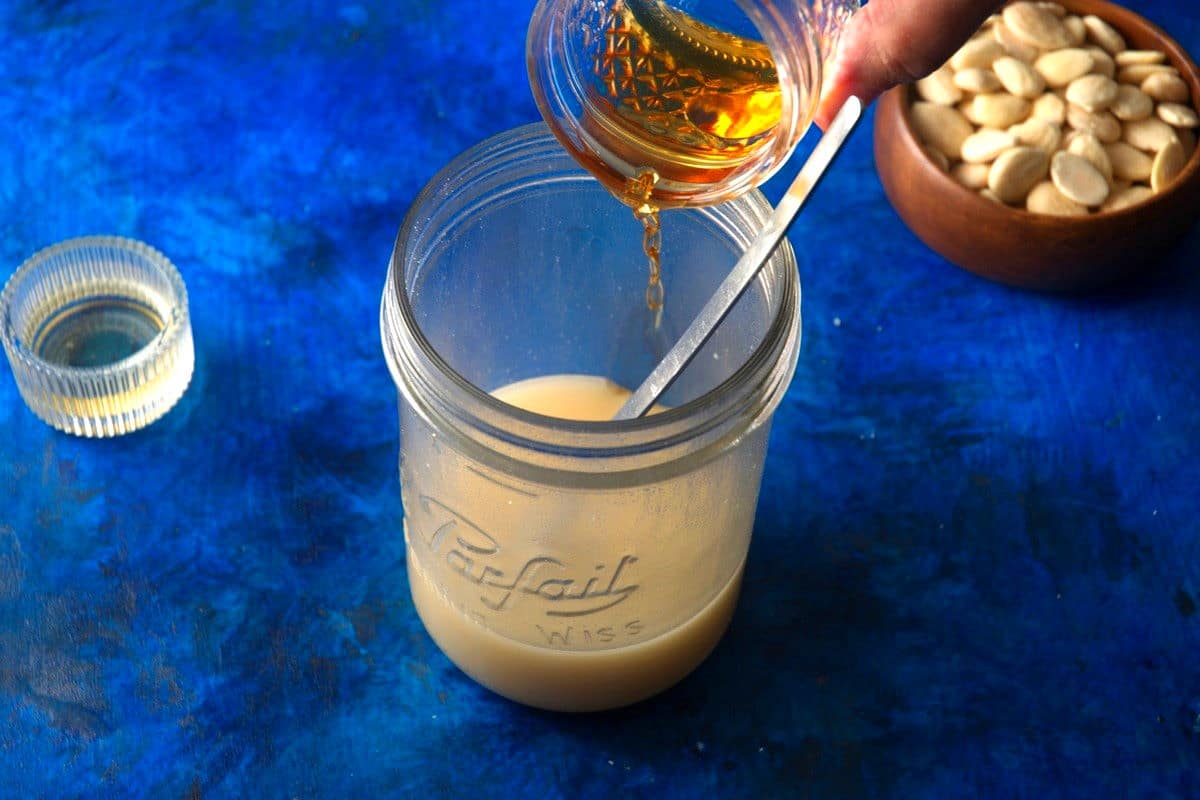
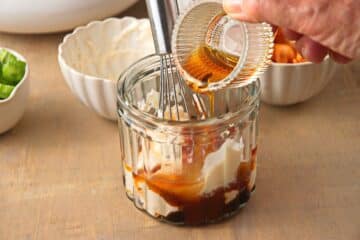
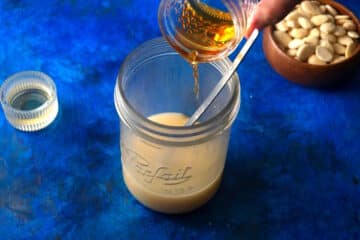
Step 6. Add the brandy and orange flower water to the syrup.

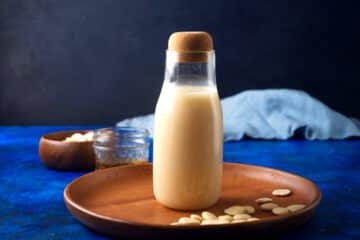
Step 7. Funnel the syrup into bottles. Your syrup is now ready to use!
Orgeat Cocktails
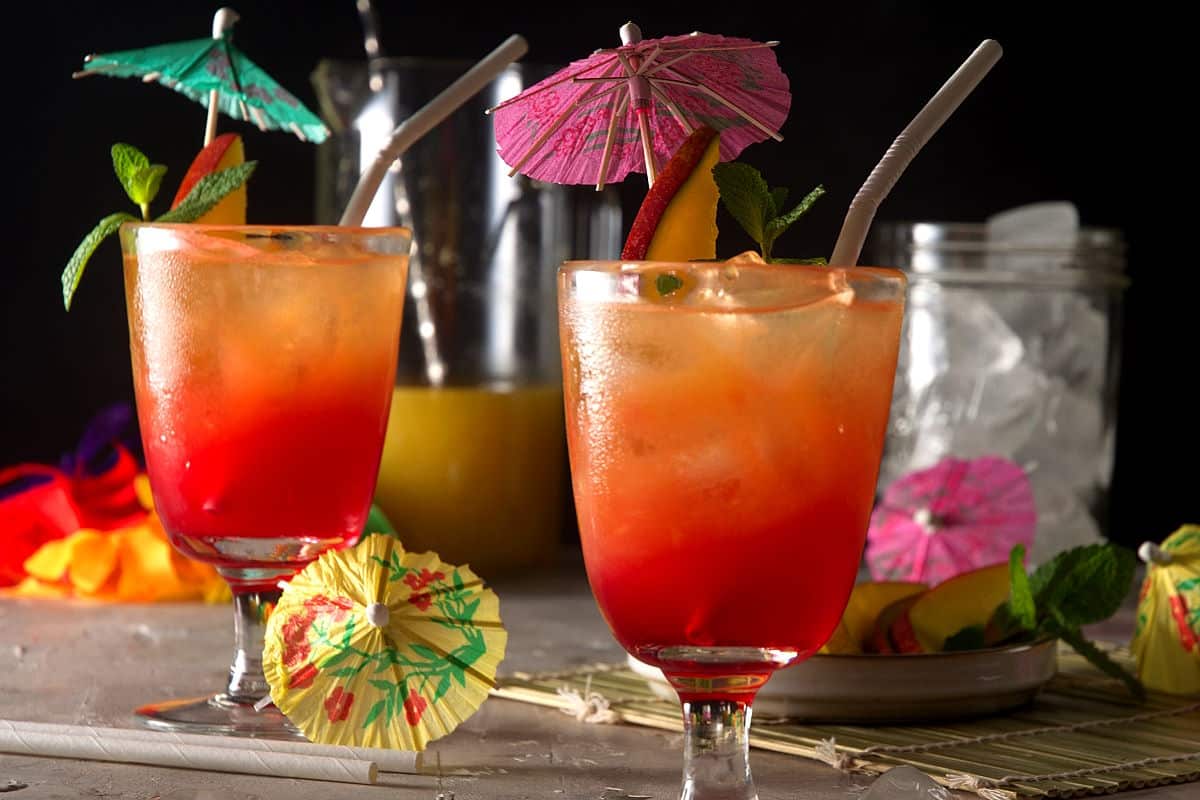
Here are some common orgeat drinks that you can use this syrup in:
- Mai Tai - a rum-based cocktail with Curaçao liqueur and lime juice
- Trinidad Sour - a whiskey-based drink with bitters and lemon juice
- Momisette - Pastis-based (anise flavored spirit)
- Scorpion - fruity, rum-based cocktail
- Fog Cutter - fruity with white rum, gin and brandy
- Eastern Sour - citrusy bourbon drink
- Old-Fashioned - whisky drink with bitters and sugar
Substitutes
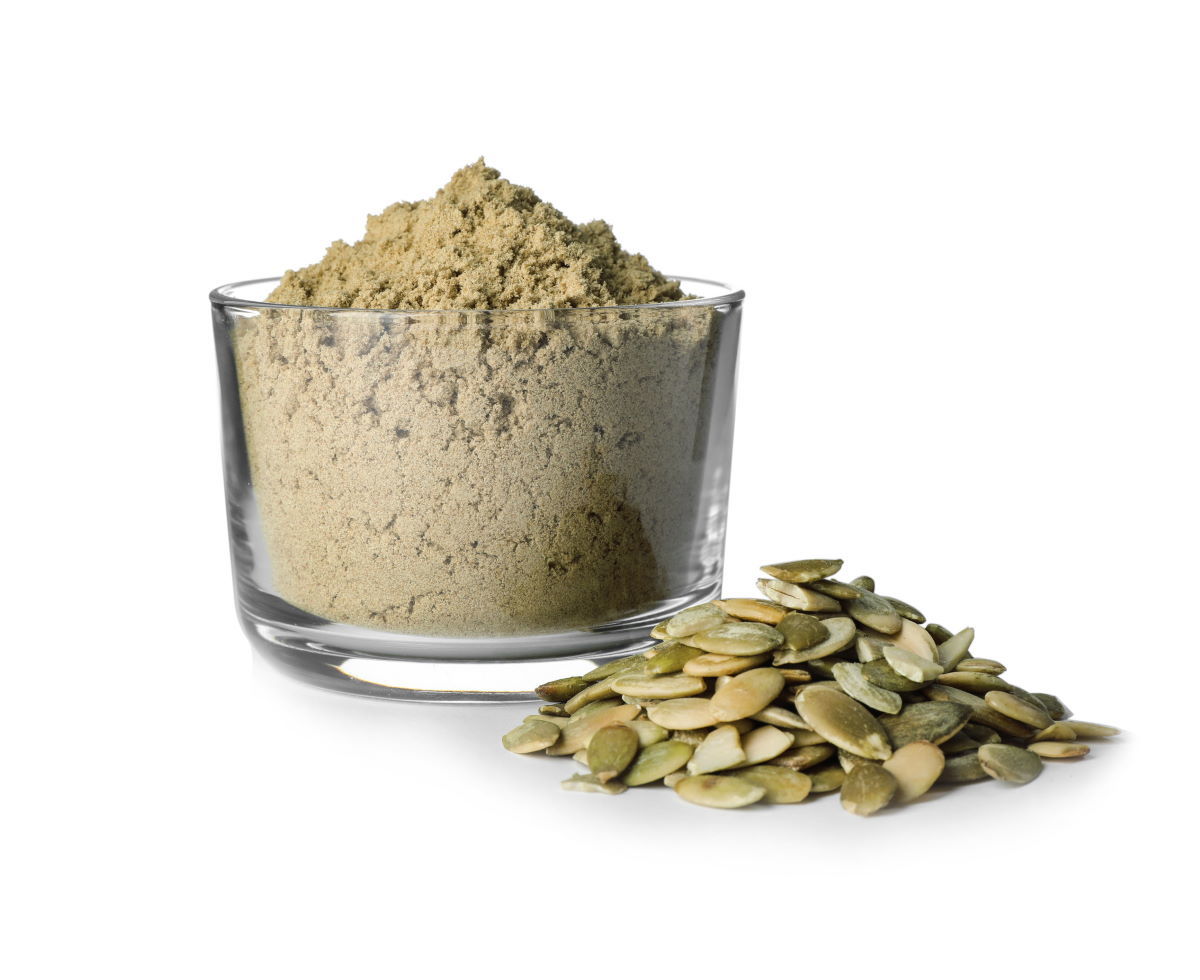
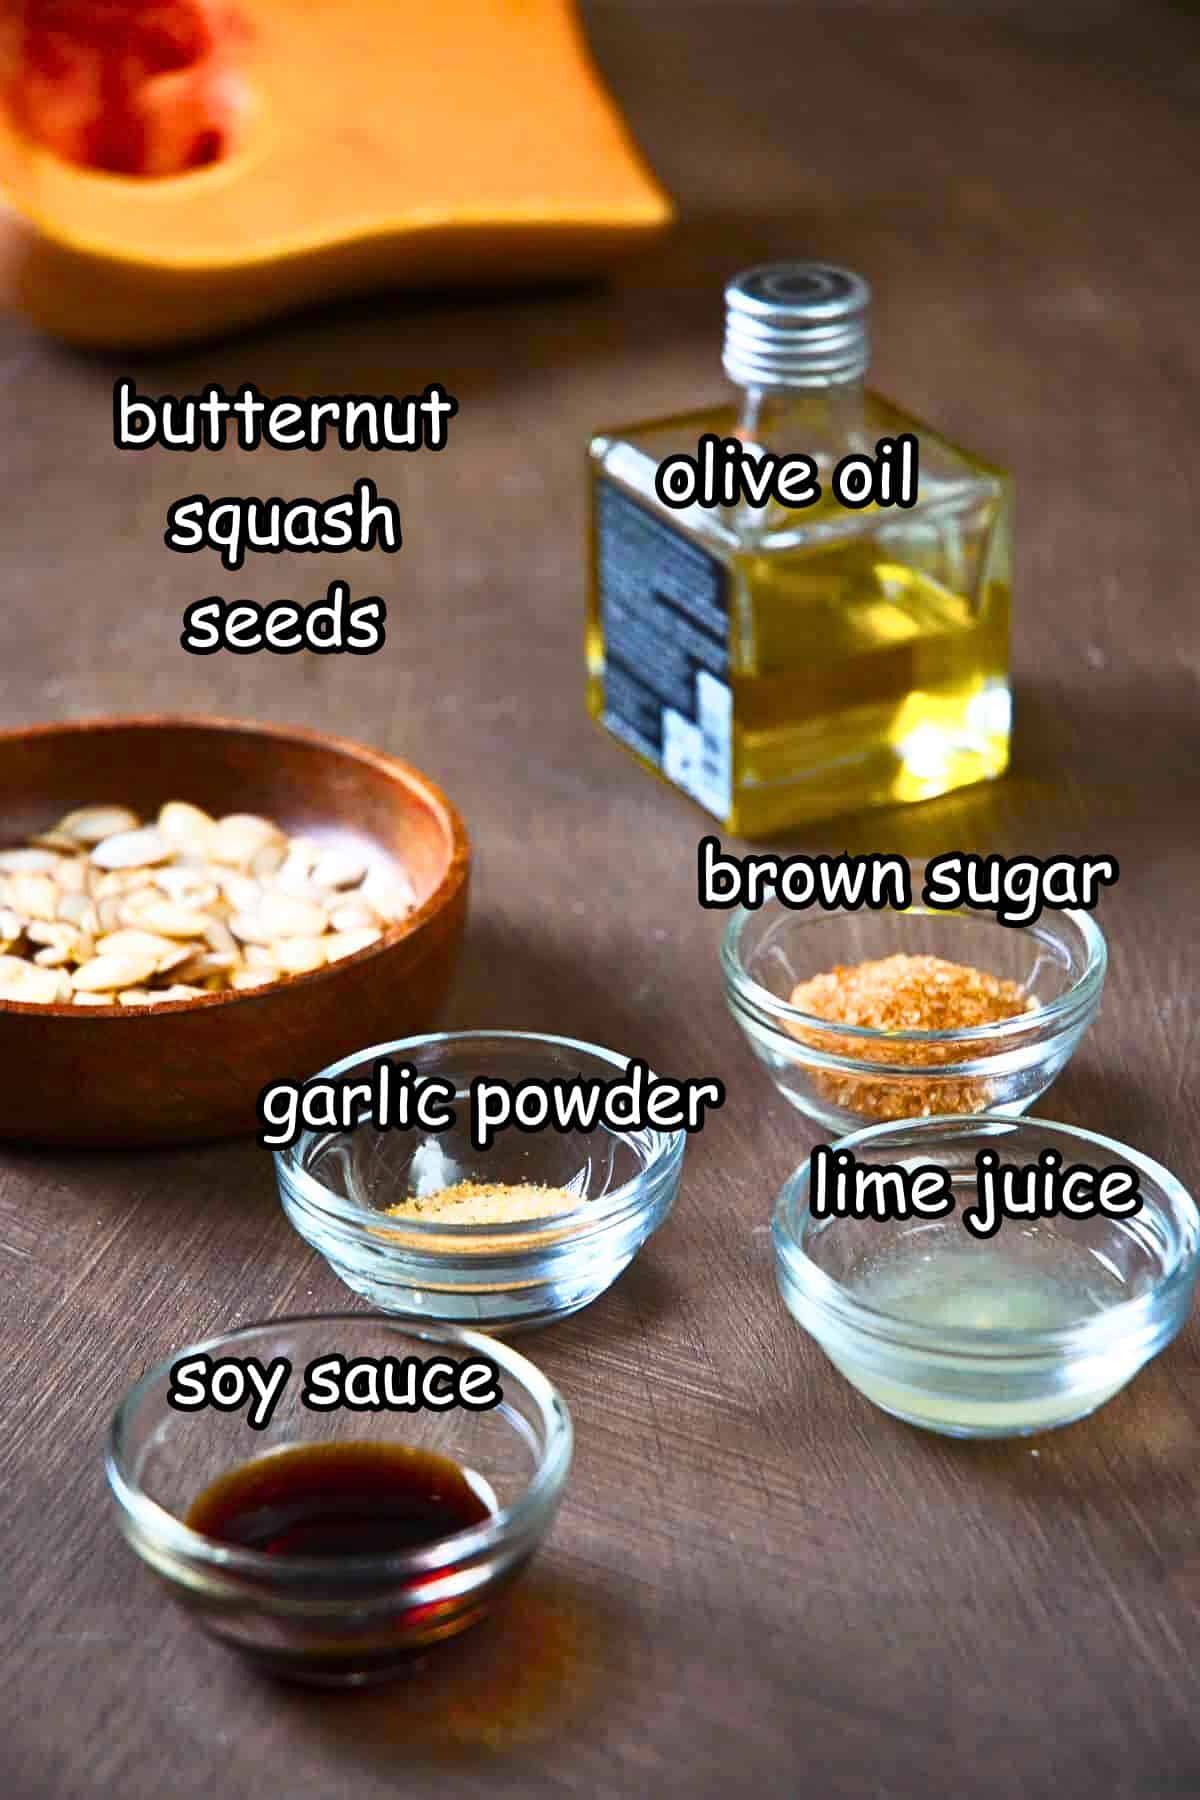
Besides using ground almonds (the best choice in my opinion), you can make this syrup with other nuts and seeds such as:
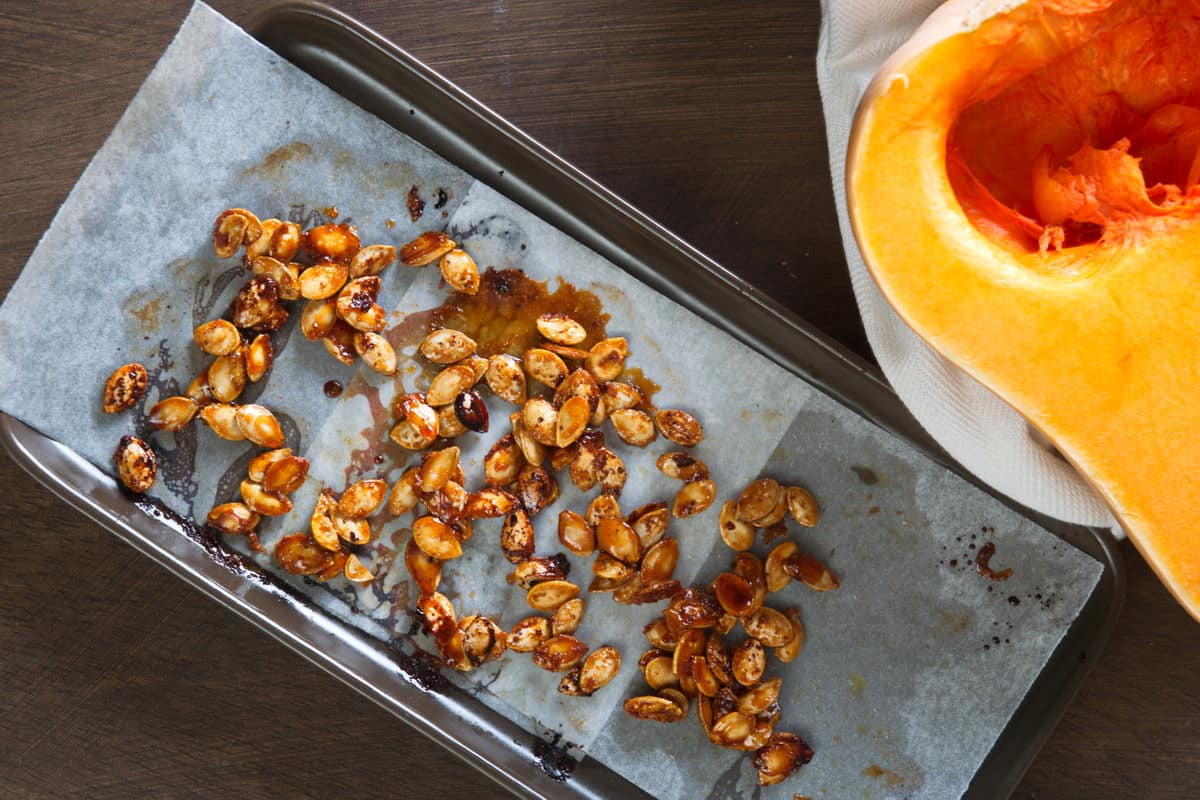
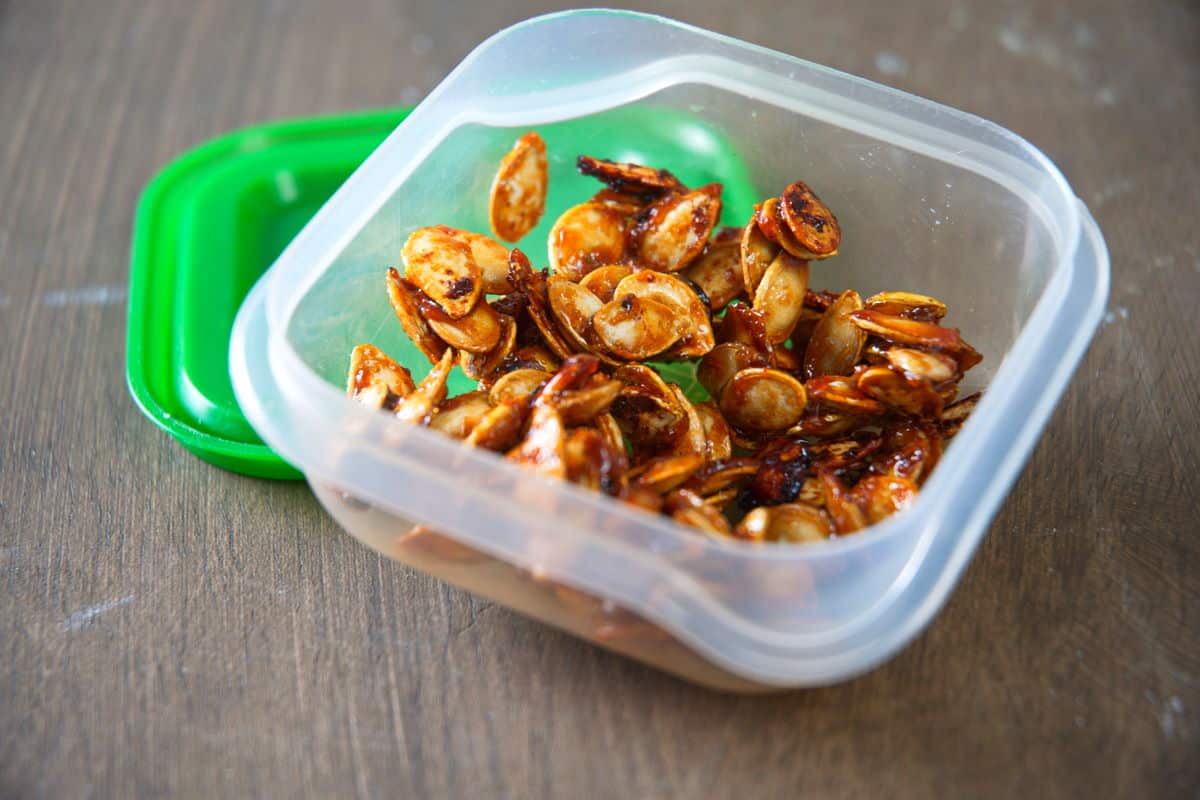
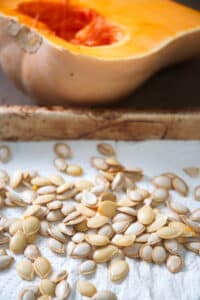
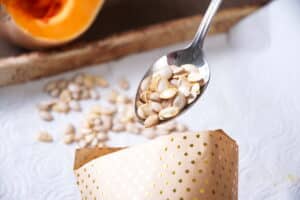
- pumpkin seeds
- macadamia nuts
- pistachios
- peanuts
- pecans
- hazelnuts
- cashews
- chestnuts
- sesame seeds, etc.
If you are looking for an alternative to the syrup itself, amaretto liqueur does have a sweet, nutty flavor but has a high percentage of alcohol. Almond extract has the almond flavor but you would need to sweeten it.
Falernum is also an almond syrup but it is spiced so it may not work in all beverages as a substitute.
Storage Tips
When storing orgeat in the refrigerator, it can last for up to two to three months, in an airtight container; a squeeze bottle is perfect! The liquor in it will help to keep it from going bad. Omitting the alcohol will give it a shorter expiry.
If you see signs of mold or a bad odor, throw it out.
If you have a large quantity of orgeat syrup after making it, you can also freeze it. It can stay fresh in the freezer for up to 4 months. The aroma and flavor will fade over time so it's best to use it within this timeframe.
Orgeat FAQs
Yes, it is gluten free, as almonds and other nuts and seeds are naturally gluten free.
Orgeat syrup is typically non-alcoholic, but some recipes call for some brandy to extend the shelf life. Therefore, it will make your drinks alcoholic, but not too strong. If you wish to make it non-alcoholic, you can omit the brandy.
Because of the almonds, sugar and orange flower water, it has a sweet, nutty flavor with a hint of citrus-floral. Some store-bought brands have various flavors like cinnamon, vanilla or rose water, but this homemade recipe is simpler, which makes it more versatile.
The word 'orgeat' comes from the French word 'orge', meaning 'barley'. Orgeat started as a mixture of water and barley. Almonds were later added for flavor.
As the years went on, almonds fully replaced the barley and orgeat became an almond syrup. Today, it is known for having a floral aroma for its use of rose water or orange flower water.


If you tried this Homemade Orgeat (Almond Syrup) Recipe or any other recipe on my website, please leave a 🌟 star rating and let me know how it went in the 📝 comments below. And please share the recipe!
📋Recipe
Homemade Orgeat (Almond Syrup)
Ingredients
- 2 cups blanched almonds
- 1 ½ cups sugar
- 1 ¼ cups water
- ¼ cup brandy optional - to extend shelf life
- 1 ½ teaspoons orange flower water also called orange blossom water
Instructions
- In a food processor, pulse the almonds until finely ground.2 cups blanched almonds
- Add the sugar and water to a saucepan. Bring to a boil over medium-high heat and stir until the sugar dissolves.1 ½ cups sugar, 1 ¼ cups water
- Stir in the ground almonds.

- Remove from heat and cover with a lid. Let sit for at least 3 hours or up to 12 hours.
- Strain the mixture through 2 layers of cheesecloth or a nut bag and discard the ground almonds.

- Add the brandy and orange flower water to the syrup.¼ cup brandy, 1 ½ teaspoons orange flower water
- Funnel the syrup into bottles.
Notes
- This recipe makes about 1 ¼ cups syrup.
- You can leave out the alcohol but just be aware this will give the syrup a shorter expiry date.
- When storing orgeat, it can be refrigerated for up to two to three months, in an airtight container; a squeeze bottle is perfect! If you see signs of mold or a bad odor, throw it out.
- If you have a large quantity of orgeat syrup after making it, you can also freeze it. It can stay fresh in the freezer for up to 4 months. The aroma and flavor will fade over time so it's best to use it within this timeframe.
- Orgeat is mostly used in tiki drinks like the mai tai or in seltzers. However, it has other uses in flavoring non-alcoholic drinks like coffee and lemonades or dishes like ice cream, cakes, and fresh fruit. It gives an extra sweetness and flavor.