I'm going to show you how to grill pizza at home on a charcoal or gas grill and without a stone in less than 30 minutes. In addition to being a fun method, it also imbues your pizza with a smoky flavor you just don't get in a home oven. Your barbecues are about to get an upgrade!
A BBQ pizza brings to mind one styled after the smoky-sweet flavors of the grill, with a slathering of barbecue sauce and meat like chicken piled on top. This recipe takes it a step further and actually cooks the pizza dough with toppings on the grill.
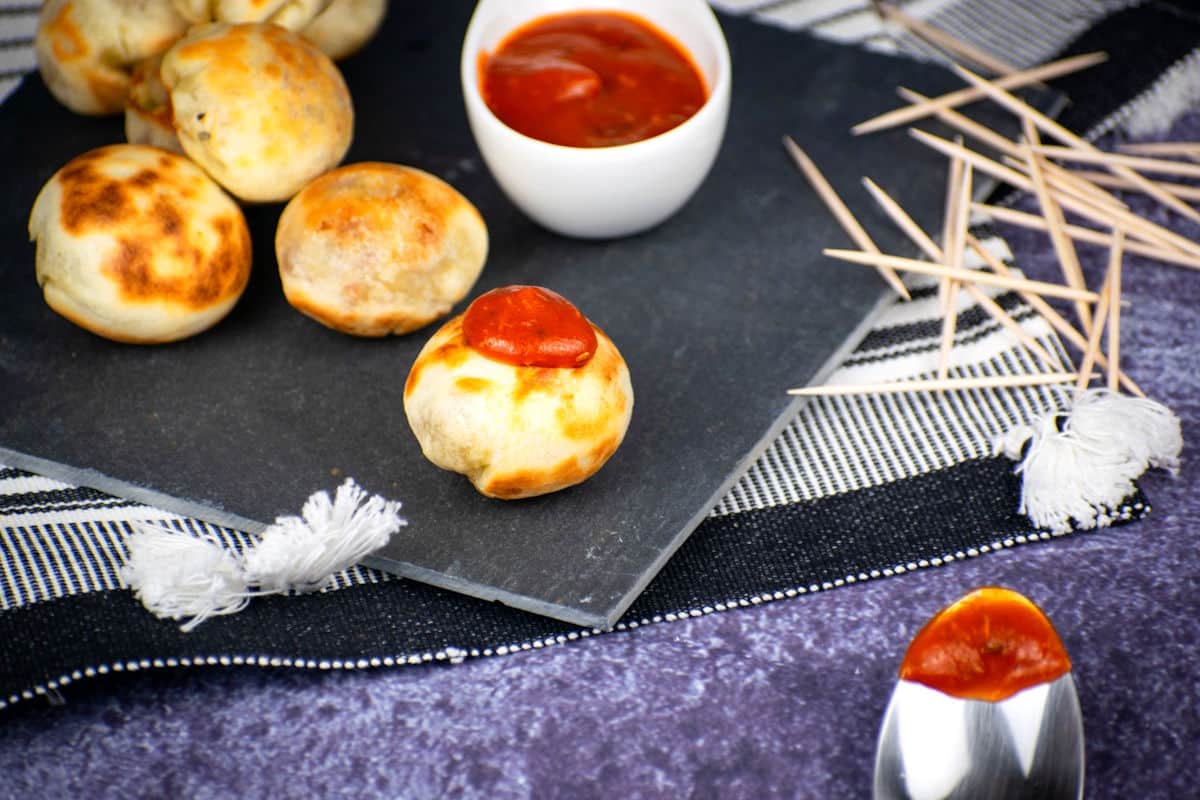
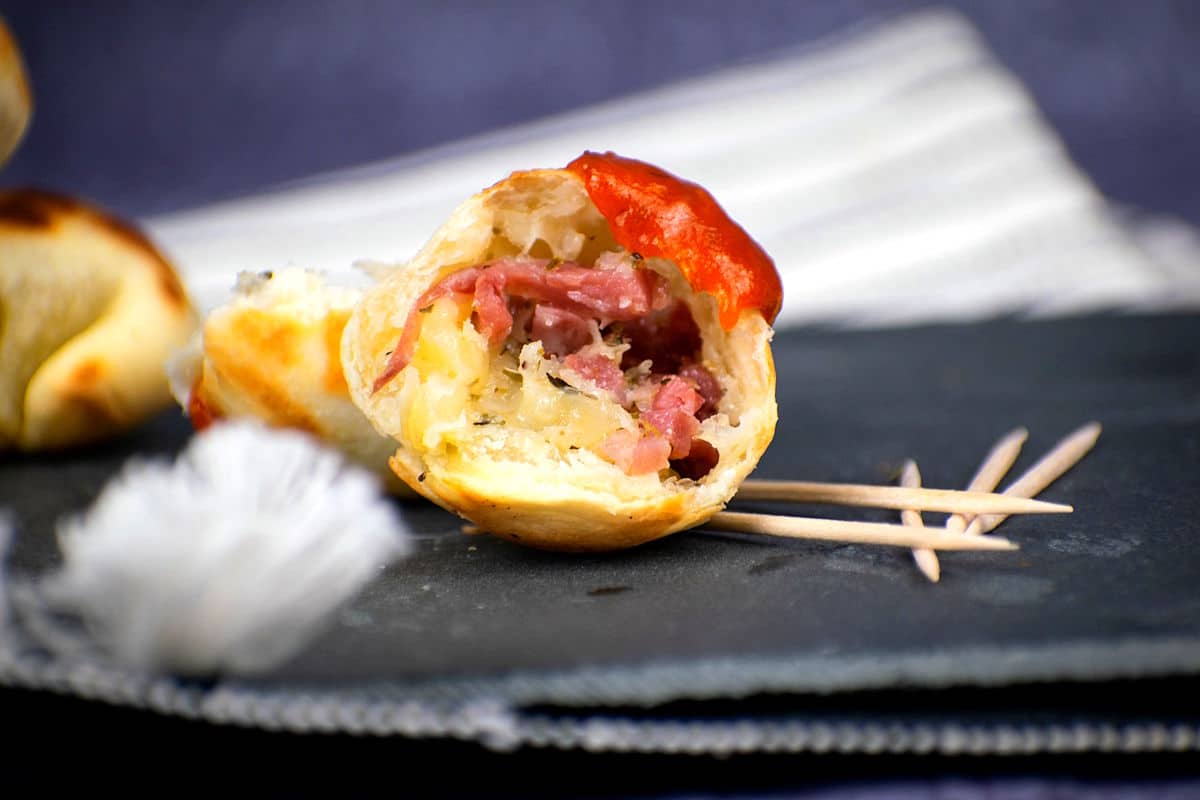
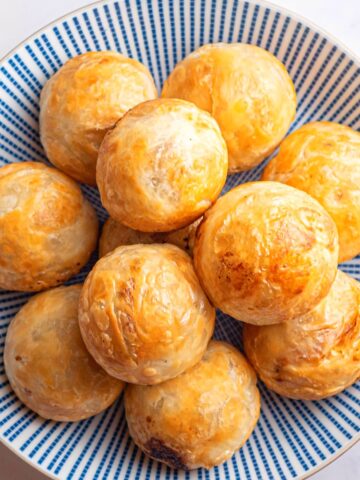
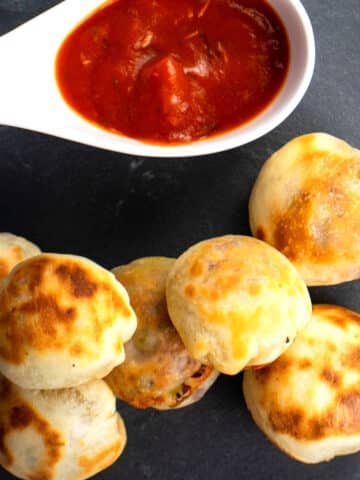
A grilled pizza, though far from traditional (but probably not as out there as my kimchi pizza recipe and pizza bites), is almost a closer flavor experience to a pizza cooked by a real wood-burning fire or pizza oven with its light char and smokiness.
I can't even begin to describe how much I love that smoky flavor of barbecue pizza. You can also check out this tutorial for how to cook pineapple slices on the grill and serve them on the side. Give the delivery drivers the night off and get to cooking your grilled pizza.
Featured Comment
From Sabrina: ⭐⭐⭐⭐⭐ "Such a great recipe, a fun way to have an outdoor family dinner, thanks!"
SUMMARIZE & SAVE THIS CONTENT ON
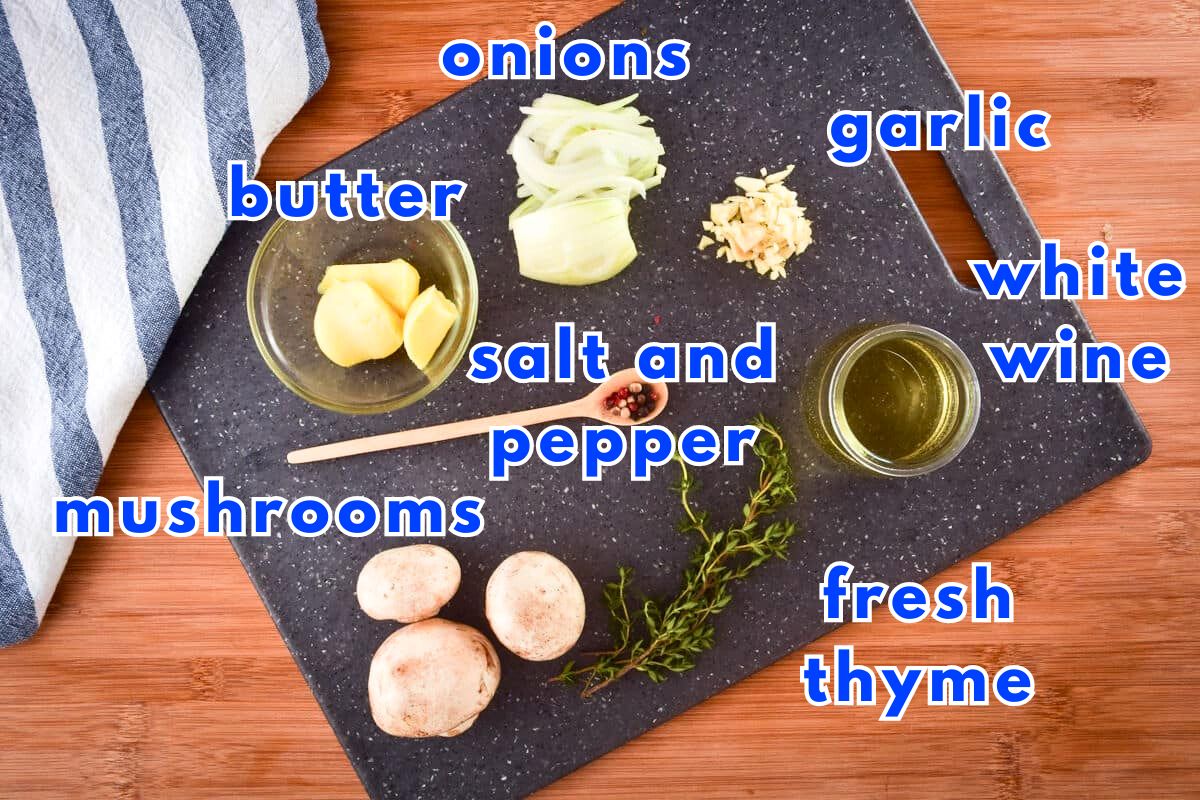
Ingredients

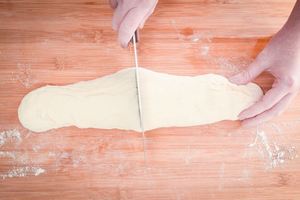
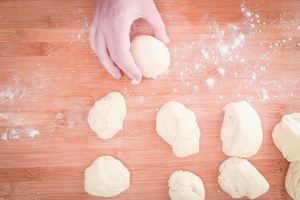
You will need either individual pizza dough balls or a 12" dough ball.
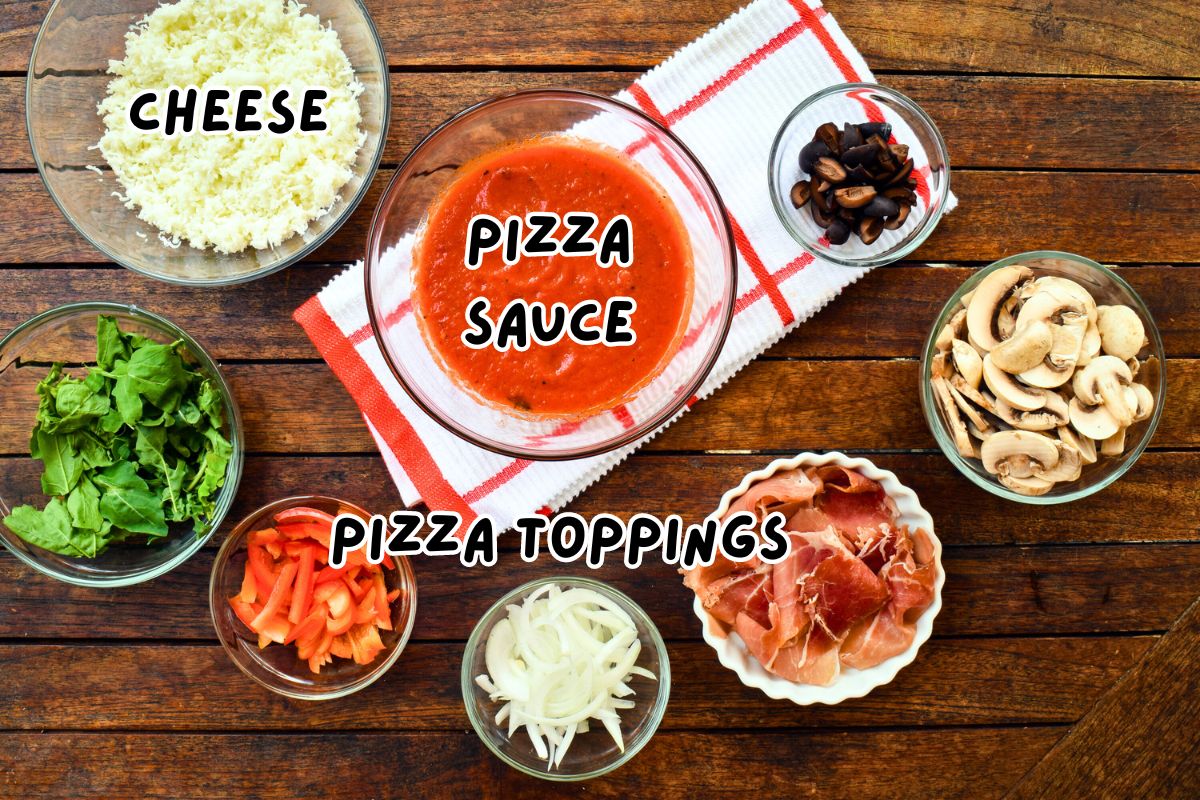
You will also need pizza sauce, cheese and toppings.
- pizza sauce - I like to use either spaghetti sauce or passata but you can also use regular tomato sauce or pizza sauce. Spaghetti sauces usually have extra flavor whereas tomato sauces are more basic. You could even try a white BBQ sauce which would be great with chicken.
- mozzarella cheese - Mozzarella is classic for pizza but you could also use cheddar or a mixture.
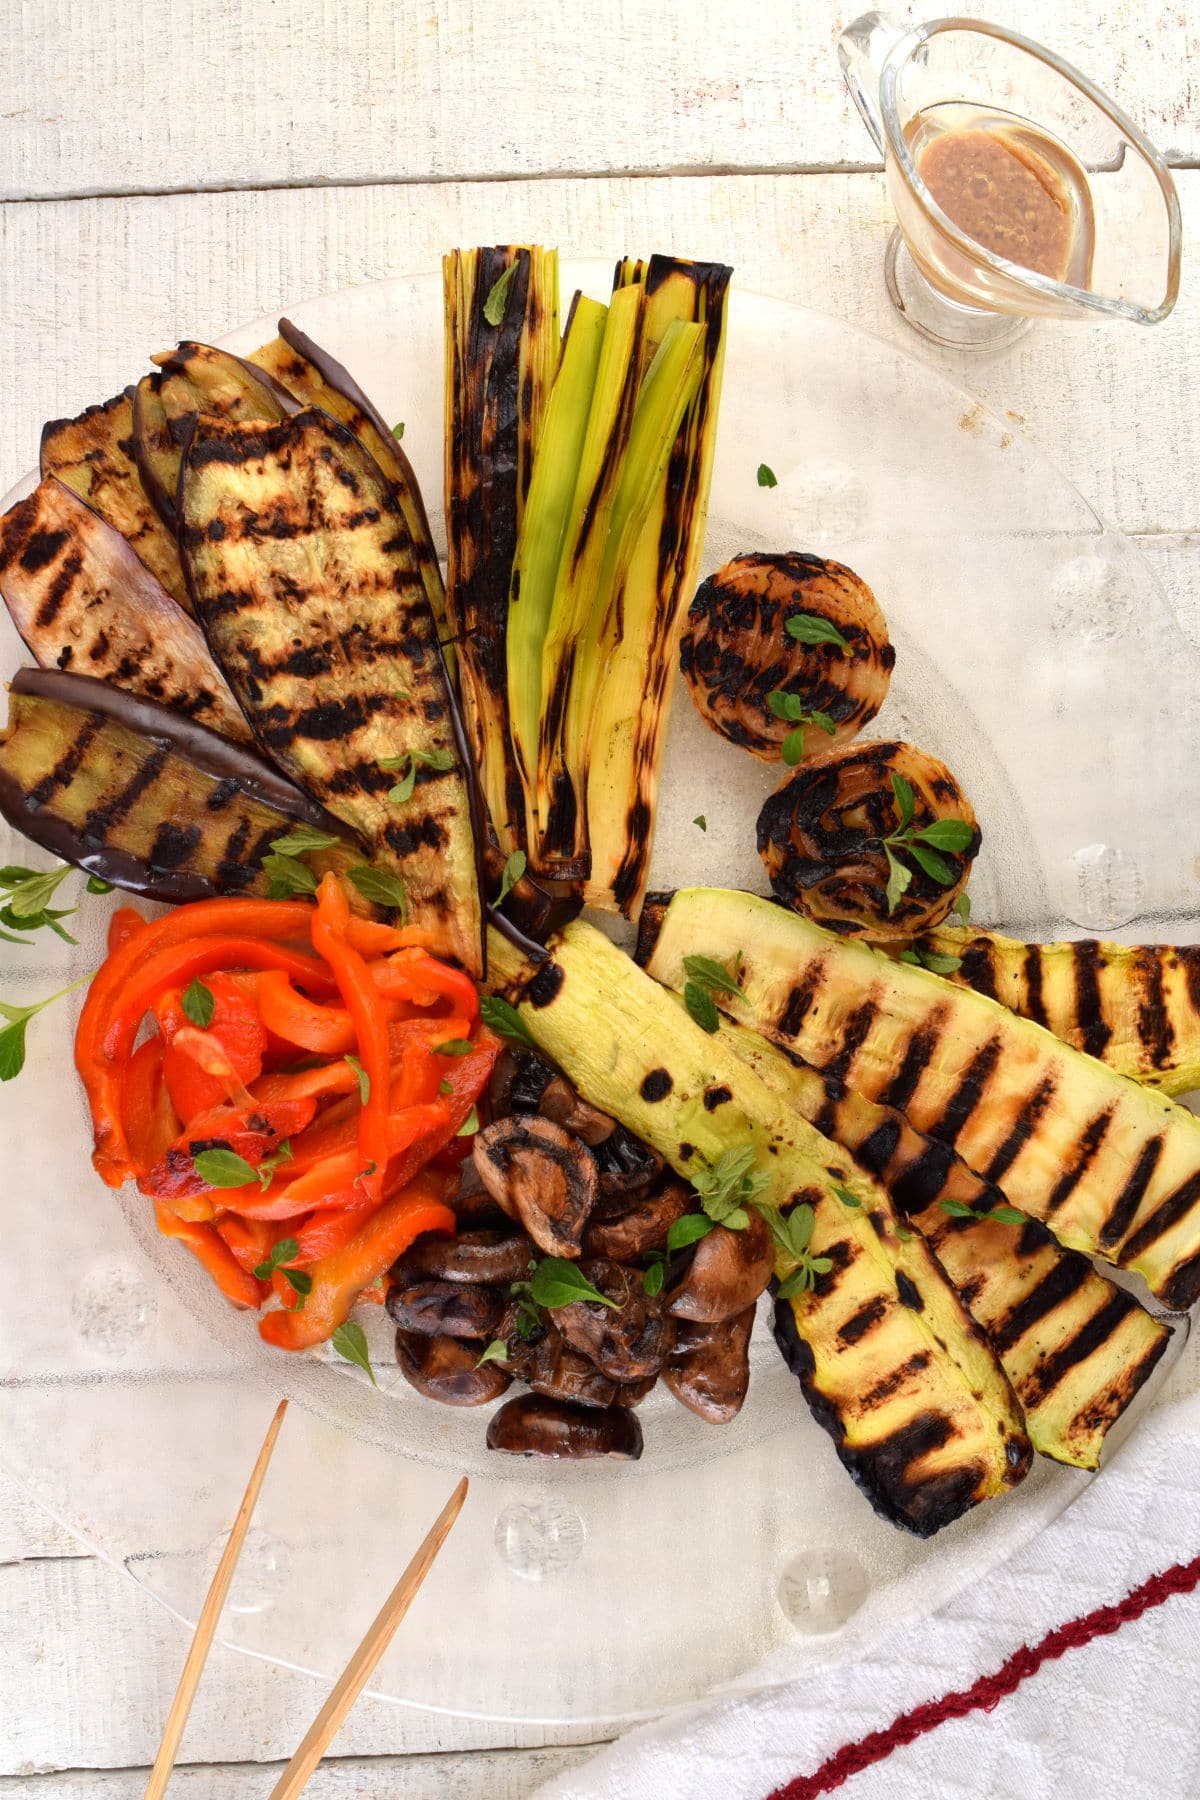
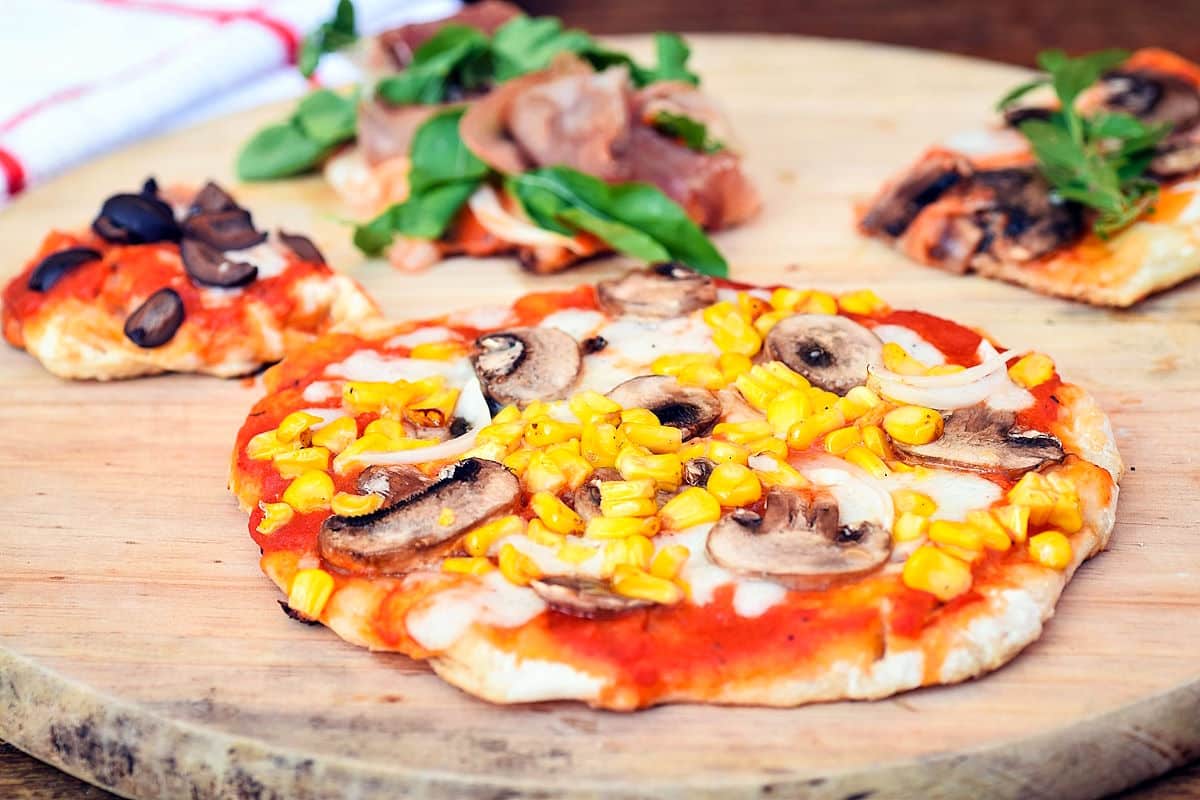
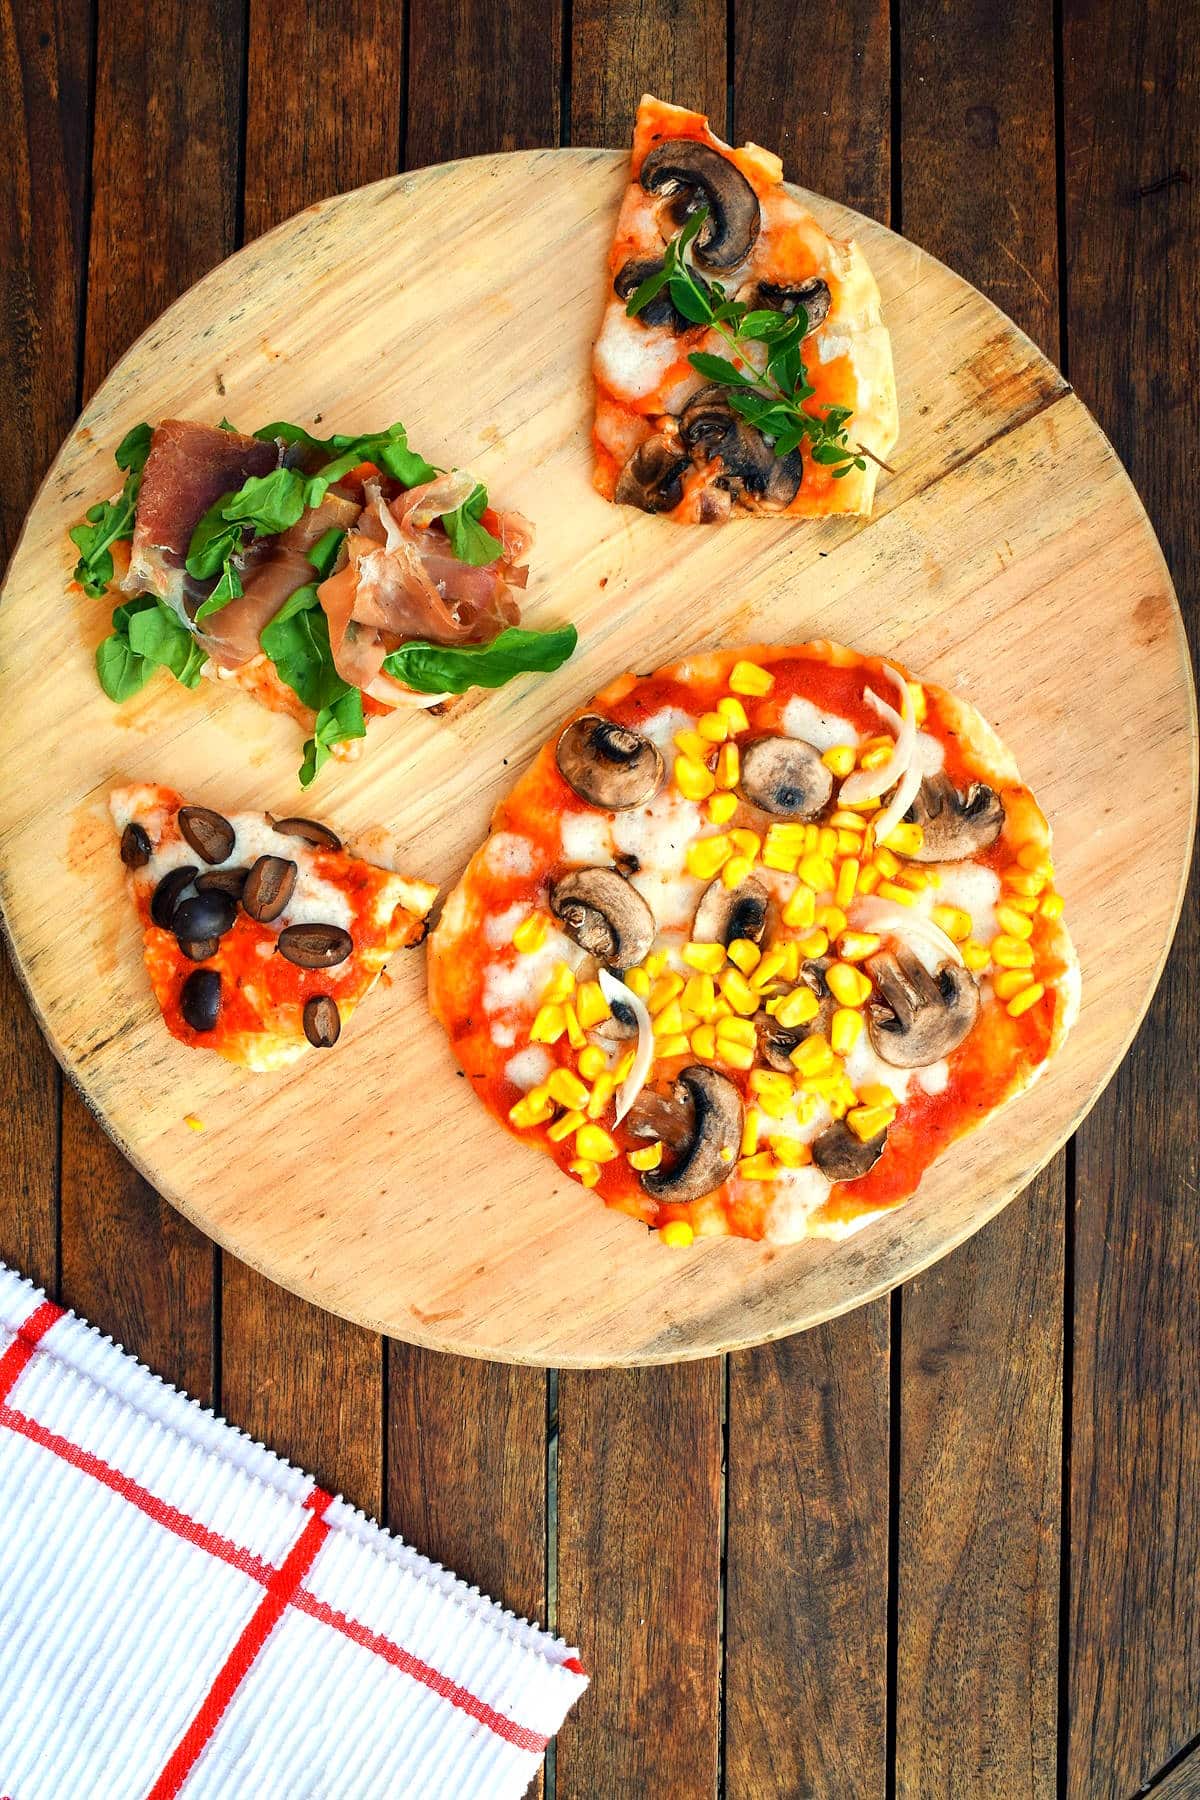
- toppings - You can add your favorite toppings or use my ideas: onions, mushrooms, red bell peppers, black olives, arugula, prosciutto, corn and fresh herbs like basil and oregano.
*Check recipe card for ingredient amounts.
Preheat the Grill
After prepping the ingredients, you are going to preheat the grill to high heat.
For gas grill: Light all of the burners to preheat the grill. Then, turn off half of the burners for an indirect and direct heat source.
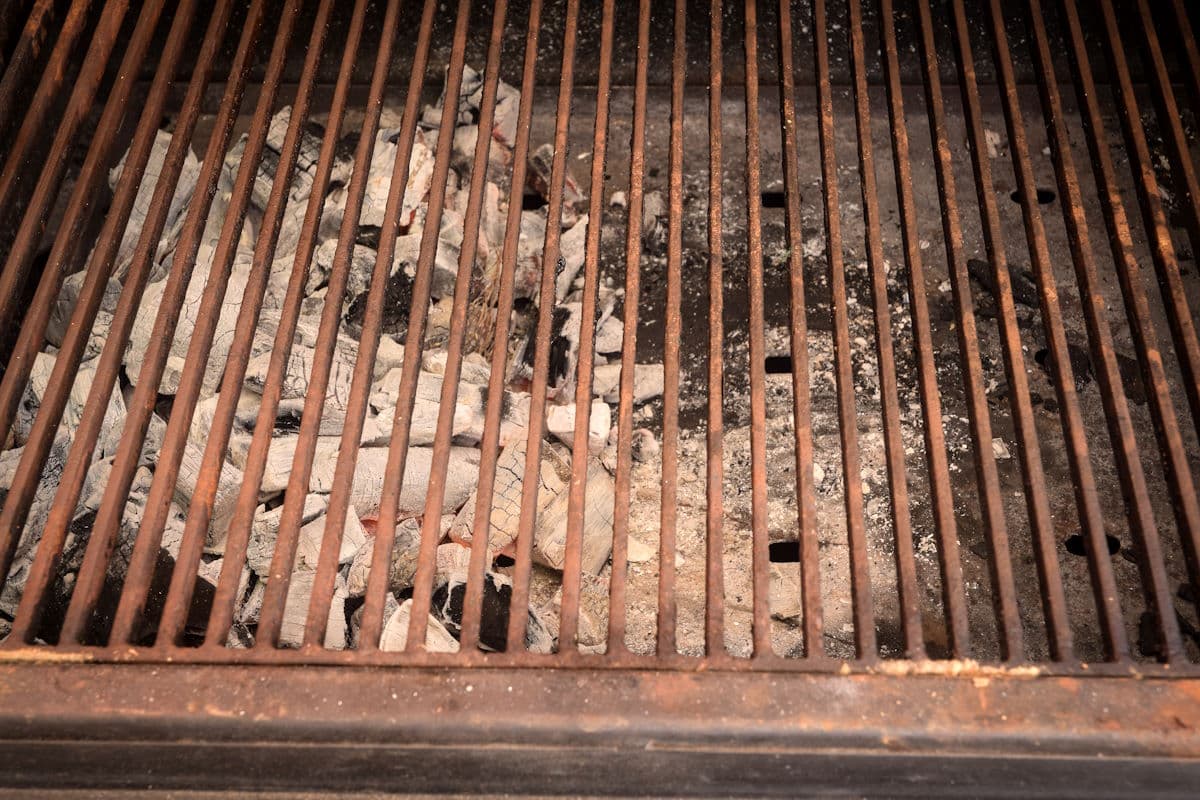
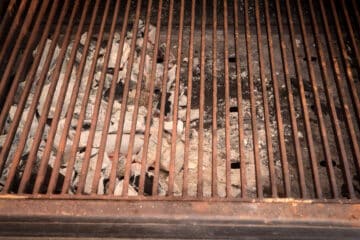
For charcoal grill: Using long tongs, move all of the charcoal to cover only ½ of the grill. Doing this will give you a direct and indirect heat source.
👩🏻🍳 Chef's Note: Using the direct and indirect cooking zones on the grill strategically allows you to get plenty of that smokiness without the risk of burning or overcooking, all with the added bonus of some great grill marks on the bottom of the crust.
Instructions for How to Grill Pizza
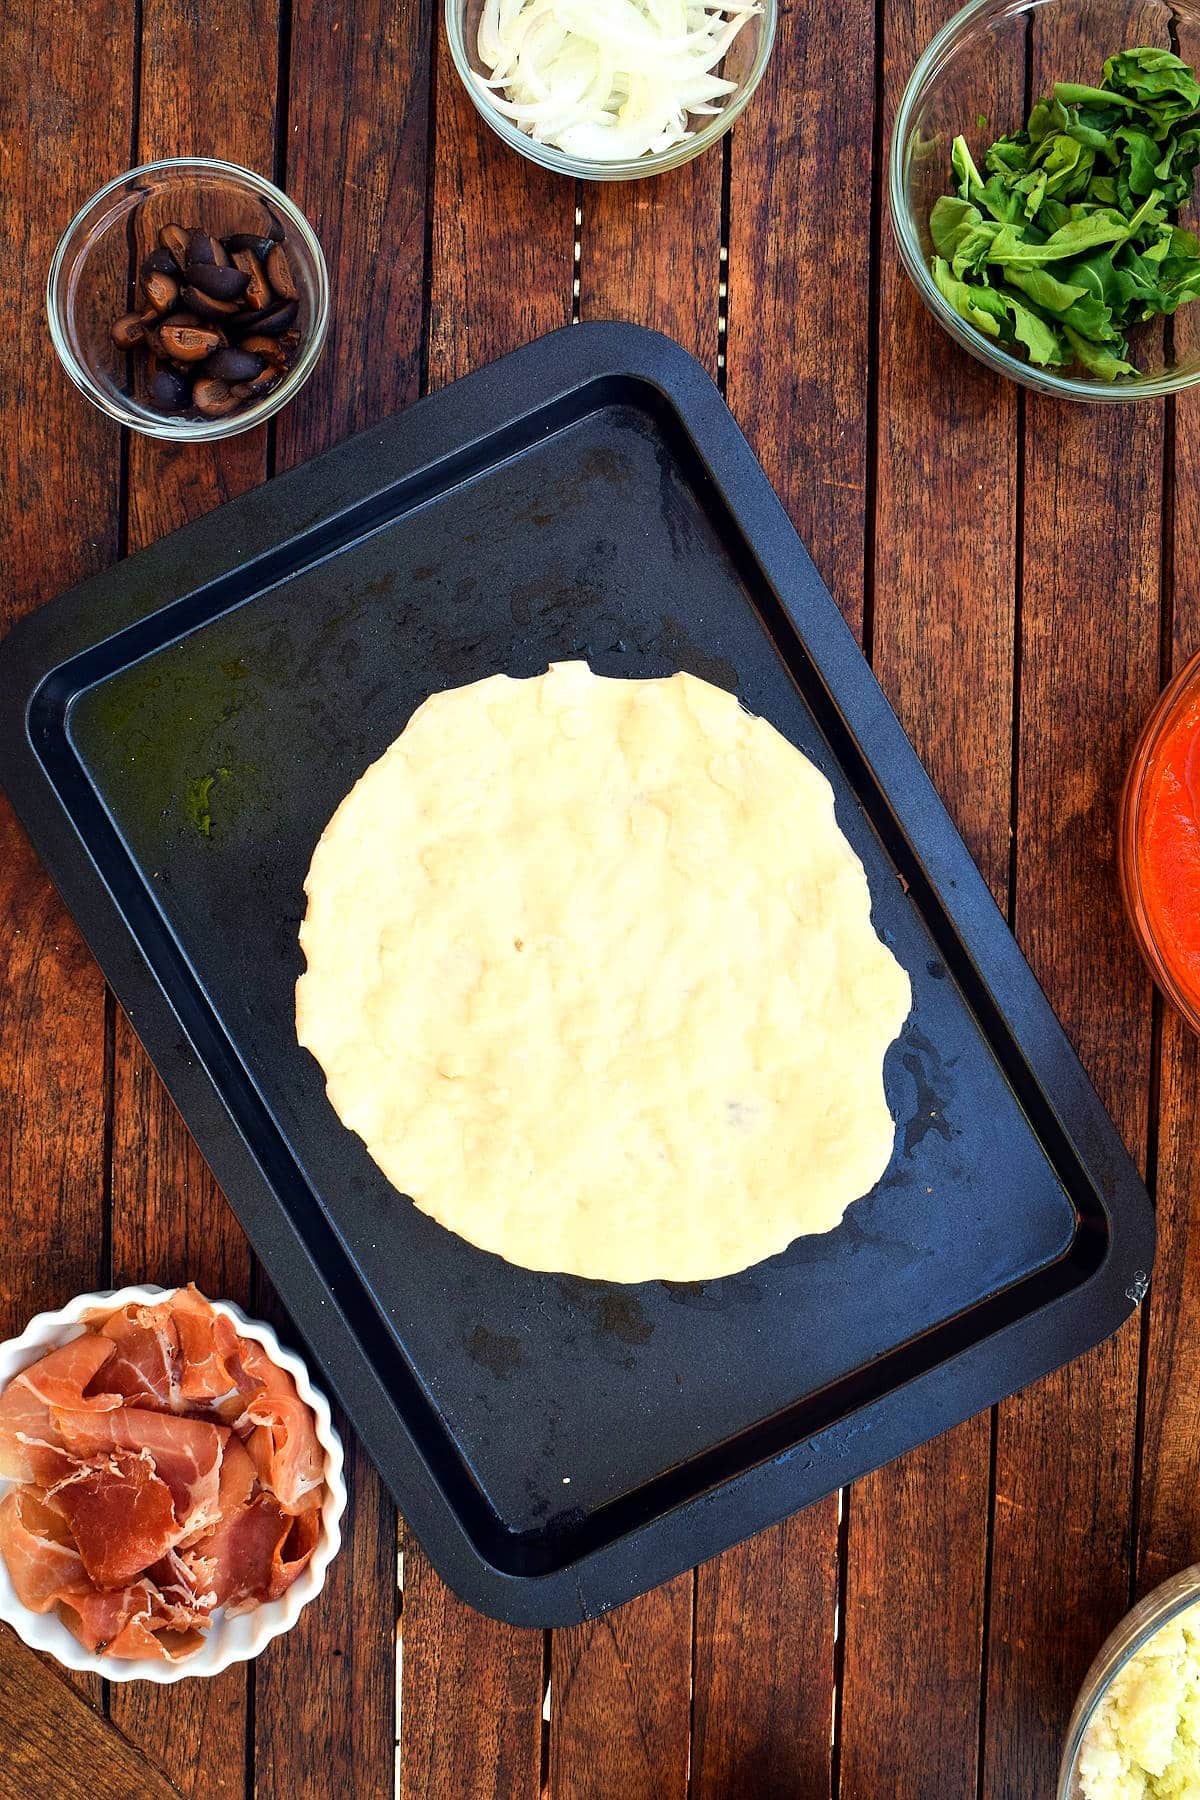
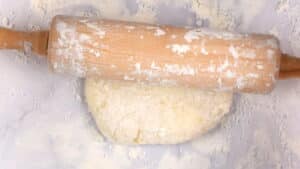
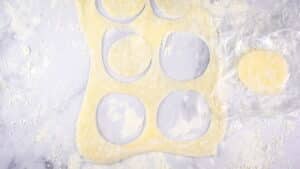
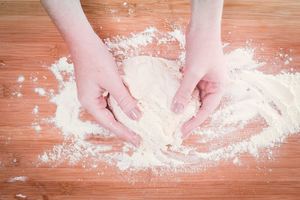
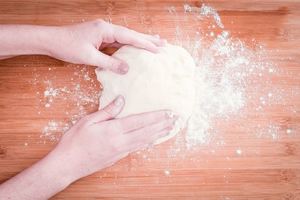
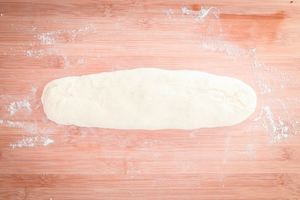
Step 1. Roll out the dough. Use a rolling pin to roll out each dough ball into an oval, dusting with flour as needed. Grease a baking sheet and add the pizza dough.
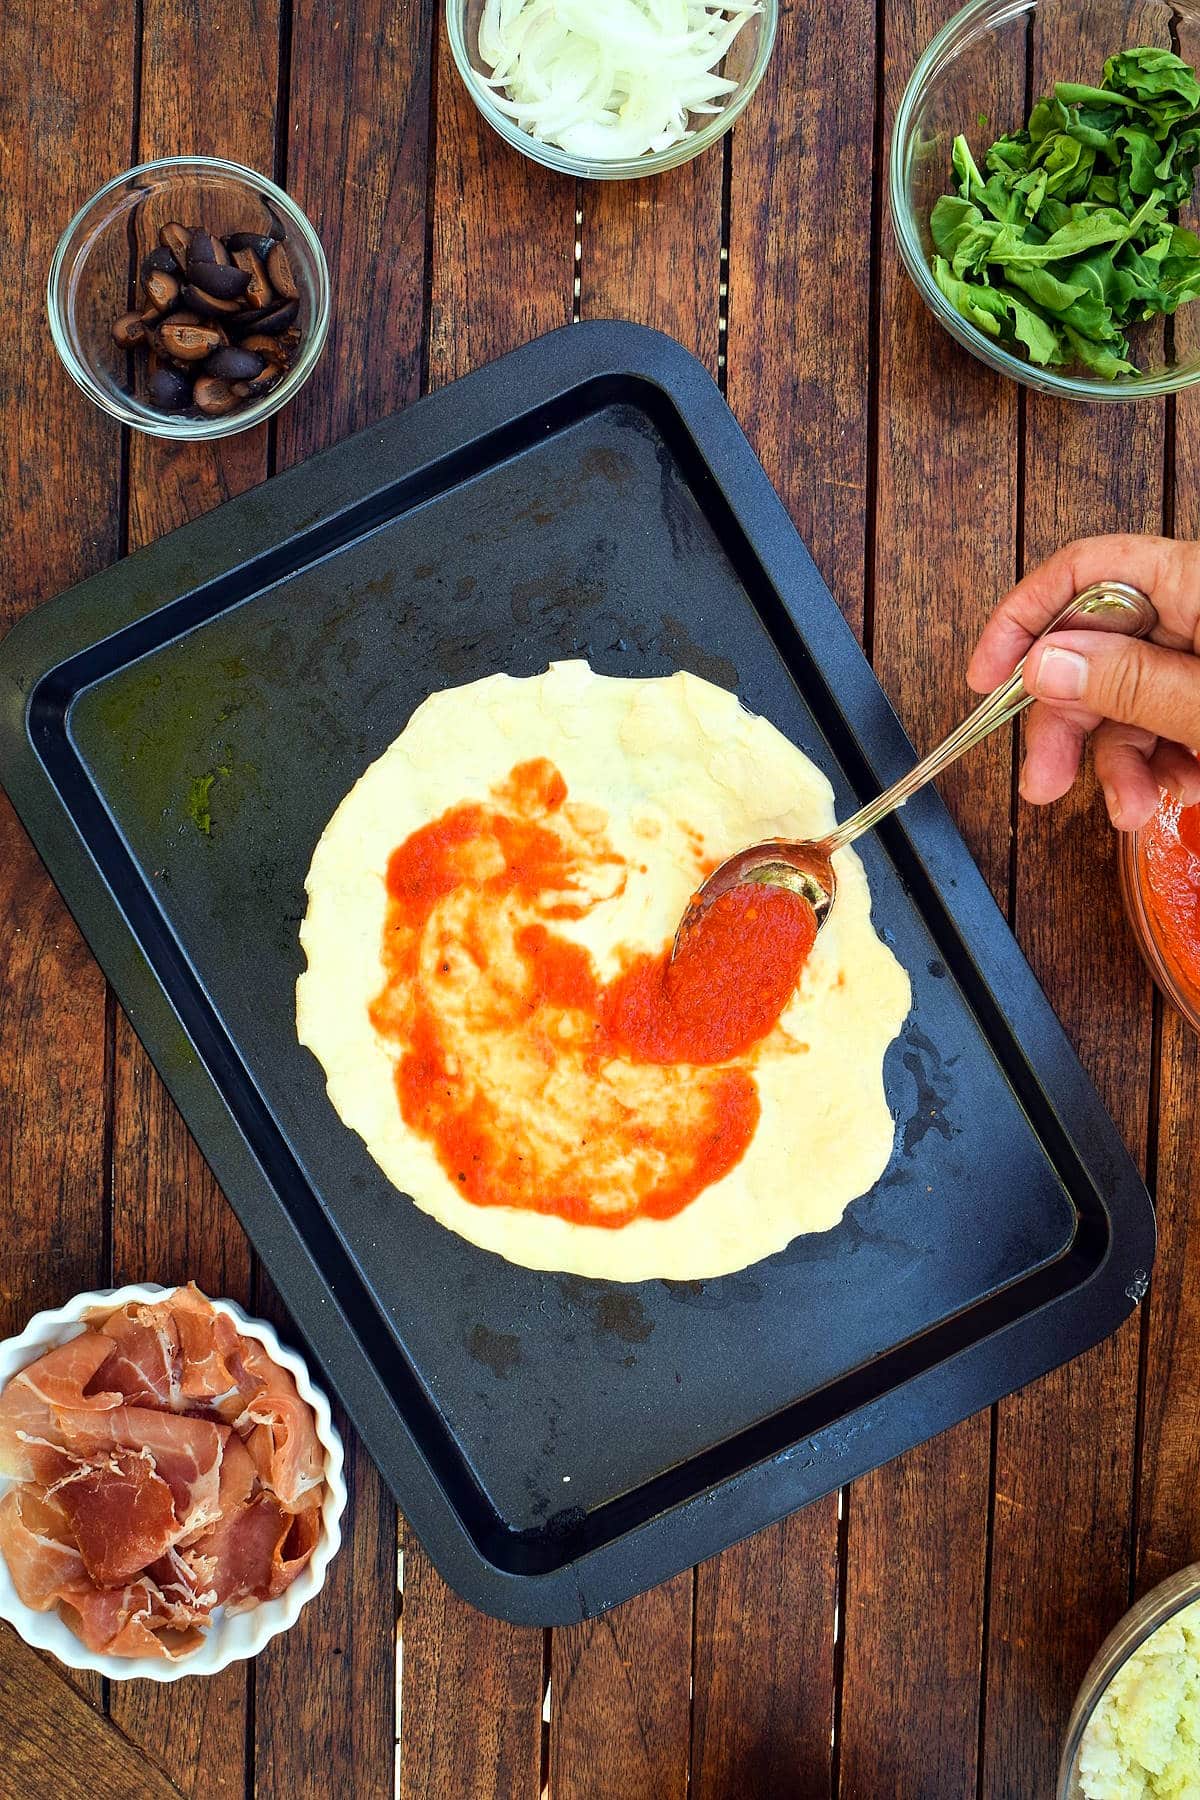
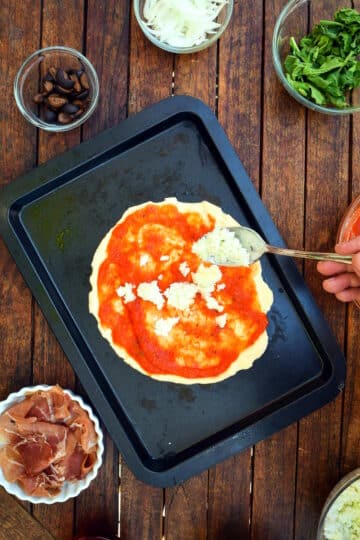
Step 2. Add pizza sauce. Spread the tomato sauce over the dough, leaving a 1" border around the outside.
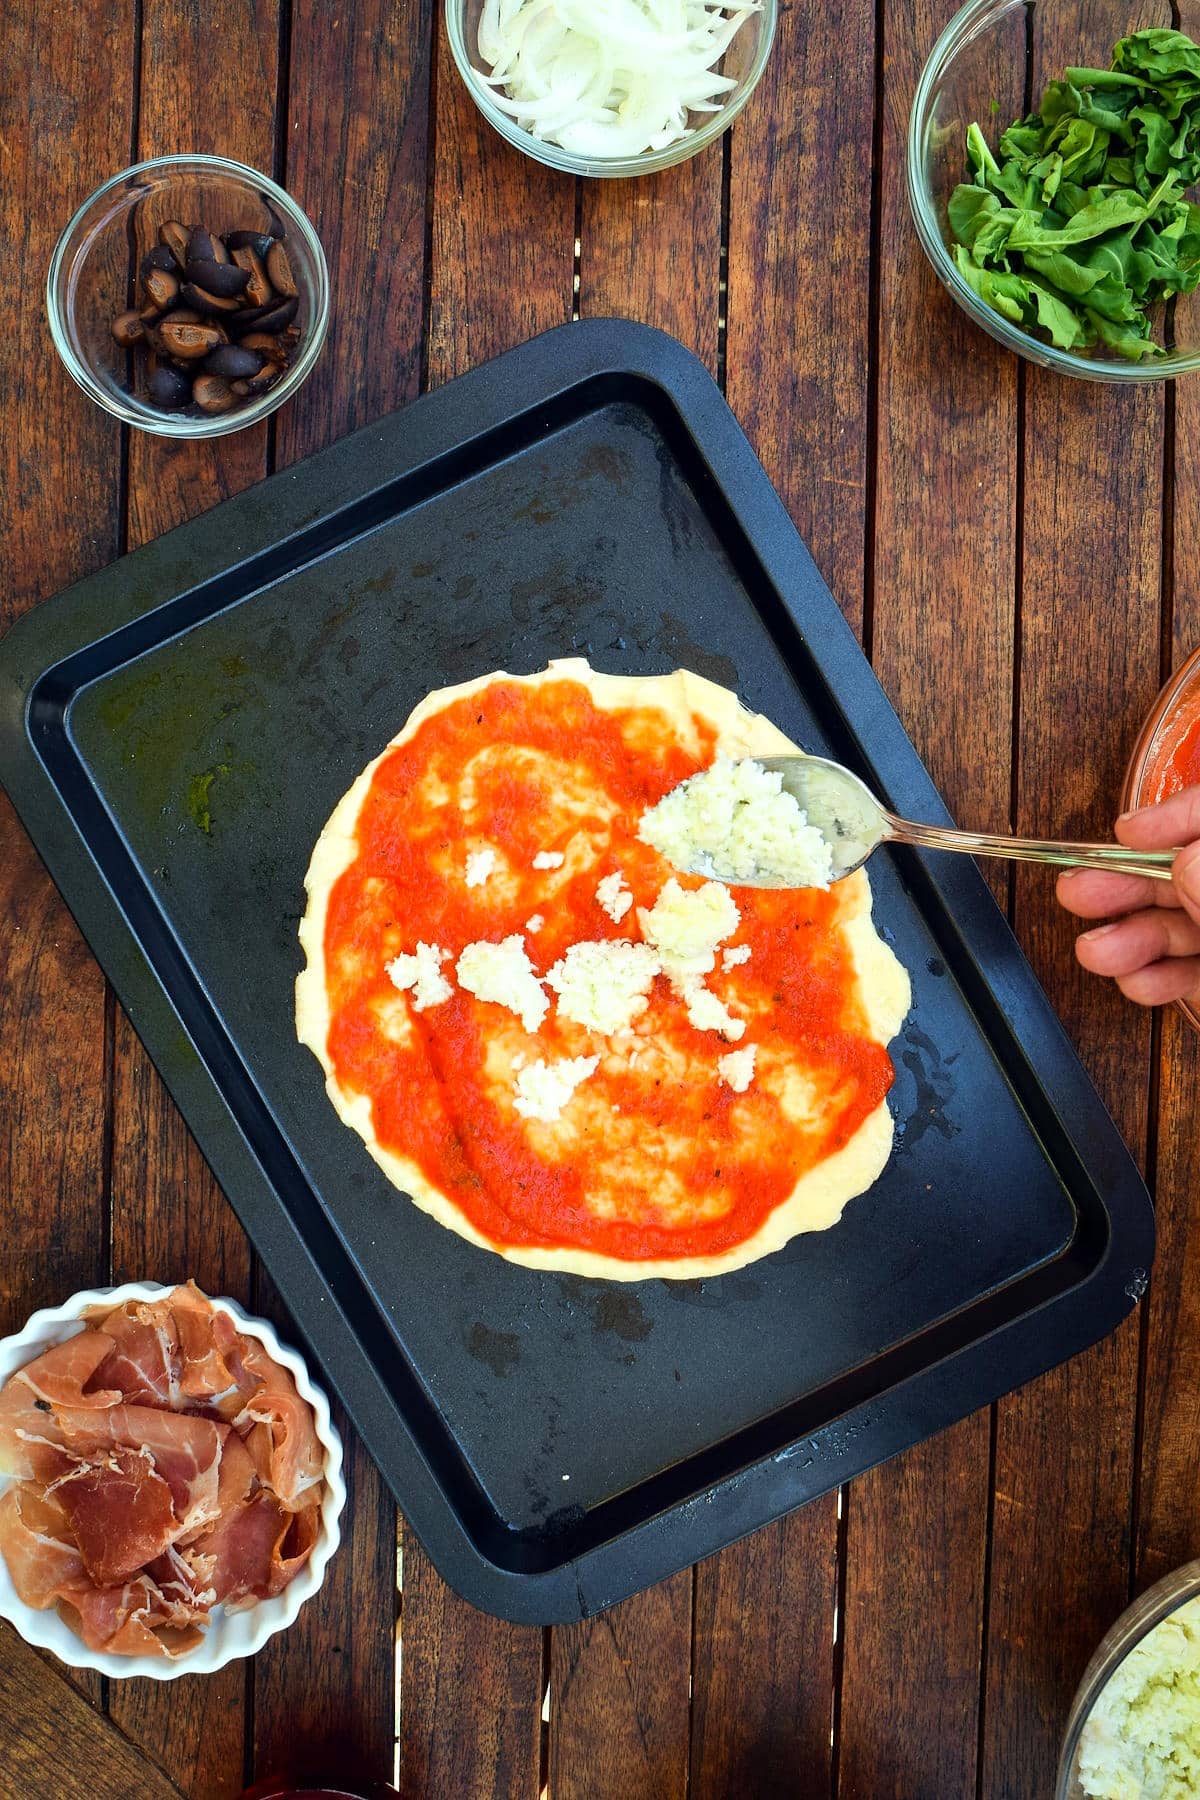
Step 3. Add cheese. Add the mozzarella cheese or whatever cheese you like to use for pizza.
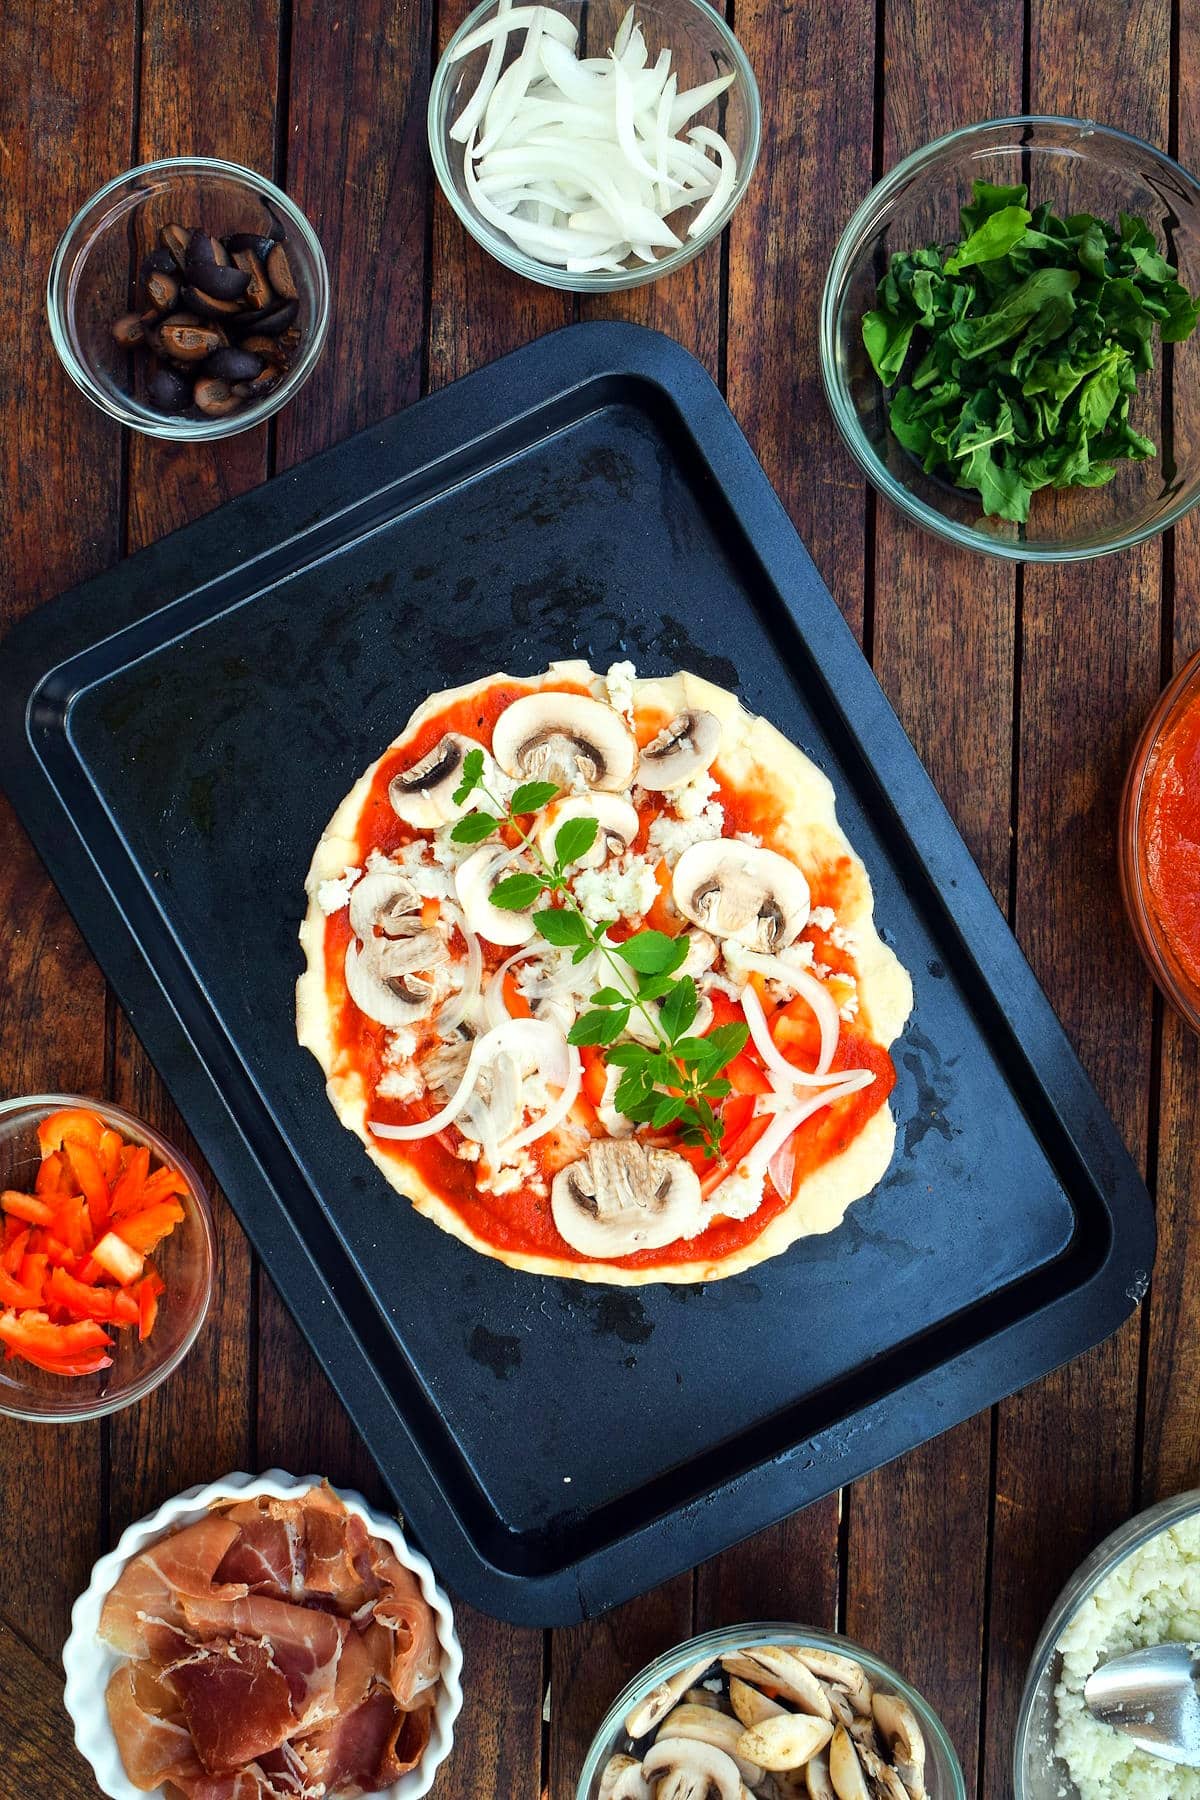
Step 4. Add the toppings. Let your guests or family add whatever toppings they like for each individual pizza.
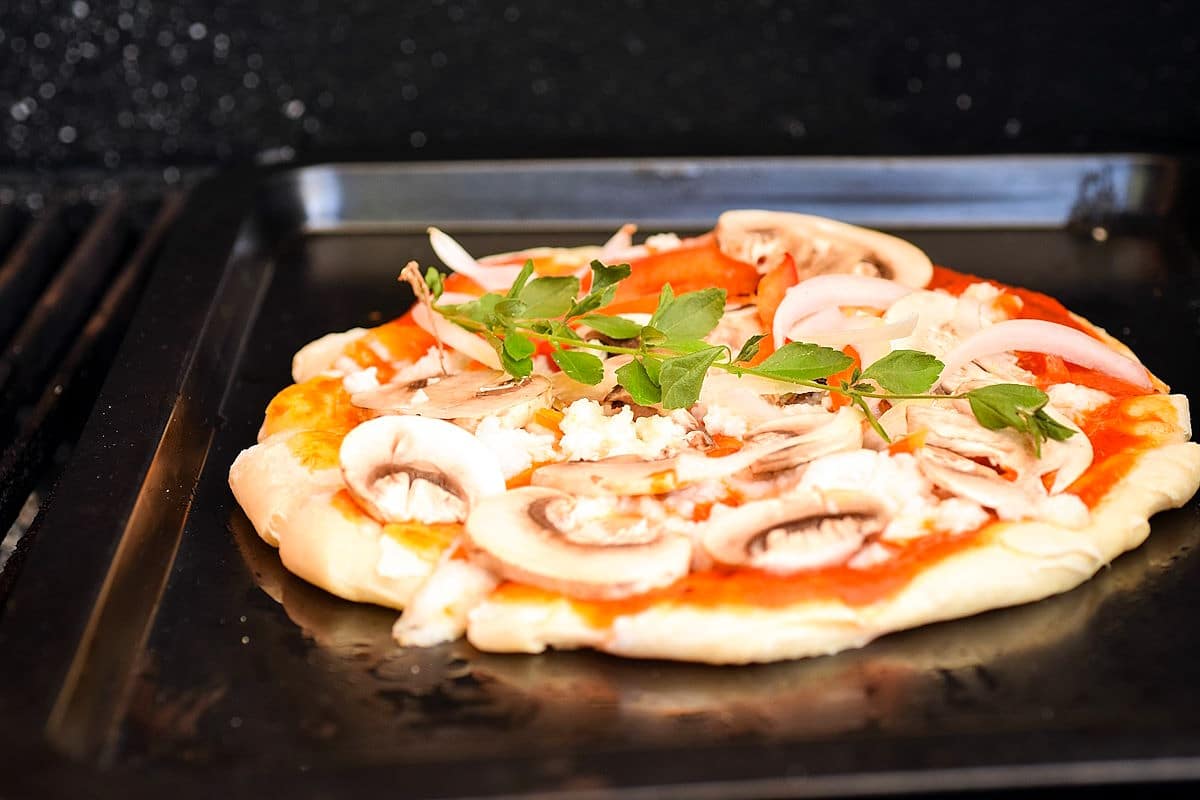
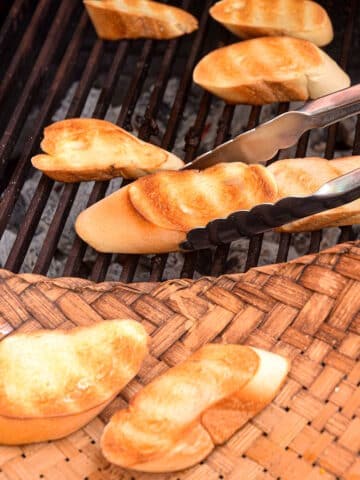
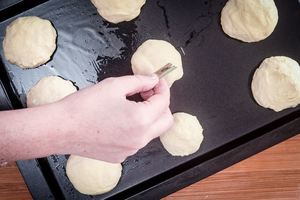
Step 5. Grill the pizza on the pan. Place the pizzas on the direct heat side of the grill (in a pan) and close the grill for 4 to 5 minutes. This will make the crust easier to transfer directly onto the grill later.
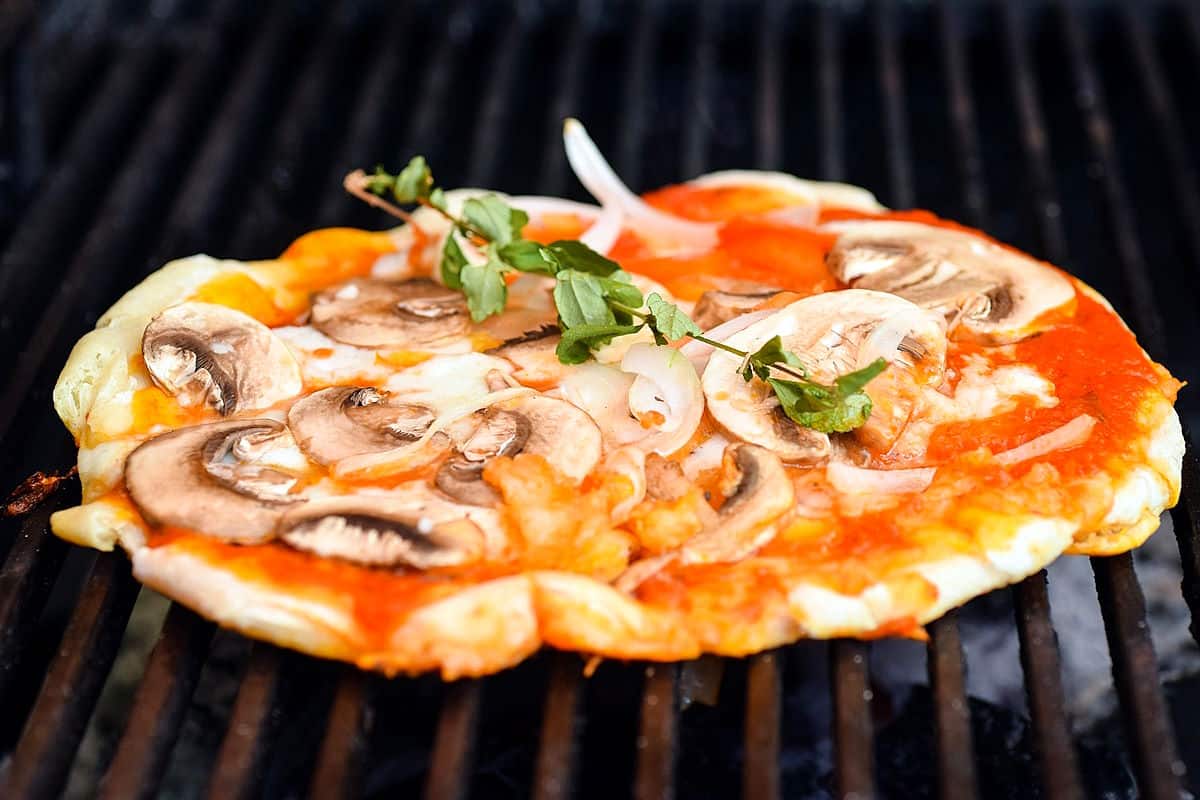
Step 6. Finish grilling over indirect heat. Now that the crust has baked a bit, place the pizzas onto the indirect heat area of the BBQ grill. Cover the grill and finish cooking until done.
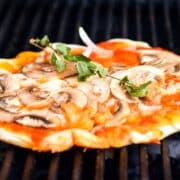
Chef's Note: The 🍕 grilled pizza is done when the cheese is melted and crust is fully cooked; slightly charred is perfectly fine. In fact, I love it like that! This will only take another 4 to 5 minutes so keep a close eye on it.
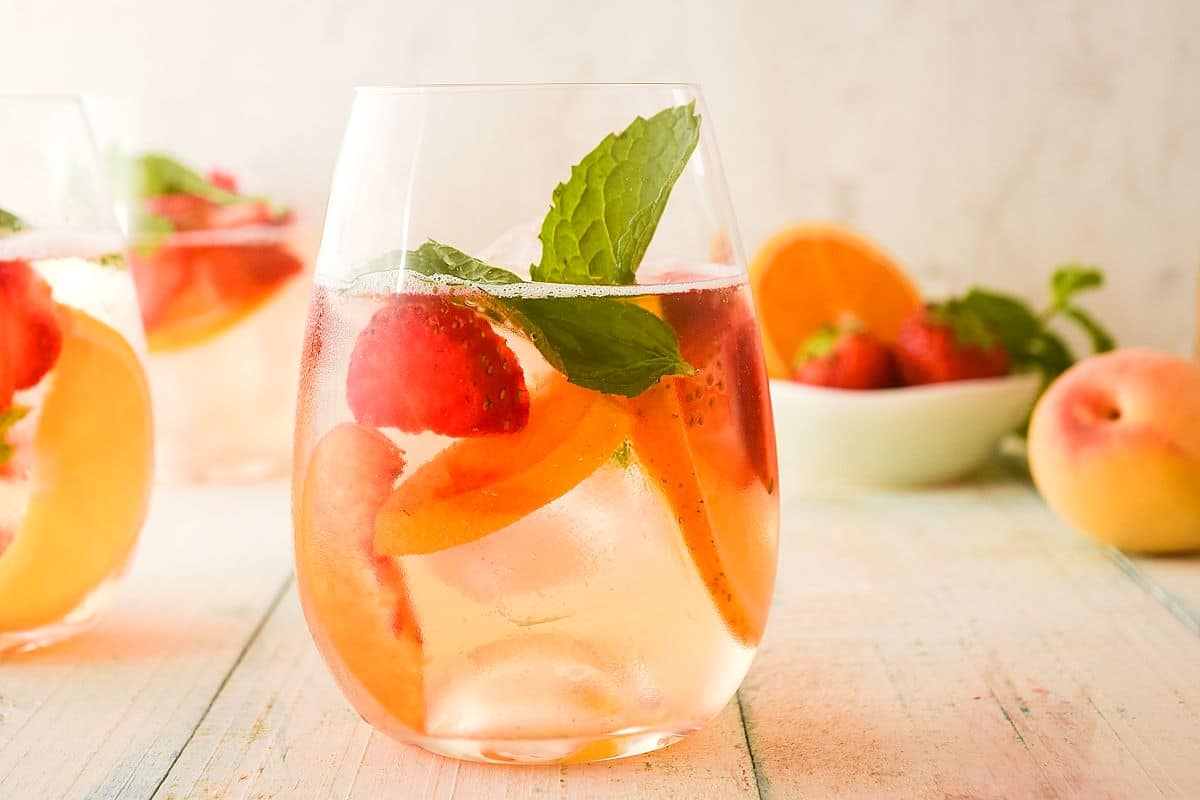
Slice, serve & enjoy! Try serving it with a good old beer, fog cutter, strawberry margarita or strawberry mojito mocktail. And now you know how to cook pizza on the grill. Simple, right? Delicious, definitely!
Joss' Tips
- These are optional toppings. You can try my topping ideas or just use your favorite.
- Adding the cheese before the toppings helps to prevent the crust from getting soggy.
- A light char is great and makes it taste like it came out of a pizza oven, but careful not to overdo it.
- Let the pizza rest for 2 minutes after grilling so that it's easier to slice without the cheese running all over the place, but don't go beyond that or the pizza will start to cool down too much.
How to Grill Pizza FAQs
For leftovers, cover and store them in the fridge for up to 4 days.
After the prep work it really only takes about 10 minutes on the grill and you have your self a deliciously smoky, home-cooked pizza.
If you use a 2-heat zone system you can grill the pizza over indirect heat which will help prevent burning. Also, keep an eye on the bottom of the pizza crust as it's cooking.
Yes, definitely. I use a mixed method of using a baking sheet or regular pizza pan and cooking the pizza directly on the grill grates.
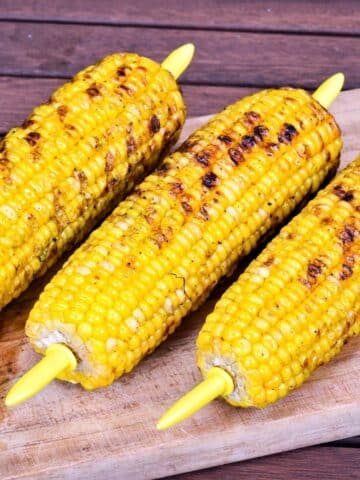
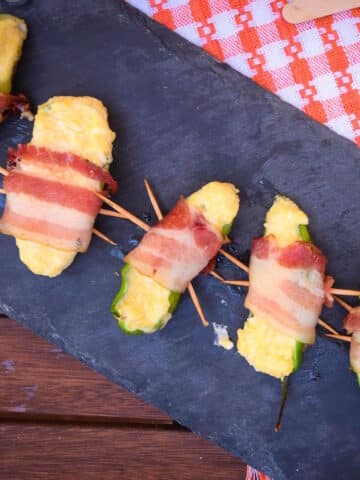
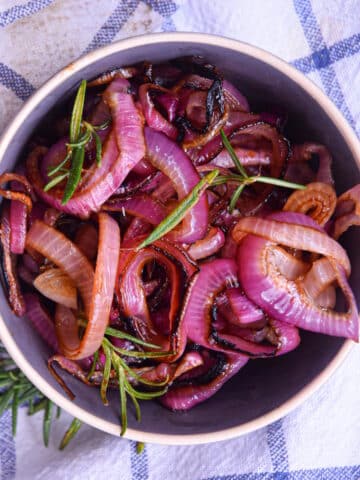
More Smoky & Delicious Grilling Tutorials

If you tried this 📋 recipe tutorial for 🍕 How to Grill Pizza or any other recipe on my website, please leave a 🌟 star rating and let me know how it went in the 📝 comments below. And please share the recipe!
📋Recipe
How to Grill Pizza
Equipment
Ingredients
- 4 individual pizza dough balls or one 12" dough ball
- 1 cup tomato sauce can use pizza sauce, spaghetti sauce or passata (use as needed)
- 3 cups mozzarella cheese grated
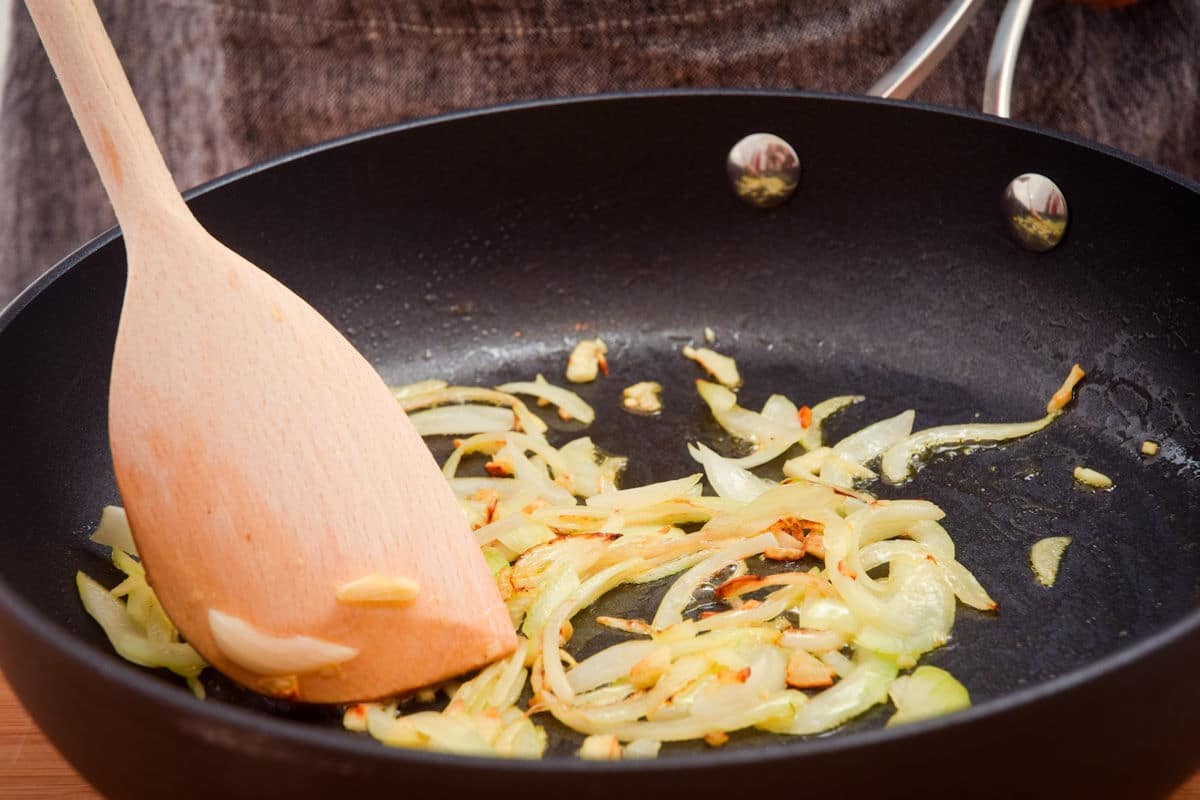
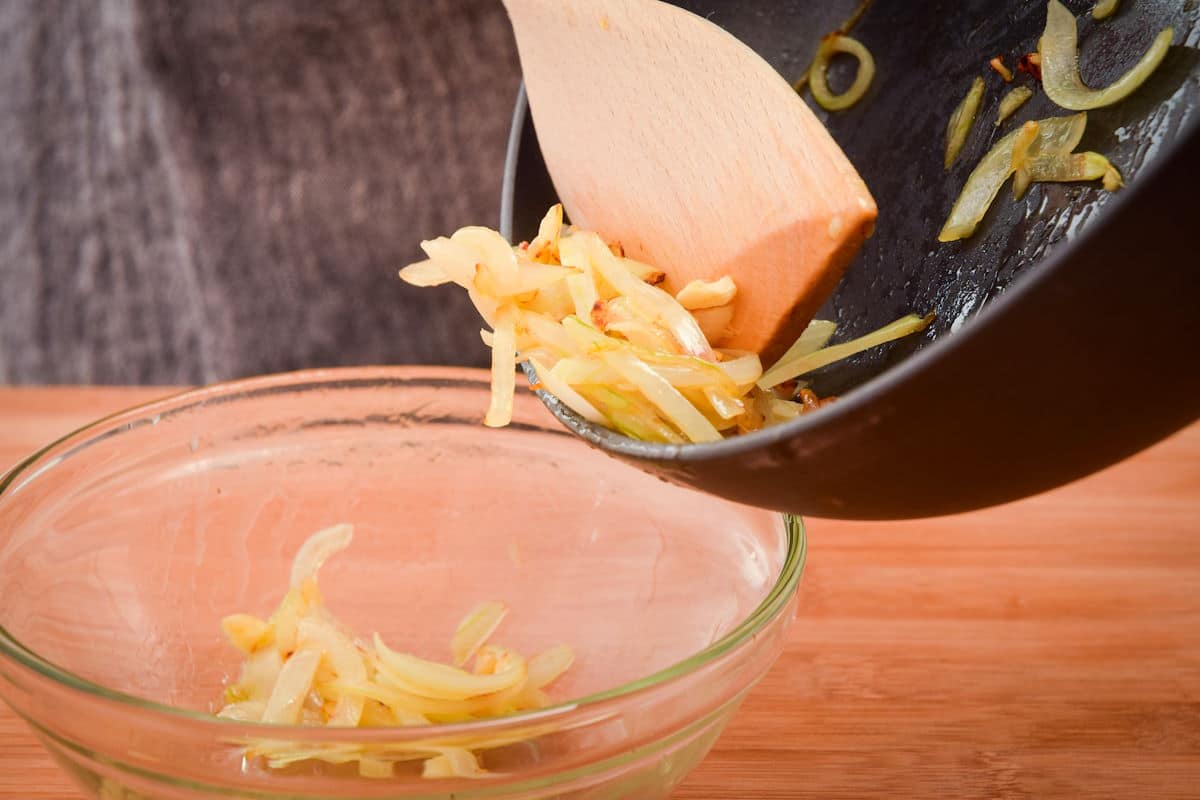
- ½ cup onion sliced
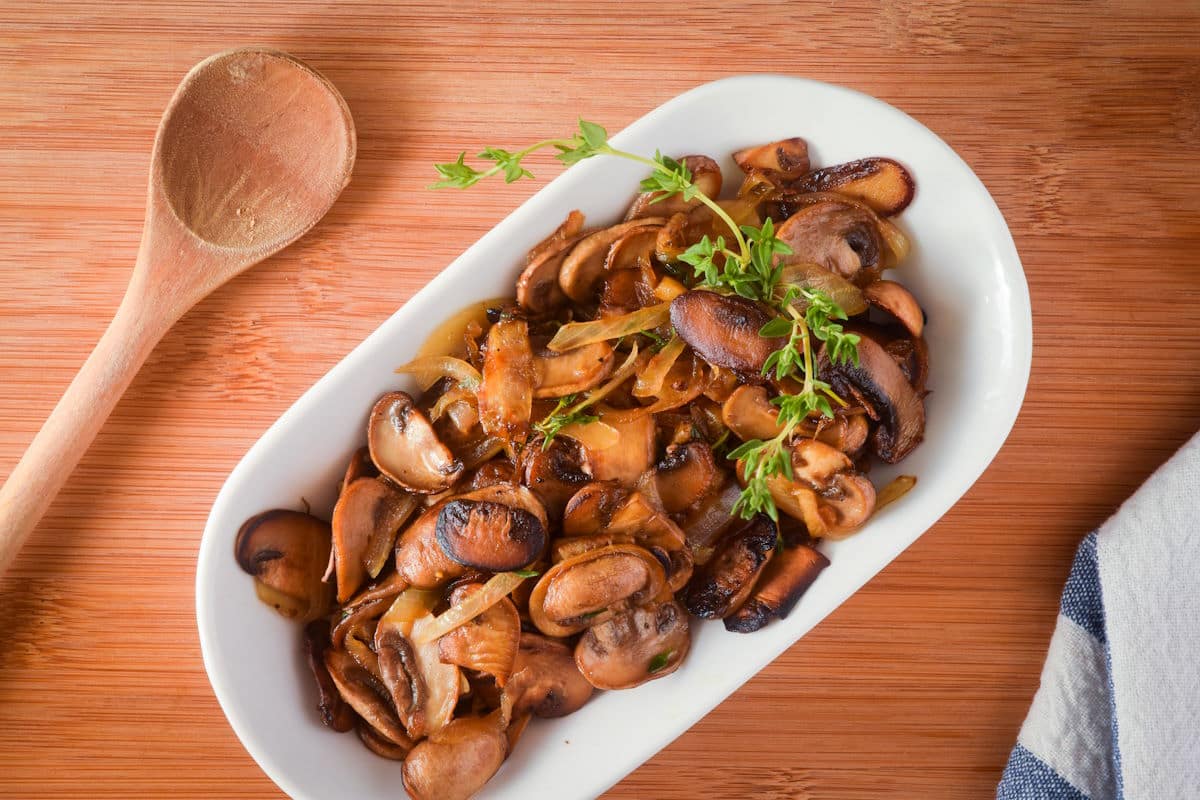
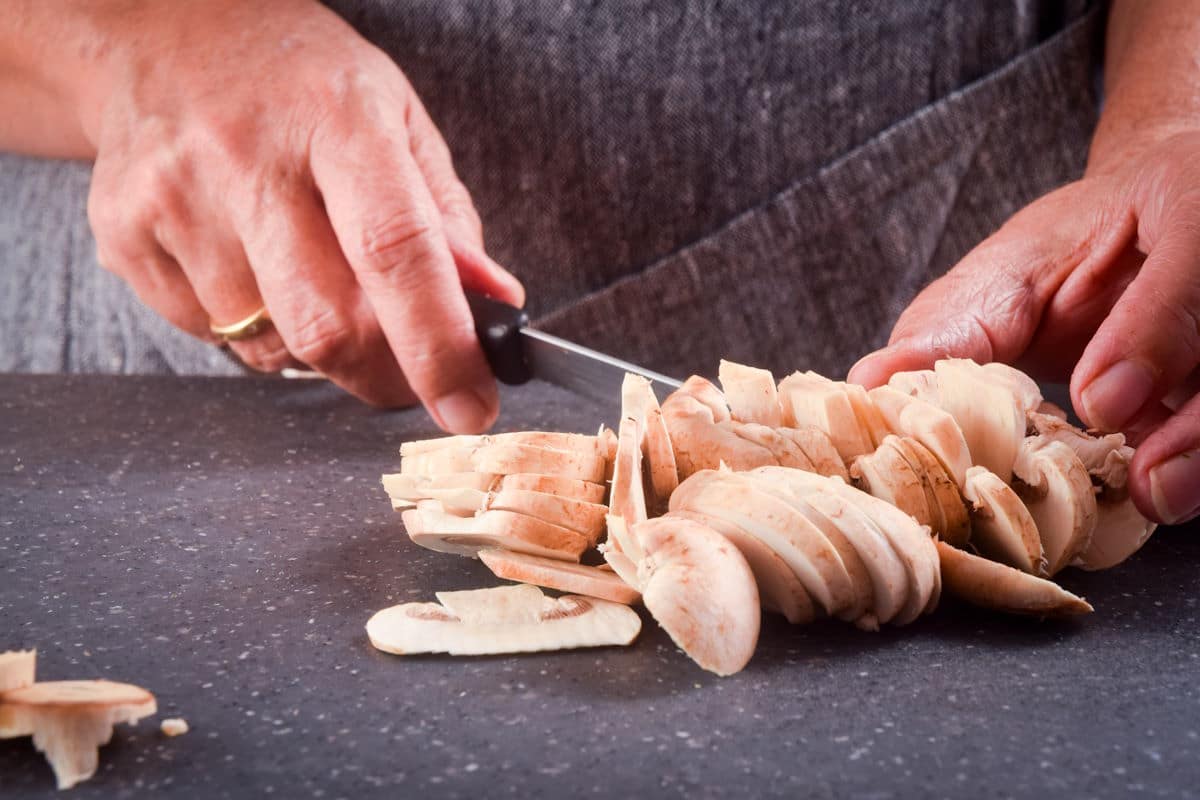
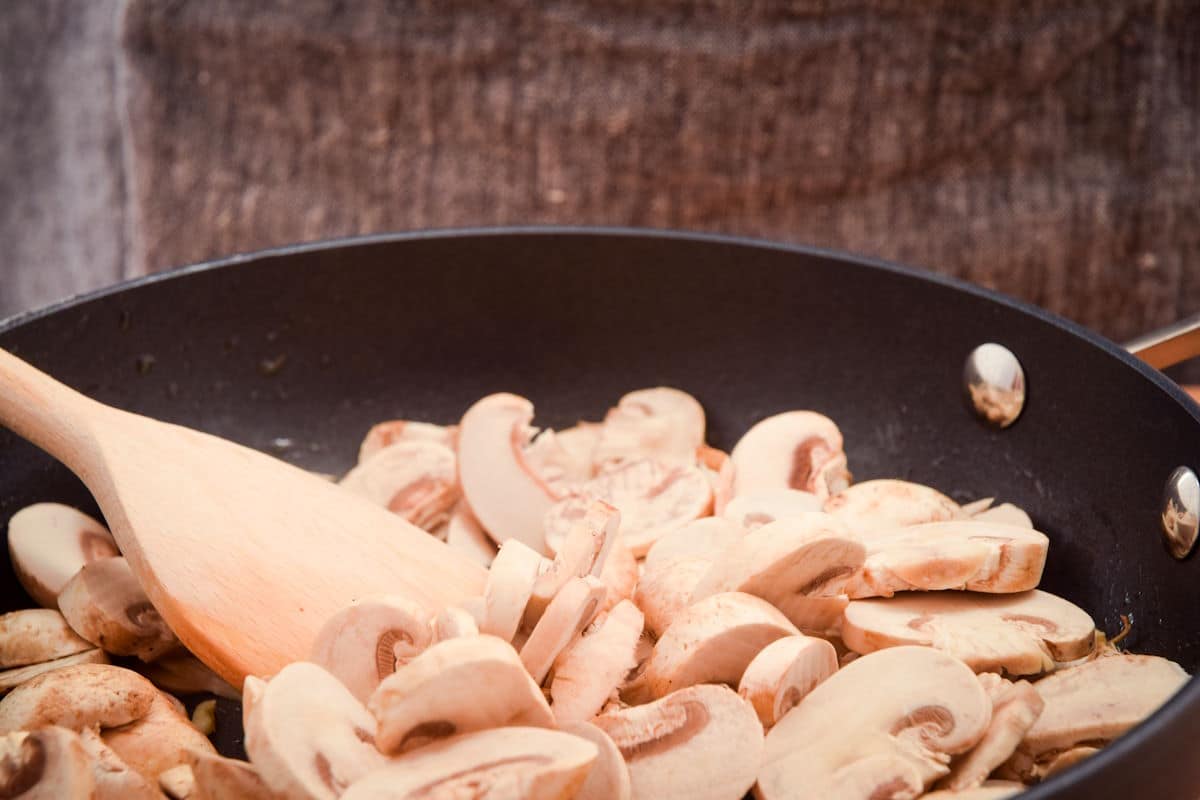
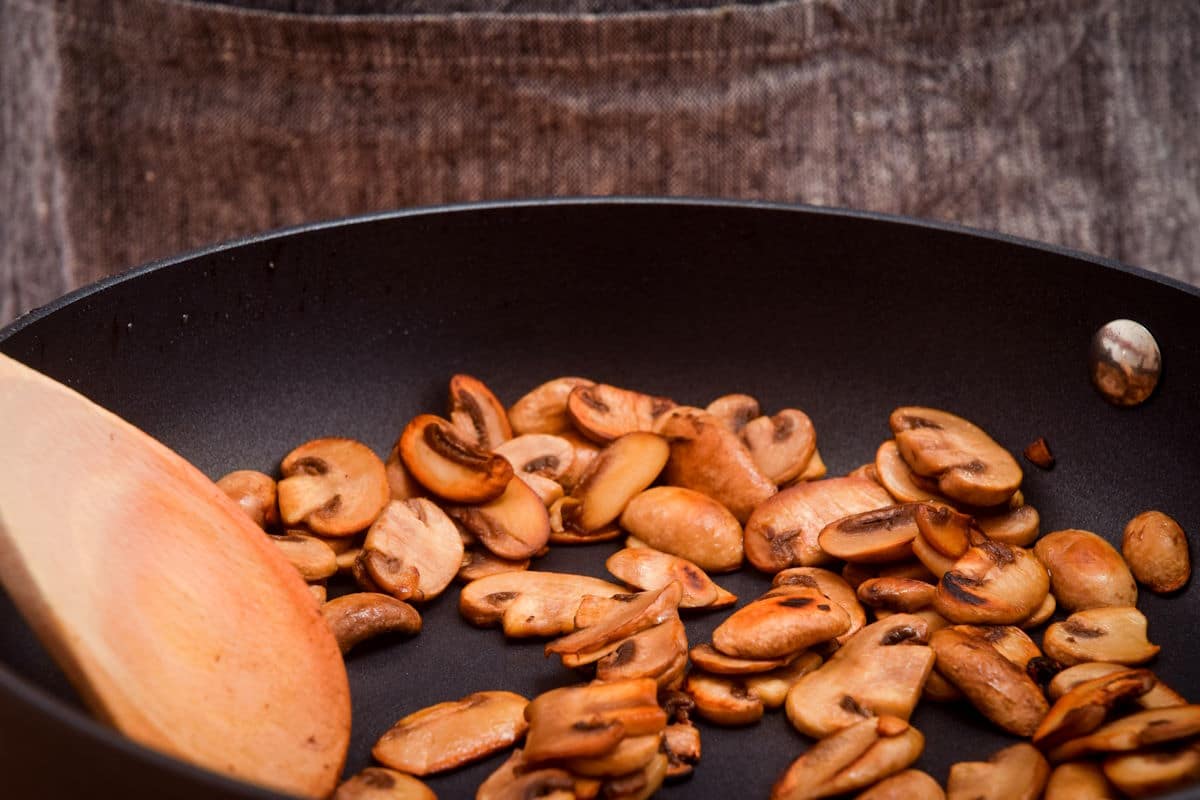
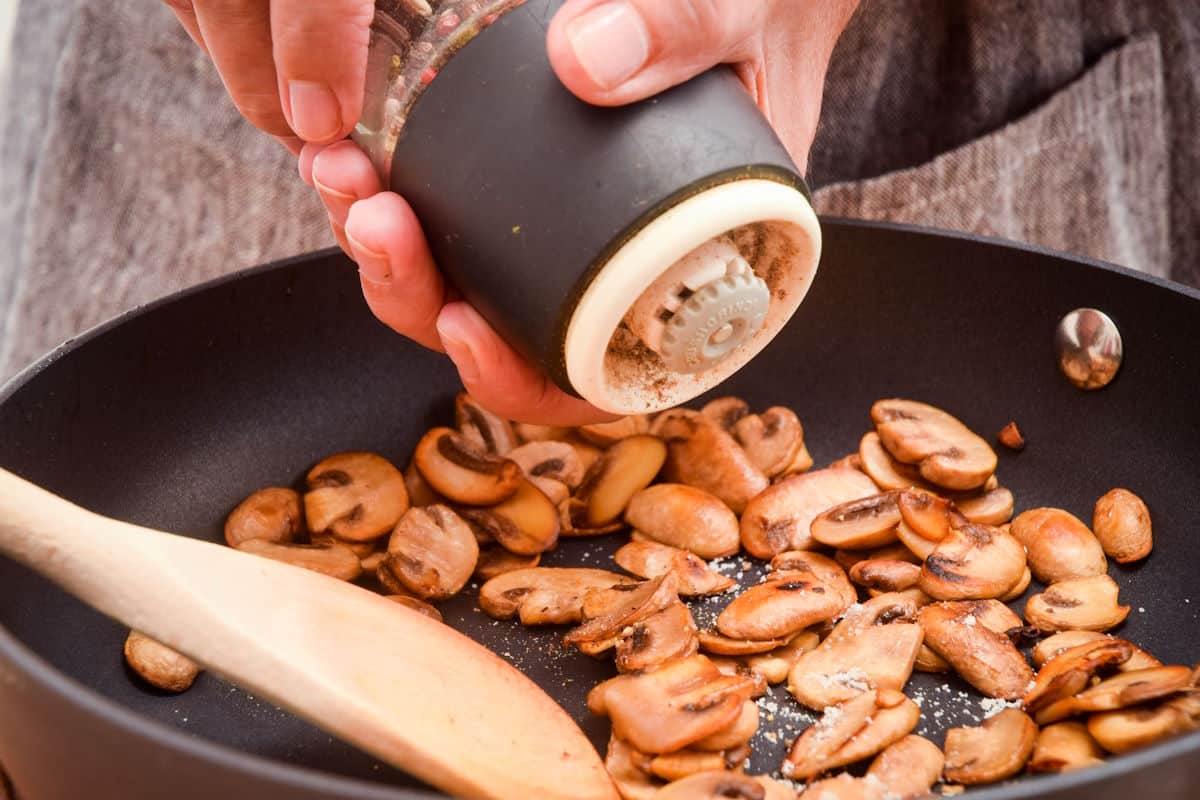
- ½ cup mushrooms sliced
- ½ cup red bell peppers sliced
- ¼ cup black olives sliced
- ½ cup arugula
- 6-8 slices prosciutto
- fresh basil and oregano optional
Instructions
- Use a rolling pin to roll out each dough ball into an oval, dusting with flour as needed. Grease a baking sheet and place the pizza dough on top.

- Spread the tomato sauce over the dough, leaving a 1" border around the outside.

- Add the mozzarella cheese.
- Let your guests or family add whatever toppings they like for each individual pizza. I included what I used in the ingredient list.

- Heat the grill to high heat.For gas grill: Light all of the burners to preheat the grill. Then, turn off half of the burners for an indirect and direct heat source.For charcoal grill: Using long tongs, move all of the charcoal to cover only ½ of the grill. Doing this will give you a direct and indirect heat source.
- Place the pizzas on the direct heat side of the grill (in the pan) and close the grill for 4 to 5 minutes. This will make the crust easier to transfer directly onto the grill later.

- Now that the crust has baked a bit, place the pizzas onto the indirect heat area of the BBQ grill (without the pan). This would be the area where there is no flame directly below the pizza. Cover the grill and finish cooking until done, when the cheese is melted and crust is fully cooked; slightly charred is perfectly fine (this will only take another 4 to 5 minutes so keep a close eye on it).

- Slice, serve & enjoy!

Notes
- Storage: For leftovers, cover and store them in the fridge for up to 4 days.
- Note on Toppings: These are optional toppings. You can try my topping ideas or just use your favorite. Topping amounts will vary depending on how big your pizza is and personal preference. The amounts here are just a reference.
- Resting Time: Let the pizza rest for 2 minutes so that it's easier to slice without the cheese running all over the place.
- Char: A light char is great and makes it taste like it came out of a pizza oven, but careful not to overdo it.
- Prevent Soggy Crust: Adding the cheese before the toppings helps to prevent the crust from getting soggy.