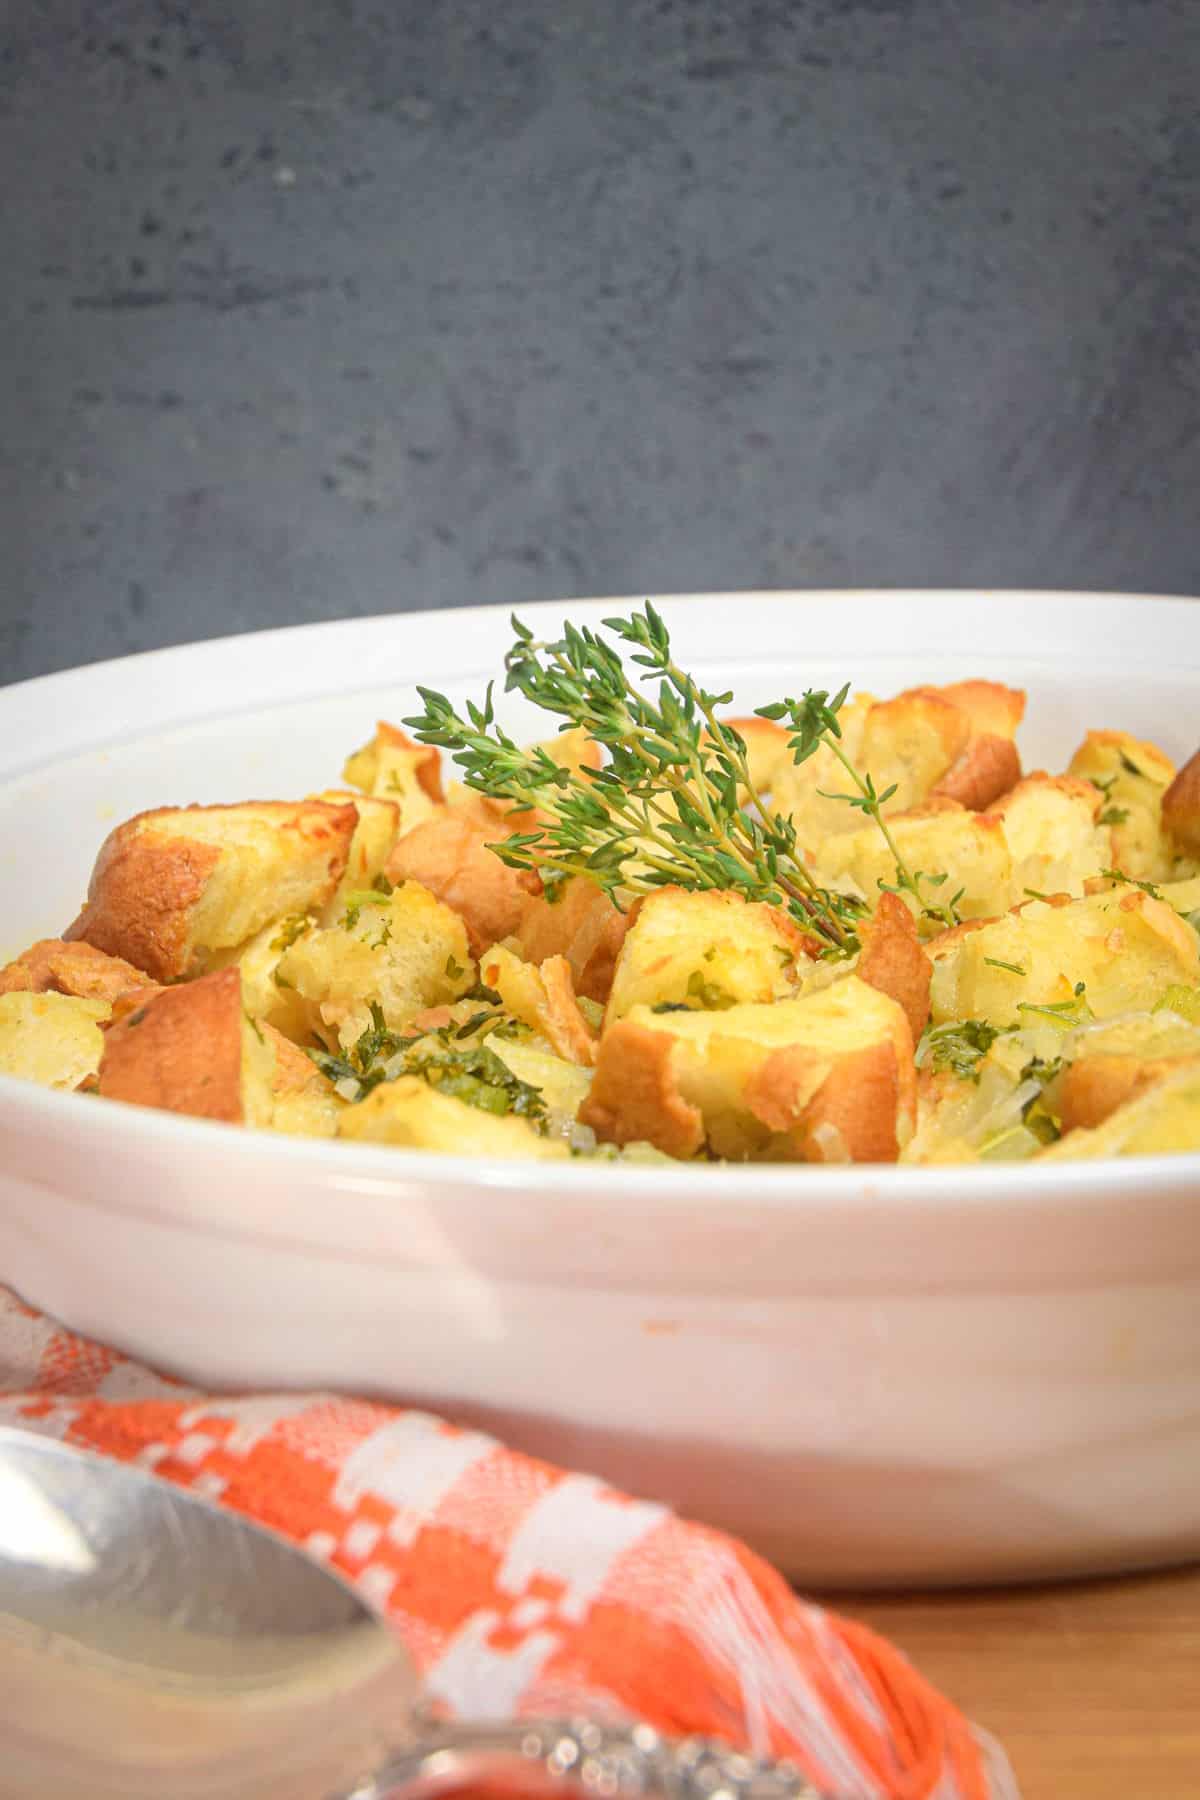
Stuffing is a tasty side dish that completes that holiday turkey dinner. It can be served inside of a whole chicken and turkey or as a side dish (dressing). In this particular recipe I will be showing you how to make stuffing from scratch, for Thanksgiving and more.
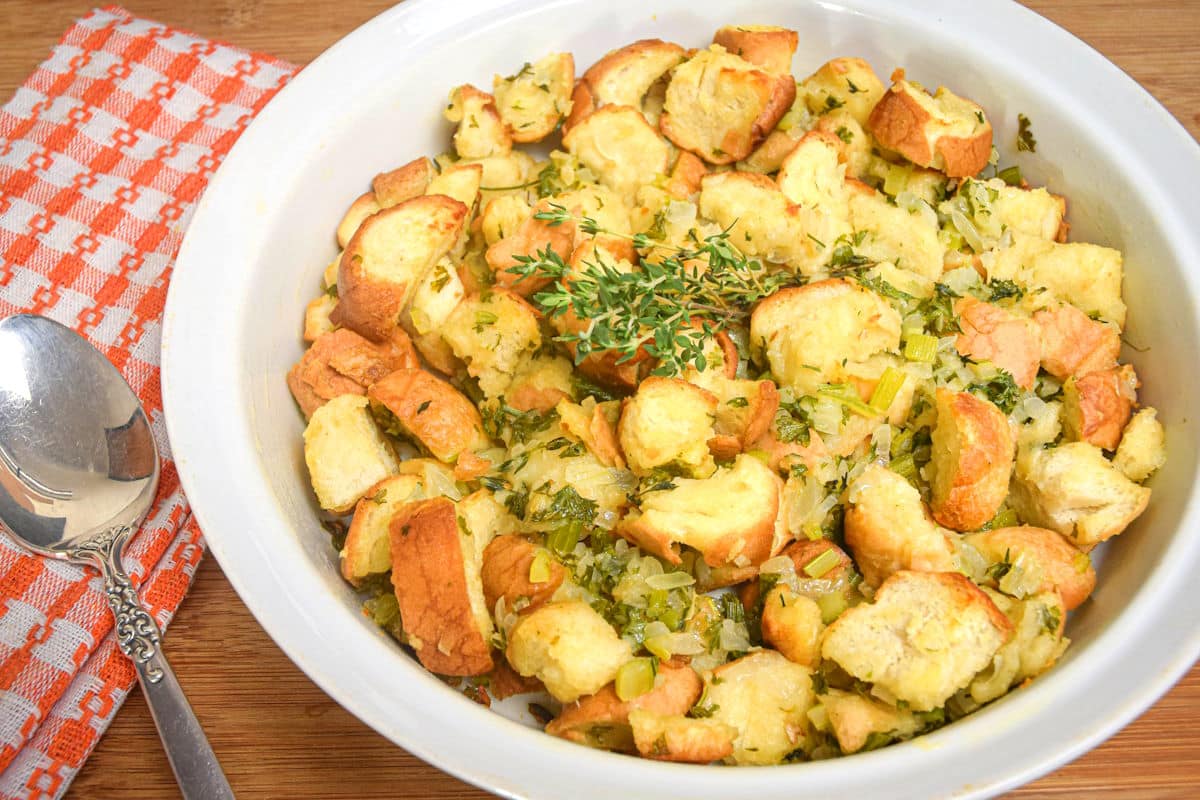
It's baked in a casserole dish, my preferred way of enjoying it, plus additional instructions for baking it in a turkey or chicken.
[feast_advanced_jump_to]A Thanksgiving Tradition
As a Thanksgiving tradition, people look forward to homemade stuffing from old family recipes. If you don't know how to make turkey stuffing from scratch, surprise your family and guests with this old-fashioned, moist bread stuffing or start a traditional family recipe of your own.
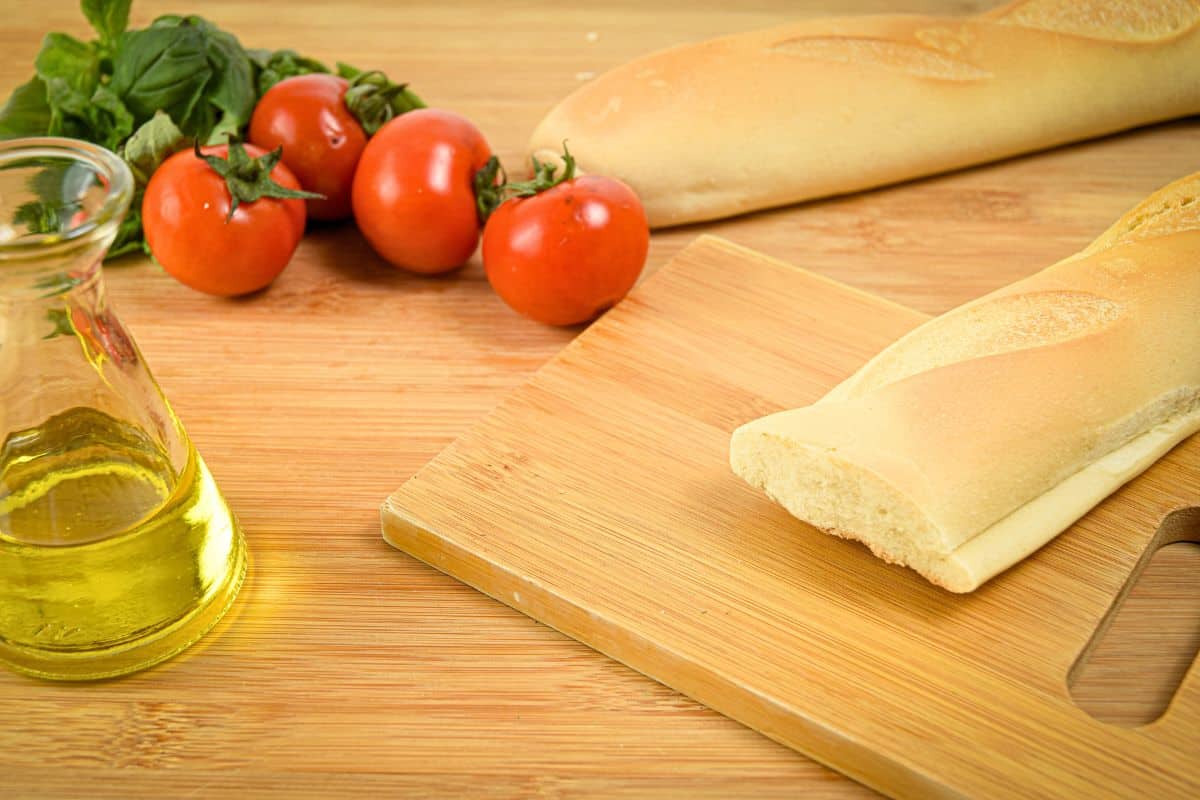
In reality, making your own homemade stuffing is relatively simple and enjoyable to make. The basic ingredients you need are bread cubes, stock and herbs. The bread cubes are also found packaged as "croutons" or you can simply dry out your own bread.
You can even prepare the mixture ahead of time and store in an airtight container in the refrigerator for up to 3 days before cooking.
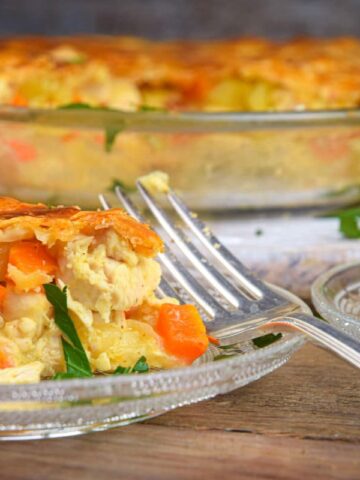
I also love to serve this savory pumpkin galette side dish, crispy stuffed button mushrooms for an appetizer and clear pie for dessert!
Check out more traditional and new Thanksgiving recipes here. Let's get started!
Dressing Vs. Stuffing
There tends to be some confusion as to whether to call this classic bread mixture 'stuffing' or 'dressing'. The two terms tend to be used interchangeably and we've always called it stuffing in my household, however it was baked. But here are the technical terms:
Dressing: When cooking outside of the poultry, this is technically called a dressing.
Stuffing: Whereas stuffing is a food mixture stuffed inside of another piece of food before cooking.
Stuffing Ingredients

- stale bread - If you don't have stale bread, check out how to dry out the bread below.
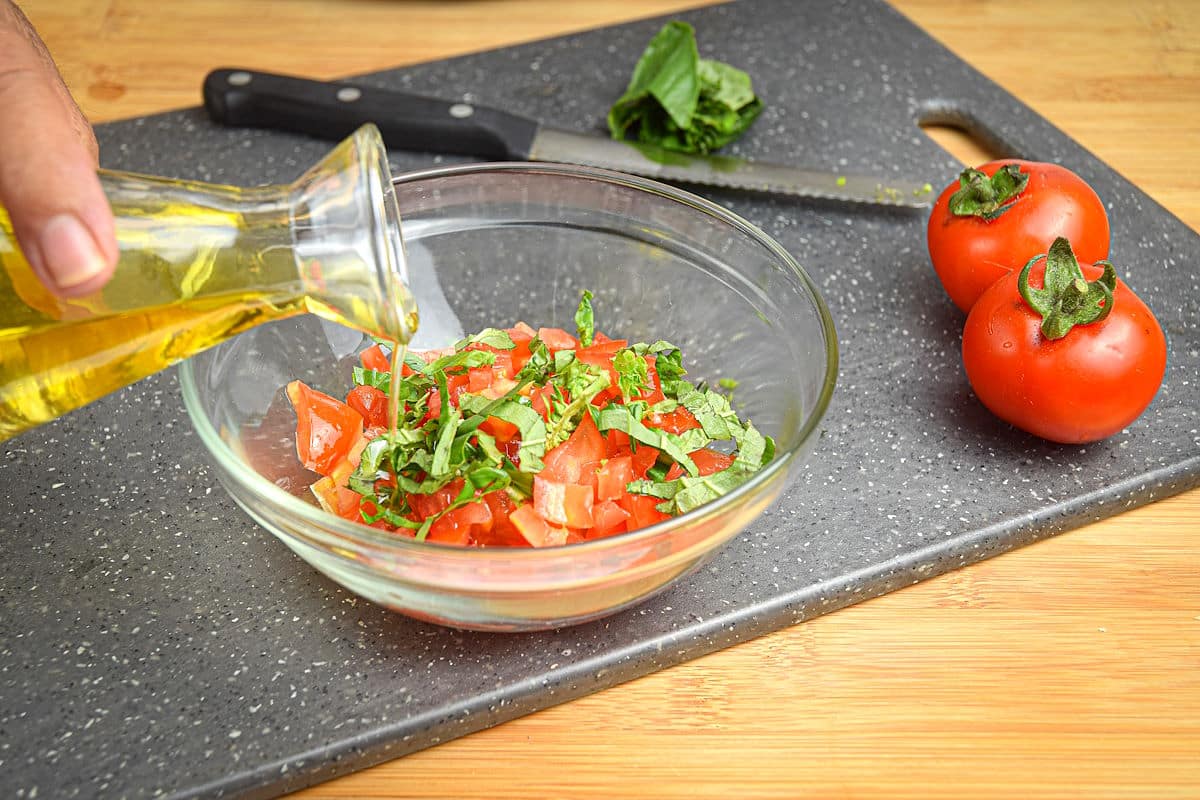
- fresh herbs - Parsley, thyme, rosemary and sage. To give your recipe more flavor you may wish to add a clove of minced garlic to your mixture and/or other herbs you love to cook with.
- broth - You can use chicken or vegetable.
- celery stalks - To enhance the flavor and texture of the stuffing. It provides a nice crunch that contrasts with the softer ingredients.
- onion - I use yellow onion for stuffing.
*Check recipe card for ingredient amounts.
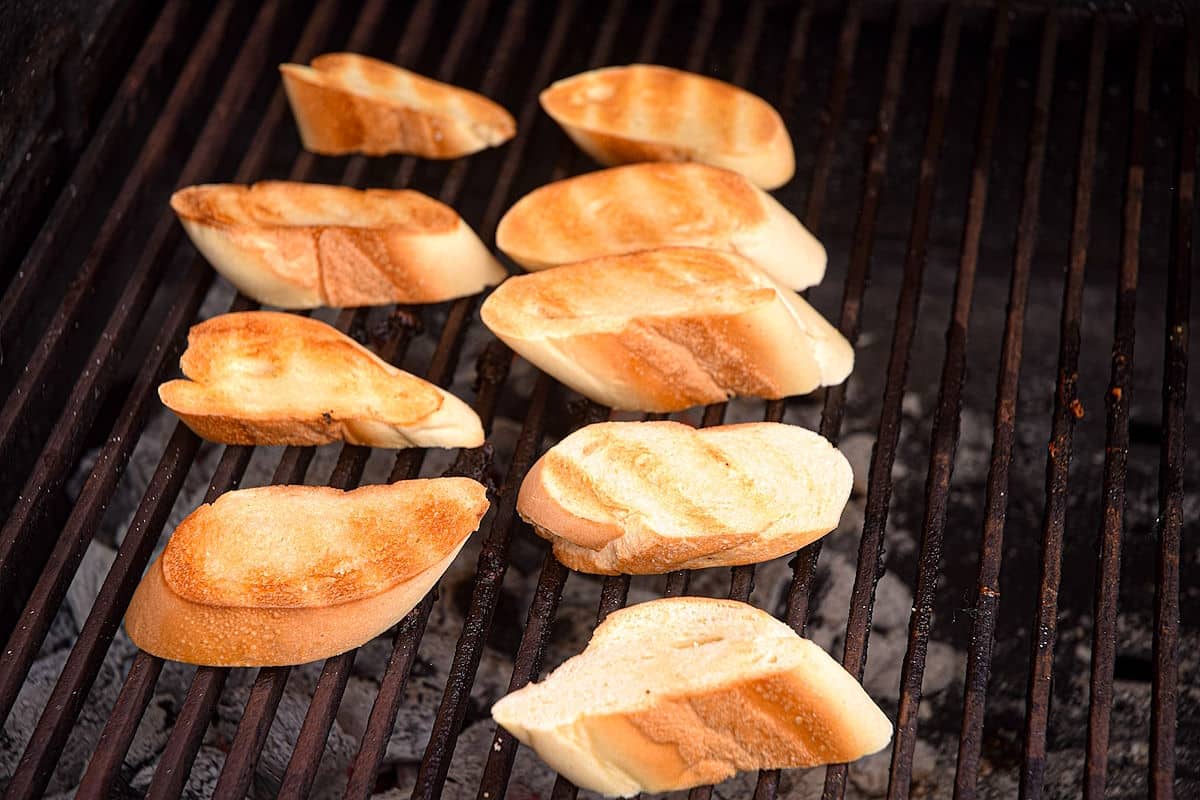
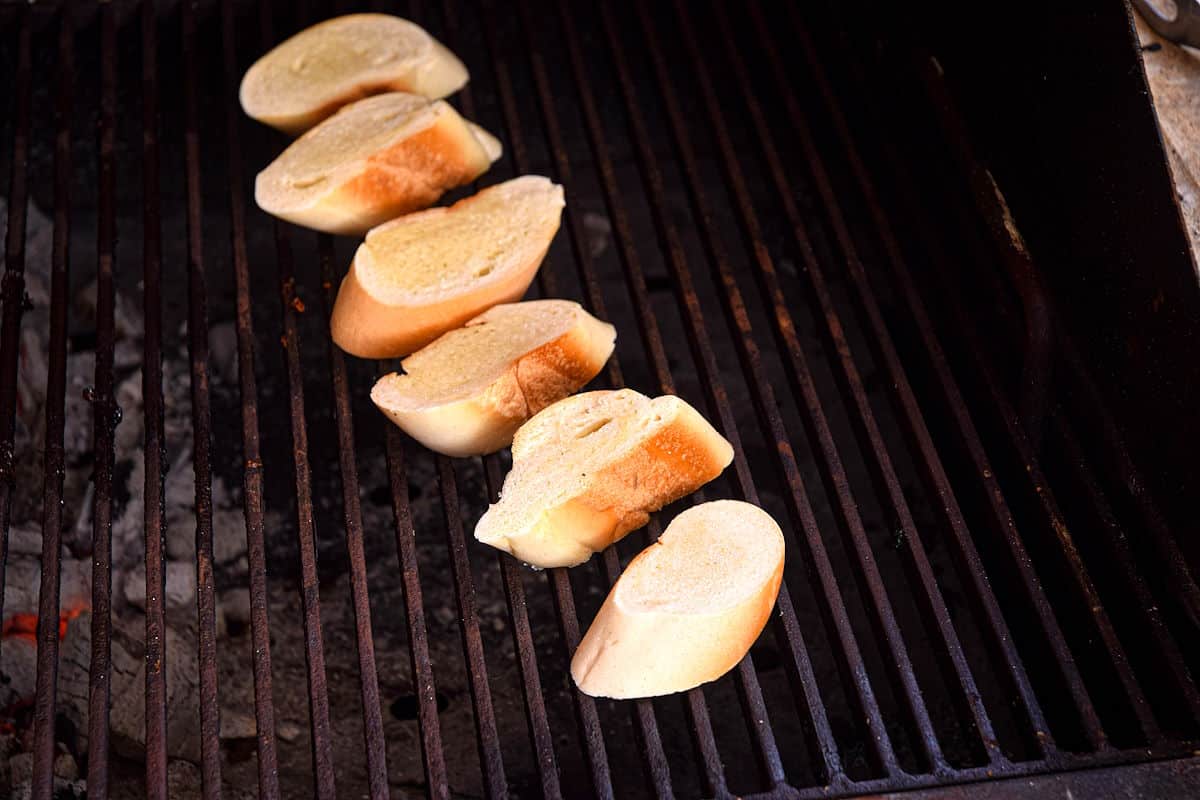
Drying the Bread Cubes
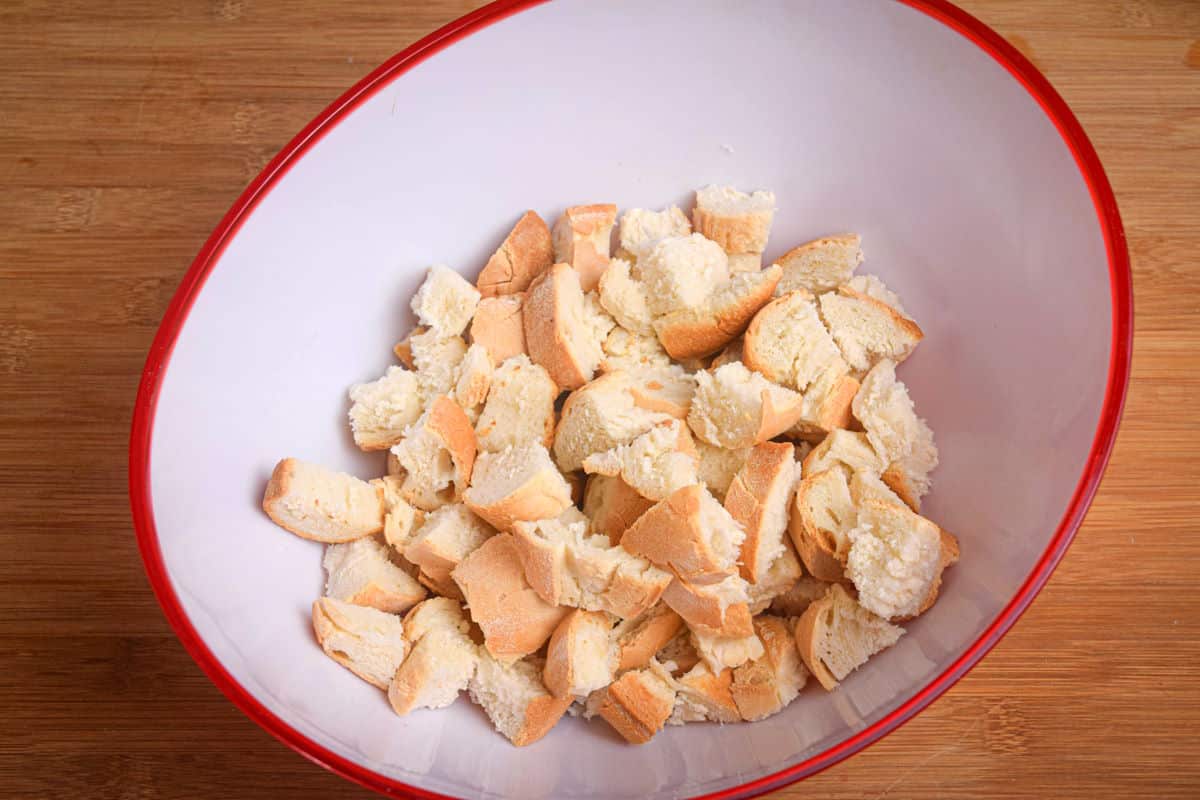
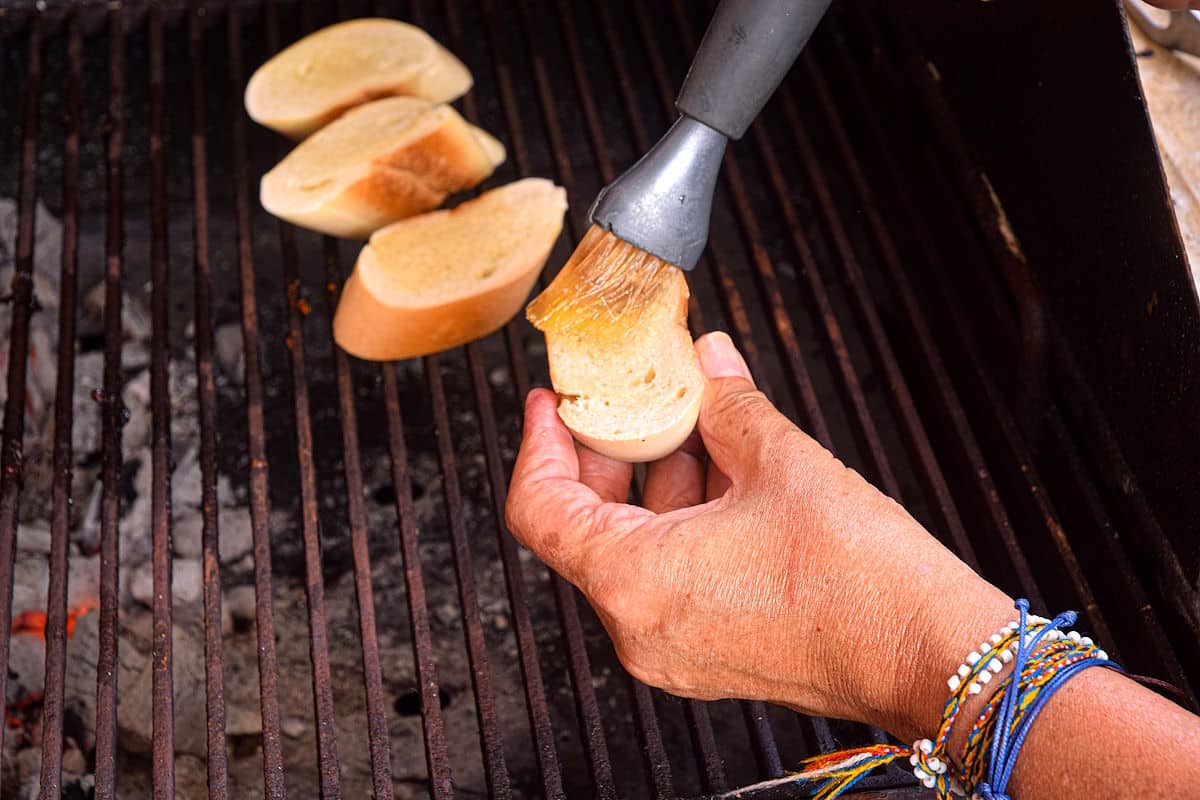
If you don't have stale bread, you can dry fresh, cubed bread in the oven by:
- Laying them out on a cookie sheet and baking them at 275°F for about 20 minutes (depending on the size of the bread cubes).
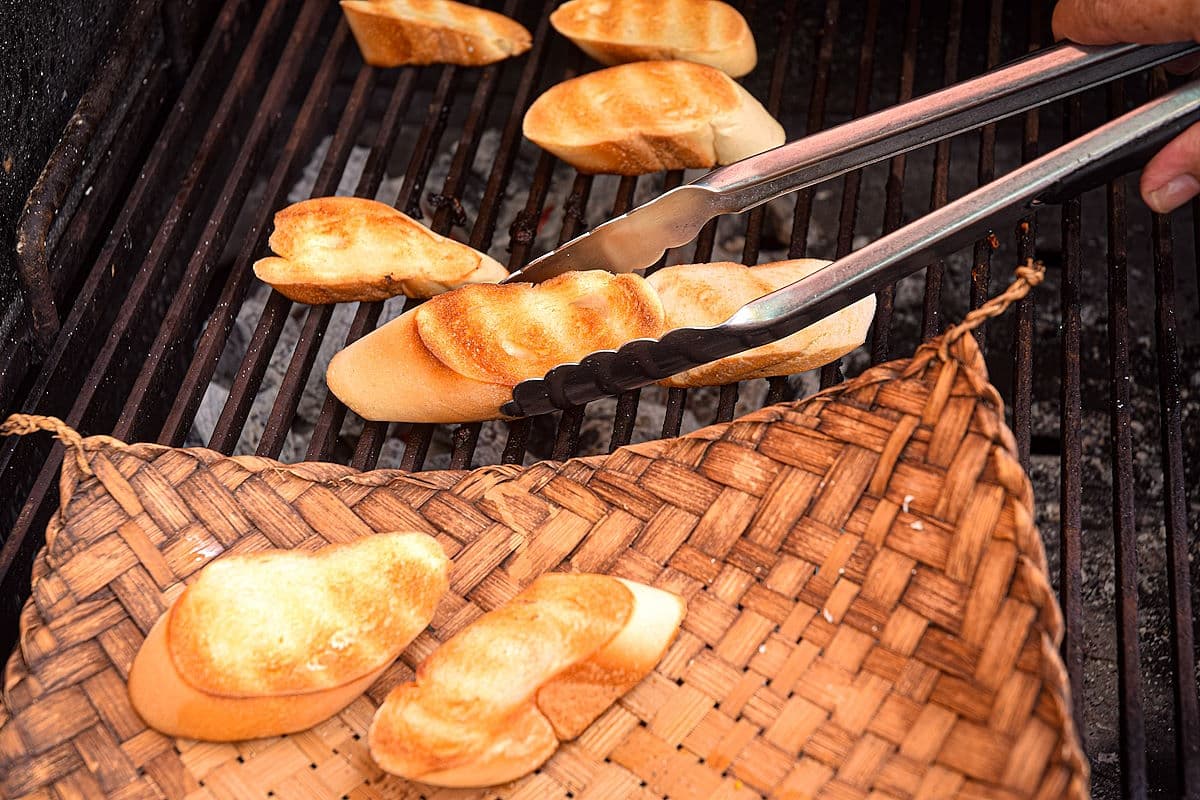
- Give them a stir halfway through baking. We don't want them too toasted or brown, just dried out.
- Let them cool and either use right away in this recipe or store them in zip-top bags.
- This step can be done up to a week in advance.
Instructions
Check out how to make stuffing step by step:
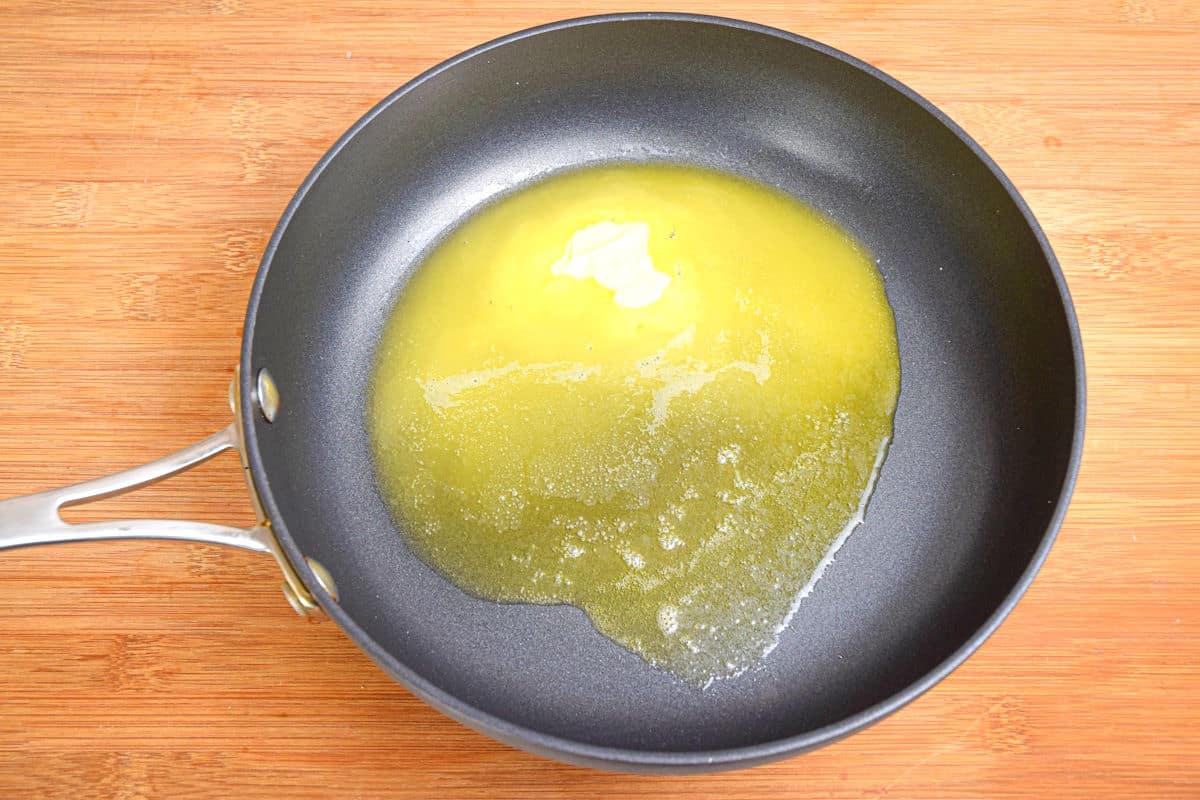
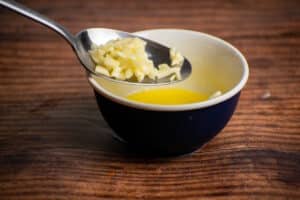
Step #1. Melt Butter. Preheat the oven to 350ºF. Heat a non-stick skillet to medium heat and melt the butter.
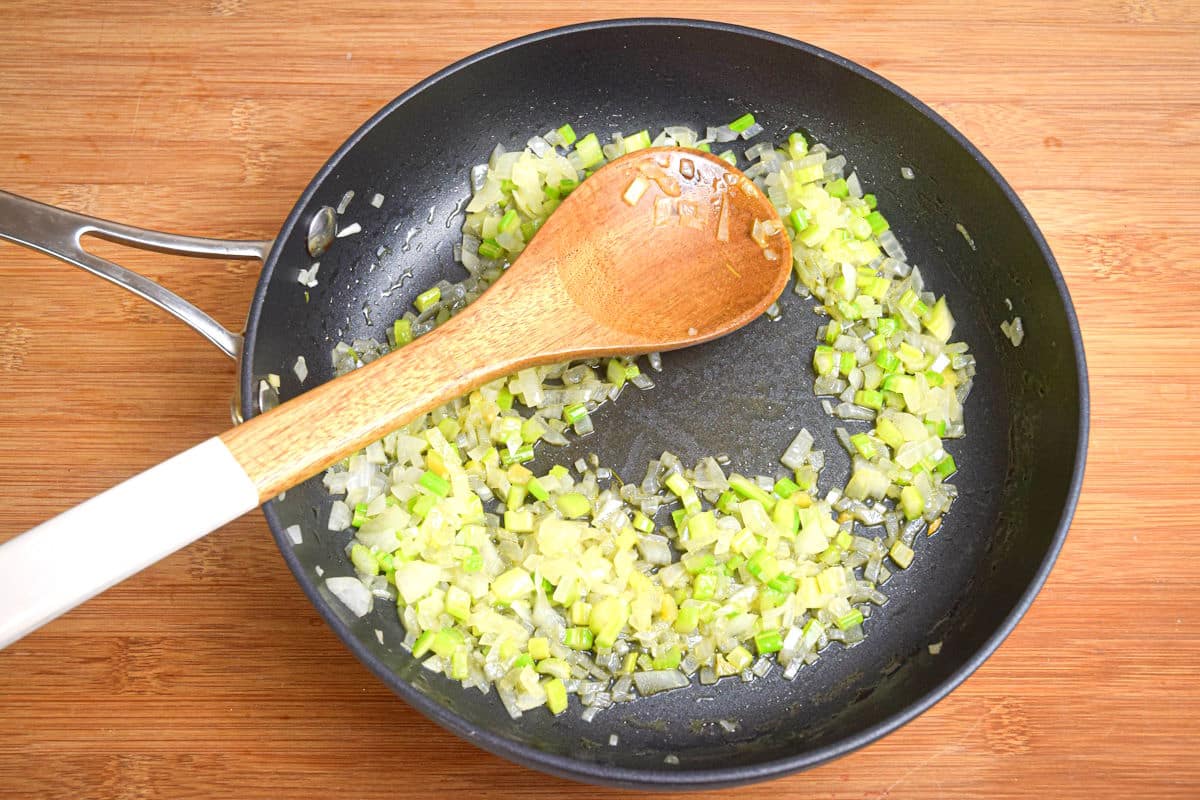
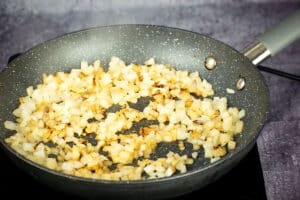
Step #2. Fry the Celery & Onion. Add the celery and onion to the pan and cook until soft and translucent (but not browned), about 5 to 10 minutes.
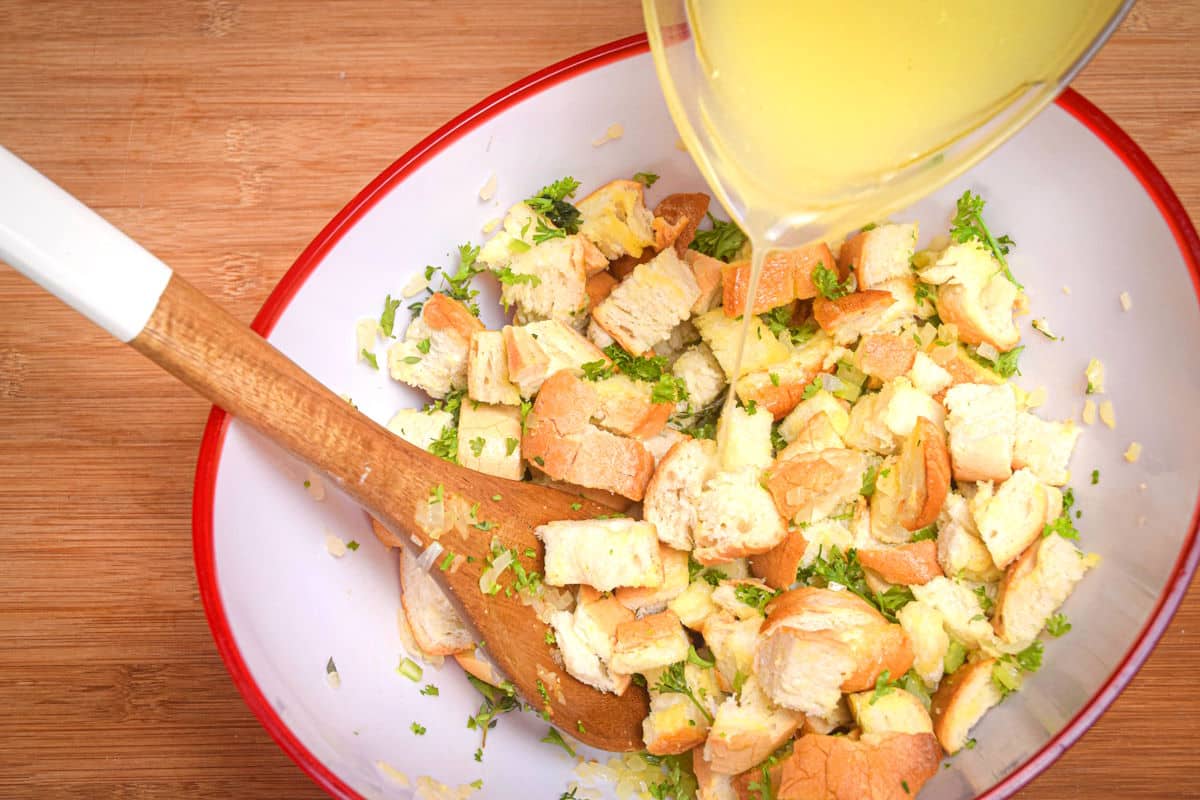
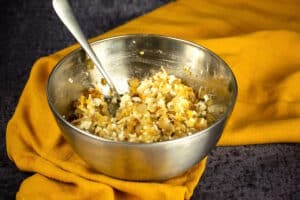
Step #3. Combine Stuffing Ingredients. Place the bread cubes in a big bowl and add the vegetables, fresh herbs, salt and pepper. Pour the broth over the bread mixture. Give it a bit of a toss.
Chef's Note: You may not need to use the entire 2 ½ cups liquid (we want to moisten it, but not soak it).
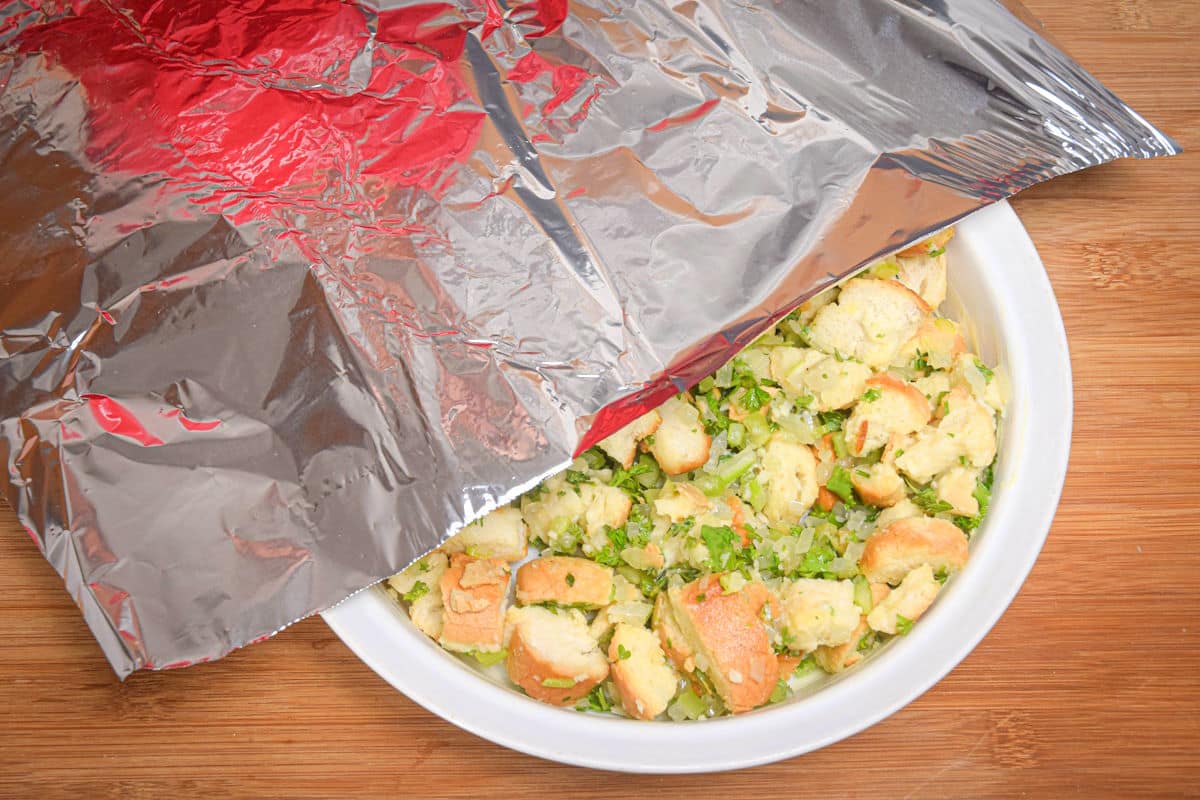
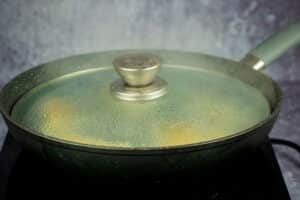
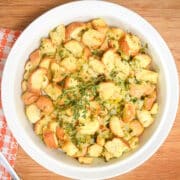
Step #4. Bake. Place the mixture into a 9" x 13" baking dish, cover with foil and bake for 30 minutes. Remove the foil and bake uncovered for 15 to 20 more minutes or until golden brown on top.
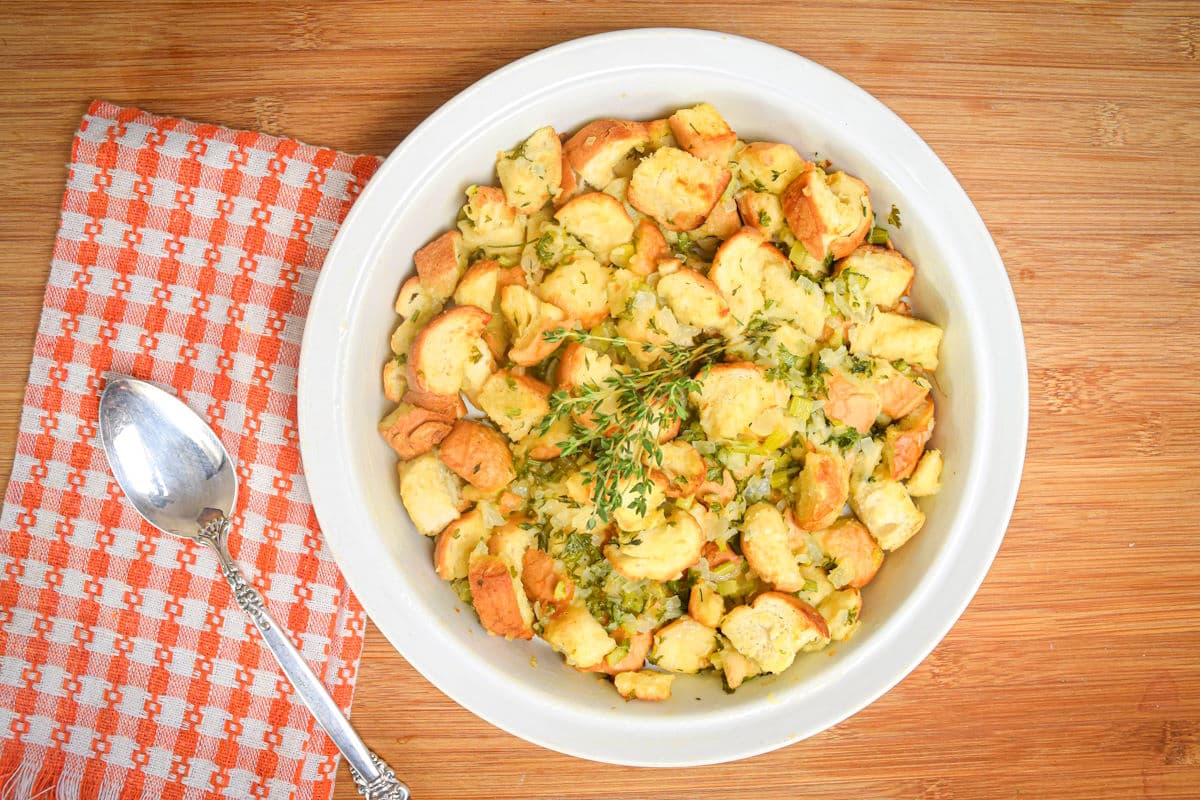
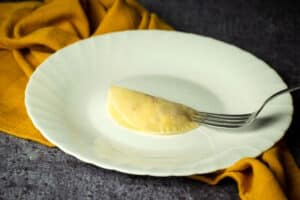
Step #5. Serve. Serve and enjoy!
Alternative Baking Method: Inside the Turkey or Chicken
This stuffing recipe can be baked with your favorite roast chicken or turkey recipe. Only stuff the poultry just before cooking for food safety purposes and stuff it loosely.
Instead of placing the bread mixture into a casserole dish in the oven to bake, you can stuff a turkey or chicken cavity with the uncooked mixture and have it bake with the poultry--until the poultry is cooked and the stuffing reaches an internal temperature of 165ºF.
Now you know how to make stuffing 2 ways! I hope you enjoy it as much as my family does.
Storage & Reheating
- Fridge: Store any leftovers in a covered container and place in the fridge for up to 3 or 4 days.
- Freezer: Once cooled, transfer to a covered container or freezer bag and store in the freezer for up to 3 months. Thaw in the refrigerator.
- Reheat: Reheat the stuffing in the microwave or in the oven at 350°F. For the oven method, first cover in foil and bake for about 20 minutes (you can add a splash of broth if needed). Take the foil off and continue baking until crispy on top and the internal temperature reaches 165°F.
Tips For Success
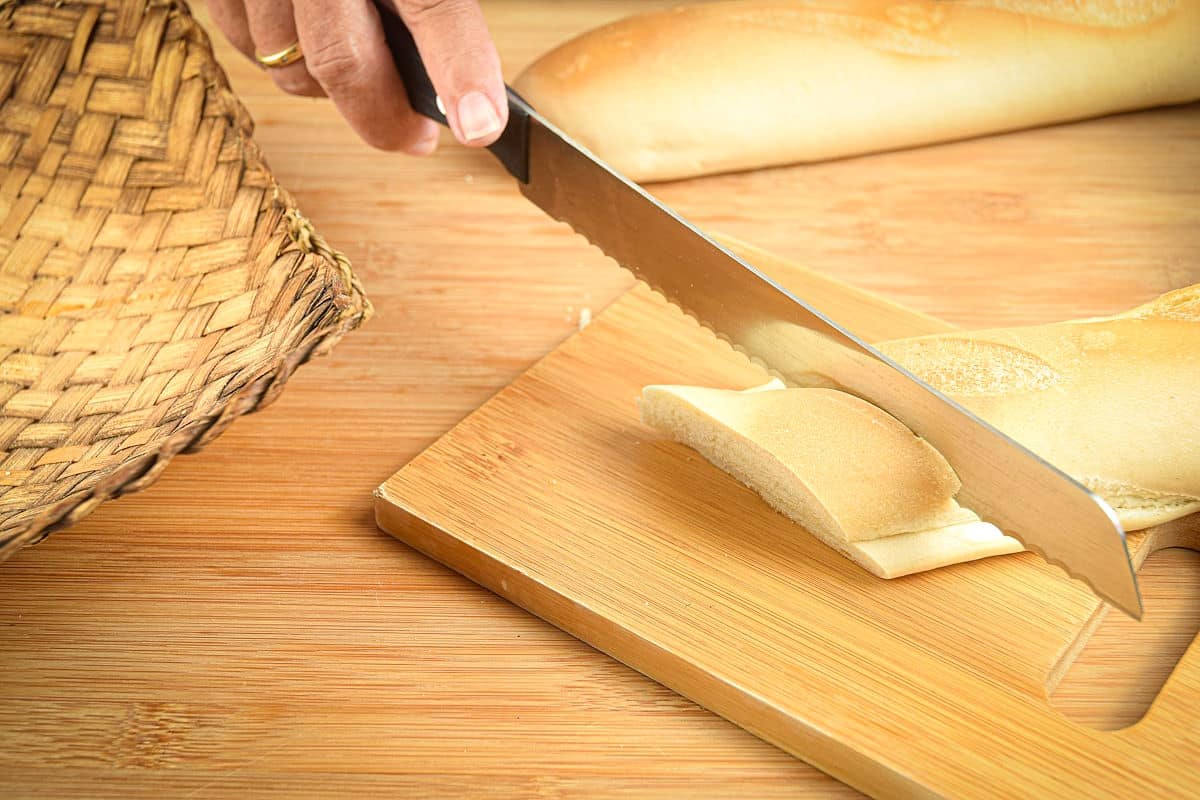
- Choose the Right Bread: Stale bread works best. Use day-old bread or lightly toast fresh bread to help it absorb the flavors without becoming too mushy. A mix of white, whole wheat, and cornbread can add complexity.
- Cut Bread into Even Cubes: Cubes that are consistent in size ensure even cooking and texture.
- Moisten Gradually: Add the broth gradually and mix well to avoid a soggy or dry dressing.
Recipe FAQs
It is better to make stuffing with dry bread because if you're starting with fresh bread, you're going to have a very soggy stuffing. Dried or stale bread will give you the best stuffing texture.
This comes down to personal preference; you can make them either way. Personally, I don't find that the eggs are necessary.
Make sure your bread cubes are stale/dry and don't over do it on the broth. Add the broth to the cubes gradually.
More Fall Recipes You Will Love


If you tried this 📋 recipe tutorial for How to Make Stuffing For Thanksgiving (From Scratch) or any other recipe on my website, please leave a 🌟 star rating and let me know how it went in the 📝 comments below. And please share the recipe!
📋Recipe
How to Make Stuffing From Scratch
Ingredients
- ½ cup butter
- 3 celery stalks diced
- 2 yellow onions diced
- 10 cups bread cubes dried or stale
- 3 tablespoons fresh parsley chopped
- 2 teaspoons fresh thyme finely chopped
- 1 teaspoon fresh rosemary finely chopped
- 1 teaspoon fresh sage finely chopped
- 2 ½ cups broth chicken or vegetable
- salt and pepper to taste
Instructions
Drying the Bread Cubes
- You can dry fresh, cubed bread in the oven by laying them out on a cookie sheet and baking them at 275°F for about 20 minutes (depending on the size of the bread cubes). Give them a stir halfway through baking. We don't want them too toasted or brown, just dried out. Let them cool and either use right away in this recipe or store them in zip-top bags. This step can be done up to a week in advance.
For the Stuffing
- Preheat the oven to 350ºF. Heat a non-stick skillet to medium heat and melt the butter.
- Add the celery and onion to the pan and cook until soft and translucent (but not browned), about 5 to 10 minutes.
- Place the bread cubes in a large bowl and add the vegetables, fresh herbs, salt and pepper. Pour the broth over the bread mixture. You may not need to use the entire 2 ½ cups liquid (we want to moisten it, but not soak it). Give it a bit of a toss.
- Place the mixture into a 9" x 13" baking dish, cover with foil and bake for 30 minutes. Remove the foil and bake uncovered for 15 to 20 more minutes or until golden brown on top.
- Serve & enjoy!
Notes
- Fridge Storage: Store any leftovers in a covered container and place in the fridge for up to 3 or 4 days.
- Freezer Storage: Once cooled, transfer to a covered container or freezer bag and store in the freezer for up to 3 months. Thaw in the refrigerator.
- Reheating: Reheat the stuffing in the microwave or in the oven at 350°F. For the oven method, first cover in foil and bake for about 20 minutes (you can add a splash of broth if needed). Take the foil off and continue baking until crispy on top and the internal temperature reaches 165°F.
- Alternative Baking Method - Inside the Turkey or Chicken: This stuffing recipe can be baked with your favorite roast chicken or turkey recipe. Instead of placing the bread mixture into a casserole dish in the oven to bake, you could also stuff a turkey or chicken cavity with the uncooked mixture and have it bake with the poultry--until the poultry is cooked and the stuffing reaches an internal temperature of 165ºF. Only stuff the poultry just before cooking for food safety purposes and don't stuff it tightly.