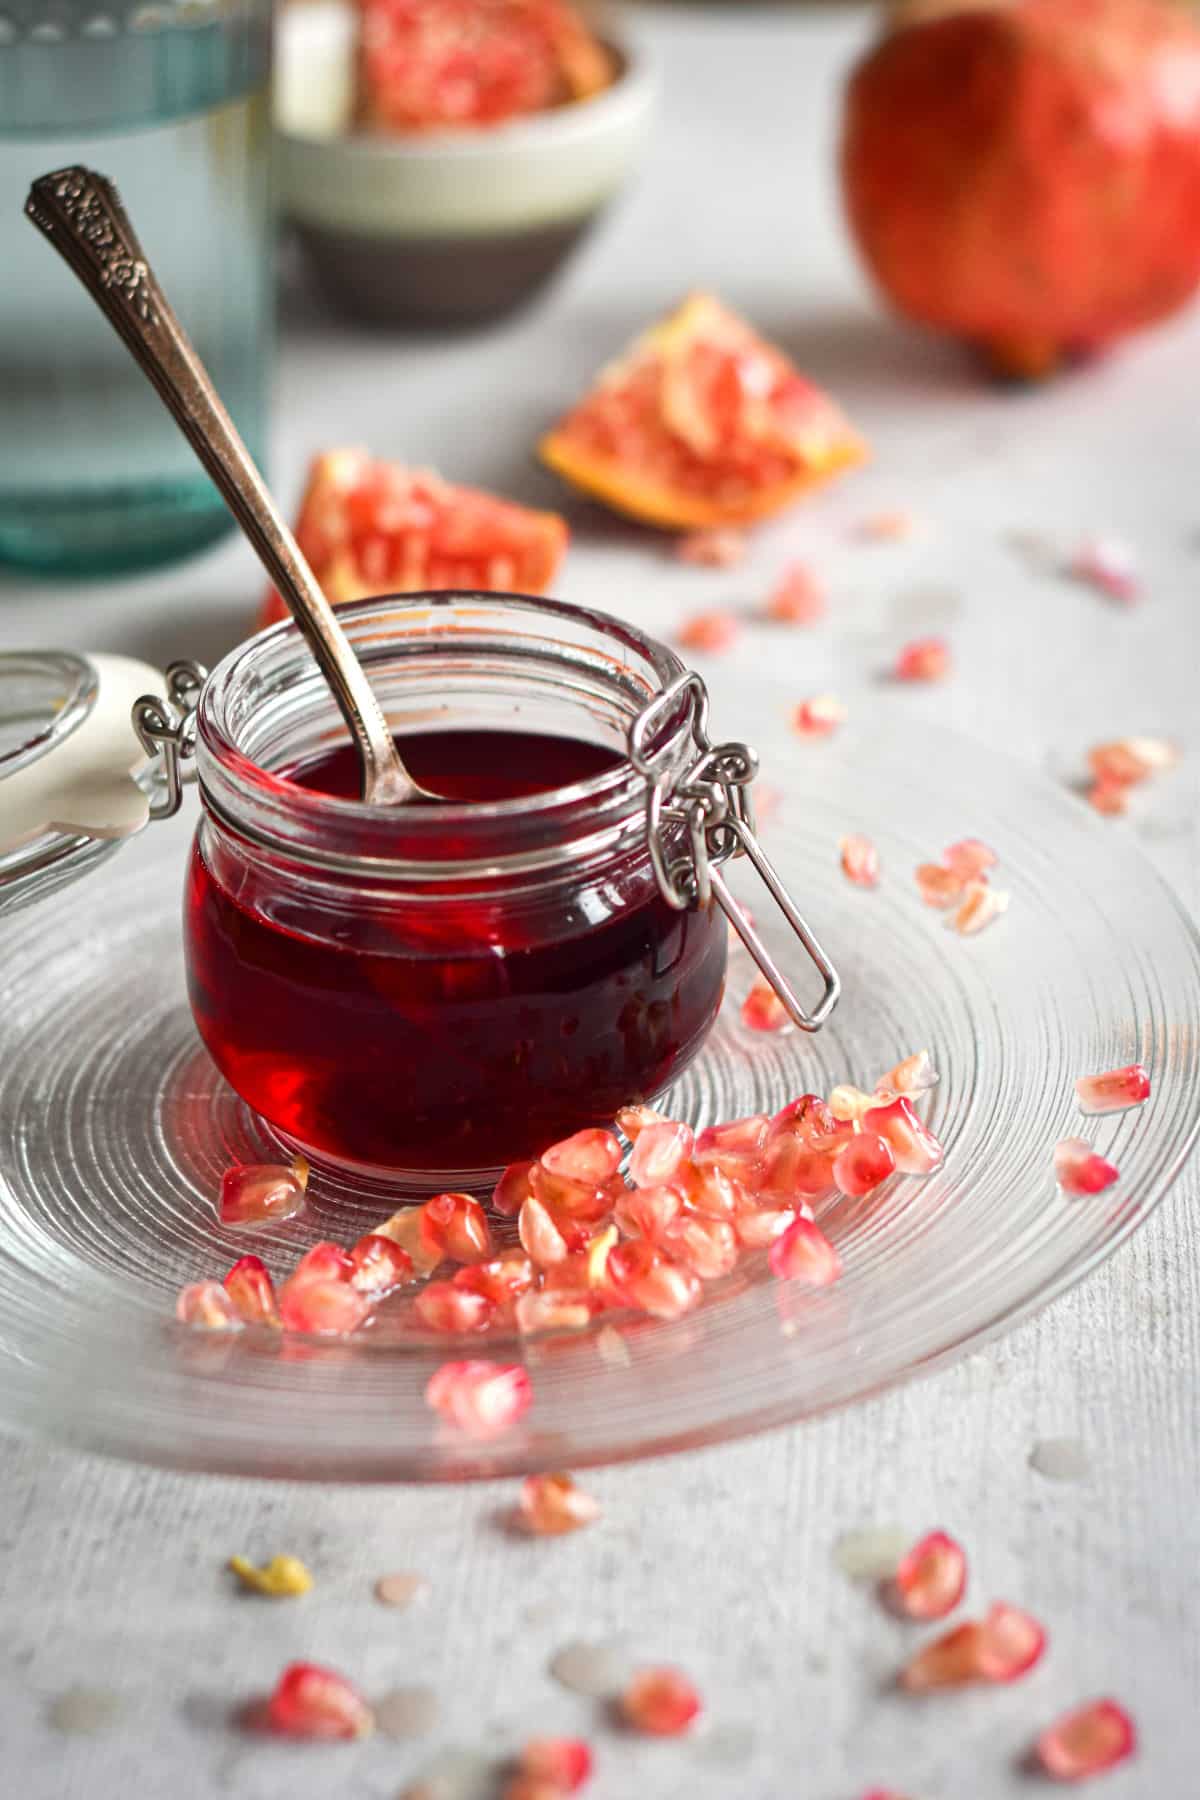
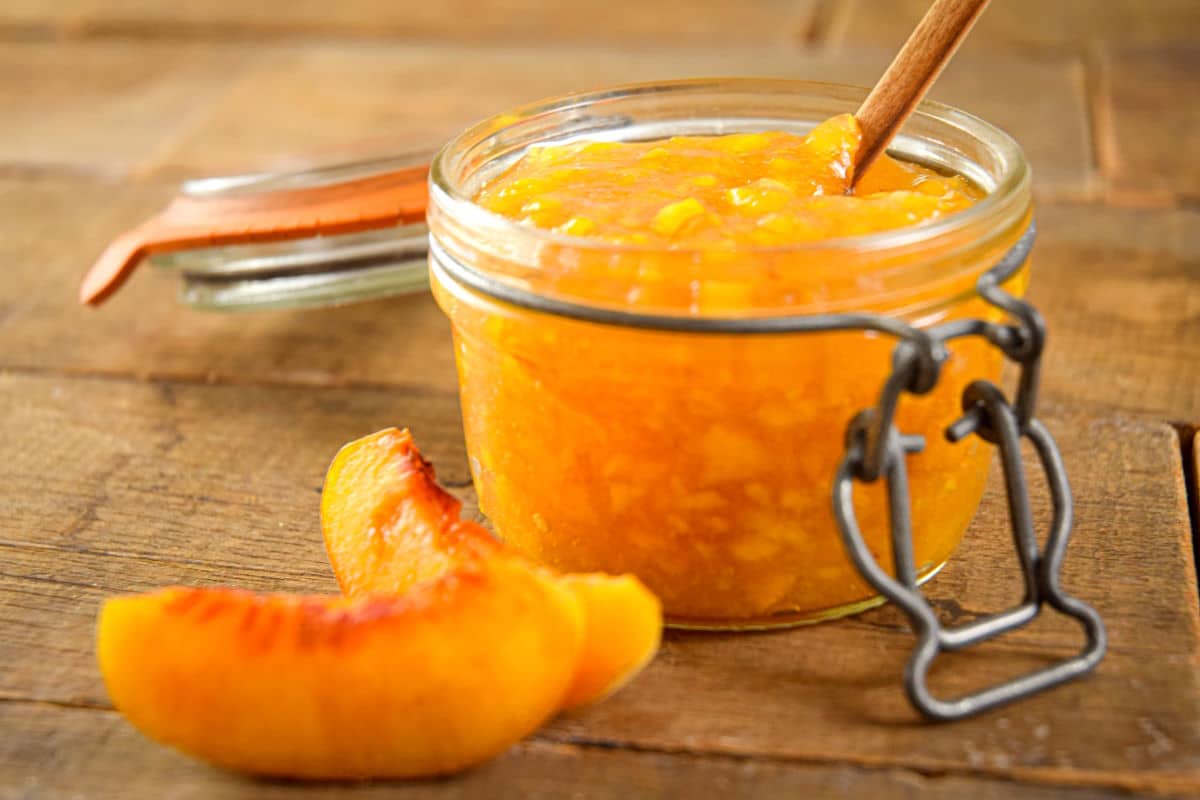
This easy, low sugar, peach freezer jam can last for up to 1 year in the freezer. It still has the same sweet, peachy flavor as canned jam but with a fresher taste and more vibrant color because the peaches do not get cooked. Check out how to make it below as well as some juicy tips and information.
I think you'll love this alternative way to make peach jam. I personally like that I can avoid the cooking step and lock in all of the fresh flavor. If the amount of sugar added to regular jams frightens you, make this delicious, lower sugar version instead.
You can check out more of my homemade condiments here.
[feast_advanced_jump_to]🫙 What is the Difference Between Freezer Jam and Traditional Jam?
While the ingredients are pretty much the same, there are a few main differences between these two jams:
- No-Cook: While traditional jam cooks fresh fruit, sugar and other ingredients together, freezer jam does not cook the ingredients. The result is freezer jam will keep its color and fresh flavor.
- Low Sugar: One of my favorite reasons to make freezer jam is that you can use less sugar.
- Thickness: Both jams get their thickness from pectin (a necessary ingredient). Traditional jam should set after 24 to 48 hours. Freezer jams tend to be thinner in consistency and set after only 30 minutes or less. Some brands of freezer jam pectin don't require any resting time to set.
- Sterilization: You don't need to sterilize the jars for freezer jam whereas it is required for cooked jam.
- Shelf Stability: Freezer jam is not shelf stable and needs to be put in the fridge for up to 3 weeks or in the freezer for up to 1 year, hence the name. Traditional jam is shelf stable and doesn't require refrigeration until the sealed jar has been opened.
🍑 Ingredients
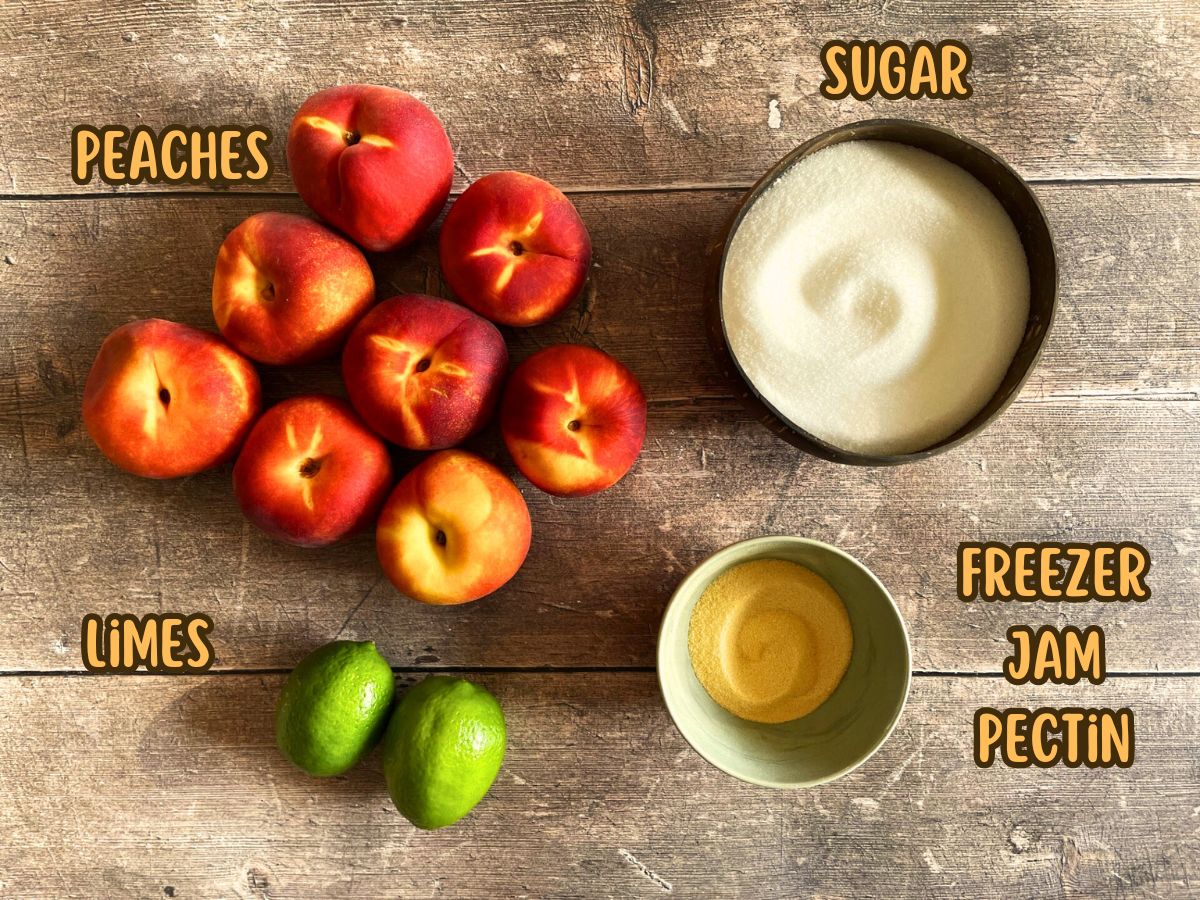
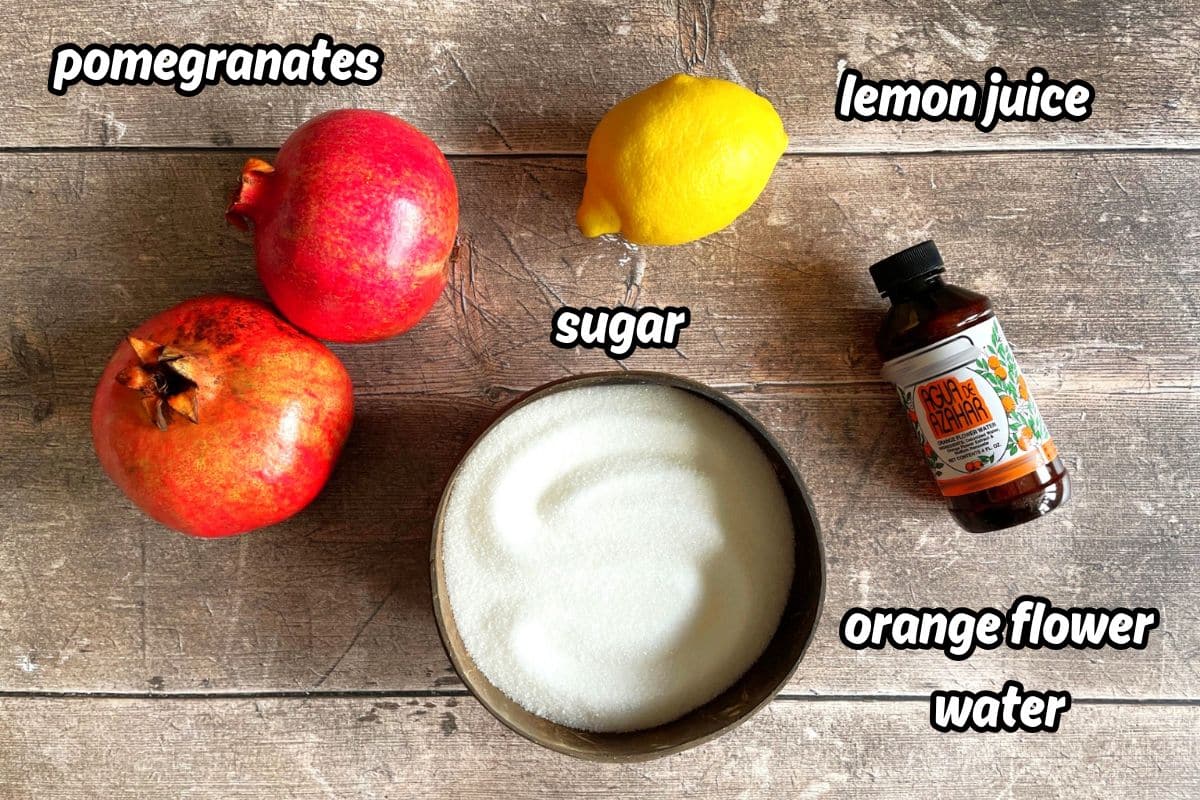
This easy recipe for no-cook freezer jam uses only 4 basic ingredients:
- peaches - fresh and firm-ripe
- sugar - I use white granulated sugar and have not tested it with other sweeteners
- lime juice - freshly squeezed
- freezer jam pectin powder - when mixed with sugar and acid it thickens/gels the jam (make sure you buy the freezer jam/no cook type)
*See ingredient amounts in recipe card.
You will also need 4 clean half pint jam jars for this recipe or whatever size jam jars you have on hand.
🥣 How to Make Peach Freezer Jam
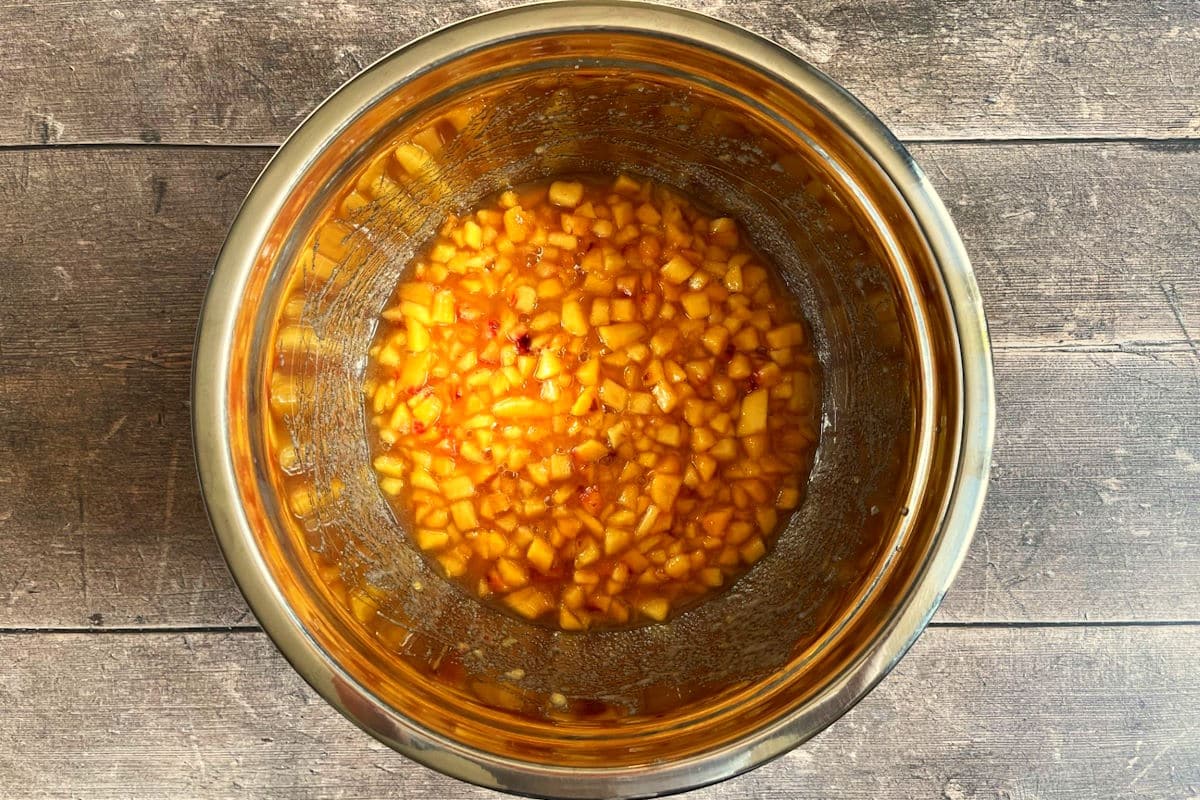
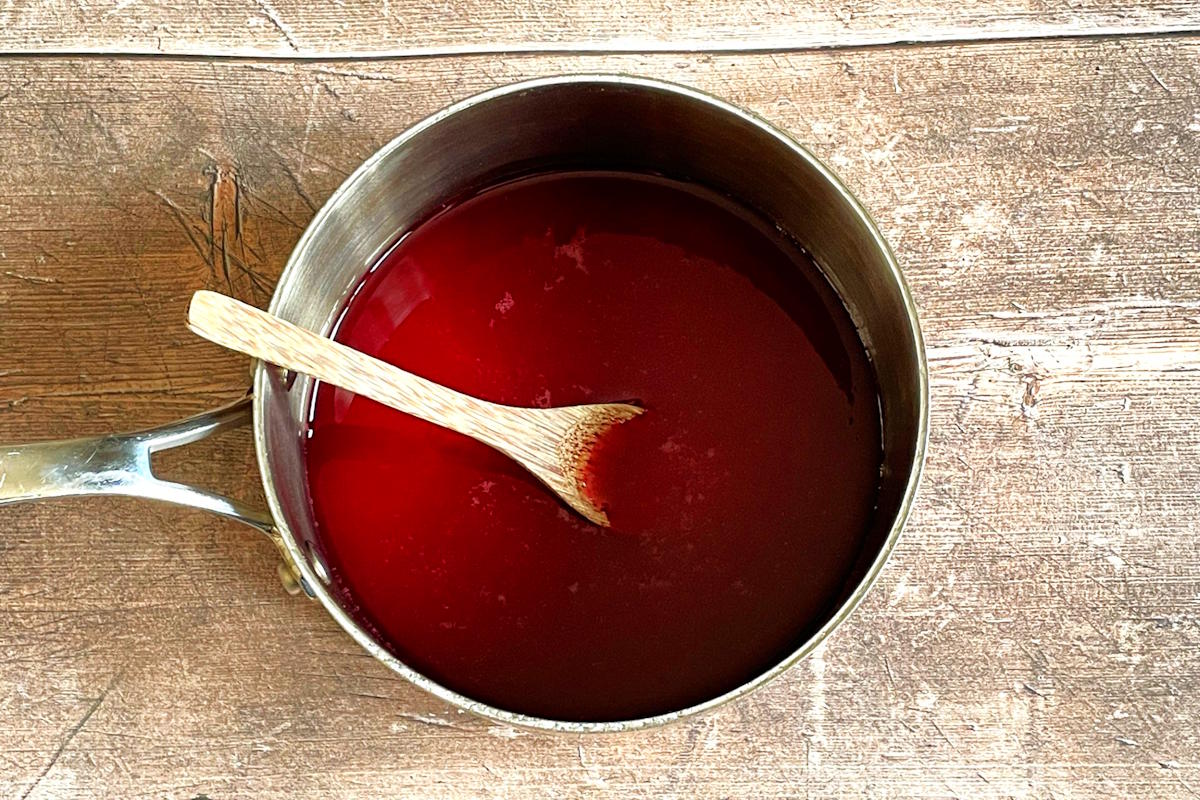
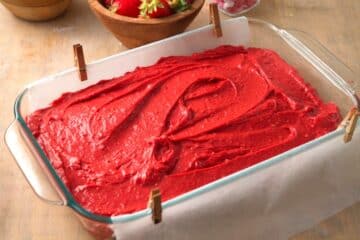
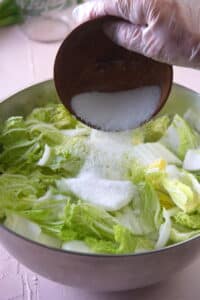
Step 1. Combine peach mixture. Mix the peaches, lime juice and sugar in a bowl and stir until combined well. Let rest for 10 minutes.
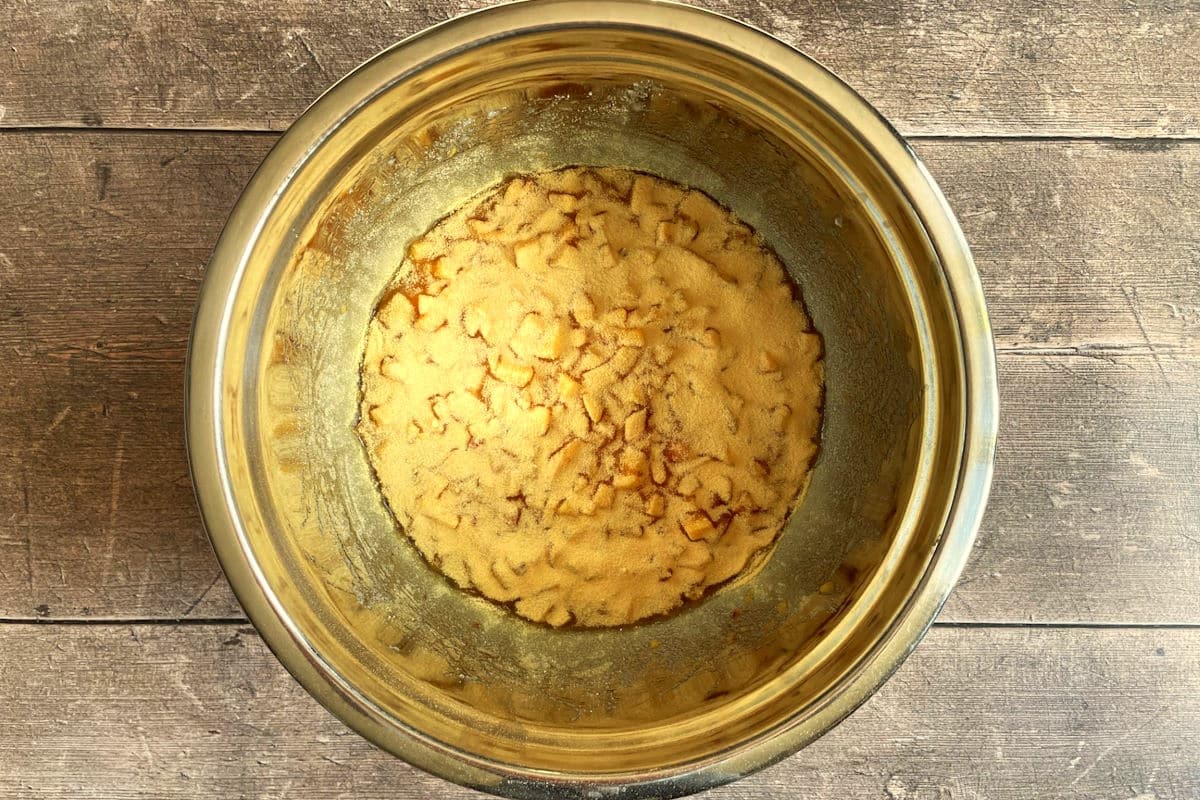
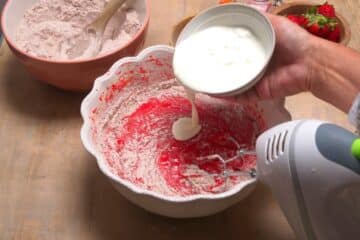
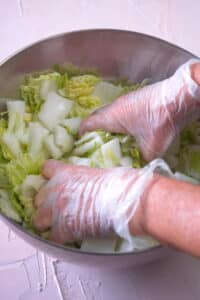
Step 2. Add pectin. Slowly sprinkle the pectin powder over the peaches and stir for 5 minutes, making sure the sugar has completely dissolved. It will get thicker as you mix.
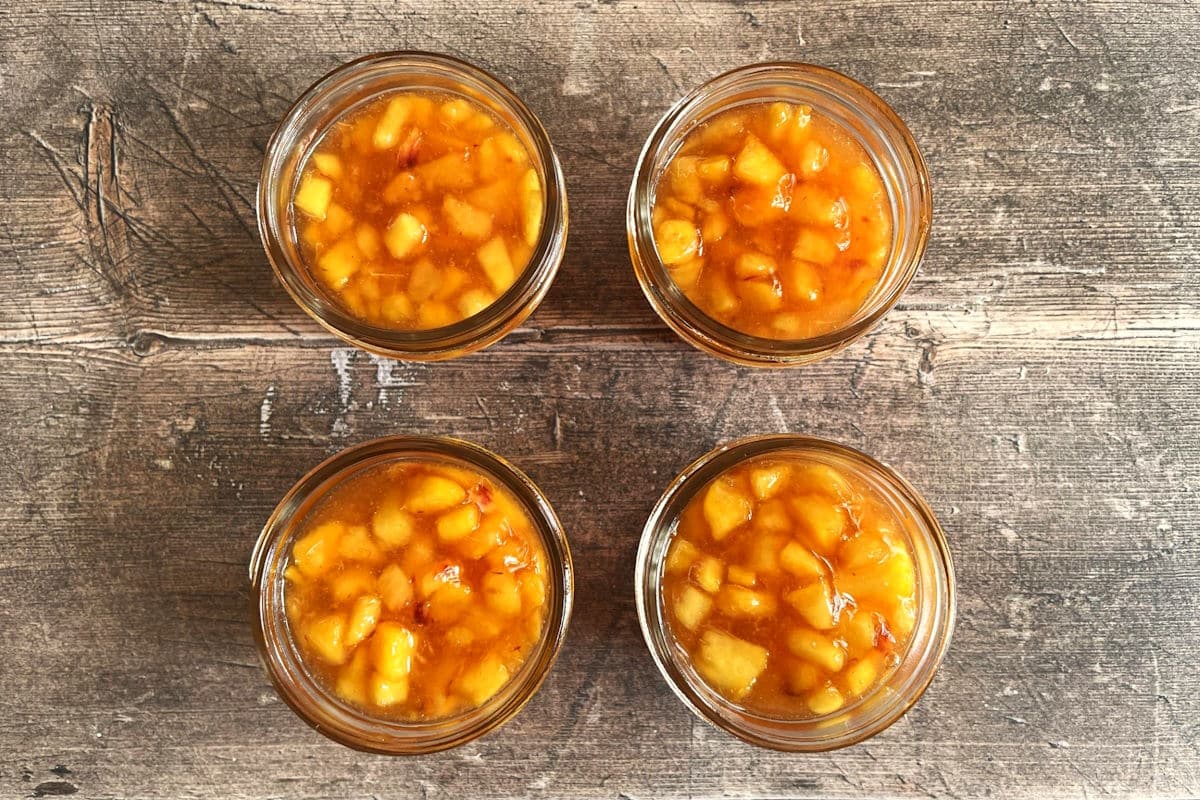
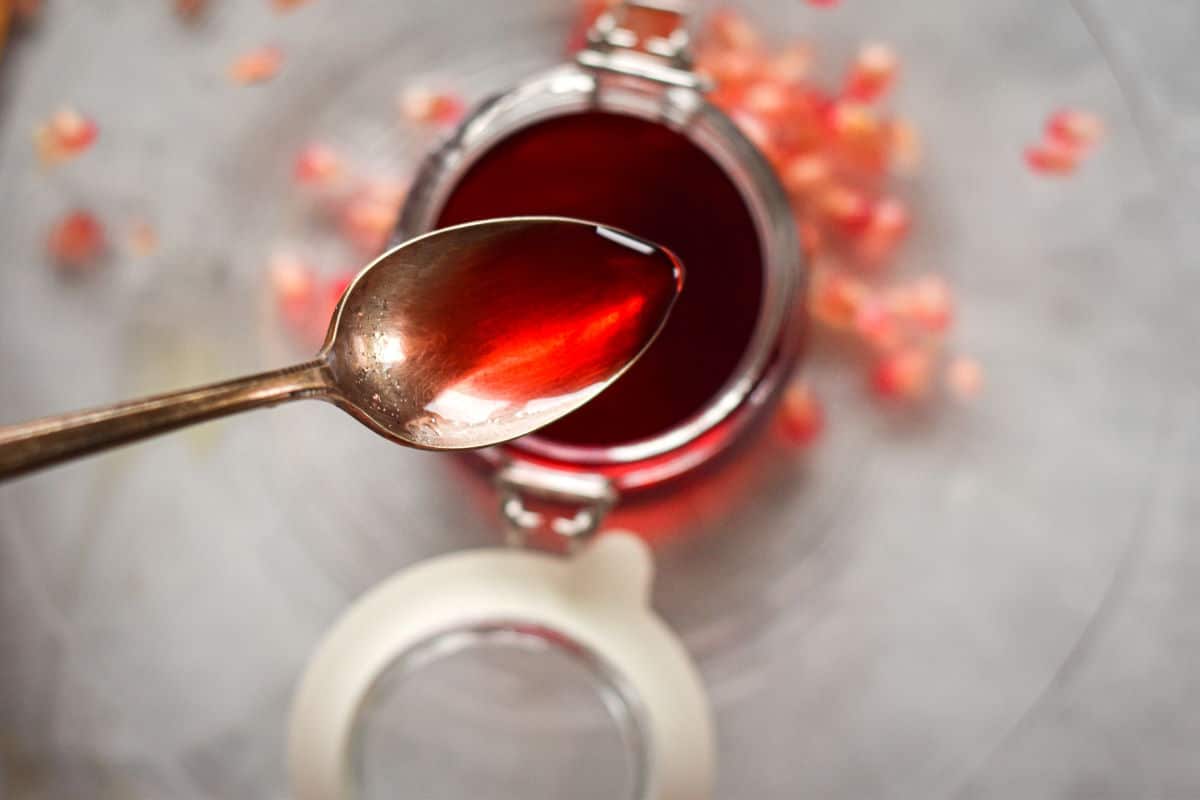
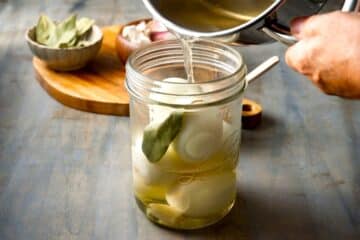
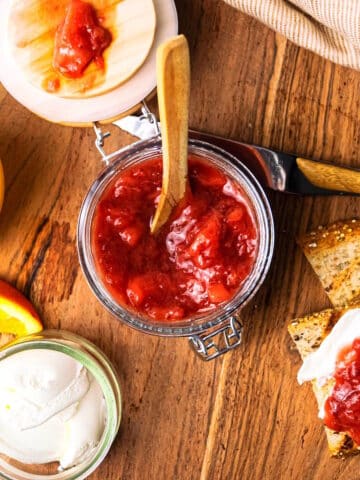
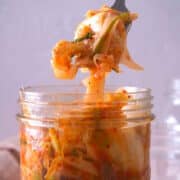
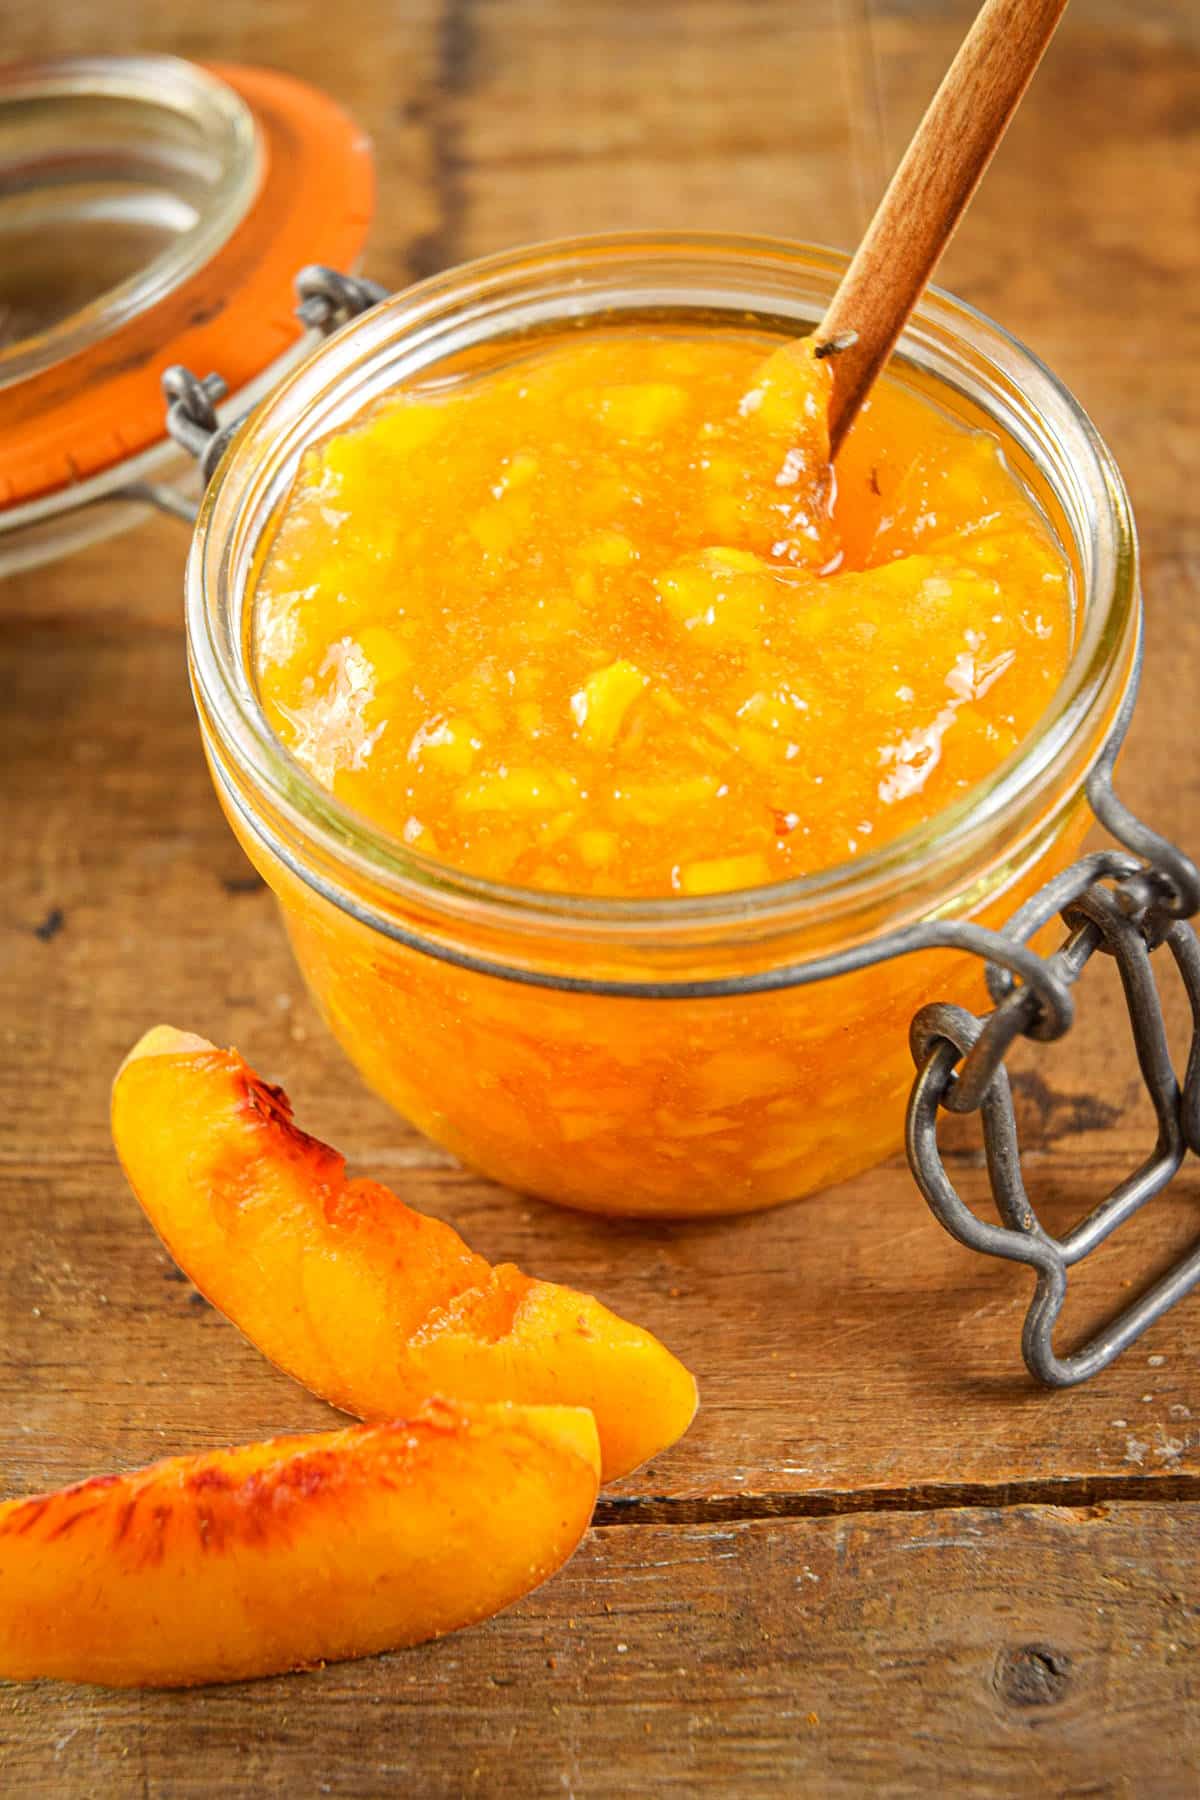
Step 3. Transfer to jars. Transfer the peach jam to glass jars, leaving ½" to 1" of space at the top, and then screw the lids on. Let the jam sit for 30 minutes to thicken.
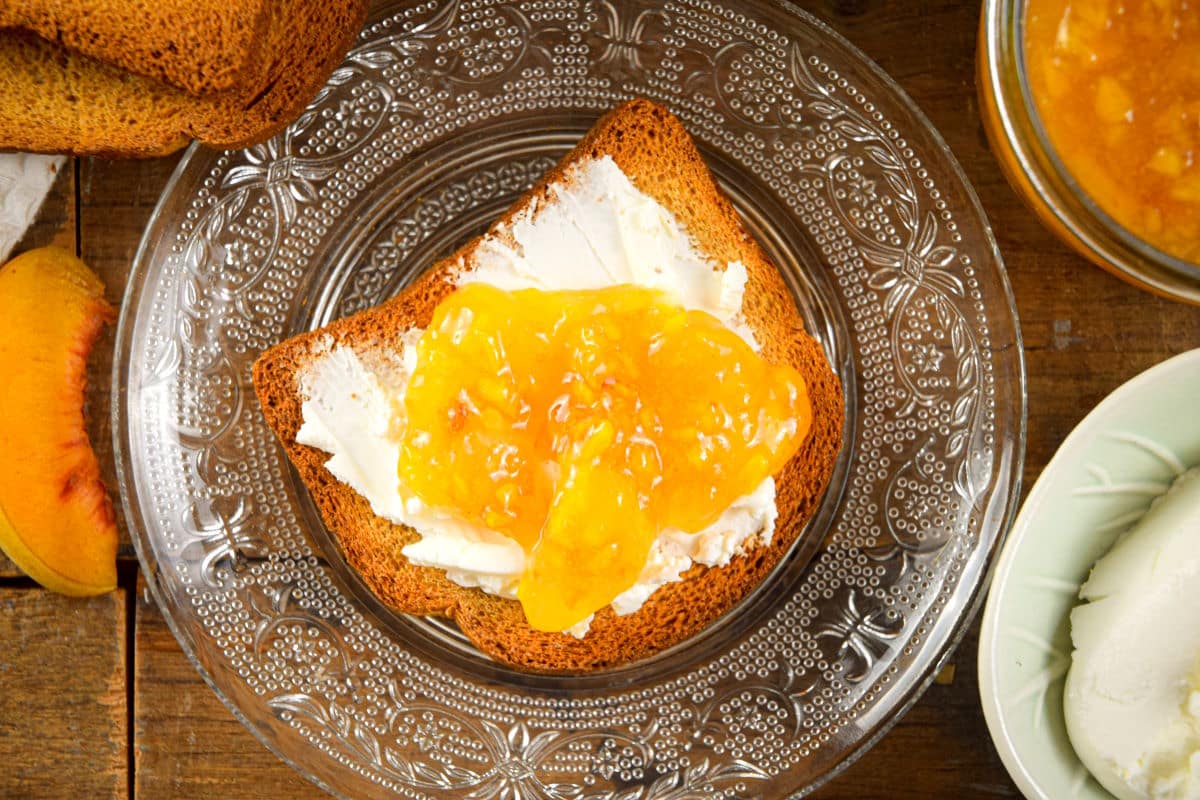
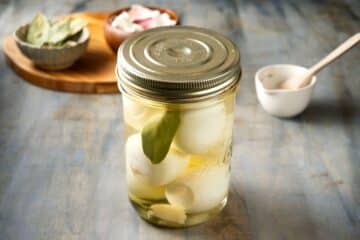
Step 4. Freeze. You can either use it right away or store in the freezer for up to 1 year or in the fridge for up to 3 weeks. Spread it on bread, bagels, homemade toast points, a jelly roll, over ice cream or yogurt etc.
Chef's Note: Some brands of freezer jam pectin do not need resting. Check the package to confirm.
🔪 Tips on Peeling the Peaches
Since this peach freezer jam recipe uses fresh peaches (just like my peach tarte tatin recipe), they should be peeled, but their thin skin can make the task difficult.
- If they are ripe but still firm, you can simply use a vegetable peeler.
- If they are quite soft, it's best to blanch and peel. You can follow these directions to make peeling peaches easier:
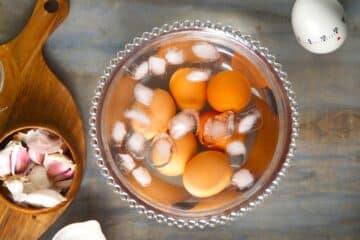
- Make an Ice Bath. Be sure to have an ice bath ready before you start.
- Boil Water. Boil a pot of water that has enough room to fit several peaches (about 7 or 8 medium peaches for this recipe).
- Blanch. Bring the water down to a simmer and carefully put the peaches in the water. Blanch them for 30 seconds, then carefully take the peaches out and put them in the ice bath; this stops the cooking process, also known as shocking them. Leave the peaches to cool.
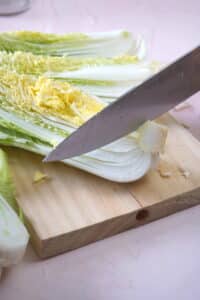
- Peel. Use a small knife to cut an x-shaped slit on top of each peach, then gently peel the skin off with your hands.
- Chop. From there, you can cut them in half, take the pits out, and chop the fruit.
✅ Recipe Tips
- I like to make sure the peaches are chopped finely for this recipe because this makes it easier to spread the jam onto your toast or bagel. If you like bigger chunks in your jam, chop larger pieces.
- Please do not adjust the ingredient amounts or this could result in the jam not setting properly.
- Make sure to label the jam jars so that you know how long they've been in the freezer.
❓ Peach Freezer Jam FAQs
Peeling the peaches or not is a personal choice. Leaving the peel on can add more peach flavor and color but some people don't like the texture, especially in no-cook jam.
You can use frozen peaches to make jam; I recommend doing the pitting and peeling ahead of time.
With the way freezer jam is made, it tends to be a little runnier than regular jam. Some other factors are how much pectin was added and how ripe the peaches are; over ripe peaches will have less pectin.
🧡 More Juicy Peach Recipes to Try


If you tried this 🍑 Low Sugar Peach Freezer Jam Recipe or any other recipe on my website, please leave a 🌟 star rating and let me know how it went in the 📝 comments below. And please share the recipe!
📋Recipe
Peach Freezer Jam (Low Sugar)
Equipment
Ingredients
- 3 ½ cups fresh firm-ripe peaches pitted, peeled and finely chopped (about 7 or 8 medium peaches)
- 3 tablespoons fresh lime juice
- 1 ½ cups granulated sugar
- 1.6 ounces freezer jam pectin powder 1 package
Instructions
- Mix the peaches, lime juice and sugar in a bowl and stir until combined well. Let rest for 10 minutes.3 ½ cups fresh firm-ripe peaches, 3 tablespoons fresh lime juice, 1 ½ cups granulated sugar
- Gradually sprinkle the pectin powder over the peaches and stir for 5 minutes, making sure the sugar has completely dissolved. It will get thicker as you mix.1.6 ounces freezer jam pectin powder
- Transfer the peach jam to glass jam jars, leaving ½" to 1" of space at the top, and then screw the lids on.
- Let the jam sit for 30 minutes to thicken. (Some brands of freezer jam pectin do not need resting. Check the package to confirm.) Use or store.
Notes
- This recipe makes approximately 4 cups of jam.
- The jam can be stored in the freezer for up to 1 year or in the fridge for up to 3 weeks.
- Make sure to label the jam jars so that you know how long they've been in the freezer.
- Freezer jams tend to be thinner in consistency compared to traditional.
- Nutrition information is per tablespoon.
- Spread it on bread, bagels, homemade toast points, over ice cream or yogurt etc.
- Please do not adjust the ingredient amounts or this could result in the jam not setting properly.
- Tips on peeling the peaches:
- If they are ripe but still firm, you can simply use a vegetable peeler.
- If they are quite soft, it's best to blanch and peel. You can follow the directions in the post.