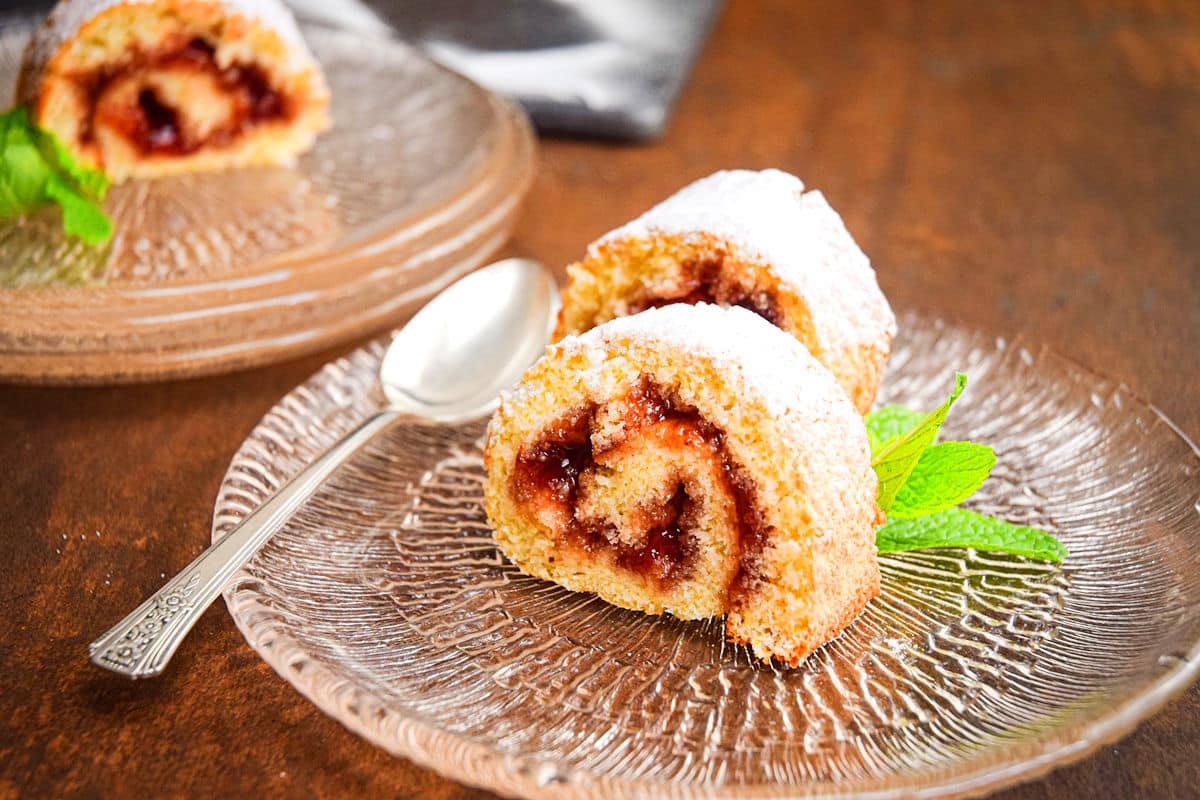
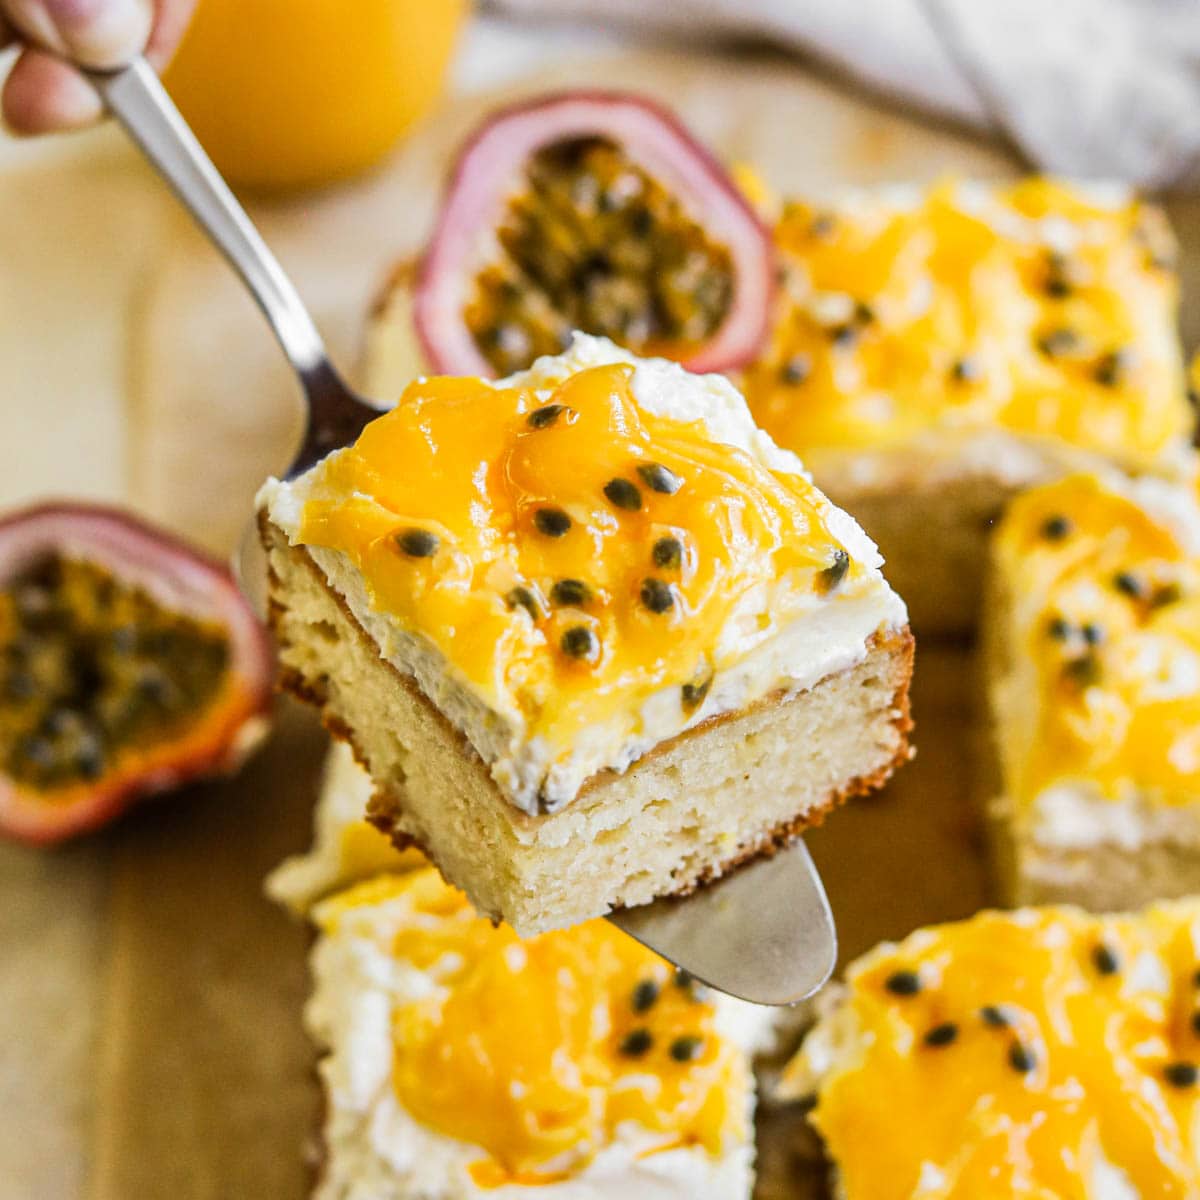
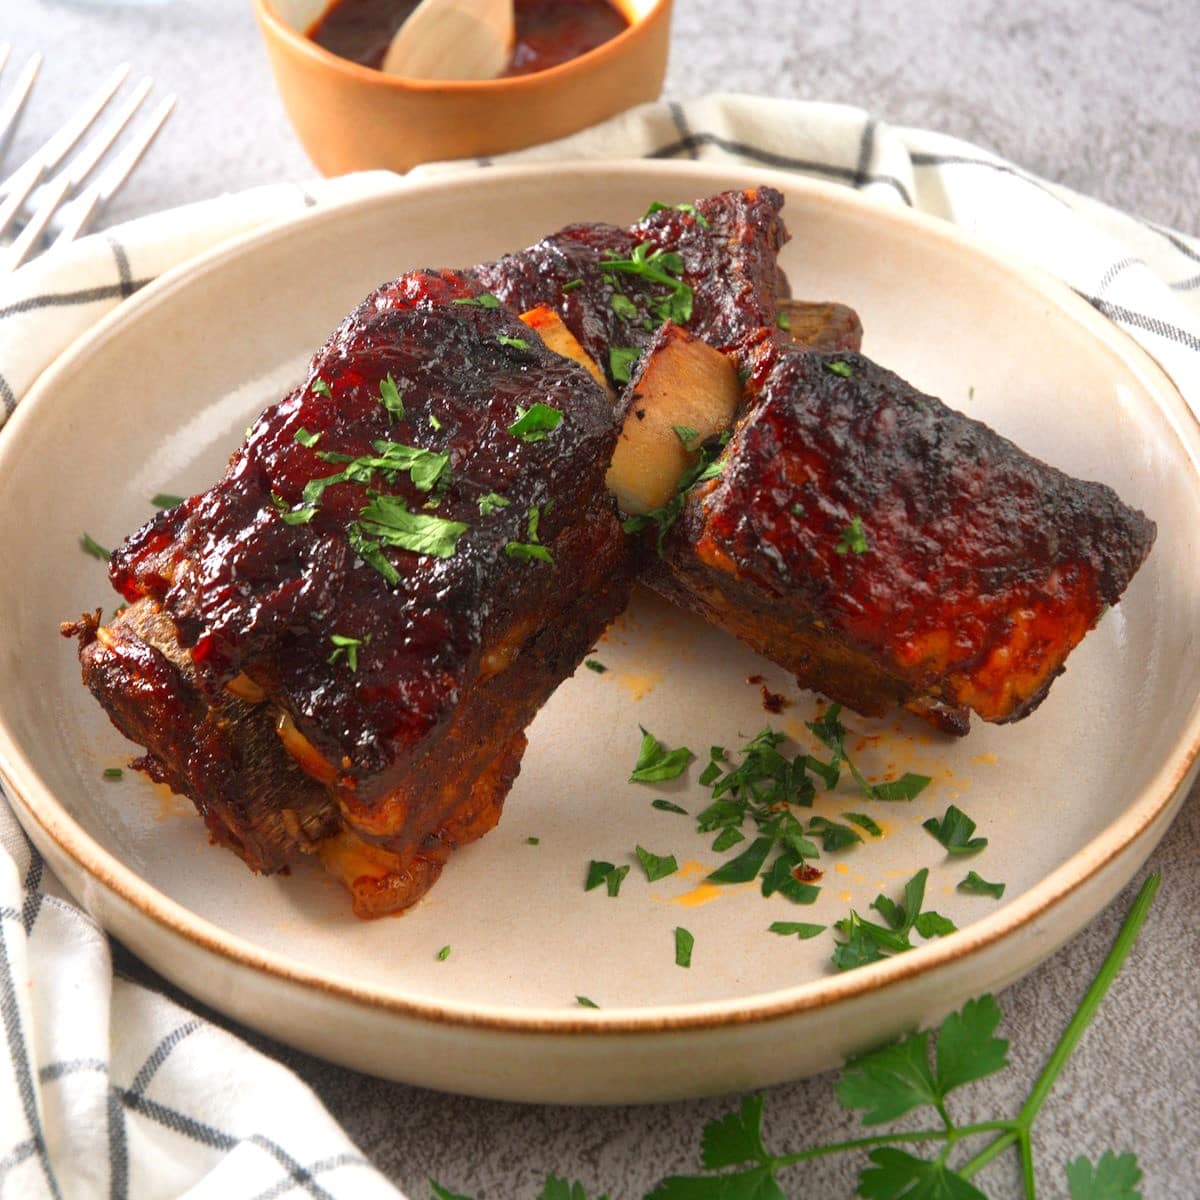
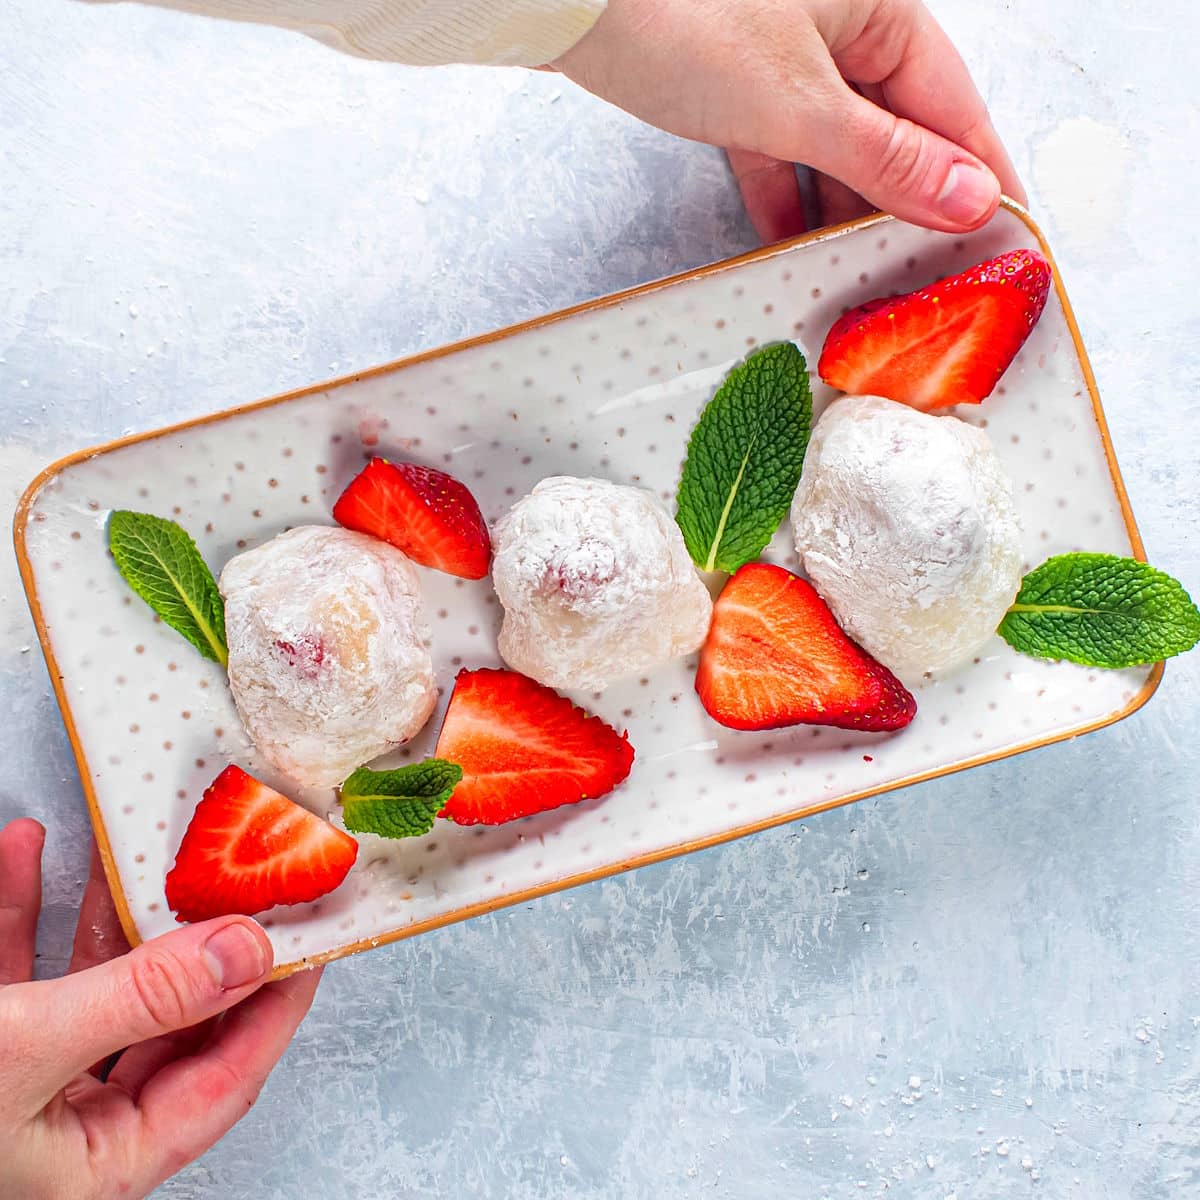
Strawberry mochi, known as ichigo daifuku in Japanese, is a fresh strawberry enclosed in a layer of sweet bean paste and pillowy dough. It's a delicious treat you need to try at least once!
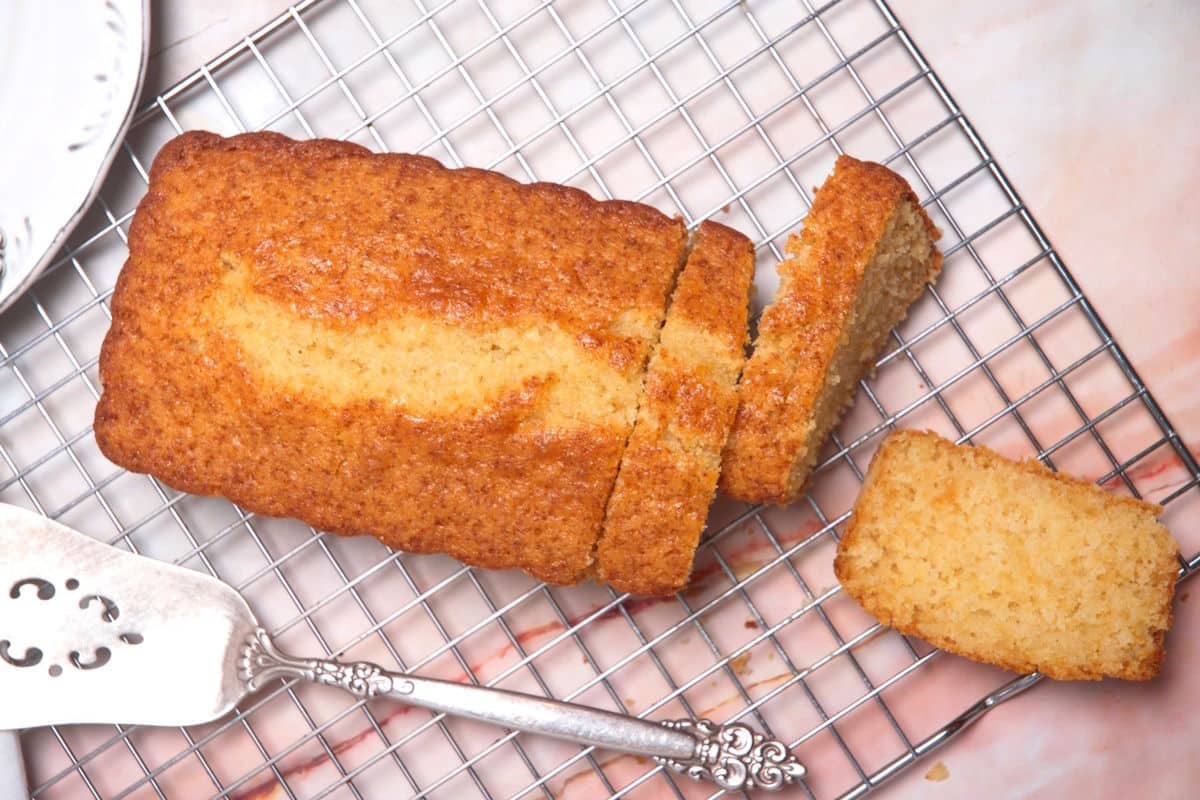
My inspiration for this recipe is….my kids. They're always asking me to make this treat, especially my daughter. She is a huge Asian food fanatic and mochi is one of her favorites, as well as one of the first recipes she tried to attempt on her own. She also developed this moist pancake bread recipe.
🌸 A Beginner-Friendly Strawberry Daifuku Recipe
- FYI: It is not to be confused with mochi ice cream, which is simply mochi dough filled with ice cream, not fruit.
- Although handling strawberry mochi can be tricky for beginners, I'm going to walk you through all of the steps with handy tips to make it as easy as possible. Practice makes perfect. Regardless of how they look, they will still taste delicious! Try making them for family first, until you get the hang of it.
- We are using the microwave, which allows it to take only 3 minutes to cook.
- Unlike most strawberry daifuku recipes, I like to use white sweet bean paste instead of red. It's milder in flavor and more aesthetic. White paste results in a beautiful white strawberry confection whereas red paste will show through the mochi and give it more of a brown undertone.
- They are commonly served with green tea or you can try a homemade matcha latte.
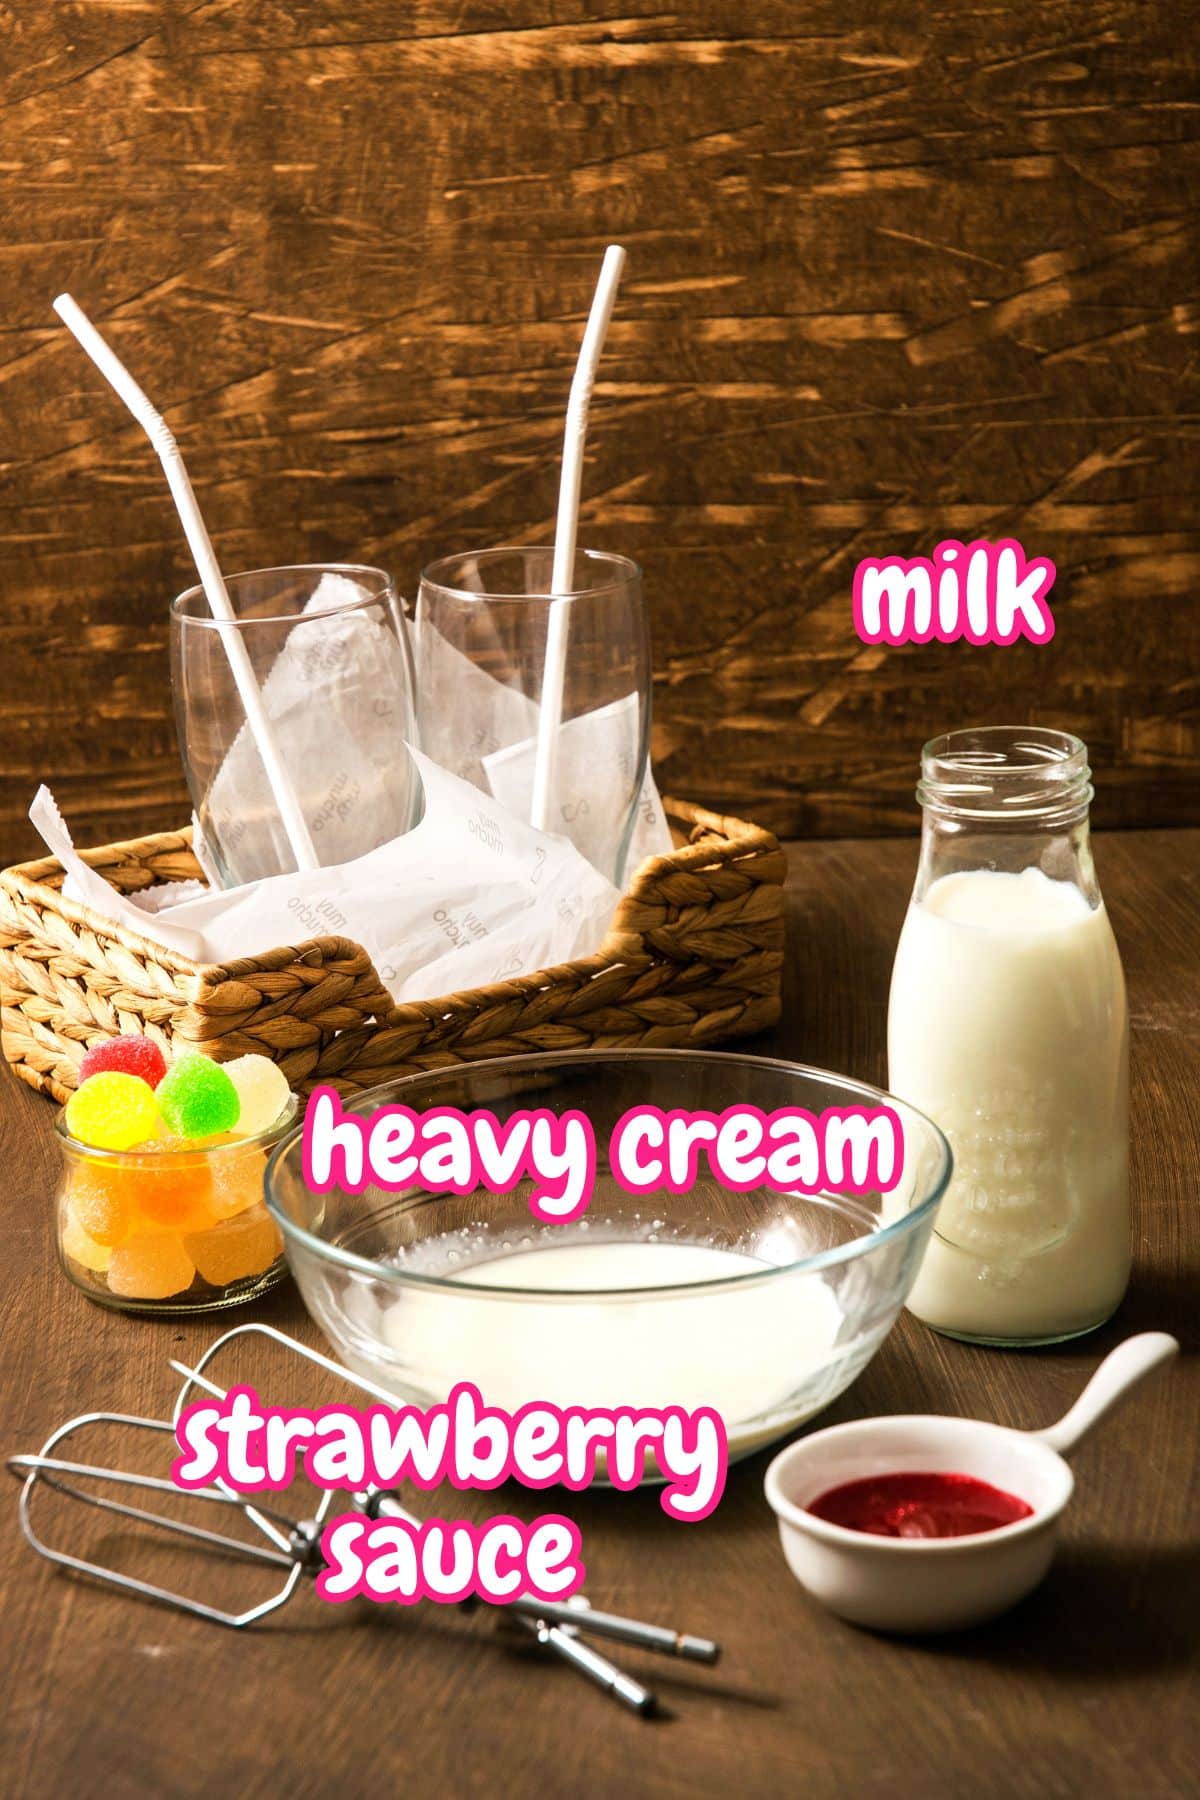
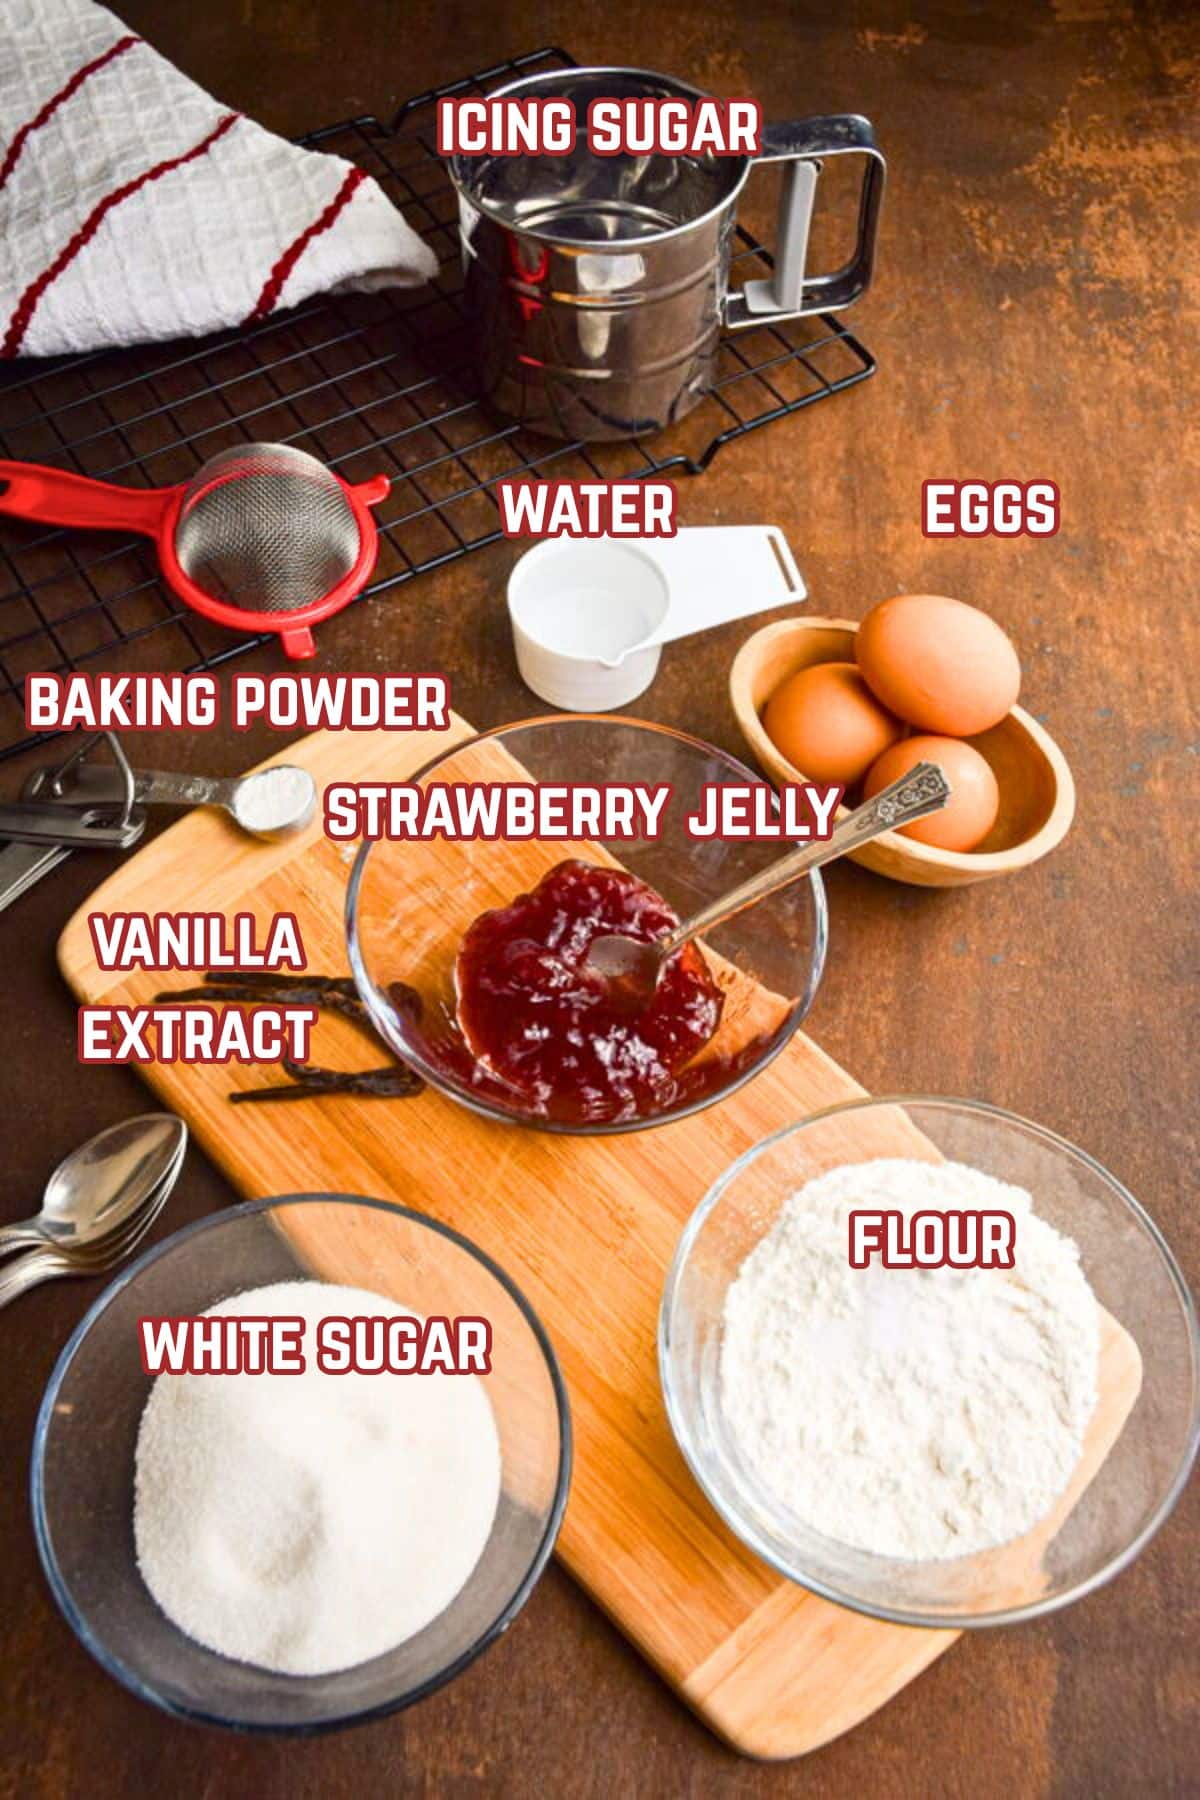
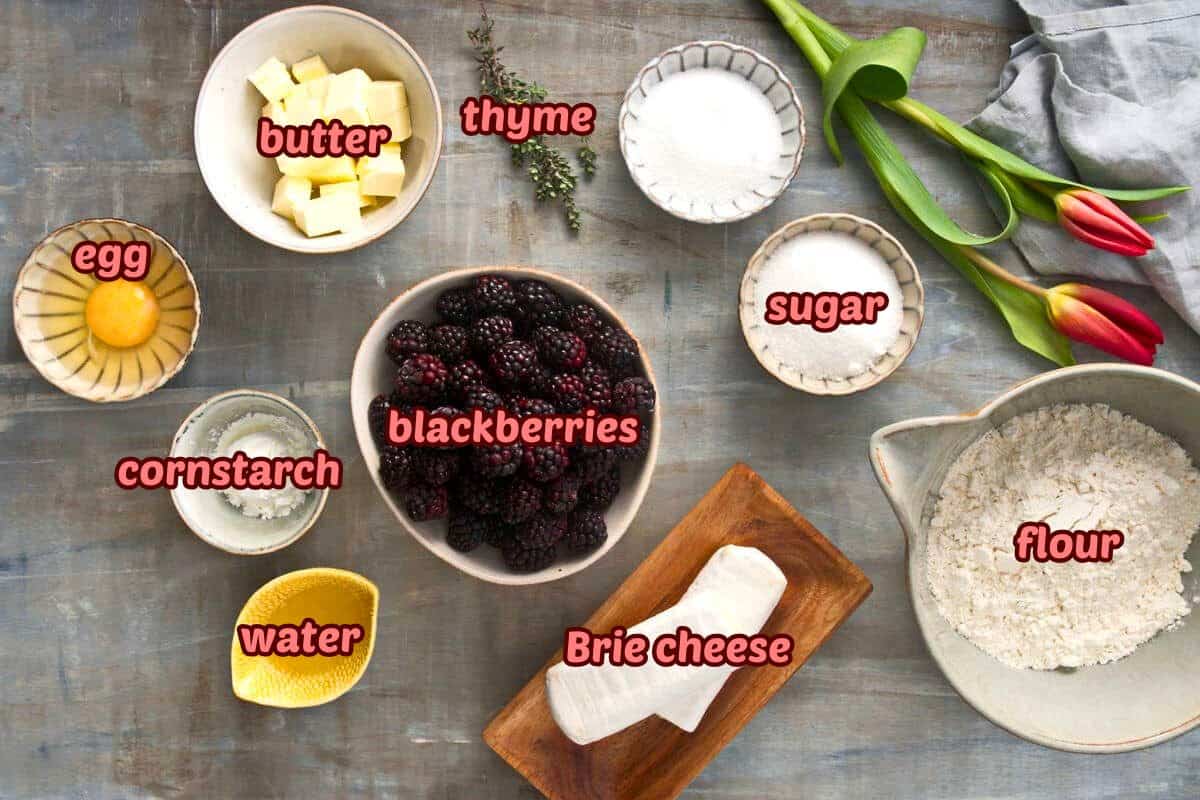
🍓 Ingredients
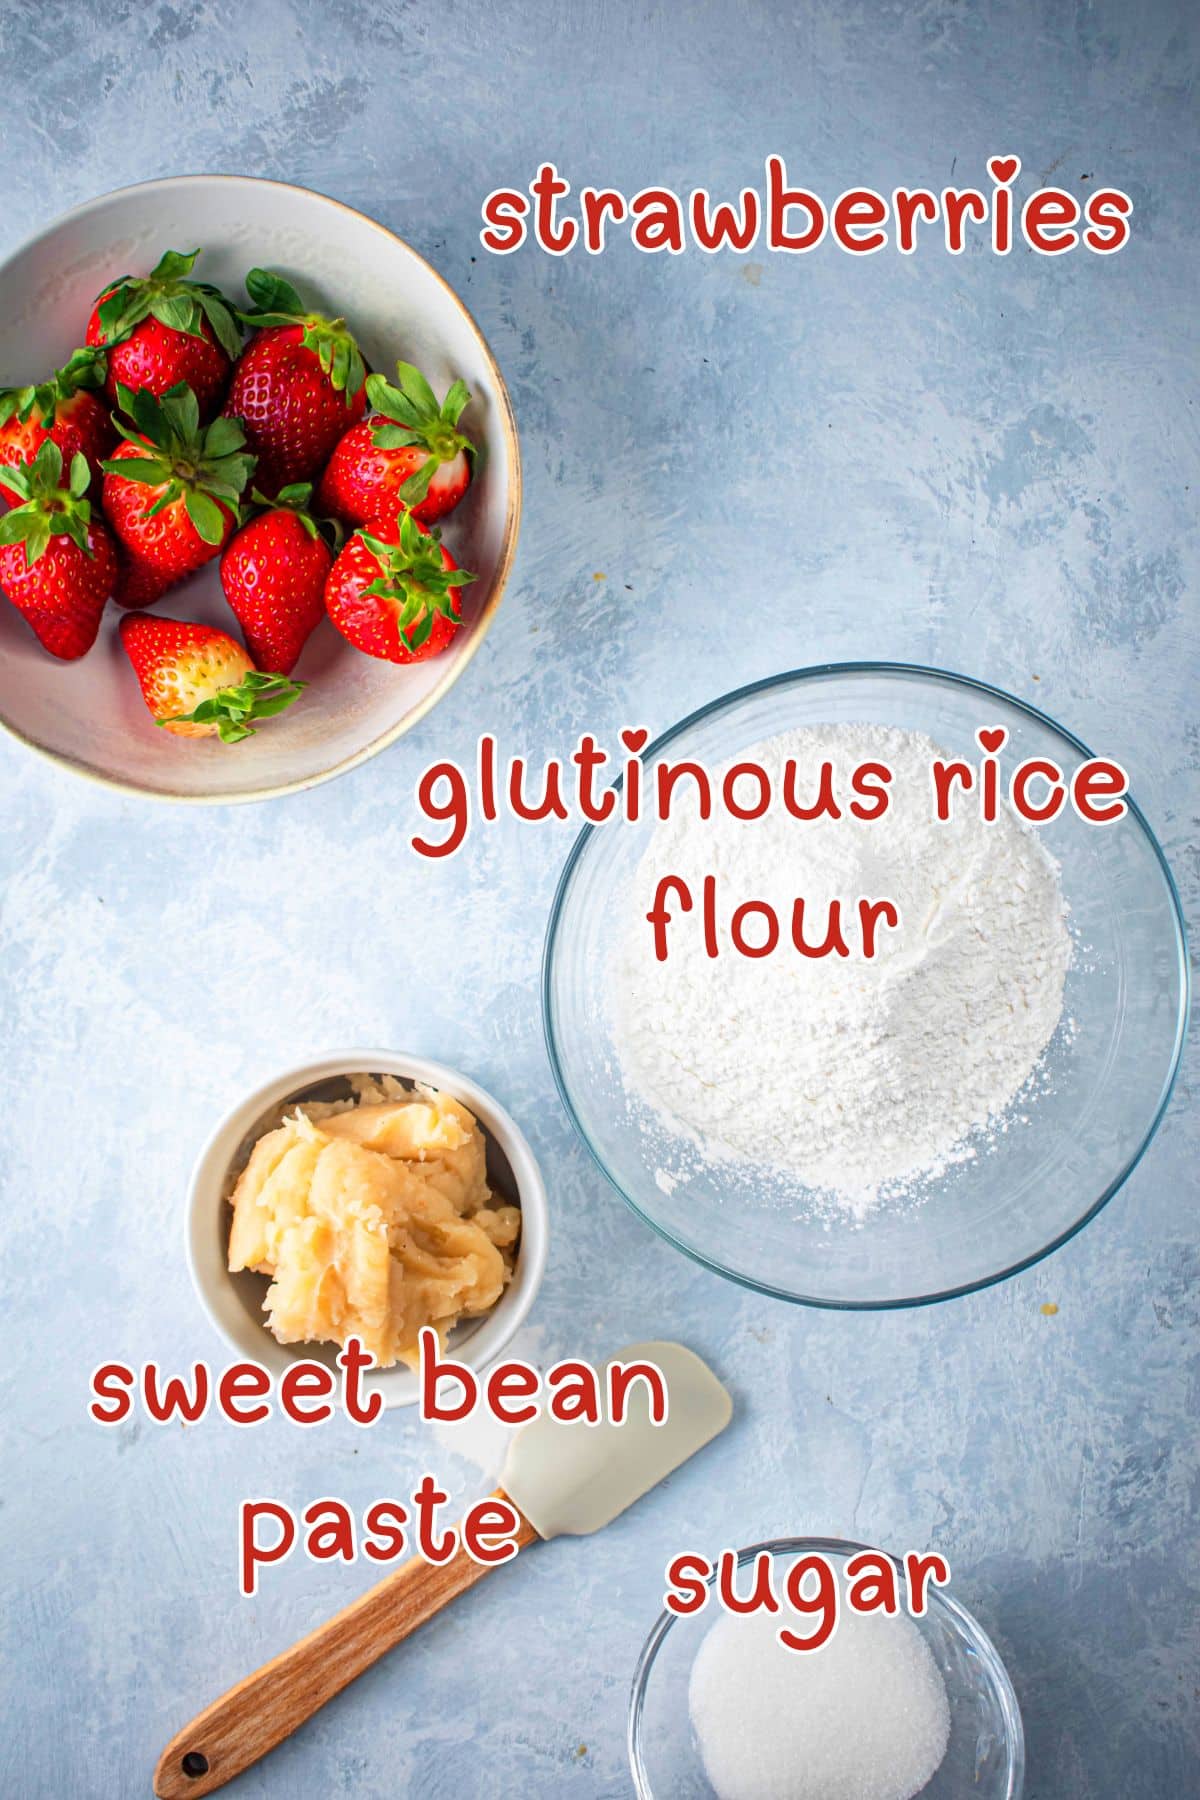
- strawberries - I especially love making this in the spring and summer when strawberries are in season. Because we are eating them fresh, you want them to be nice and ripe and sweet.
- glutinous rice flour - Mochiko or Shiratamako both work for strawberry mochi. Premium Shiratamako is more ideal as it dissolves very easily and it's easier to knead but harder to come by and more expensive. If you want to get more adventurous, you could add a little matcha powder to the mixture to give it some flavor and color.
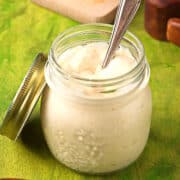
- sweet bean paste - Although sweet red bean (azuki) paste is easier to find online, I like to use white bean paste, also known as Shiroan (or Shiro-an) in Japanese. You can find it at specialty Asian stores or you can make your own from scratch. One great thing about using white bean paste, is that it helps hide small imperfections; if the paste layer ends up a little thicker on one side of the strawberry, it tends to blend right in and is hardly noticeable once everything is wrapped up.
- cornstarch (not pictured) - Mochi is a very sticky dough, so cornstarch is used to help work the dough without all the sticking.
*See recipe card for ingredient amounts.
Chef's Note: Before you begin, make sure the white bean paste has a consistency that is thick but spreadable. If it's more on the runny side, chill it in the freezer until it isn't runny (the amount of time it takes will depend on the paste, so check it every 30 minutes). On the other hand, if it's too thick, work at it with a spoon or fork, mashing it around until it's more spreadable.
🍡 How to Make Strawberry Mochi
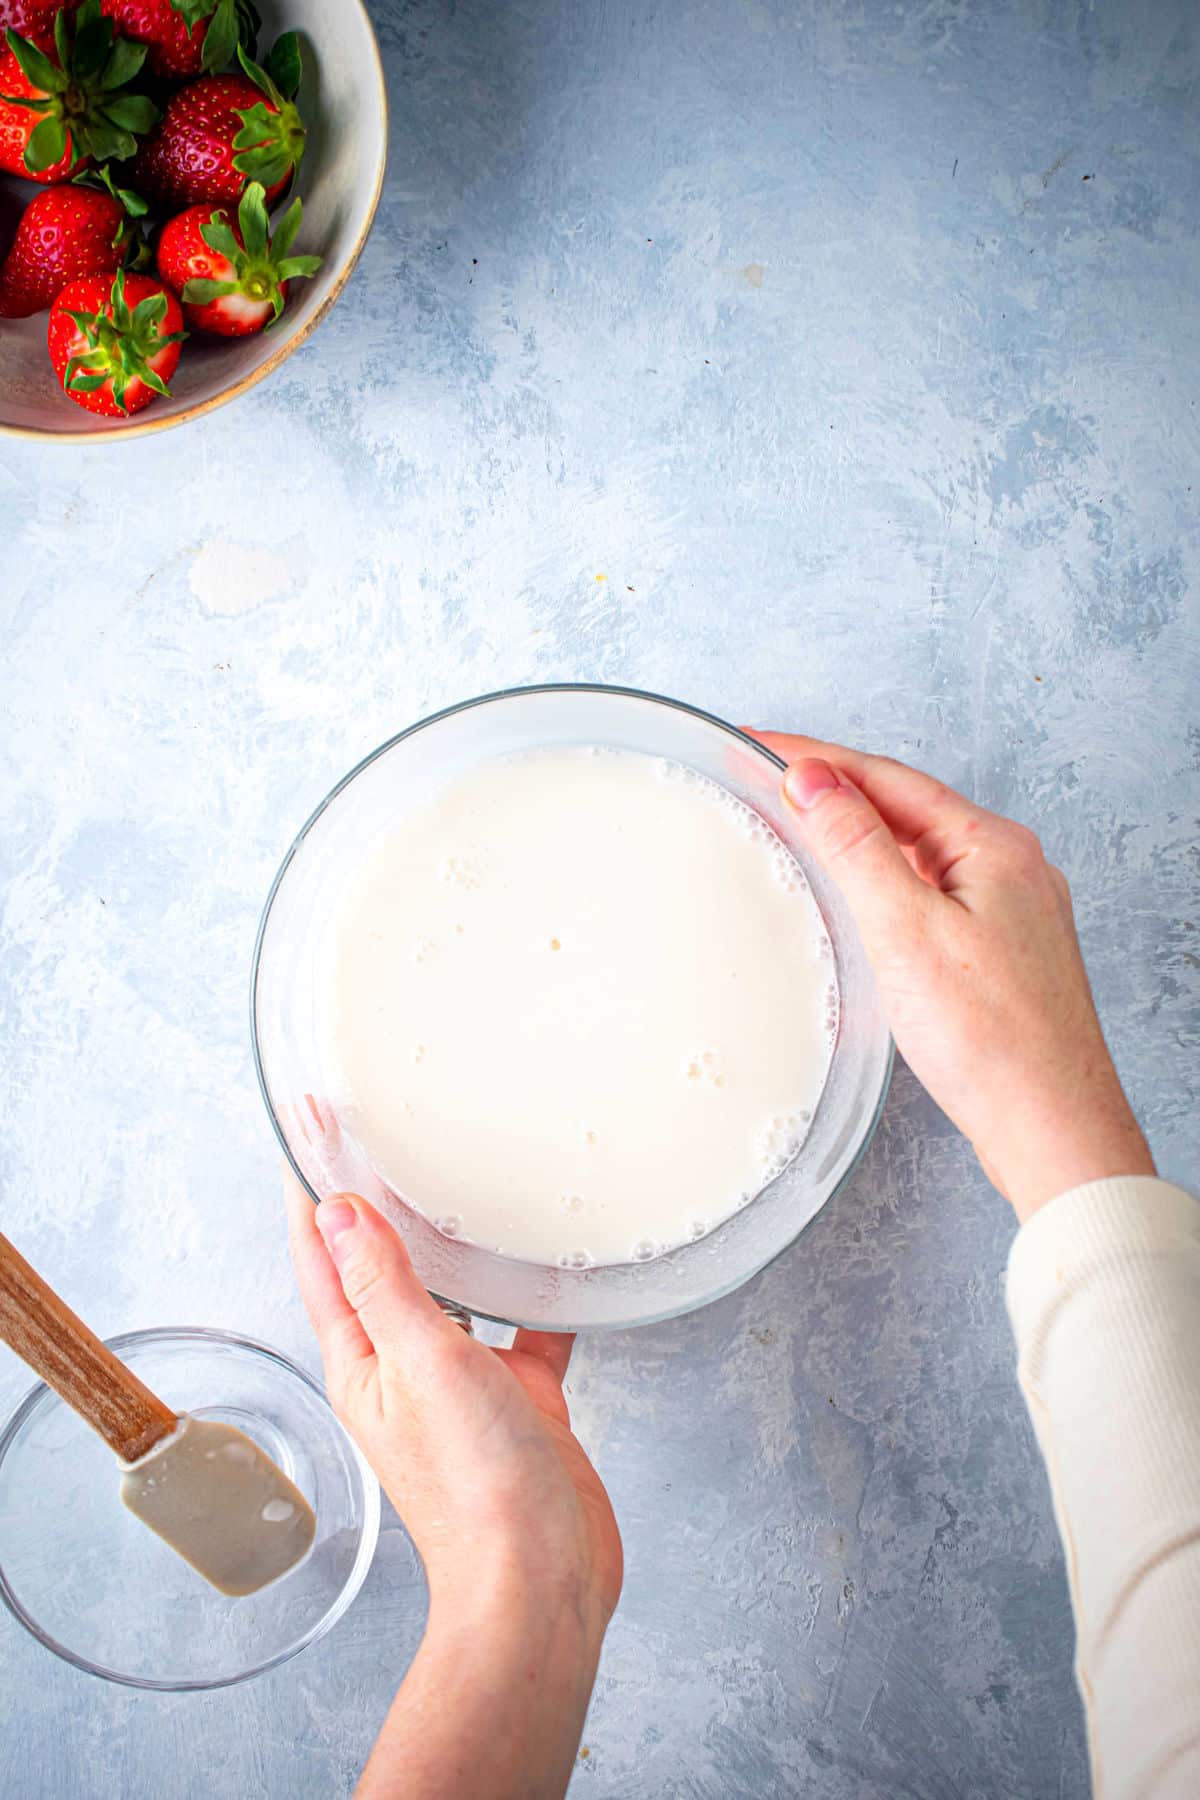
Step 1. Combine dough ingredients. Mix the glutinous rice flour, water and sugar in a microwaveable bowl, until dissolved. Cover with plastic wrap, microwave for 1 minute, remove from the microwave and give it a stir.
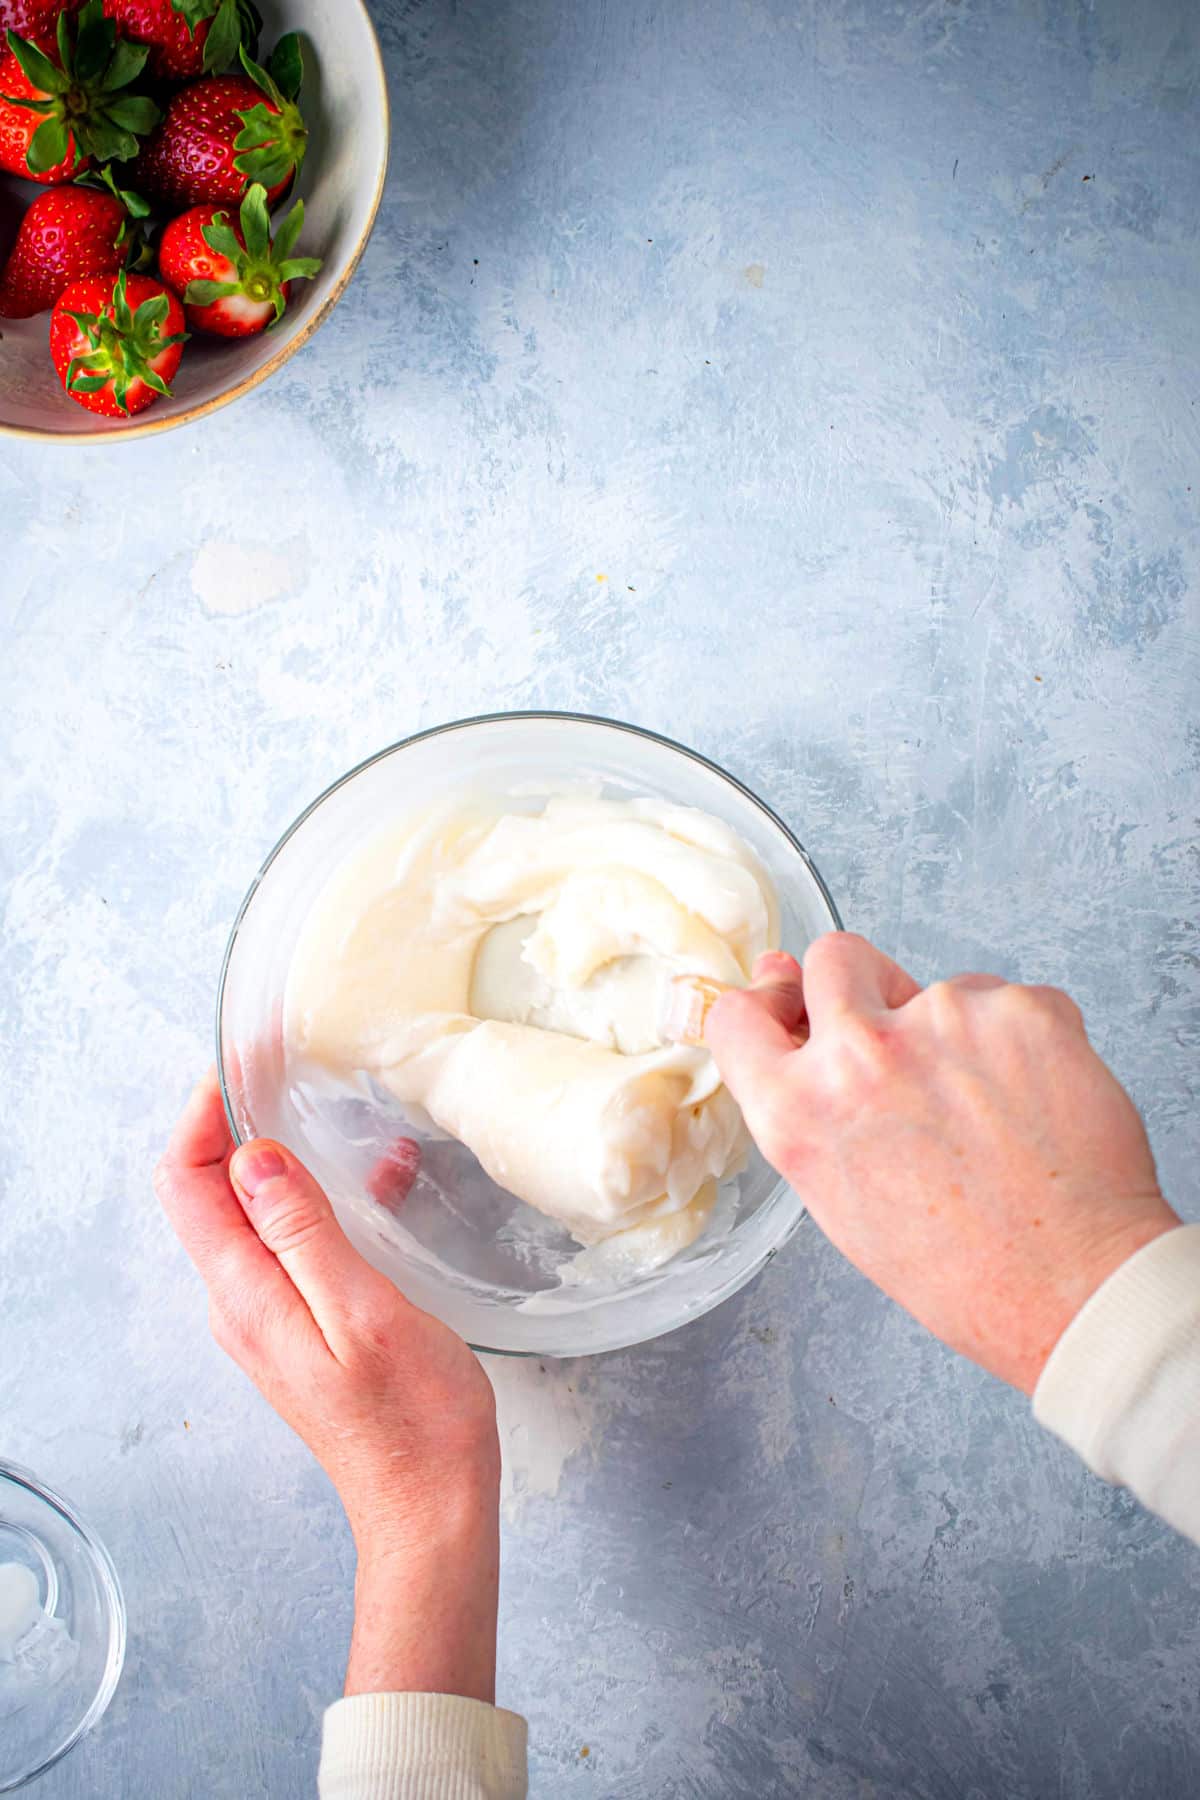
Step 2. Steam the dough. Recover the bowl and cook for 1 more minute. Stir again and cook for another minute (for a total of 3 minutes), until the dough is thick and sticky. Let it cool down.
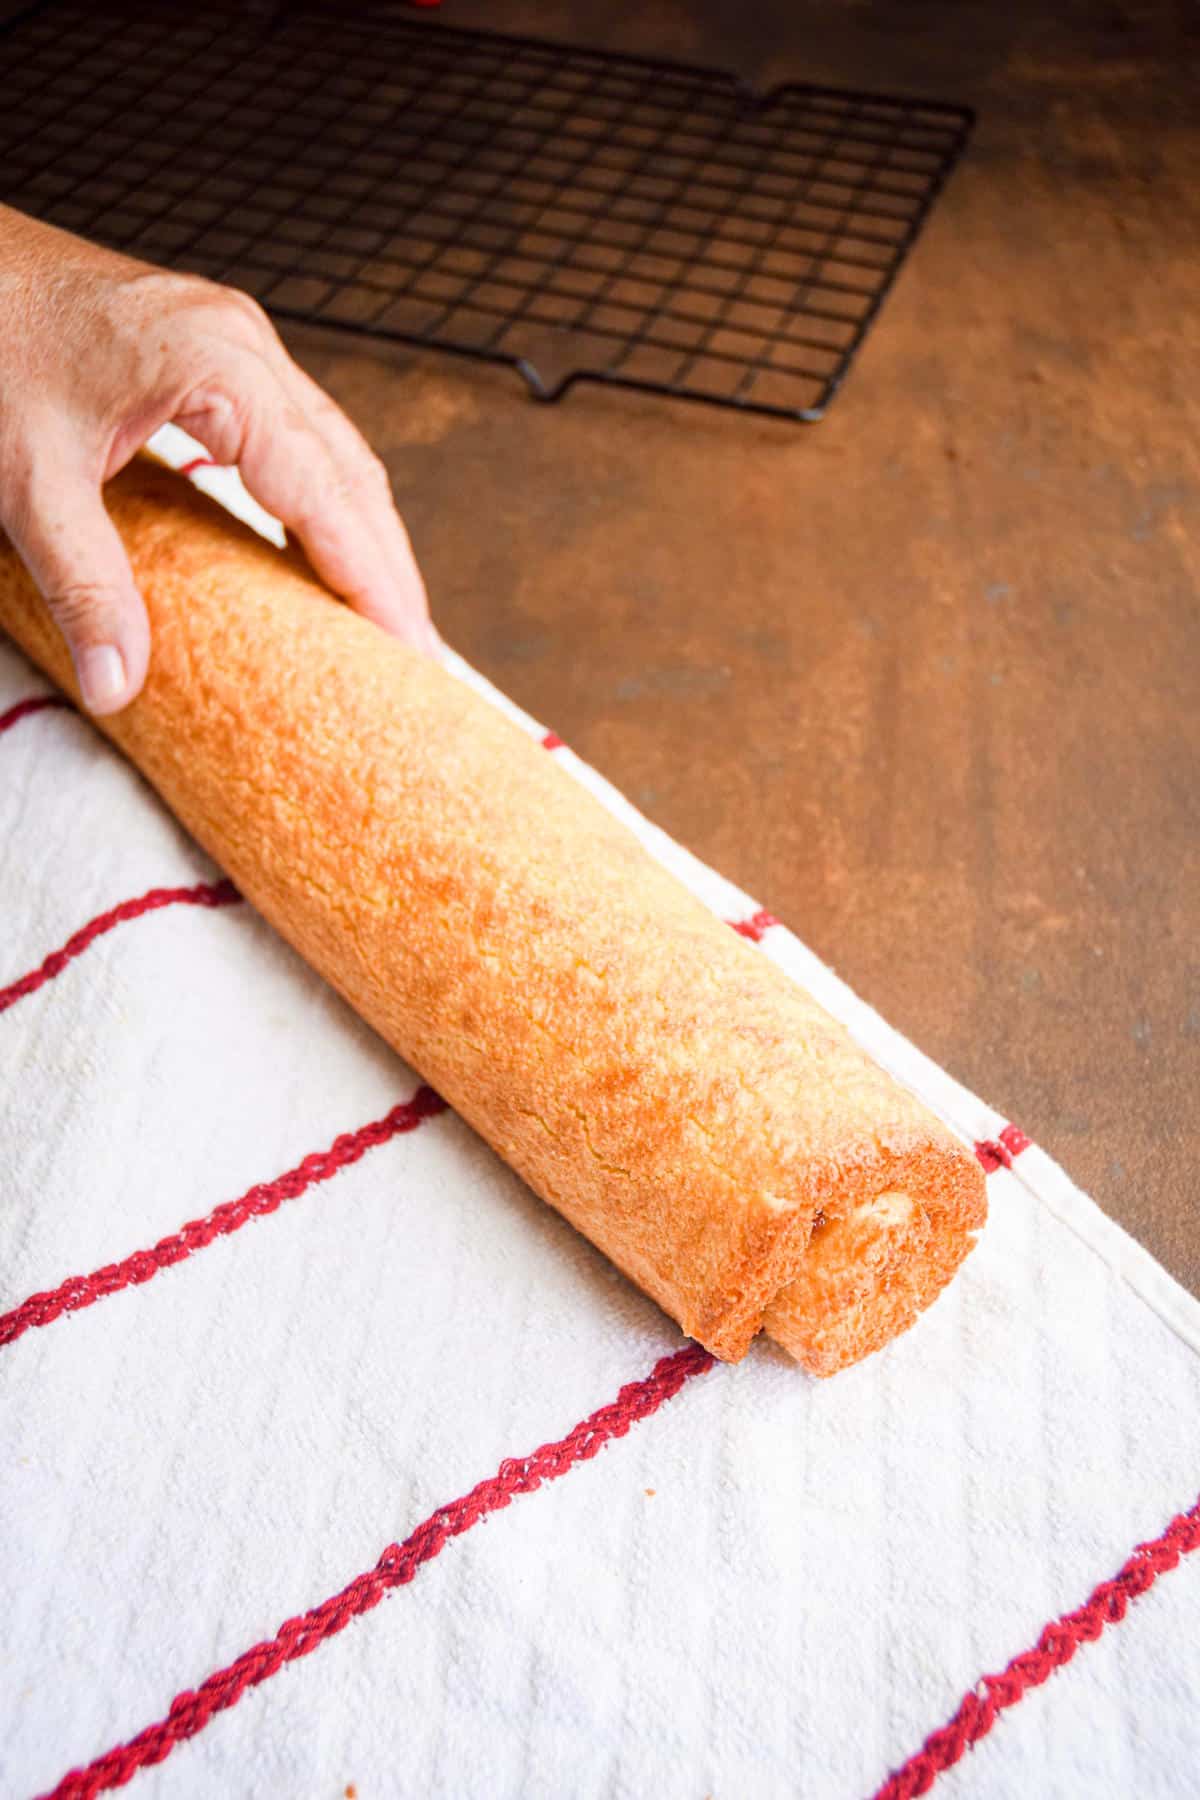
Step 3. Transfer and roll. Transfer the dough to a surface that has been sprinkled with enough cornstarch so that the dough doesn't stick to it. Roll into a large cylinder.
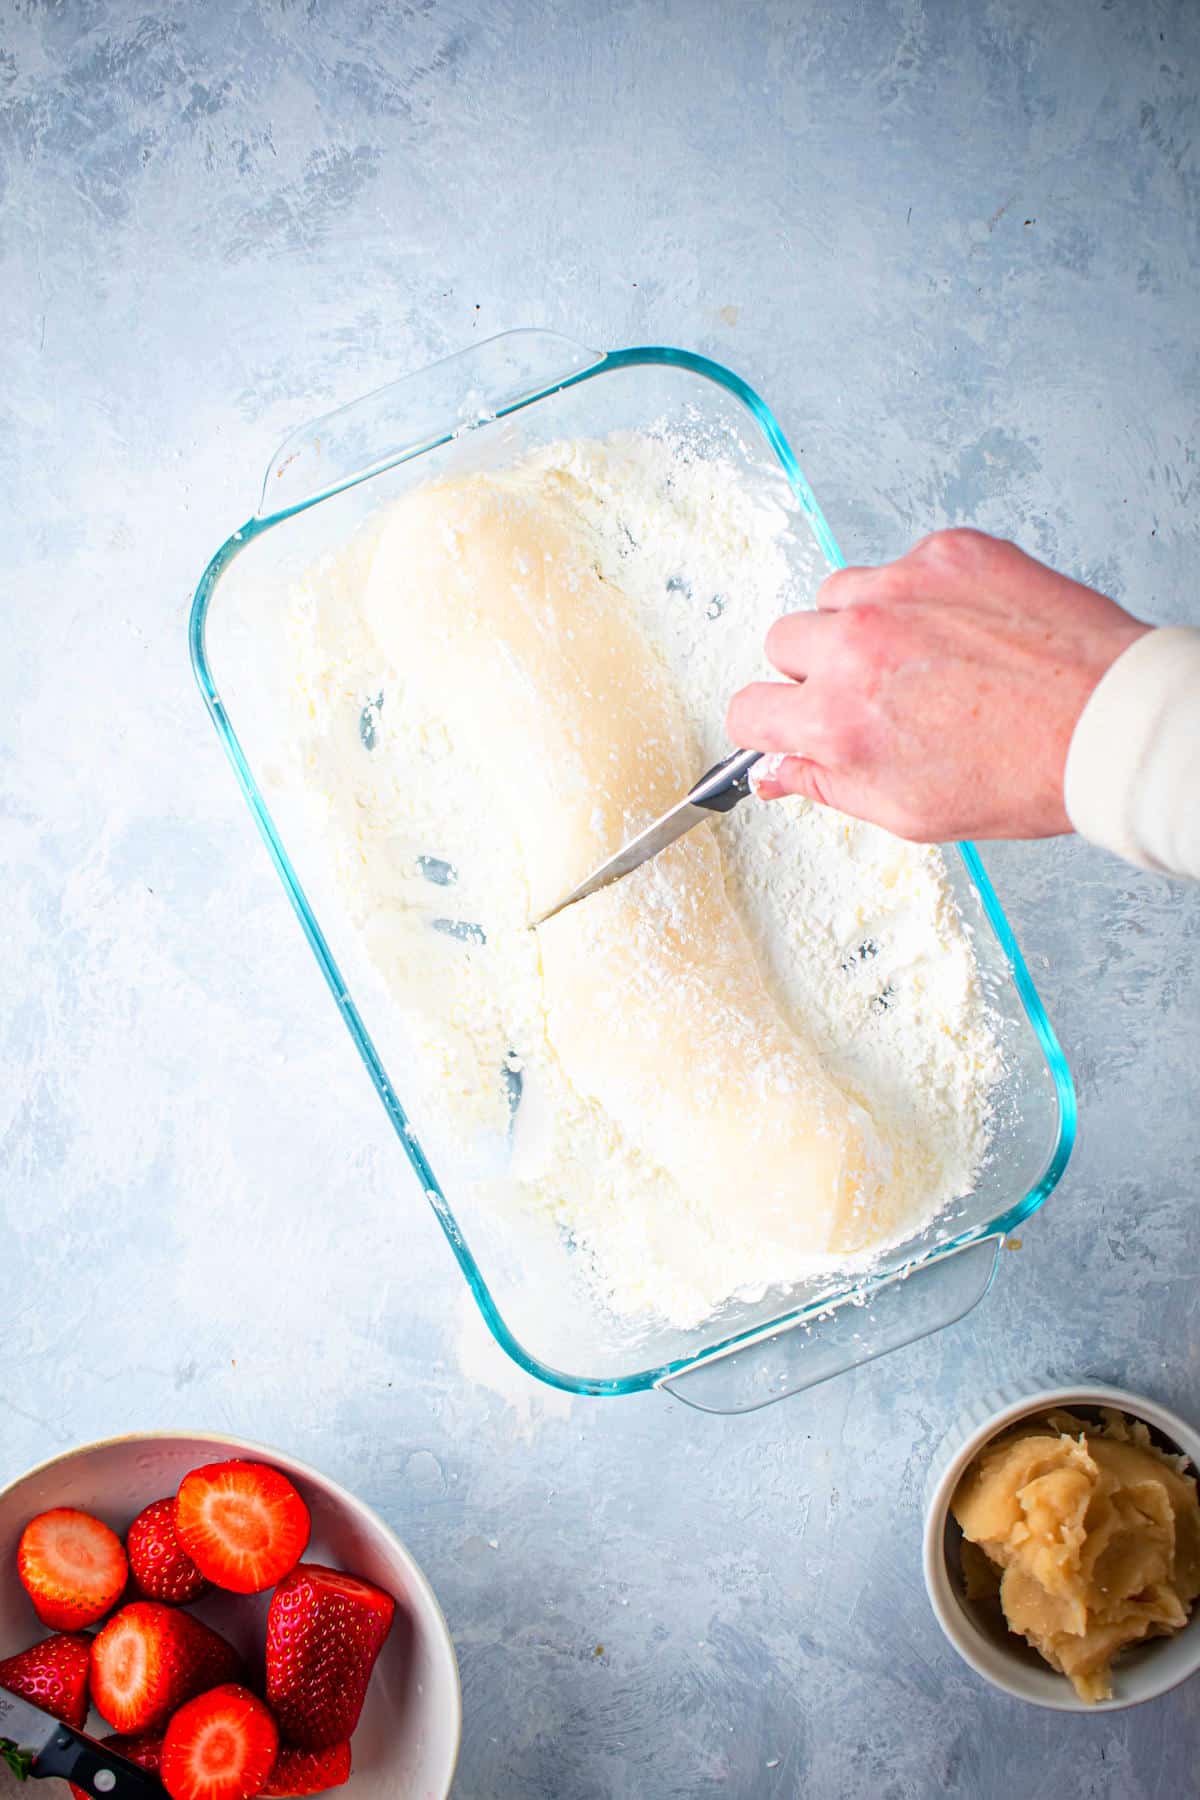
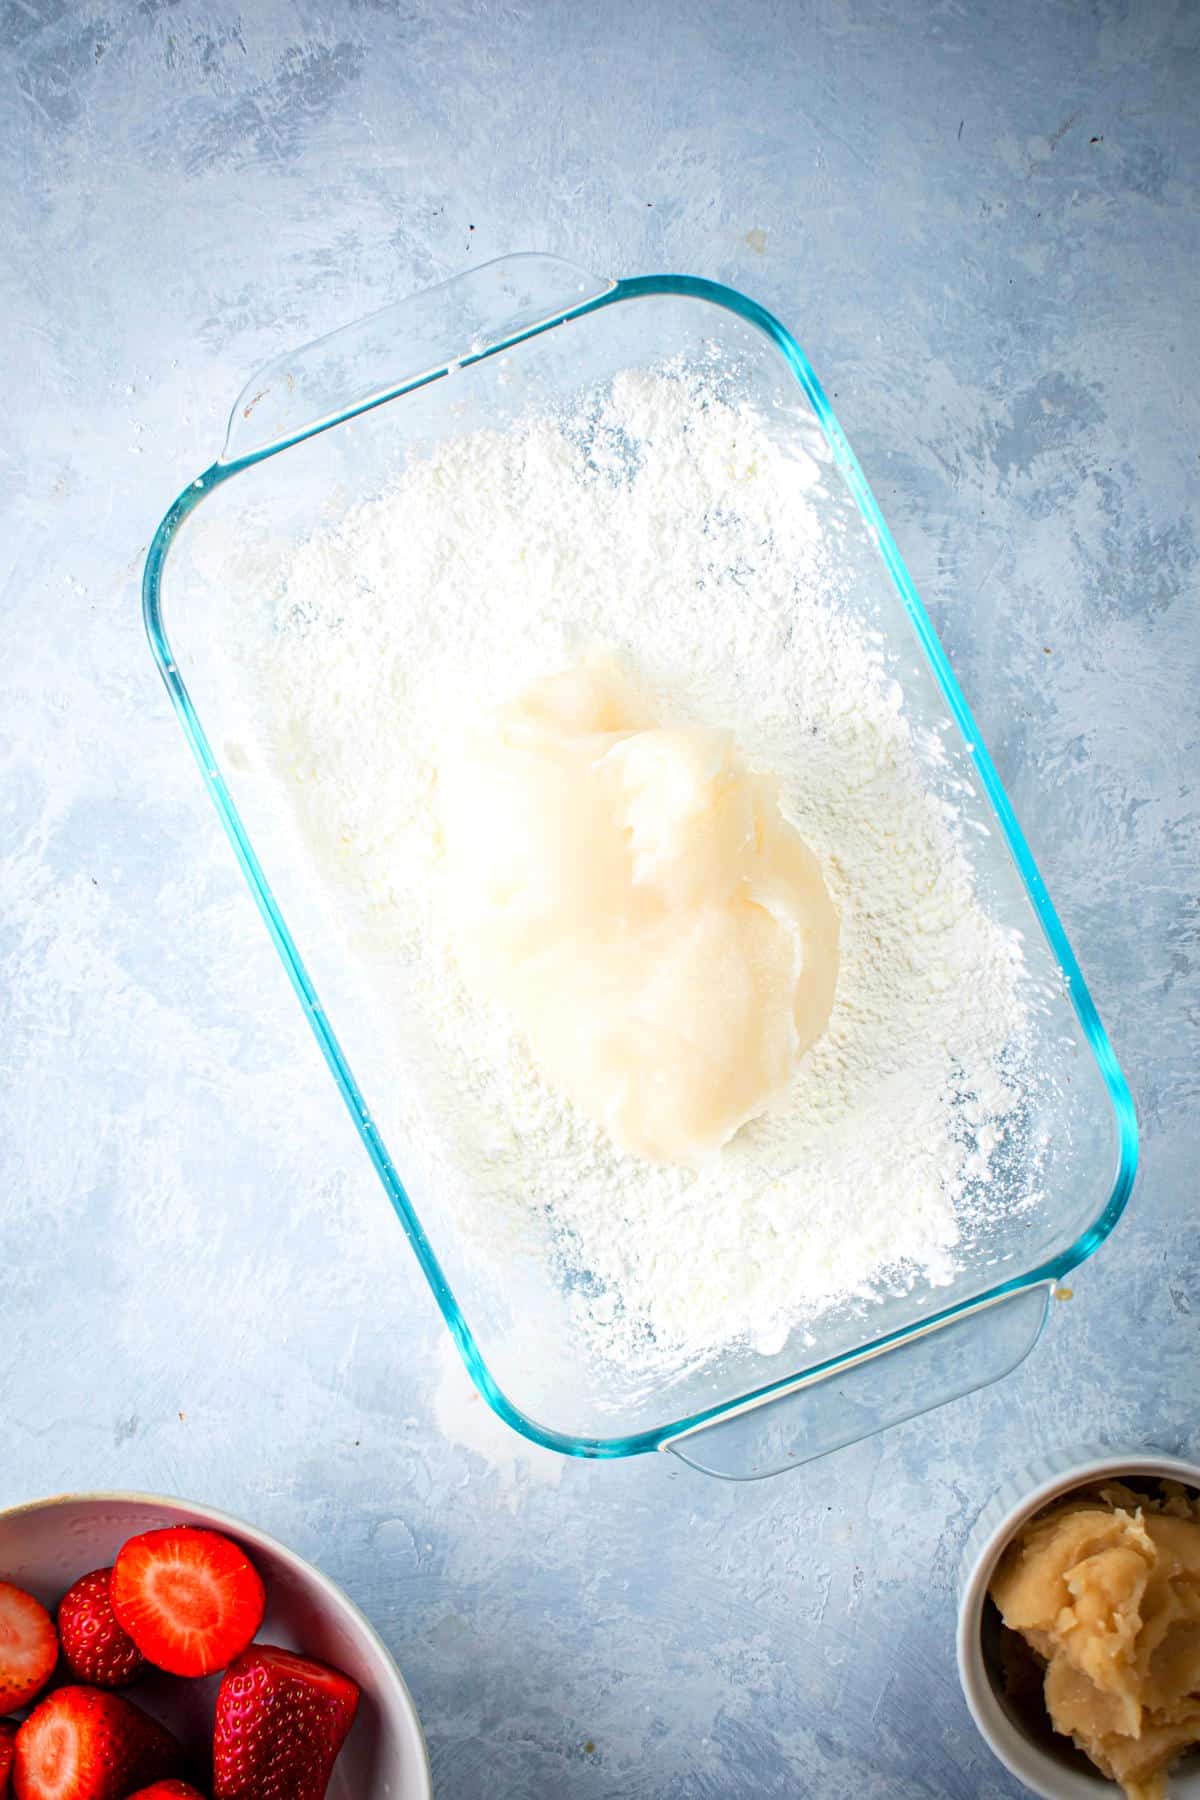
Step 4. Slice. Cut the cylinder into 12 equal sections and form them into balls.
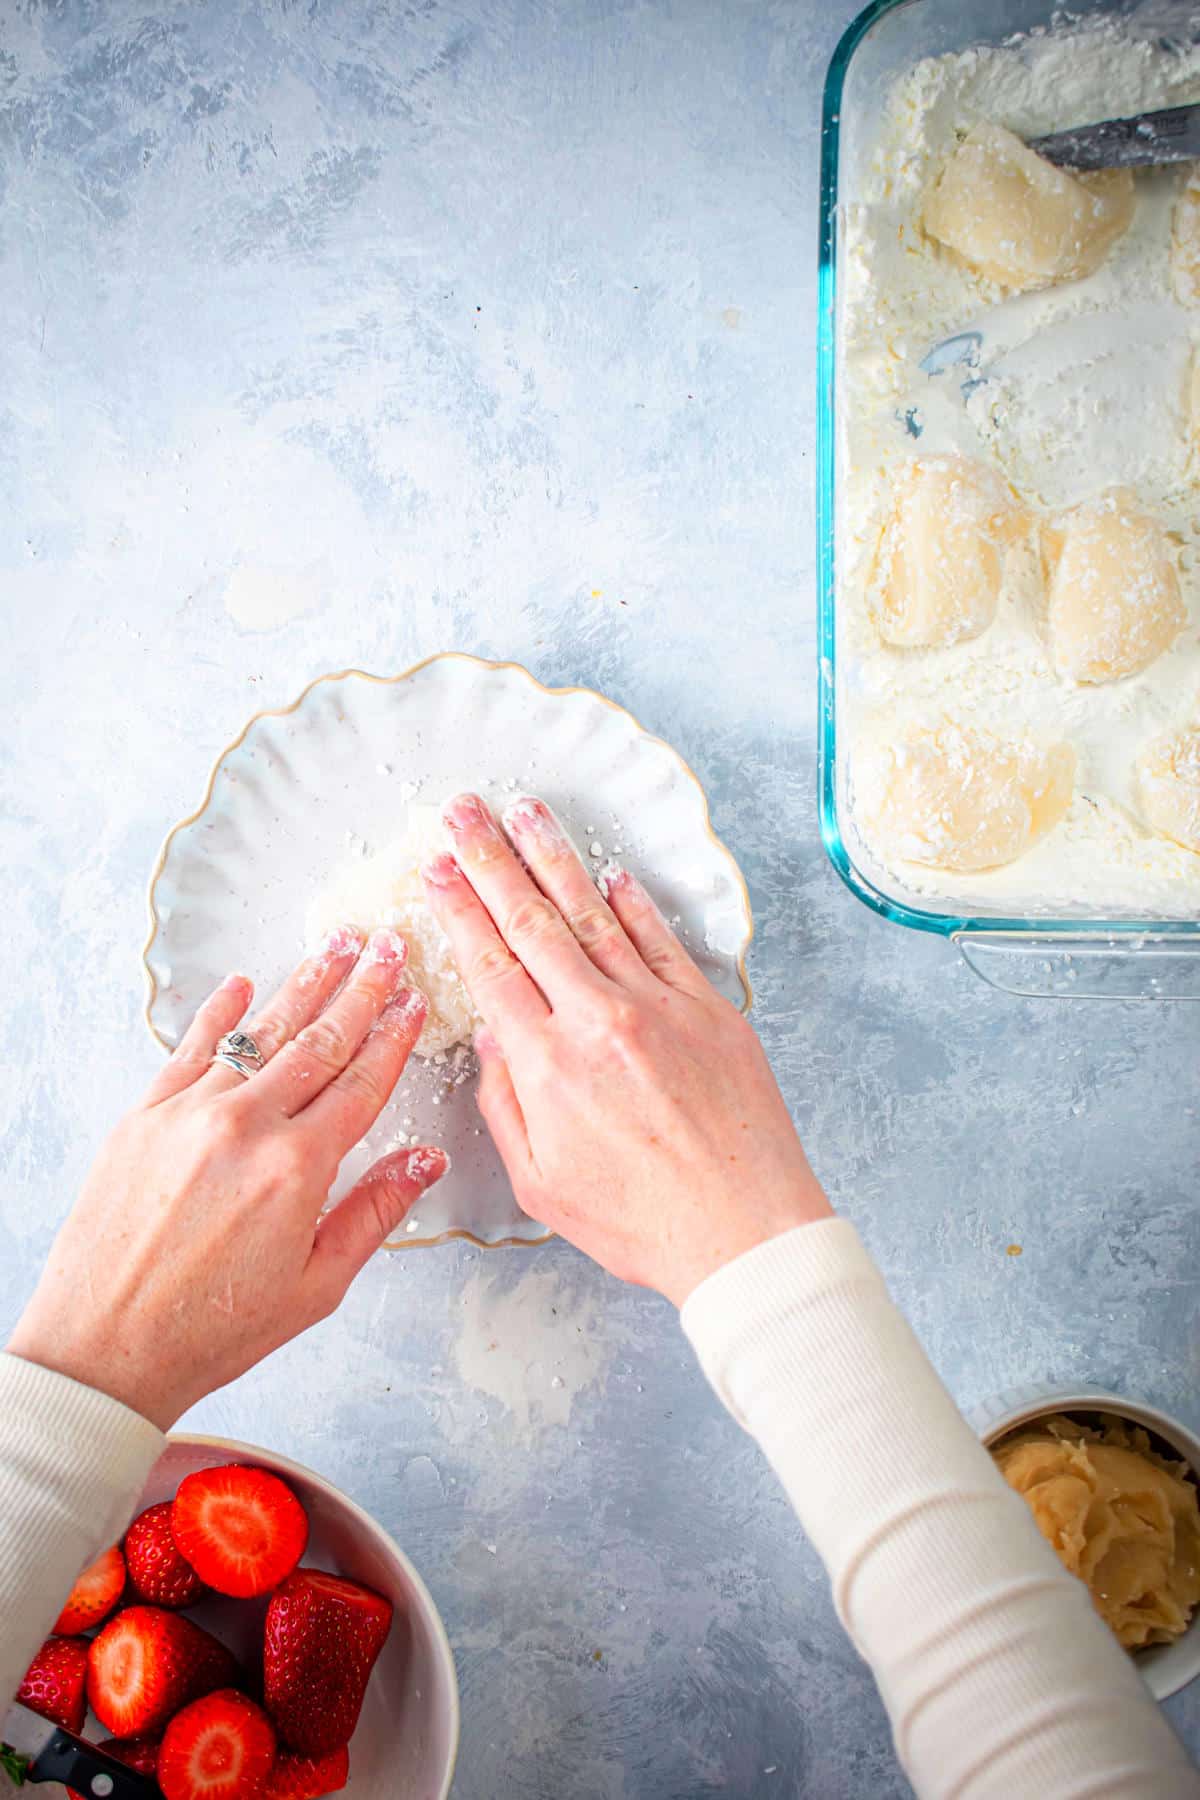
Step 5. Flatten. Using your hands, form a flat, thin pancake (about 3"-4" diameter) with each mochi dough ball.
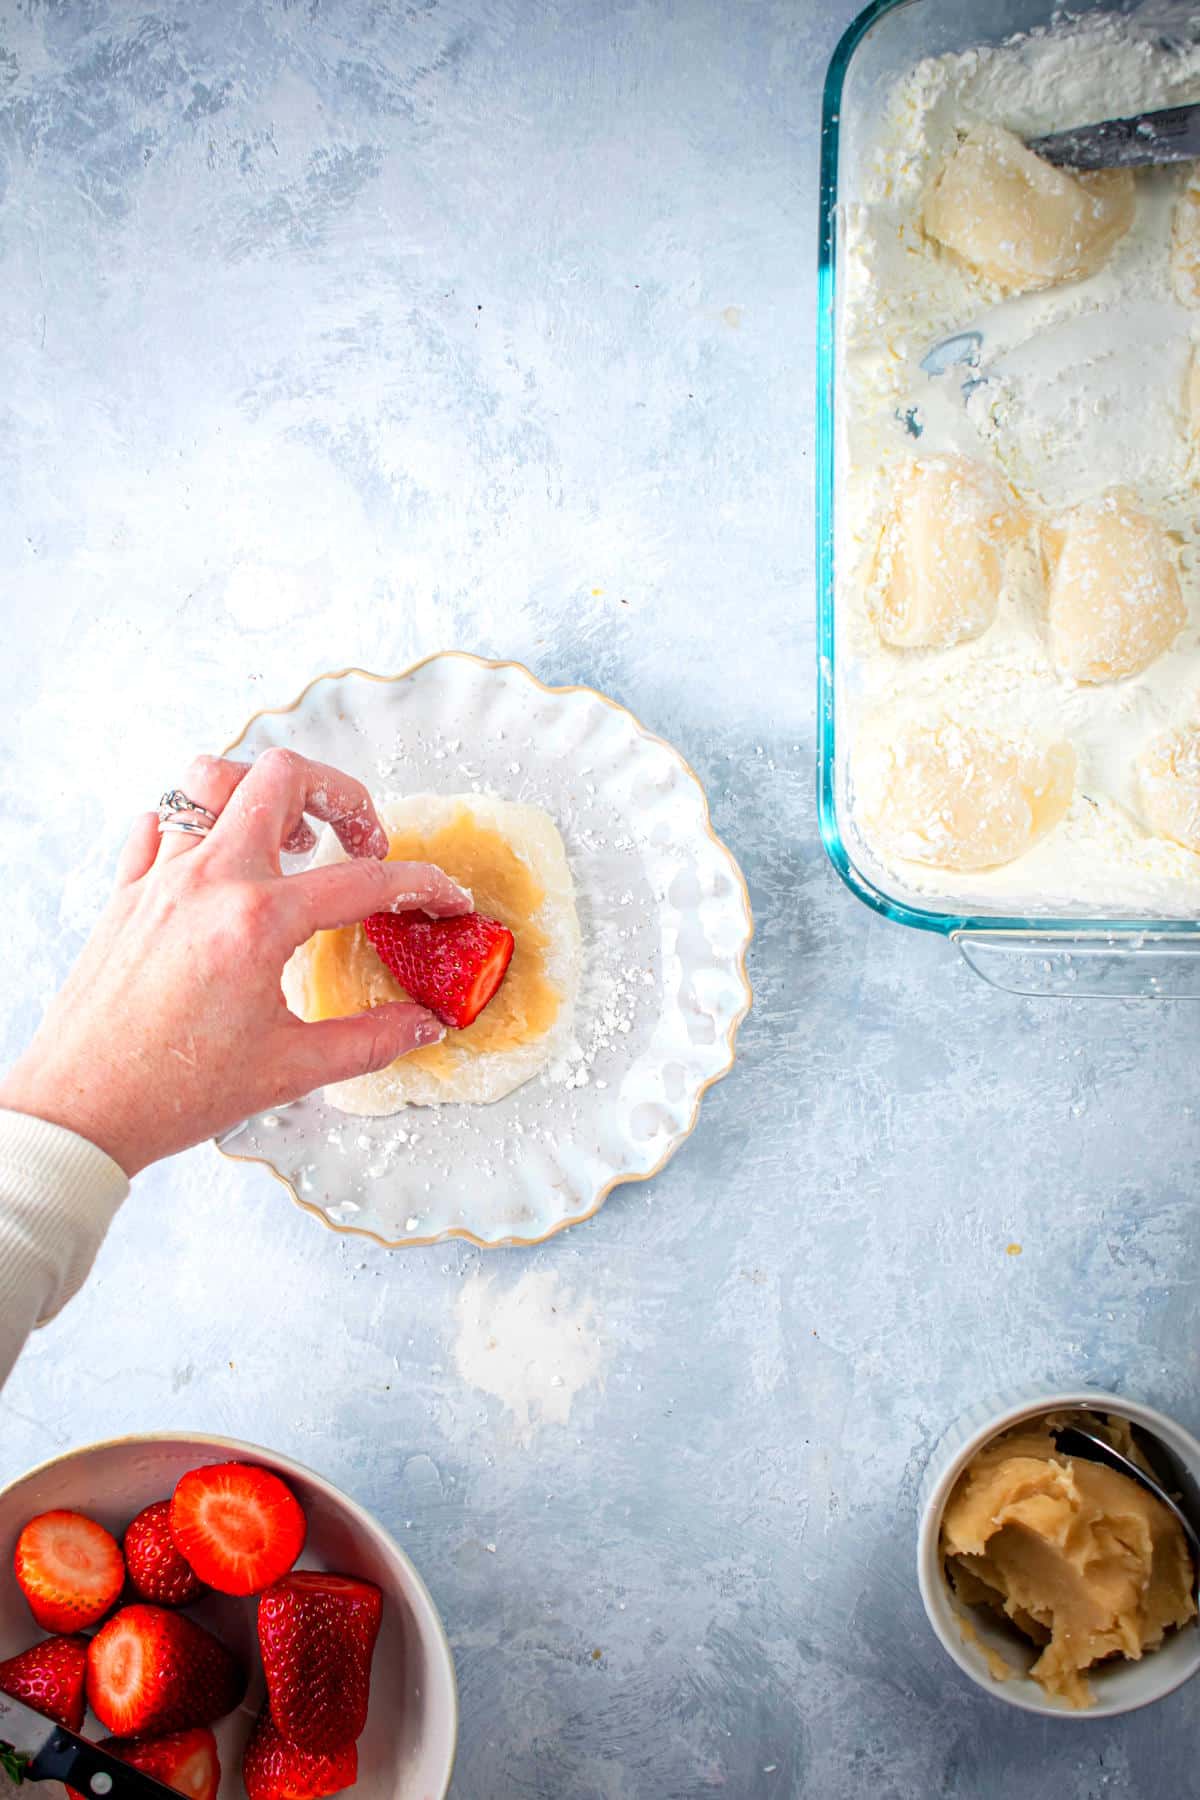
Step 6. Add paste. Spread about 1 tablespoon of the white bean paste onto each flattened dough ball and add a strawberry to the center.
Chef's Note: Alternatively, you can spread the paste over the strawberry before wrapping it in the mochi dough.
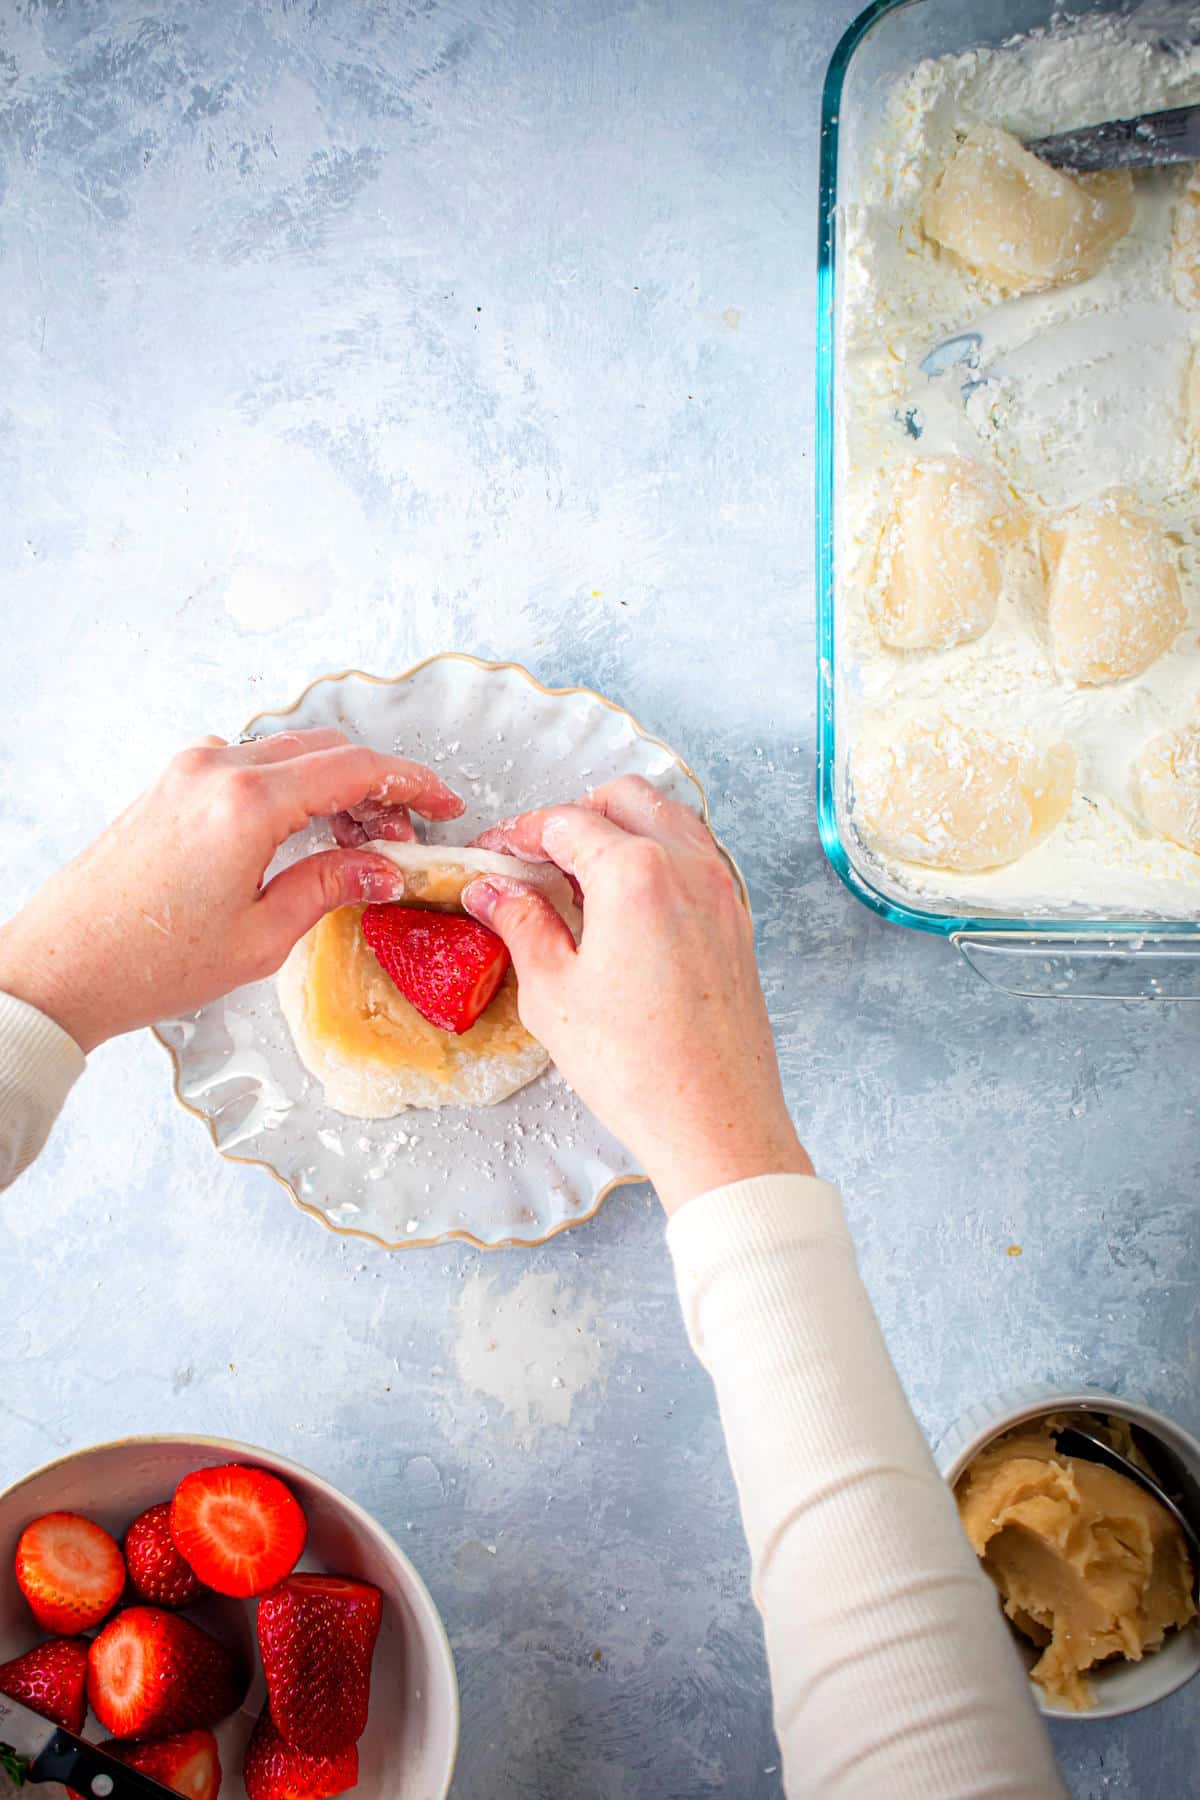
Step 7. Roll up. Close the dough around the strawberry, making sure the seams are on the bottom.
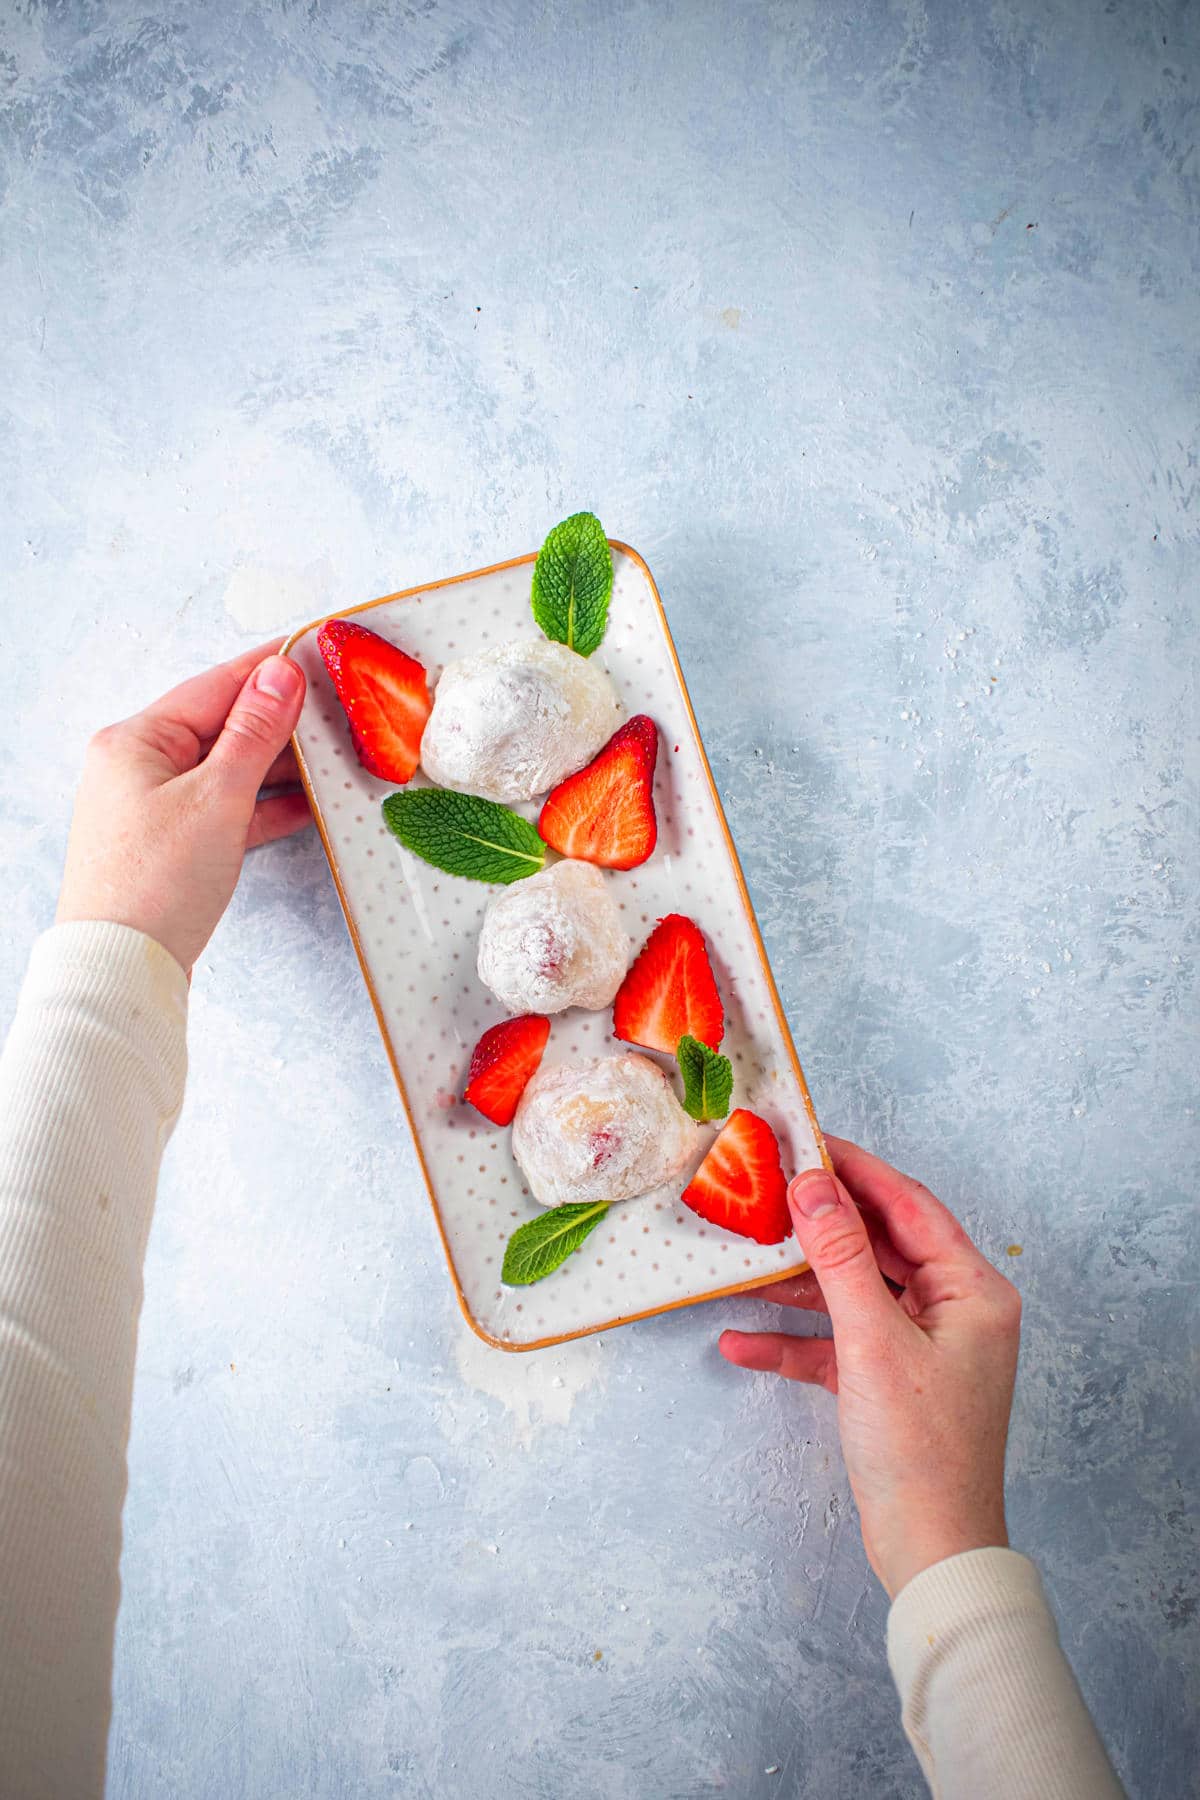
Step 8. Chill & serve. Place in the fridge for 2 hours. Serve the strawberry mochi!
👉 Joss' Top Tip
Make sure your hands are clean and slightly greased with neutral cooking oil to help prevent sticking. Or, you can powder your hands with cornstarch, very frequently as you work with the mochi. Regrease or re-powder your hands for each strawberry mochi.
❓ Strawberry Mochi FAQs
While mochi dough is normally pretty soft and sticky, if it seems completely unworkable and falling apart, you might have undercooked the dough, which was my mistake the first time I made it. Make sure to cook the dough the full 3 minutes, covered, in the microwave. Or, you just need to work with more cornstarch.
Yes! Despite its name, glutinous rice flour is gluten free and so are the other ingredients in this recipe.
No, it might seem raw because of its soft, stretchy, pillowy texture but it is cooked before adding the filling.
They are best if eaten within 1 day as the moisture from the strawberry starts to release and sog up the mochi dough. However, you can keep strawberry mochi in the fridge in an airtight container for up to 1 to 2 days.
You can freeze strawberry mochi, wrapped in plastic wrap and in a freezer bag, for up to 1 month. Thaw in the fridge before eating.
Didn't find the answer you're looking for?
Ask AI to answer based on this specific recipe:
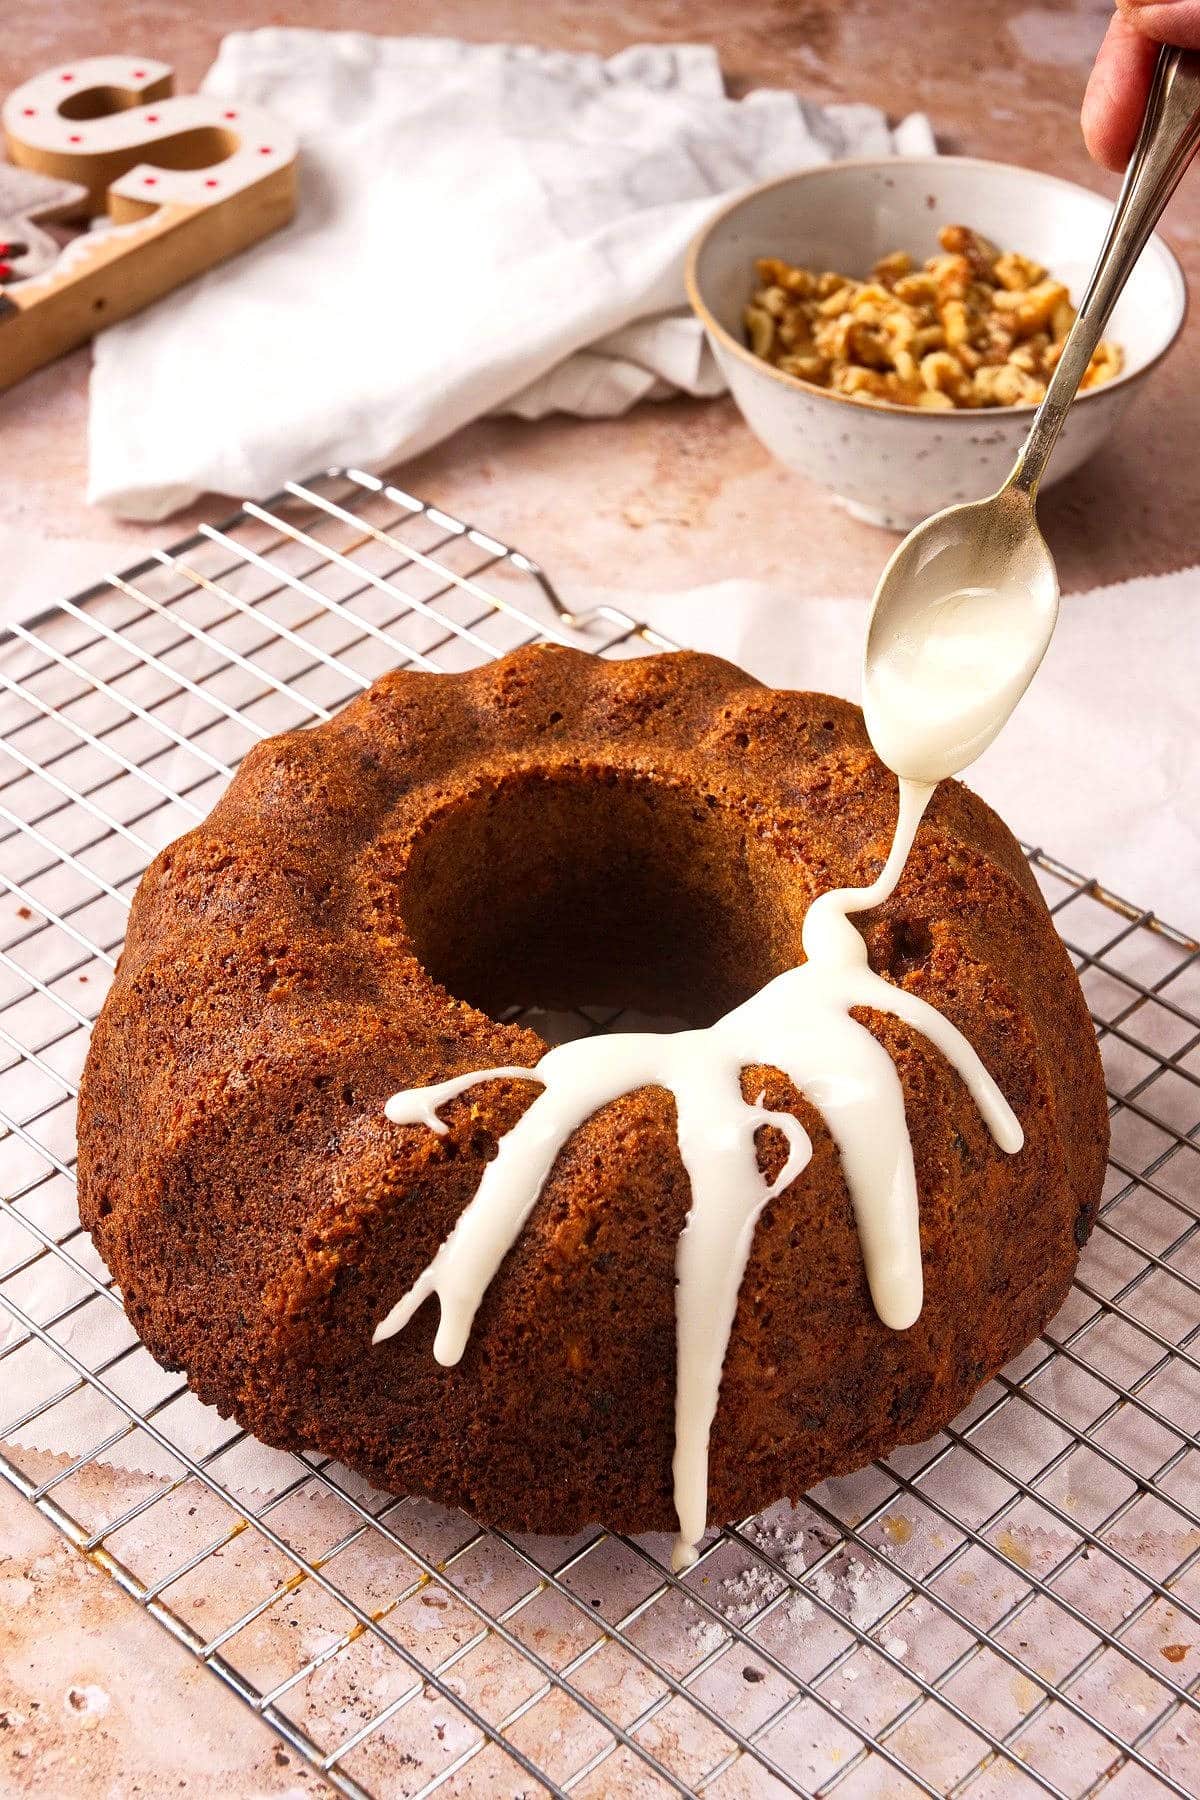
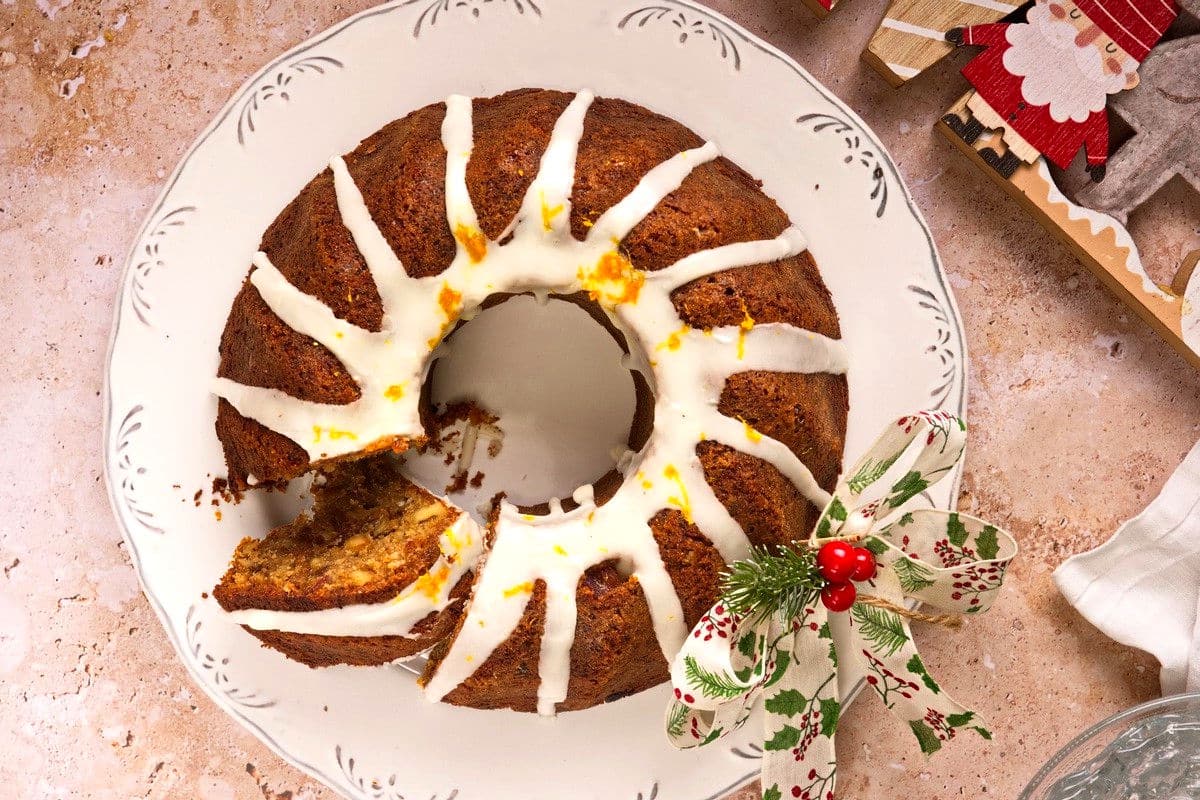
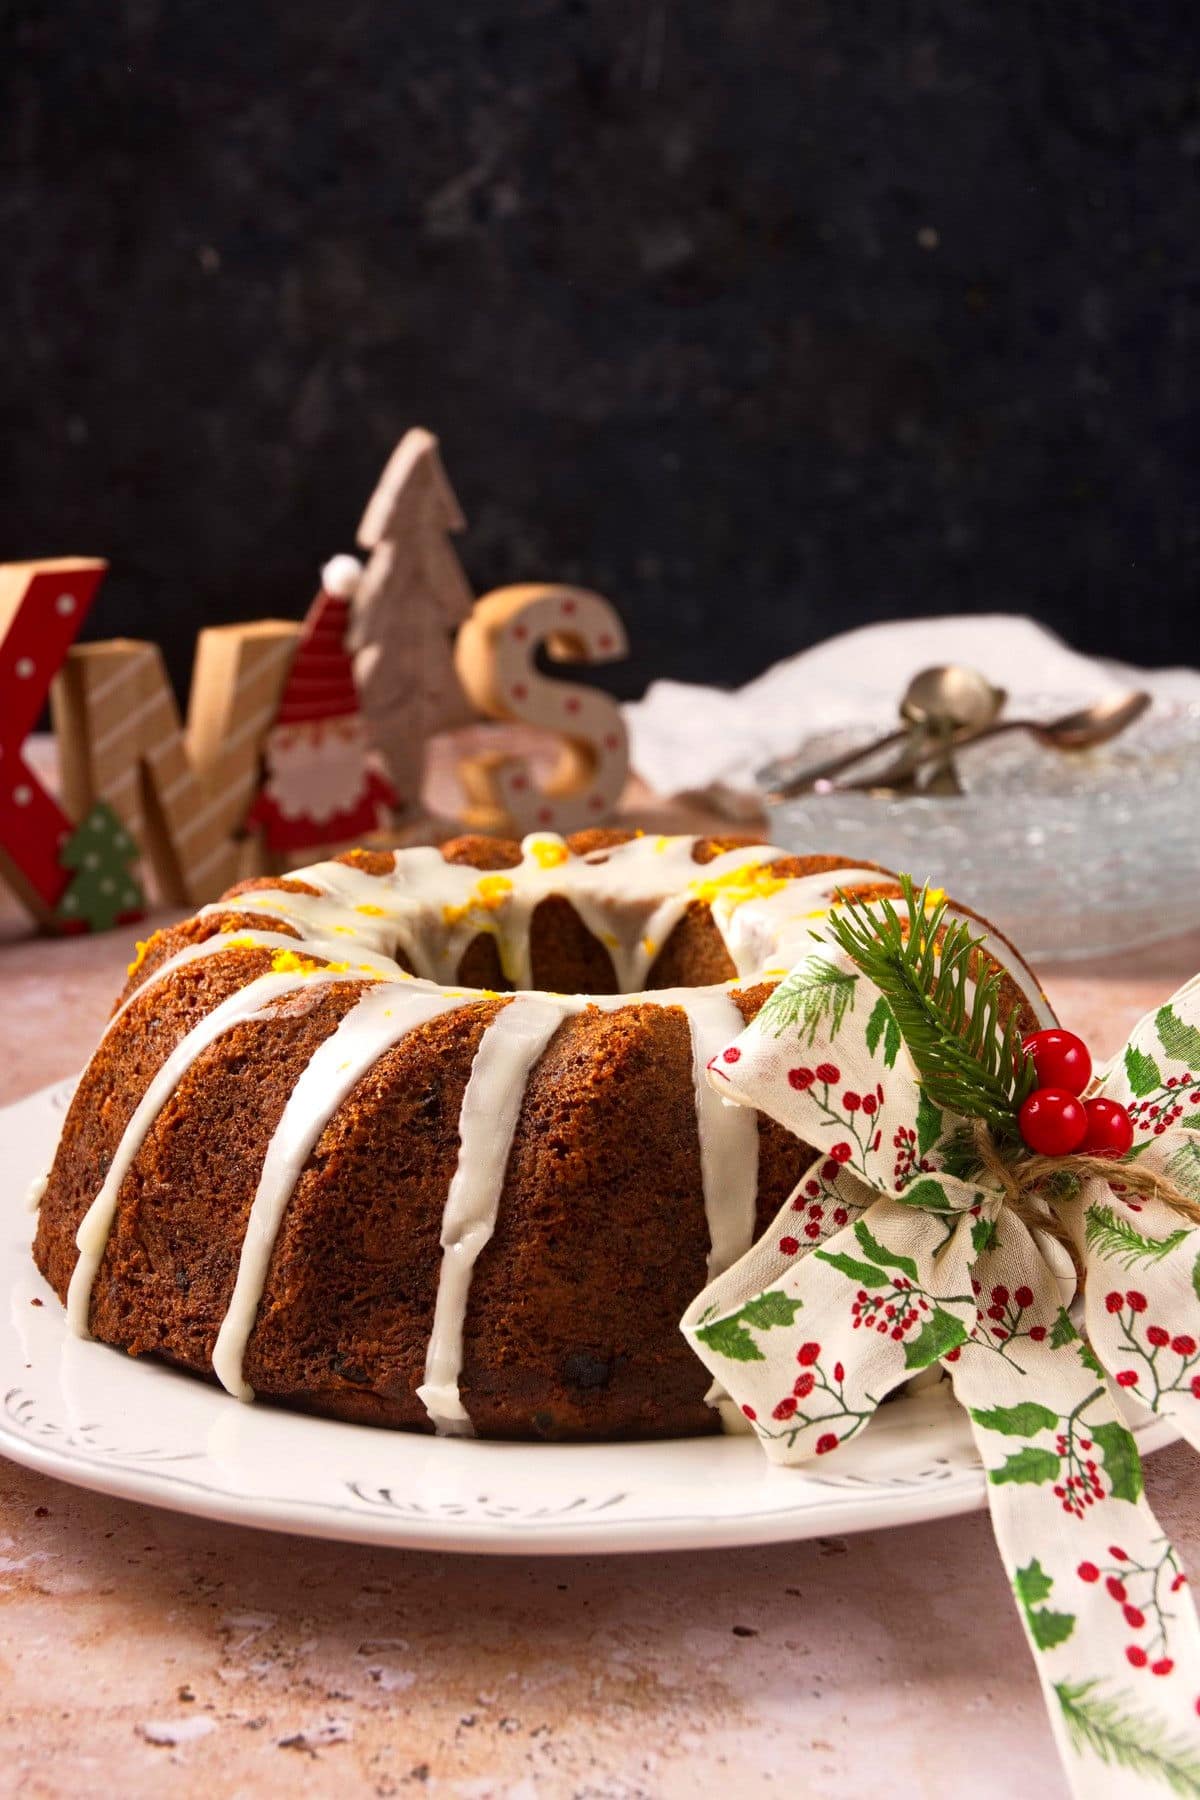
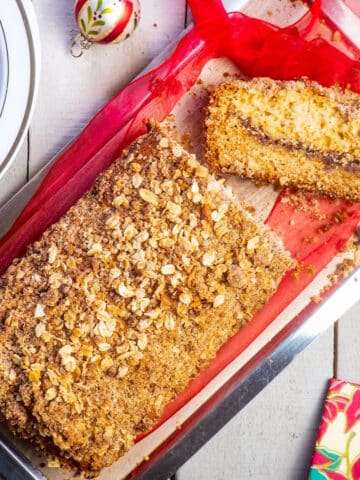
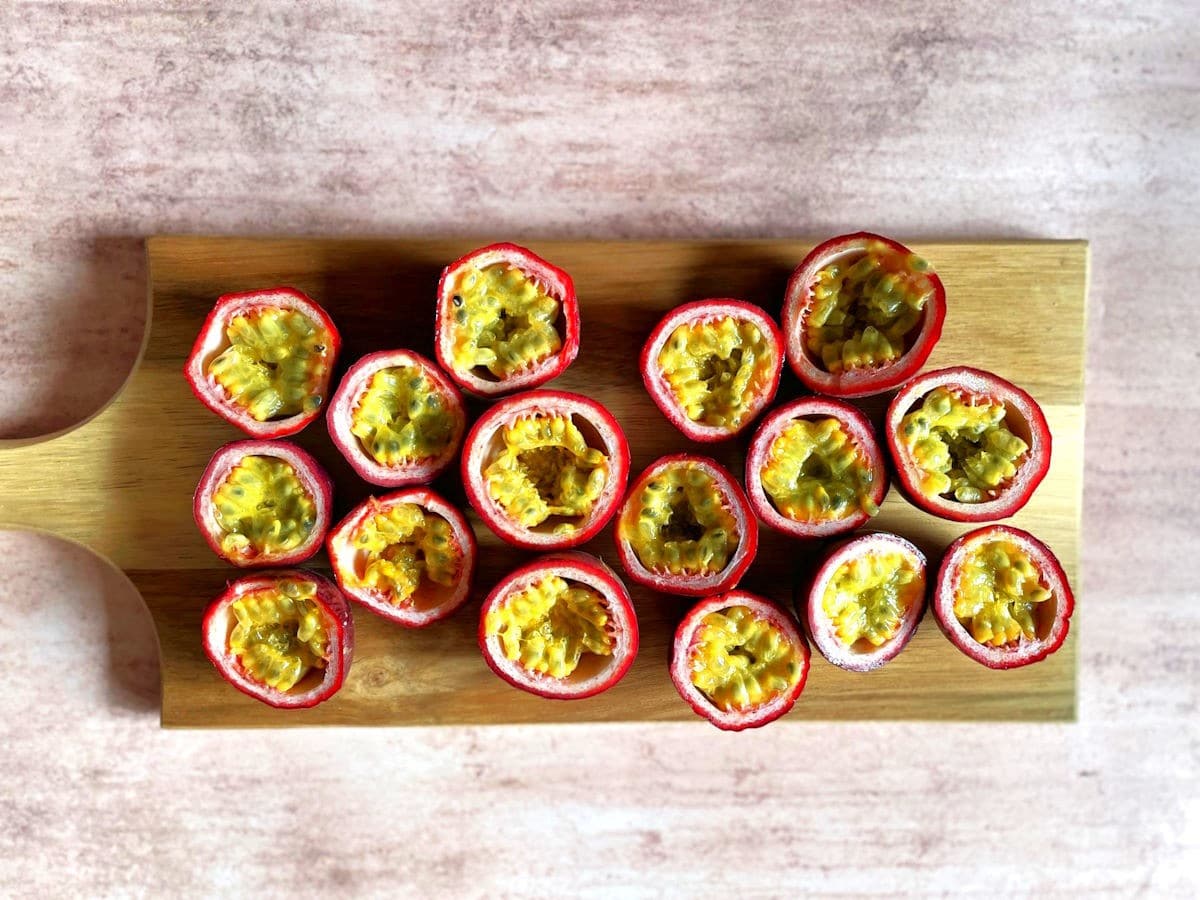
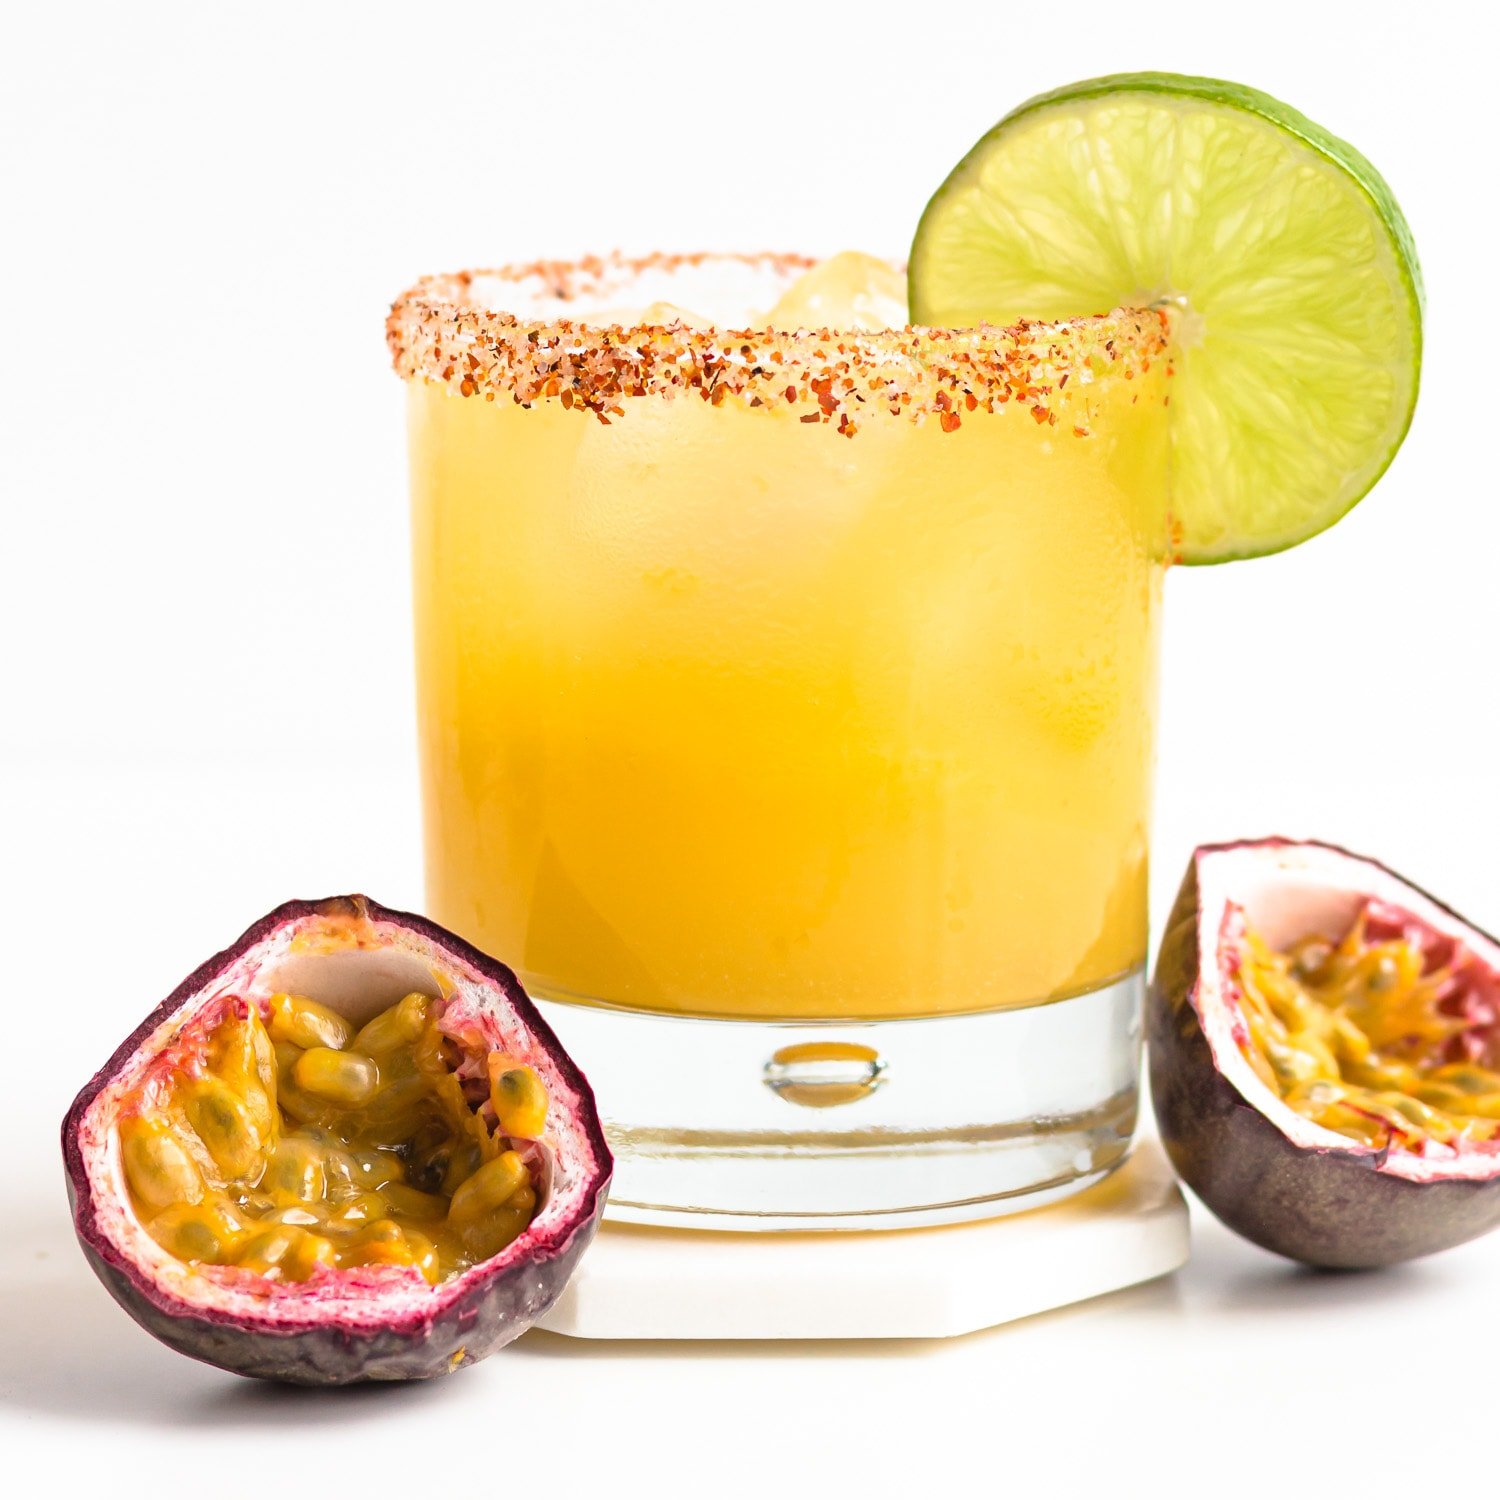
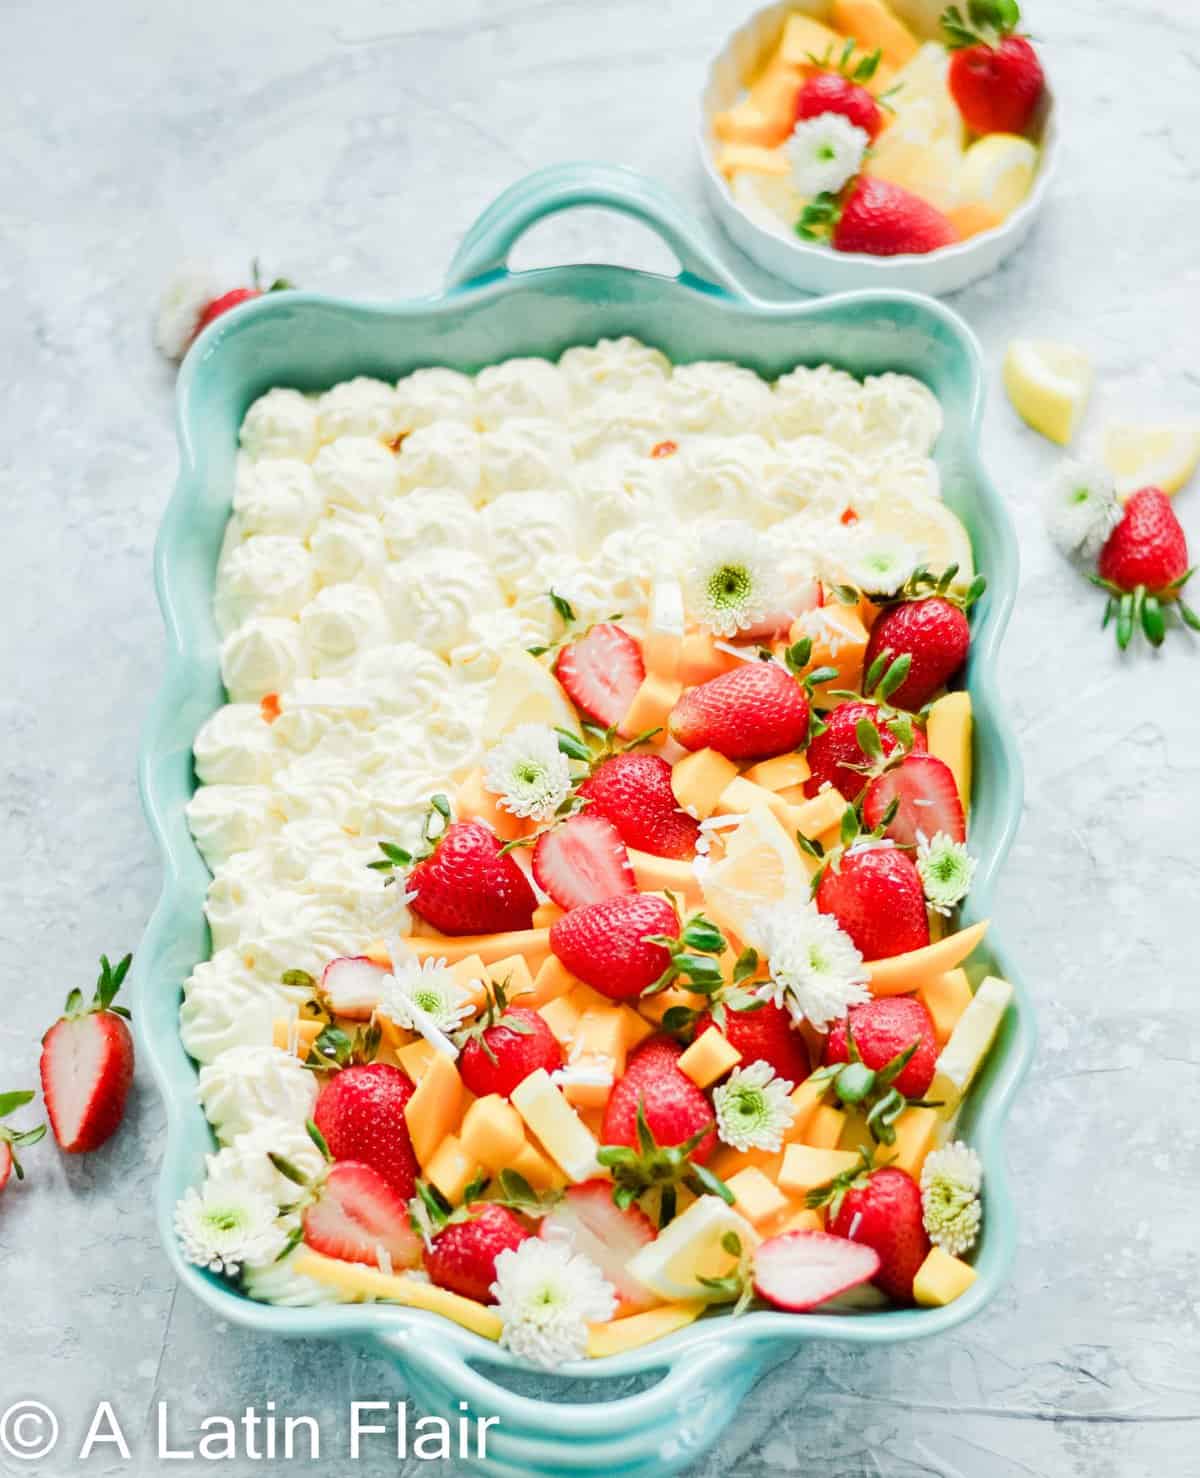
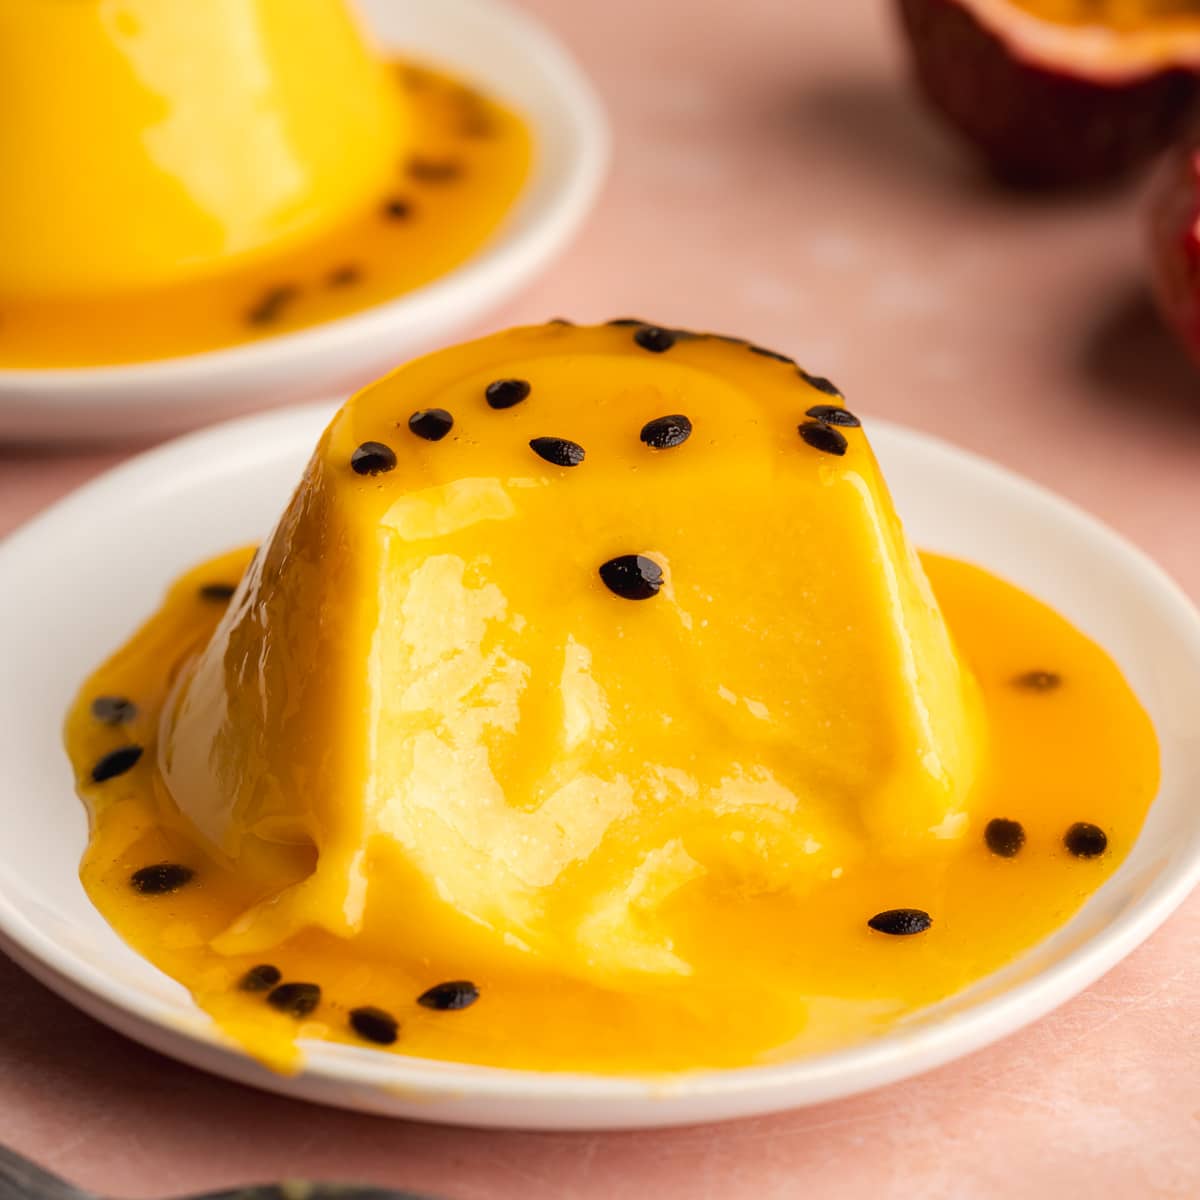
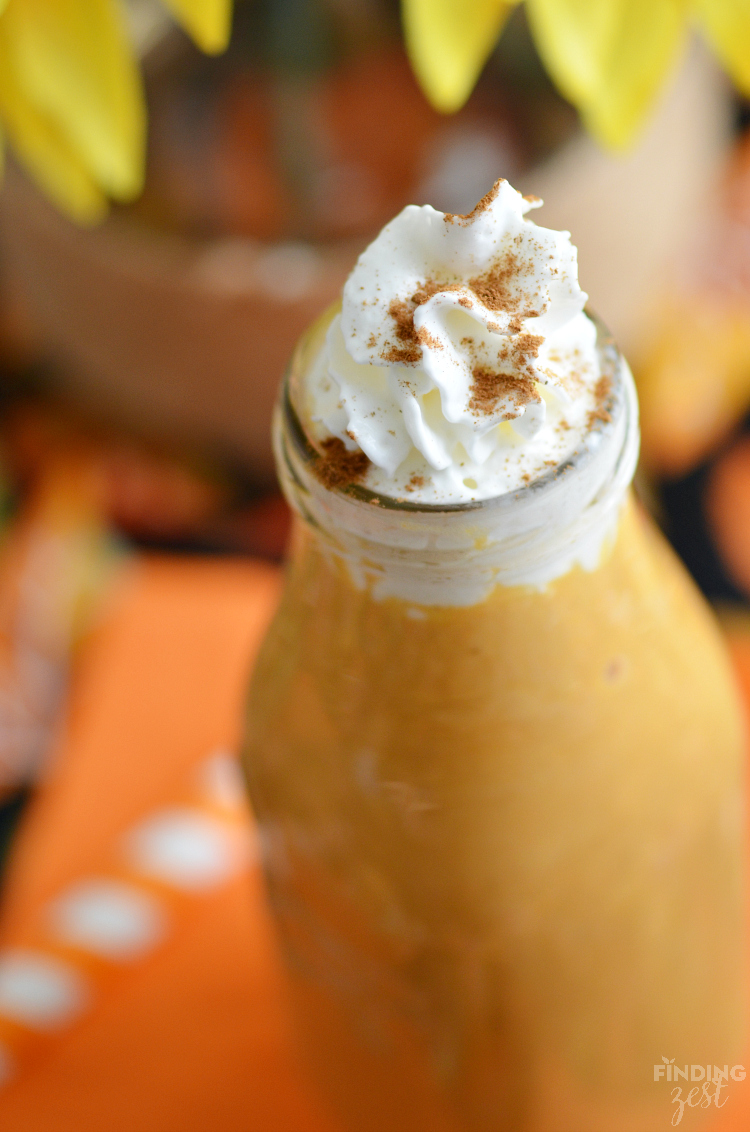
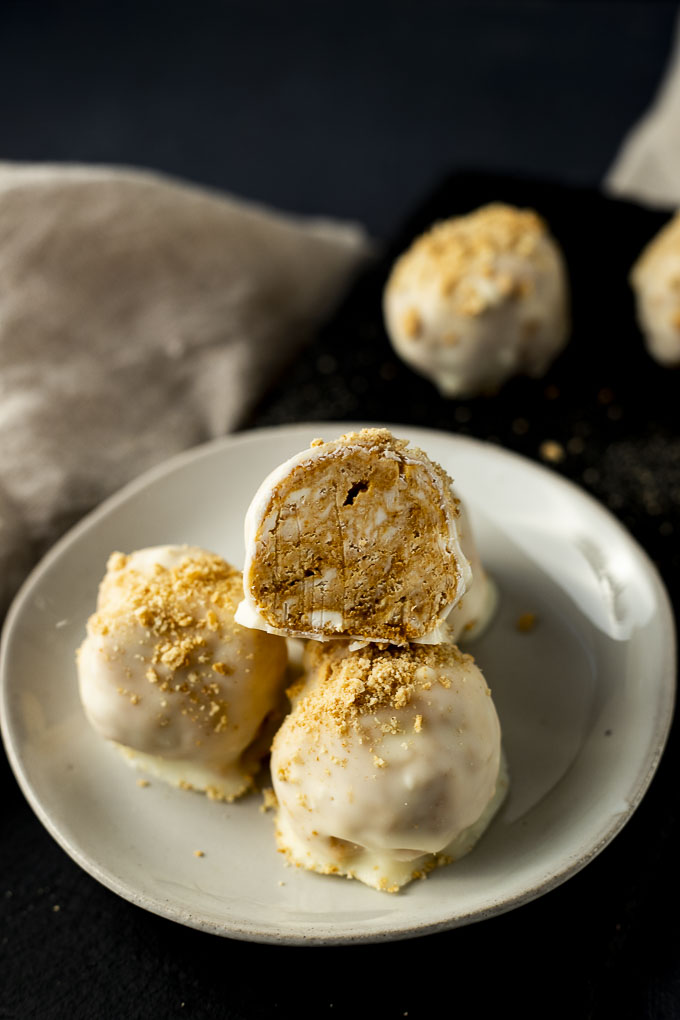
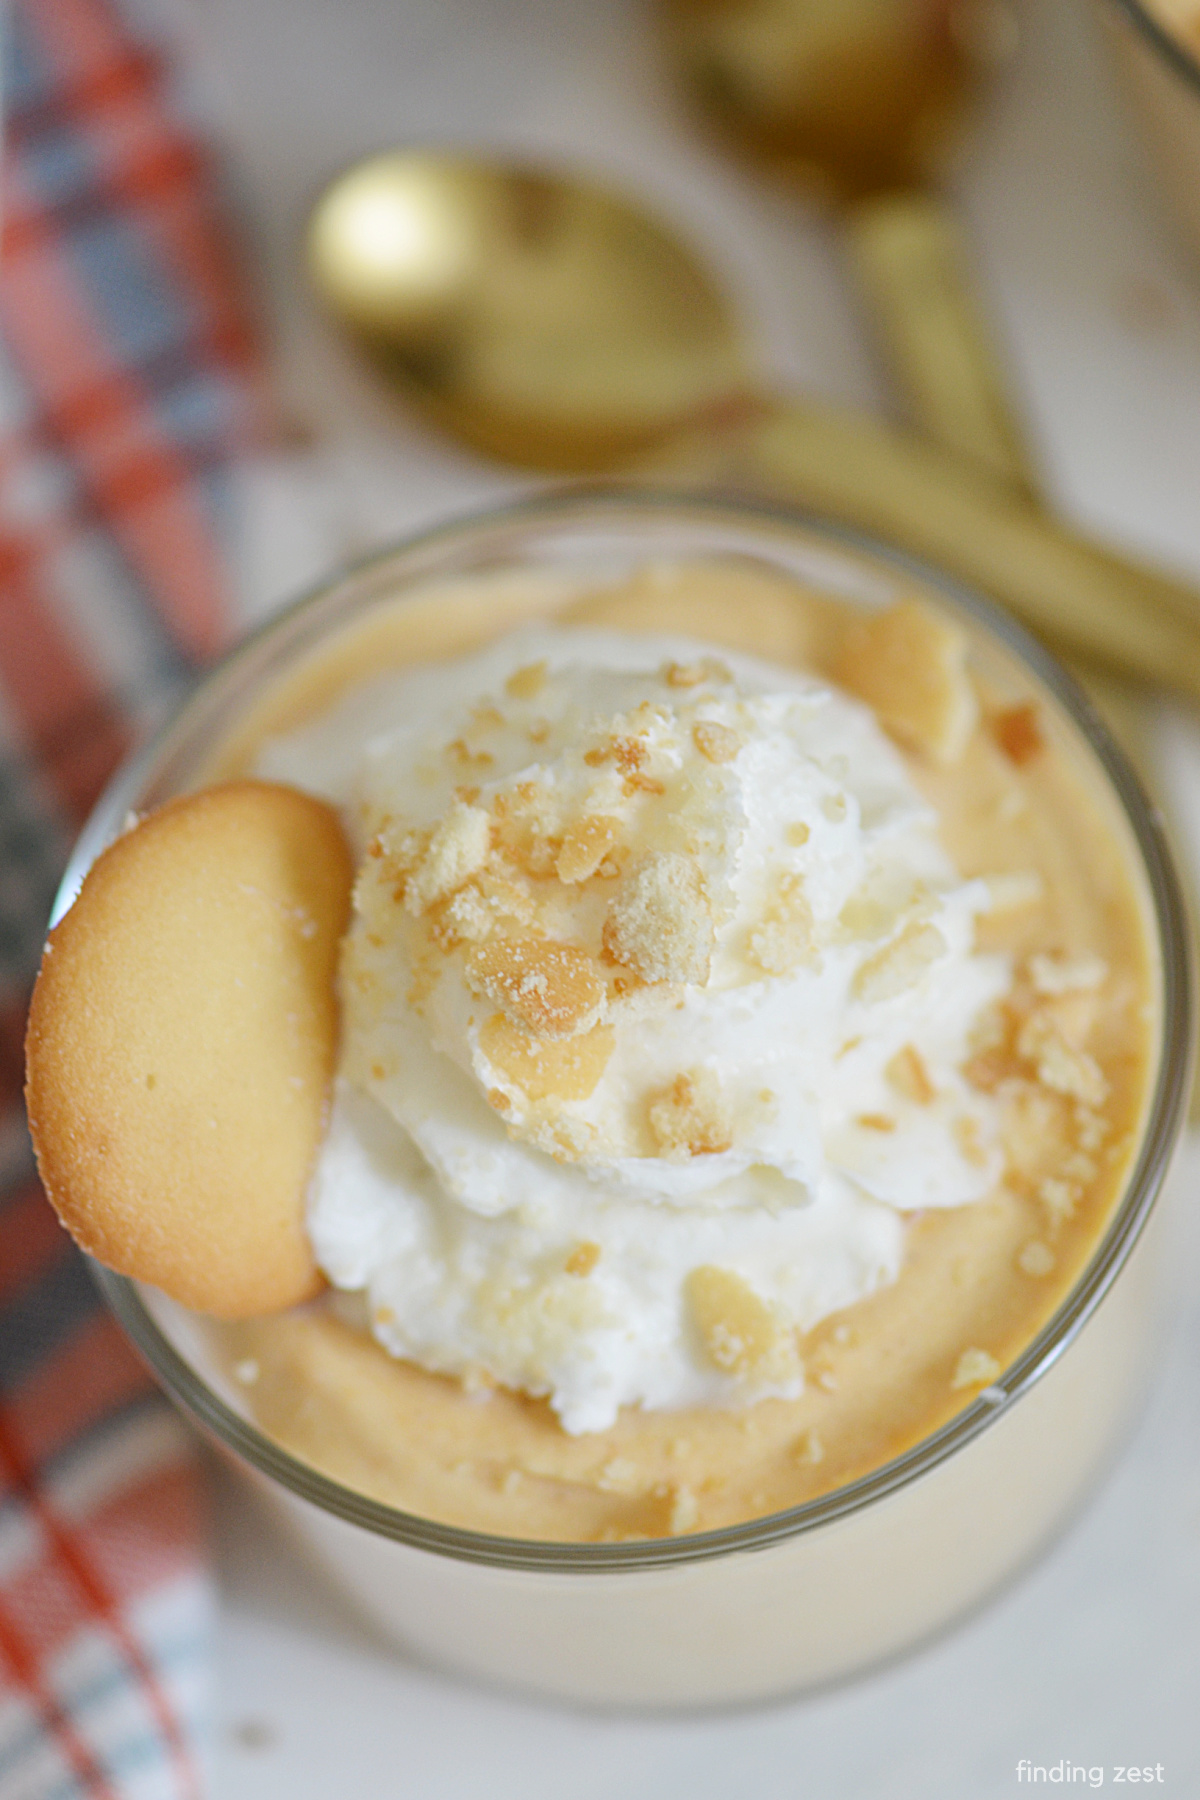
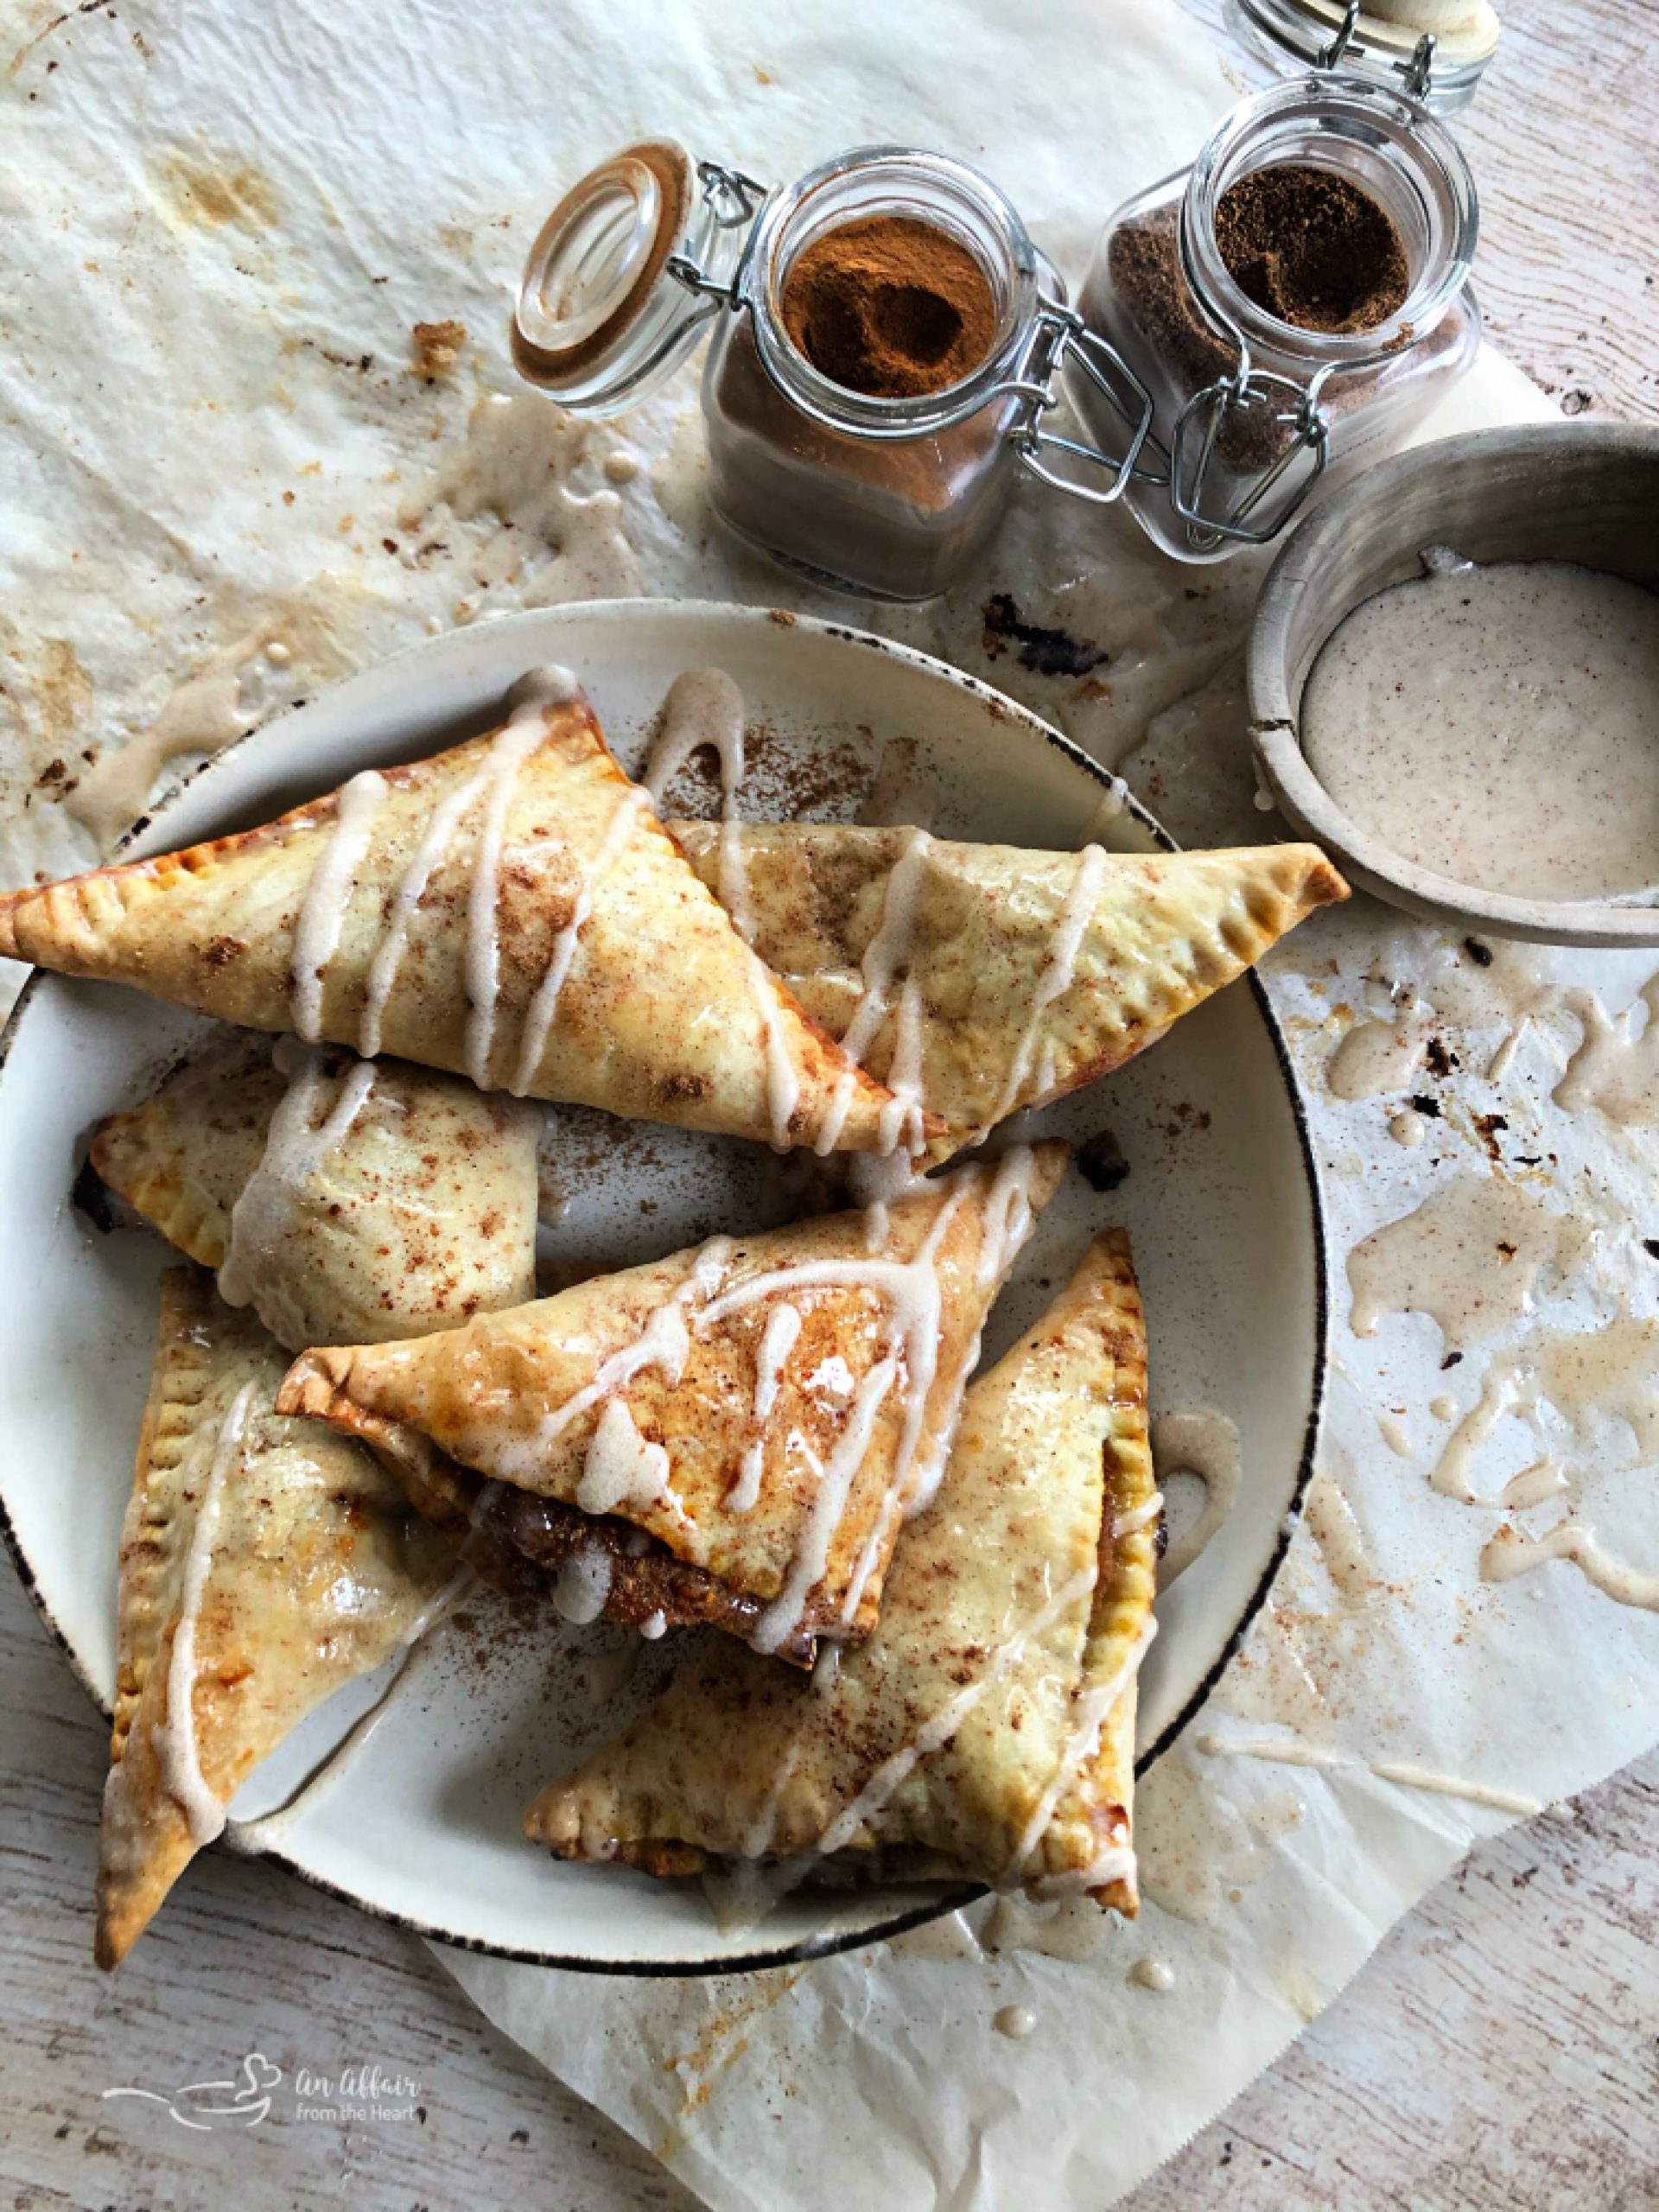
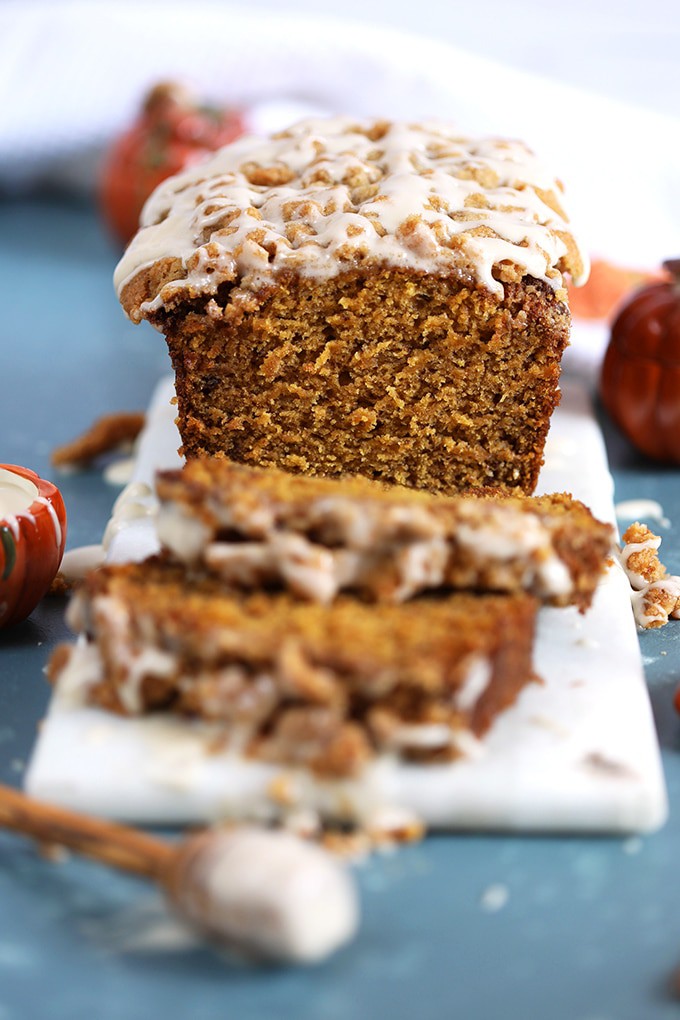
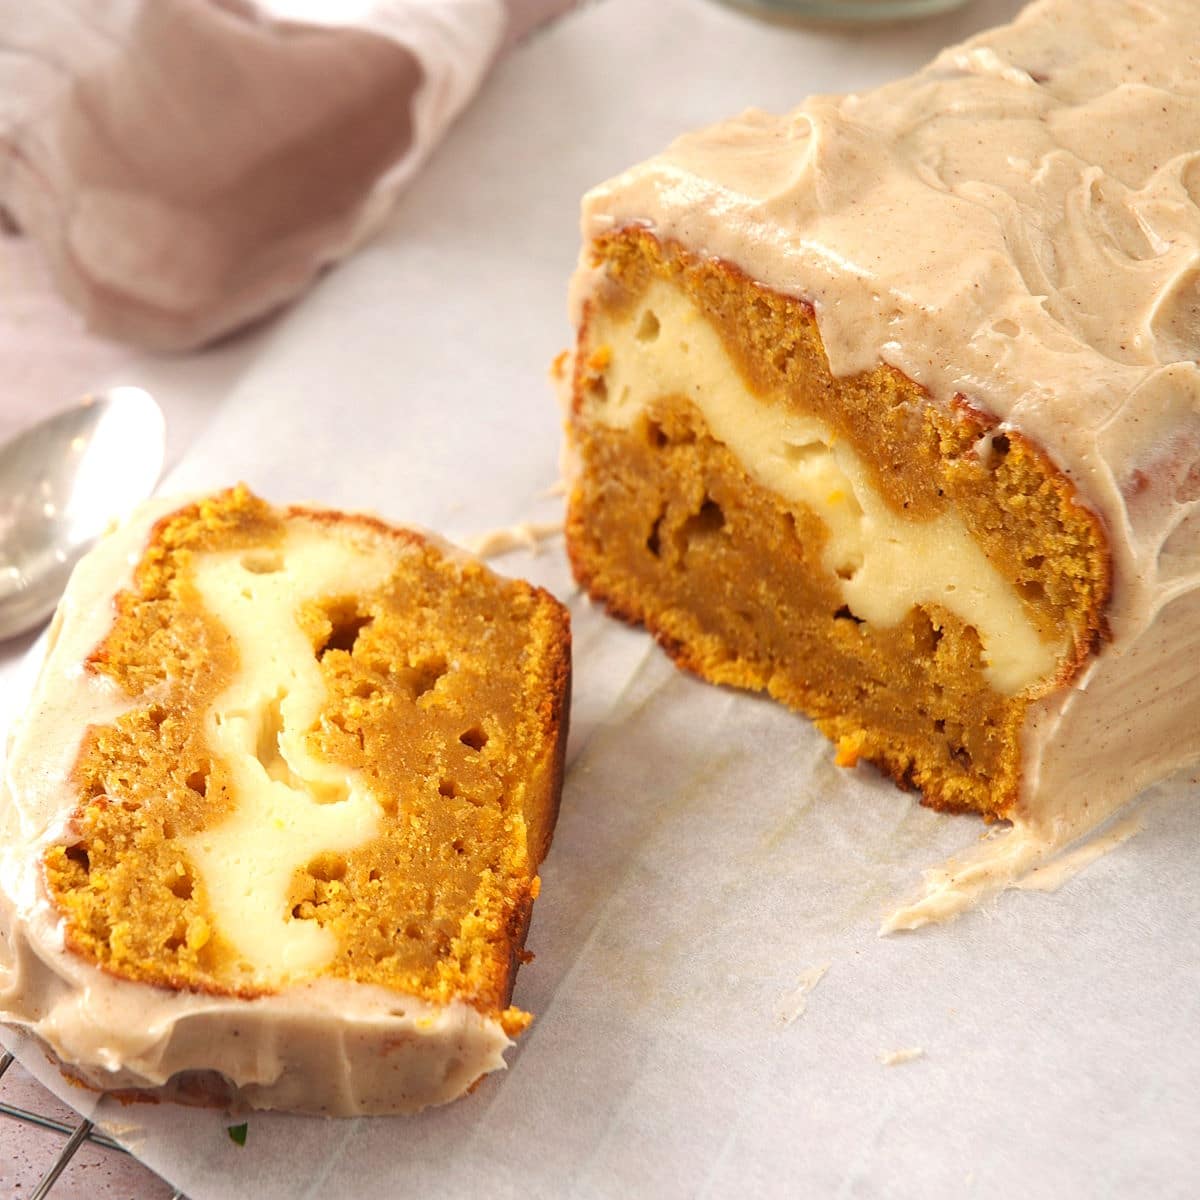
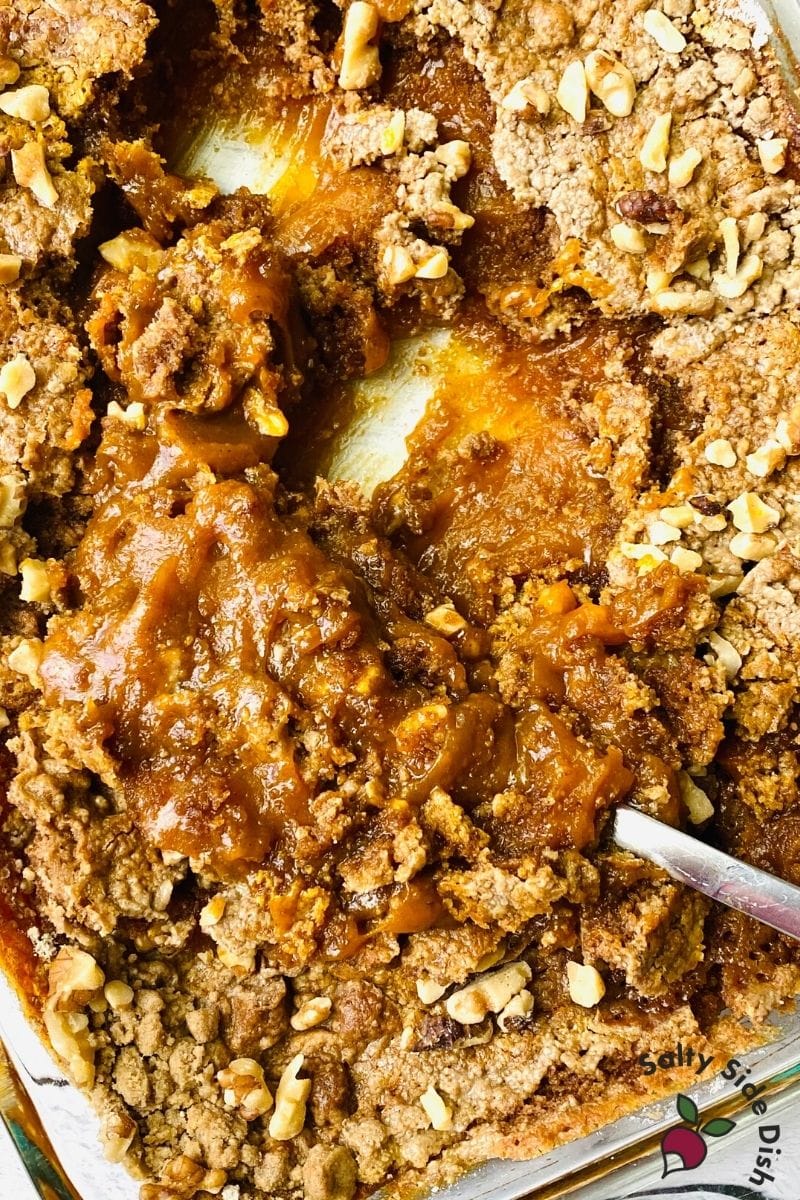
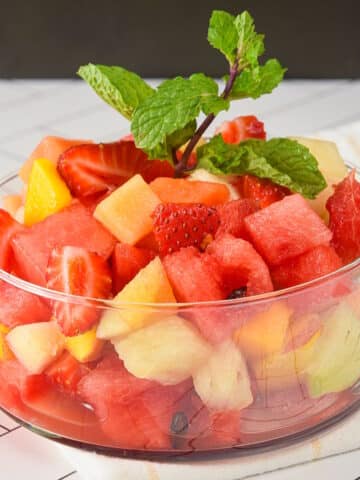
♥️ More Sweet Strawberry Recipes to Try


If you tried this 🍓🍡 Strawberry Mochi Recipe or any other recipe on my website, please leave a 🌟 star rating and let me know how it went in the 📝 comments below. And please share the recipe!
📋Recipe

Strawberry Mochi
Ingredients
- 1 cup glutinous rice flour Mochiko or Shiratamako
- 1 cup water
- ¼ cup sugar
- 1 cup sweet white bean paste Shiroan (or Shiro-an in Japanese) - if you can't find white, use red (anko)
- 12 large strawberries cleaned, hulled and patted dry
- 1 cup cornstarch as needed, to prevent the dough from sticking
Instructions
- Before you begin: Make sure the white bean paste has a consistency that is thick but spreadable. If it's more on the runny side, chill it in the freezer until it isn't runny (the amount of time it takes will depend on the paste, so check it every 30 minutes). On the other hand, if it's too thick, work at it with a spoon or fork, mashing it around until it's more spreadable.
- Mix the glutinous rice flour, water and sugar in a microwaveable bowl, until dissolved. Cover the bowl with plastic wrap, microwave at maximum power for 1 minute, remove from the microwave and stir.1 cup glutinous rice flour, 1 cup water, ¼ cup sugar
- Cover again and cook for 1 more minute at high heat. Stir again and cook for 1 more minute (for a total of 3 minutes), or until you get a thick dough that sticks together (it'll still be very sticky). Let it cool.
- Make sure your hands are clean and slightly greased with neutral cooking oil to help prevent sticking or you can powder your hands with cornstarch. Transfer the dough to a tray or surface that has been sprinkled with enough cornstarch so that the dough doesn't stick to it. Roll into a large cylinder.
- Cut the cylinder into 12 equal sections and form them into balls.
- Form a flat, thin pancake (about 3"-4" diameter) with each mochi dough ball.
- Spread about 1 tablespoon of the white bean paste onto each flattened dough ball and add a strawberry to the center.
- Close the dough around the strawberry, making sure the seams are on the bottom.
- Place in the fridge for 2 hours. Serve!
Notes
- Fridge Storage: They are best if eaten within 1 day as the moisture from the strawberry starts to release and sog up the mochi dough. However, you can keep them in the fridge in an airtight container for up to 1 to 2 days.
- Freezer Storage: You can freeze them, wrapped in plastic wrap and in a freezer bag, for up to 1 month. Thaw in the fridge before eating.
- Troubleshoot: Dough too soft or unworkable? While mochi dough is normally pretty soft and sticky, if it seems completely unworkable and falling apart, you might have undercooked the dough, which was my mistake the first time I made it. Make sure to cook the dough the full 3 minutes, covered, in the microwave. Or, you just need to work with more cornstarch.
- Alternative assembly: Alternatively, you can spread the paste over the strawberry before wrapping it in the mochi dough.