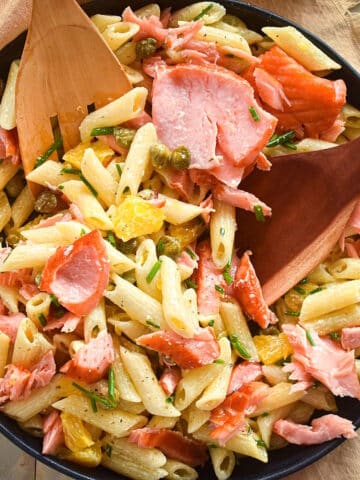
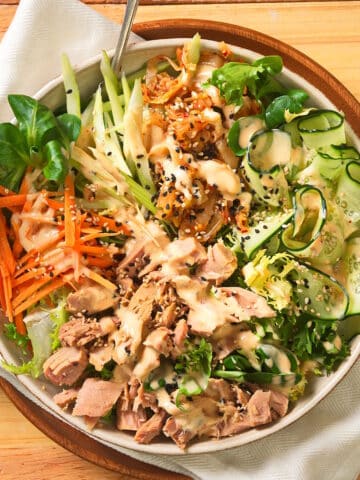
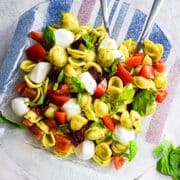
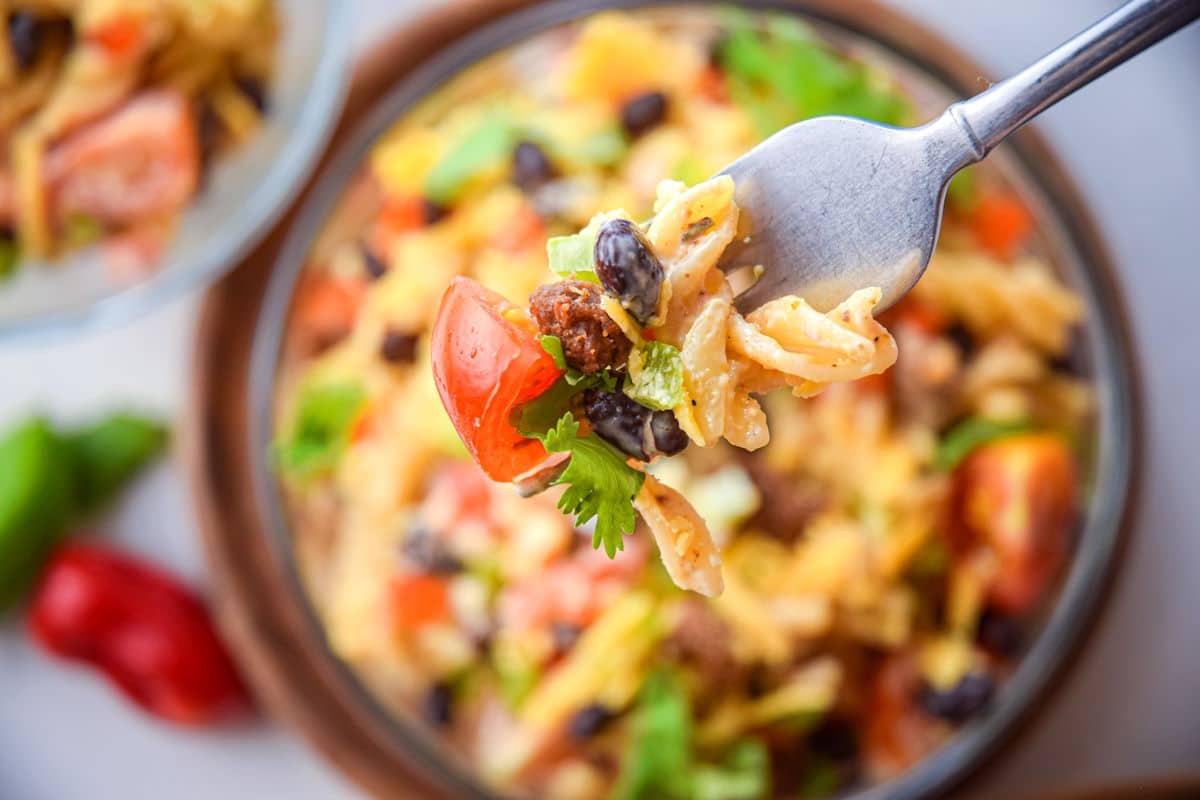
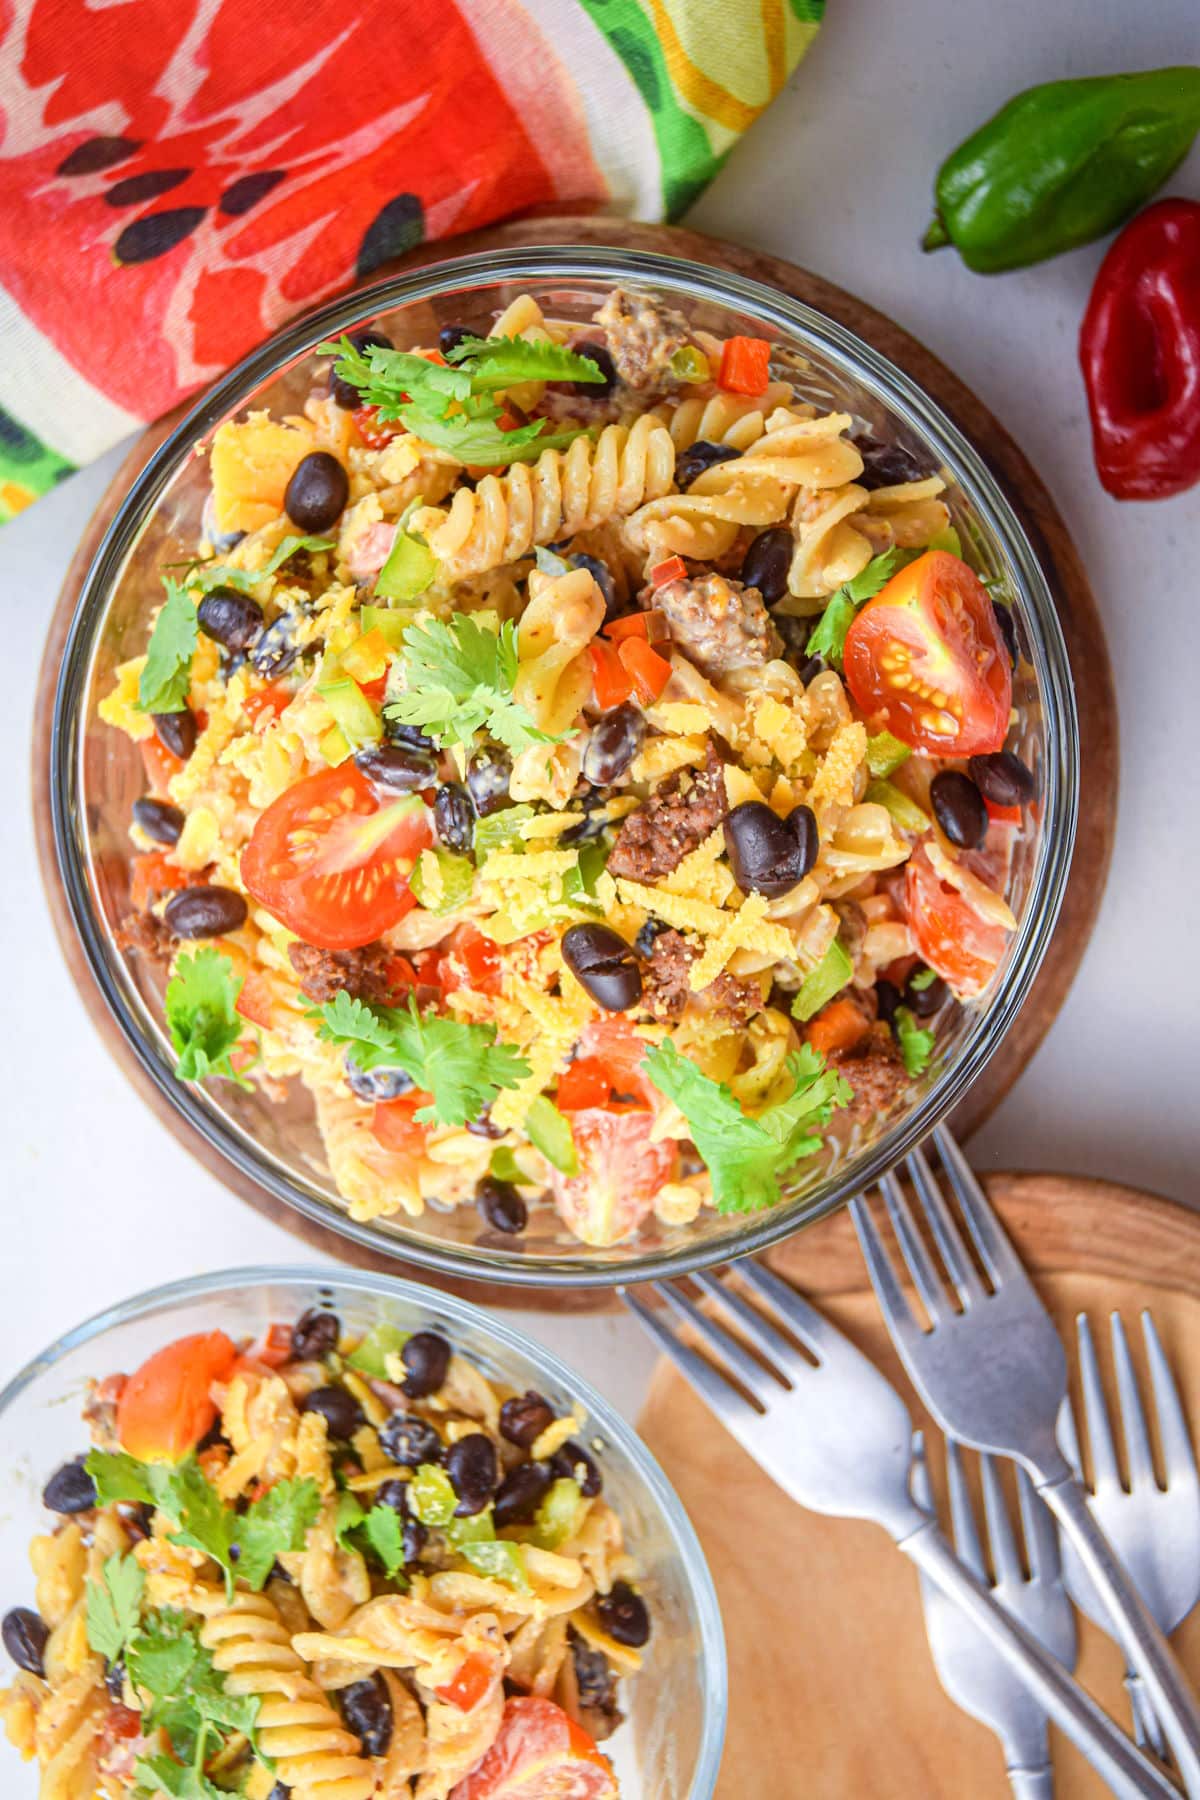
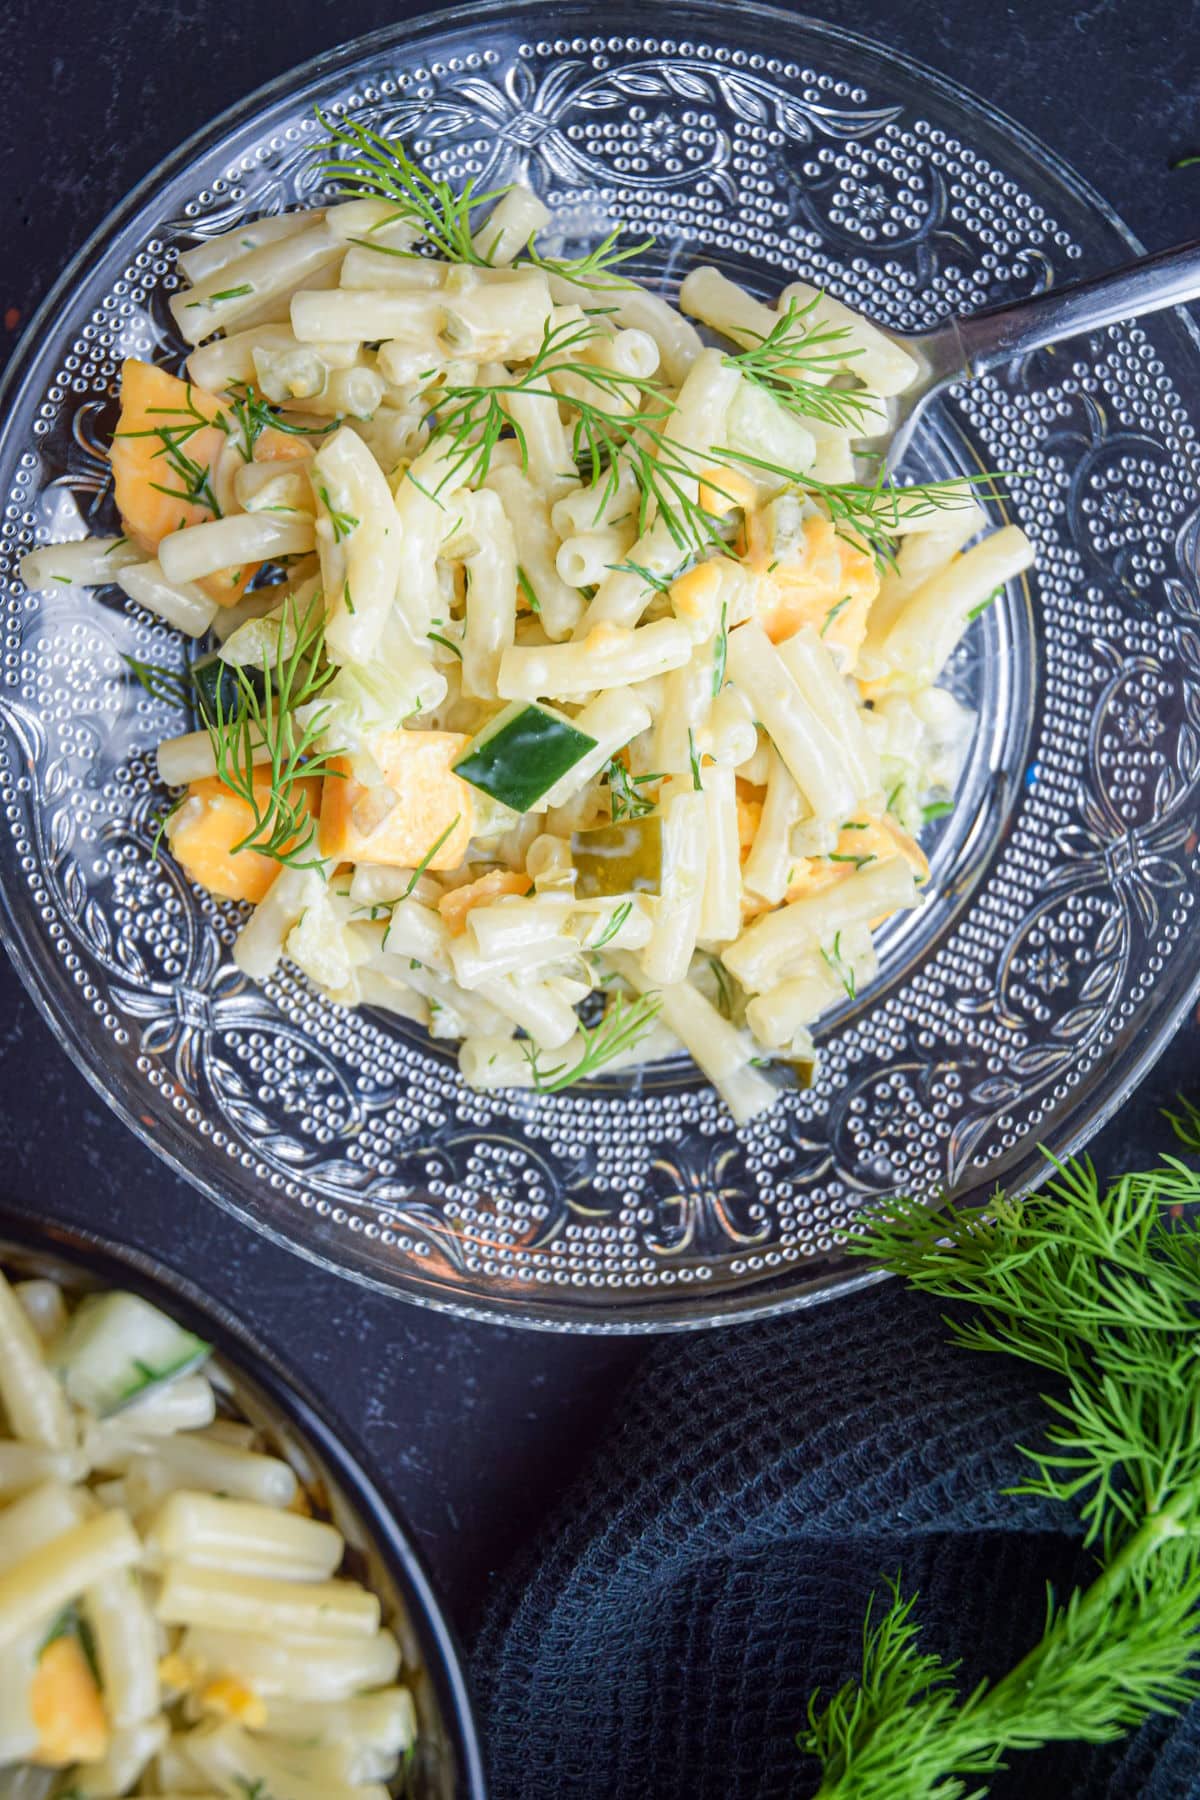
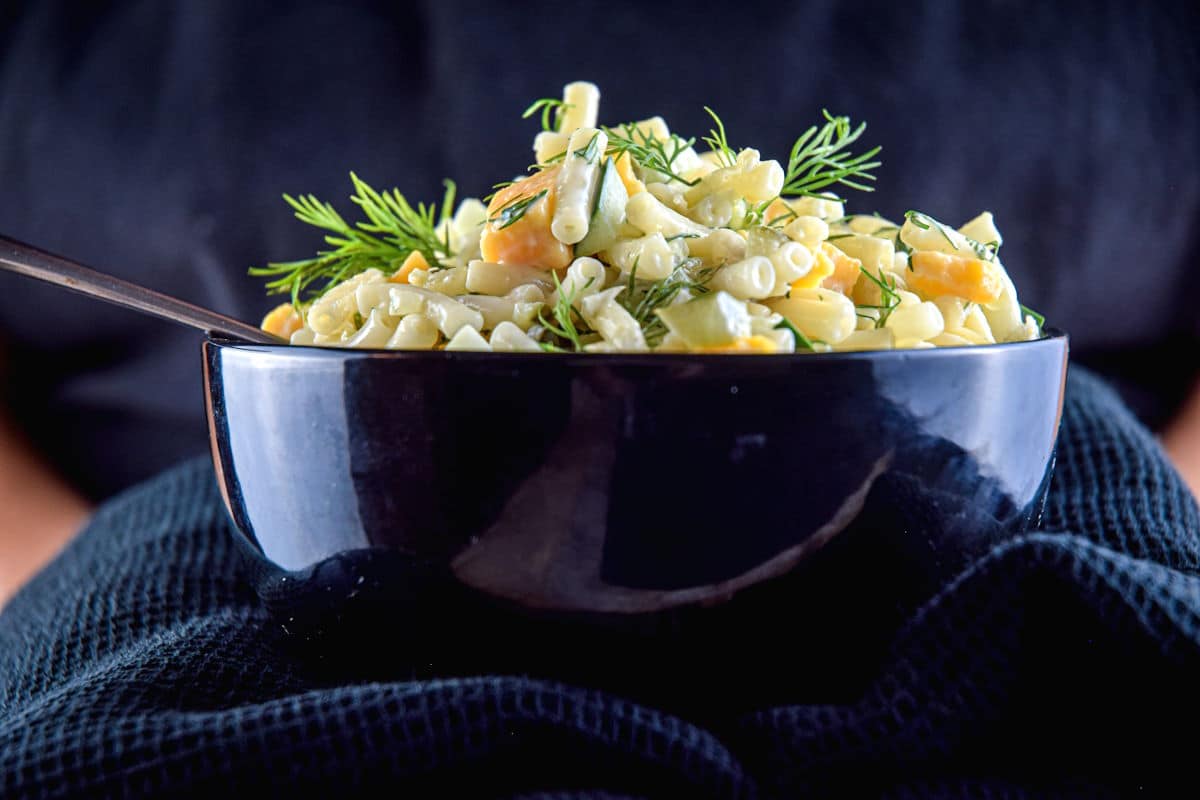
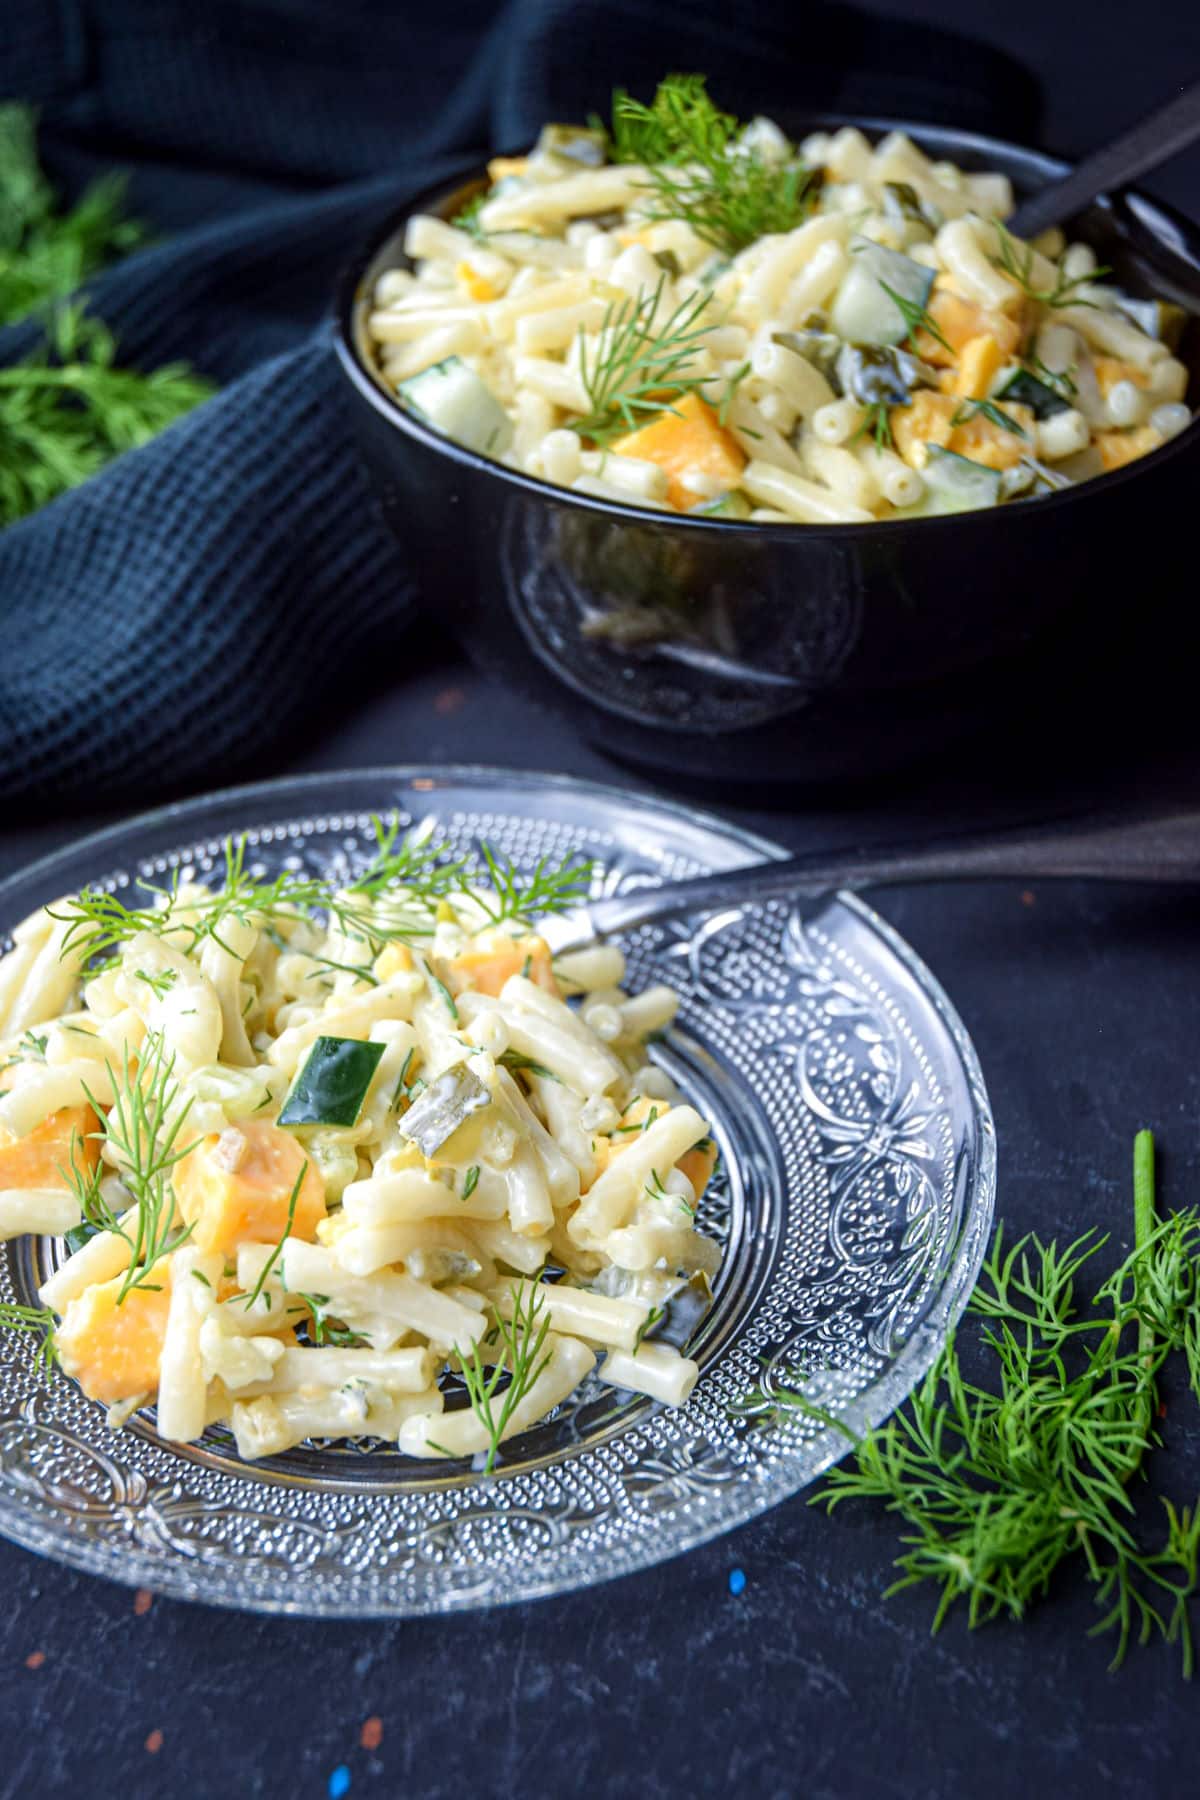
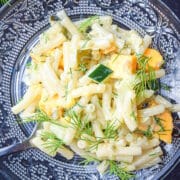
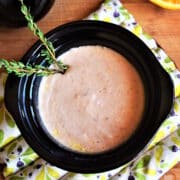
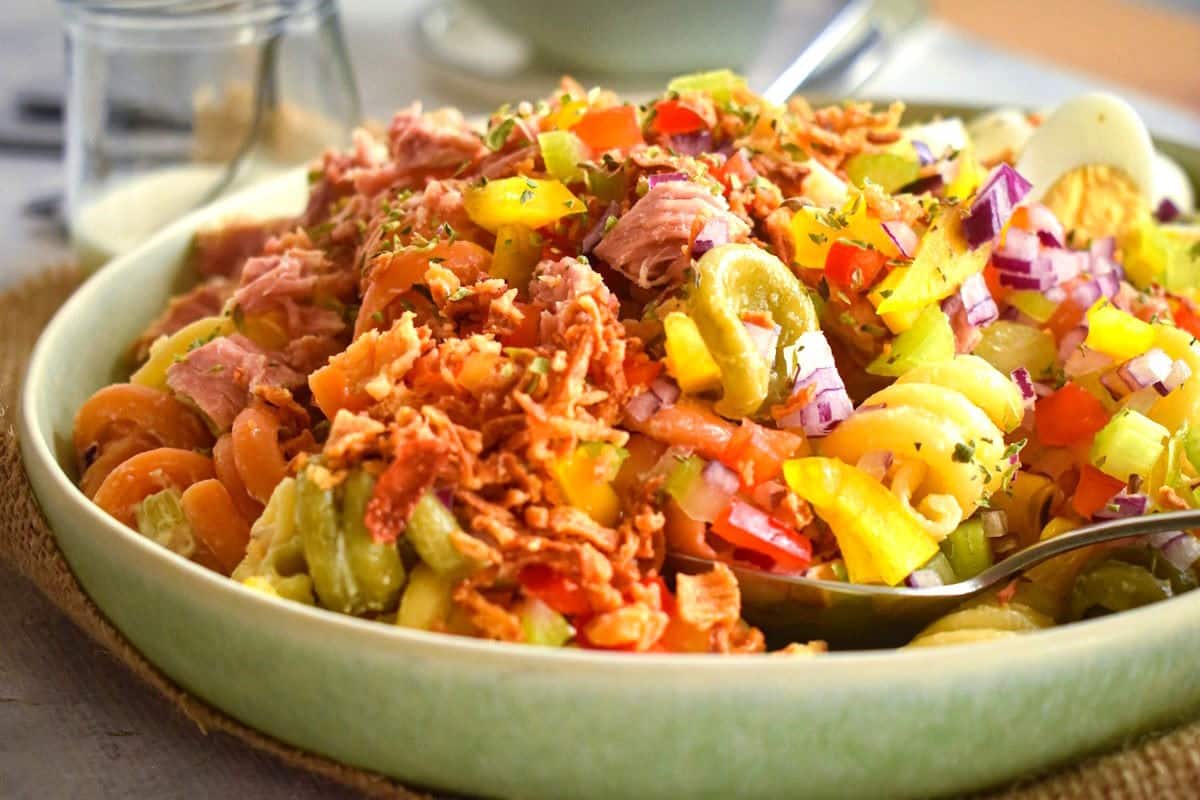
This cold and creamy tuna pasta salad recipe is jam-packed with vegetables and protein. The creaminess of the mayo, the light saltiness of the fish, the crispiness of the vegetables, and the filling pasta mixed together make an easy side dish or lunch to go.

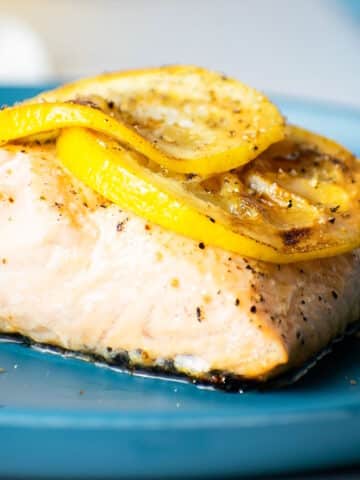
Tuna pasta salad is usually served chilled and that is how this recipe is prepared, but sometimes I like to eat it warm like I do with my salmon pasta salad. It's down to personal preference.
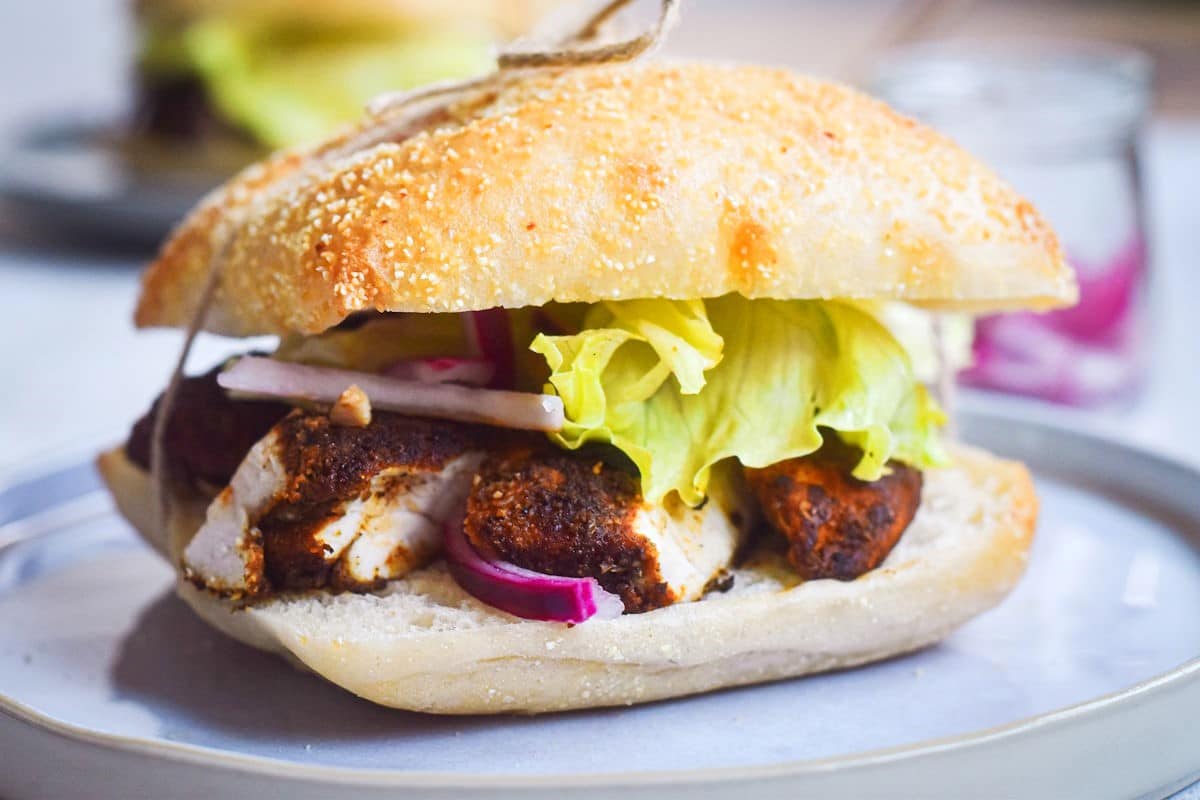
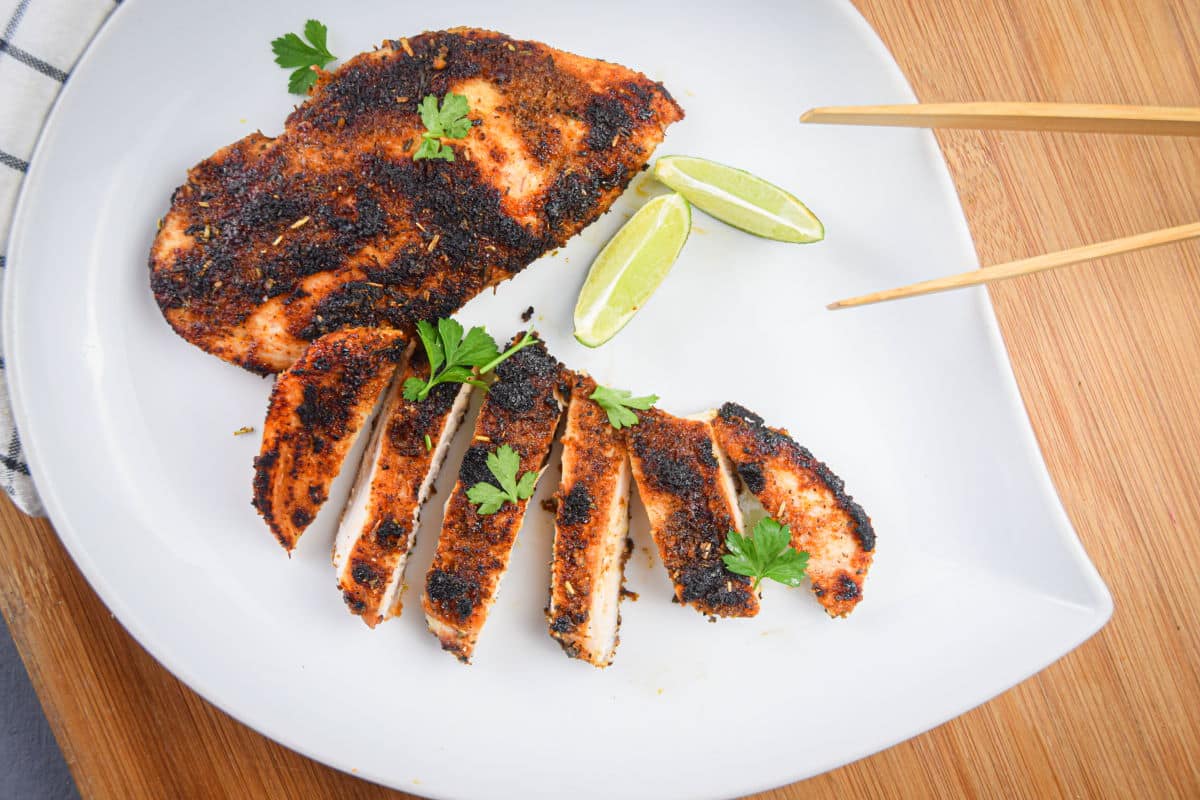
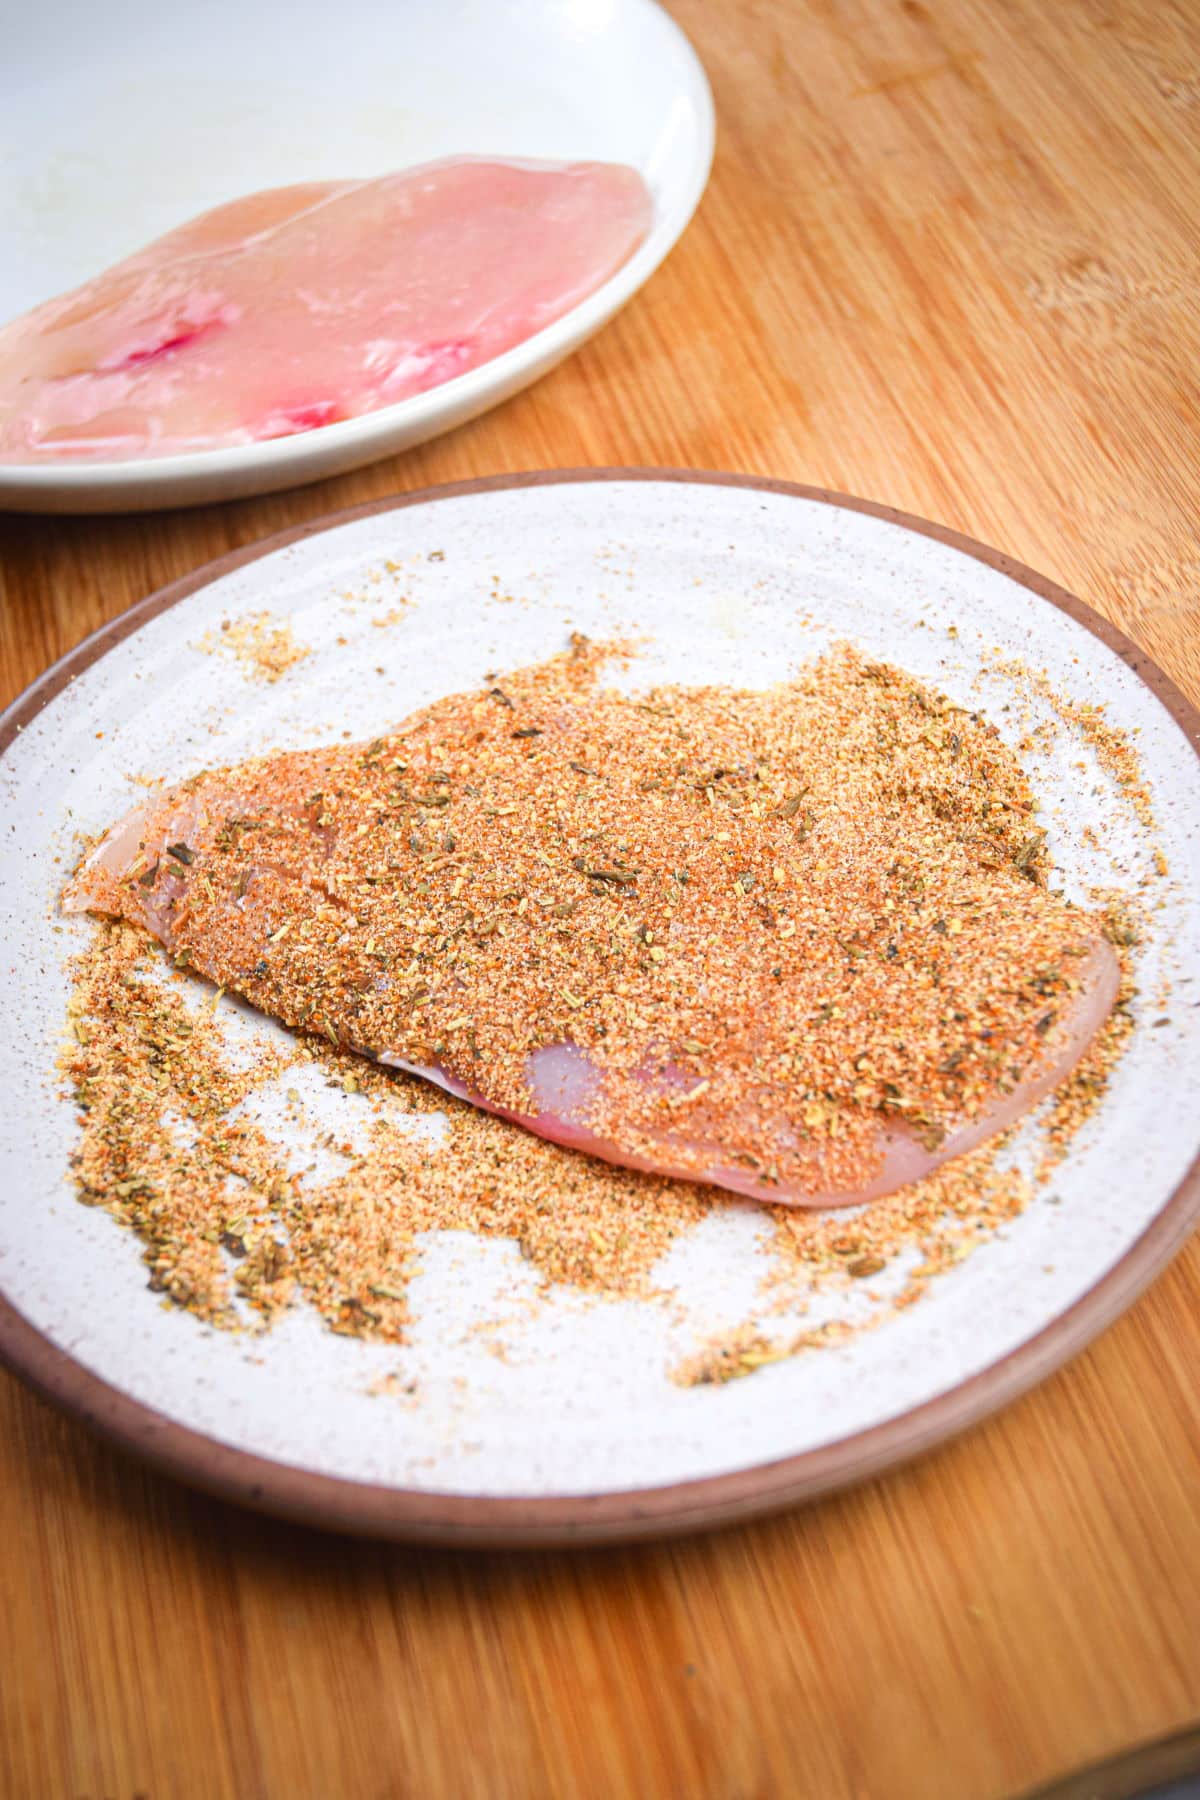
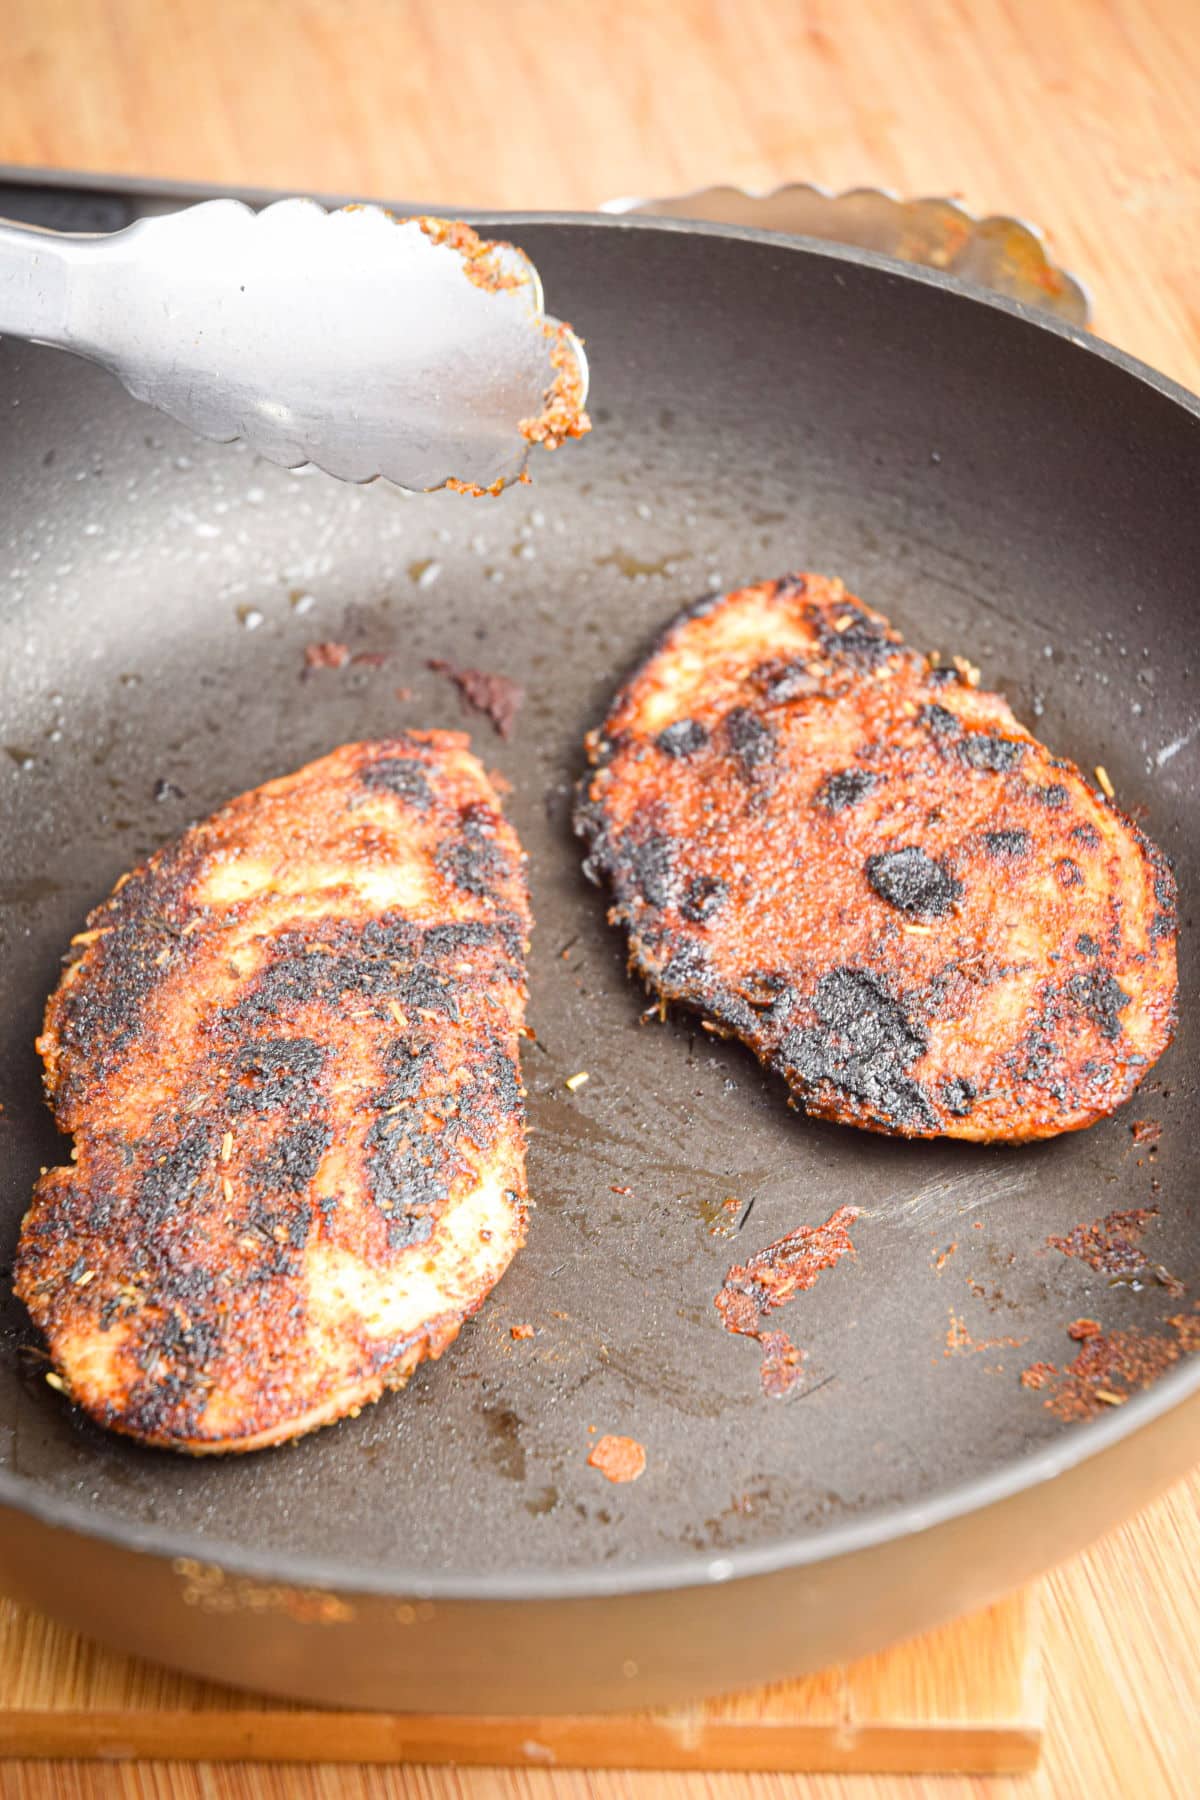
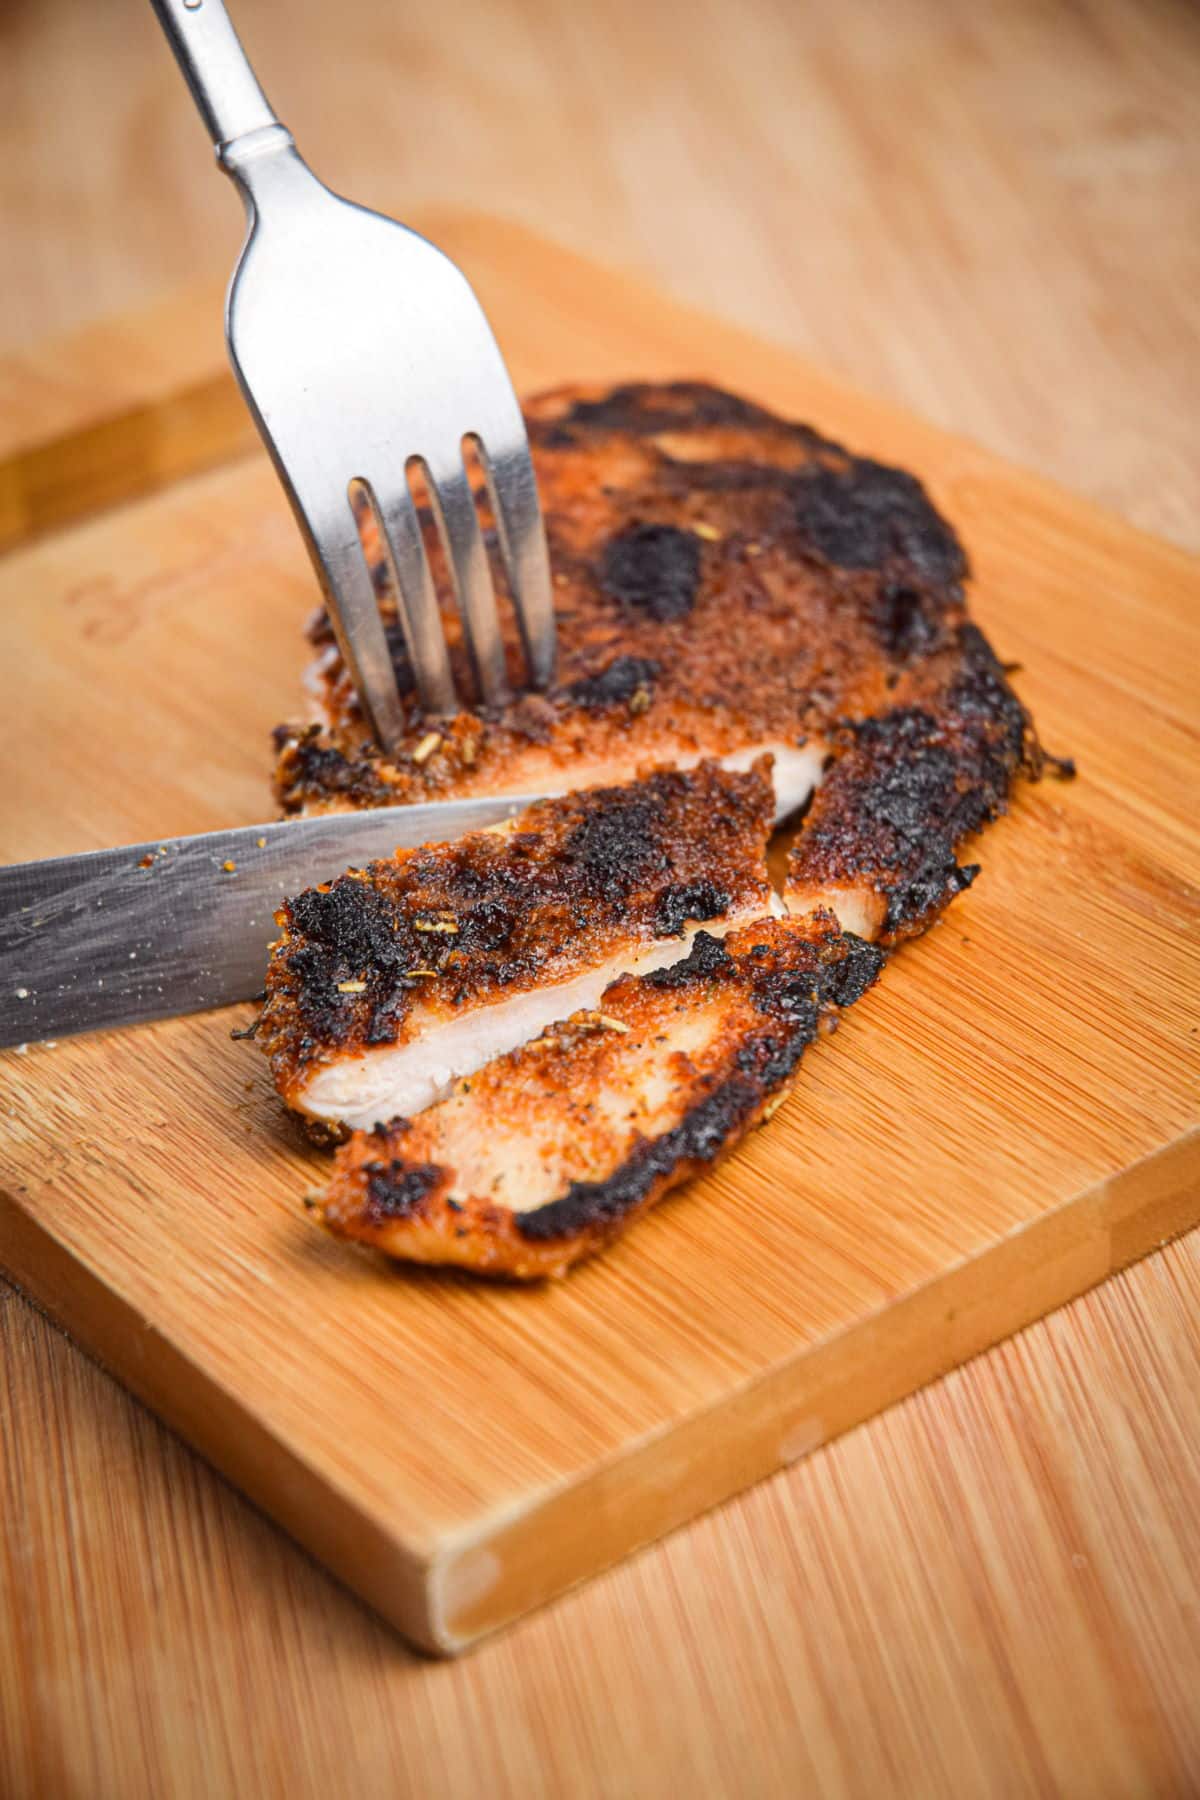
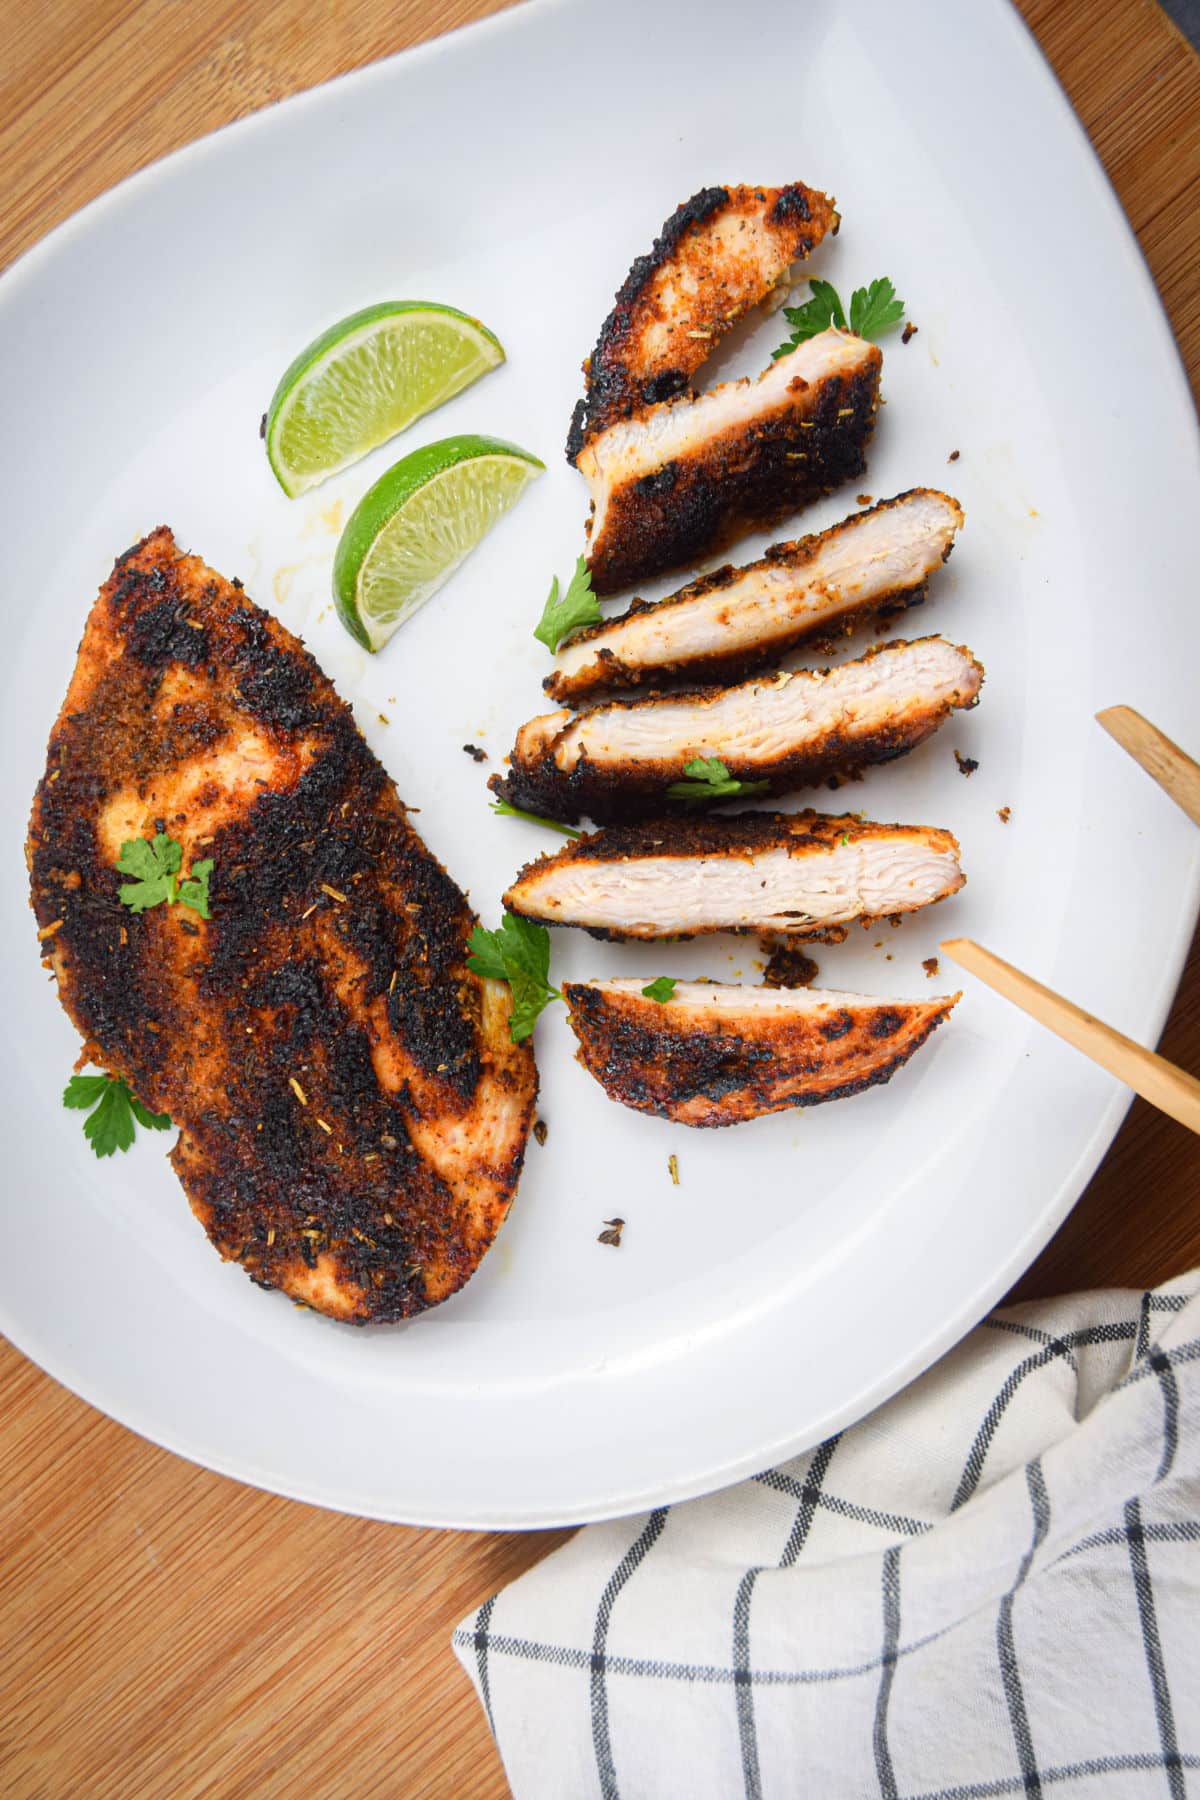
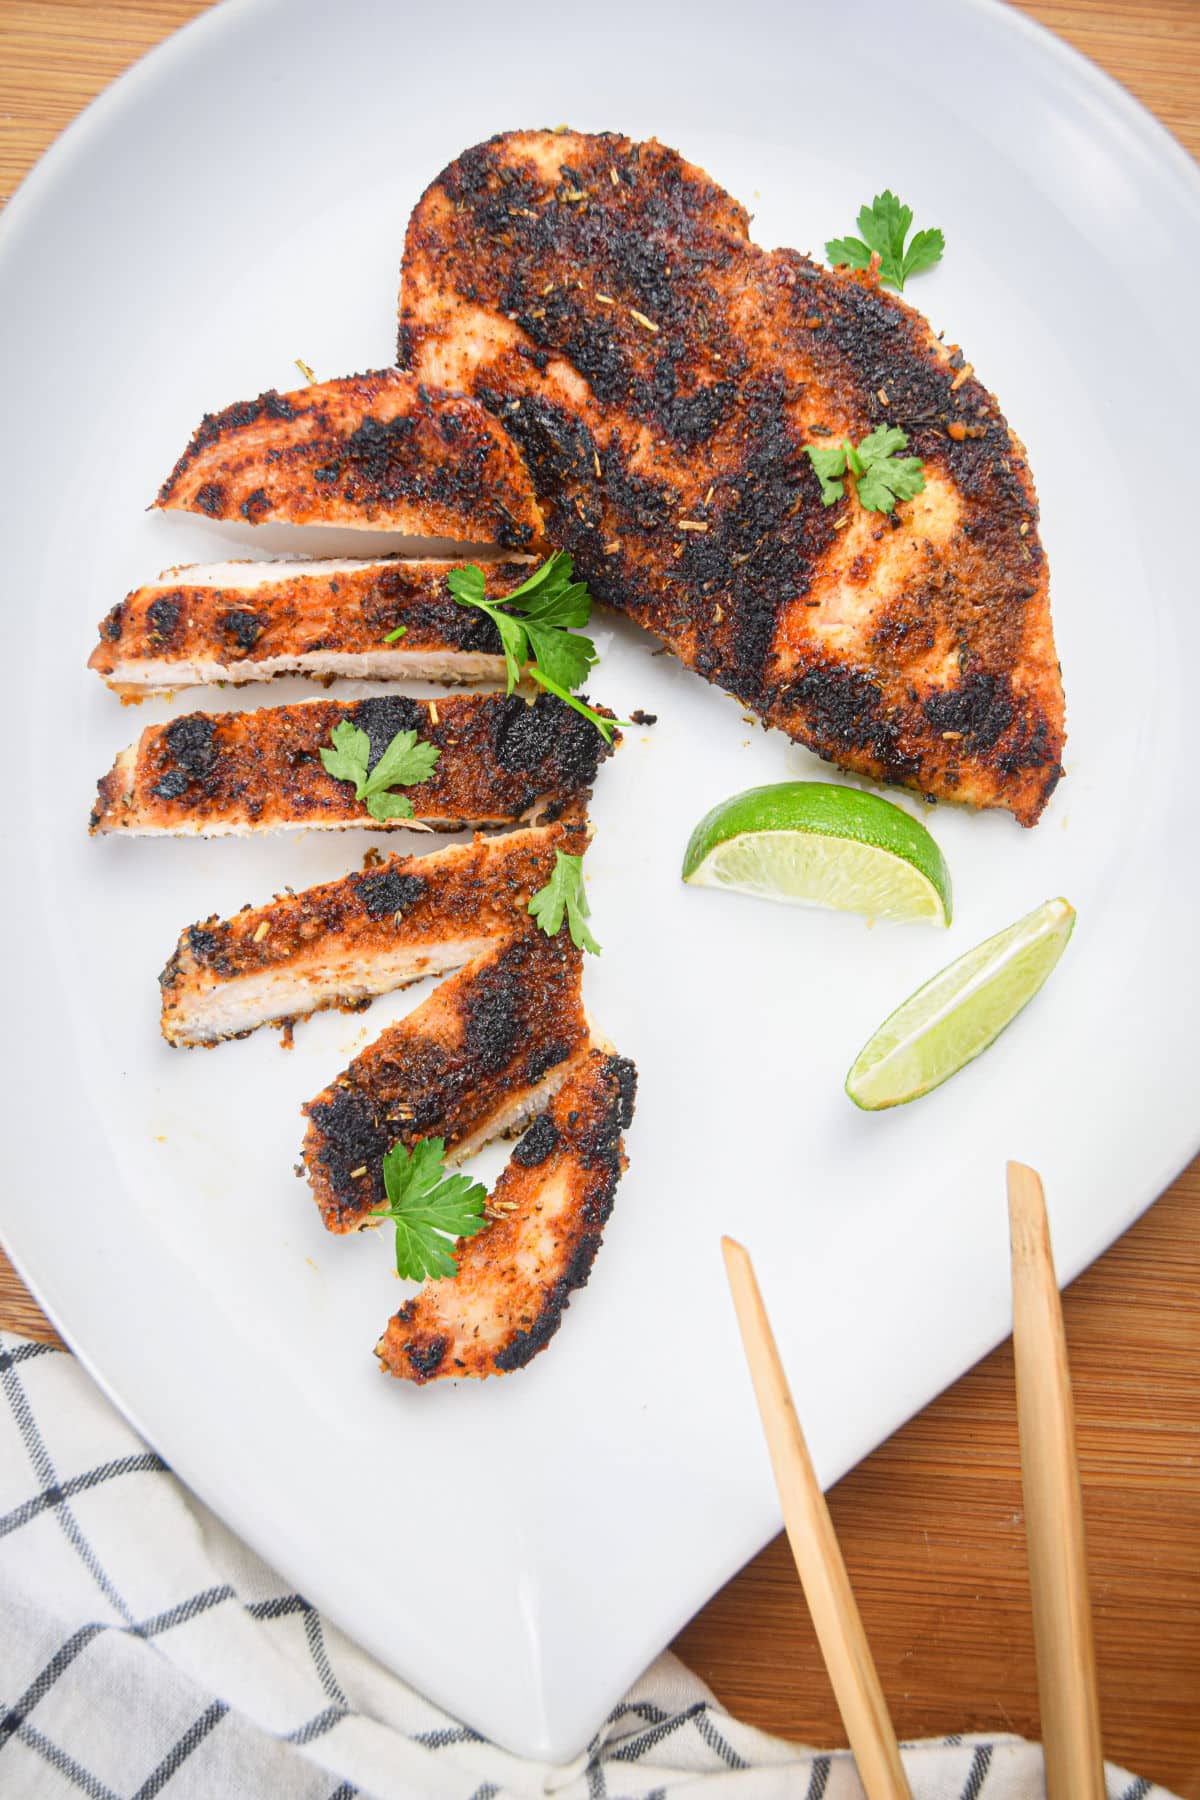
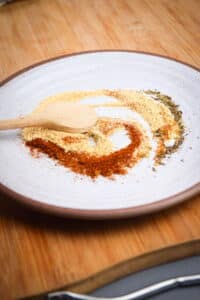
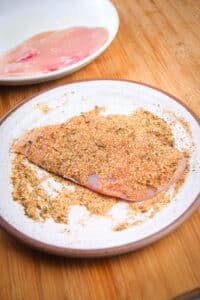
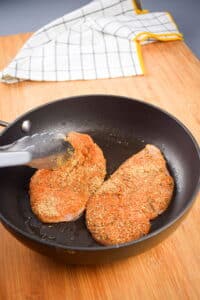
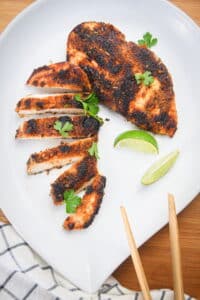
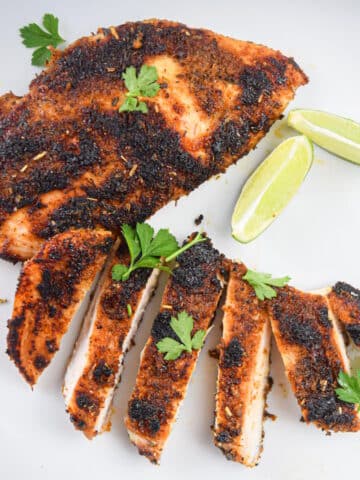
This pasta salad is well-balanced with protein, carbs and veggies which makes it perfect as a stand-alone dish for lunch or dinner. However, it can also work with vegetarian proteins or even this blackened chicken.
Another one of my fan favorites is this dill pickle pasta salad.
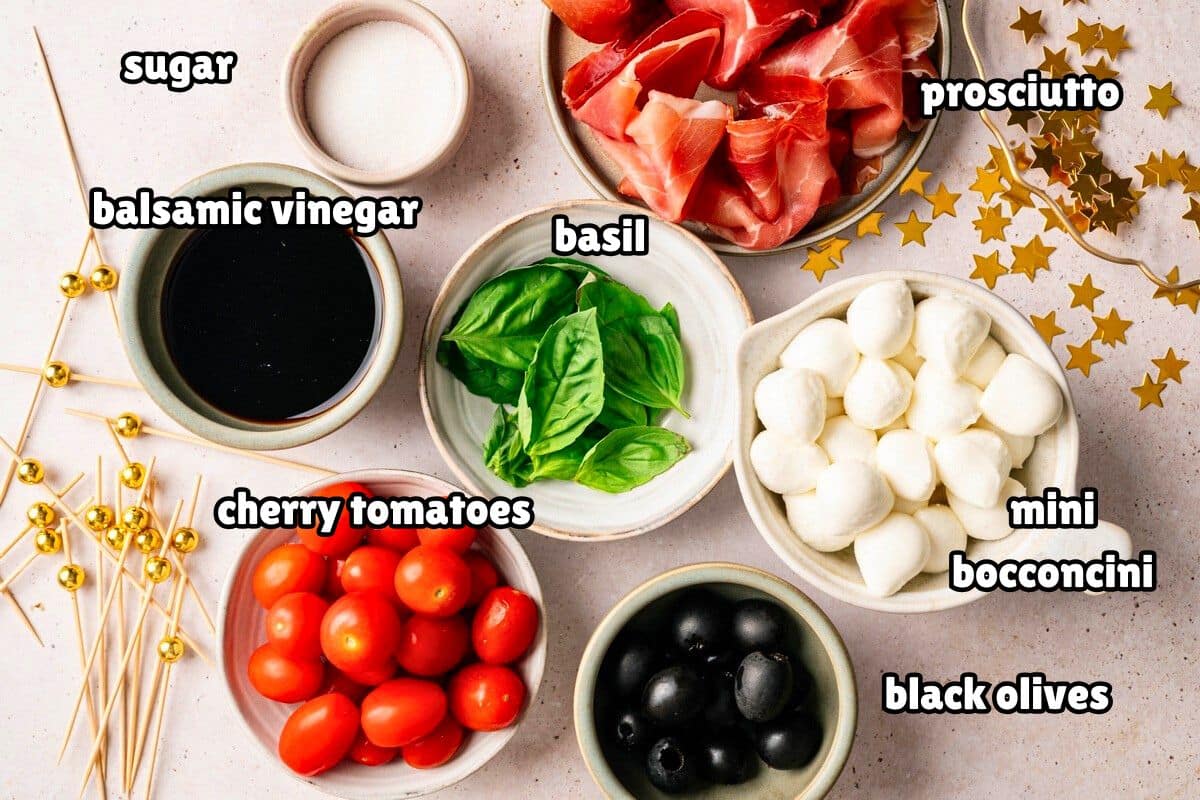
[feast_advanced_jump_to]Cold and Creamy Tuna Pasta Salad Ingredients

- dry tri-color spiral pasta - Or your favorite short-cut pasta.
- solid white tuna - Solid white tuna is a little more expensive but I love the taste and texture. You can substitute with regular, light tuna if preferred.
- red onion - I can't get enough of fresh onion but if you don't like the strong taste of raw onion you can leave it out.
- red and yellow bell pepper - Bell peppers are not spicy but they add some nice color, crunch and nutrients to the salad.
- celery - For some delicious crunch.
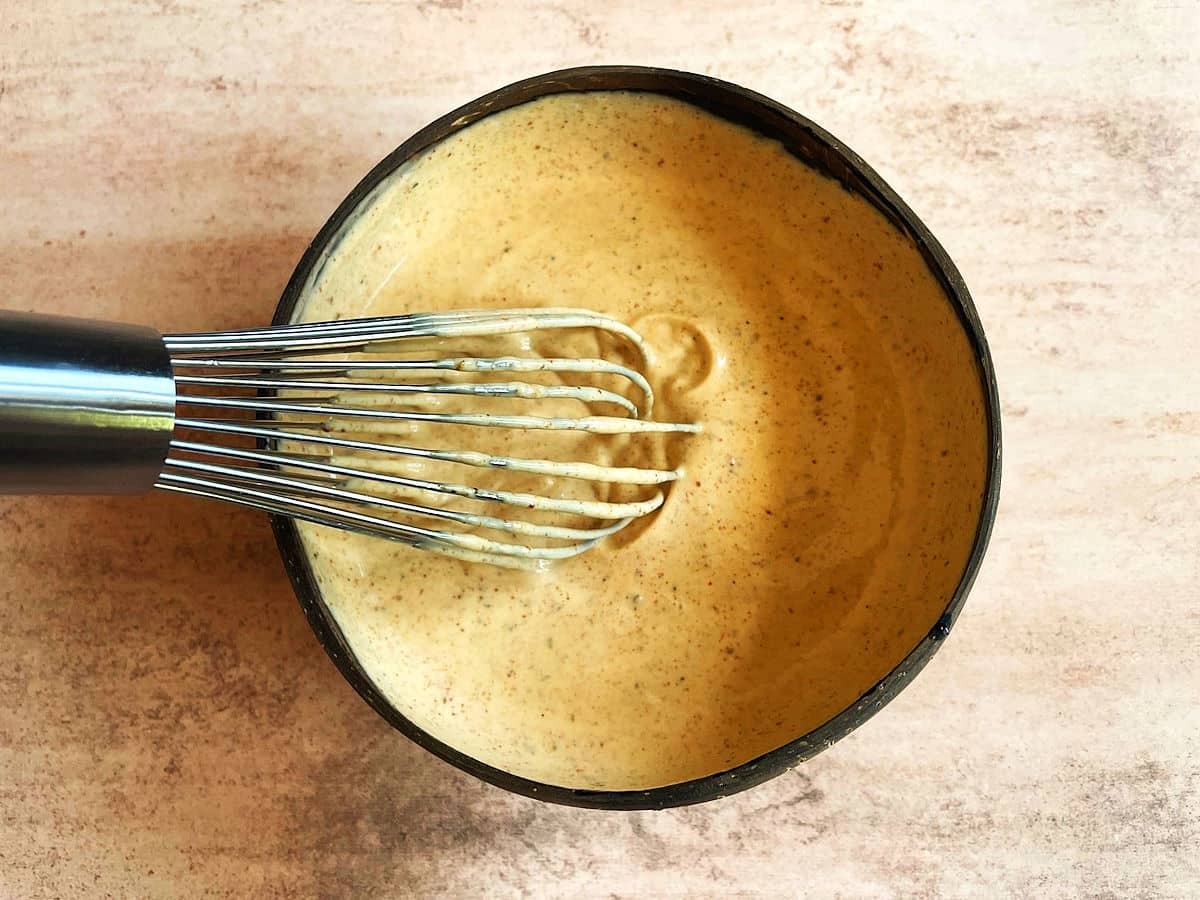
- mayo - For creaminess and to bind it all together.
- dried tarragon - Tarragon is a herb that is commonly paired with fish.
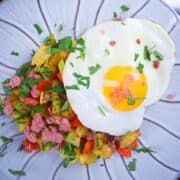
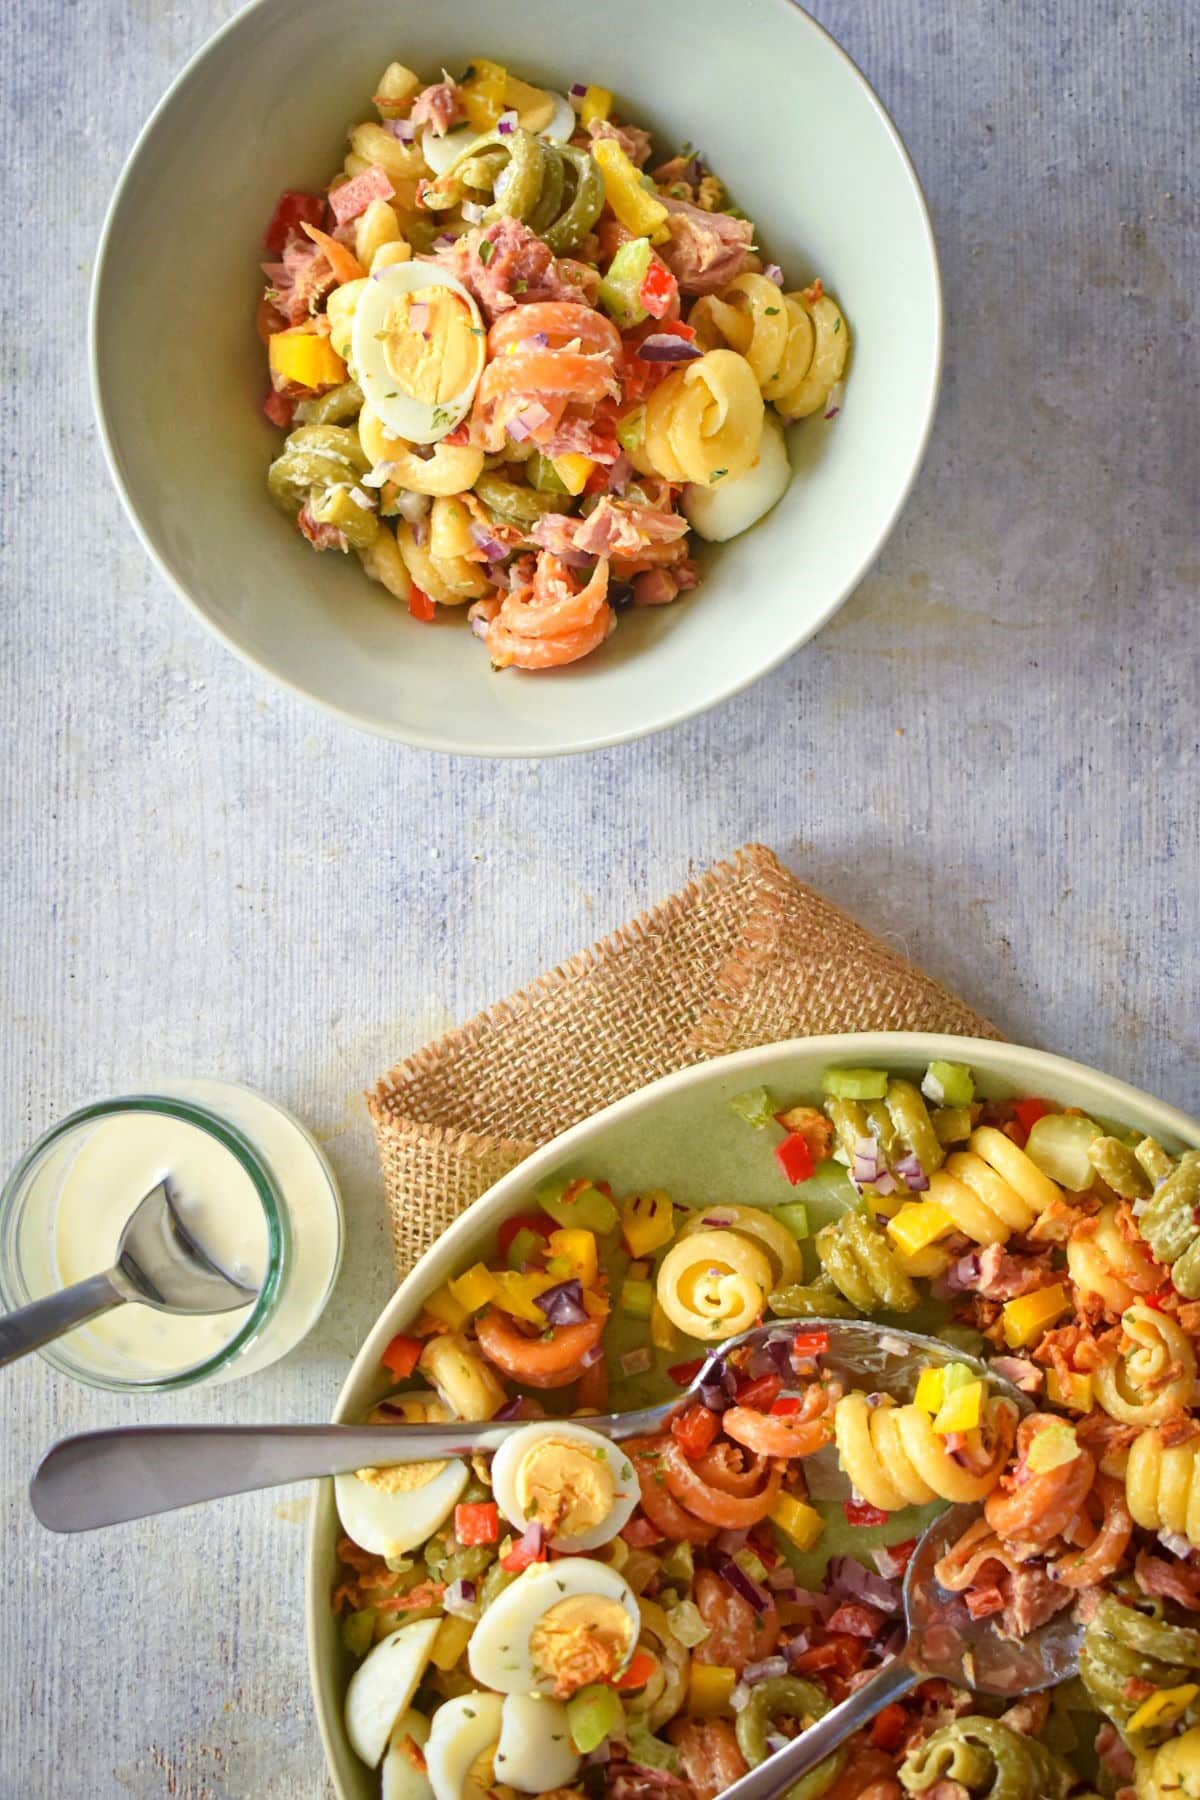
- optional Toppings: Boiled quail eggs and crispy onions (which you can find pre-made in bags in the salad dressing aisle of the grocery store).
*Check recipe card for ingredient amounts.
Chef's Note: If you are adding the quail egg topping, note that it takes about 3 ½ minutes to hard boil the eggs.
How to Make Tuna Pasta Salad

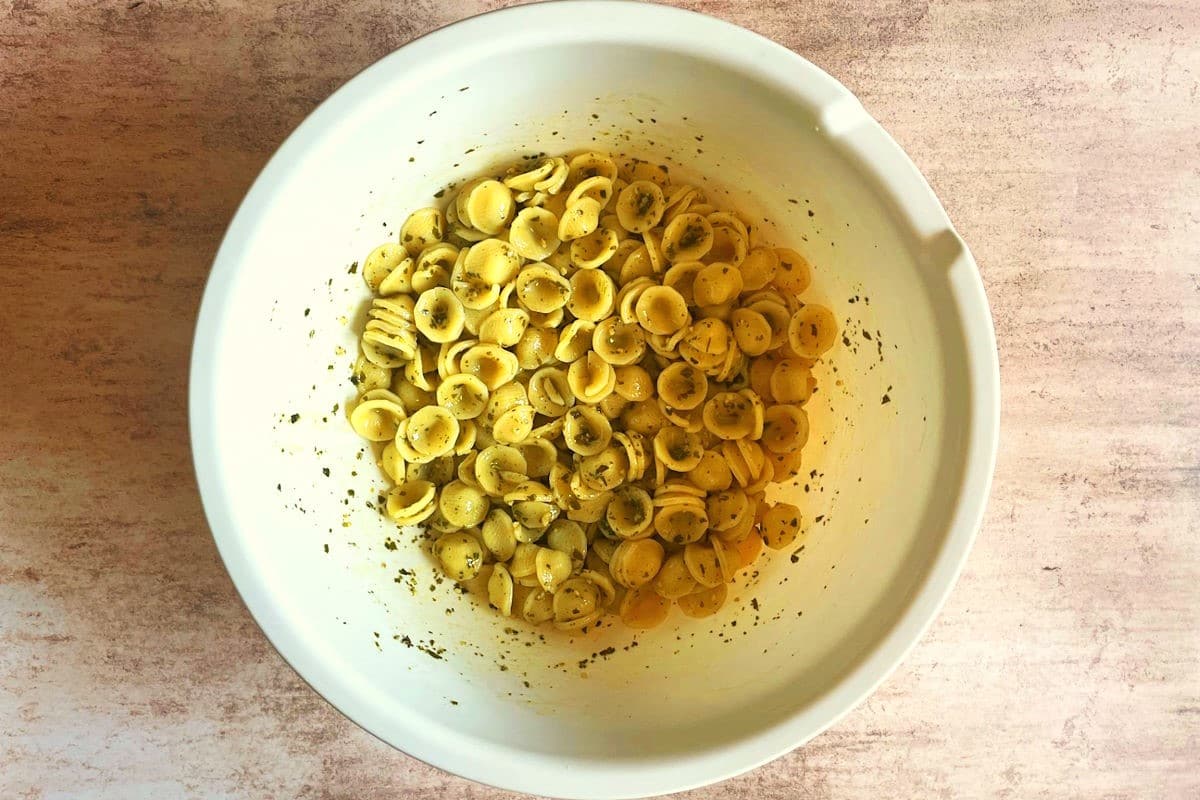
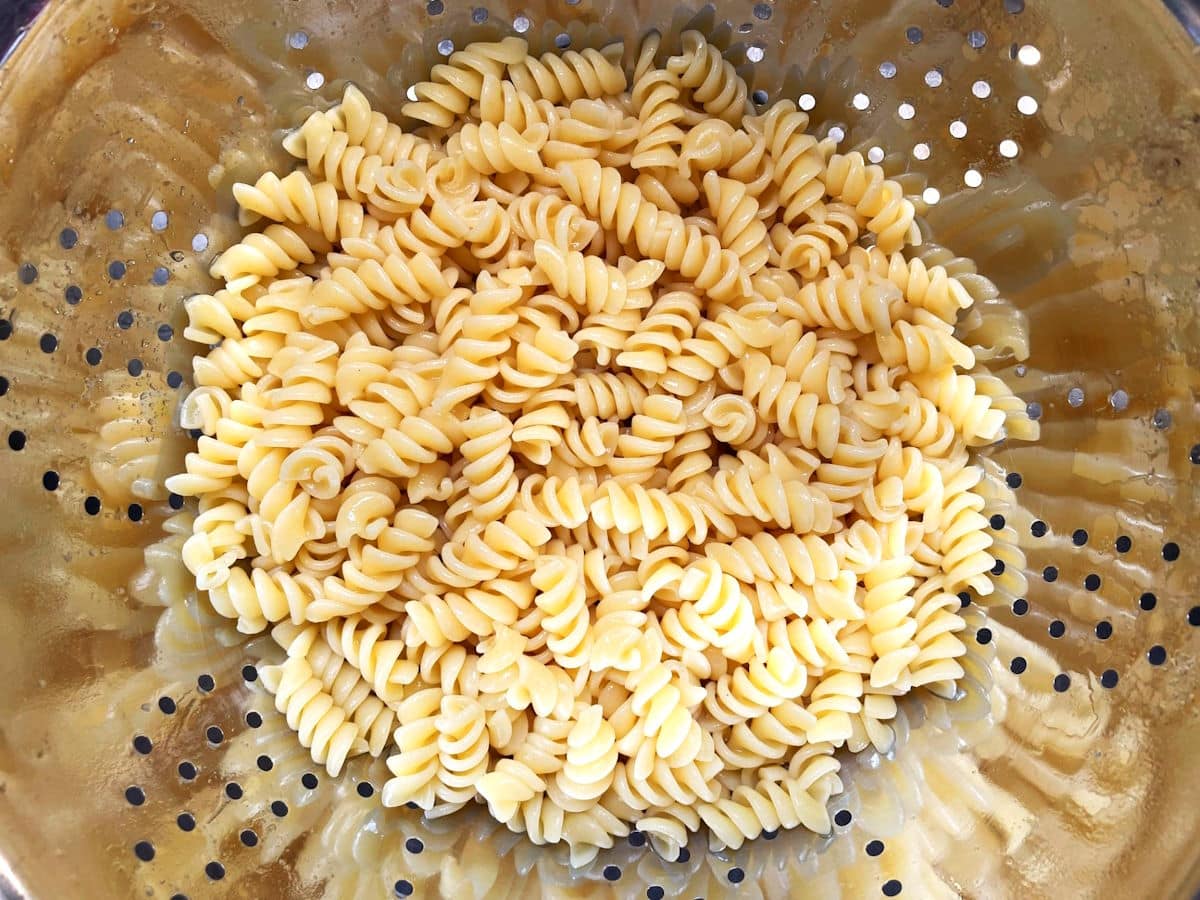
Step #1. Cook the Pasta. Make the pasta, al dente, according to package instructions. Drain and rinse with cold water. Transfer to a large bowl.

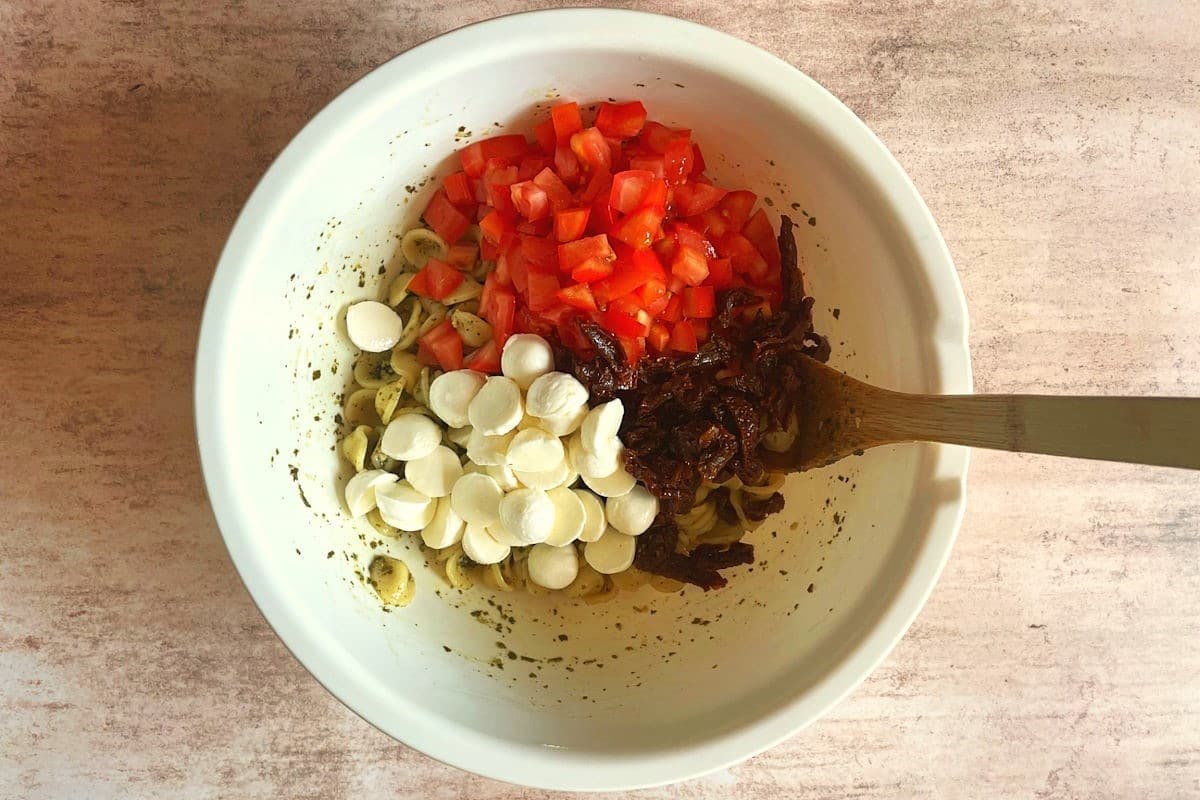
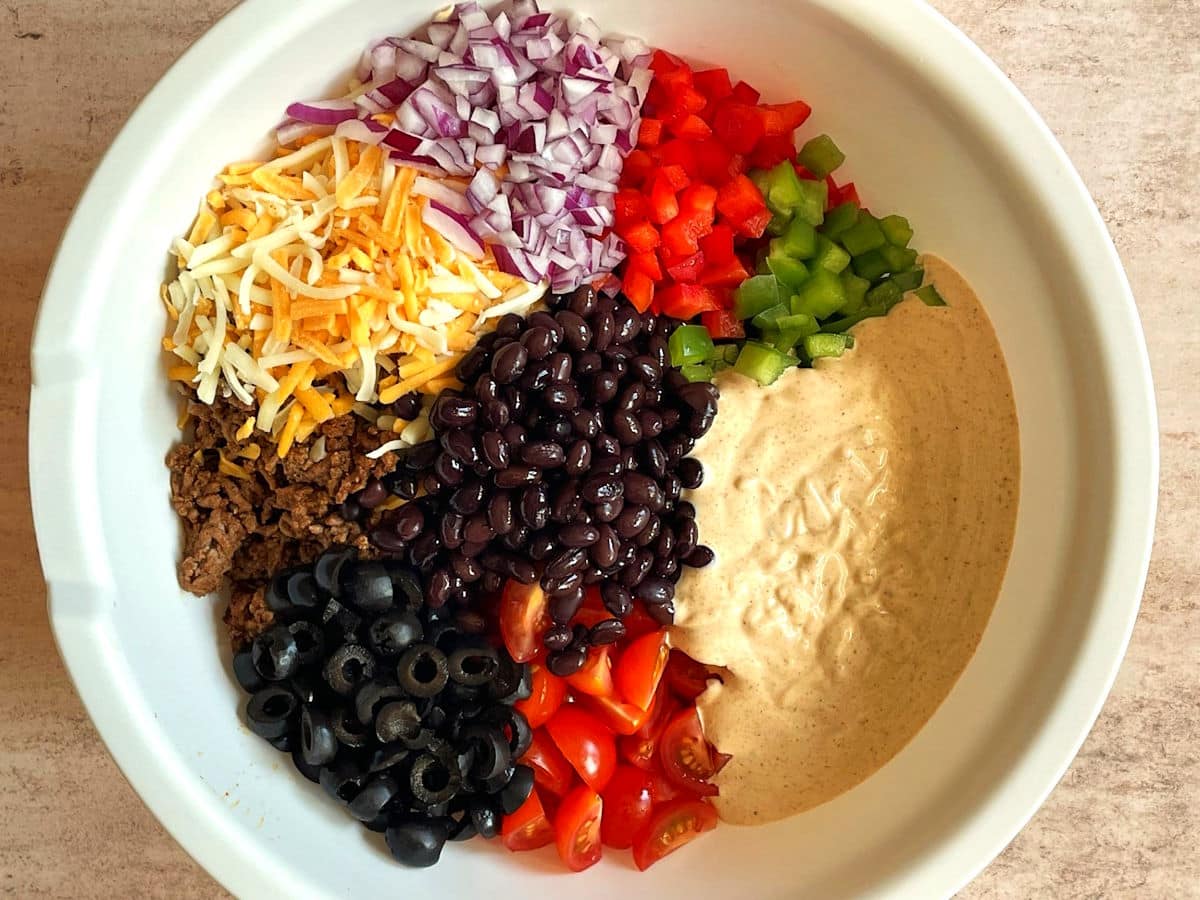
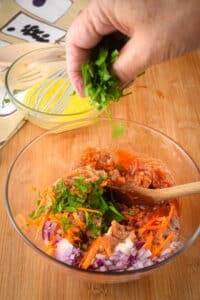
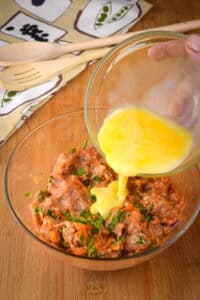
Step #2. Combine Ingredients. Add the rest of the pasta ingredients to the bowl of pasta and mix well. Season with salt and pepper, to taste.
Step #3. Chill & Serve. Chill in the refrigerator for 1 to 2 hours. (Or you can serve it warm, if desired.) Serve with the toppings.
Joss' Tips
Here are some tips to help make sure that this recipe is among the best tuna pasta salads you have ever made!
- You can use many types of pasta, but some of the most popular are the bowtie (or farfalle), the shell, rotini and penne.
- Bowtie pasta is easy to get on your fork, due to being thick and wide and it holds its shape well. It seems to go well with the chunkiness of this salad. And as a bonus if you have kids, they tend to love eating farfalle; possibly because its name means 'butterflies' in Italian and the shape is cute and fun.
- Shell pasta can get more meat and mayo inside, making a more flavor-filled bite, but it may be a little harder to get it with a fork, with its shape and slipperiness.
- Salt your water. When boiling the water for the pasta, make sure to add salt. This will season the pasta while it's cooking.
- Make it a day in advance. I actually find that pasta salads taste way better the day after preparation when the flavors have had time to blend, but make sure to cook the pasta no further than al dente (cooked but still firm) to retain the desired texture. Hold off on the toppings until serving time.
Storage
Leftovers should be covered well and refrigerated. They can last up to 3 to 5 days in the fridge.
Can you Freeze Pasta Salad?
Yes, you can freeze pasta salad, but there are a few tips and conditions to freeze the salad correctly:
- Make sure the pasta isn't cooked beyond al dente.
- Once cooked, immediately run cold water over the pasta to stop the cooking process.
- Make sure the pasta, the liquid ingredients, and the vegetables are put into separate freezer bags. However, because the liquid ingredients are creamy in this recipe, they will not thaw as well. Because of this, I recommend not freezing the liquid ingredients for this particular recipe, but you can freeze the pasta and veg.
- Don't freeze the toppings either. Instead, add them to the salad at serving time.
What to Serve it With
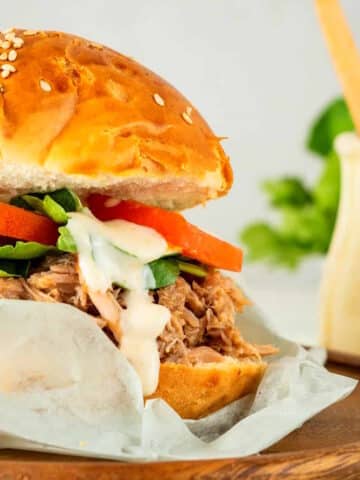
Because pasta salad is often served as a side dish, it can be paired with many proteins. I've seen pasta salads served frequently during the summer with BBQ'd foods like pulled pork burgers, grilled chicken and hot dogs.
However, because this salad already contains seafood, you might want to avoid serving it with red meats as it might throw some people off.
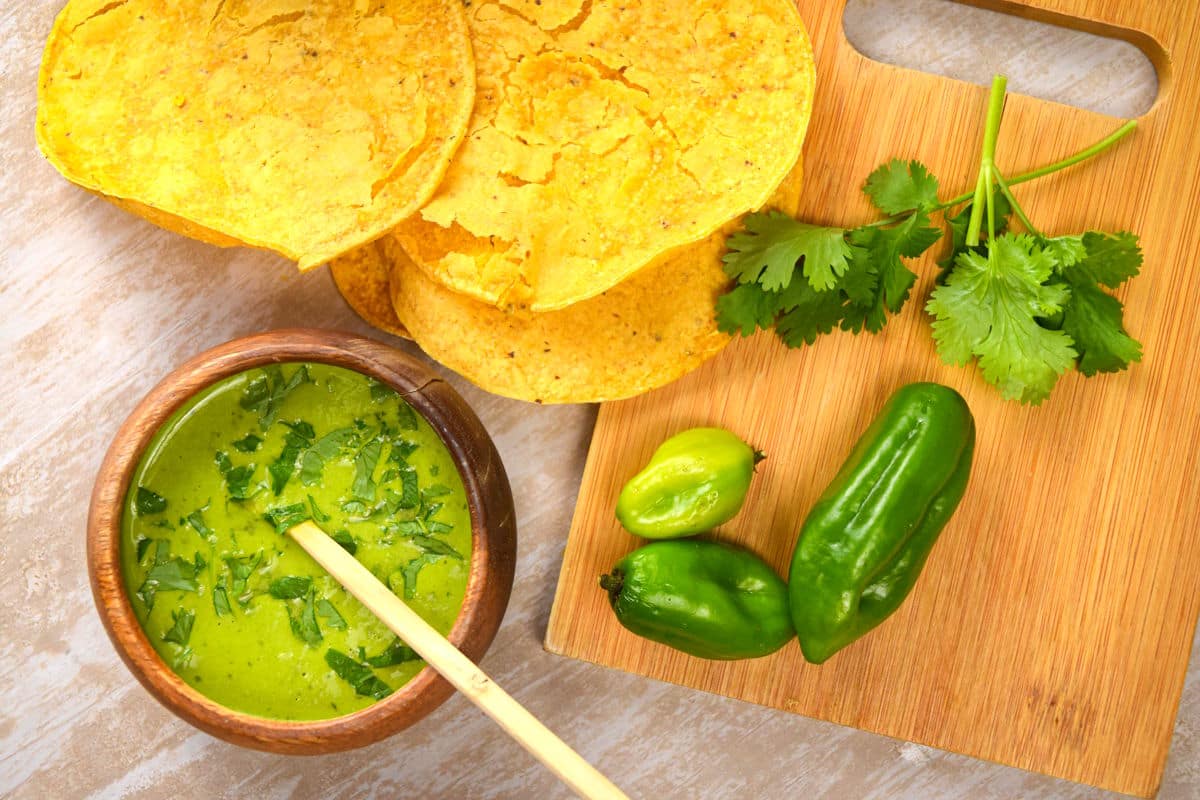
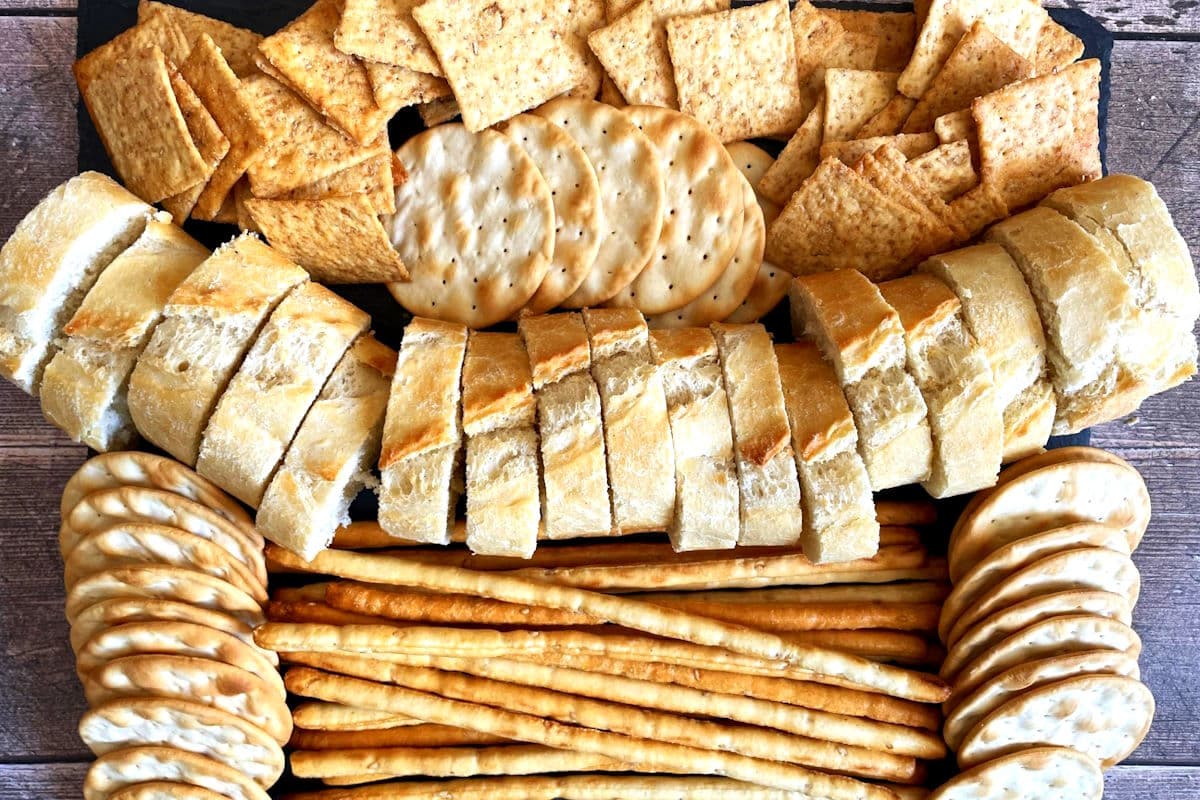
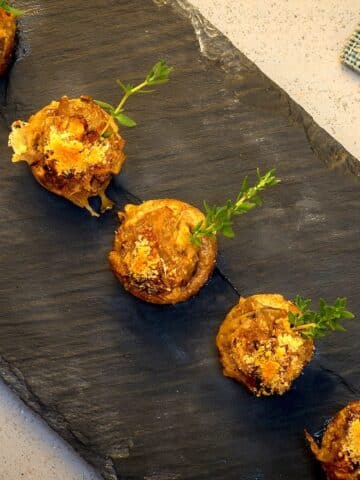
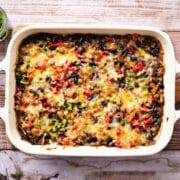
Some meat free sides include crusty bread or breadsticks, vegetable-based soup (such as my Mexican vegetable soup), stuffed mushrooms, fries, etc.
You can easily eat this salad on its own as a main dish. It's great for packing in lunches!
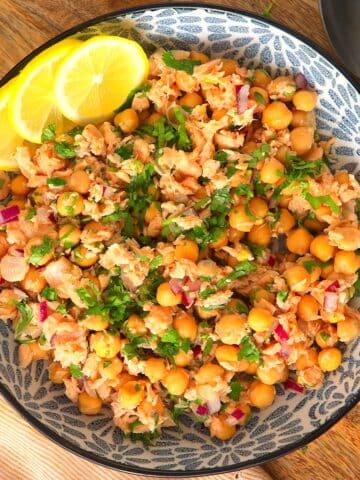
More Delicious Seafood Recipes to Consider

If you tried this Cold and Creamy Tuna Pasta Salad Recipe or any other recipe on my website, please leave a 🌟 star rating and let me know how it went in the 📝 comments below. And please share the recipe!
📋Recipe
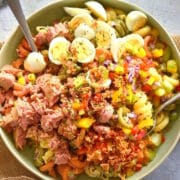
Cold and Creamy Tuna Pasta Salad
Ingredients
For the Pasta
- 2 cups dry tri-color spiral pasta or your favorite short-cut pasta
- 2 cans solid white tuna drained and broken into chunks
- ½ cup red onion diced
- ½ cup red bell pepper diced
- ½ cup yellow bell pepper diced
- ½ cup celery diced
- ⅓ cup mayo
- 1 teaspoon dried tarragon
- salt and pepper to taste
Toppings
- 12 quail eggs boiled, peeled and sliced in half
- 2 tablespoons crispy onions
Instructions
- Make pasta, al dente, according to package instructions. Drain and rinse with cold water. Transfer to a large bowl.
- Add the rest of the pasta ingredients to the bowl of pasta and mix well. Season with salt and pepper, to taste.
- Chill in the refrigerator for 1 to 2 hours. (Or you can serve it warm, if desired.) Serve with the toppings.
Notes
- Pasta salad is usually served chilled but can be eaten warm as well.
- When boiling the water for the pasta, make sure to add salt. This will season the pasta while it's cooking.
- You can use many types of pasta, but some of the most popular are the bowtie (or farfalle), the shell, rotini and penne.
- Bowtie pasta is easy to get on your fork, due to being thick and wide and it holds its shape well.
- The shell version can get more meat and mayo inside, making a more flavor-filled bite, but it may be a little harder to get it with a fork, with its shape and slipperiness.
- Note that it takes about 3 ½ minutes to hard boil the quail eggs.
- Leftovers should be covered well and refrigerated. They can last up to 3 to 5 days in the fridge.
- You can freeze pasta salad, but there are a few tips and conditions to freeze the salad correctly:
- Make sure the pasta isn't cooked beyond al dente.
- Once cooked, immediately run cold water over the pasta to stop the cooking process.
- Make sure the pasta, the liquid ingredients, and the vegetables are put into separate freezer bags. However, because the liquid ingredients are creamy in this recipe, they will not thaw as well. Because of this, I recommend not freezing the liquid ingredients for this particular recipe, but you can freeze the pasta and veg.
- Hold off on freezing the toppings.